

Today I want to talk about the manufacture of a mini drilling and milling machine.
1st step. Initial data.
Being engaged in ship modeling, I sometimes have to drill very delicate “holes” of 0.2-0.7 mm. And it’s not always convenient to do this with a drill, since you need to monitor both the drilling angle and the drill, so as not to break it. Another time, make a neat groove in a small piece, or simply align the plane to size. So I decided to make my life easier.
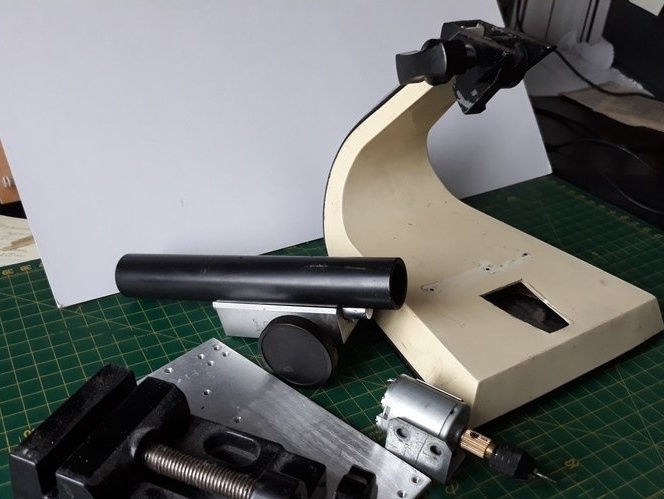
I scraped through the guts and found for this case:
- a rack from the old fan, "Penguin",
- I had a vertical drive from the microscope head lying around,
- an electric motor 12 to 24 volts from an old printer,
- two metal corners 30x30 and 30x20 mm,
- 3 mm thick aluminum plate for the table,
- a piece of plexiglass,
- a universal mini-cartridge, with an adapter for the motor shaft,
- micro toggle switch,
- network wire with plug,
- mounting wires,
- thermotubes for insulation of soldering contacts.
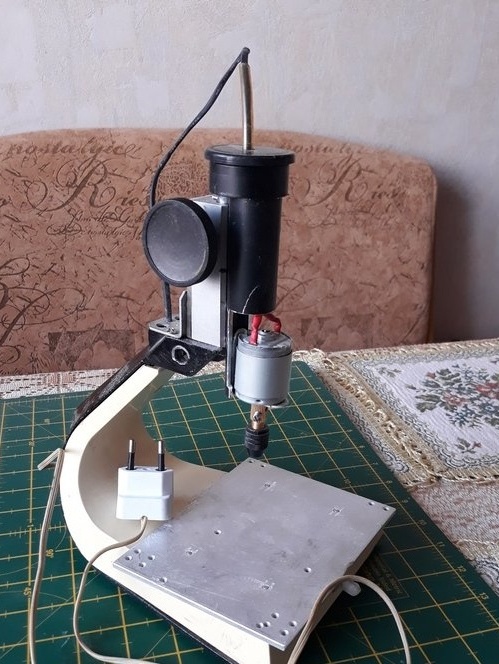
Everything looks like this.
2nd step. Assembly.
Started with a rack. Removed the remains of the inclined mechanism of the fan head.

Dismantled, cleaned and lubricated the vertical drive of the microscope head.
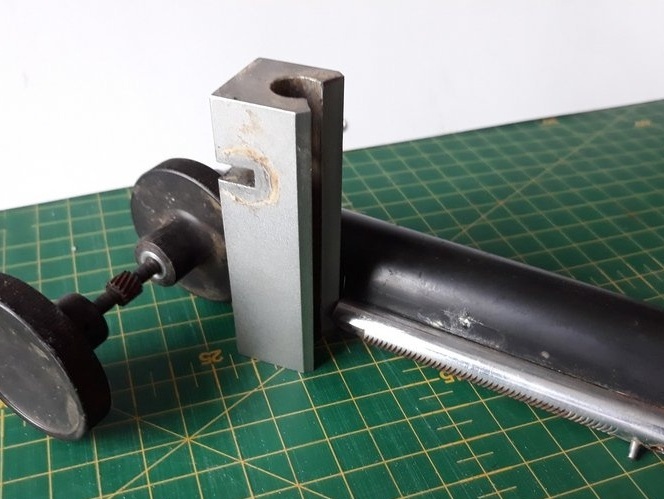
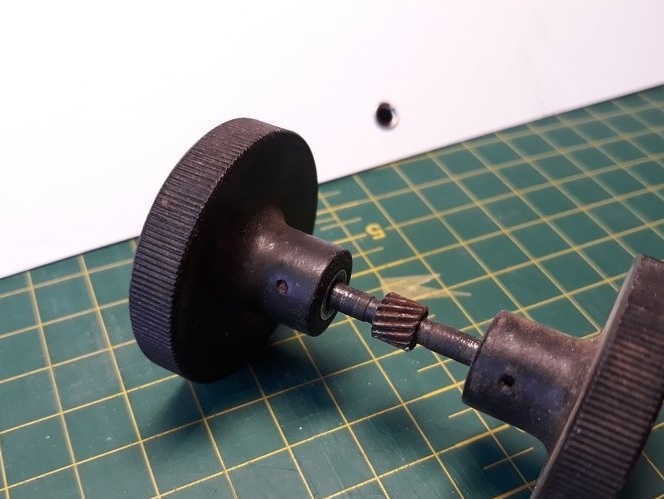
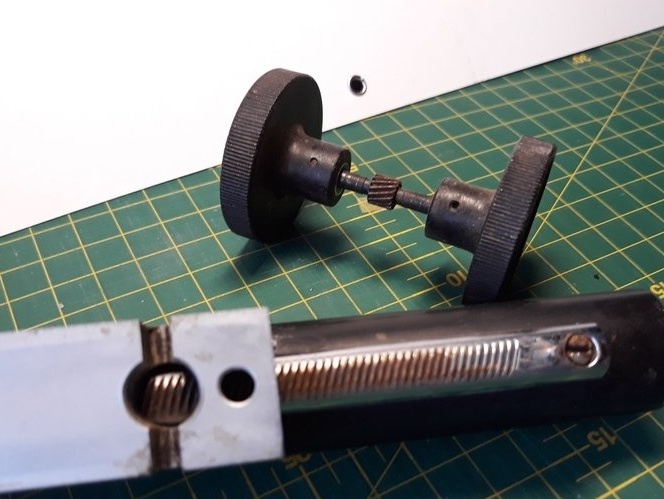
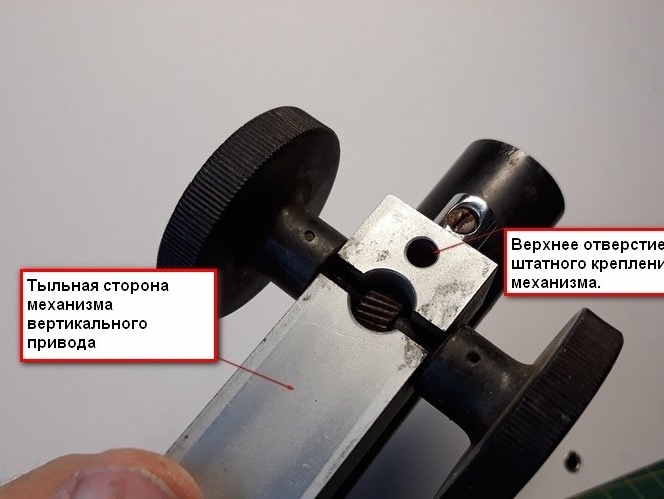
The assembled vertical drive mechanism looks like this.
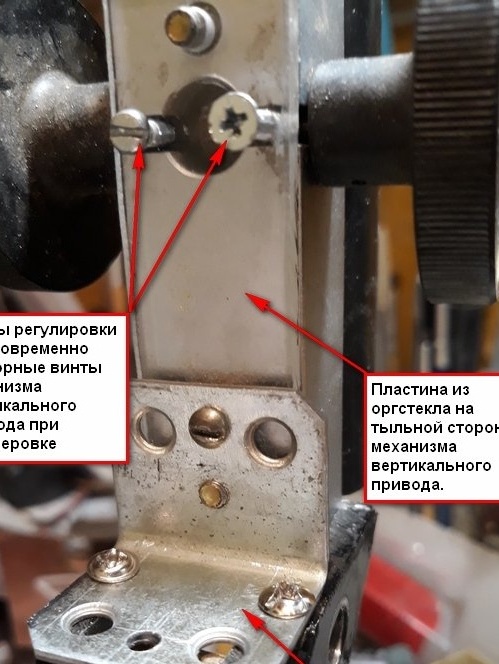
I cut a plate from plexiglass on the back of a vertical drive, drilled holes for fastening the mechanism of a vertical drive, cut the thread. I drilled holes and threaded the screws for adjusting the stroke of the vertical drive mechanism, which are simultaneously the locking screws of the mechanism during milling. Attached to it the assembled vertical drive mechanism.
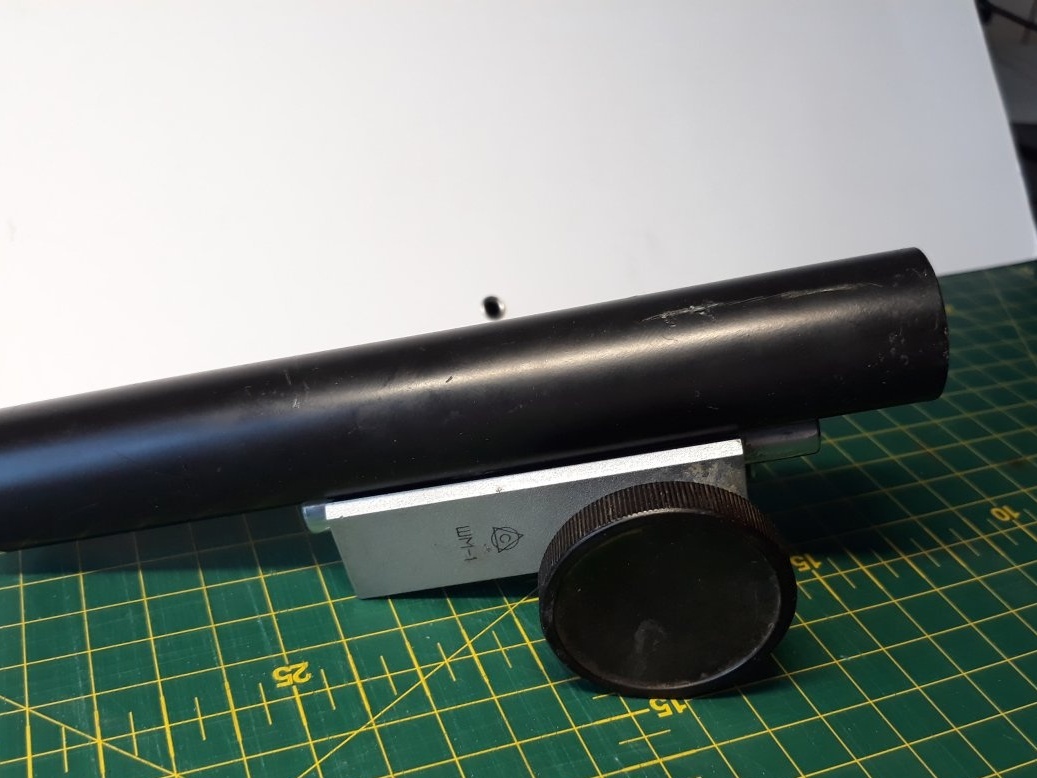
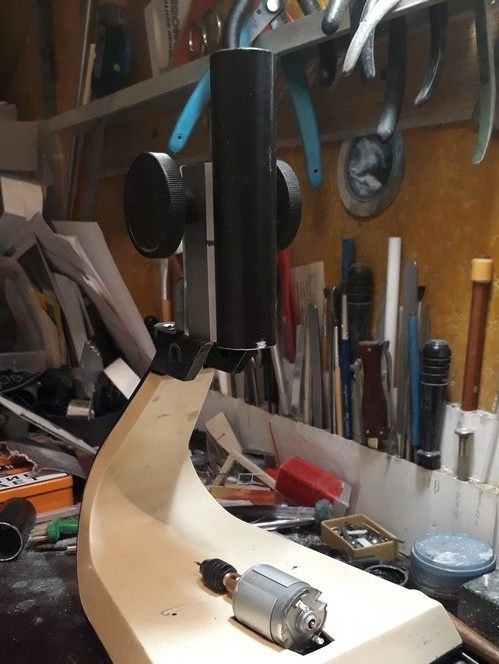
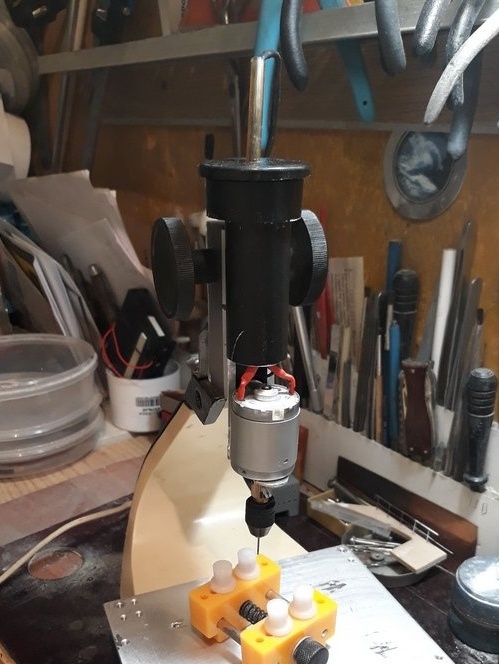
Further, he set the assembled mechanism in relation to the machine stand and fixed it on it through a metal corner. From the back of the machine it looks like this.
From the front it looks like this.
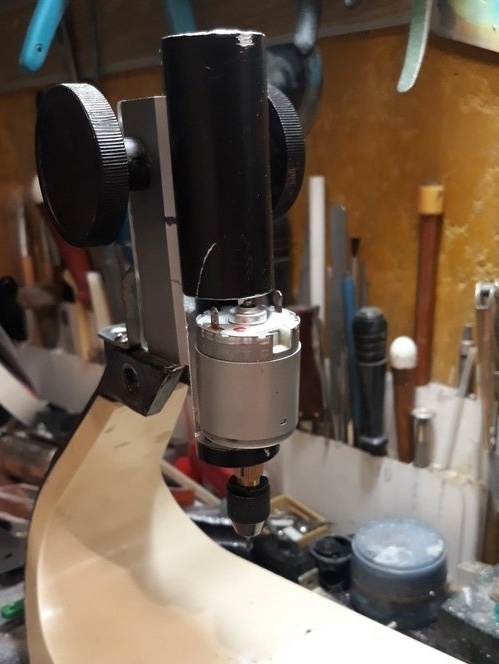
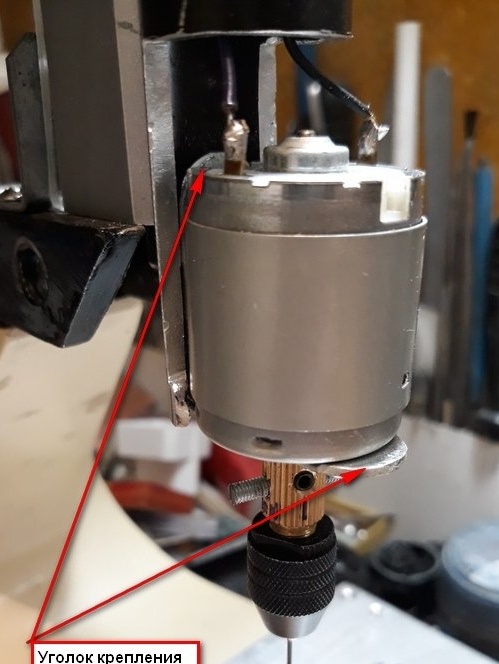
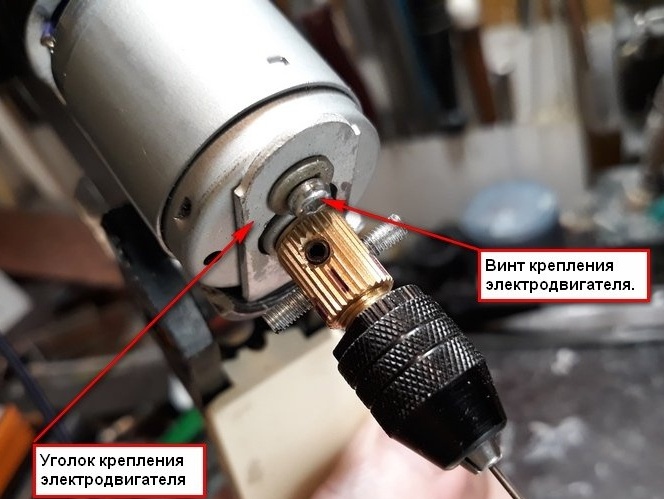
Now it was necessary to figure out how to fix the electric motor with a cartridge.
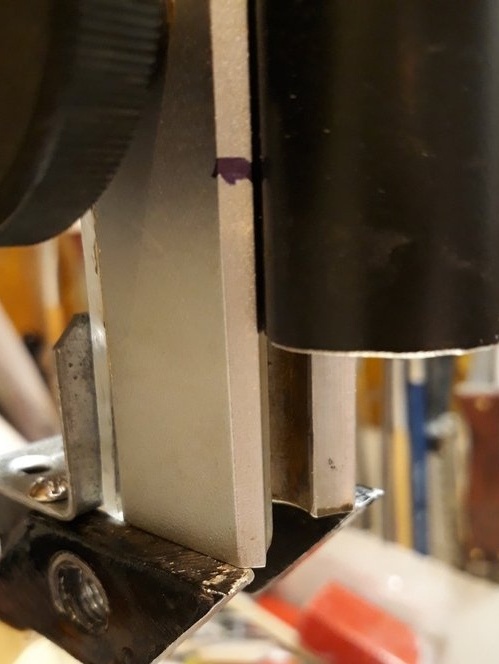
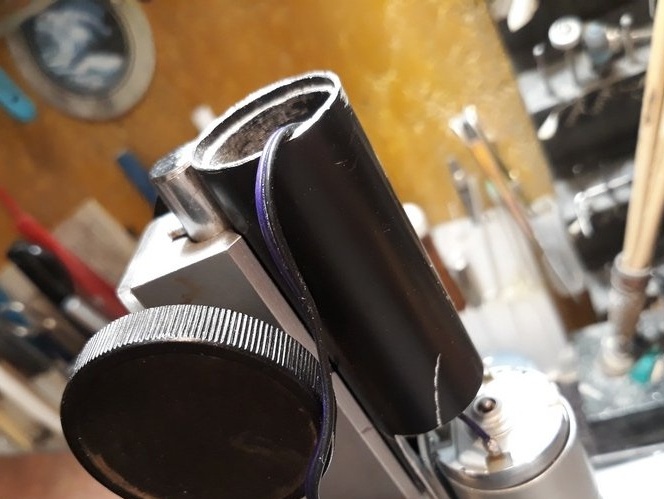
Initially, I planned to cut out only part of the movable nozzle of the vertical drive mechanism.
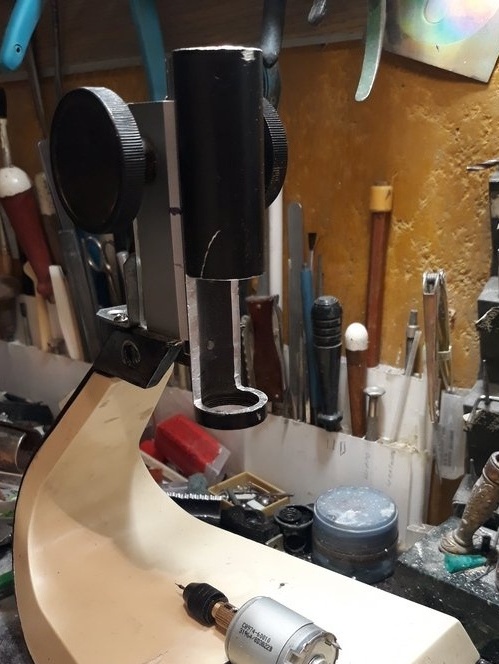
But, the fitting showed that it doesn’t work out, the corner of the motor mount does not rise. I had to remove the lower part of the pipe. And everything fell into place.

Ah, so it looks close.
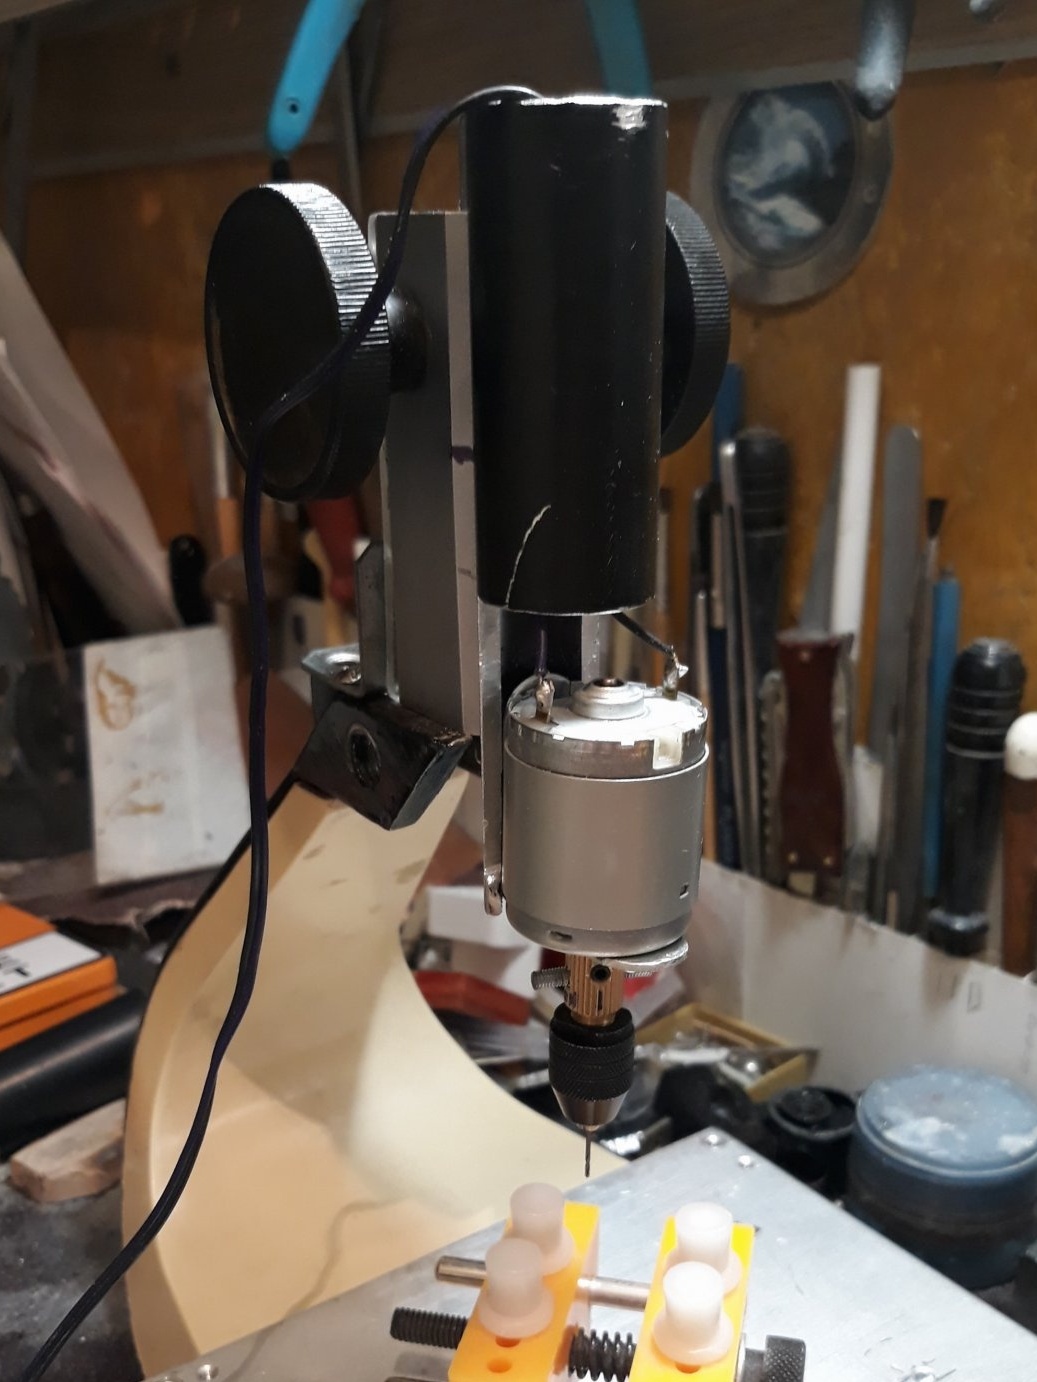
So from below.
Insulating the soldering of wires to the engine with heat pipes, I passed the wires through the pipe of the vertical drive mechanism.
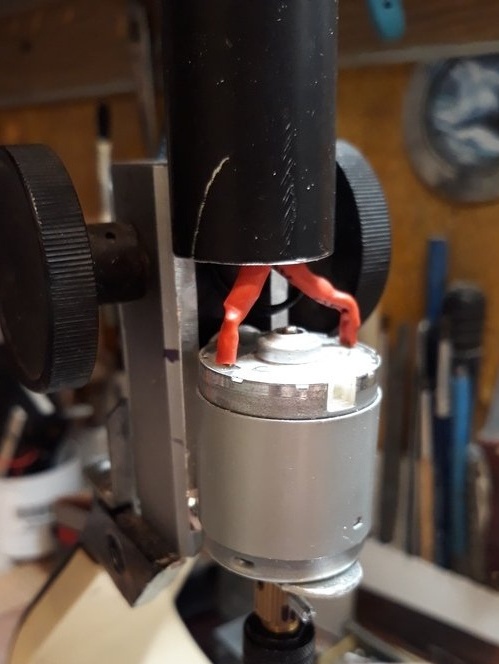
I installed a plug in the upper part of the nozzle, made a wire from the electric motor with a loop with a margin and led it through the attachment angle to the machine rack.
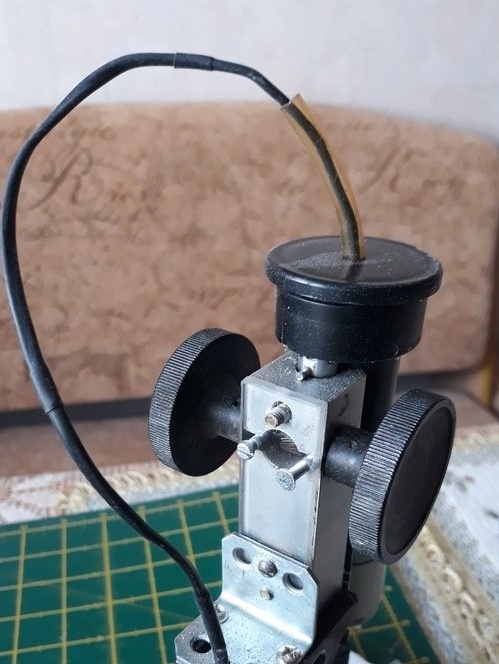
Inside, I drained the drains to the switch (micro-toggle switch), so that it would be convenient to turn on and off the toggle lever put on a cap made of plexiglass.
Further, the power wire led out at the bottom of the rack from the back and connected the plug.
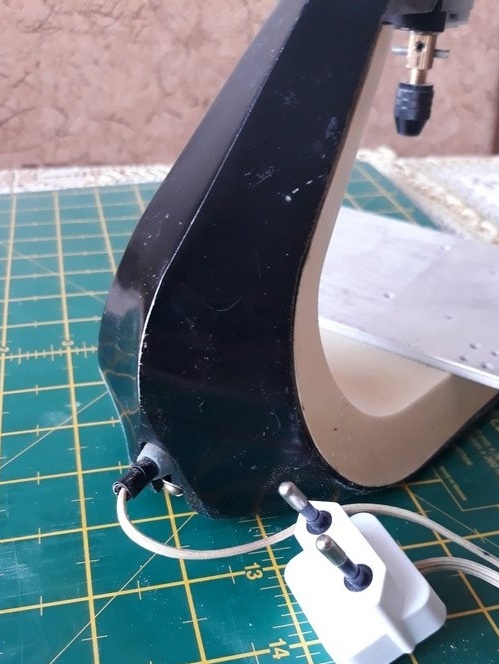
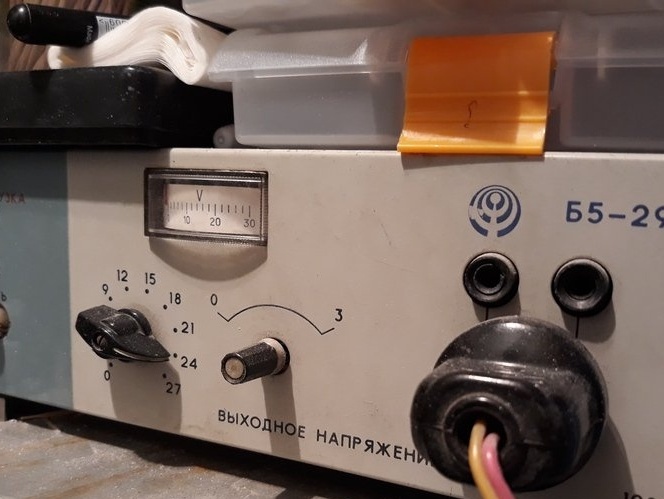
The machine operates a voltage-regulated power supply, I supply 12 volts to it.
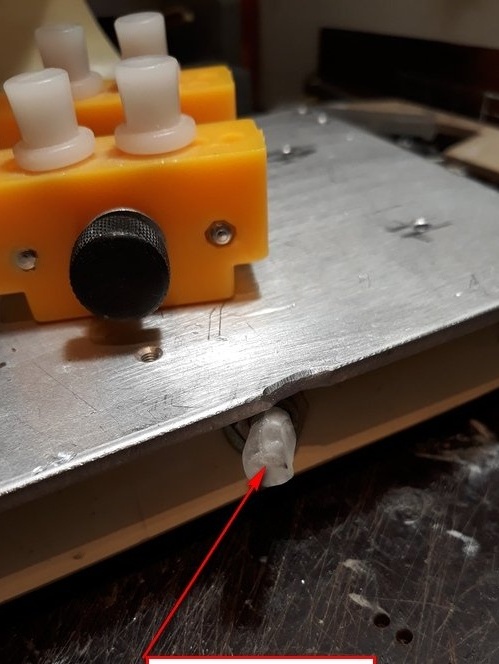
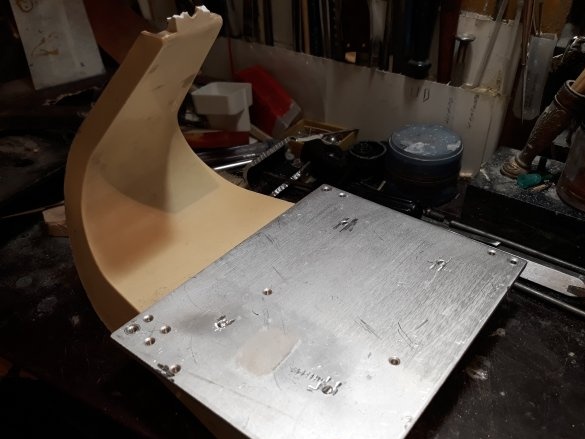
At the bottom of the rack under the cartridge placed a countertop
from aluminum sheet. Putting it vertically and horizontally relative to the axis of drilling, secured to the stand of the machine.
[center]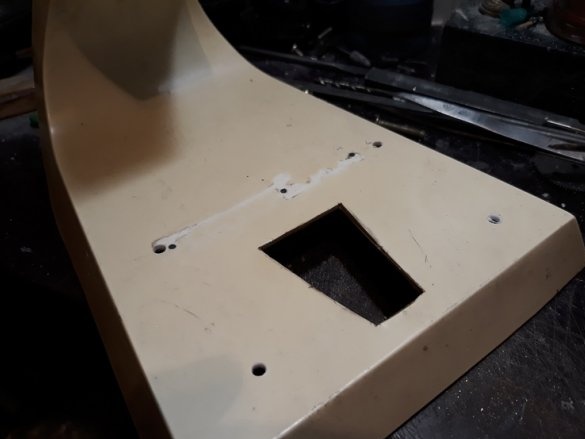
[center]

3rd step. Work on the machine.
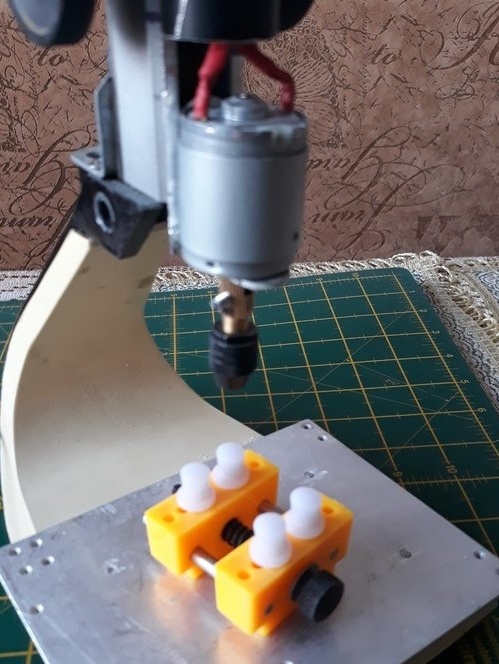
On the machine you can work with vise for more
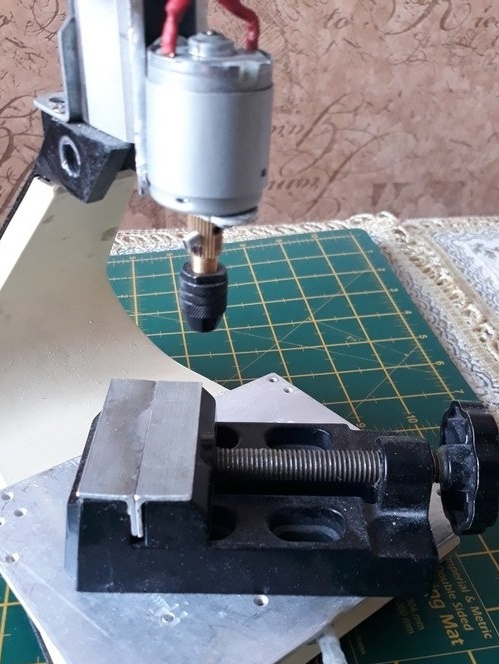
And less
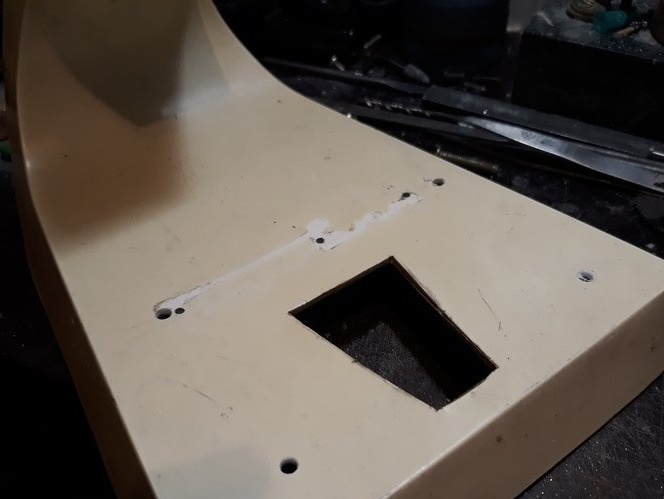
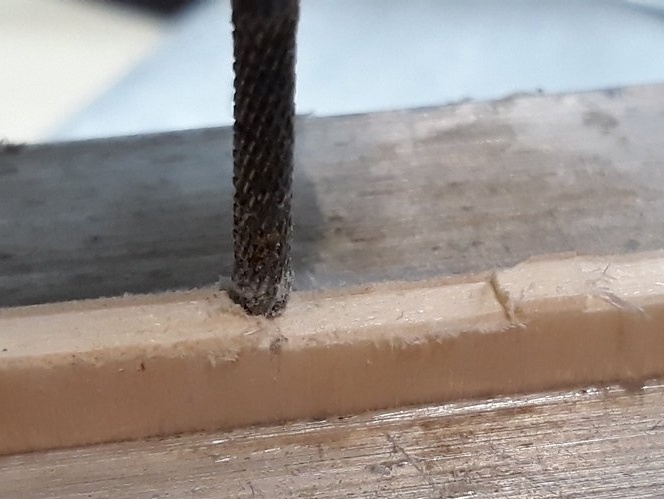
Here is an example of using the machine and ready-made parts for the model.
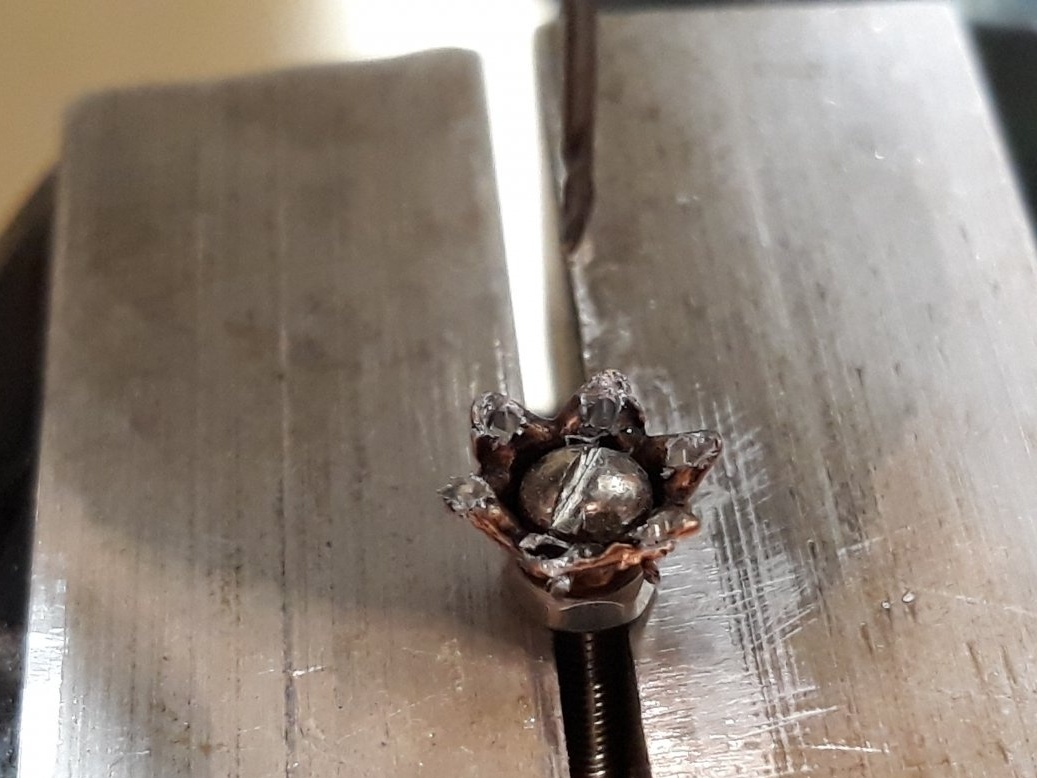

In milling mode, the machine operates as follows. The item is clamped into a yew.

Regarding yews, a milling cutter is set, so that the desired size would be obtained on the workpiece. The vertical drive is fixed.
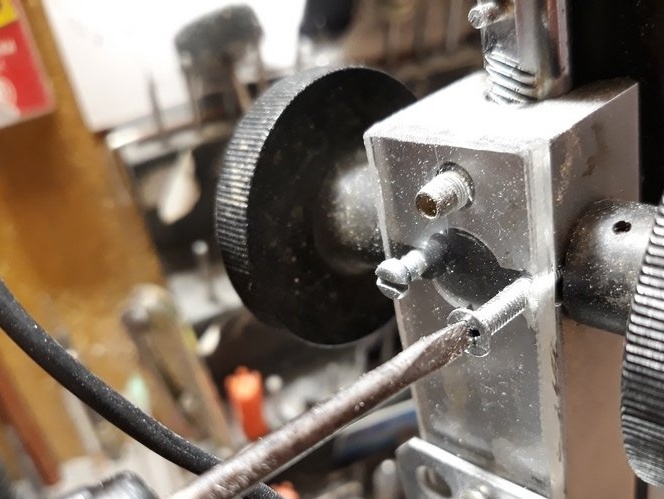
The electric motor is turned on, the workpiece in the yew is brought to the mill and the yew is fed manually.
Yes, primitive, but more effective than say a file or file. And in some cases, you won’t even crawl with them where you need to.
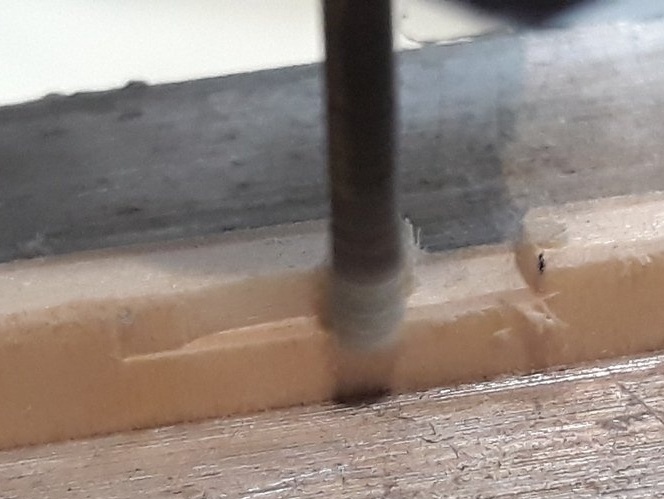
I'm working on the milling table. And so far.
That's it.
See, criticize, advise, ask.
Regards, Starp