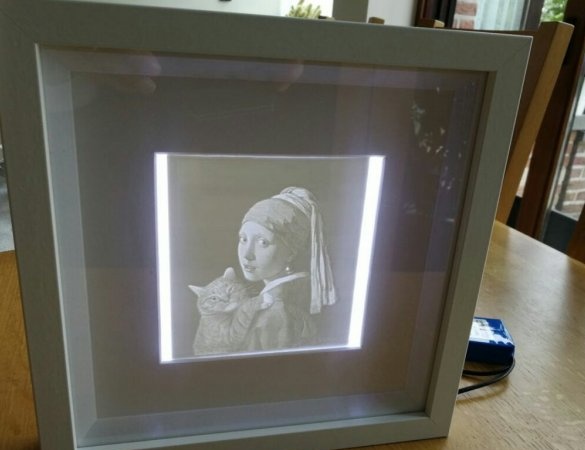
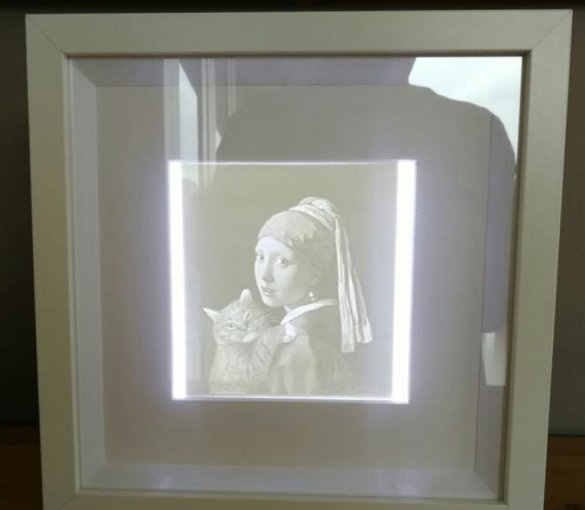
I have already translated an article about lithophany imitation night lamp. Let me remind you that lithophany is a way of obtaining the similarity of watermarks in porcelain due to its variable thickness, and the methods of its imitation on plastic products consist in using a photo enlarger and a cell with photopolymer (the second half of the twentieth century) and 3D printing (today). The author of Instructables under the nickname Bollibe made another interesting homemade using simulated lithophany, adding it, as well as highlighting in the photo frame (of course, not digital) Ikea Ribba.
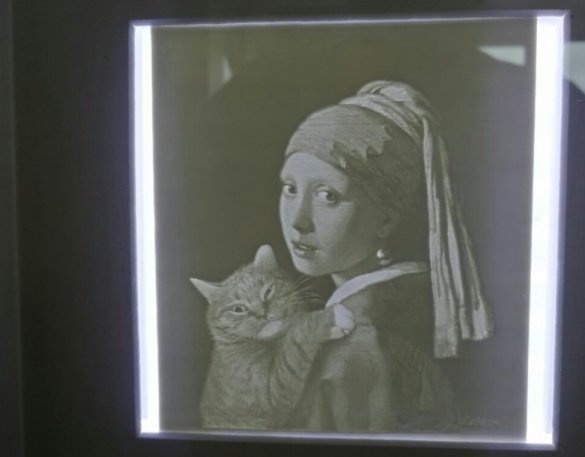
The master is going to transfer to a plastic plate such an image obtained by adding kote to this picture:
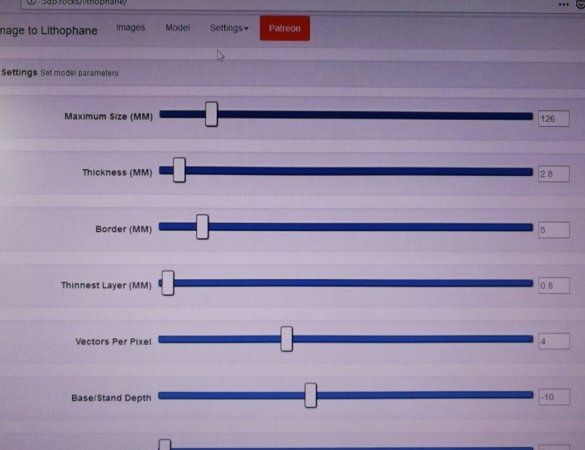
You can take another image, but it is for this design that you need to crop it with an aspect ratio of 1: 1. To translate an image into model for 3D printing, the wizard uses this site. The following are his conversion options:
The maximum side of 126 mm is the sum of the sides of the transparent square in the photo frame (116 mm) and the margin (5 mm on each side). The thickness is 2.8 mm, the border is 5 mm (this is the margin), the minimum thickness corresponding to the maximum brightness is 0.8 mm, vectors per pixel are 4, the depth of the base stand is minus 10 mm (the stand is on the back) , curves - 0.
All files for printing are here, you can also download a file separately: 1, 2, 3, 4. License - CC-BY 3.0. If you replace the default image with your own, the plate should be printed from the file that you received when converting through the site, and the rest of the details from the finished files.
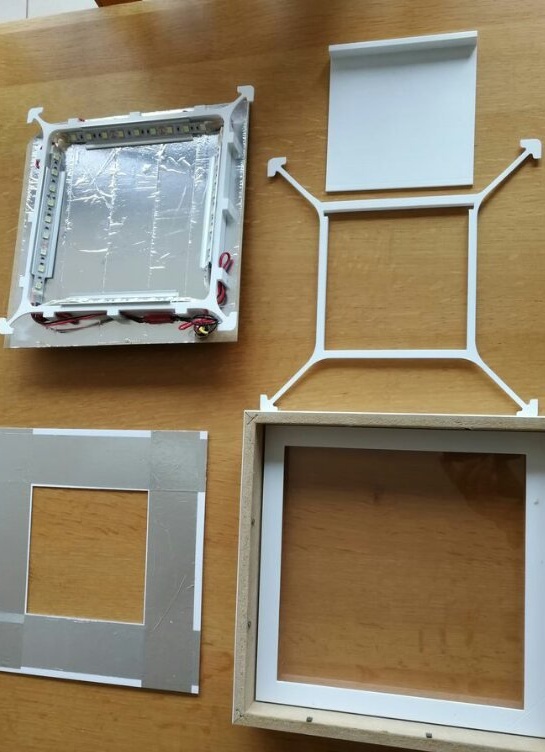
The wizard prints the details, they are listed below:
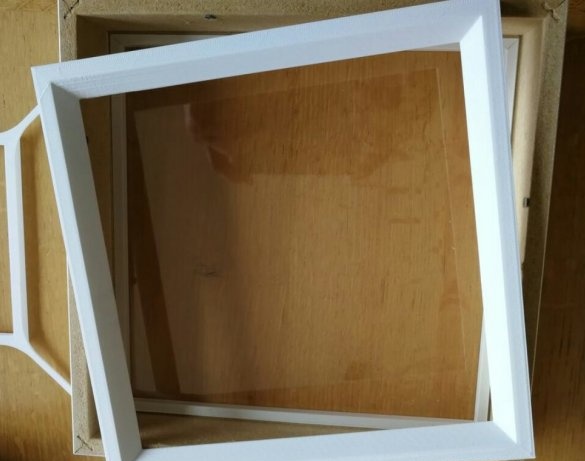
1. Front frame: 231x231 mm, thickness 10 mm
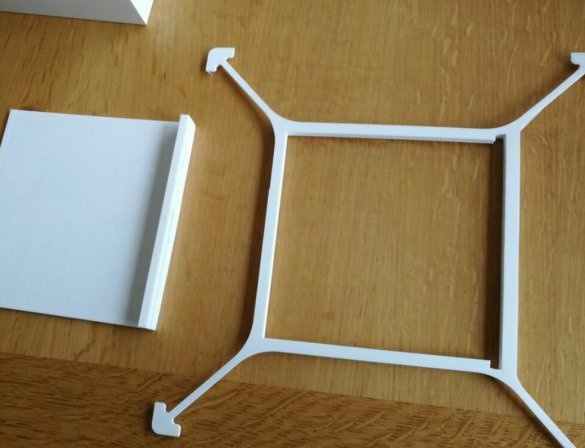
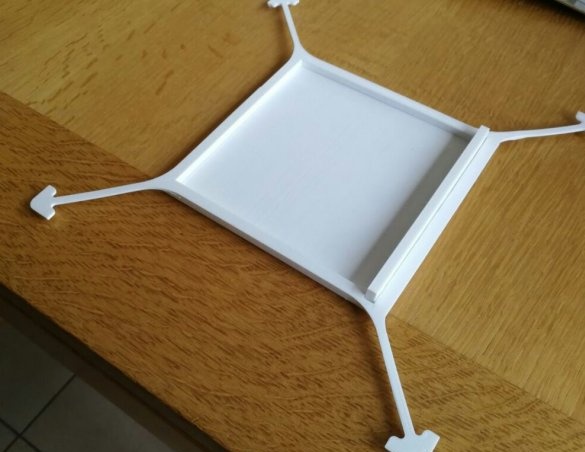
2. Centering frame with compartment for placing the image plate
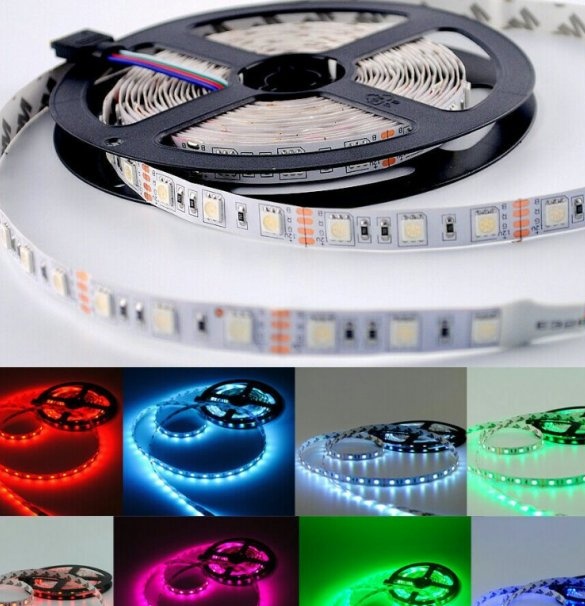
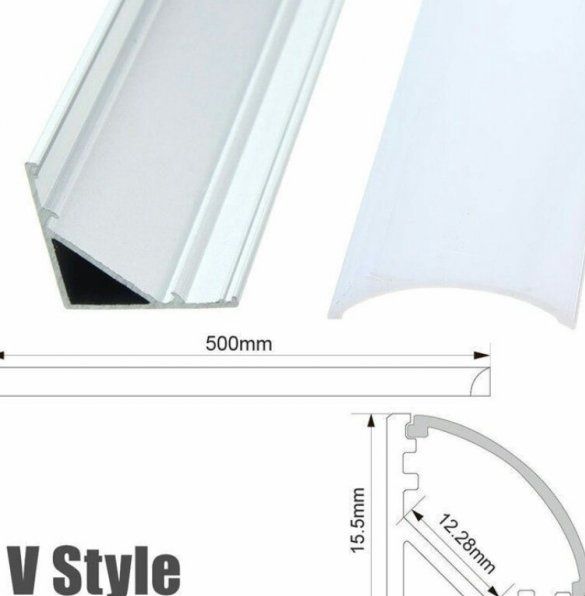
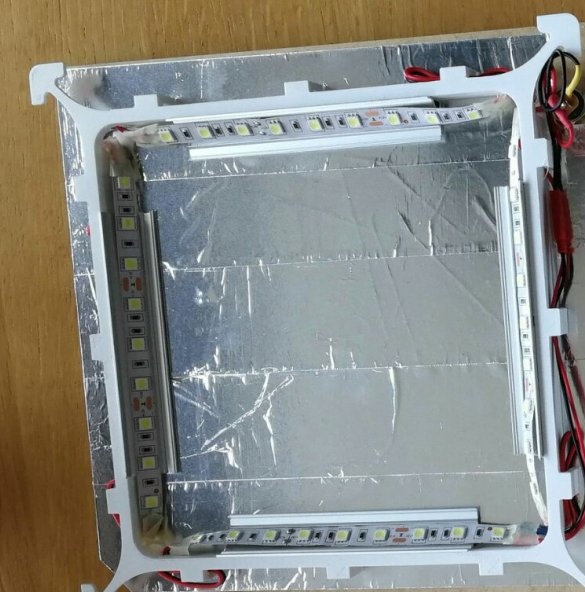
3. A frame for placing an aluminum profile to which the LED strip is glued. Also on the frame are elements for fastening the conductors.
4. A plate with an image, its master made in two versions: 1 - the image shown above, 2 - a photograph of the master’s grandchildren
The master prints all the details with a filament from PLA, its diameter is 1.75 mm.Printing parameters: a plate with an image - a layer thickness of 0.1 mm, a nozzle diameter of 0.4 mm, a filling of 100%, the remaining details - a layer thickness of 0.2 mm, a filling of 20%, the type of filling is a gyroid. All parts are designed for assembly without the use of glue. The plate with the image is printed very slowly, it takes 20 hours. To print everything else combined - 40 hours.
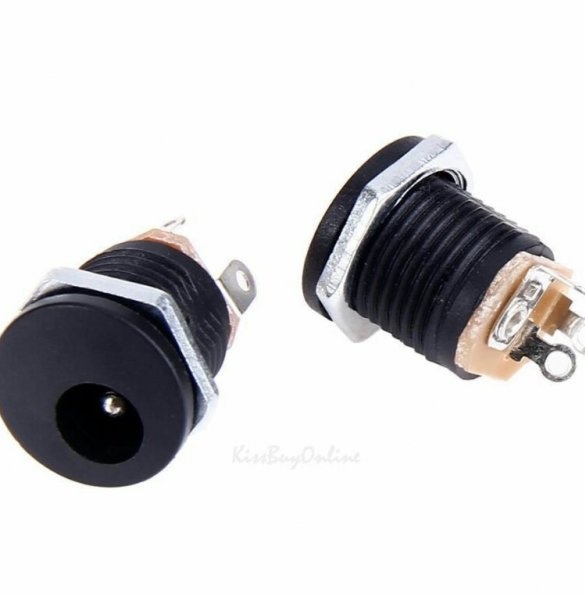
The master cuts and installs aluminum corners, glues an LED strip to them, places a power connector on the back wall, previously glued with aluminum tape to reflect the light. It is important to ensure that aluminum tape does not cause short circuit.
Connects to power supply PSU:

The design is ready, you can find a place for it in the interior.

