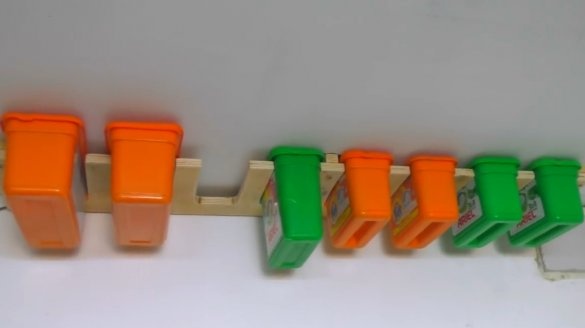
Many of you have a workshop, or garage. Each owner knows how much free space is valued, and the proper storage of various tools, parts.
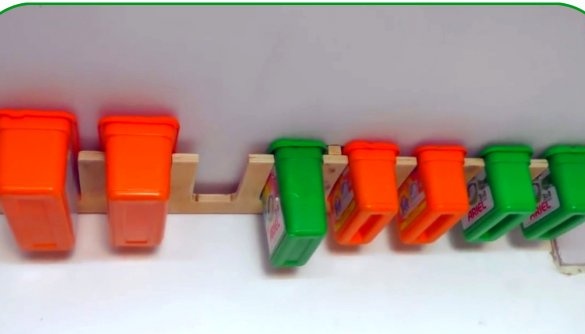
In this article, the author of the Men’s Craft YouTube channel will tell you how he made a simple ceiling organizer for various small things.
This homemade product is very easy to manufacture, and will require a minimum of cost.
Materials
- sheet plywood
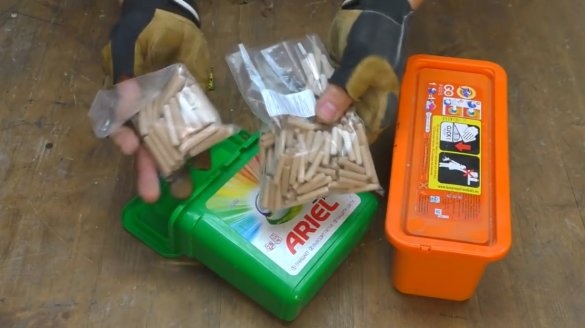
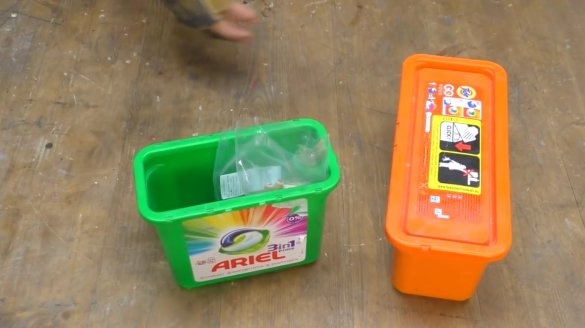
- Containers for washing powder
- PVA glue
- Self-tapping screws.
Instruments, used by the author.
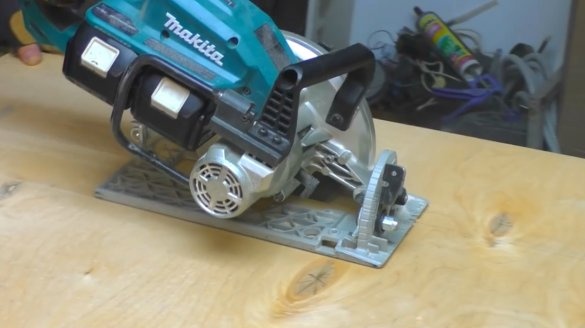
- A circular saw
—
—
—
—
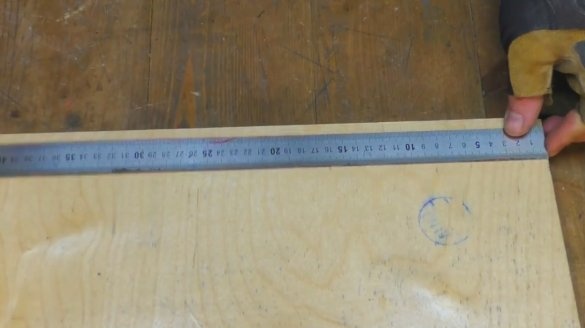
- Ruler, square, pencil.
Manufacturing process.
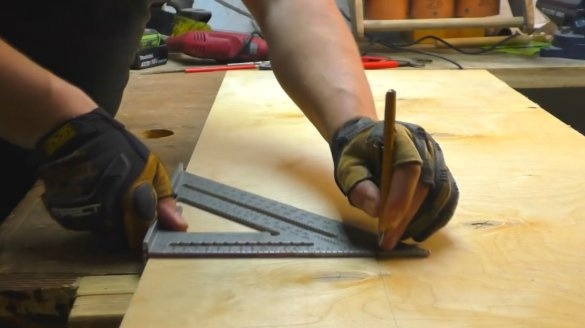
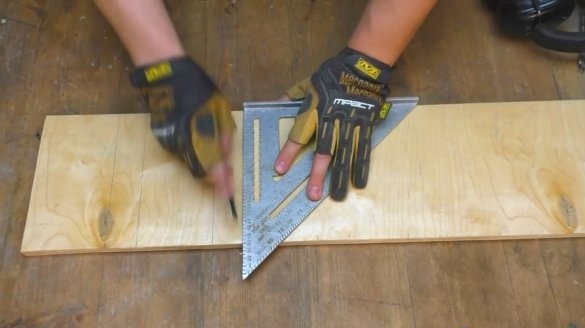
First of all, the master marks and cuts a strip from a sheet of plywood.
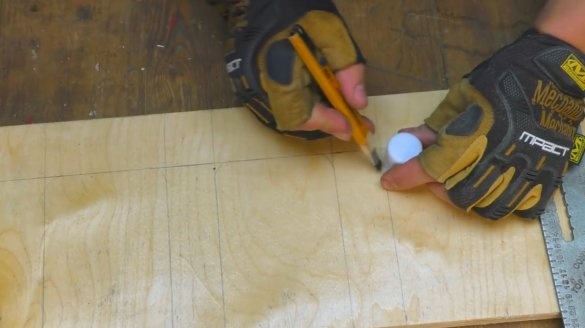
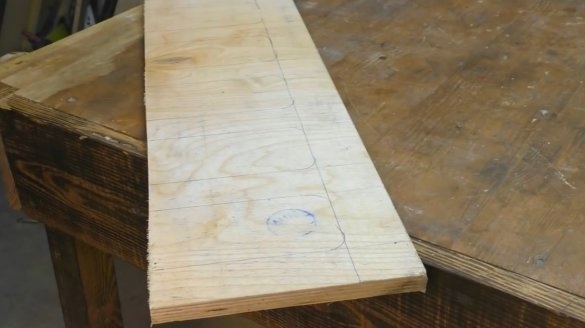
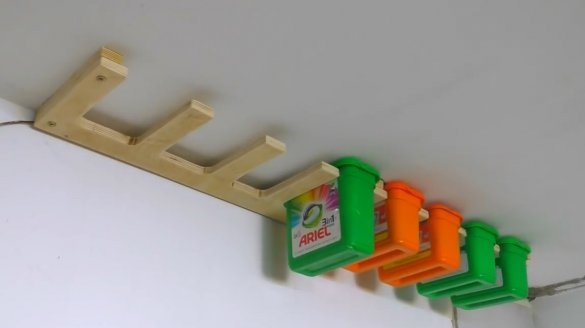
On the strip itself, a semblance of a comb is marked, the width of the sections of which is equal to the width of the containers from the washing powder.
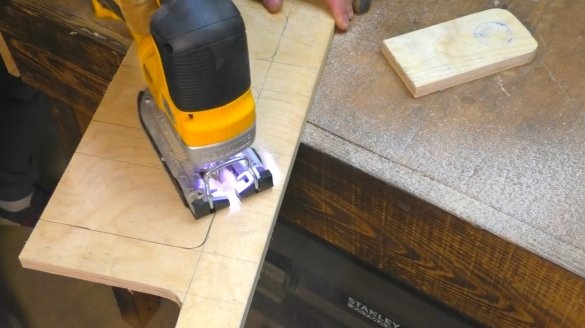
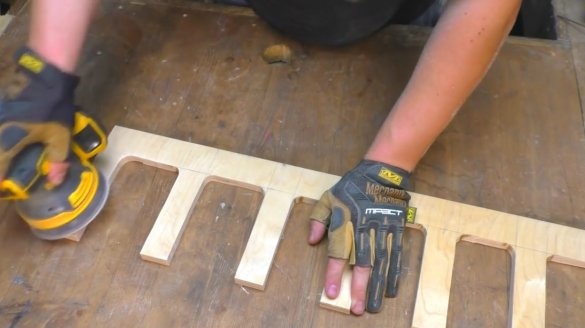
Unnecessary parts of the workpiece are cut with a jigsaw.
All surfaces are machined by an orbital sander.
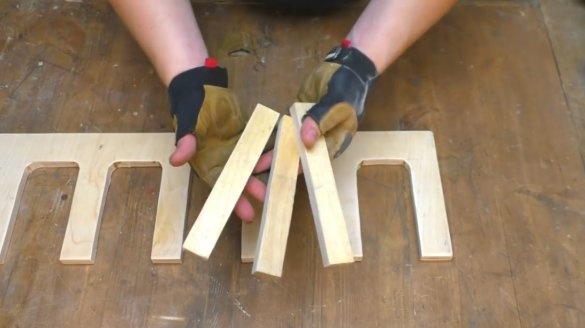
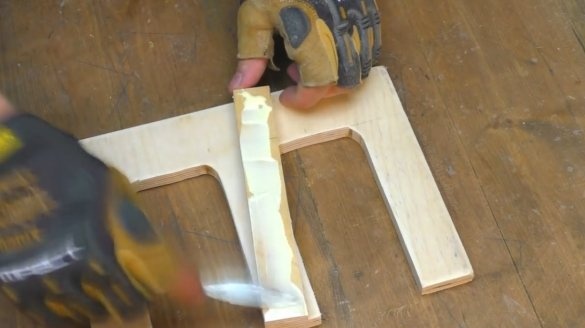
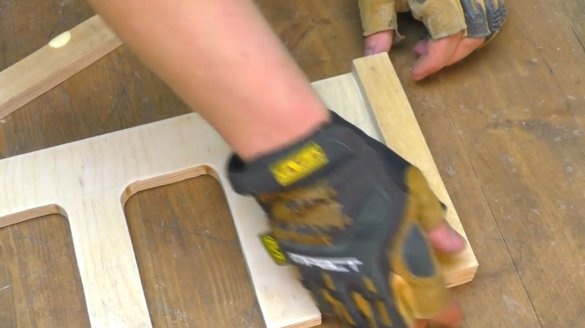
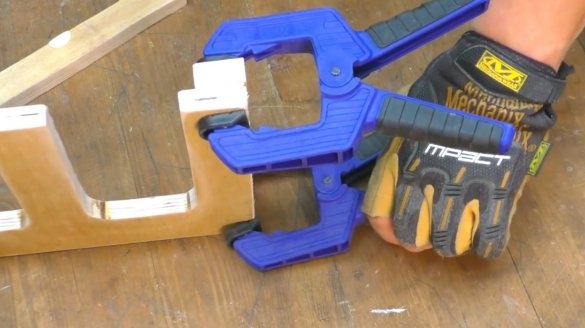
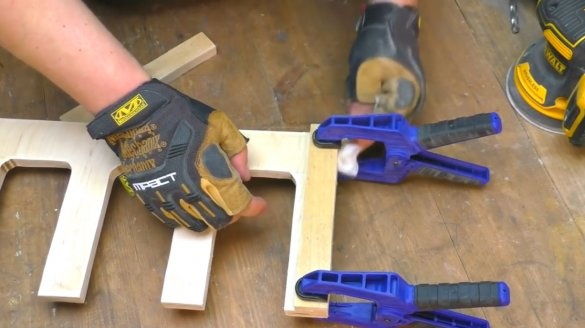
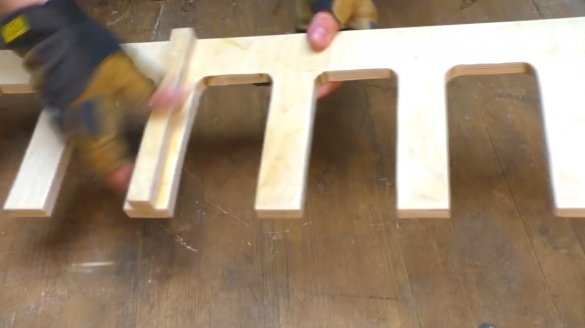
You will also need three of these bars. They need to be glued along the edges of the comb, and in its center. They will separate it from the surface of the ceiling.
The planks are pressed to the comb with clamps, the author immediately removes the excess glue with a piece of rags.
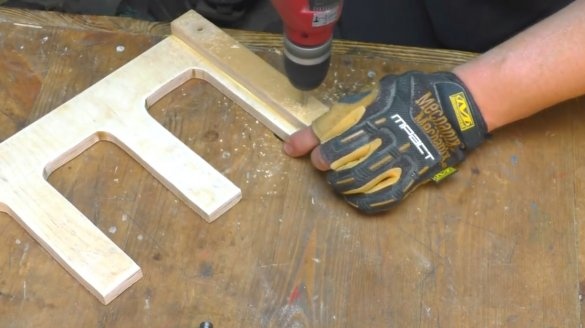
Further, holes for mounting screws are drilled in the slats.
Now in these boxes you can put various small parts, screws, screws.
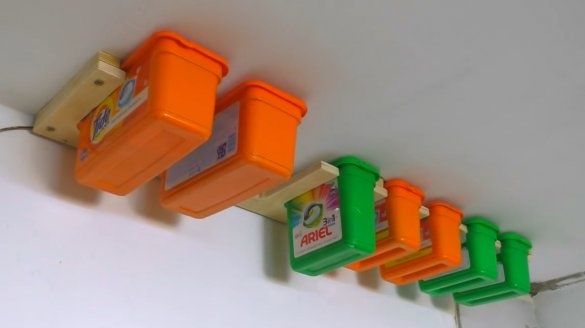
It remains only to screw the comb to the ceiling, and push the containers into place. You can also sign on to them, wherever it is. The author has a low ceiling, and it’s very convenient for him to use such an organizer. Of course, the comb itself can be pre-painted, but the author likes the appearance of the wood.
I thank the author for the simple but useful device for the workshop!
All good mood, good luck, and interesting ideas!
Author video can be found here.

