


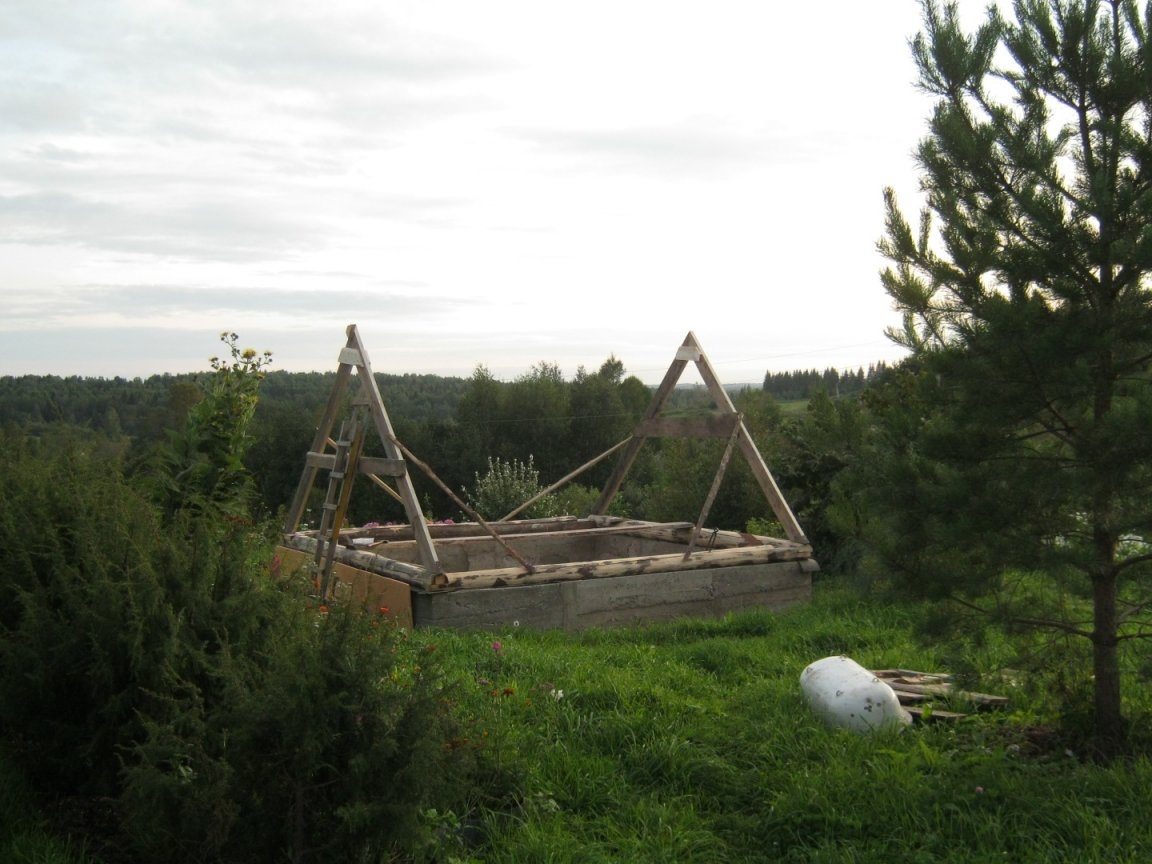
A street cellar near the house demanded shelter above it. The strong-willed effort adopted a simple gable roof of small height. In addition to preventing ingress of rainfall, an “attic” will appear - a convenient storage place, given the proximity of the garden - for example, garden tools and accessories.
The roof is slightly raised from the ground - a low foundation fence was cast on the concrete cover of the cellar, also leveling the inaccuracies and unevenness of the previous works. The size of the foundation is a little less than 4x4m.
What was needed for work. Tools, equipment, materials.
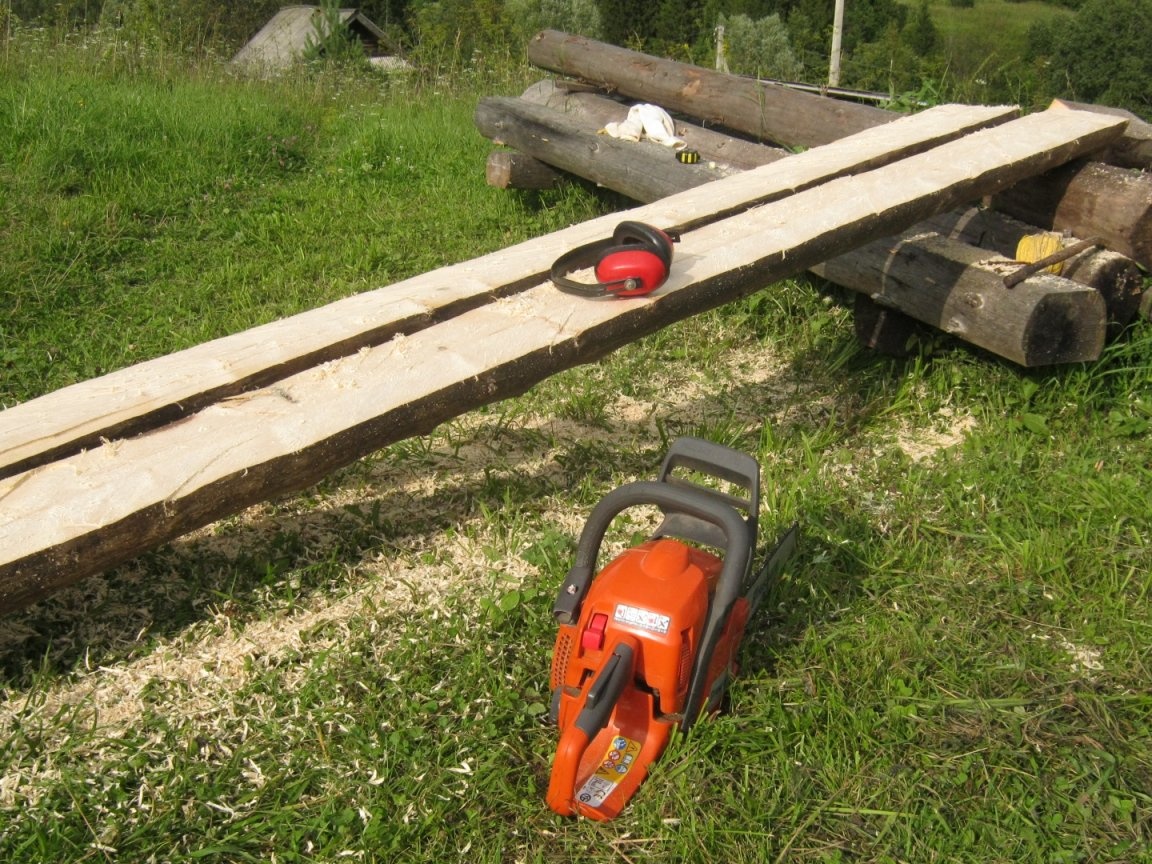
The available electric and gasoline tools came in handy - an electric and gasoline chain saw, a combined Mogilev machine (saw and planer), a small hand-held circular saw. Electric planer, screwdriver, small angle grinder. To this - a good extension cord, protective headphones or ear plugs, glasses. Reliable stairs. Set of carpentry and carpentry tools, marking tool.
The roof is wooden - it took boards, logs, poles. Metal strip (sheet), fasteners. Installation elements for doors - handle, hinges, etc. A bit of galvanized roofing steel for curtain rods. The roof itself is the required amount of roofing material.
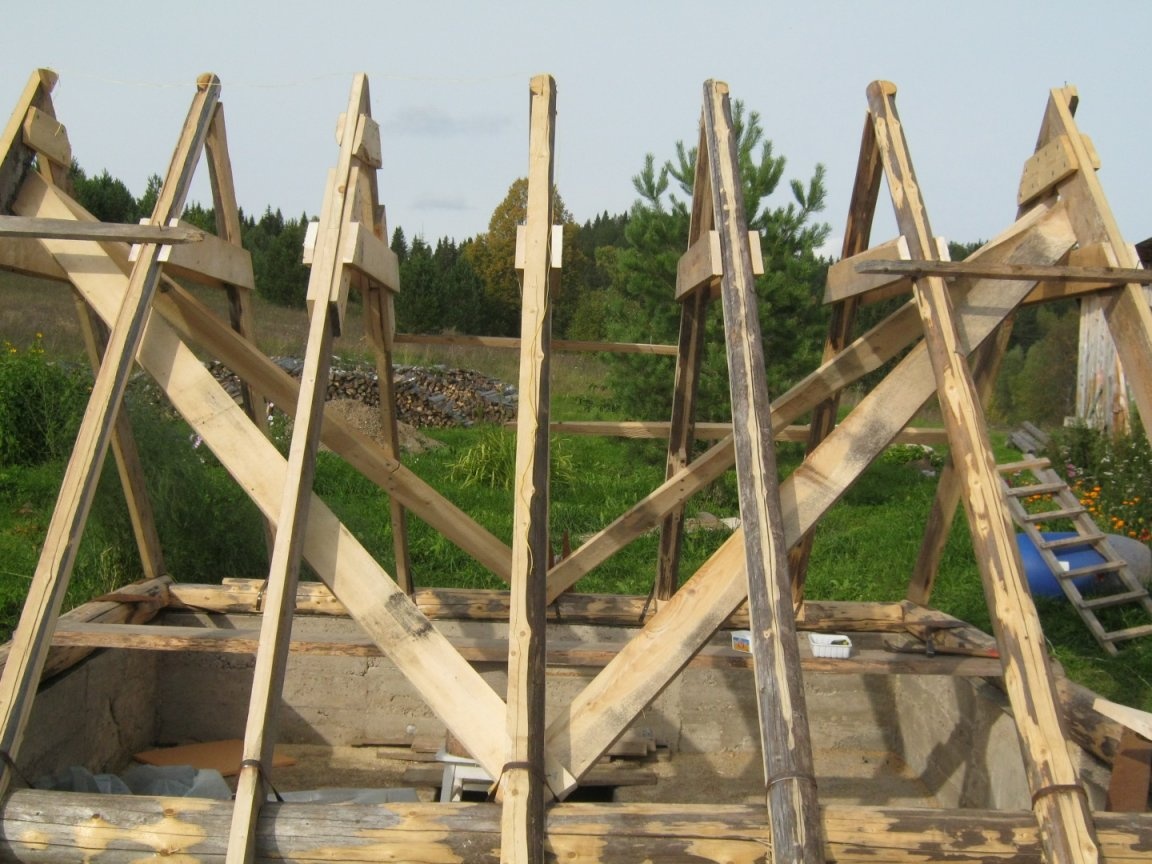
First of all, I picked up large pieces of wood - four supporting logs, pieces of wood for rafters. I got logs on occasion, from an old dismantled house, from there a certain amount of thick, 50 mm, boards of various degrees of preservation. From the existing one, I chose four logs equally, more kissed. The rafters set was assembled by different calibers - part of the boards left (unedged sawn and picked up good pieces), a few rafters made of thin logs-poles, a couple of loose logs along it. The rafters were lightly planed with an electric plane, in the right places he planed “flats”. This kind of wood at the local sawmills is called "half-bar".
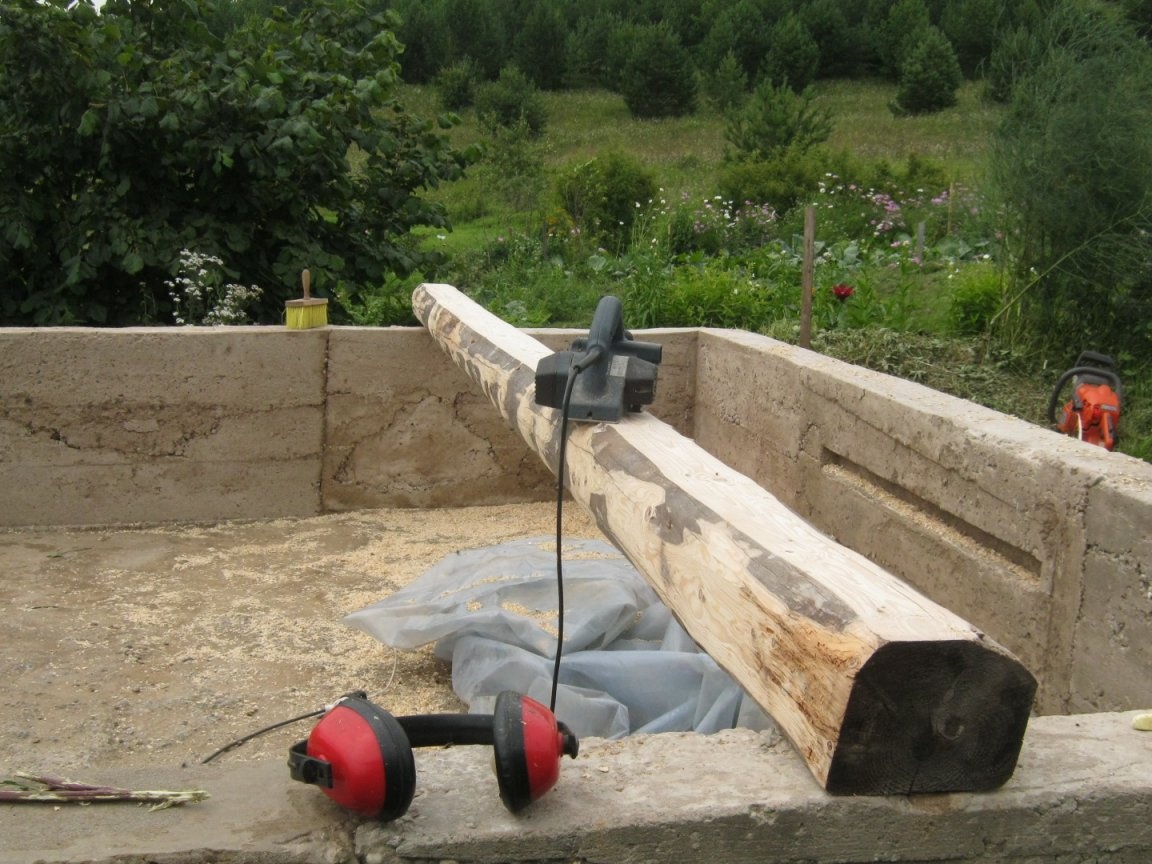
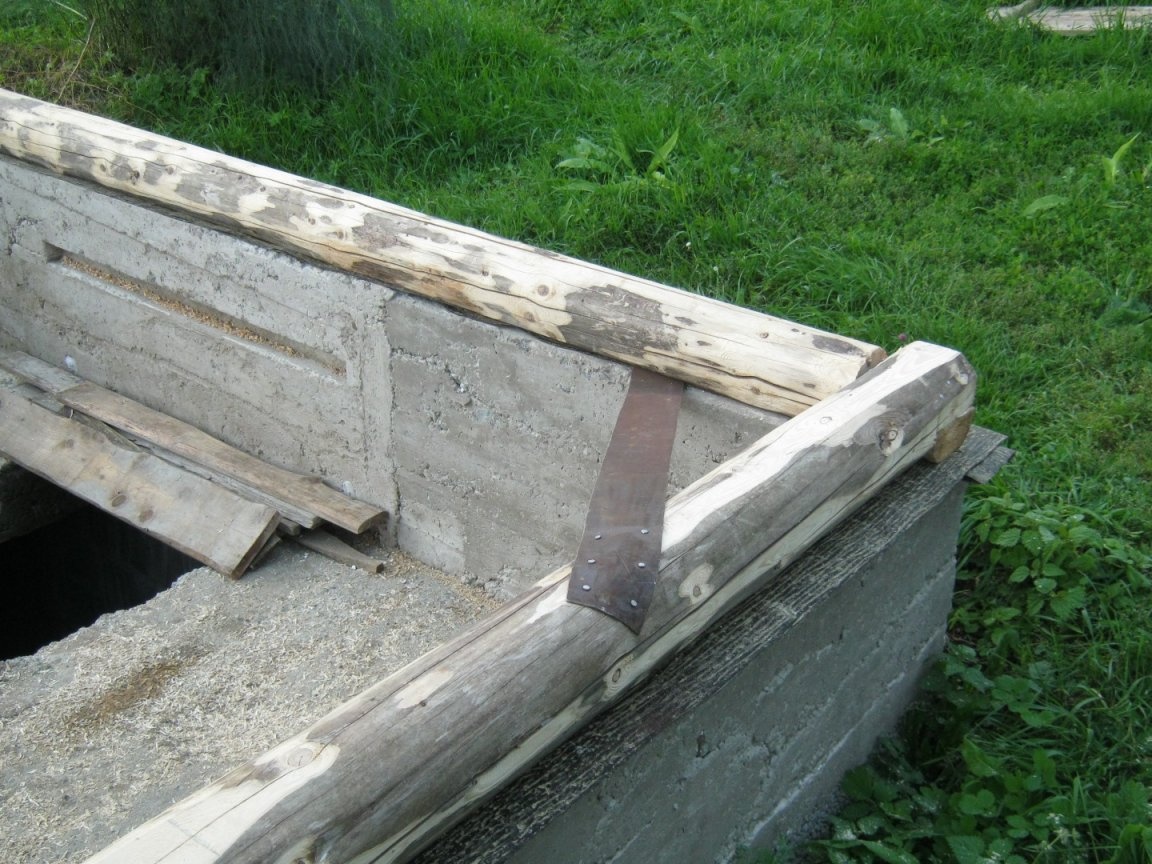
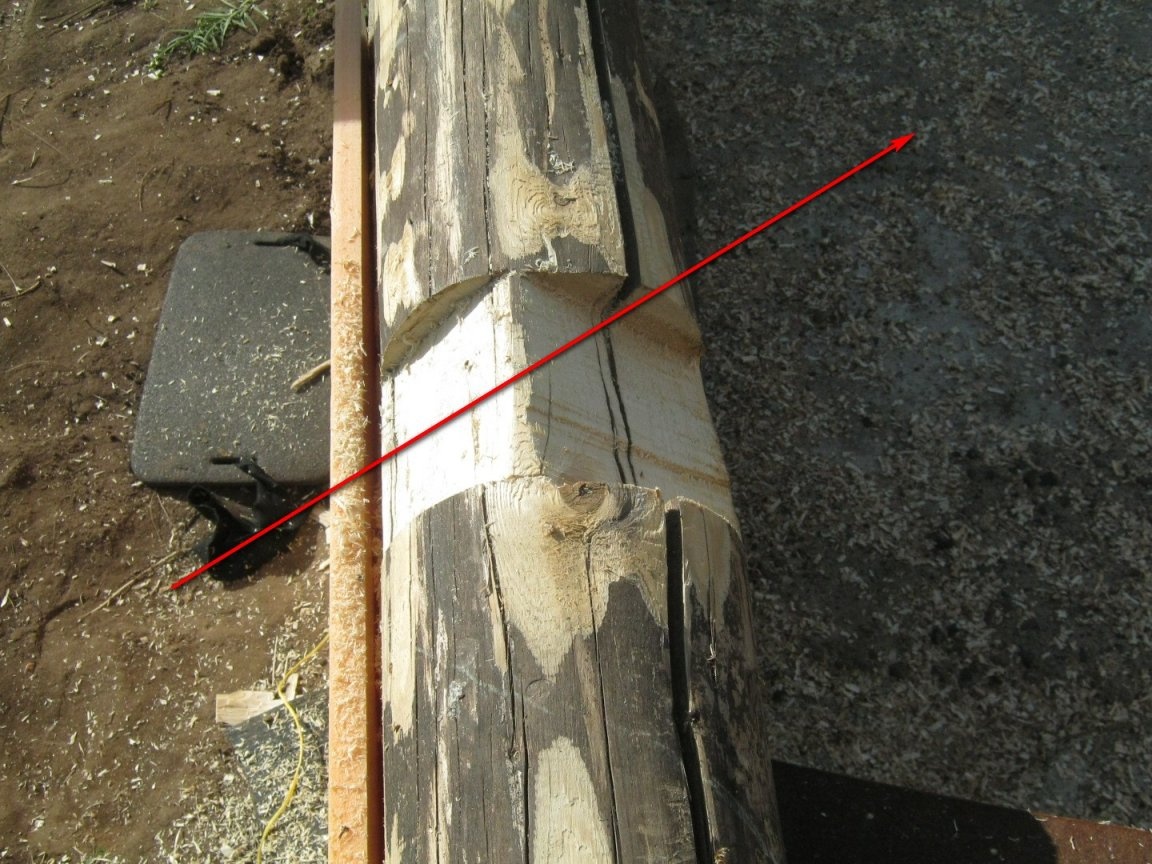
Of the four prepared logs, I assembled a supporting lower crown in place, connected the ends simplistically “to the floor of the tree”, fastening the logs with metal strips.
The rafters are installed without trusses, only on the supporting logs around the perimeter. The size of the roof is a little too big for such a decision, it is done at your own risk.Among other things, the roof is equipped with a light roof and there is no need to be afraid of snow load - many years of observation have shown that all the snow, except for a little in the recesses, is blown away by the wind.
Two pairs of rafters at the ends of the roof are made of flat boards. Their connection and installation was done in a simple "geometric" way - at the installation site, on logs and boards, axes were marked with small or pencil, rafter boards were applied, markings were transferred. With a fairly accurate performance of previous work - the right angles of the foundation (walls) and the use of roof beams with rafters from the boards, the method allows you to get a remarkably flat roof. It’s quite convenient to work even for one.
Between the temporarily fixed end rafters I tightly pulled three strings - between the tops and the edges below. If you have an assistant, you can do without it - install the following rafters "in alignment" with those standing.
My next rafters were much less convenient than boards - smooth long pieces of wood of irregular shape in cross section. These were a few poles and half logs. Their desired surfaces were planed with a planer. He acted like this - on the lower supporting log with a chain saw, outside, sawing out a groove oriented to the upper rope. Perpendicularly he sawed out the second groove from the inside.
I pulled the lower rope between the edges of the rafters protruding beyond the dimensions below, and measured the depth of the groove. He marked the rafters with a pencil, sawed the return groove on it with a chain saw, installed the rafters, marked the upper end along the upper cord (the length of the rafter was taken with some margin).
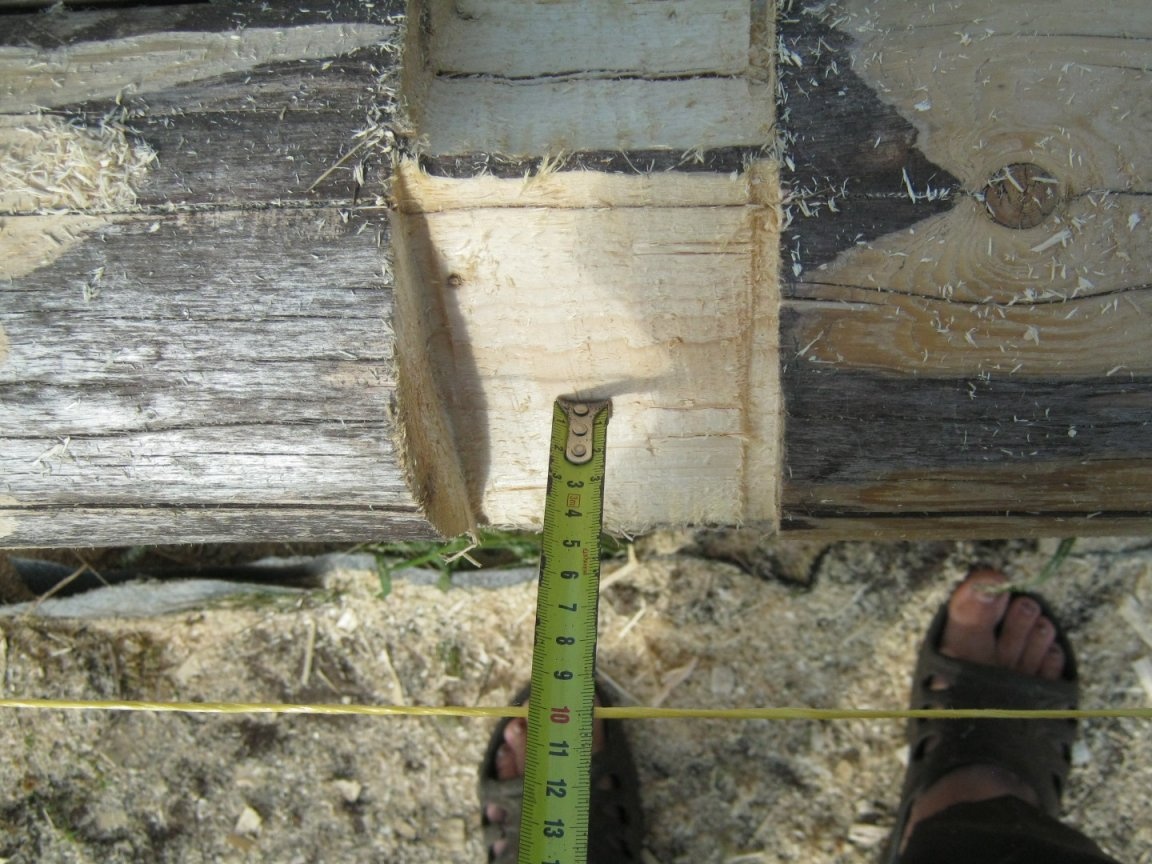
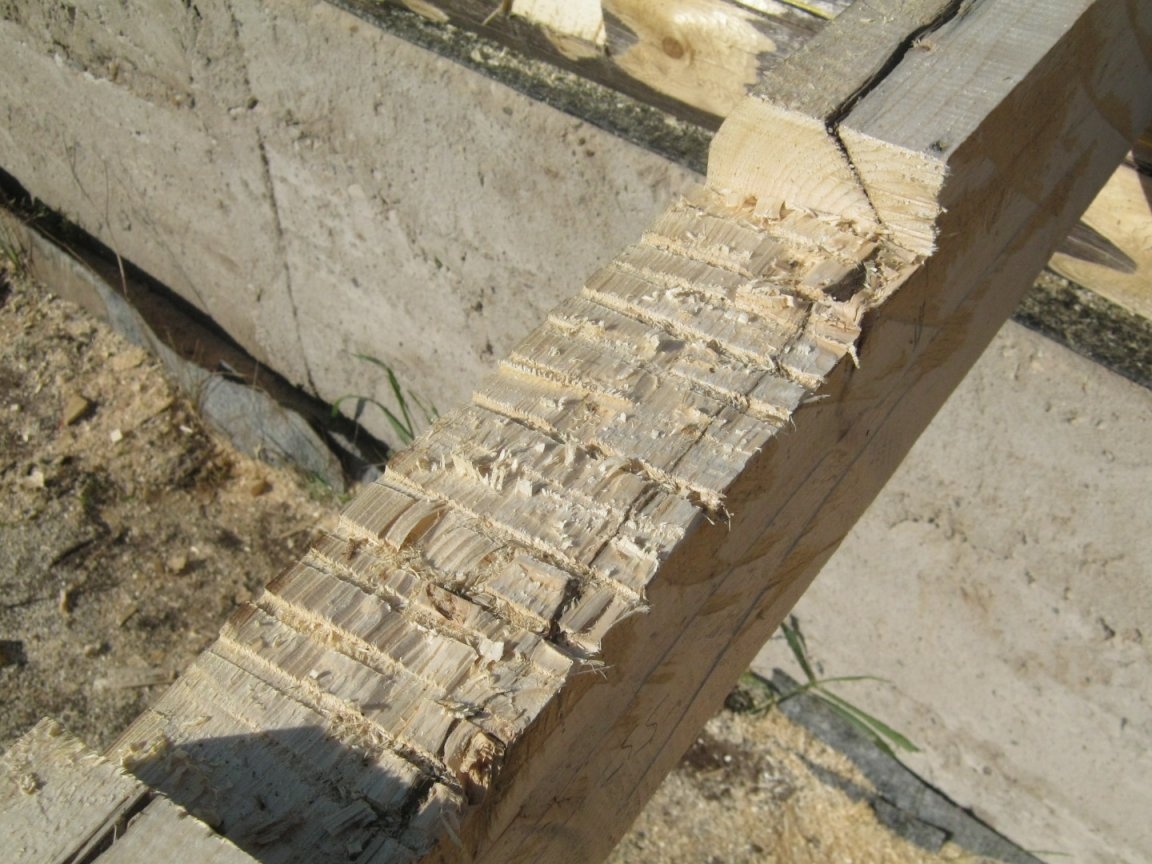
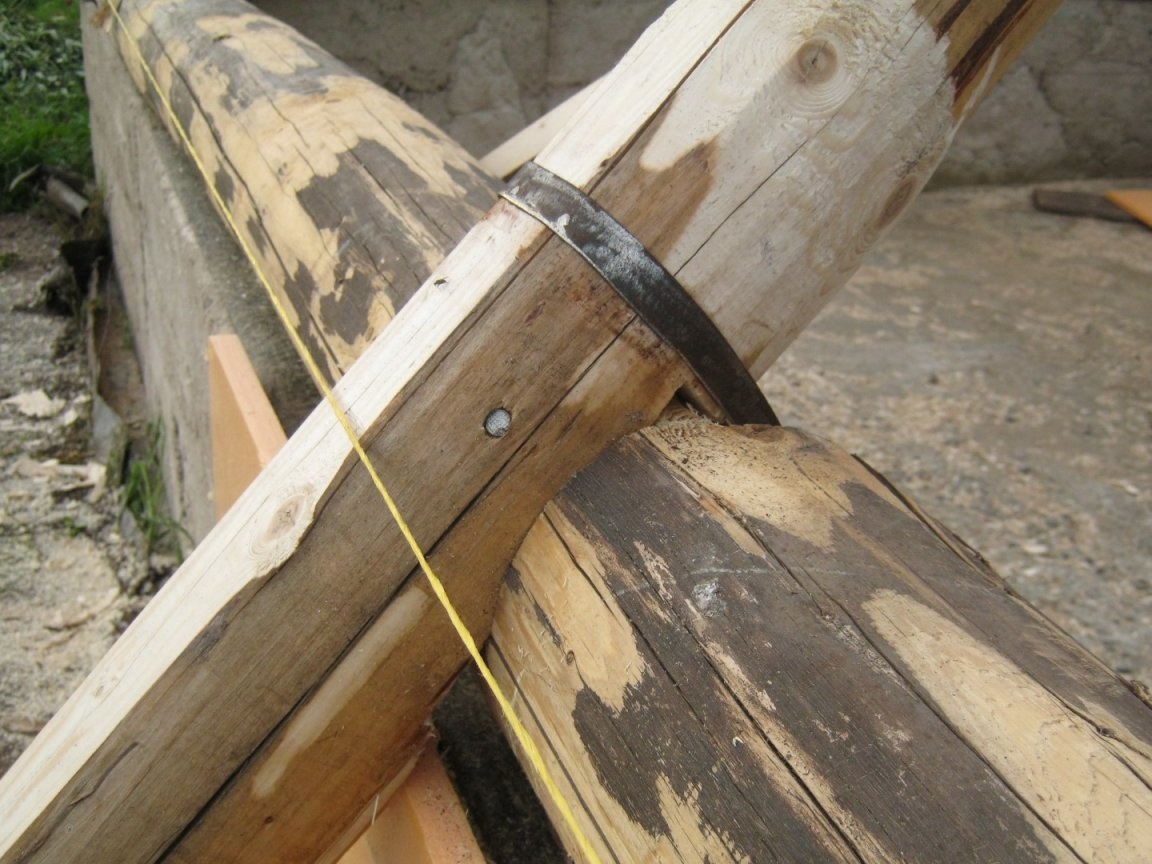
After sawing out the second rafter, at their upper ends he made a connection “to the floor of the tree”, installed in place, fixed with temporary braces. The rafters were nailed to the supporting log with several large nails and secured with a metal strip. The lower edges of the rafters were aligned later, after nailing the crates.
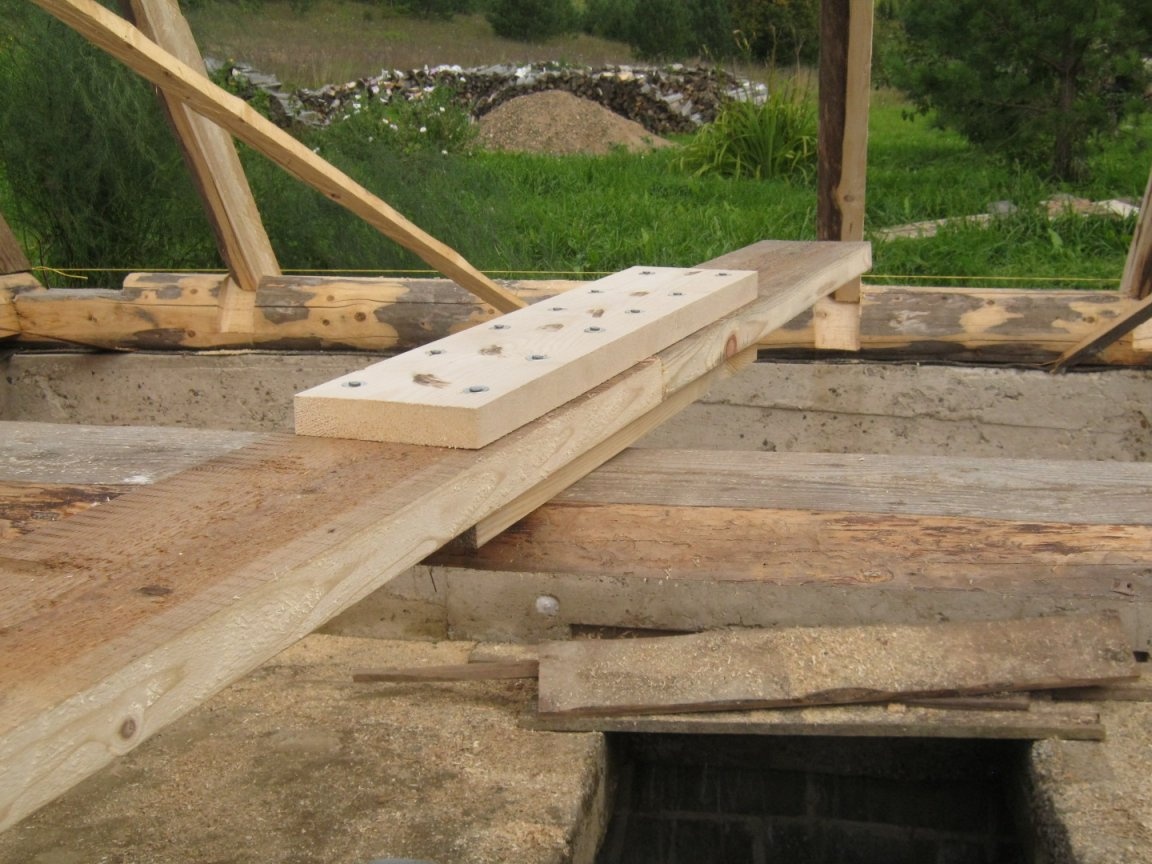
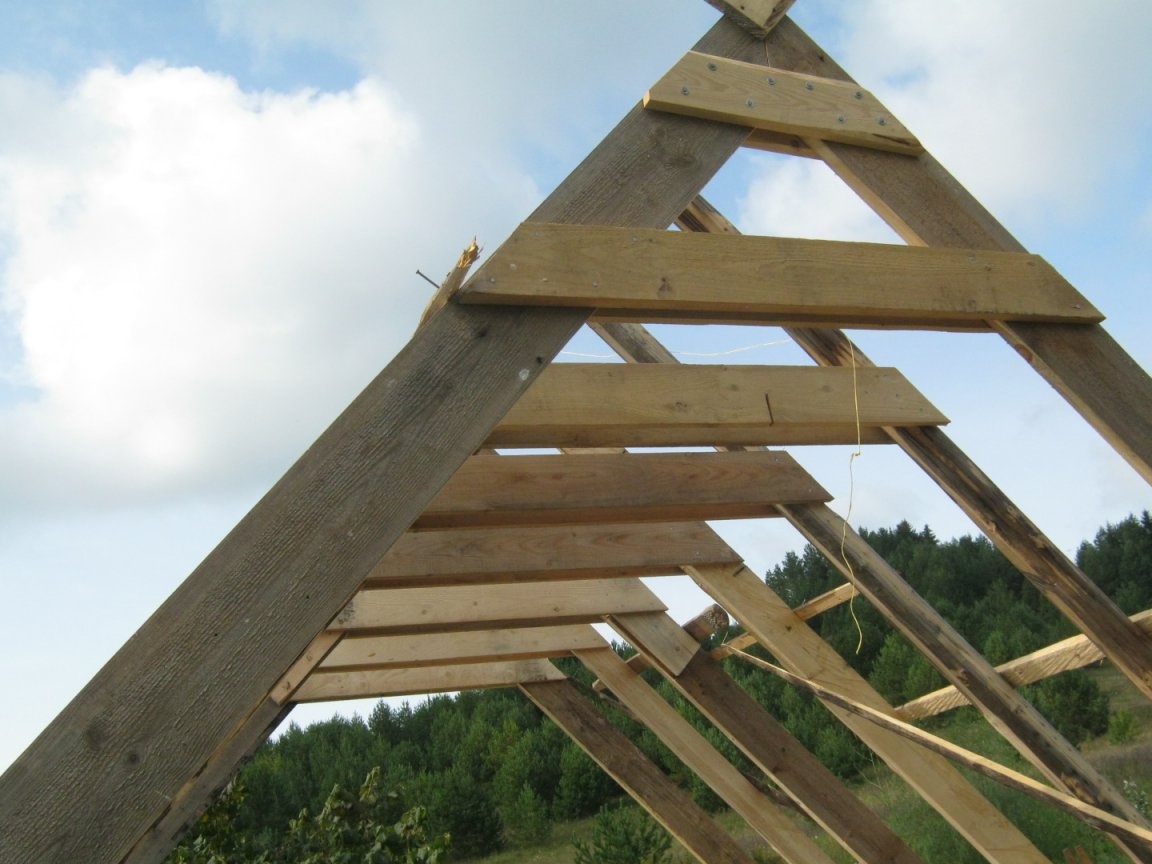
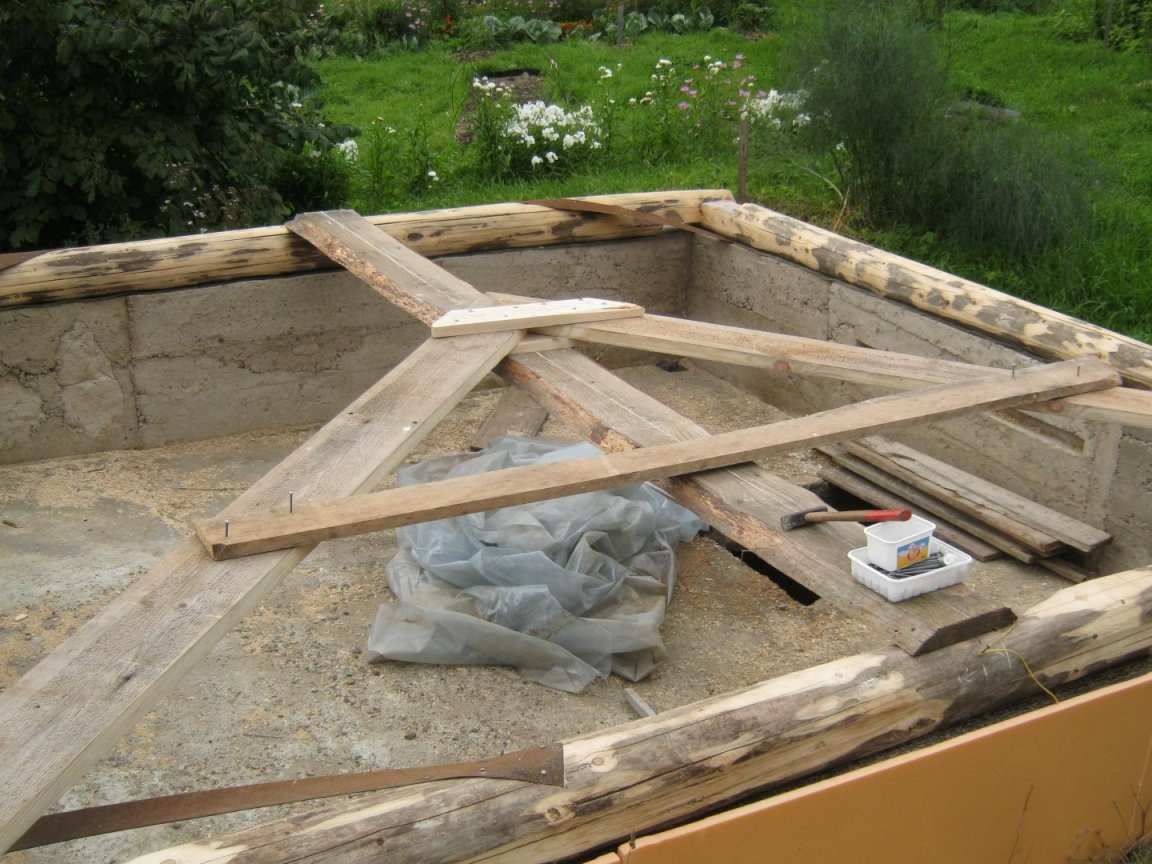
For each pair of rafters, two horizontal overlays were nailed - 30 mm puffs from the board. Puffs for their effective work, it would be better to set slightly lower, but then it will be difficult to walk under them. I also nailed two pairs of braces to counter the wind in the gables. The design turned out to be very rigid.
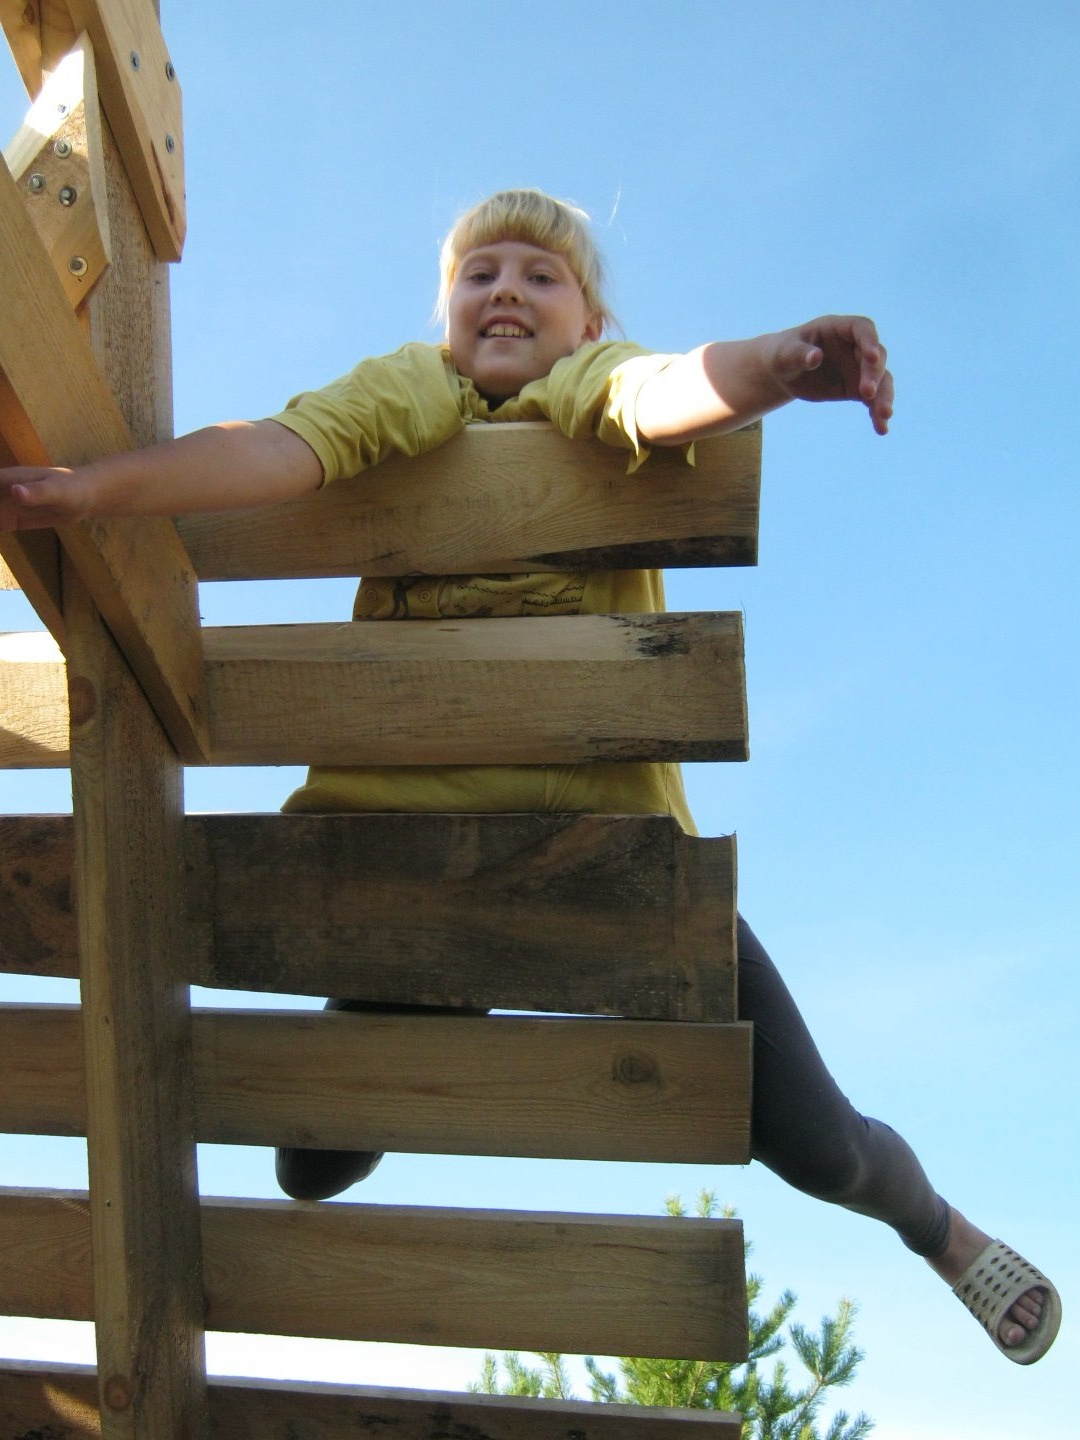
For the crate, new 6 m thick boards were stocked, alternating them with short boards remaining from the disassembled formwork for concrete work (foundation fence). The "battered" roof became the object of close attention of the daughter - and what a beautiful Swedish wall!
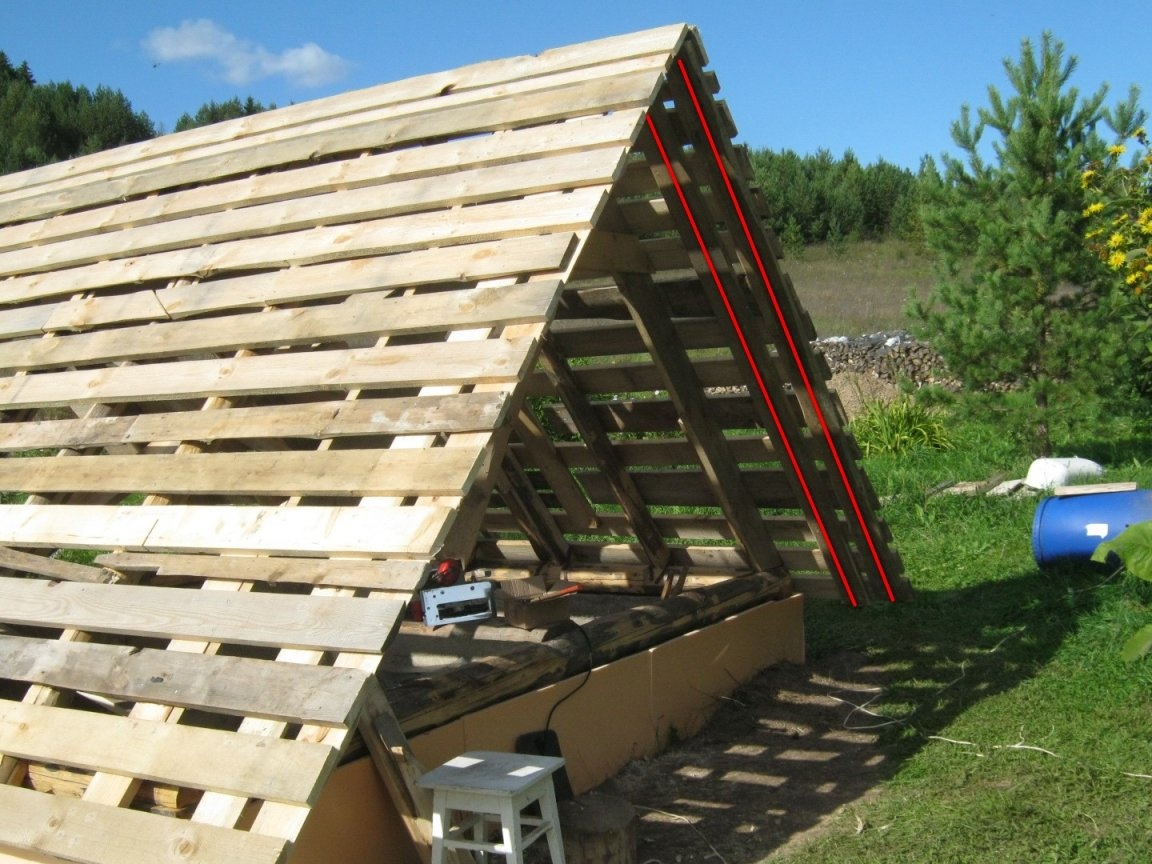
On each wing of the roof ledges, two long boards are pinned behind the pediment from the inside, they fasten the long flexible hanging ends to a rigid plane.
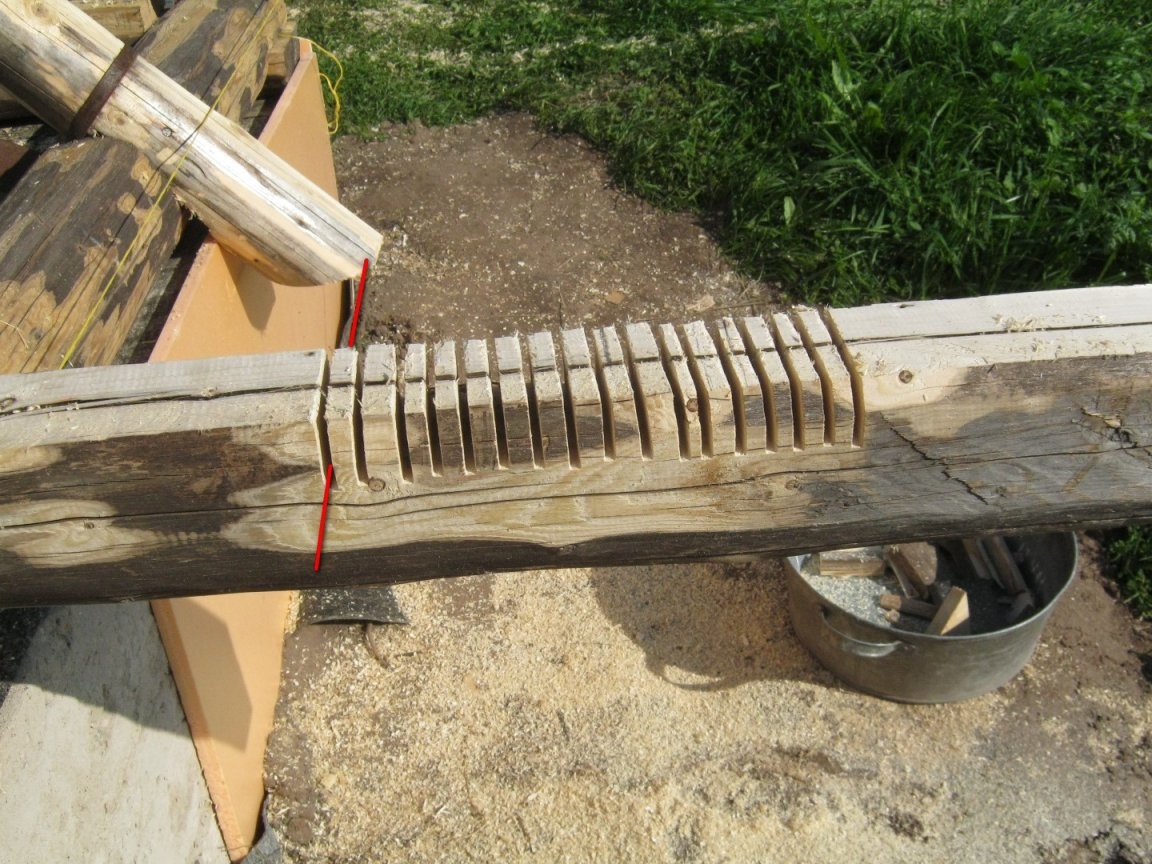
The roof is made of roofing material. As expected - two layers, fix on top with slats. They certainly should be stockpiled in advance - roofing, especially during choppy weather, has to be done as quickly as possible. He counted the required number of slats, sawed pieces of boards of a size convenient for roofing. Planked and dismissed on a circular saw.
For roofing, relatives were periodically involved - file, hold. A ruberoid roll was rolled out along the batten planks along the sheet path and was aligned and slightly fixed to the upper edge with brackets from a furniture-construction stapler. At the end, the sheet was cut and over the pinned, the second layer was rolled. He started, of course, from below. He fixed two tapes with an overlap on a live thread with slats and repeated operations from the second side.
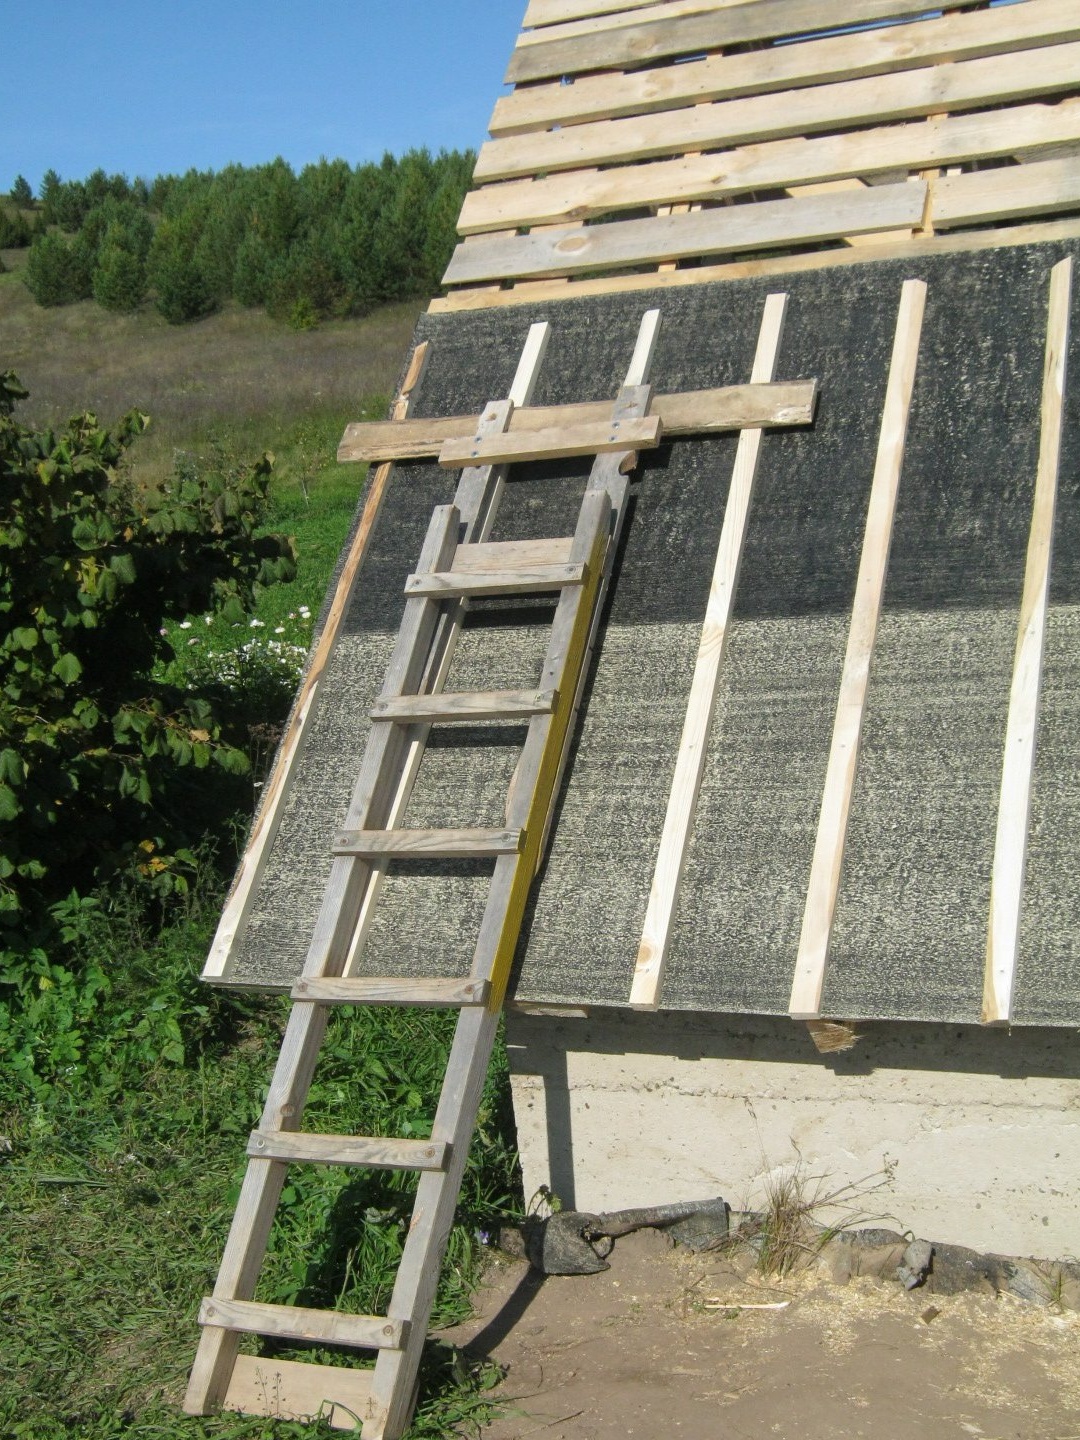
For the subsequent "high-altitude" work, he supplied a pair of small stairs with a horizontal crossbar so that the staircase did not rest on the roofing material, only on wooden pieces.
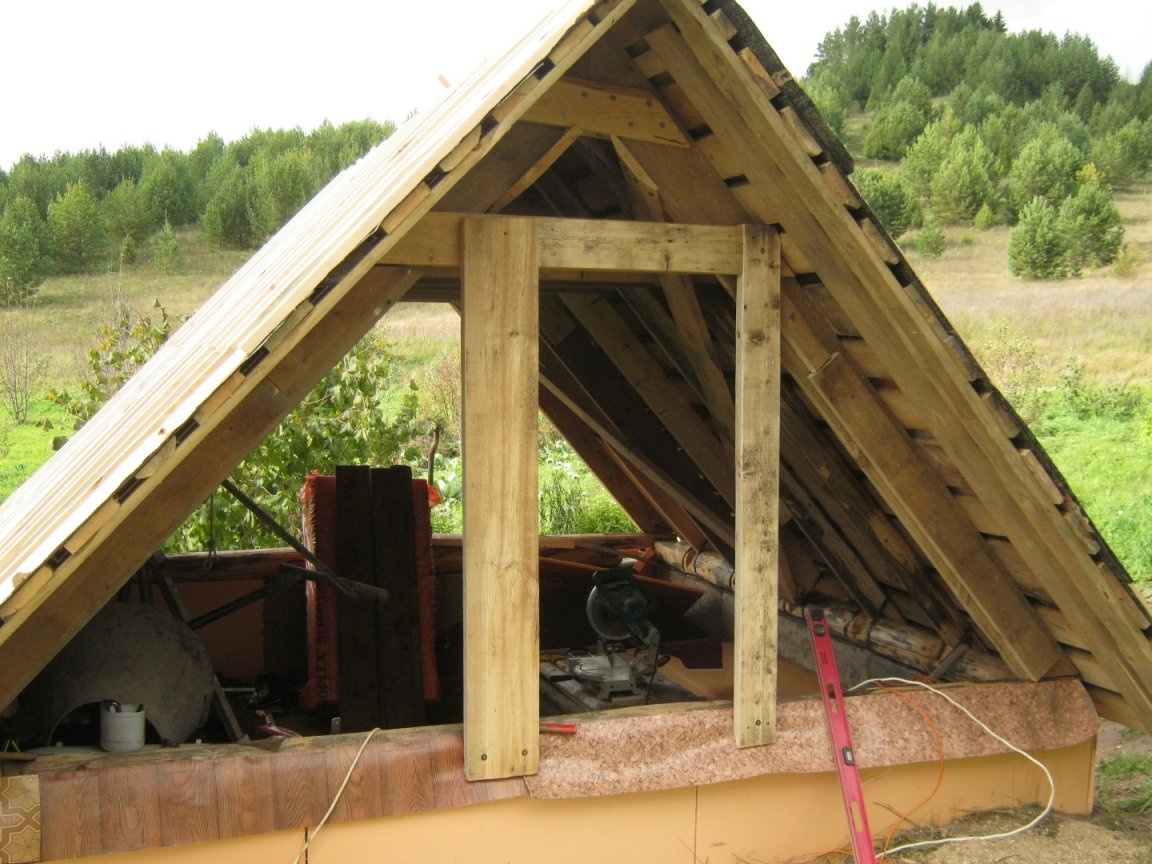
On the front side, from thick planed boards, I nailed the base-jamb for the front door and began to close up the pediments.I cut off several pieces of a non-thick board of the required length, planed them, marked out the upper end (bevel), sawed it off. After fitting, I cut the straight bottom to size and pinned into place. The process is meditative and not too fast. Under the lower edge of the casing, I put a small cornice so that oblique rain does not drain onto concrete. At the back, the tin curtain rod, as it should be according to the charter, on the front side, made it soft - from pieces of linoleum so as not to scratch.
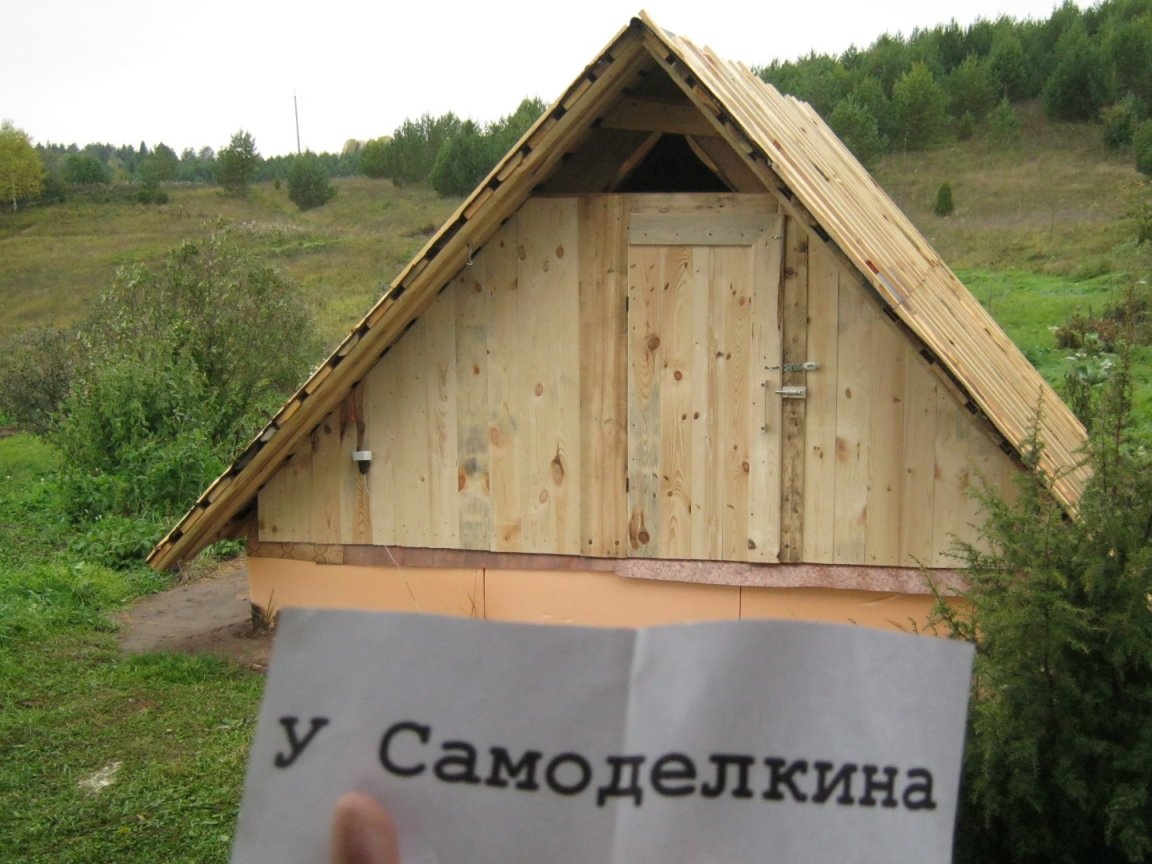
Gathered and hung the door. Equipped it with a handle, a latch, a loop for a padlock. Upper unstitched triangles for ventilation, rain does not get there. For the winter they are conveniently stuffed with pillows stuffed with syntapon, from old hives. It is possible that when the earth backfill (inside) of the cellar lid (insulation) is completely dry, these openings will be closed similarly, with boards or glass.
Babay Mazay, October, 2019