
The master begins the description of the manufacture of the globe with the following words: "Hello to you all round and flat earthlings! Whoever you are, I do not care, so do not judge too harshly, but I made my next project round."
As we see with a sense of humor, the master is all right, however, as with skill. Perhaps following his homemade he will do for those who believe that the Earth is flat-)))
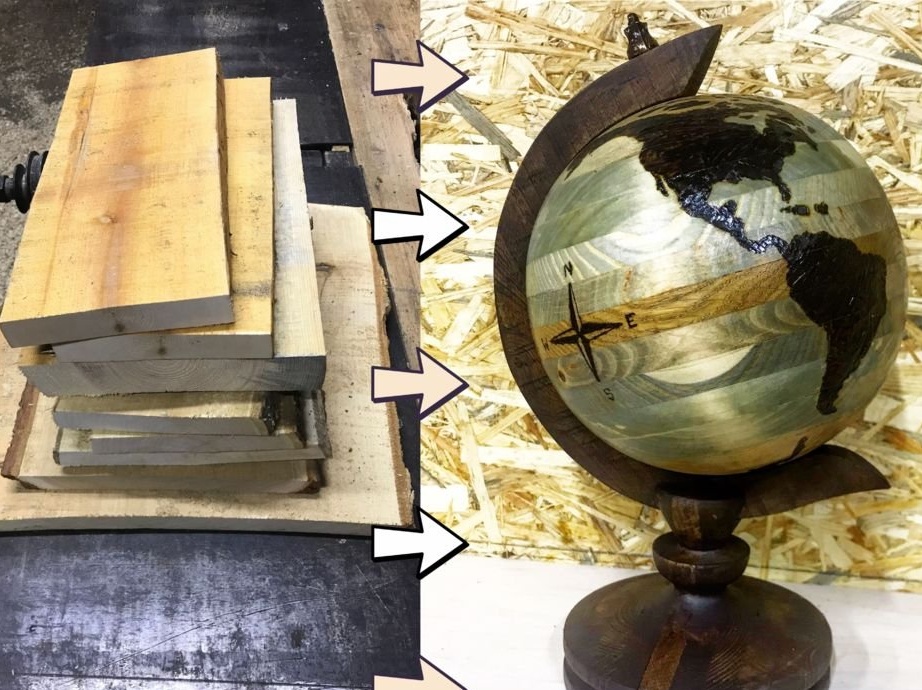
Now let's look at how he made his wooden globe.
Tools and materials:
- Boards of various species of wood;
-Roulette;
-A circular saw;
-Jointer;
- Joiner's glue;
- Clamps;
-Rule;
-Pencil;
-Lathe;
-Sandpaper;
-Hacksaw;
-A printer;
-Scissors;
- Burnout;
-Drill;
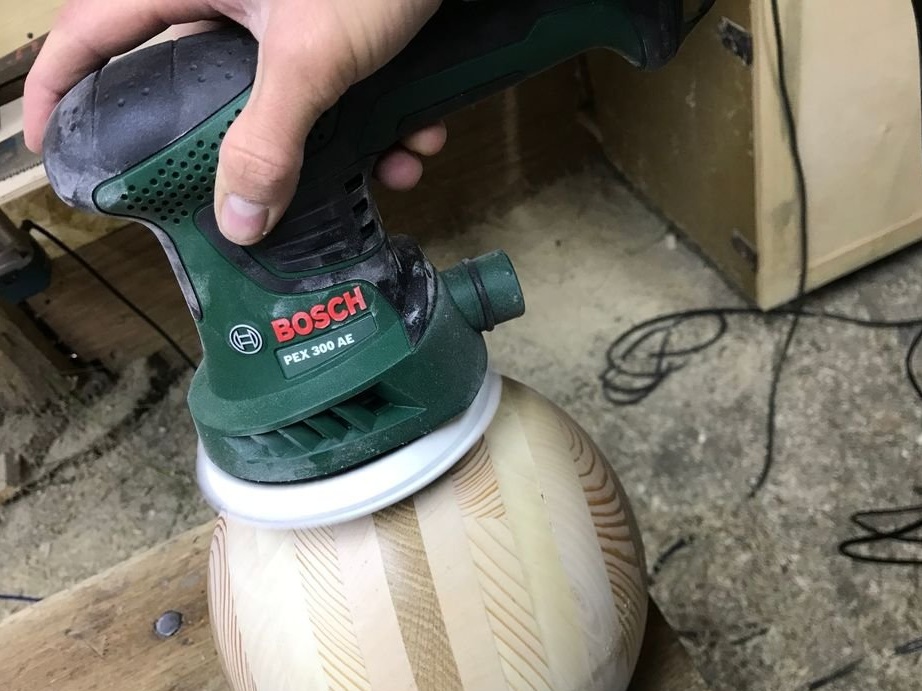
-Grinder;
- Metal rod with thread;
-Decorative nut;
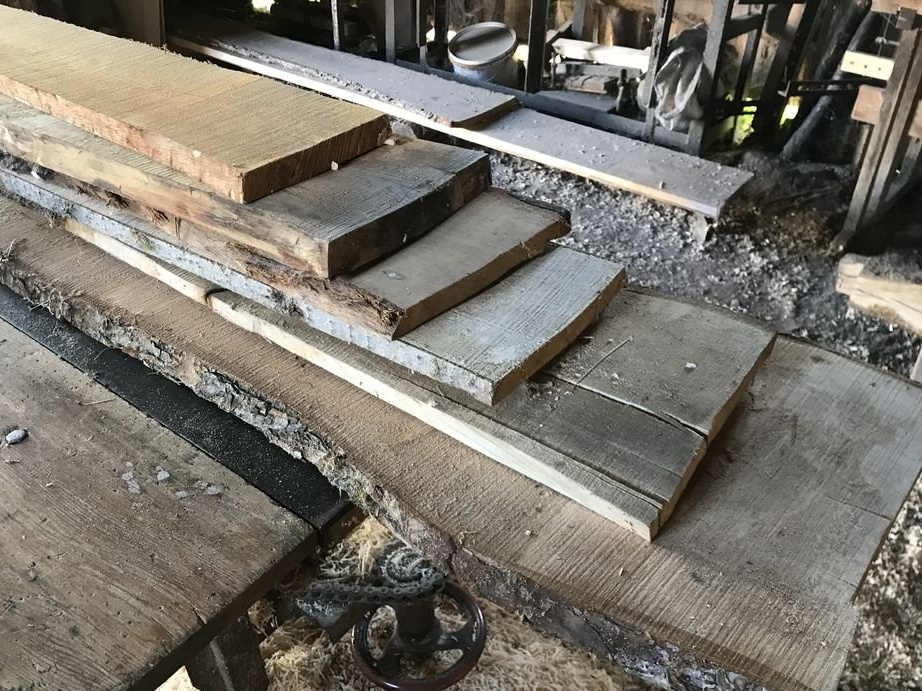
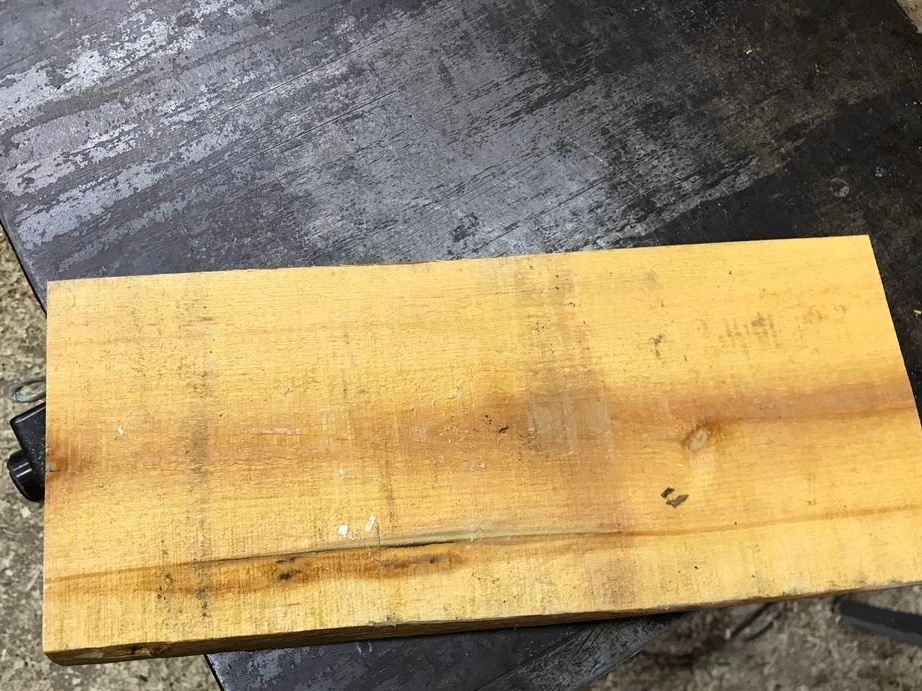
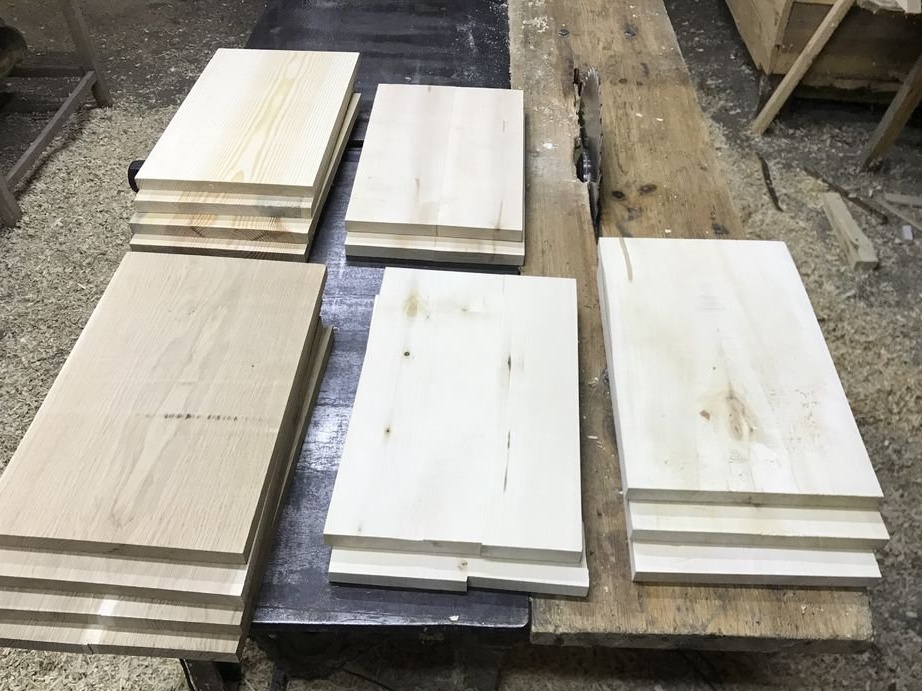
Step One: Material Selection
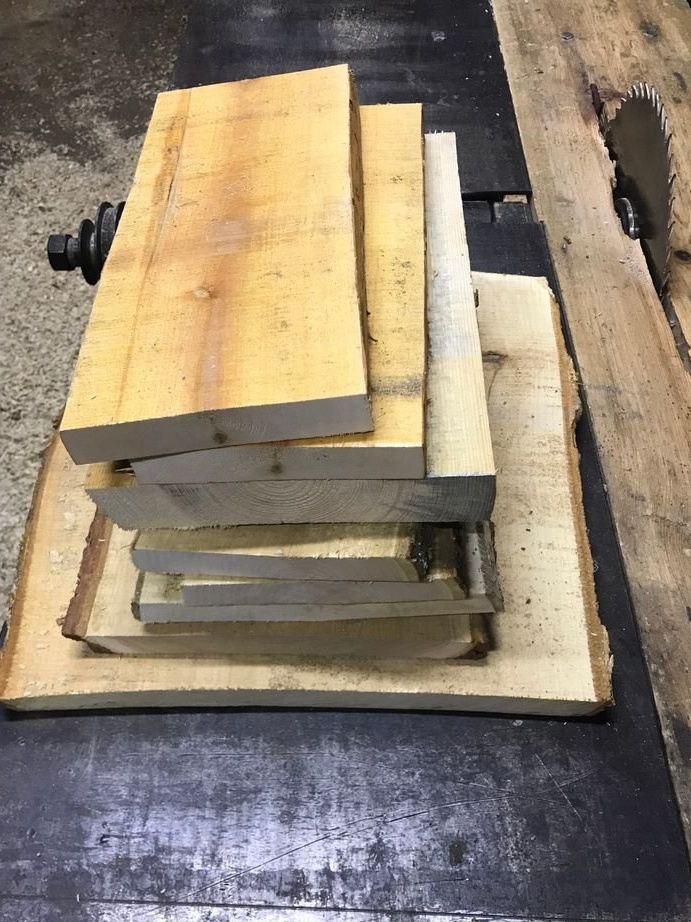
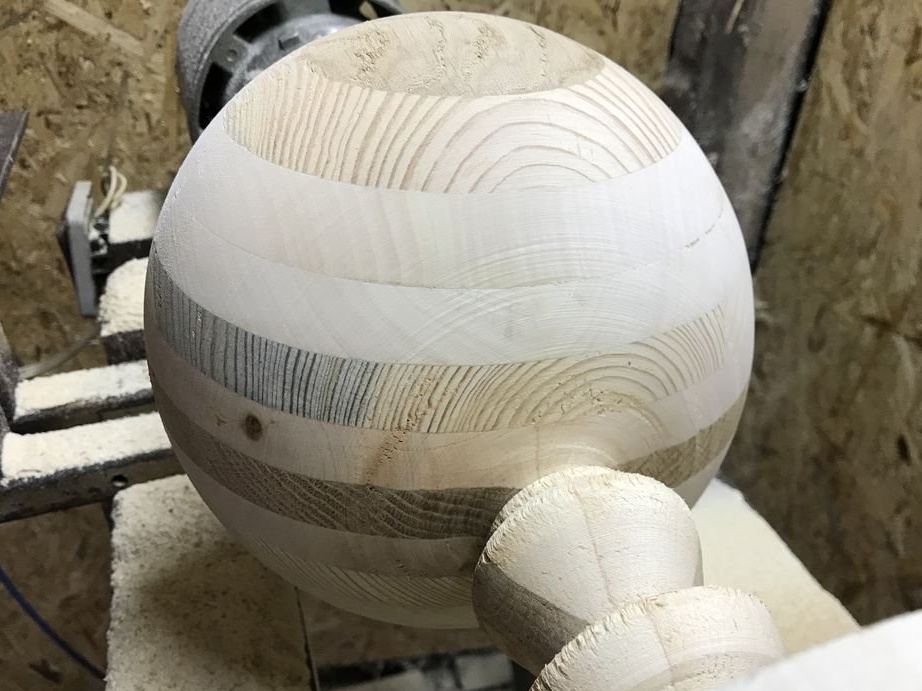
For the manufacture of the globe, the master used boards of various species of wood, namely: alder, pine, oak, aspen, linden and elm.
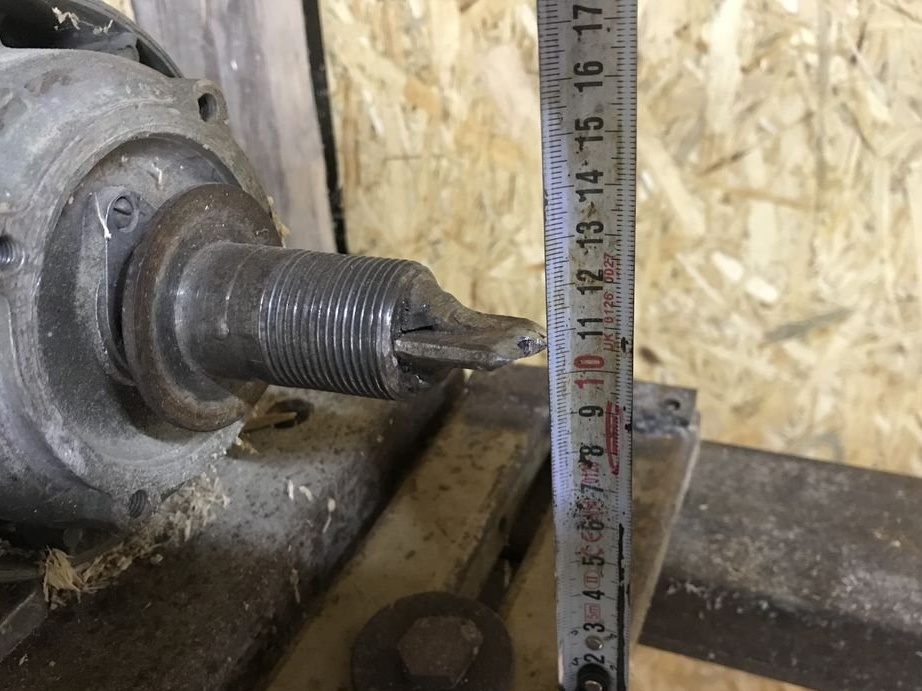
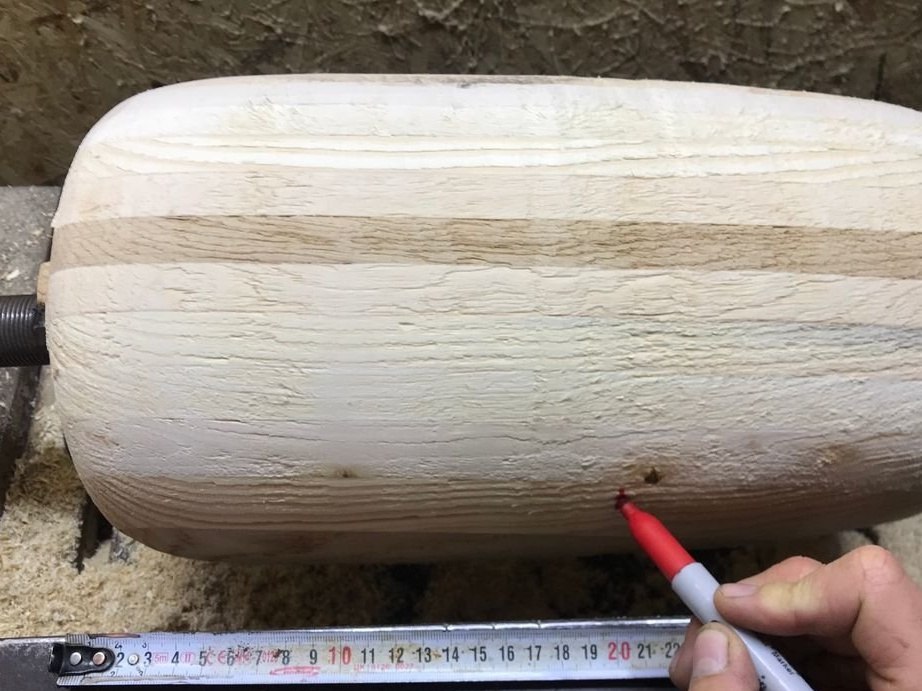
Next you need to choose what size the globe will be. This size is limited by the parameters of the lathe. In this case, the maximum diameter of the workpiece can be no more than 21 cm, and the length is not more than 37 cm.

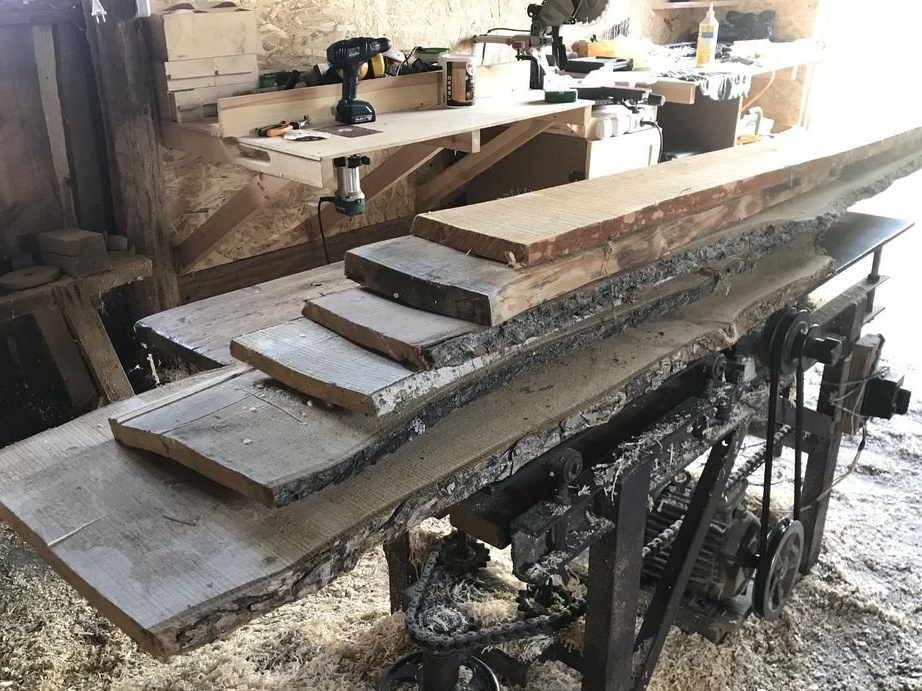
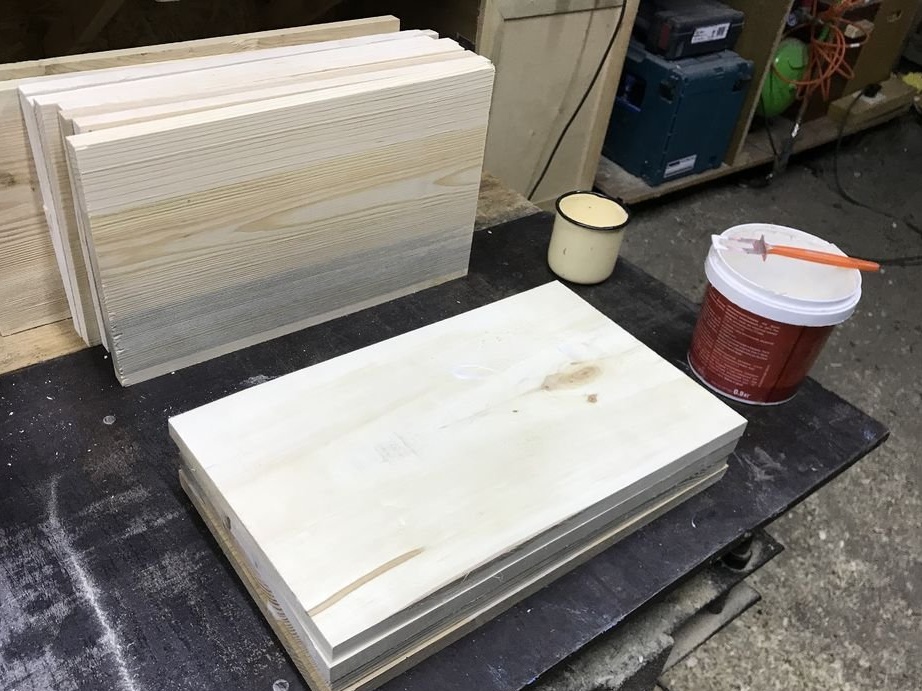
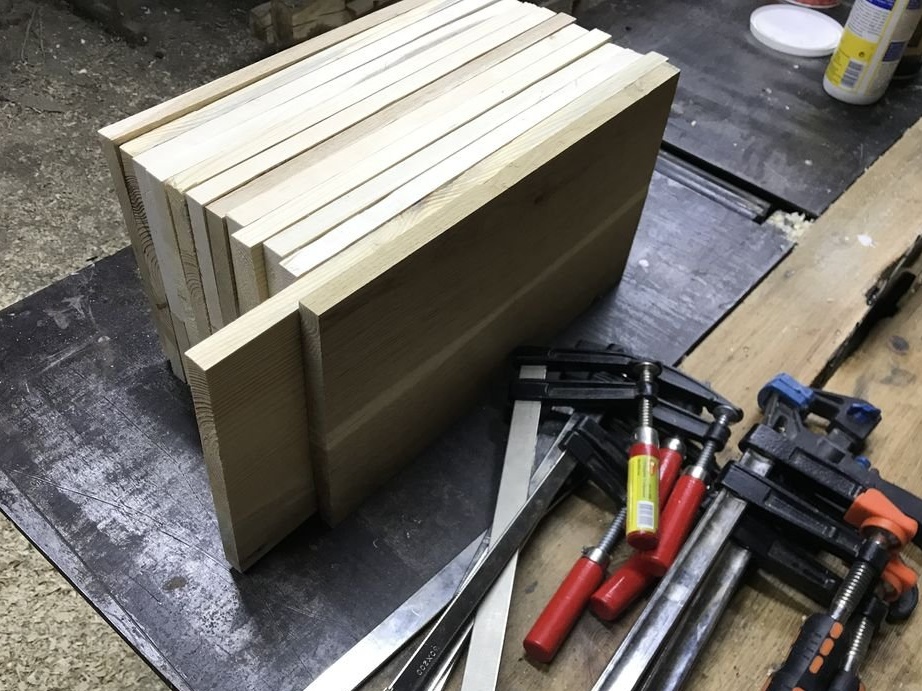
Step Two: Material Preparation
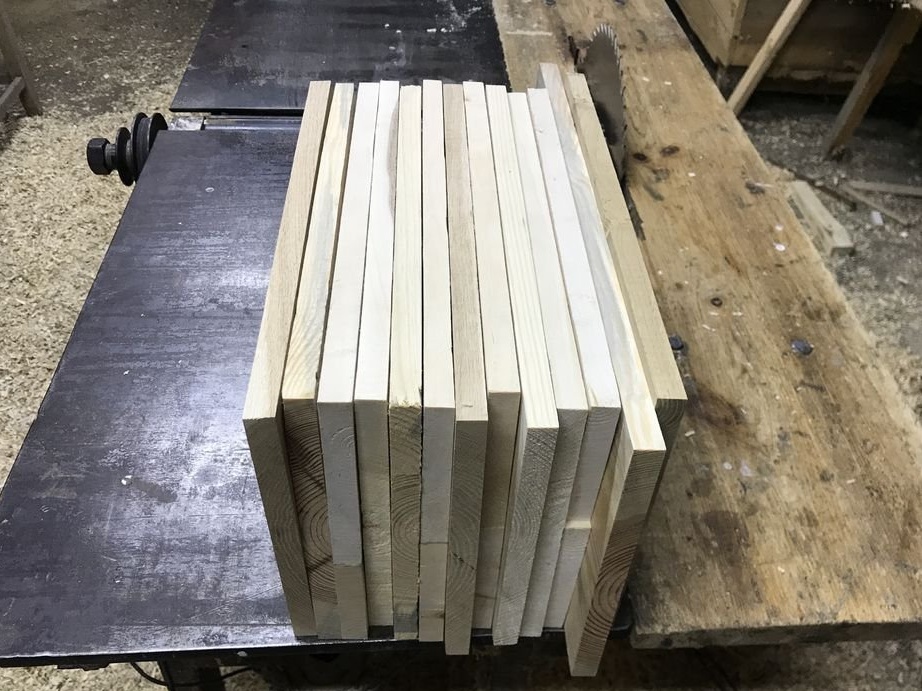
Given the size of the above master cuts the boards. A total of 13 blanks are needed.

Rounds off the board. When planing, the master tried to leave the width of the boards about 21.5 cm, and a thickness of 1.6 cm.

If the width of the boards is less than 21.5 cm, you can glue them.
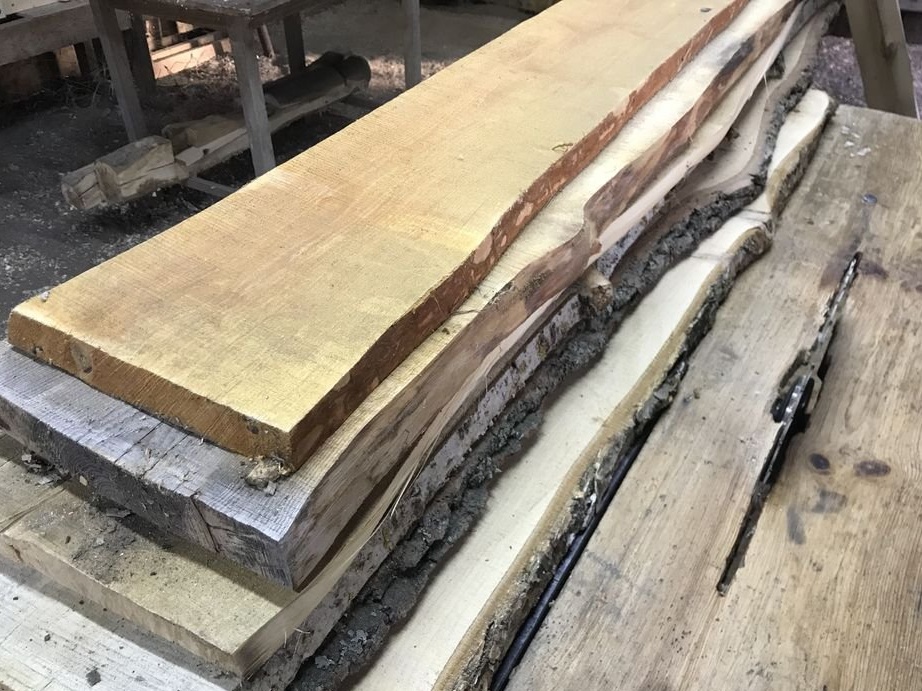
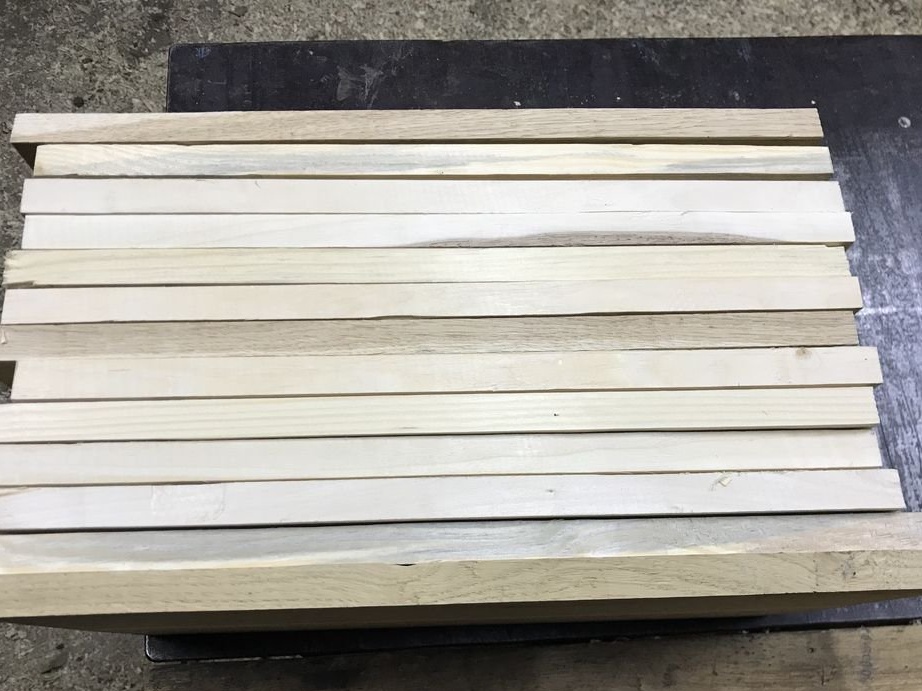
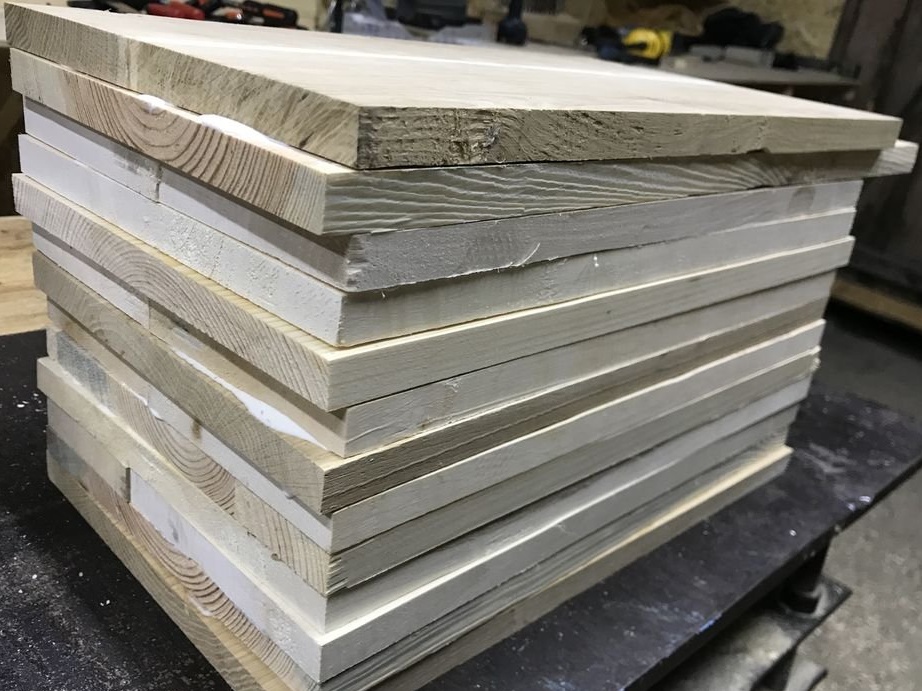
Next, the master lays boards on the species of wood.
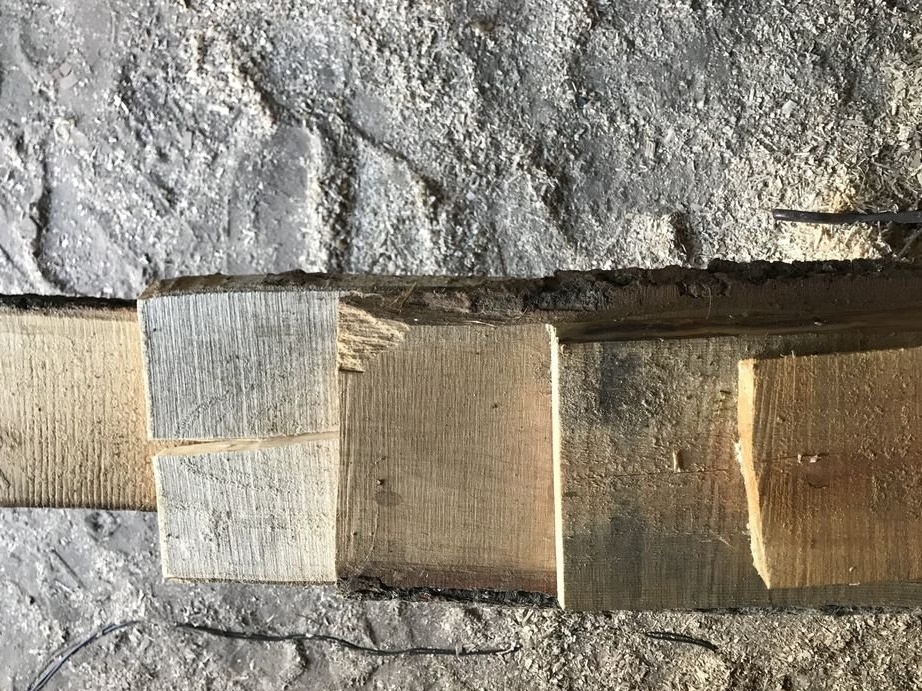
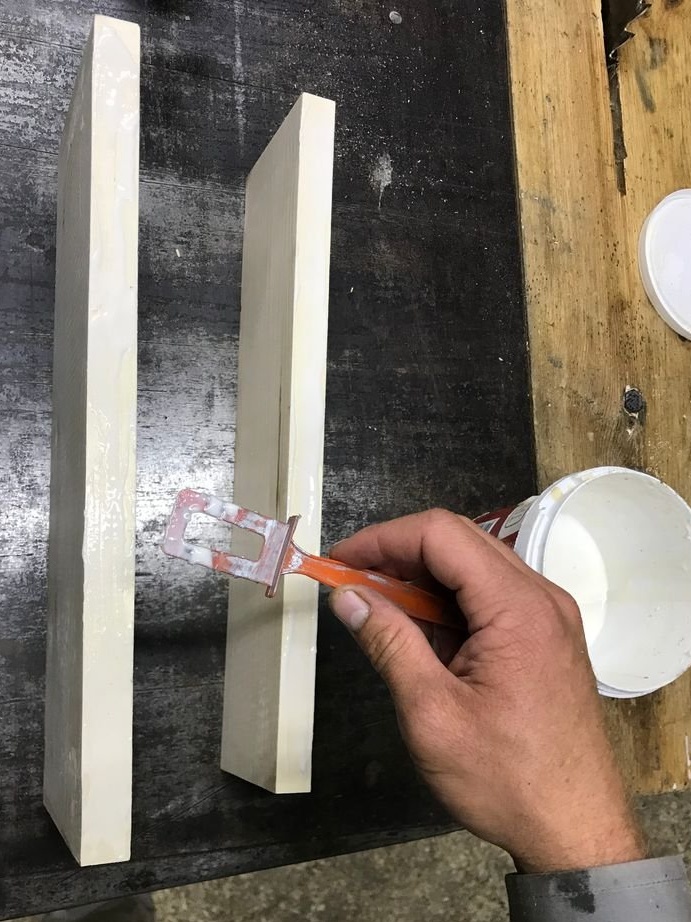
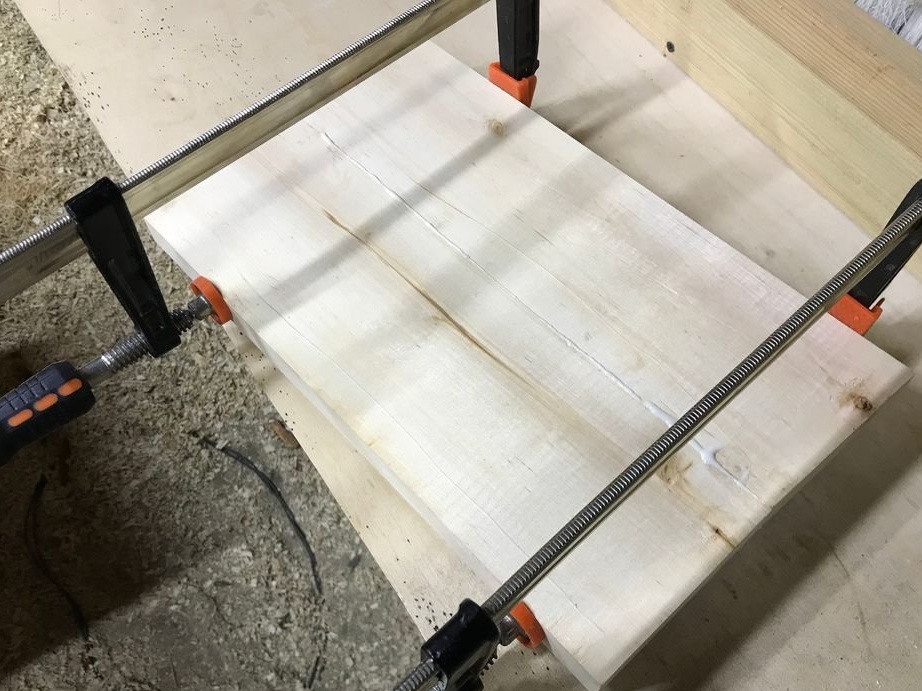
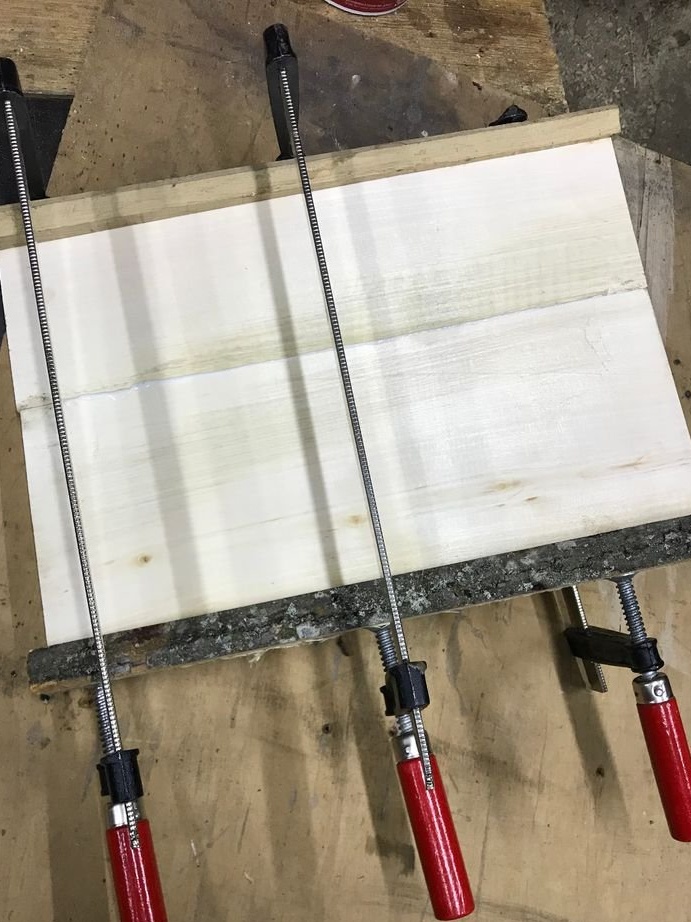
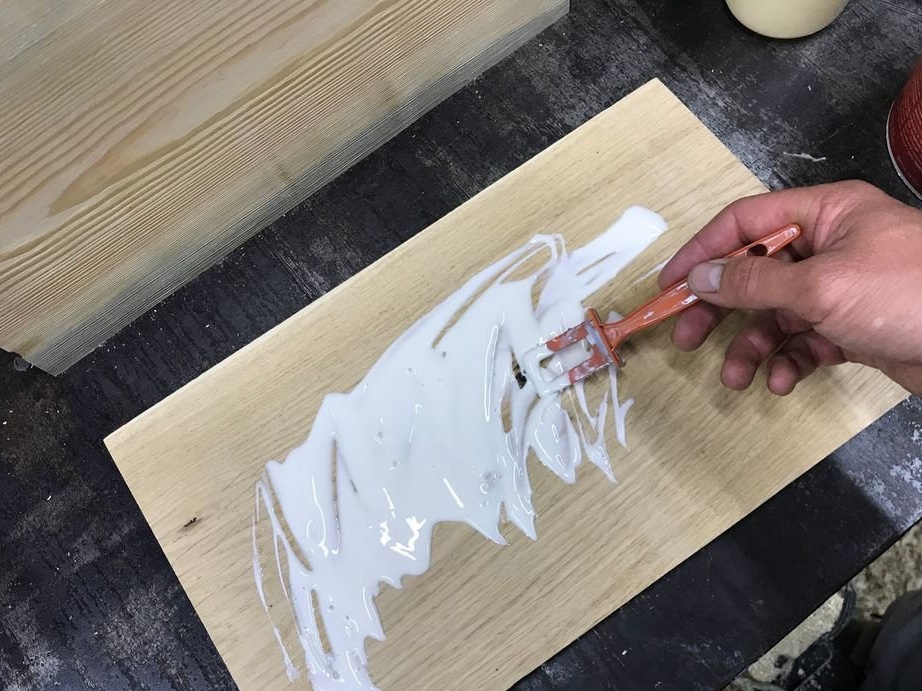
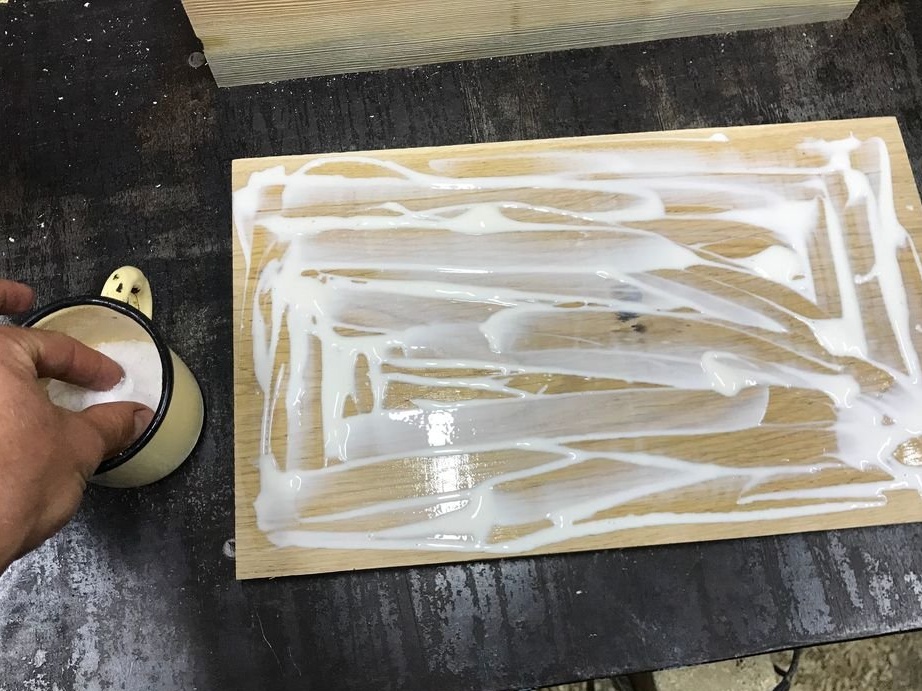
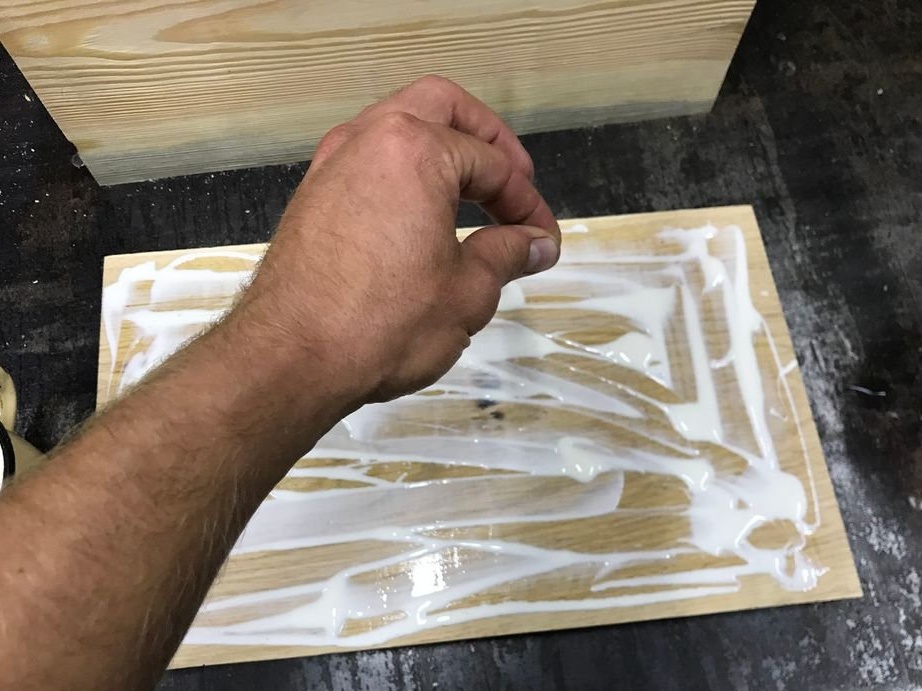
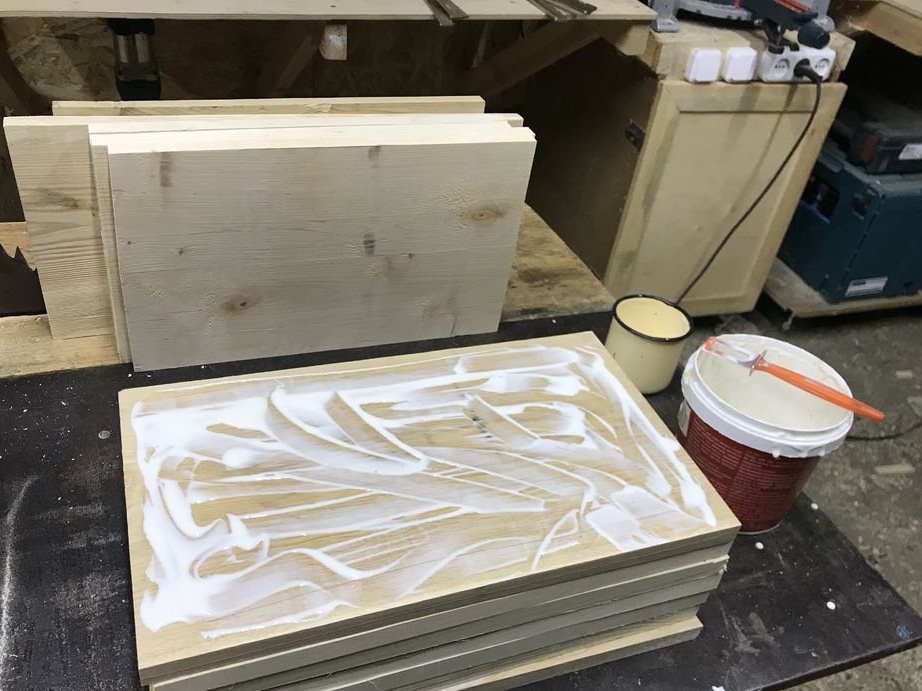
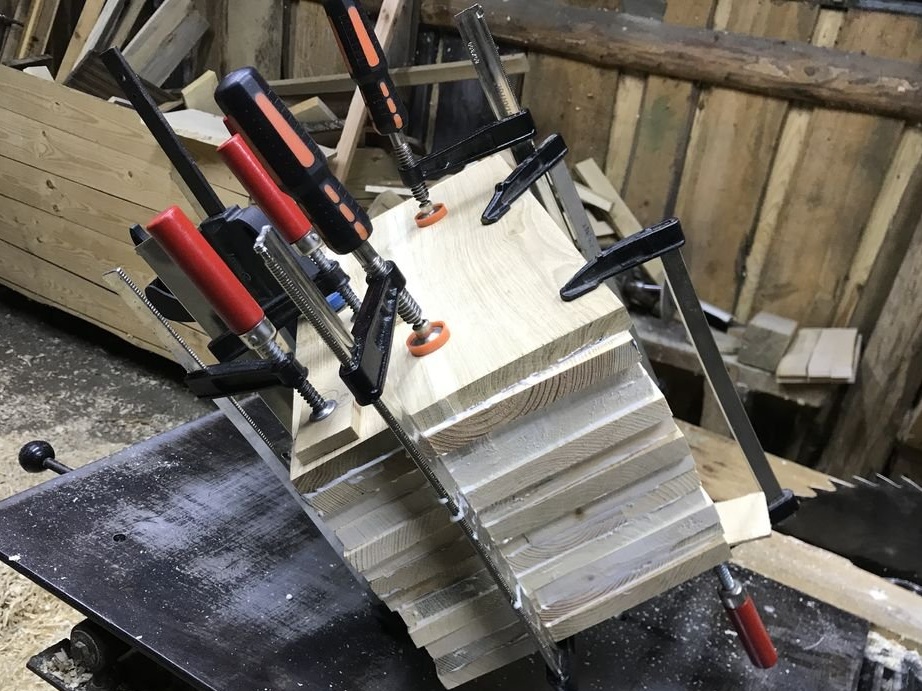
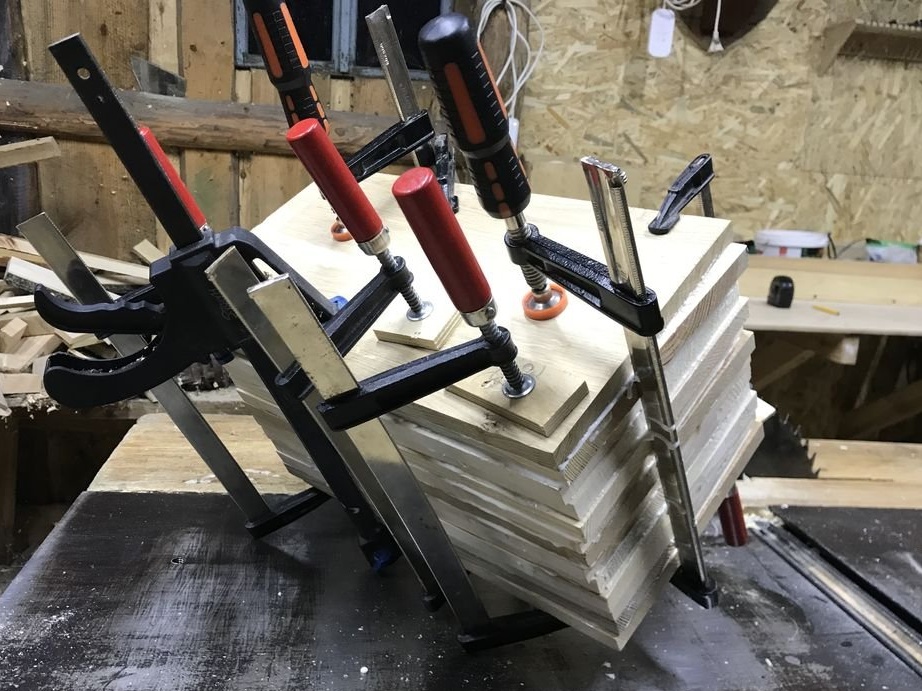
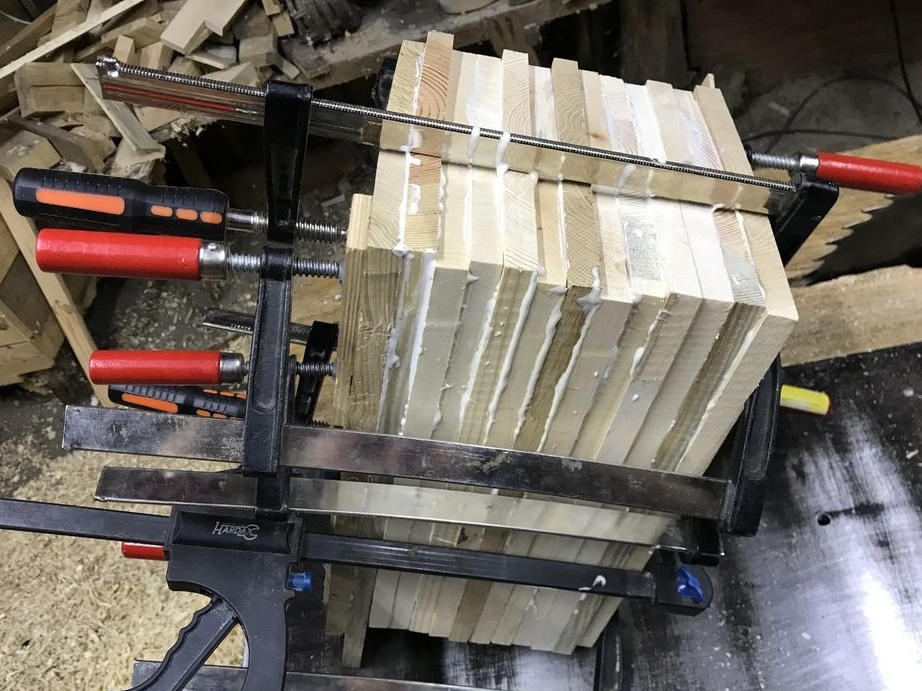
Step Three: Gluing
Collects boards in a stack alternating different breeds.
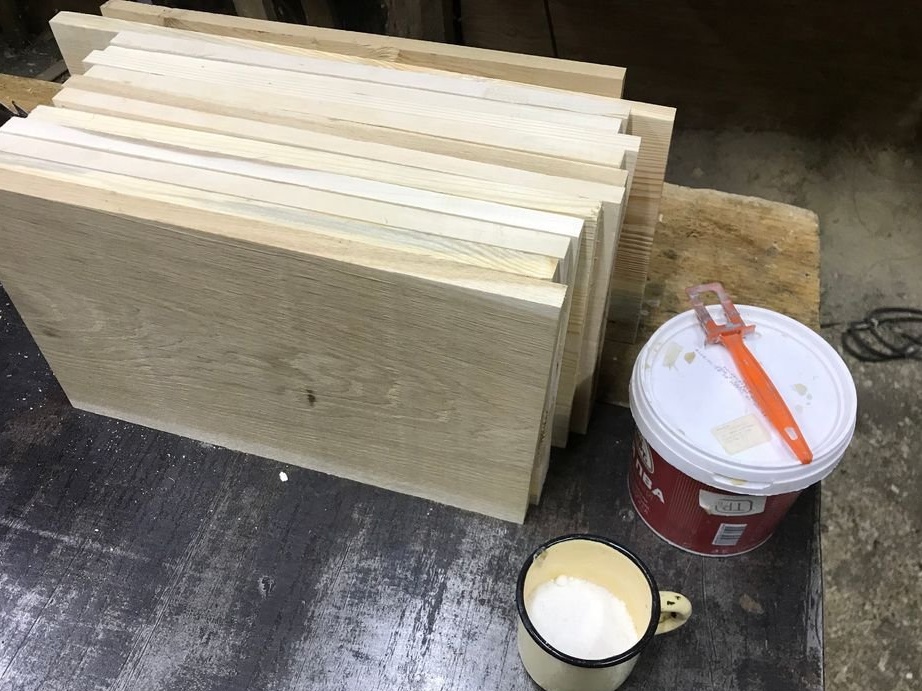
Then the master glues the stack. There is one trick here. The stack is large and when clamped with clamps, some boards can move. To avoid this, the master applies glue and then sprinkles the board with salt. Salt will not let the board slip. In the future, it simply dissolves in glue.
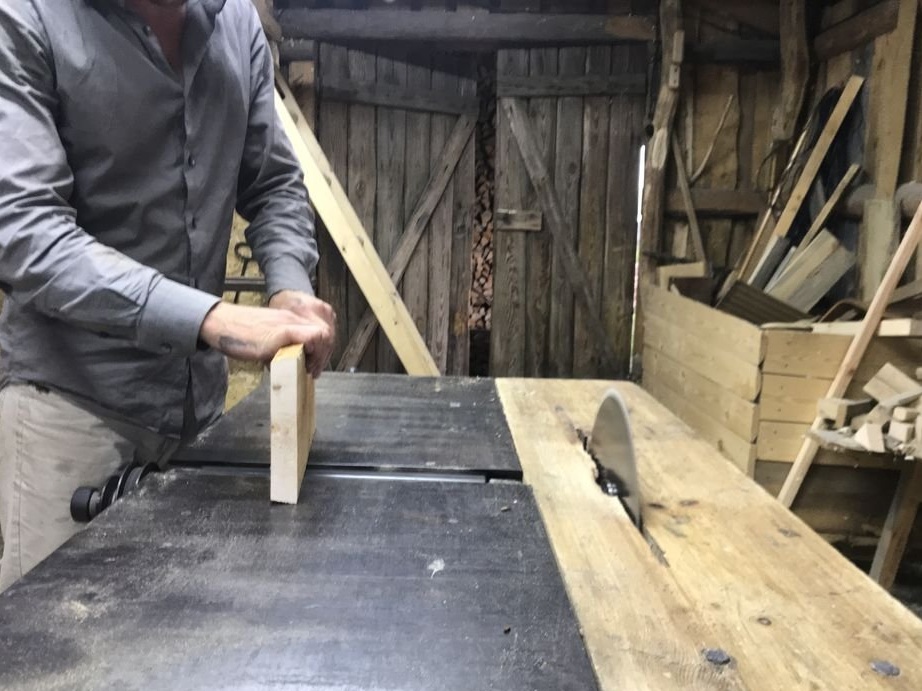
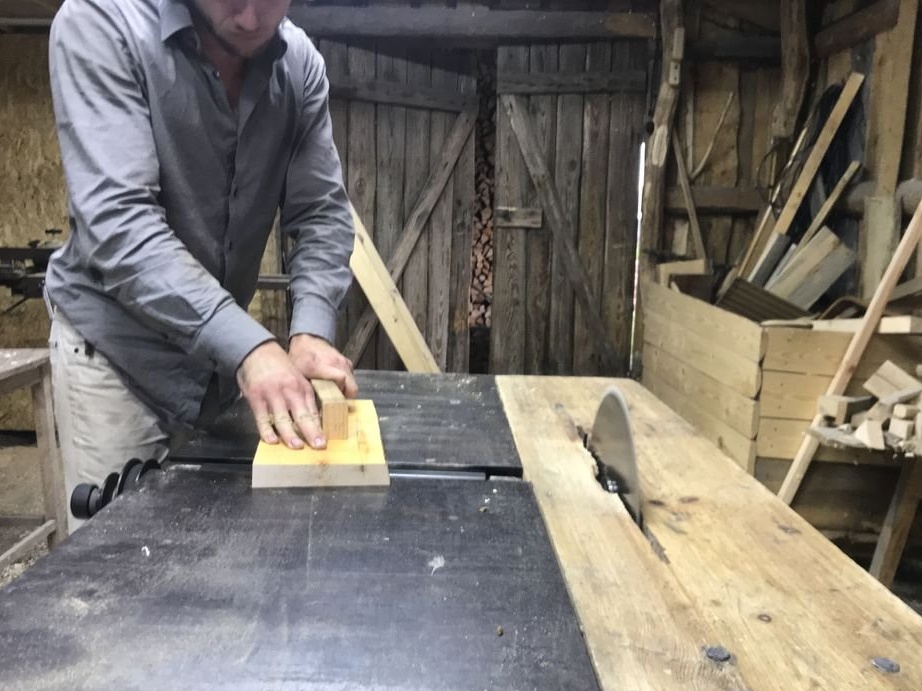
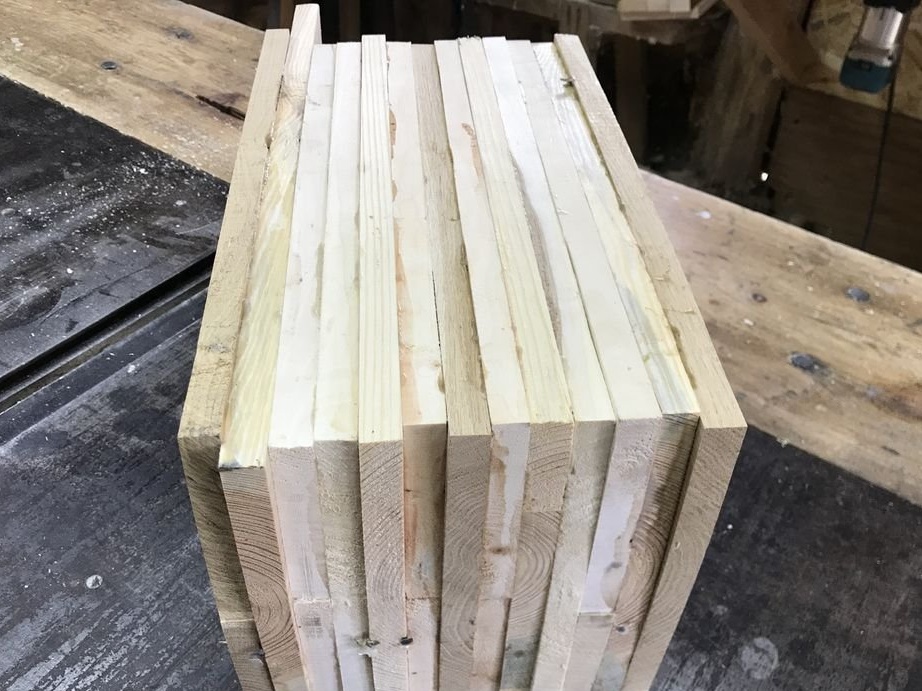
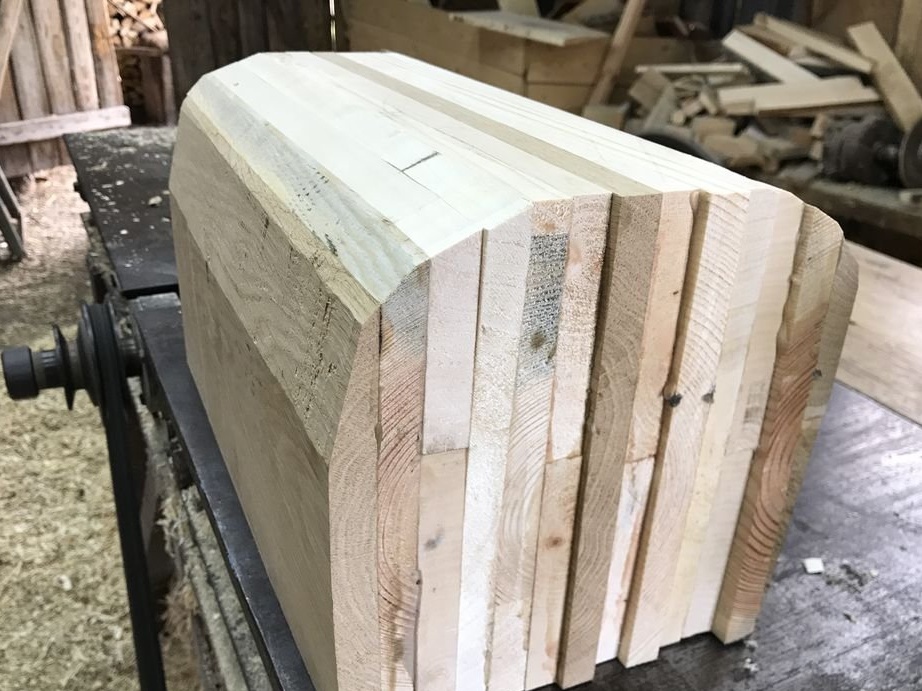
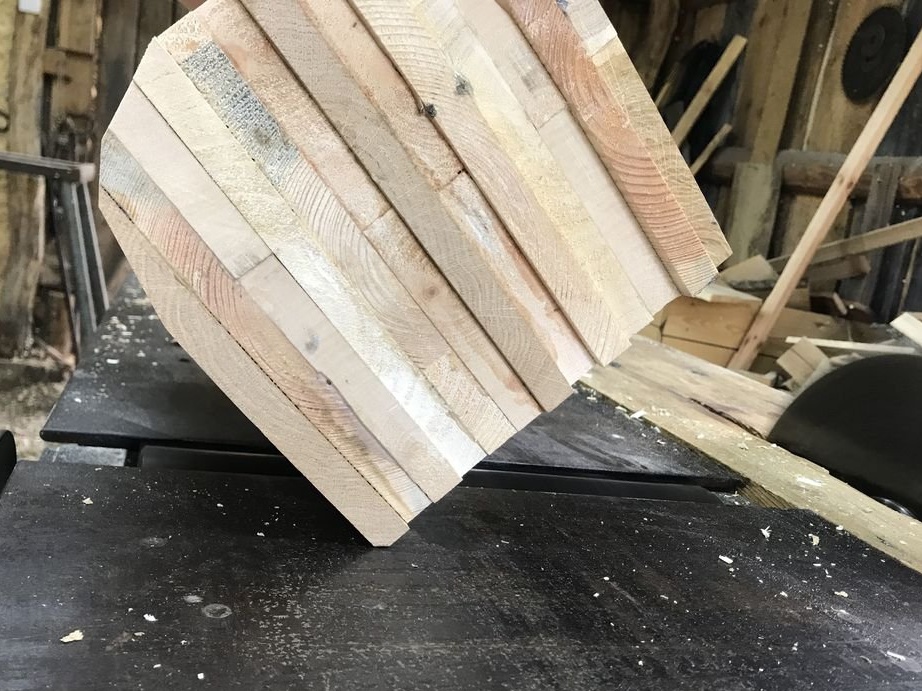
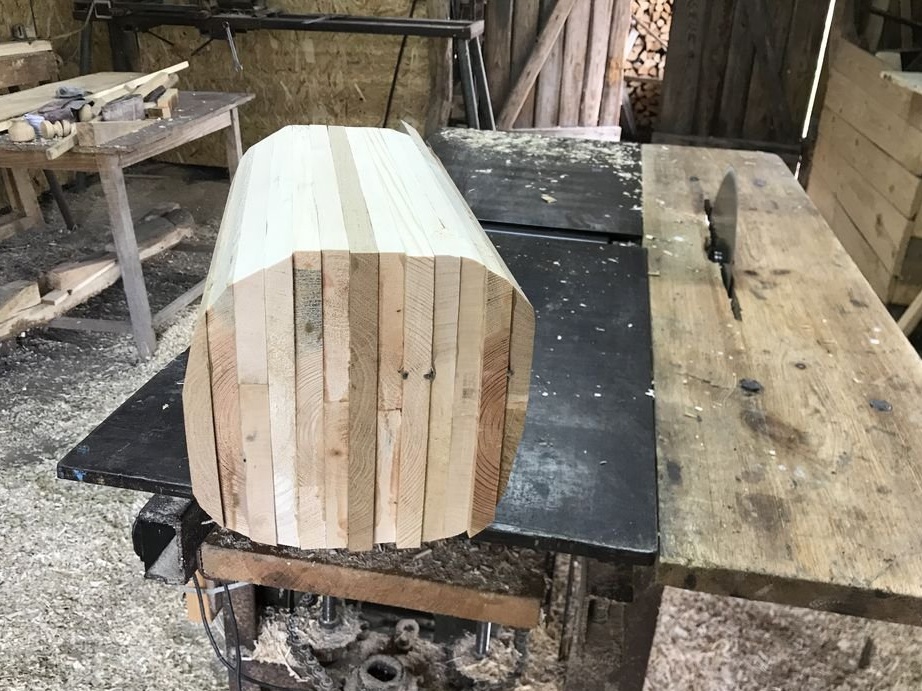
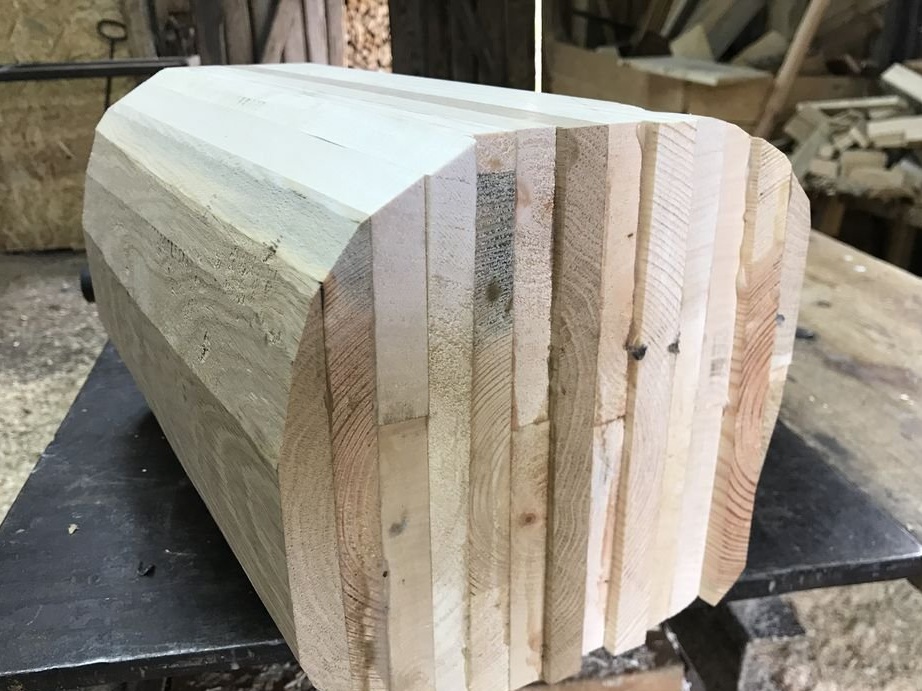
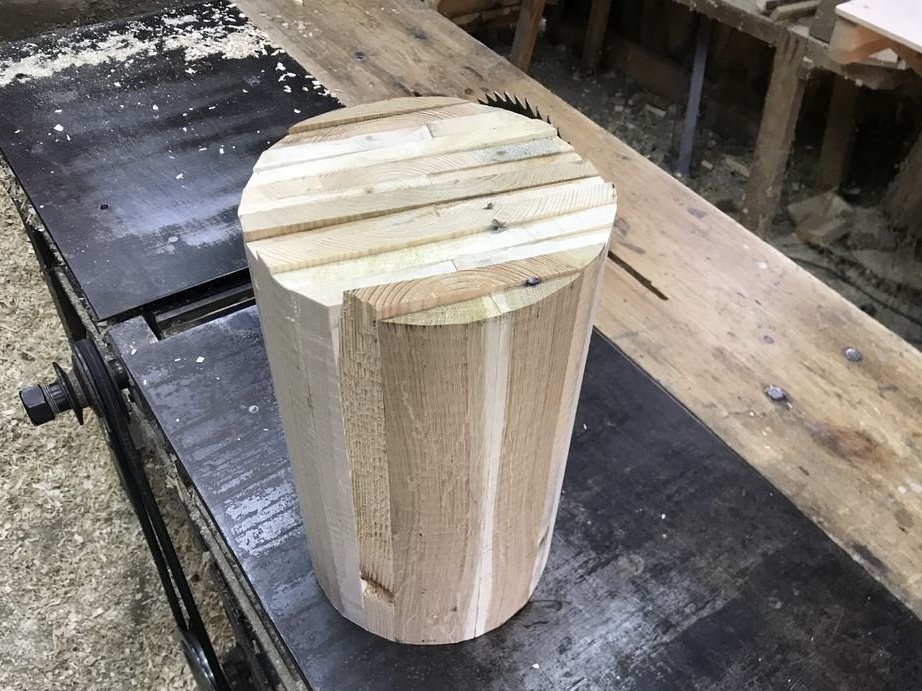
Step Four: Cylinder
The glue has dried, and the master cuts the workpiece, and then processes it on a planer, forming a cylinder.

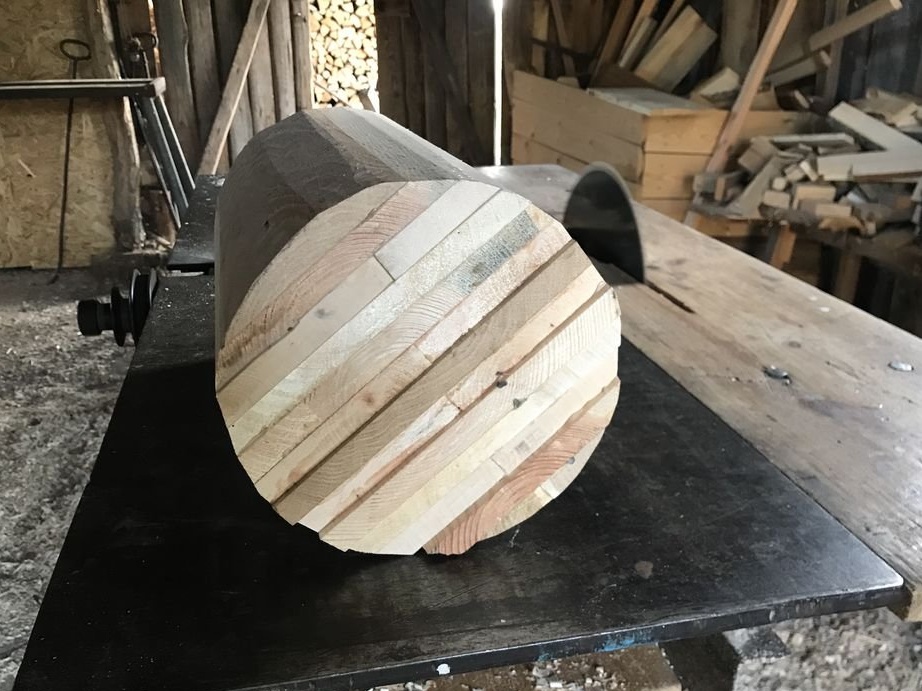

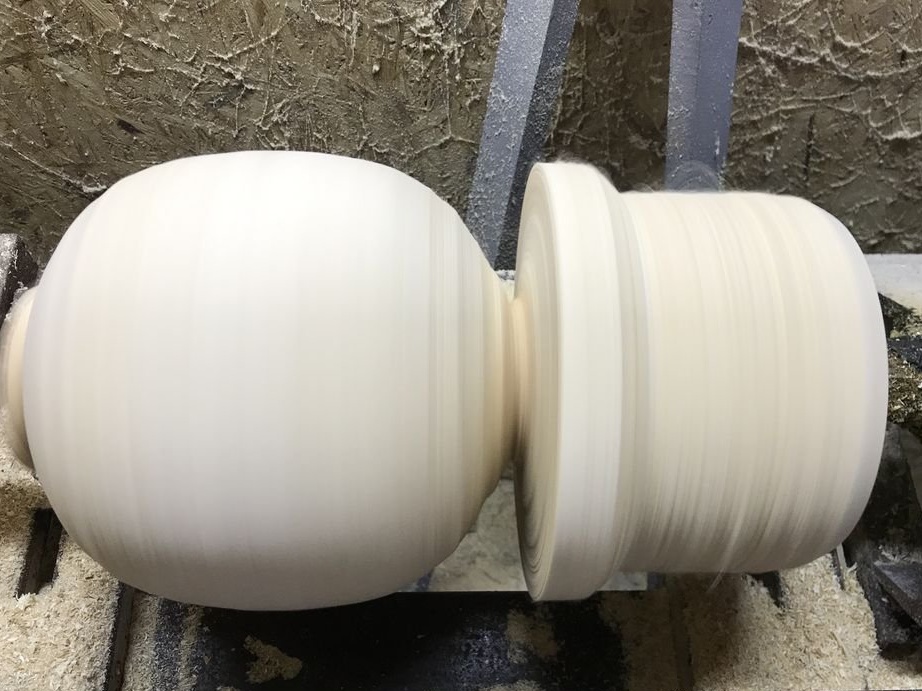
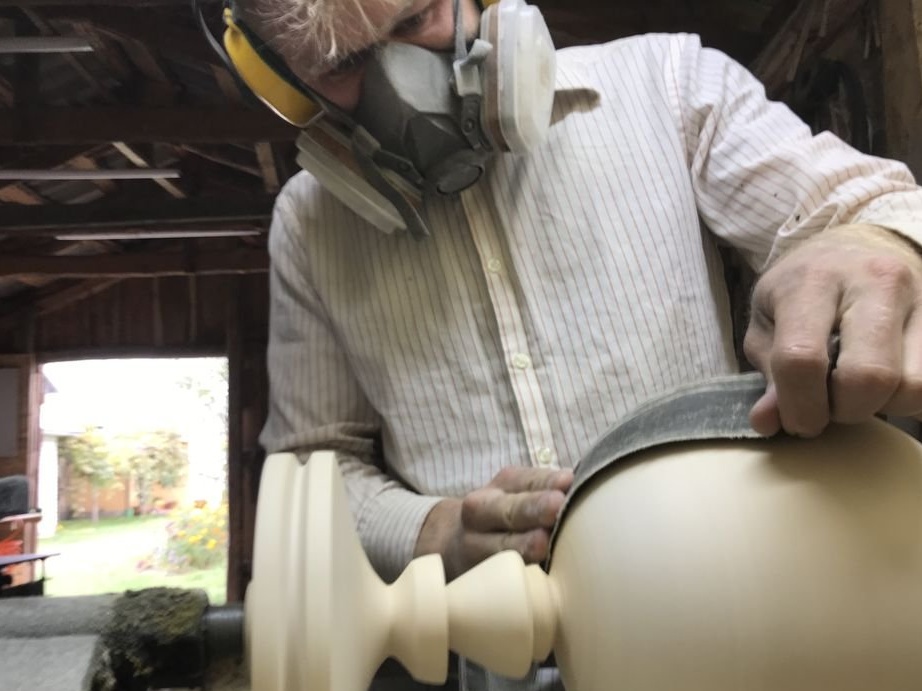
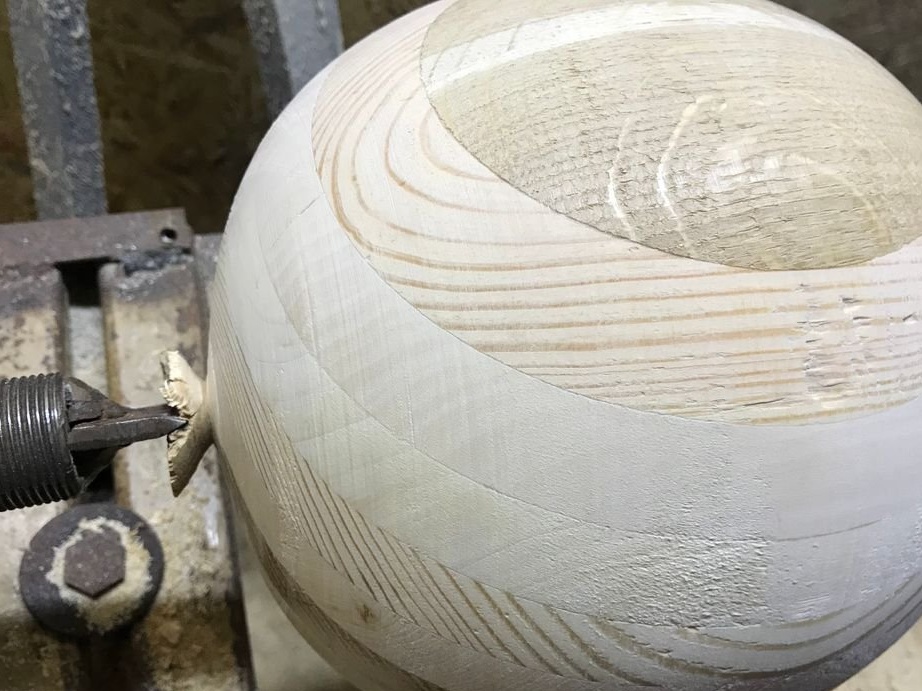
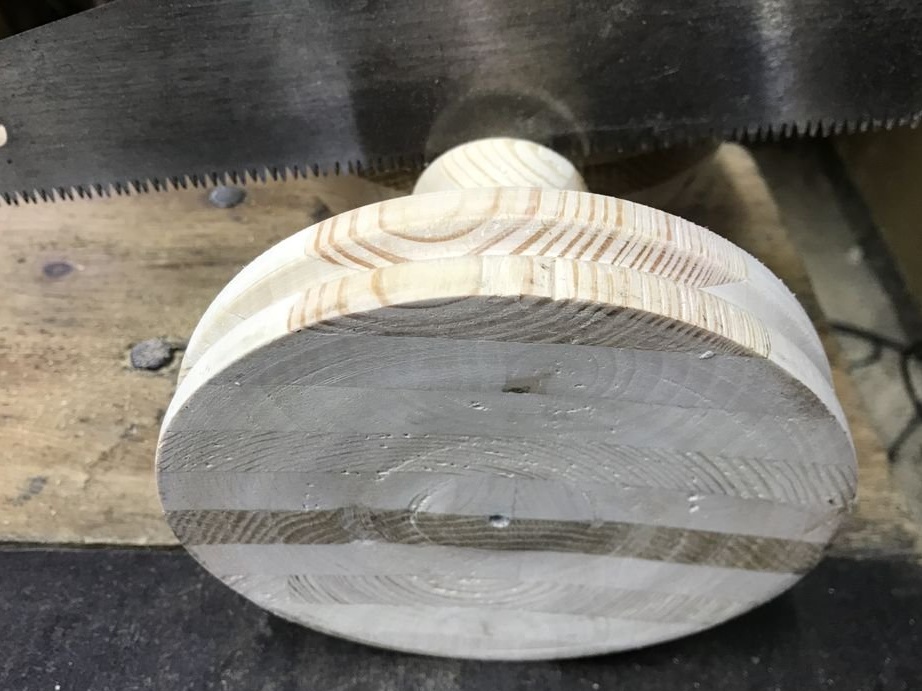
Step Five: Turning
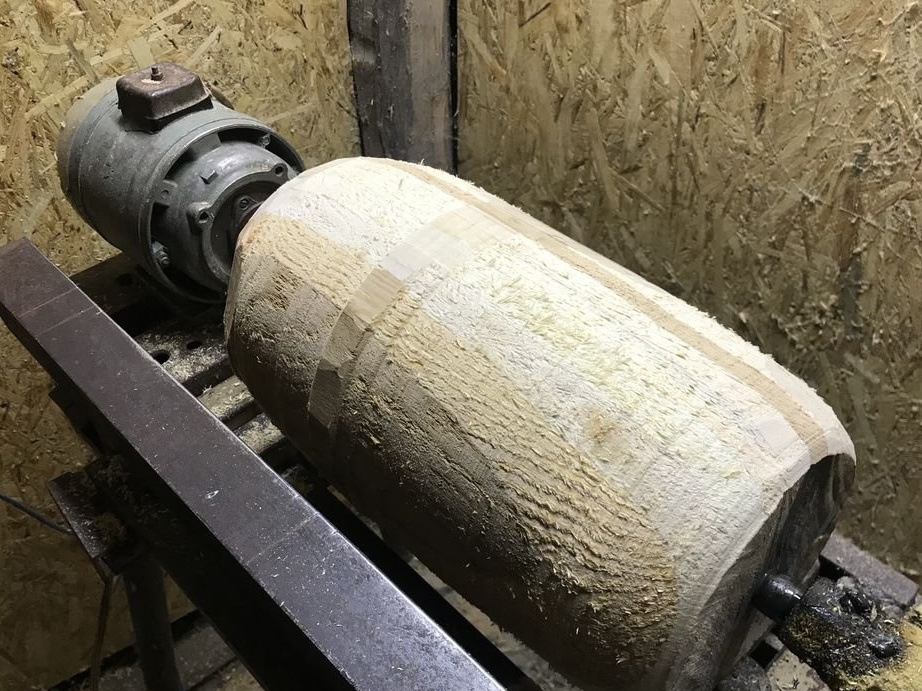
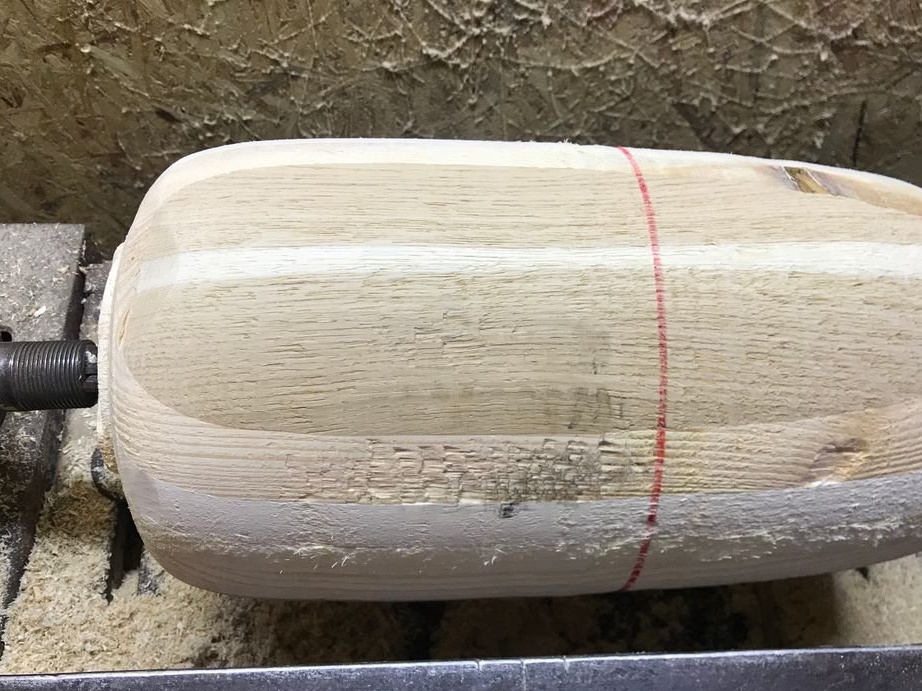
Marks the centers at the ends of the workpiece and installs it in a lathe.

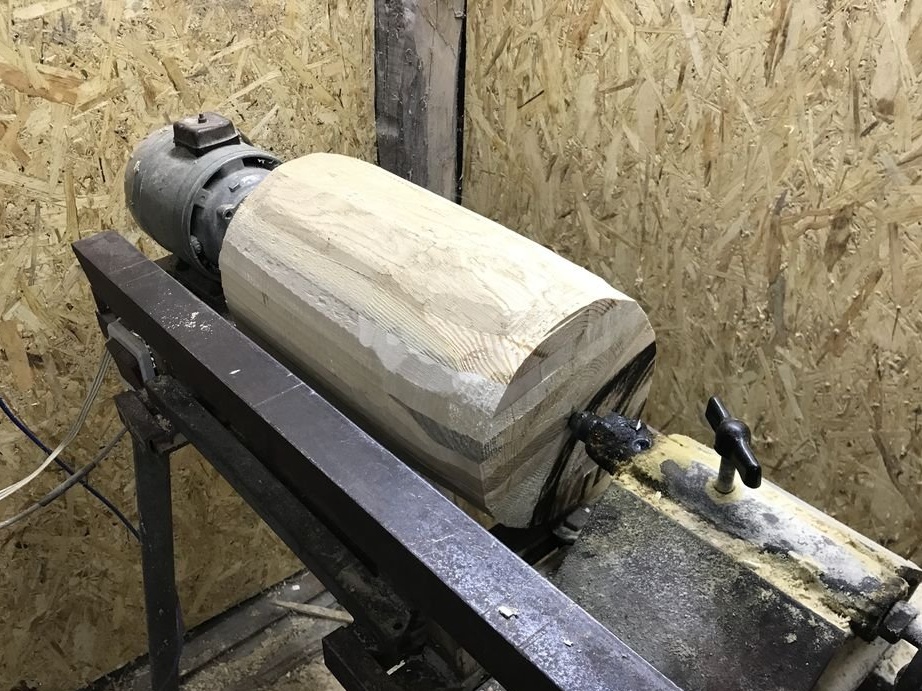
Turns the workpiece.
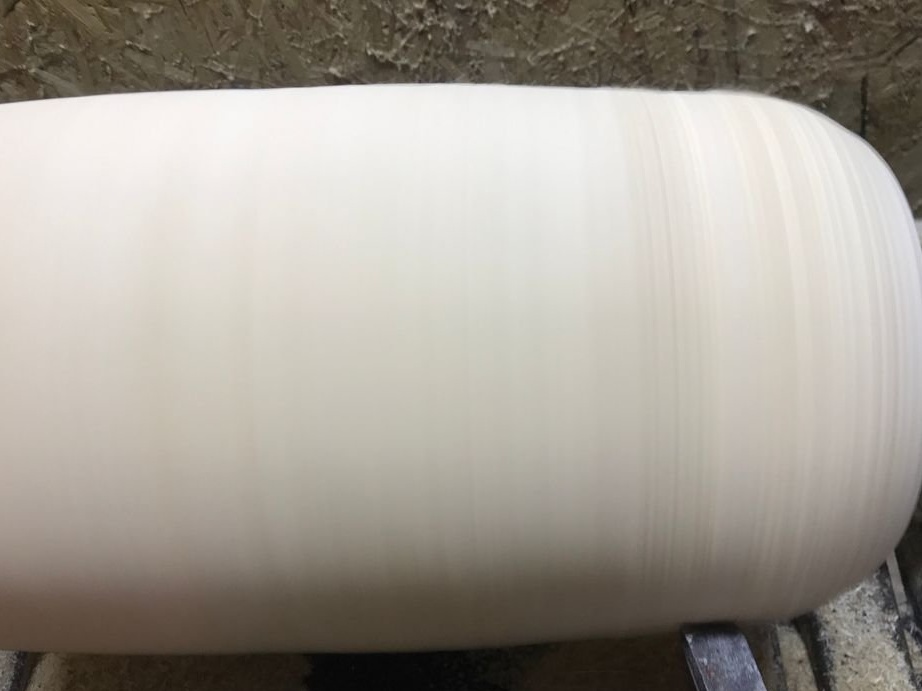
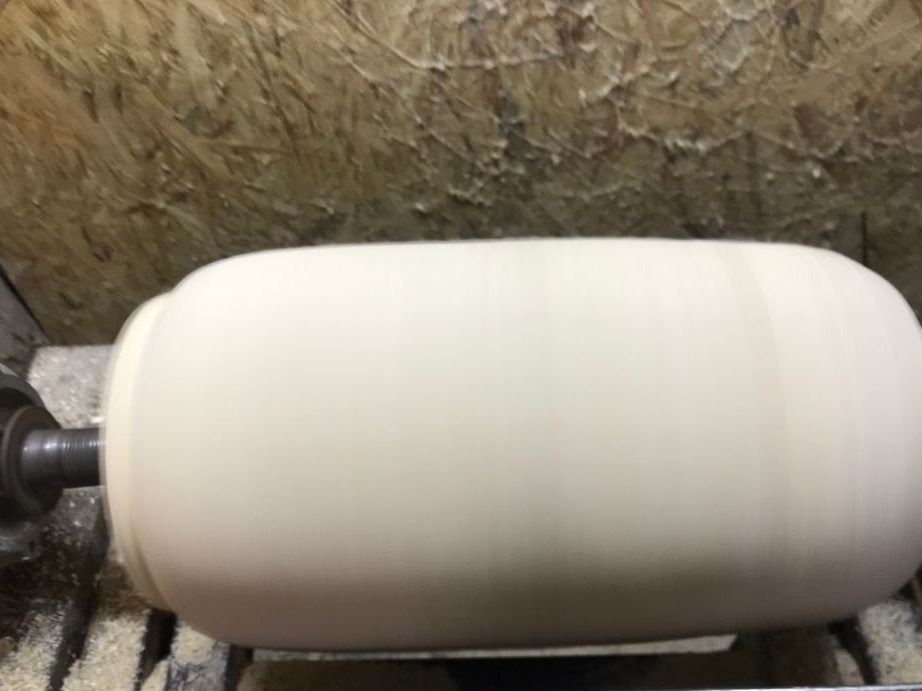
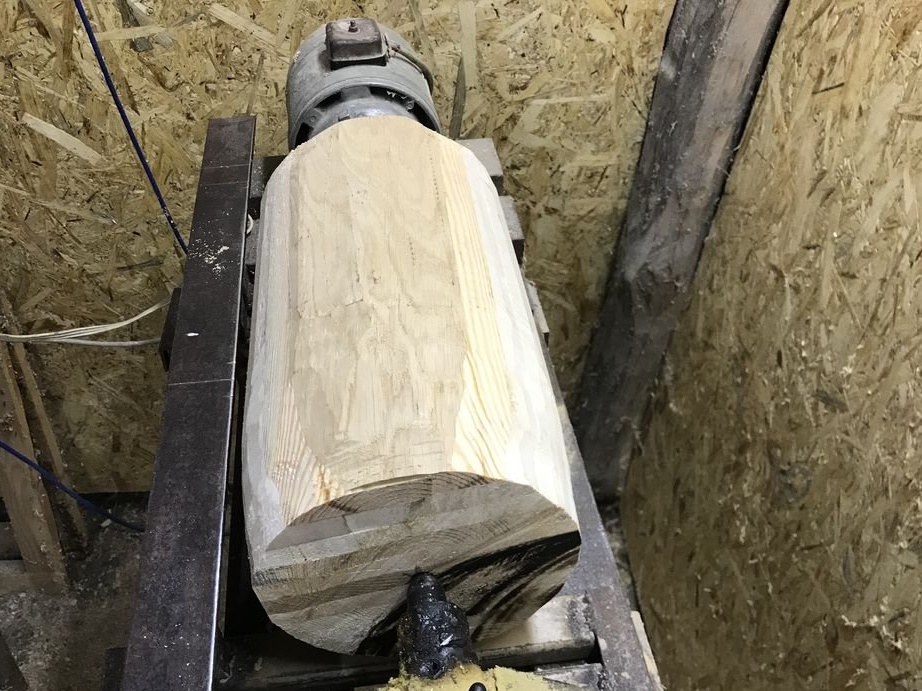
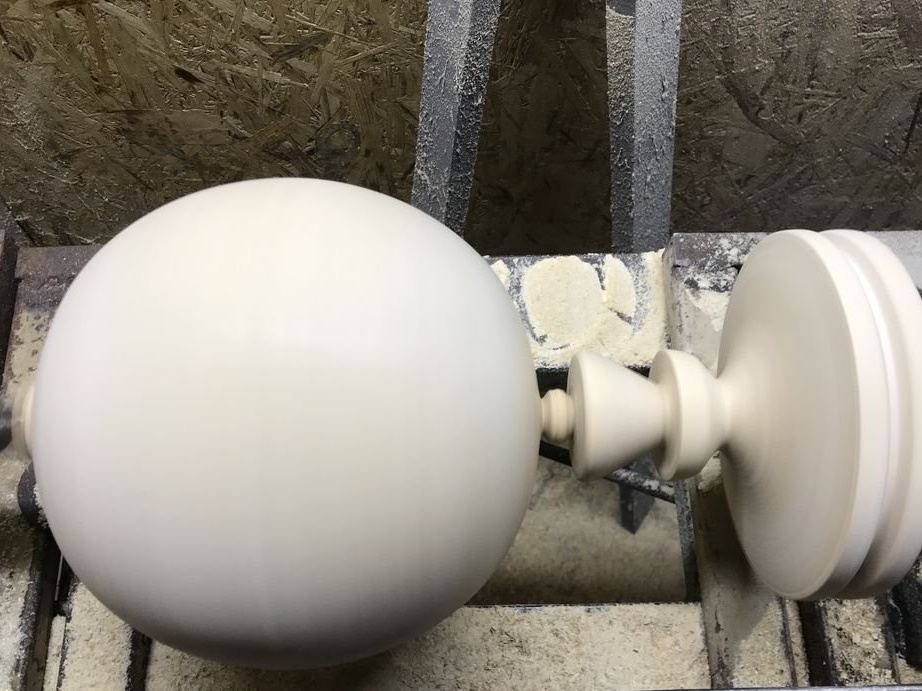
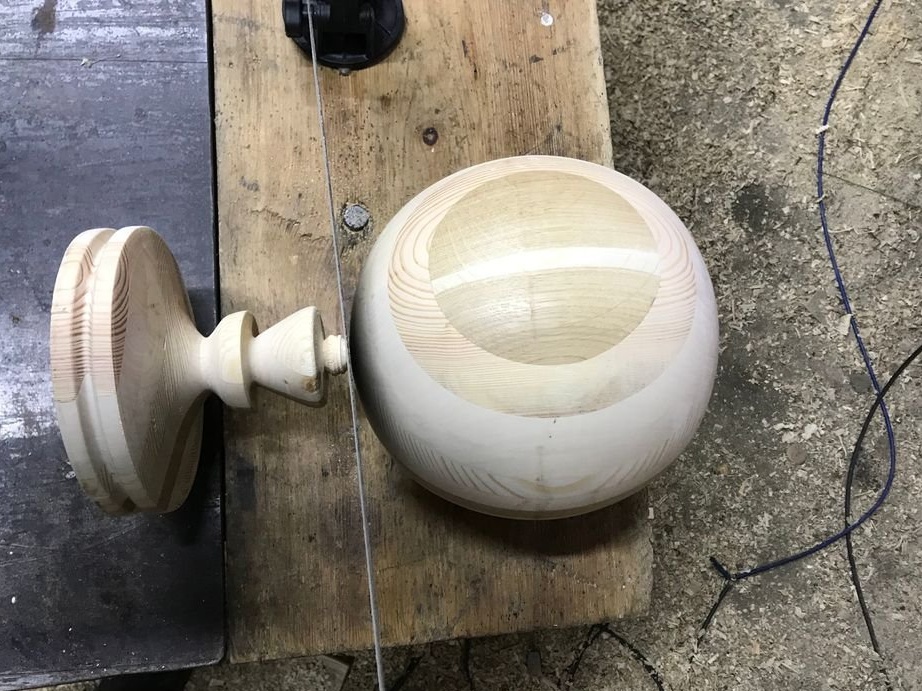
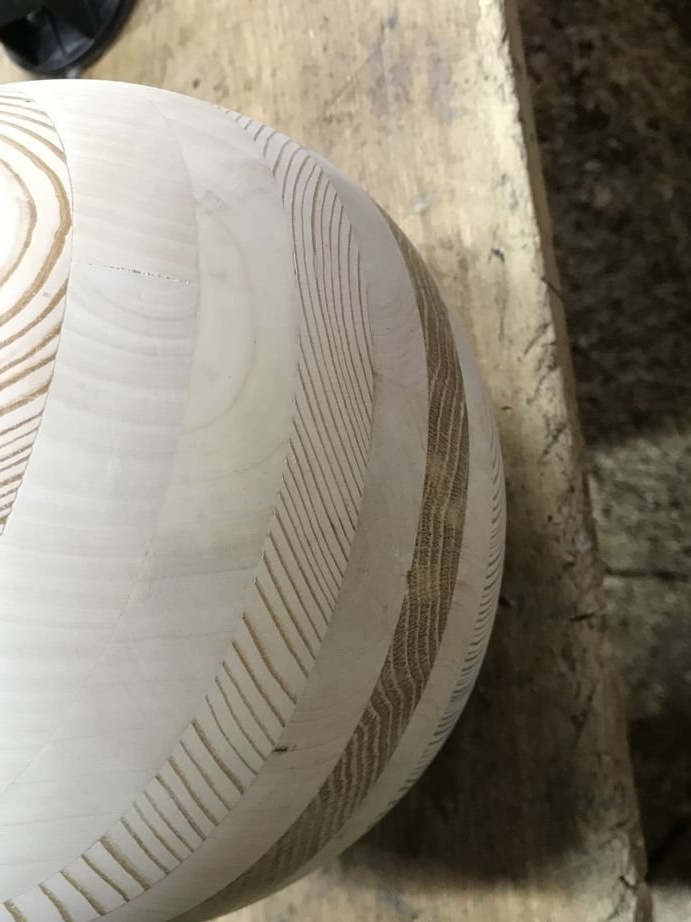
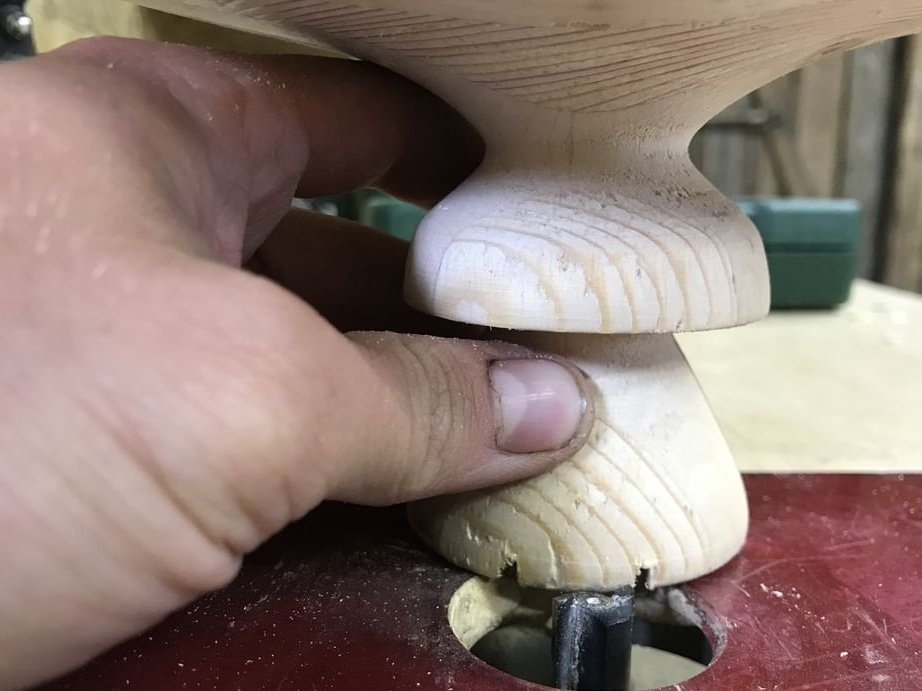
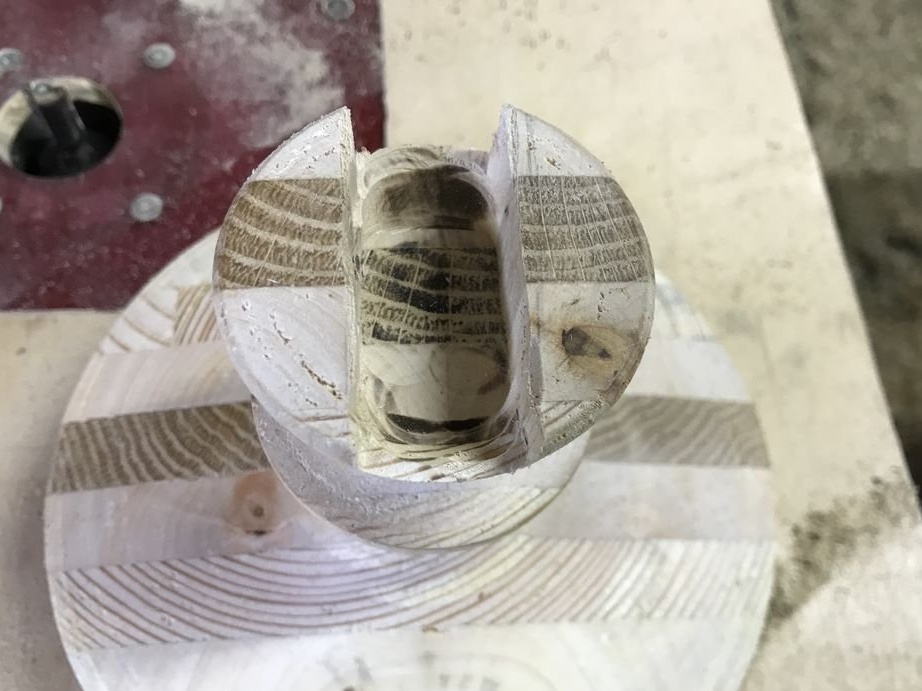
Then the master divides the workpiece into two parts and grinds it. From one part the globe itself will be made, from another base.
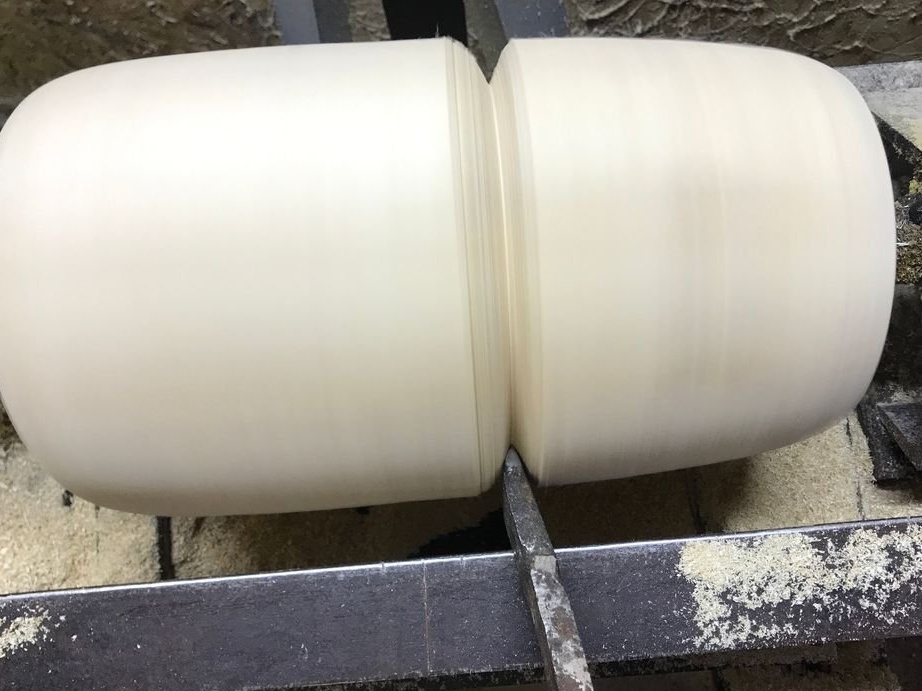
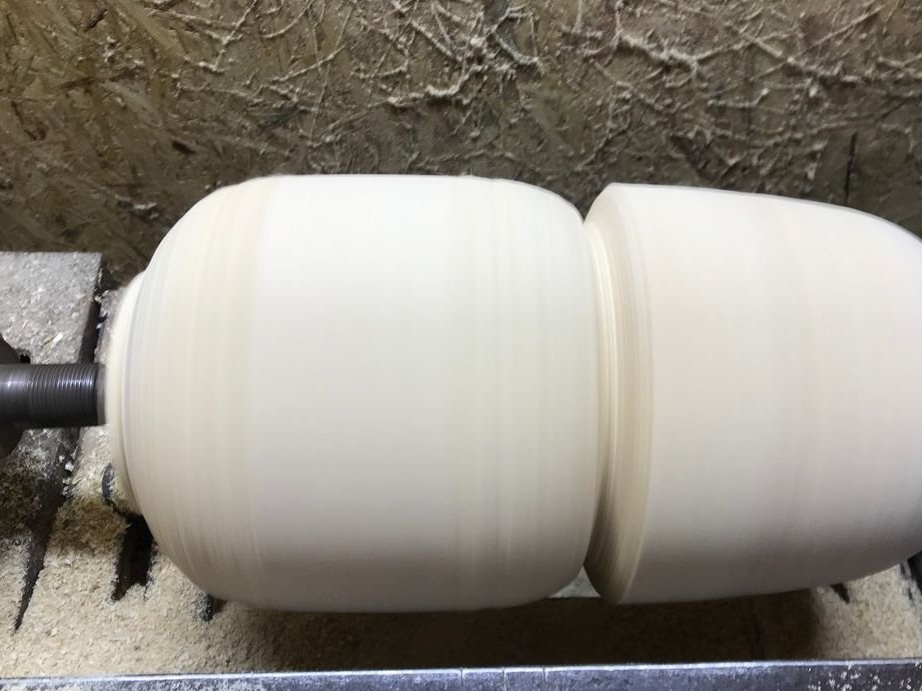
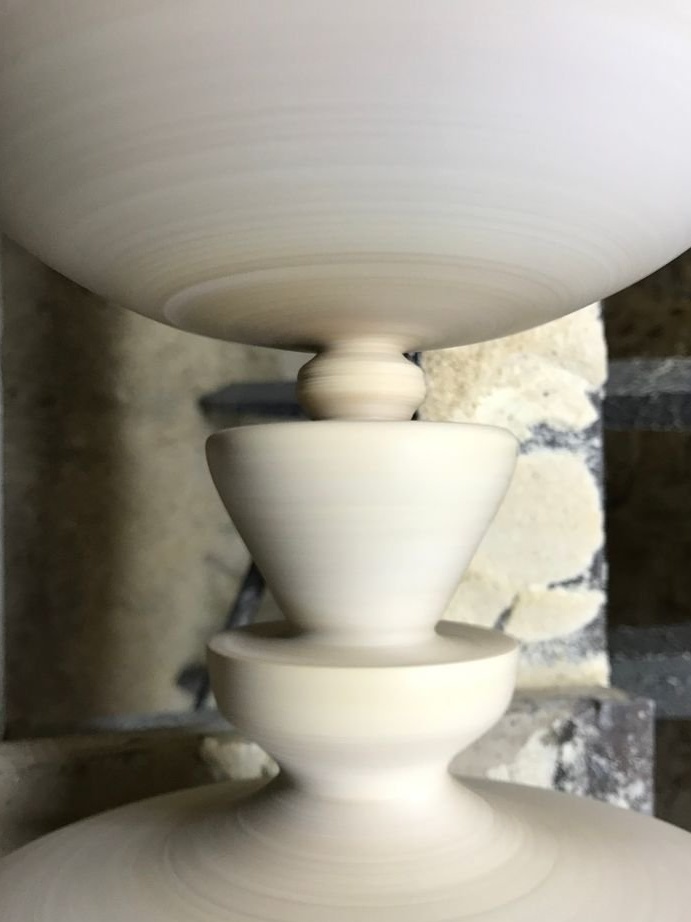
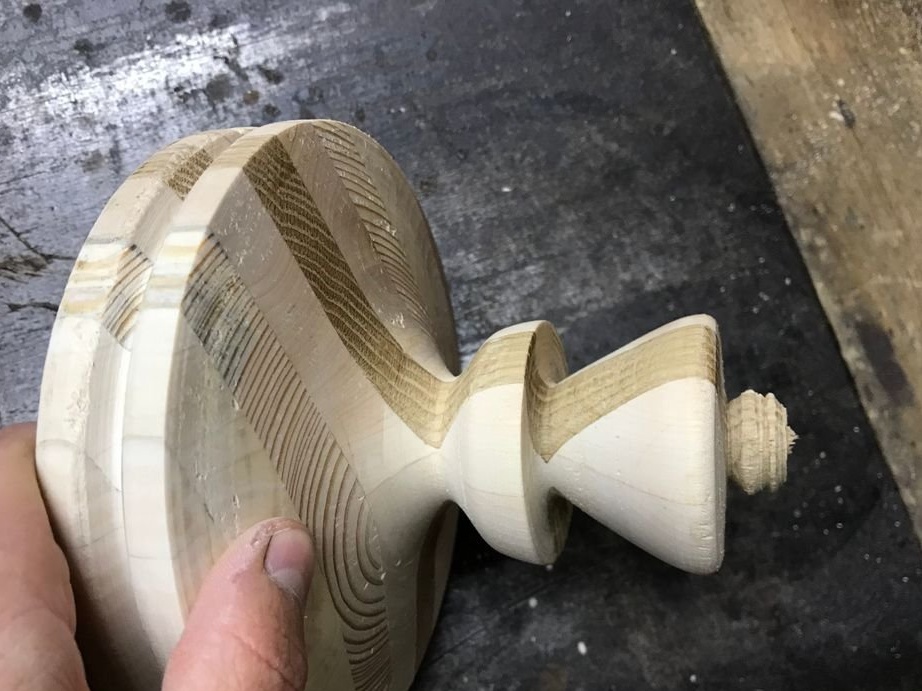
Continues turning parts.
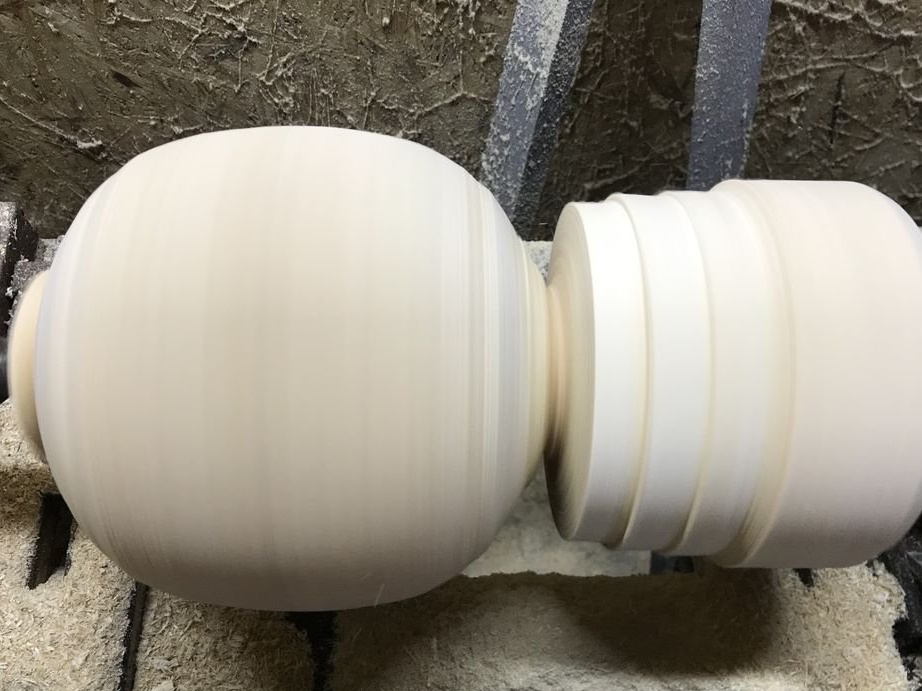

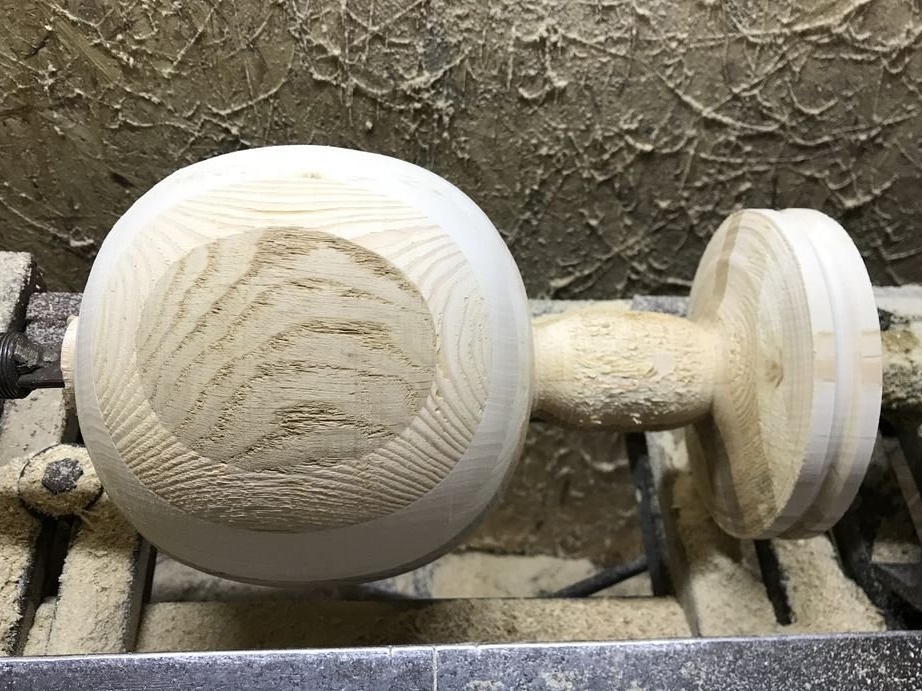

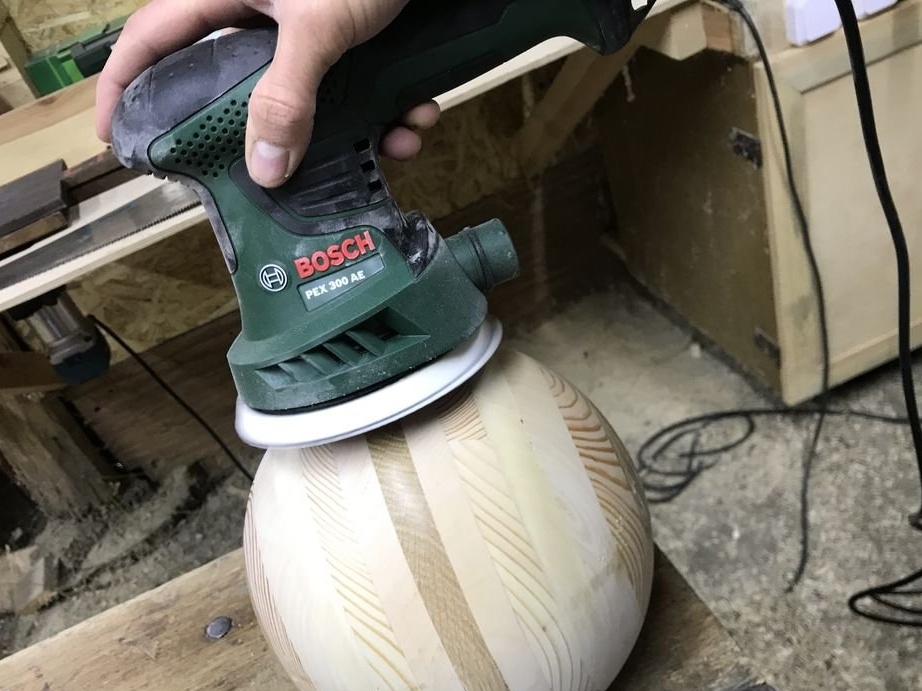
Grinds the workpiece.
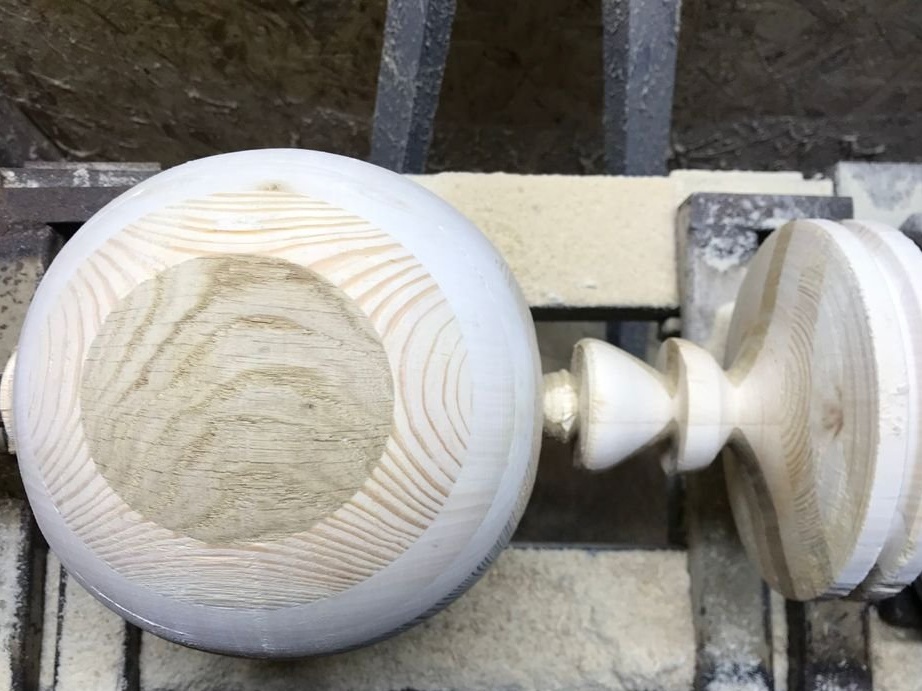
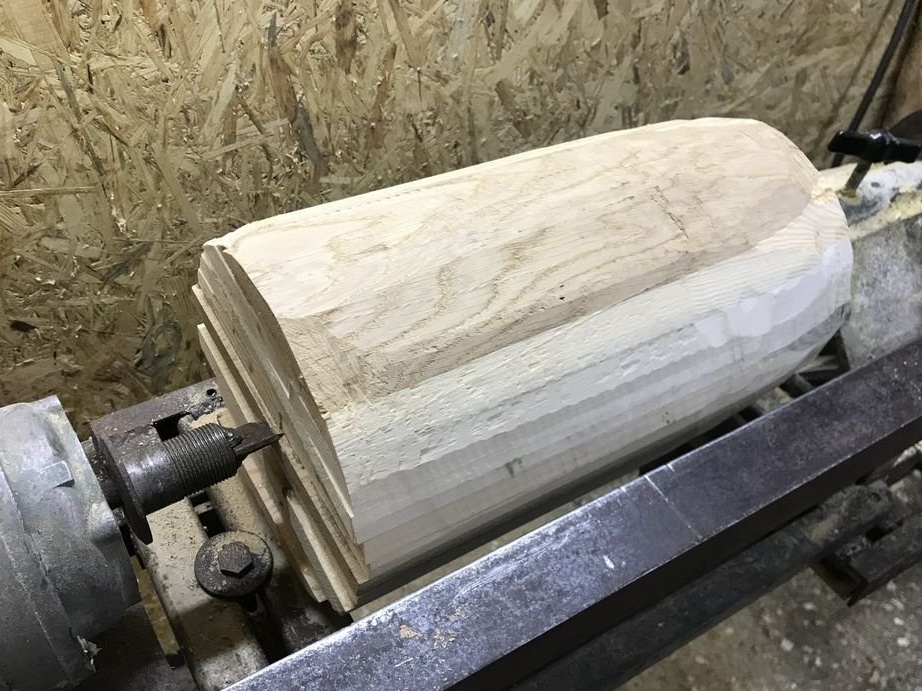
The harvesting will be cut, and the master finishes the wood as much as possible in the places of cutting.
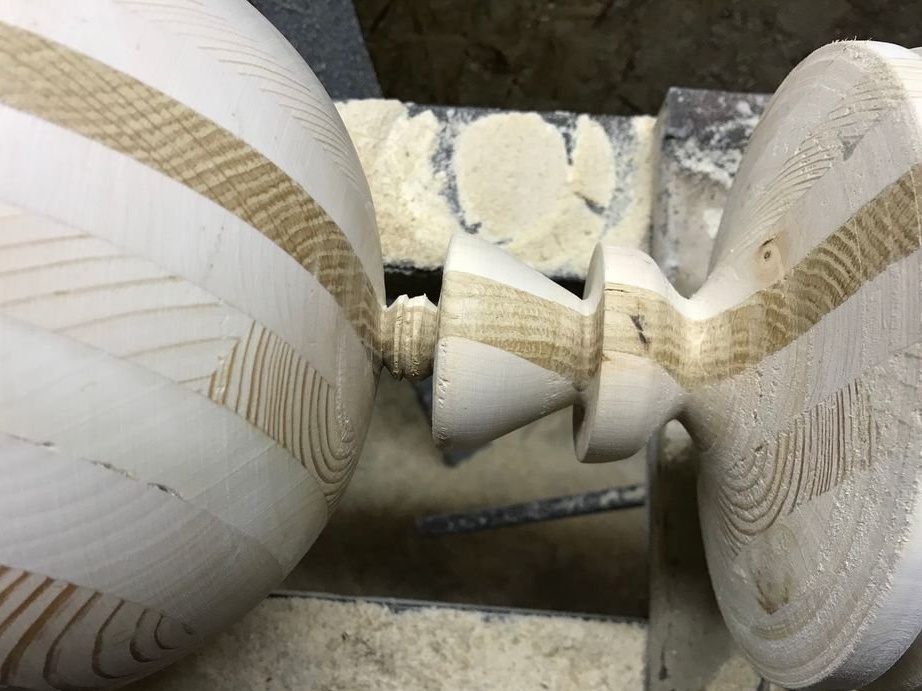
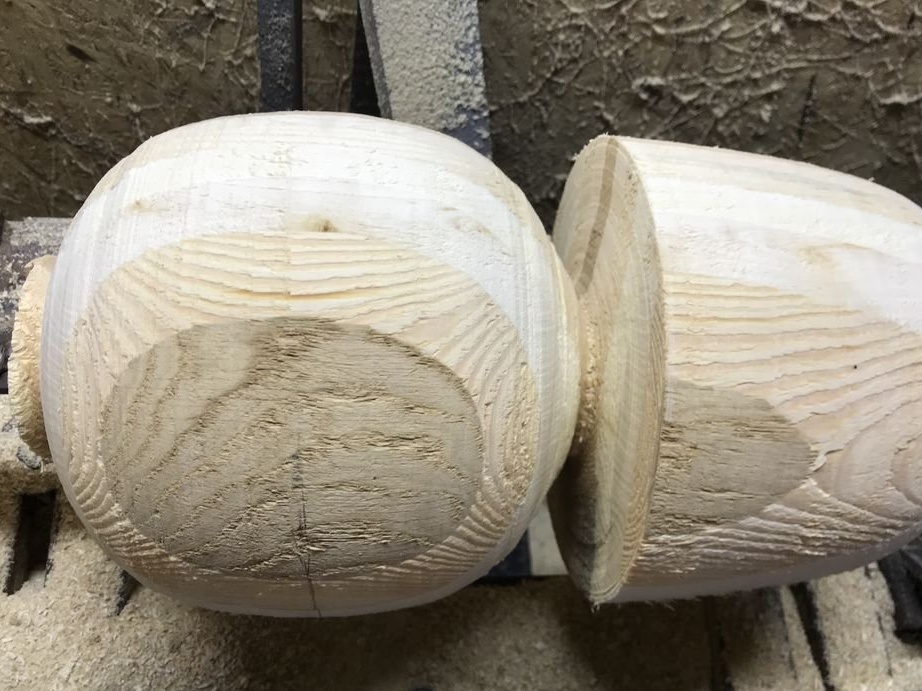
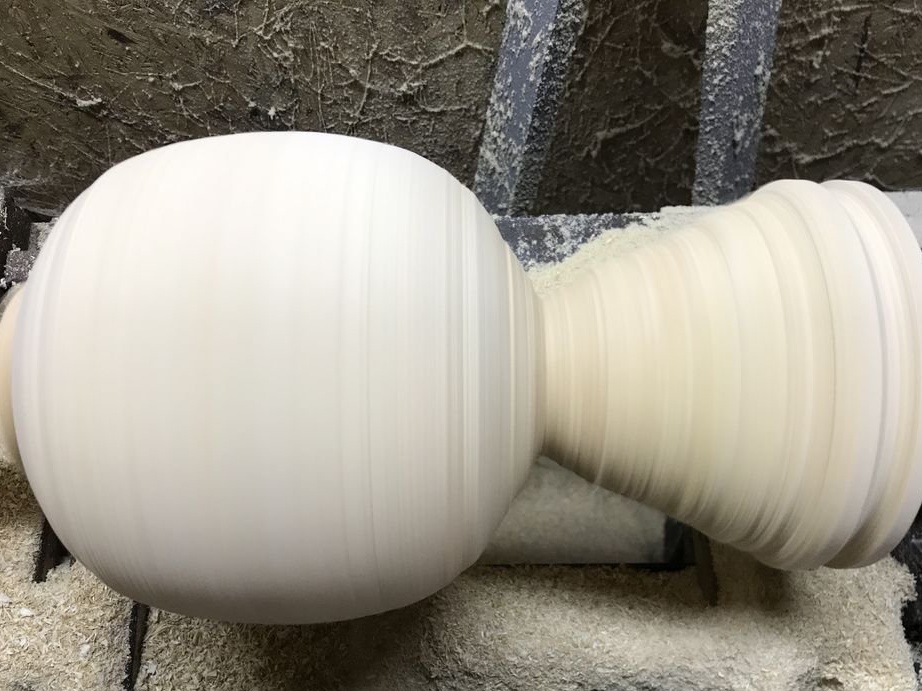
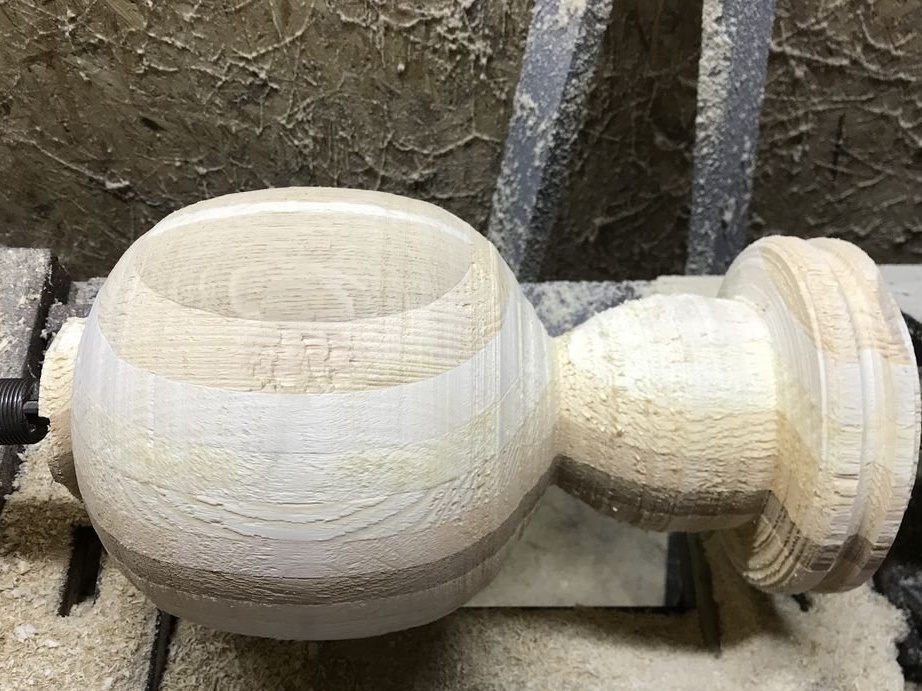
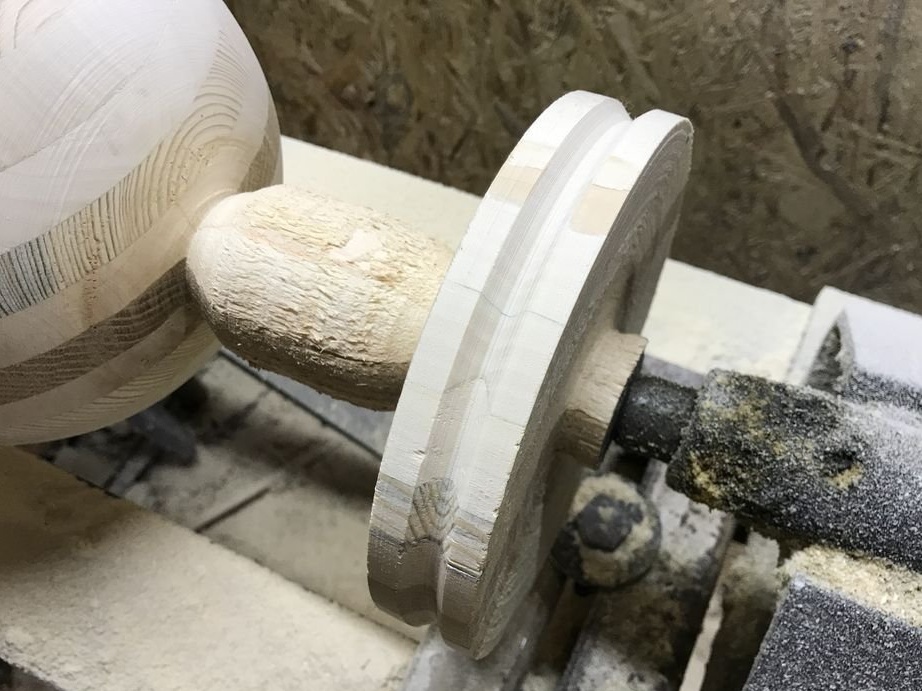
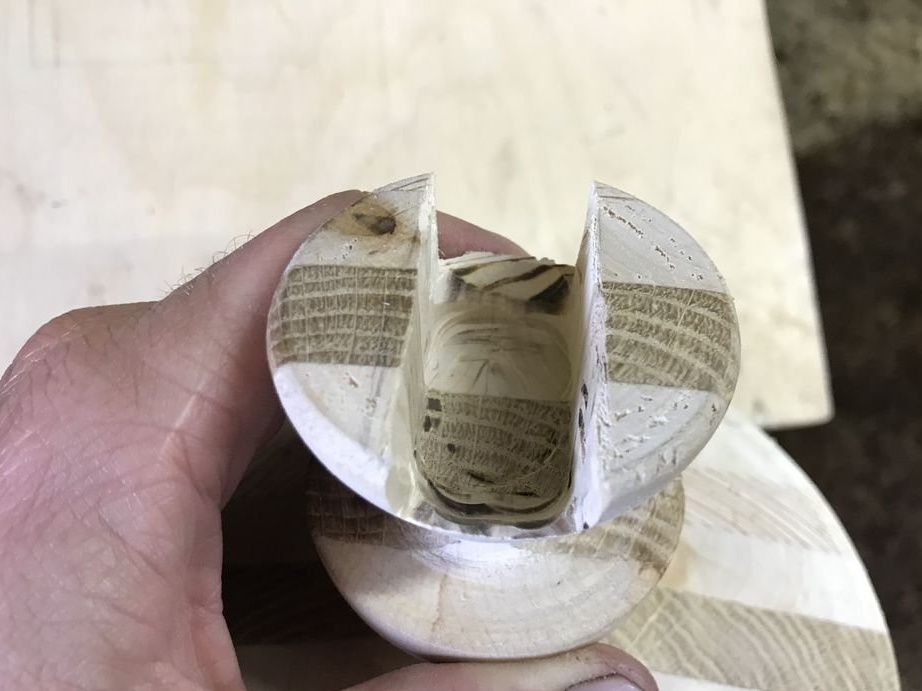
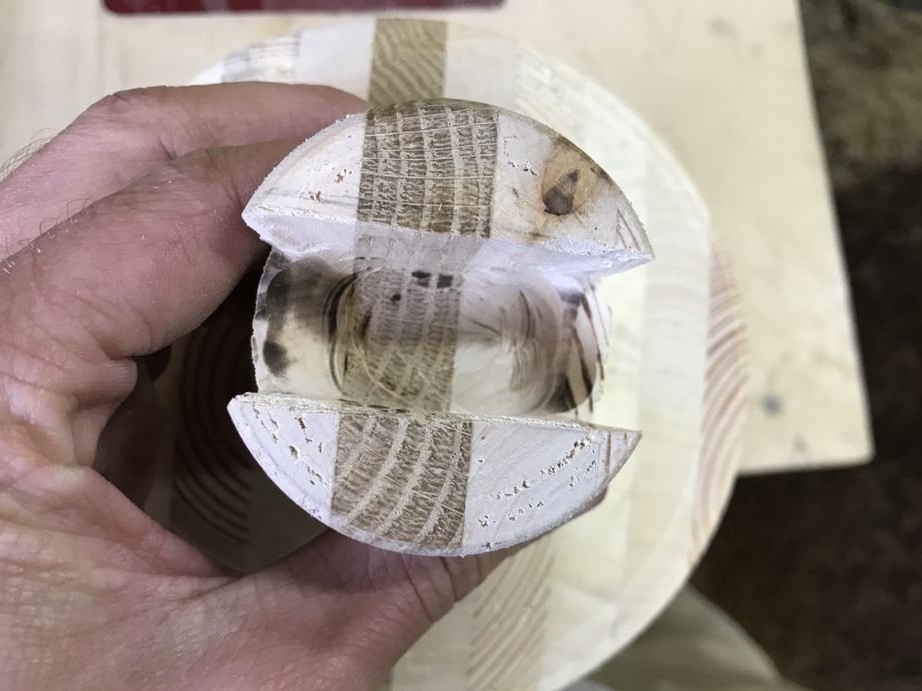
Step Six: Cropping
Cuts the workpiece in two.
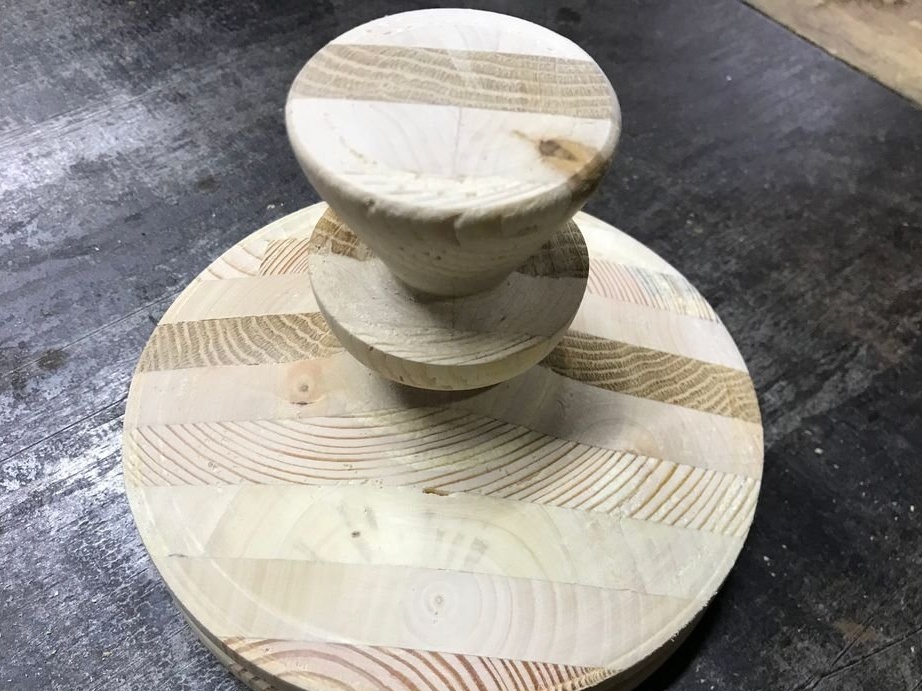
Grinds the place of cut.
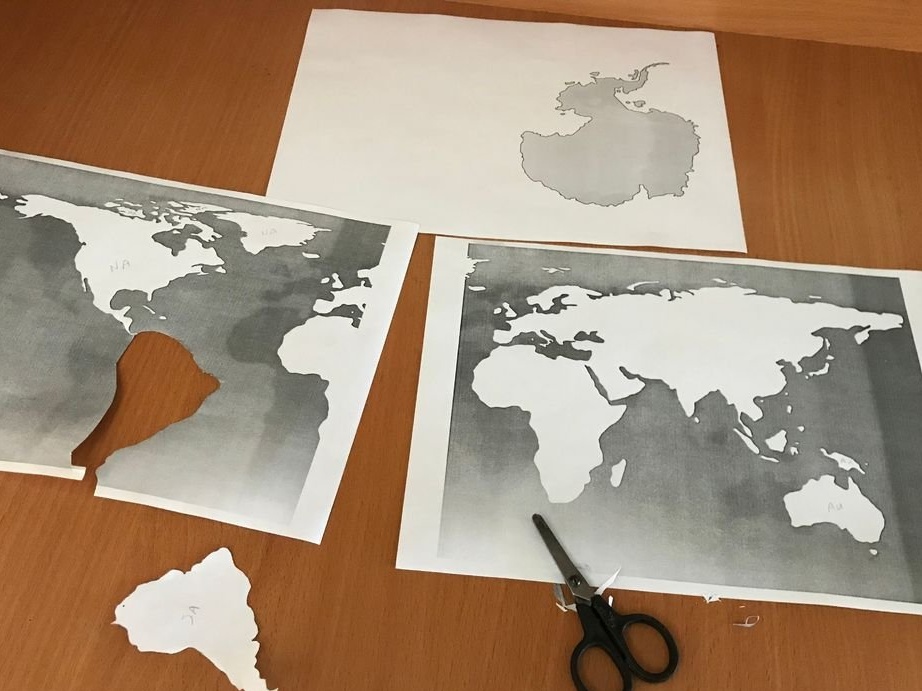
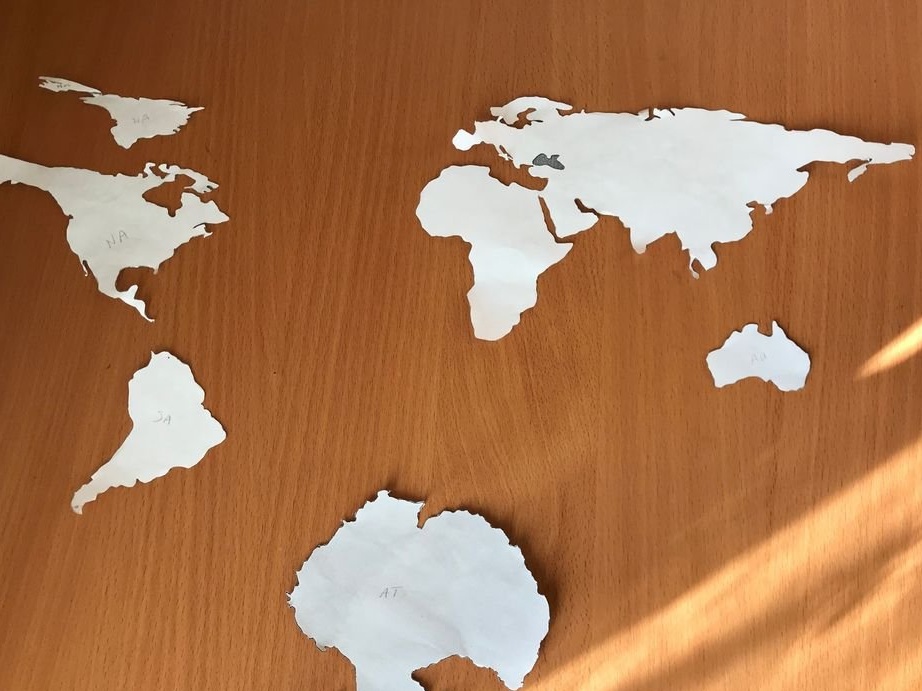
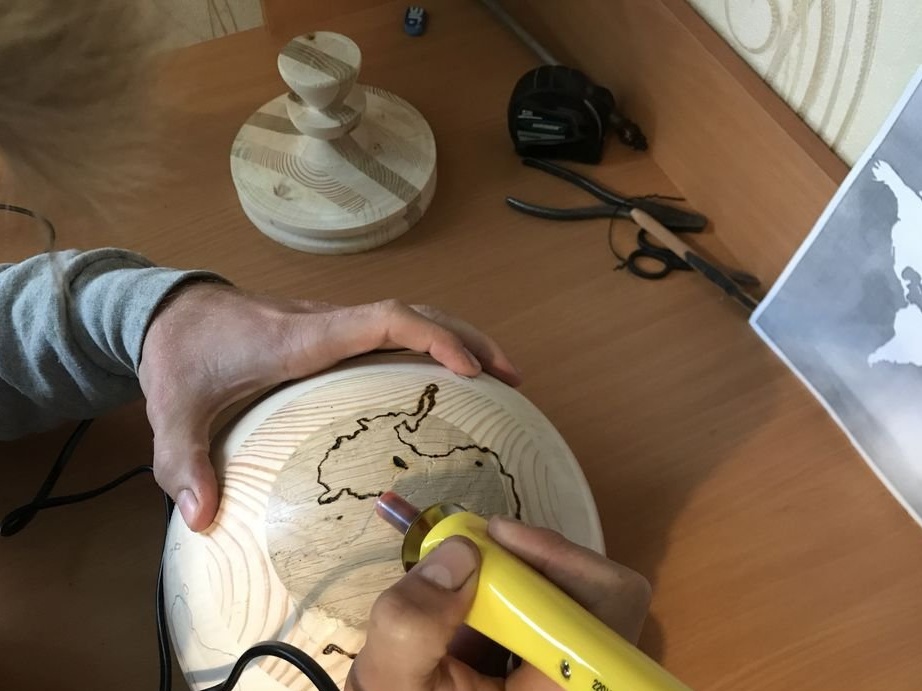
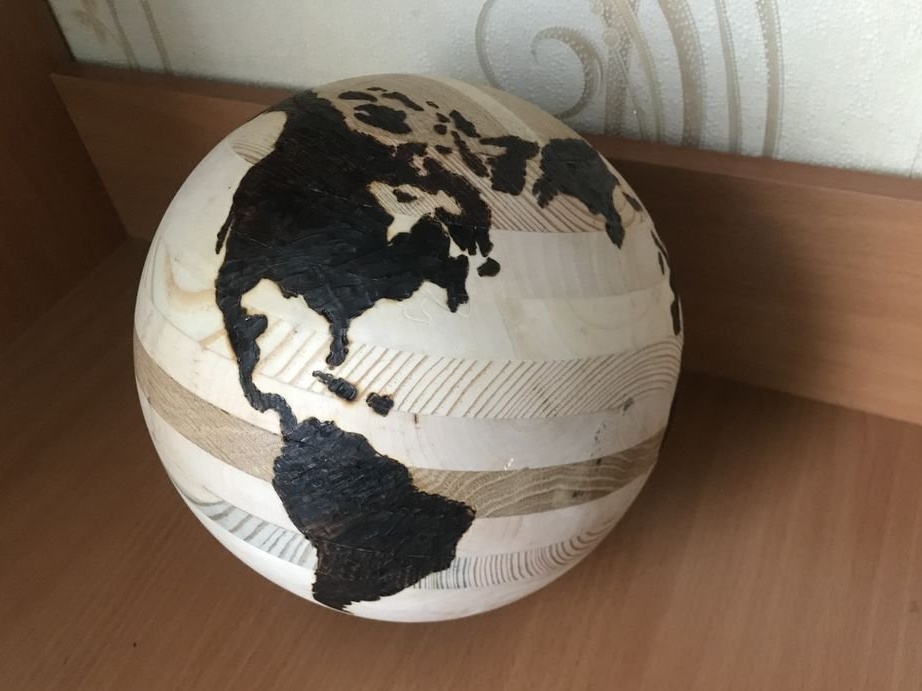
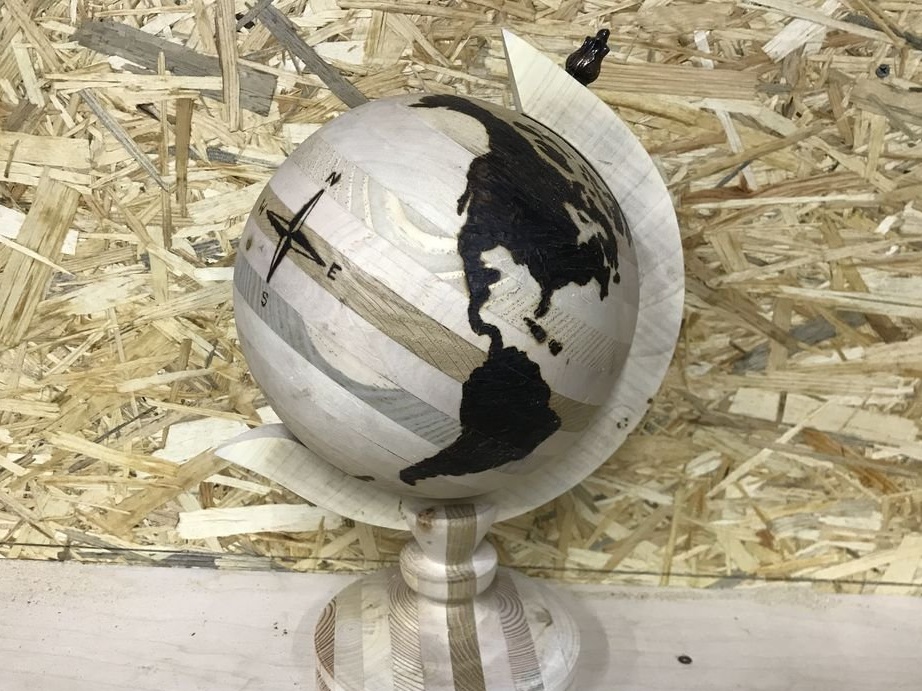
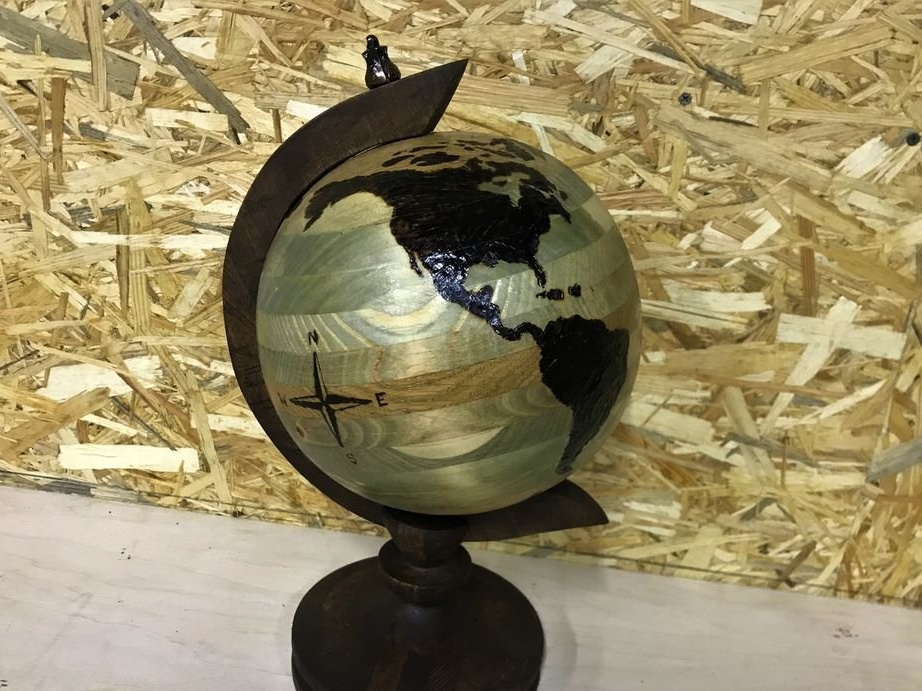
Step seven: transfer the map to the globe
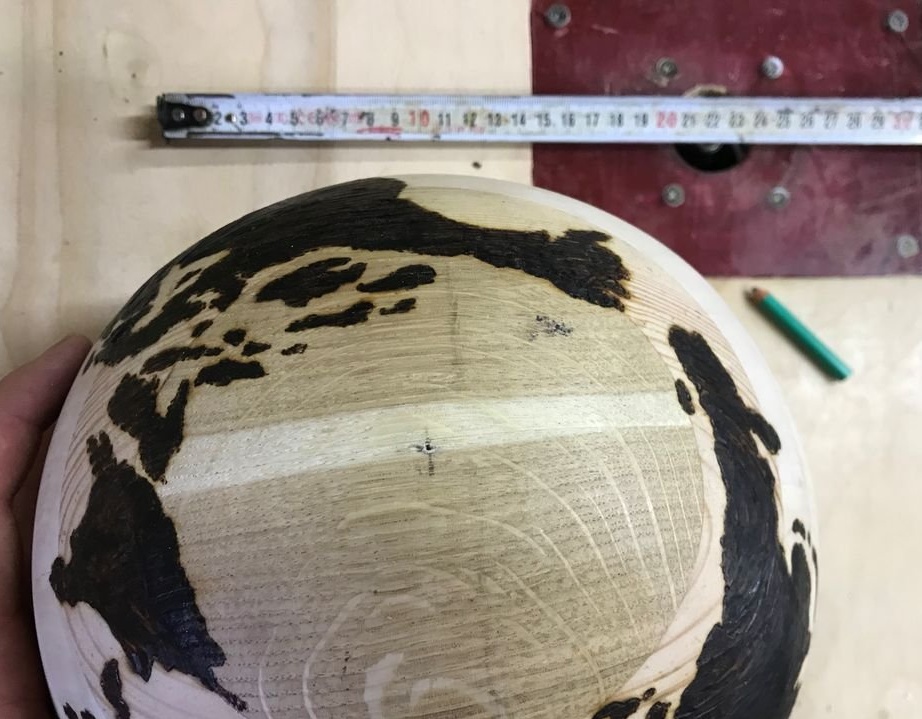
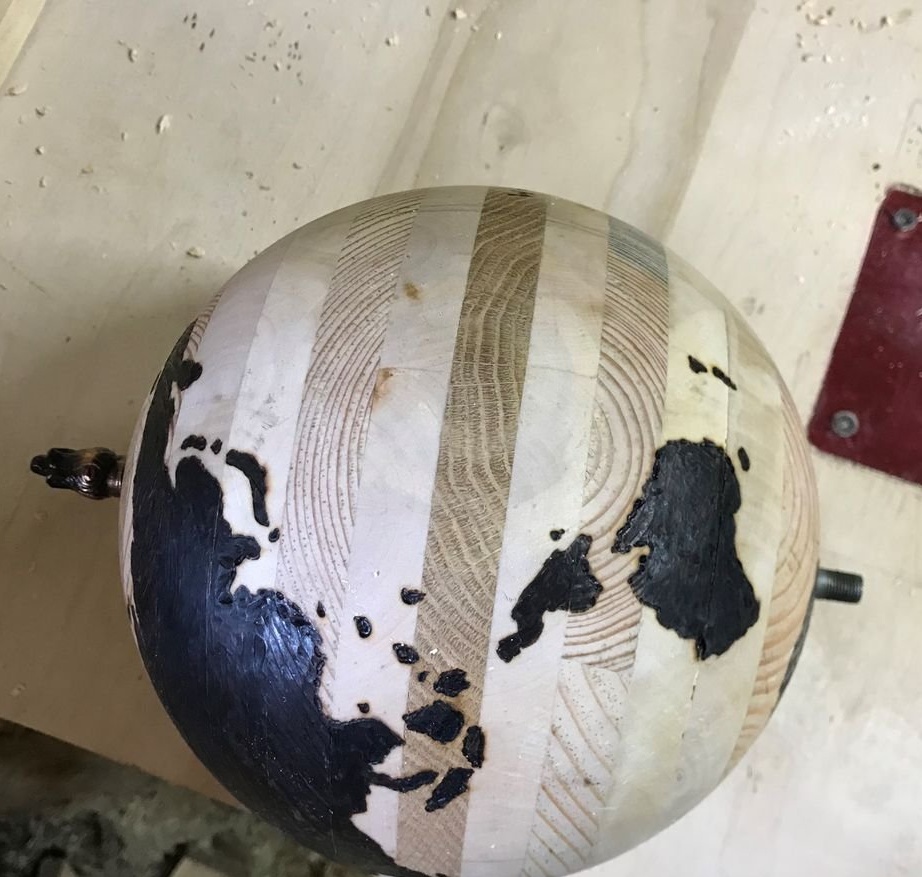
Then the master prints a map of the world, taking into account the diameter of the ball. The printed card is cut out and used as a template. The master did not cut out the small islands, but painted "by eye".

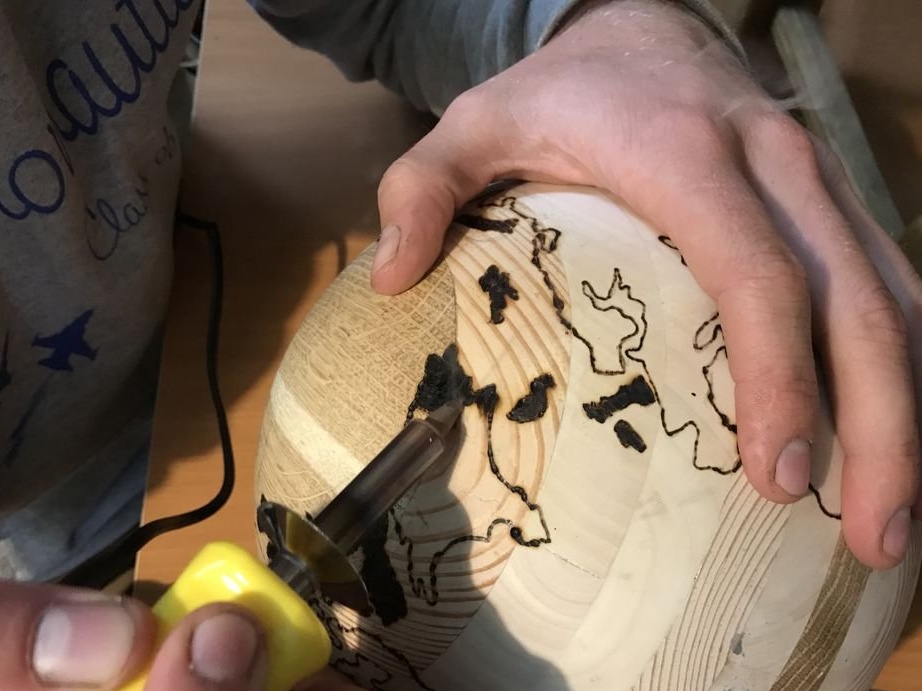
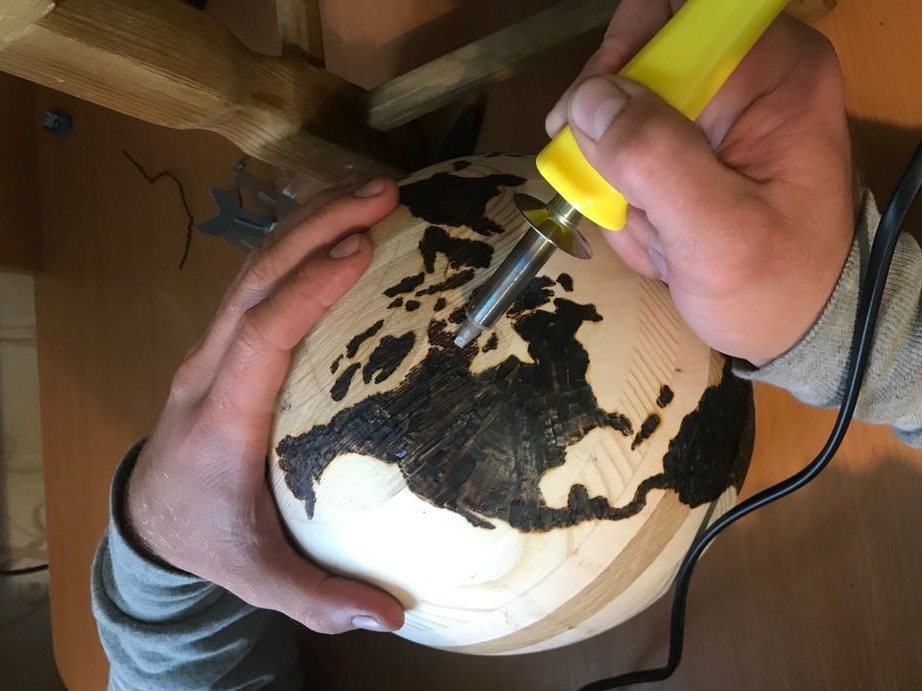
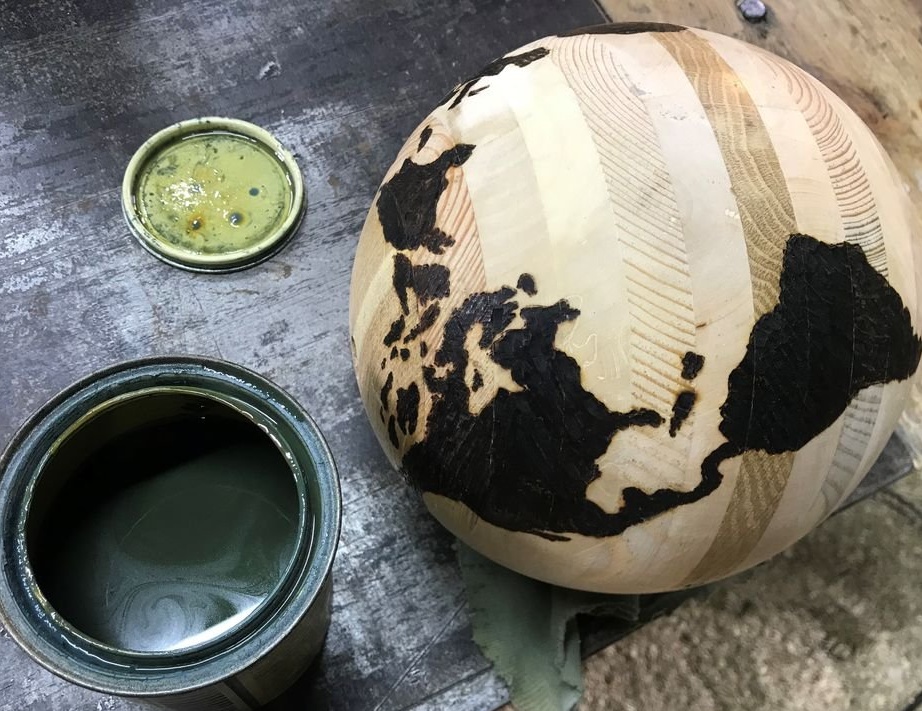
Step Eight: Burning
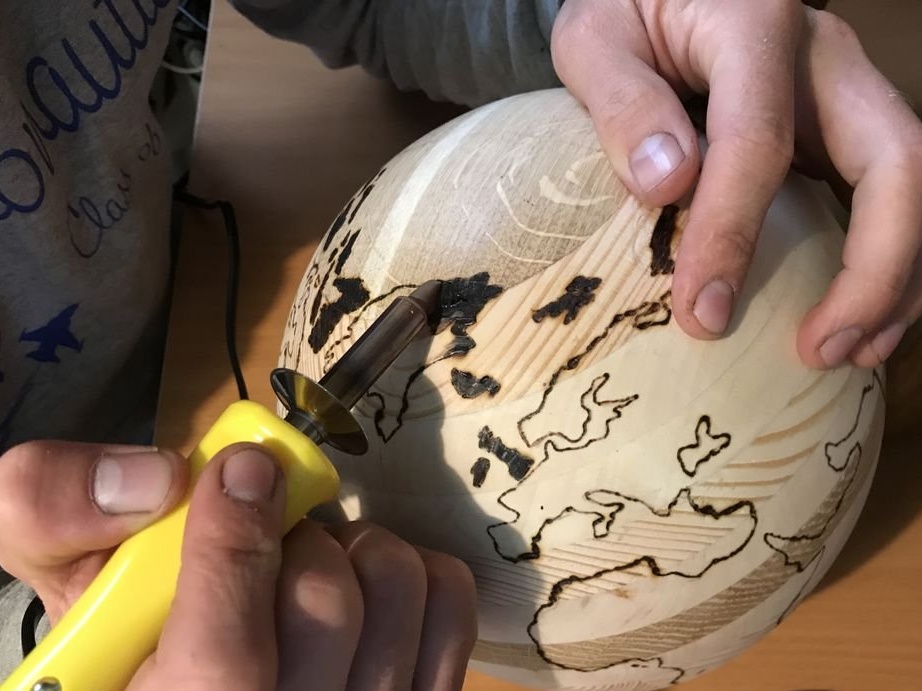
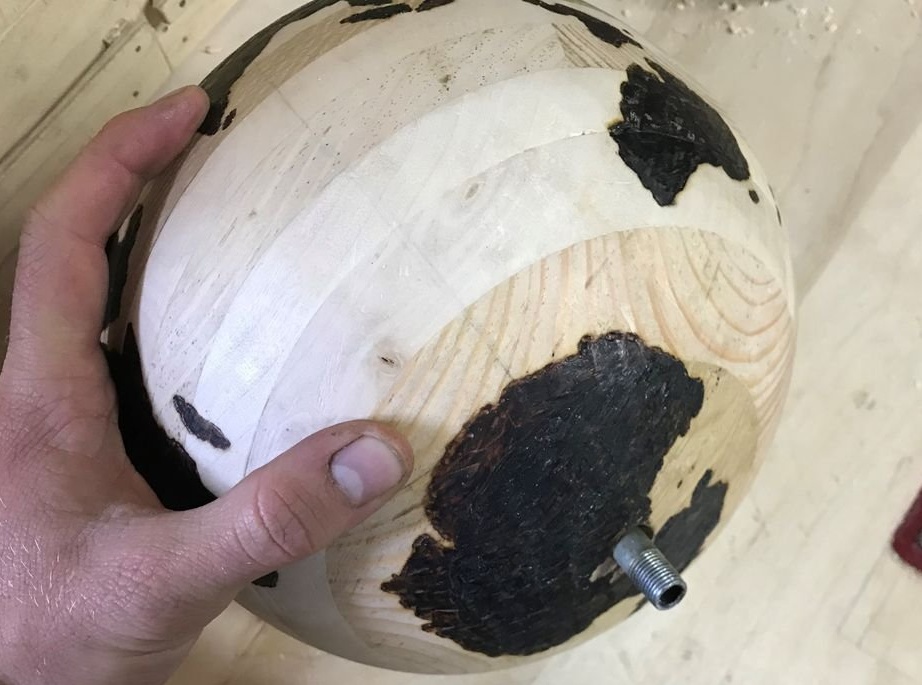
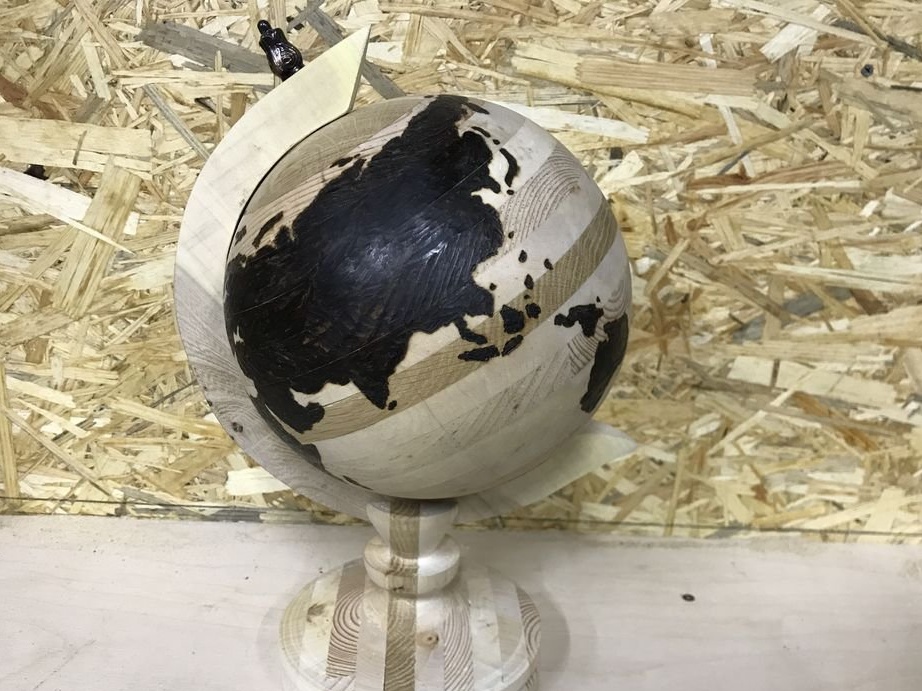
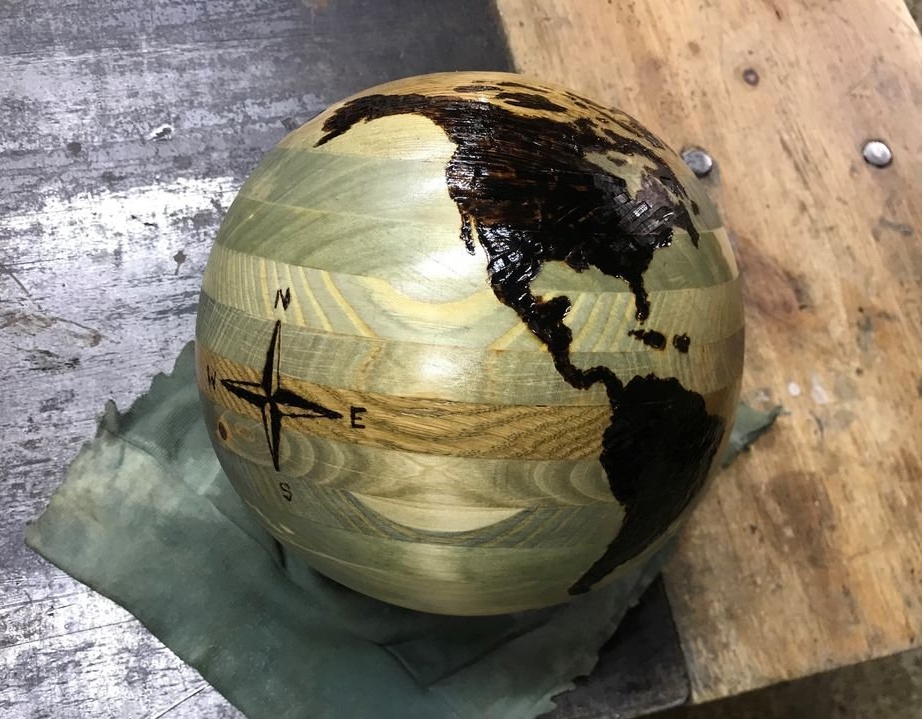
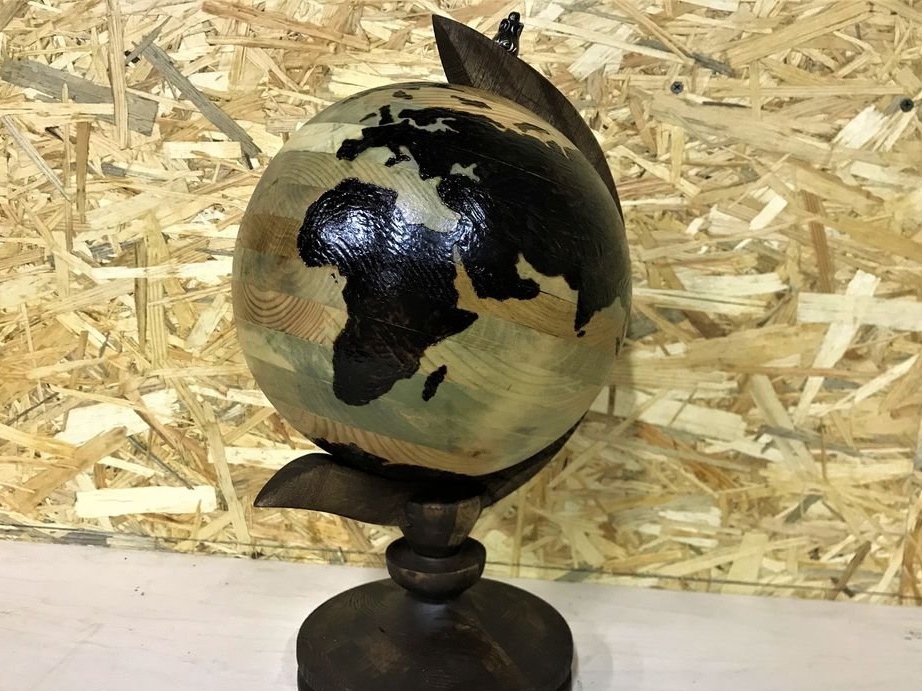
Now the master begins to burn. First burns along the contour of the continent and the island.
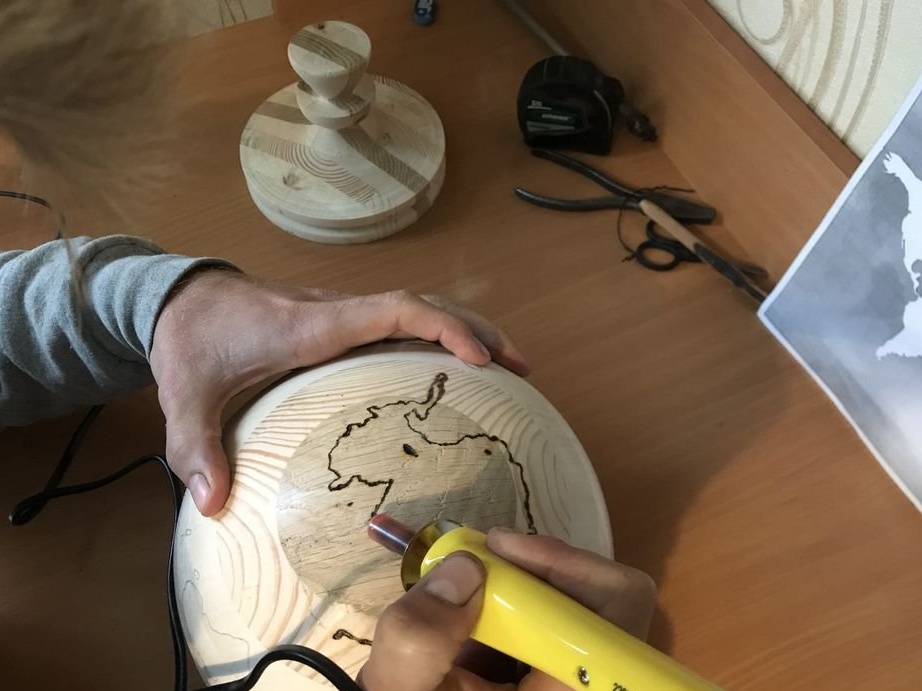
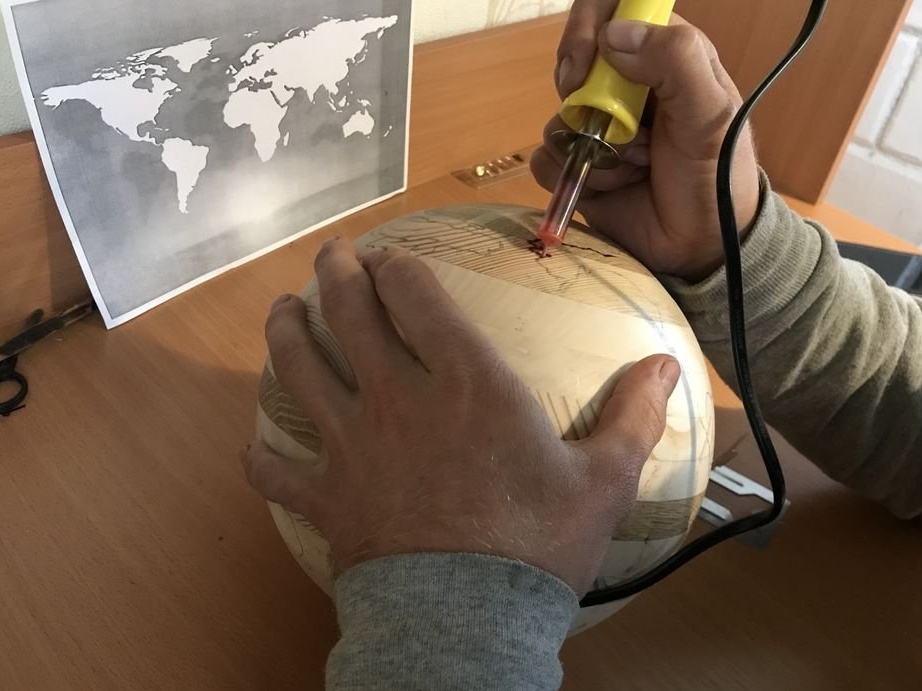
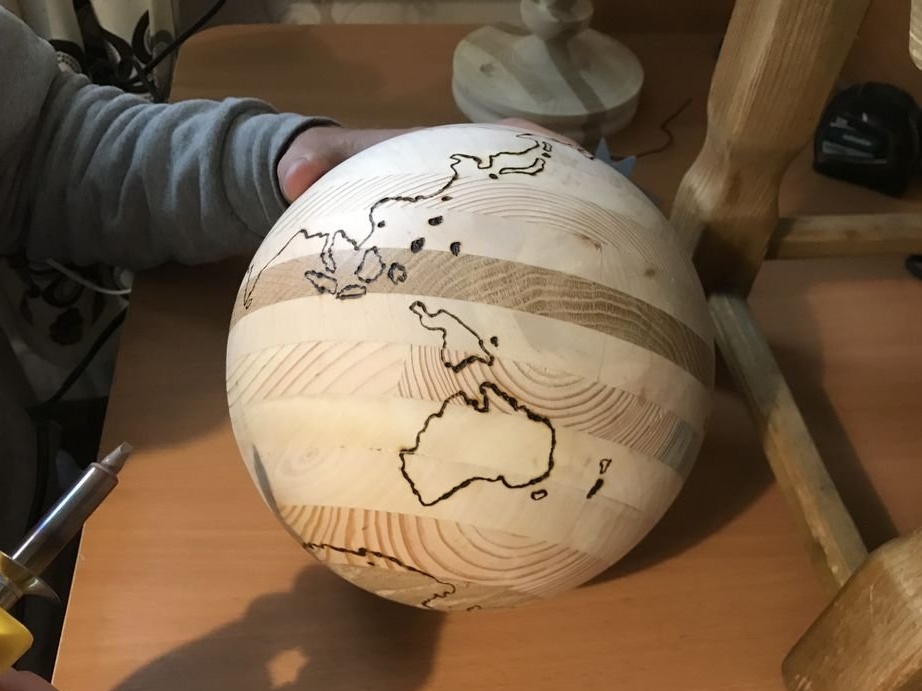
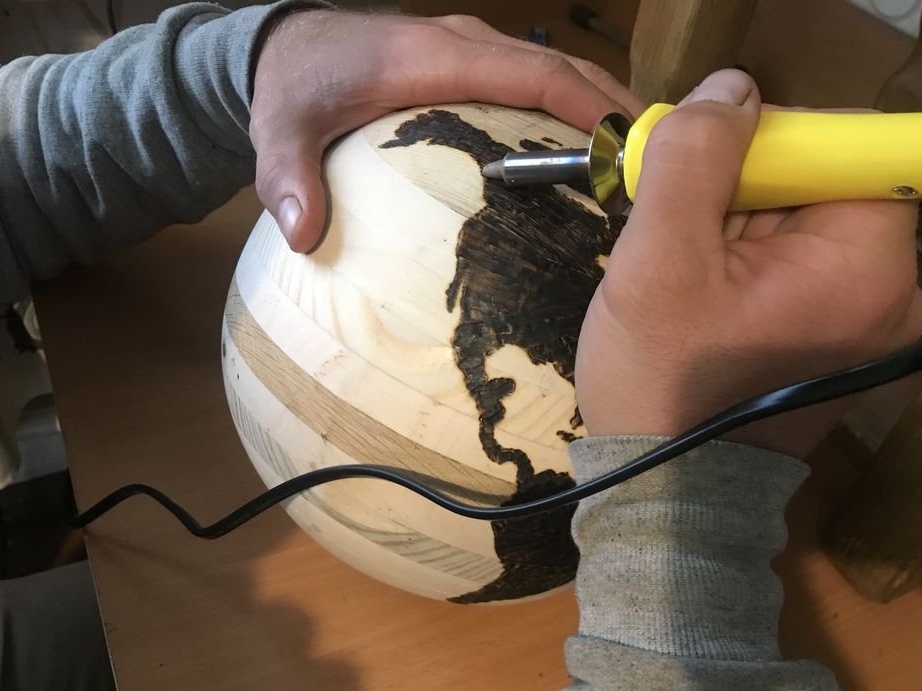
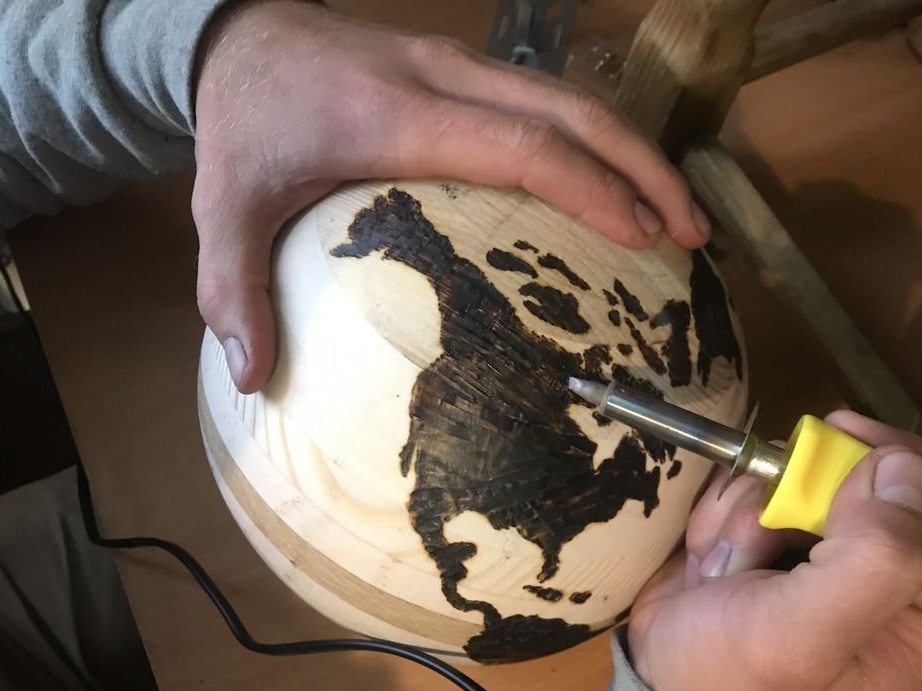
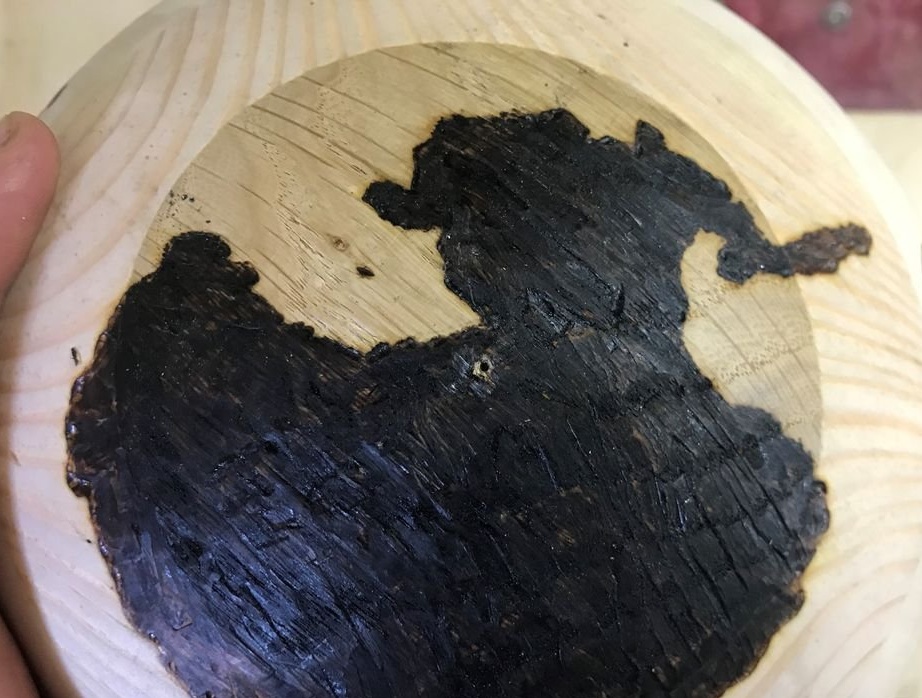
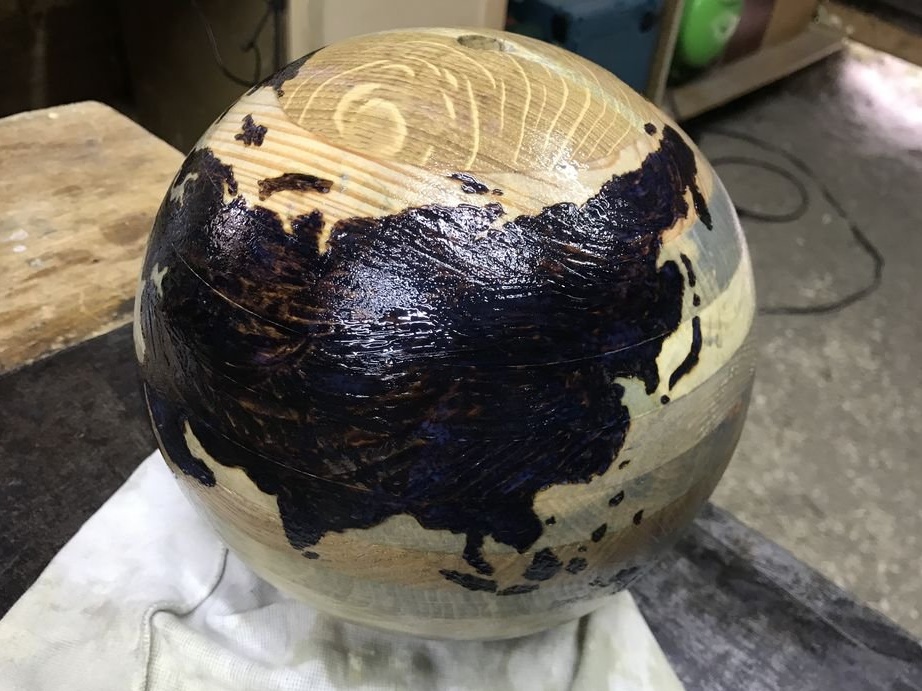
Then burns out the inner part of the continents.
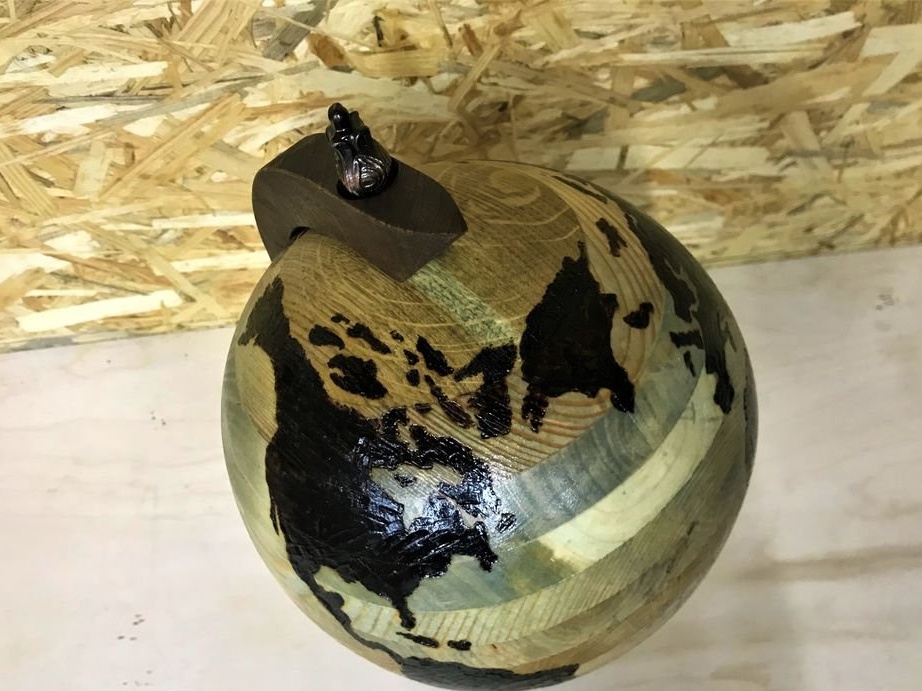
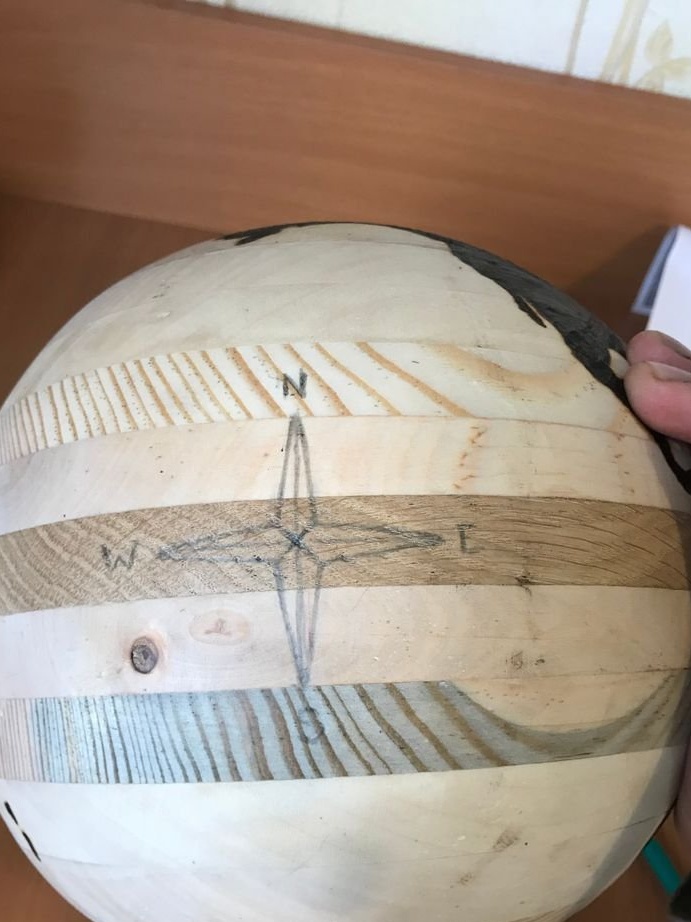
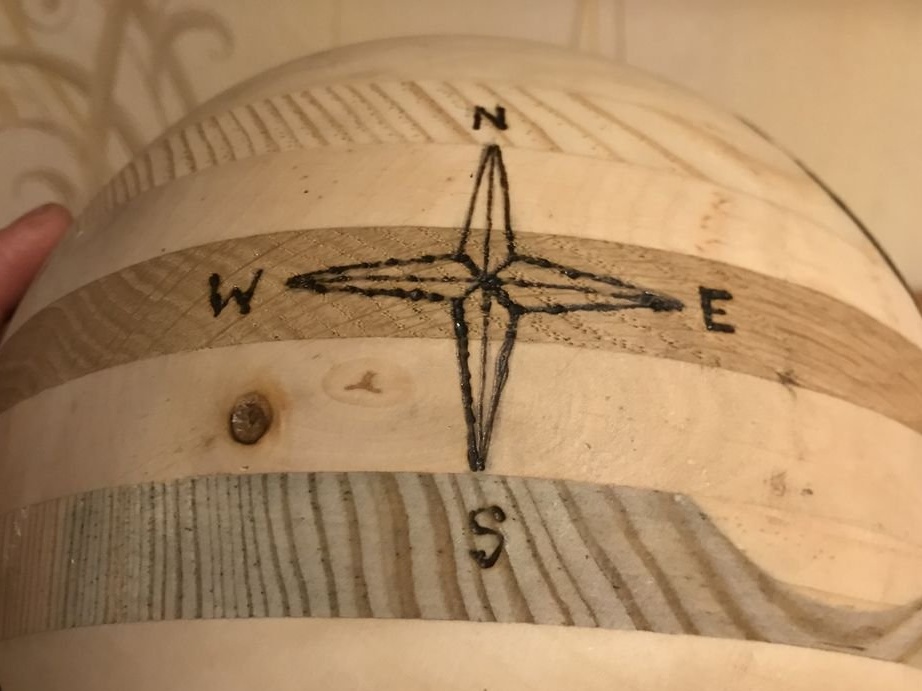
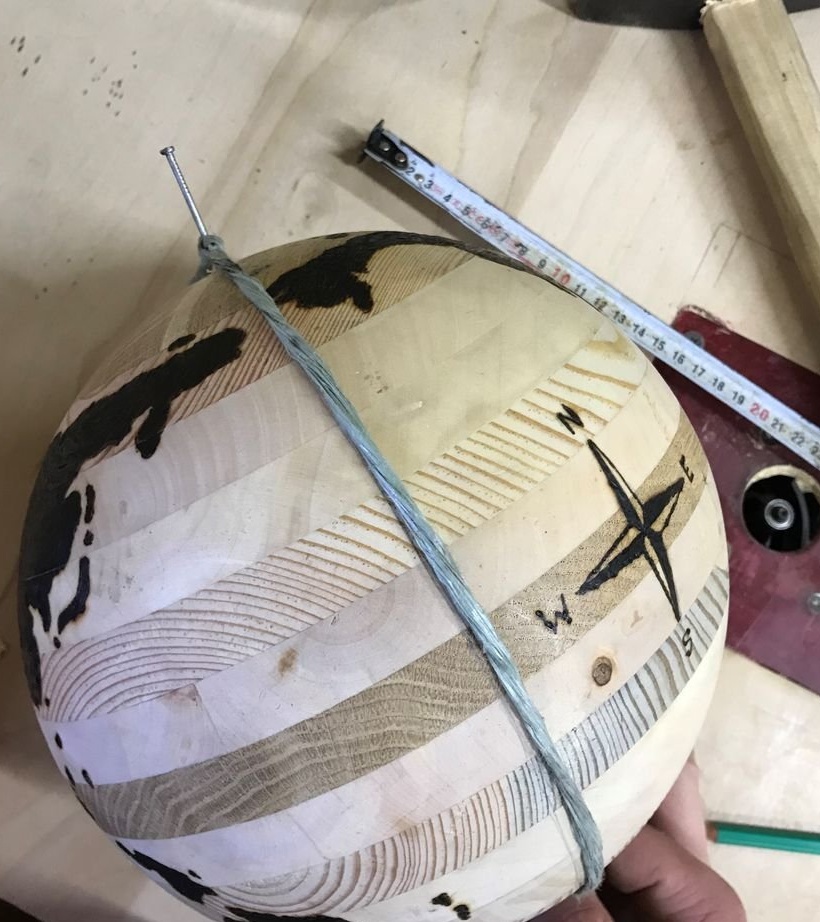
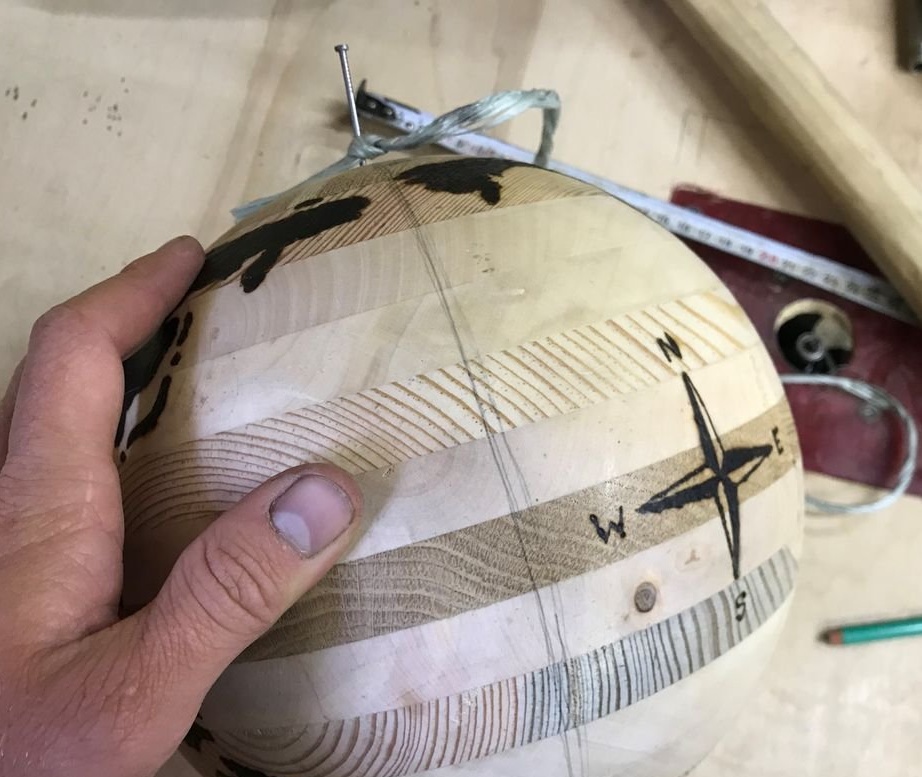
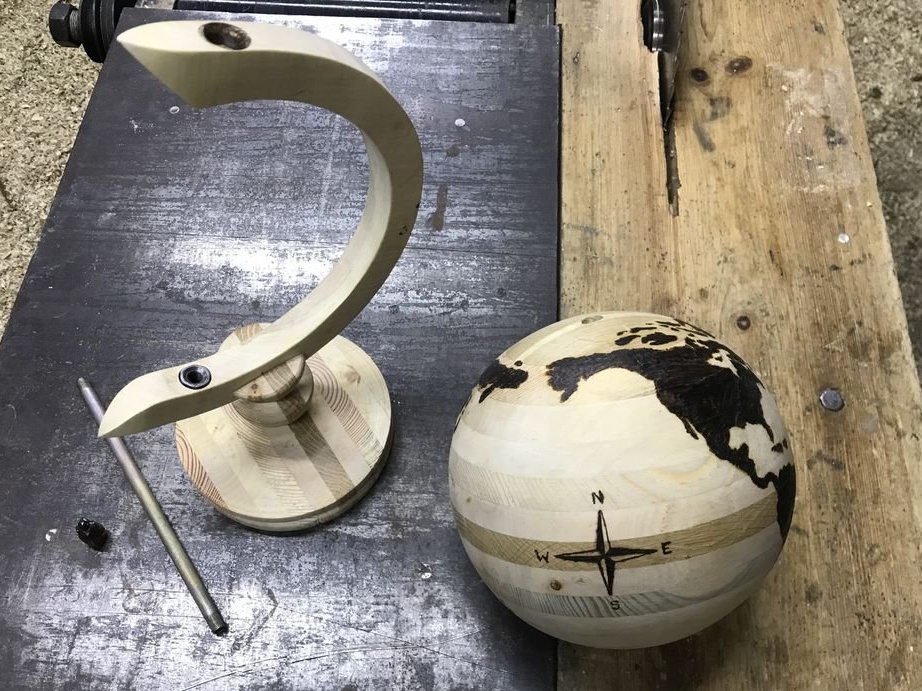
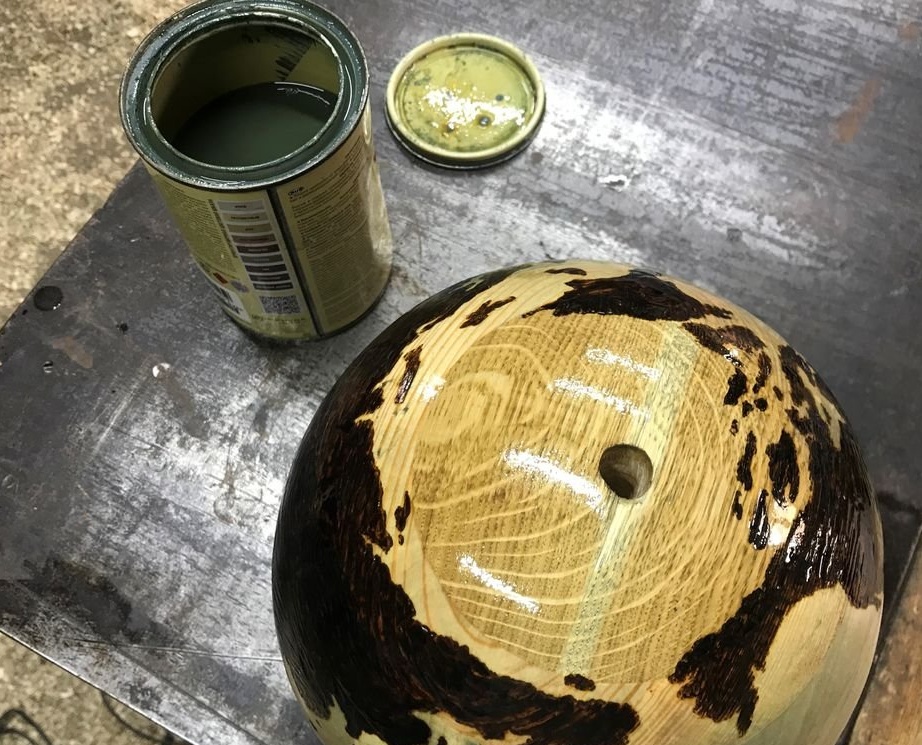
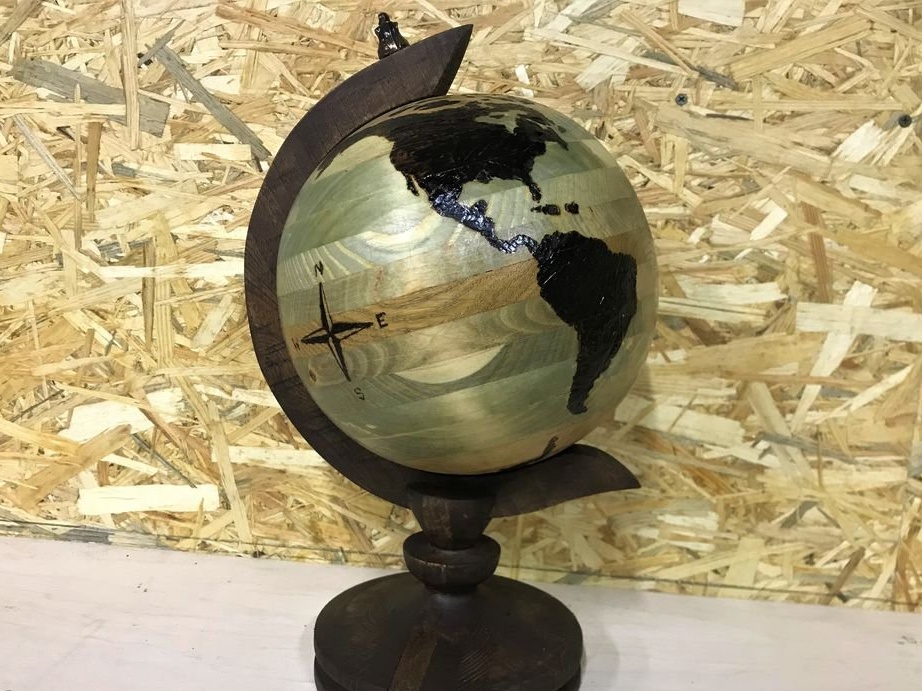
Draws and burns out the compass symbol.
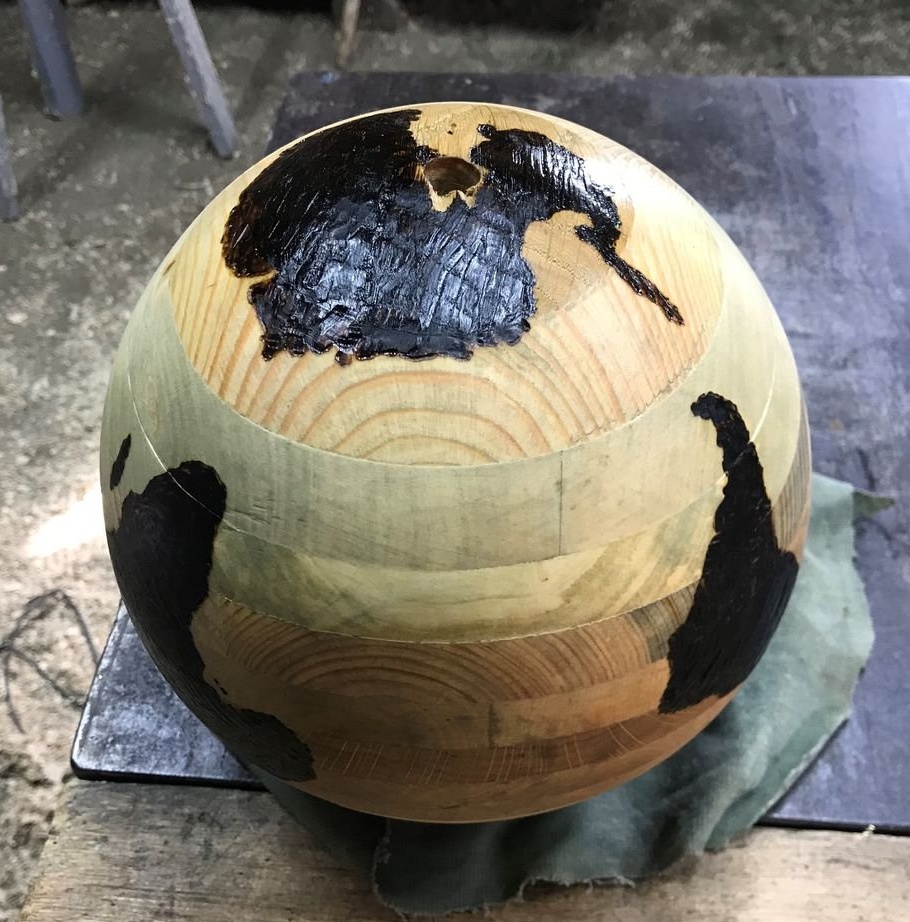
Step Nine: Axis
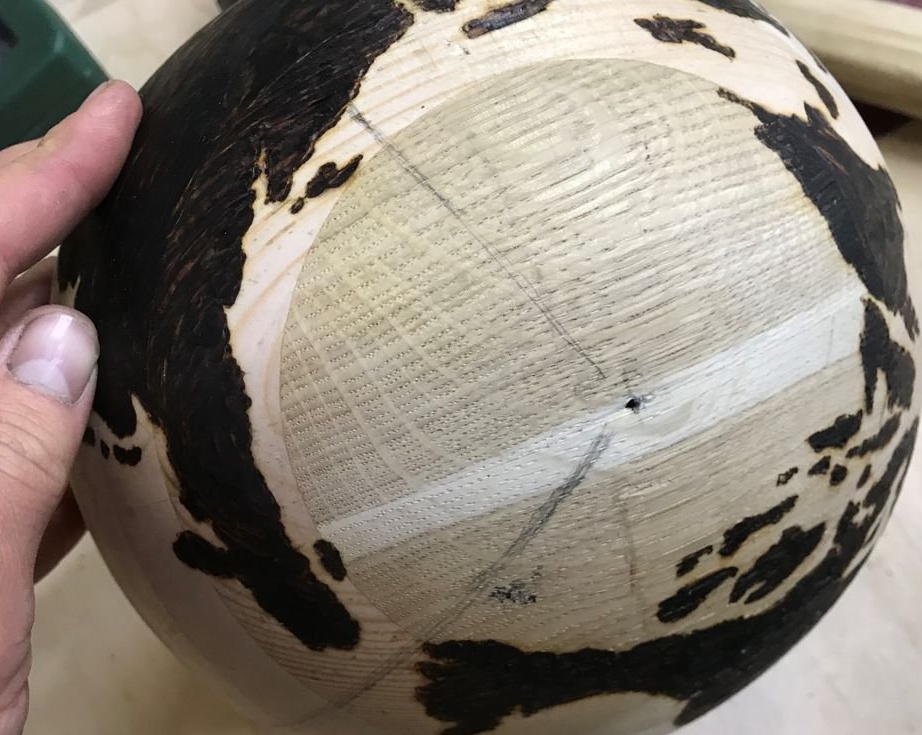
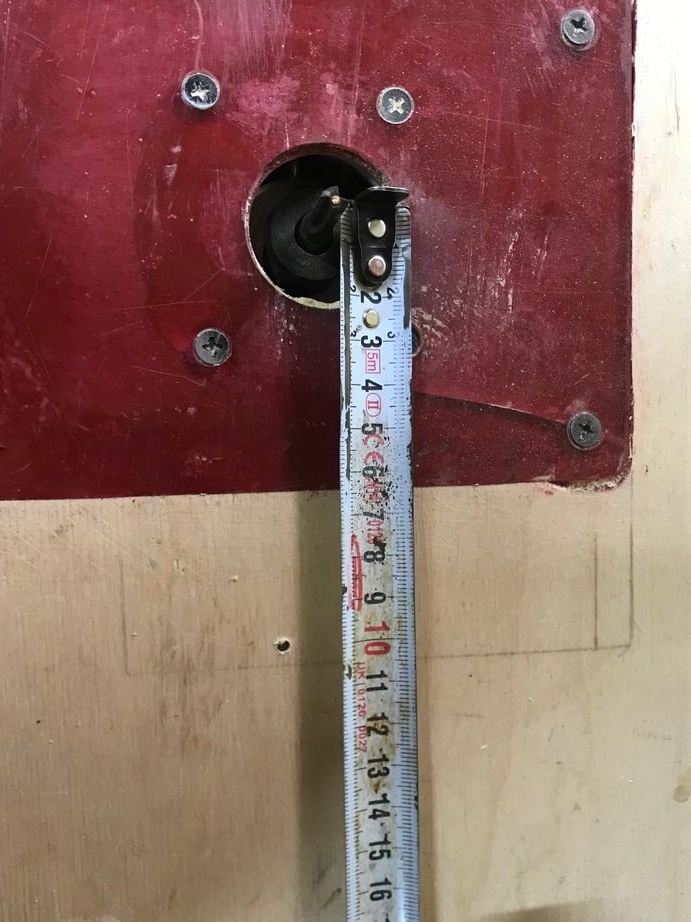
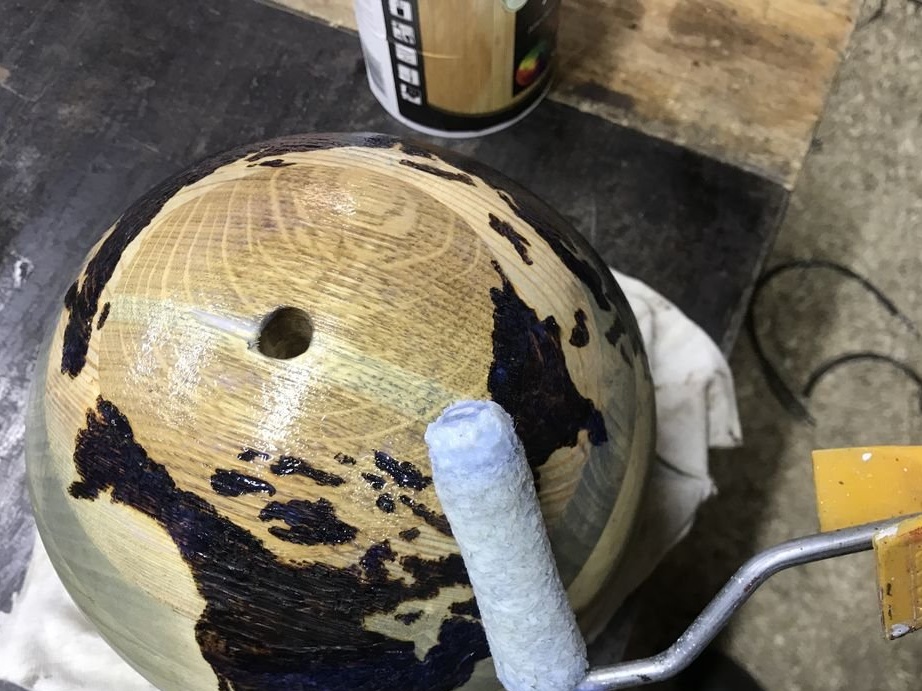
Now you need to drill a through hole in the globe. The wizard marks the center from below and above the globe.
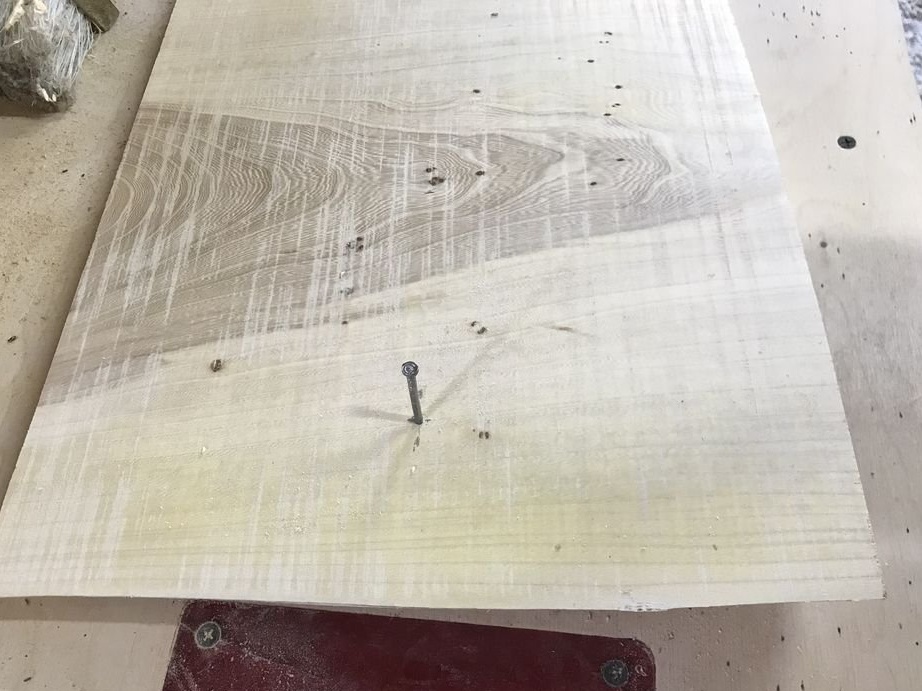
Top in the center hammer a nail and tie a cord. The second end of the cord locates at the South Pole. Draws a line between the poles. Then he turns the globe 90 degrees and draws a second line.
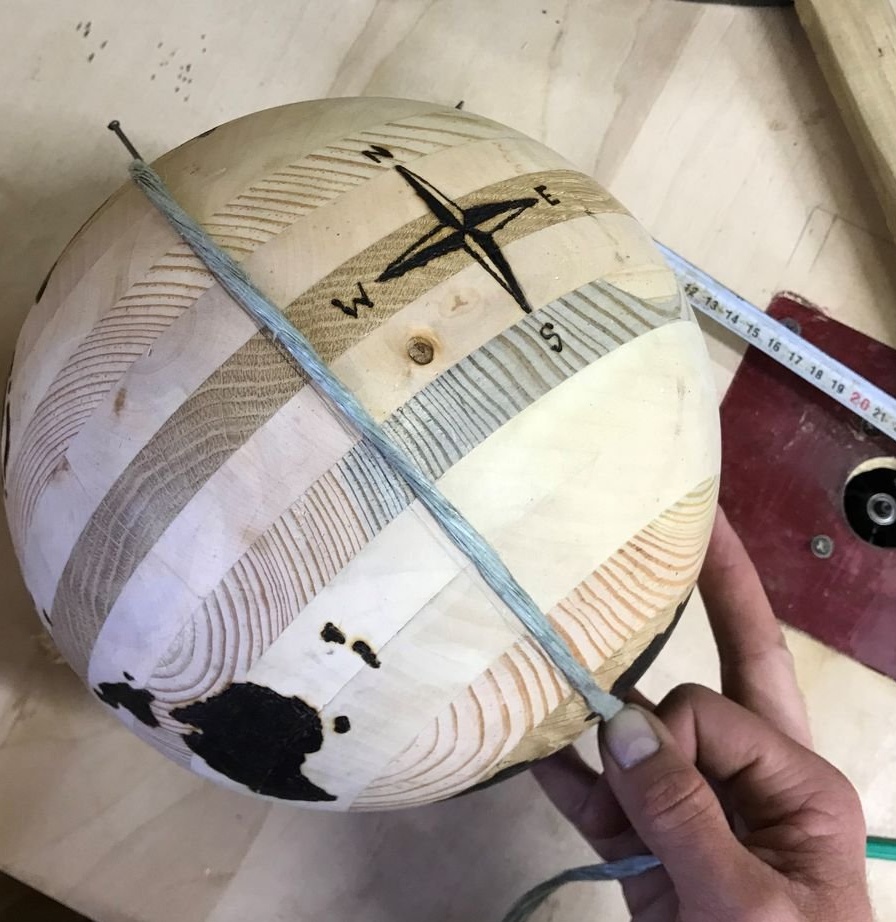
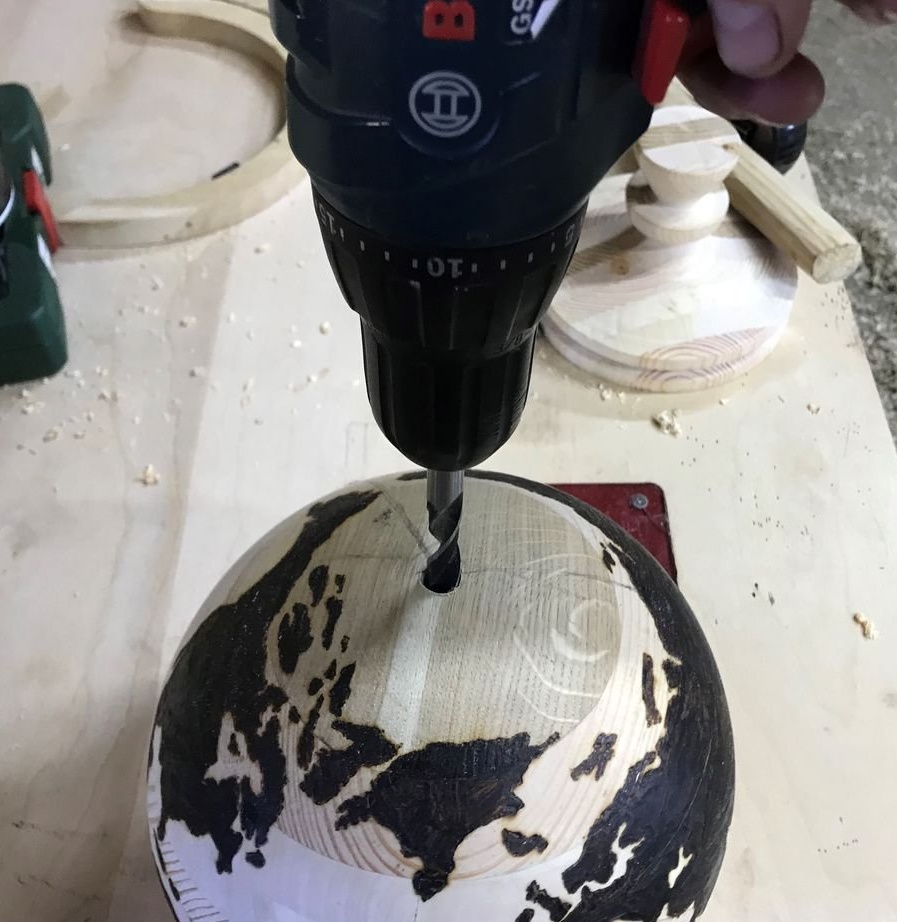
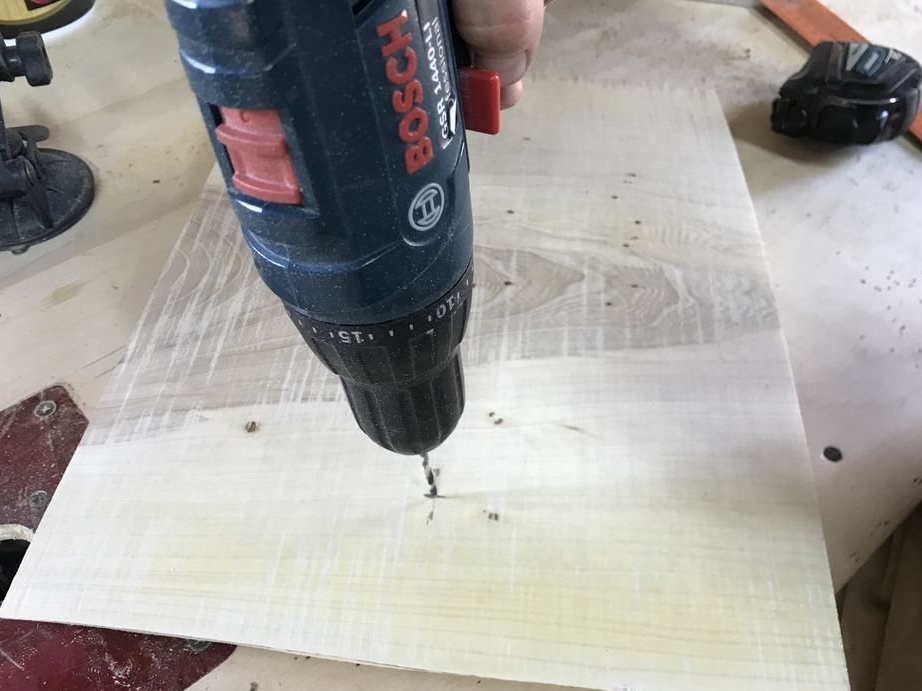
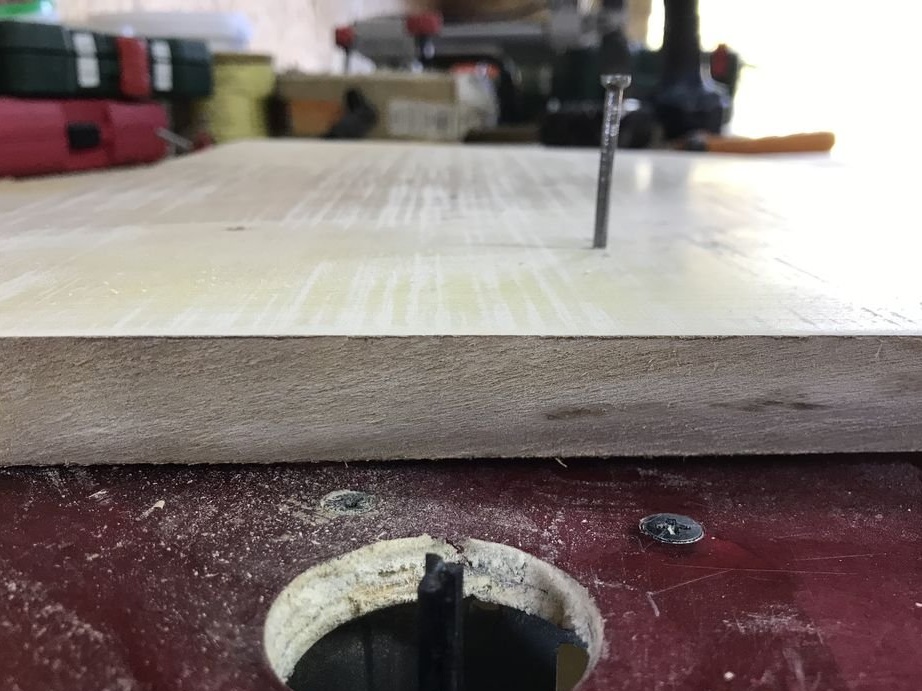
Then, focusing on the lines and turning the globe every 2 cm of drilling, drills a through hole.
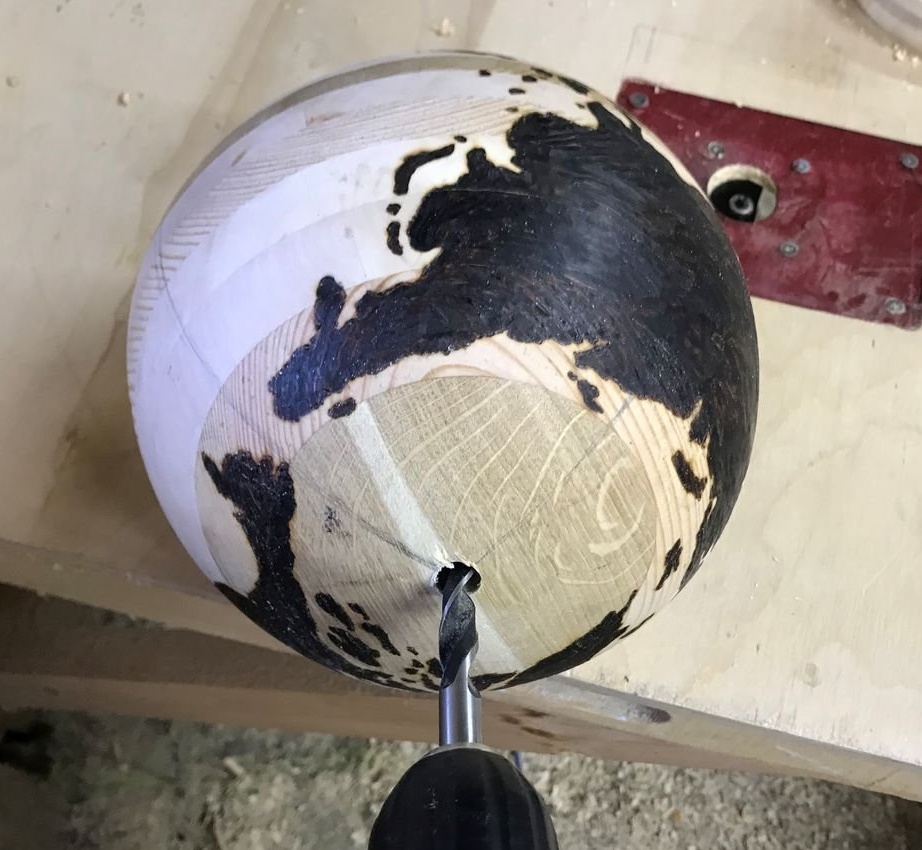
Preset axis.
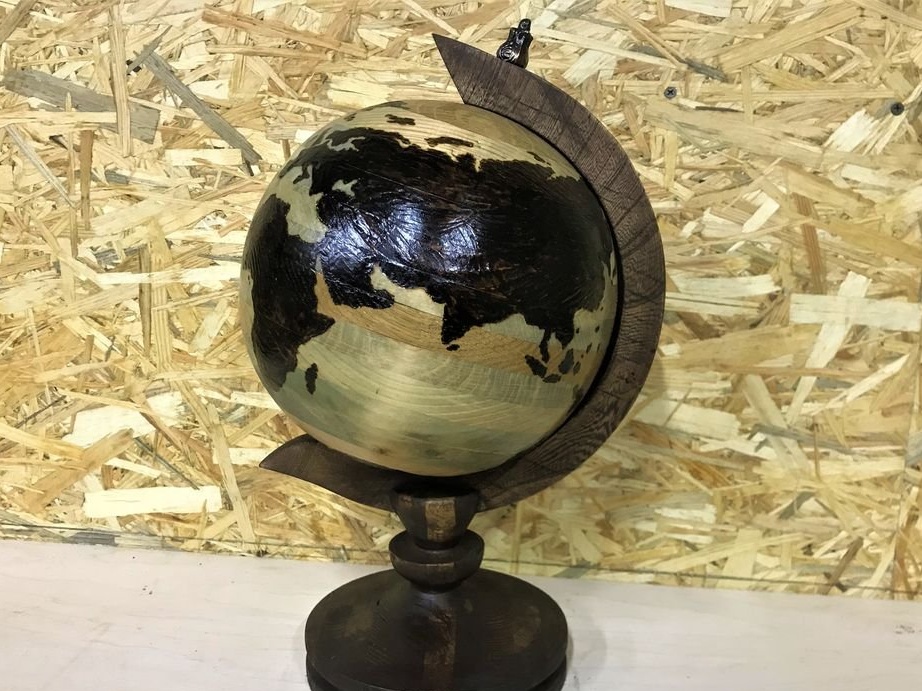
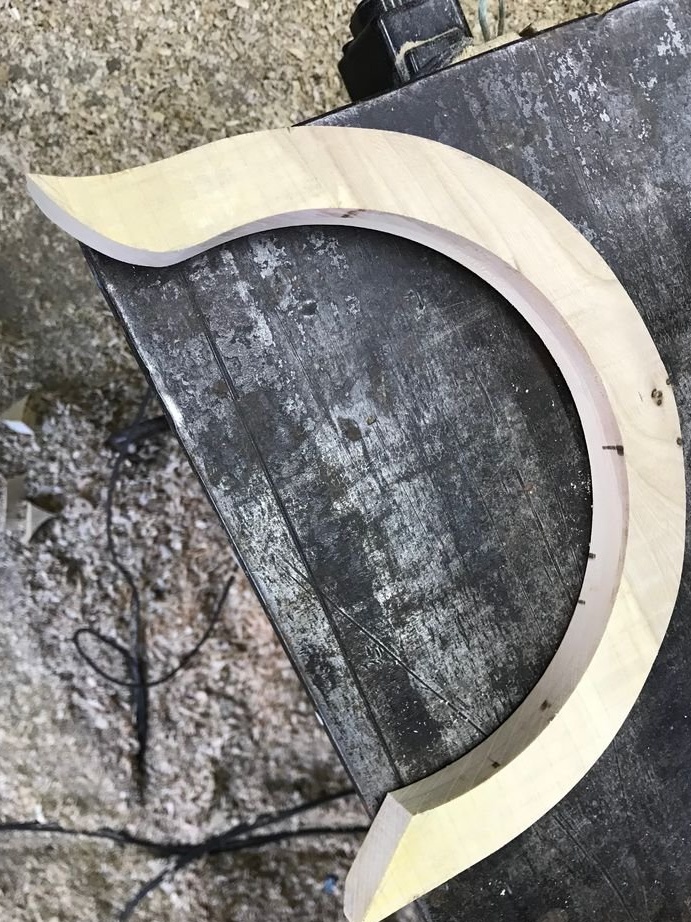
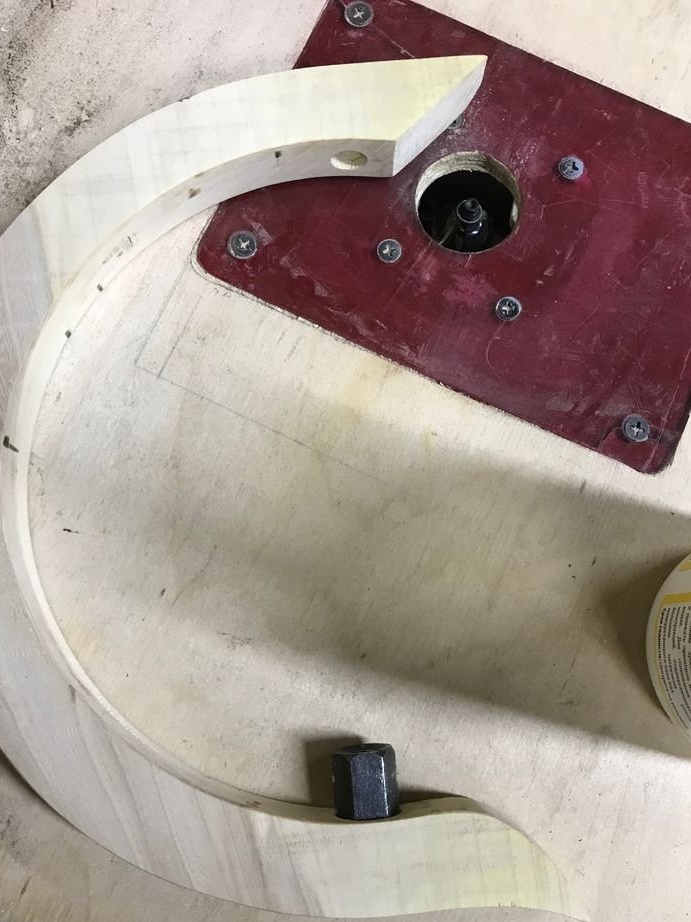
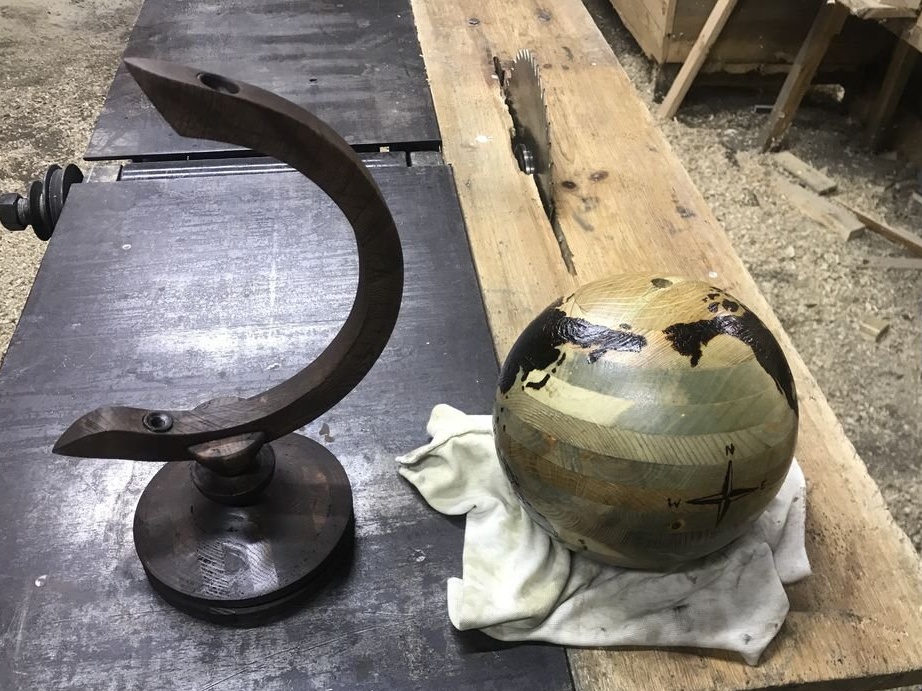
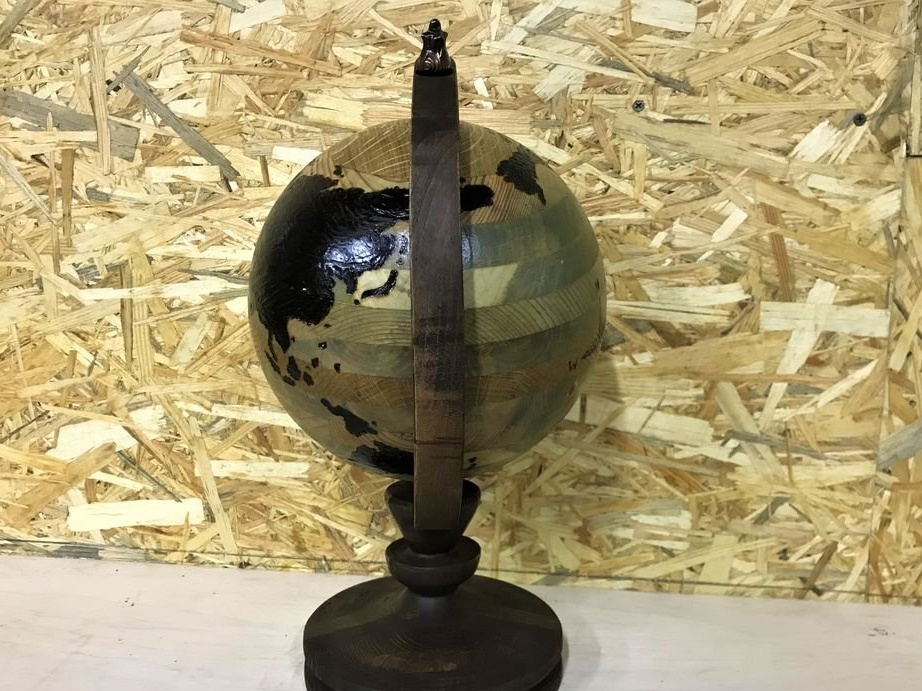
Step Ten: Arc
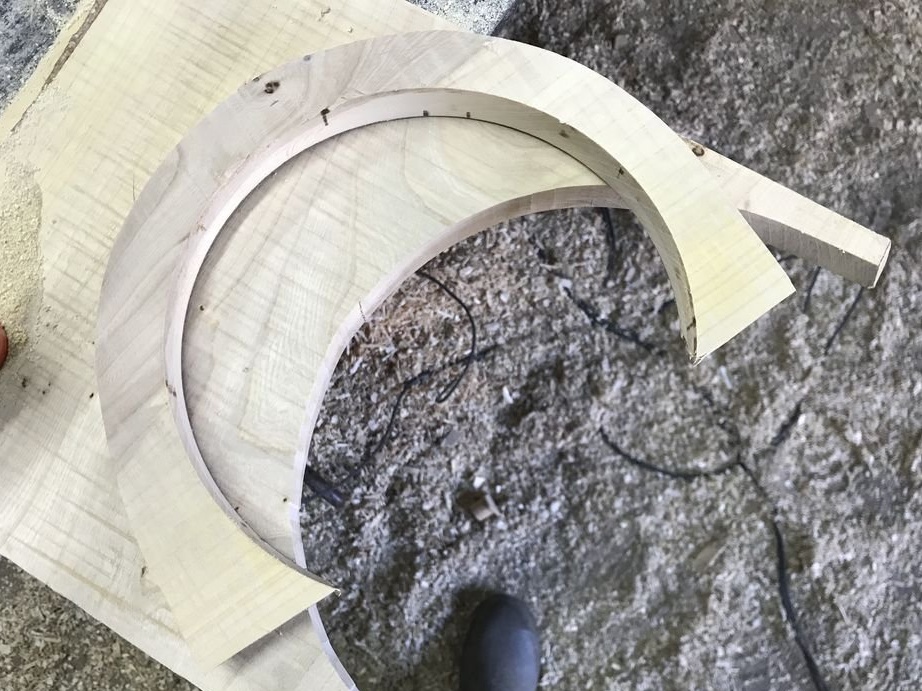
For the arc, the master uses elm.
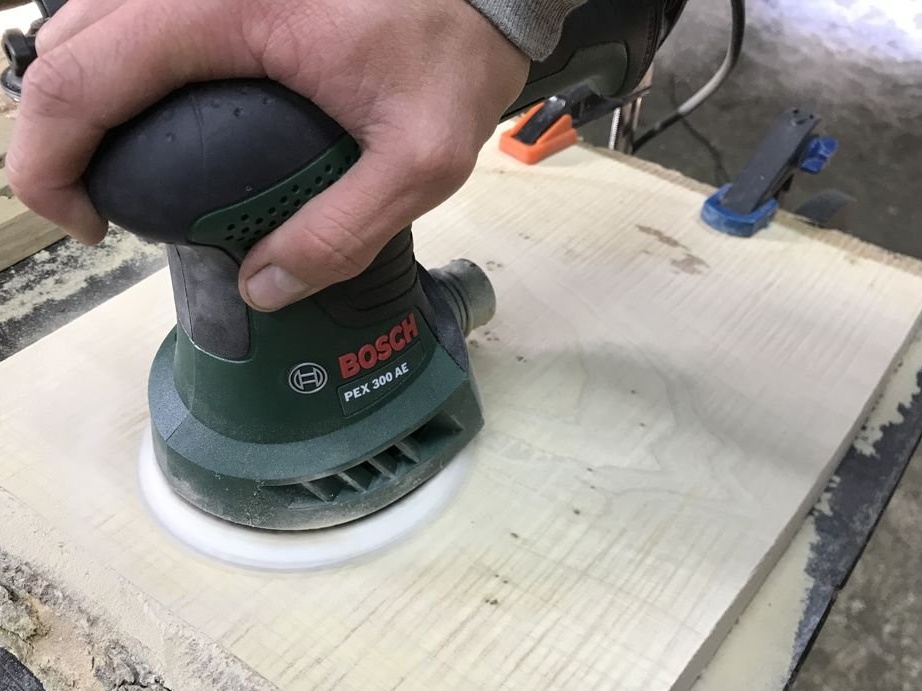
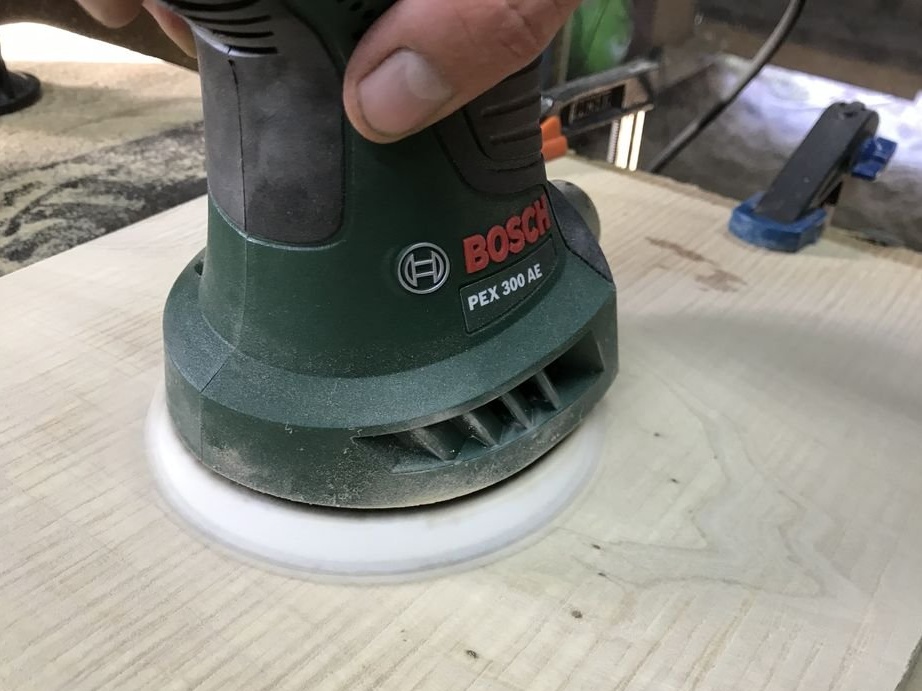
Grinds the board.

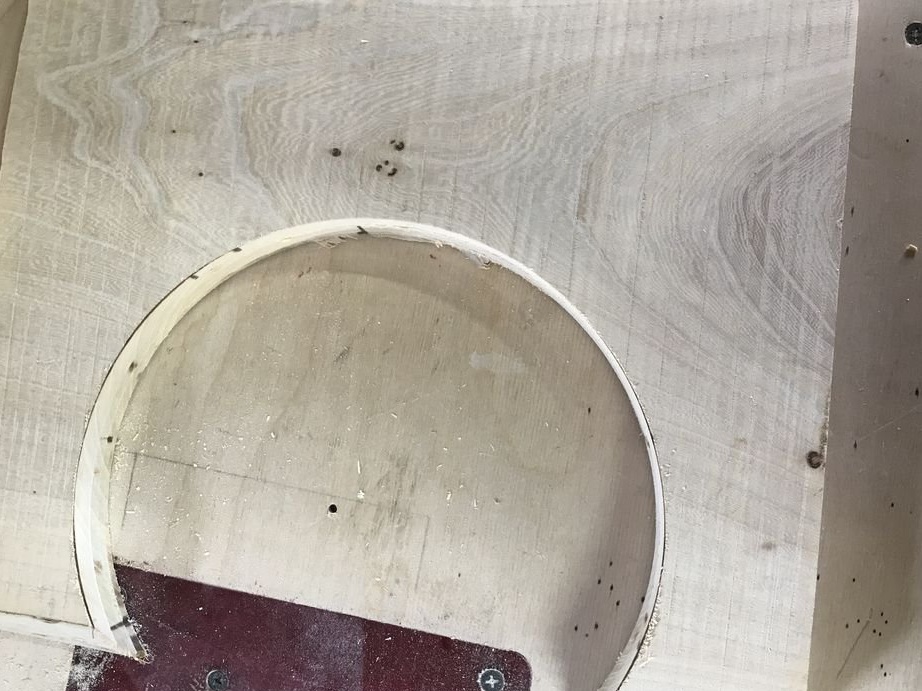
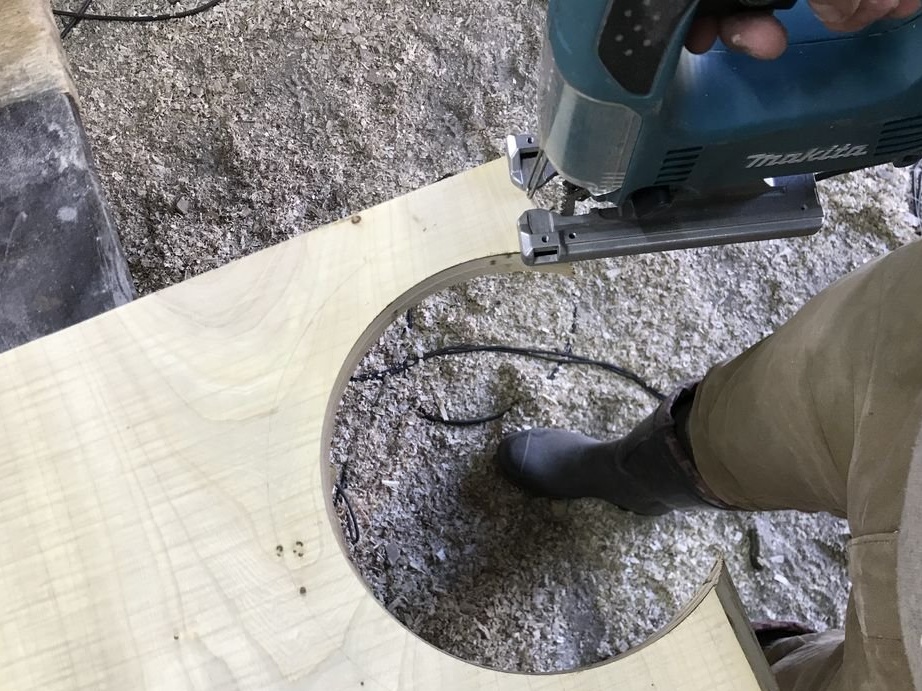
The inner diameter of the arc is 0.5 cm larger than the diameter of the globe. The master marks the board. It cuts the inside diameter with a mill, and the outside with a jigsaw.
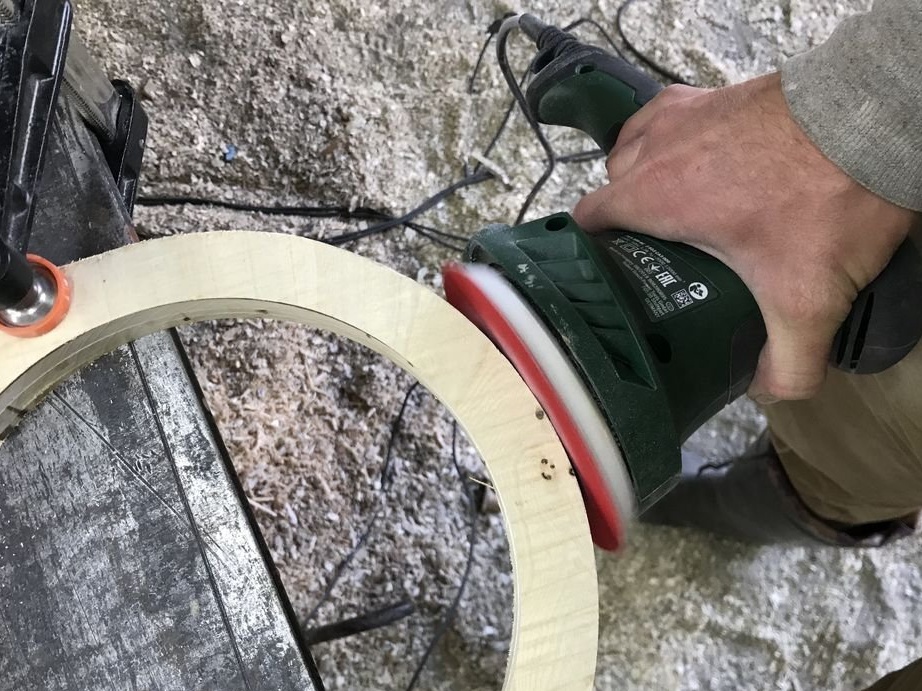
Grinds the arc.
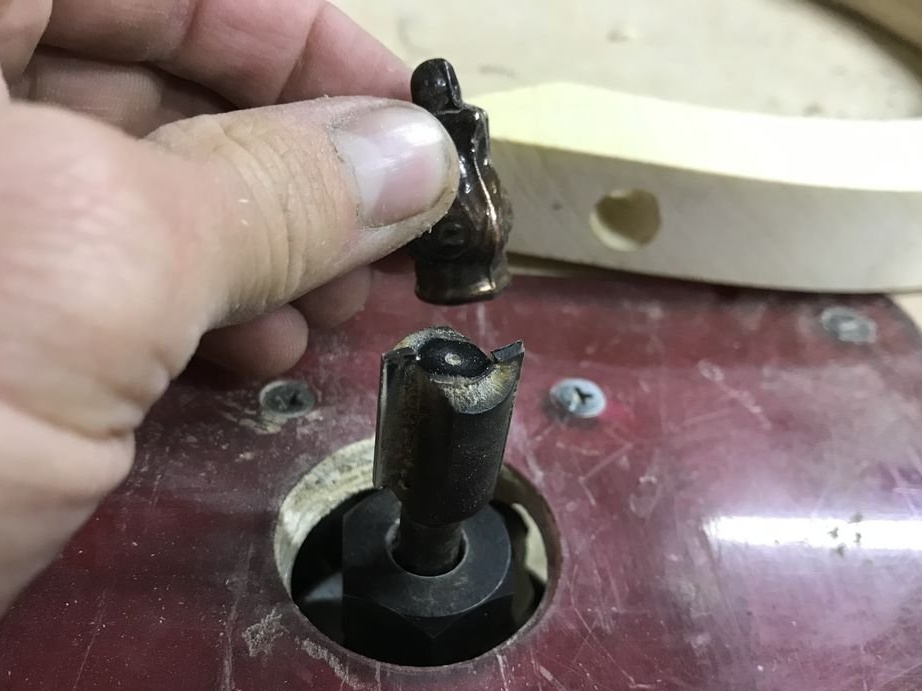
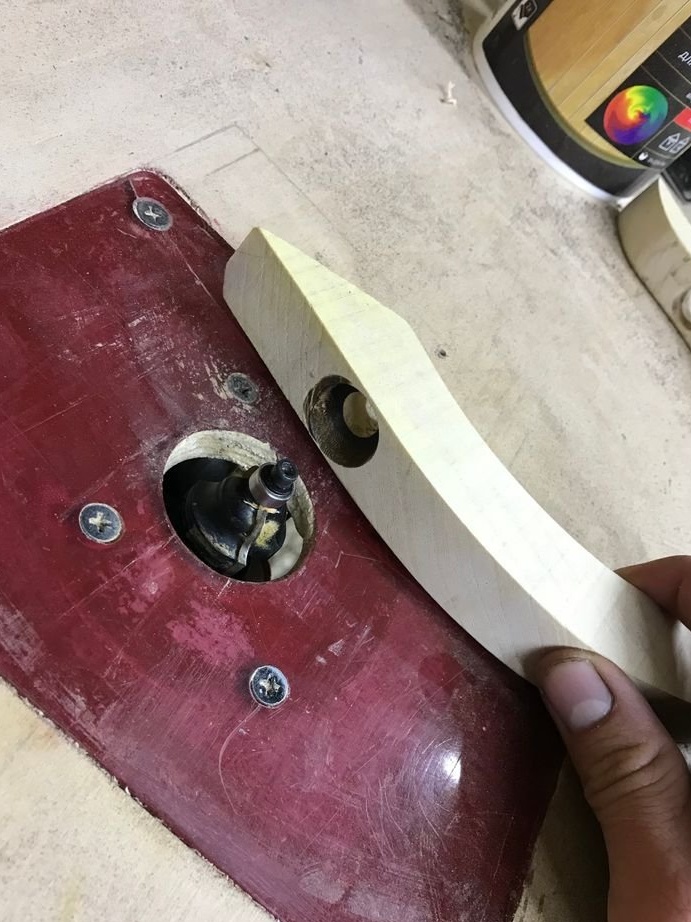
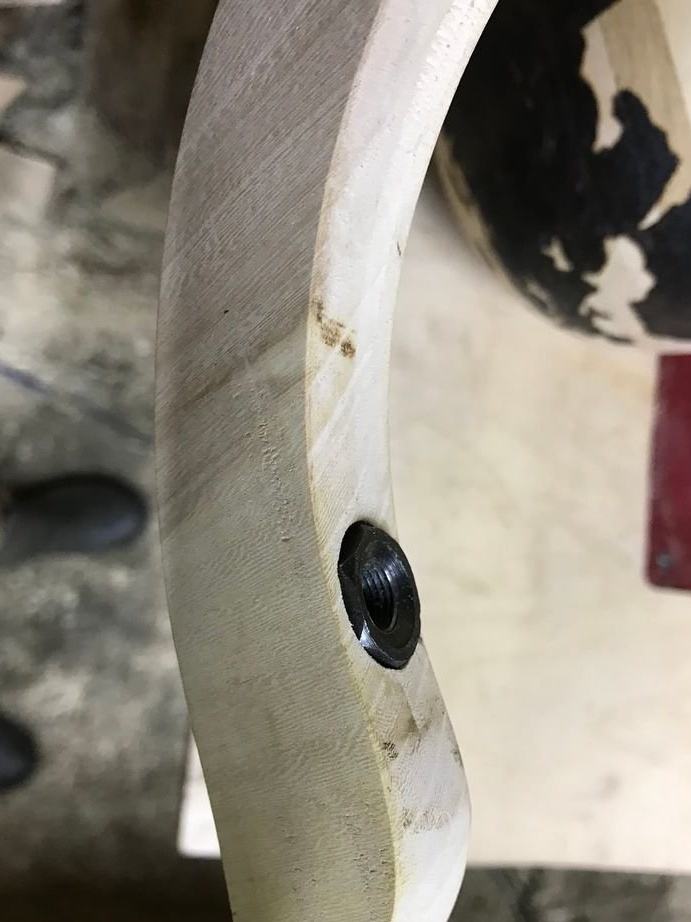
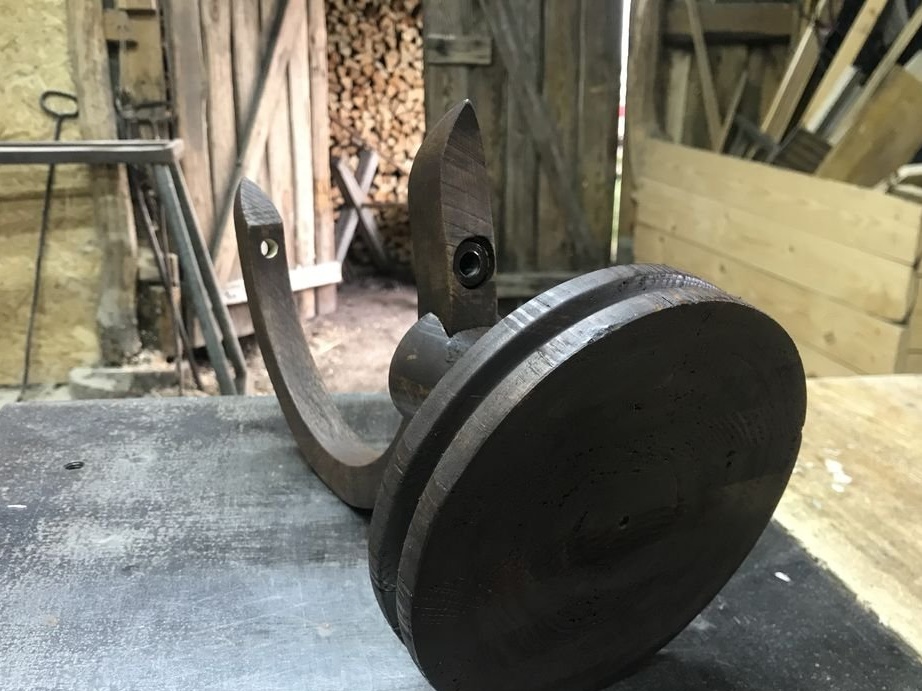
On two, opposite the end of the arc, drills holes.
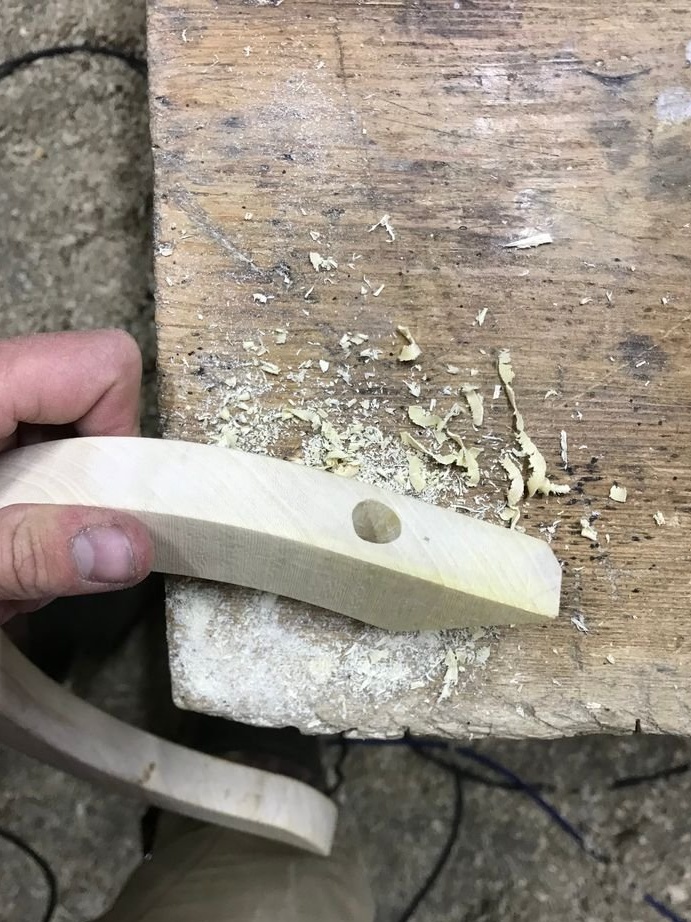
Installs a threaded sleeve in the lower hole.

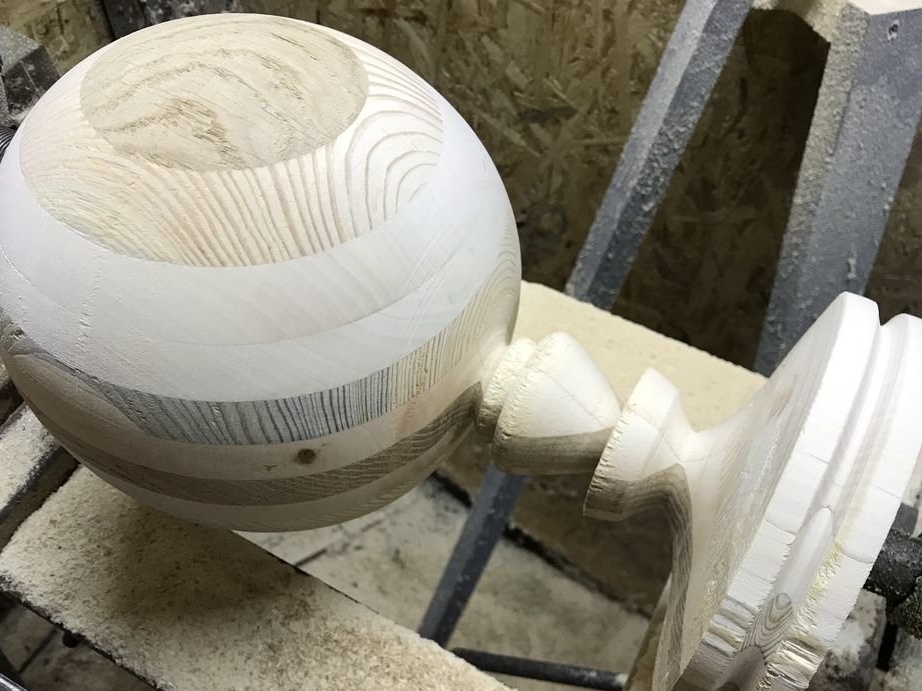
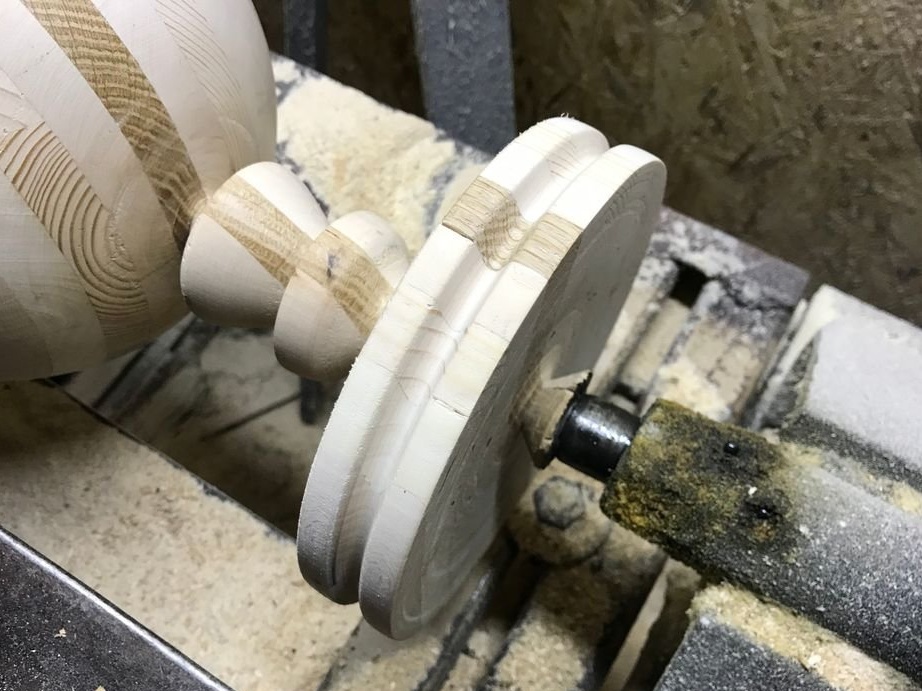
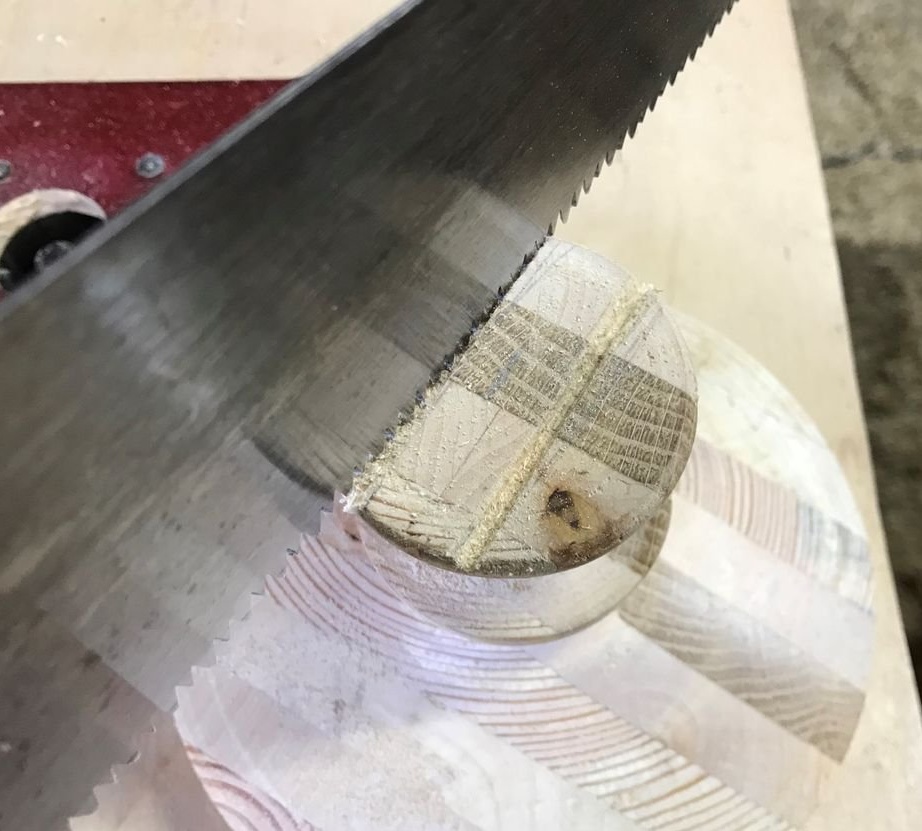
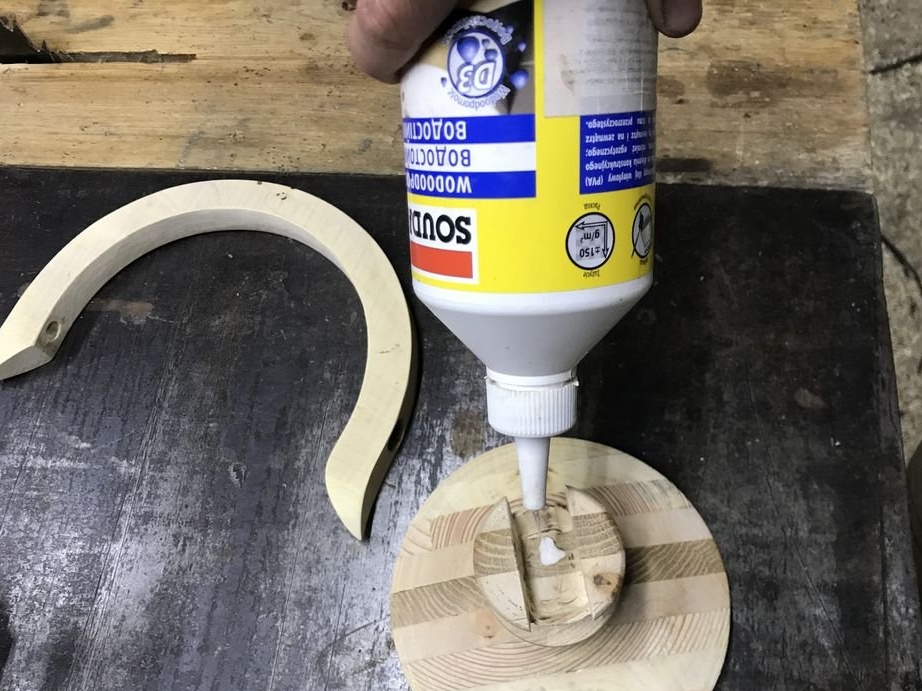
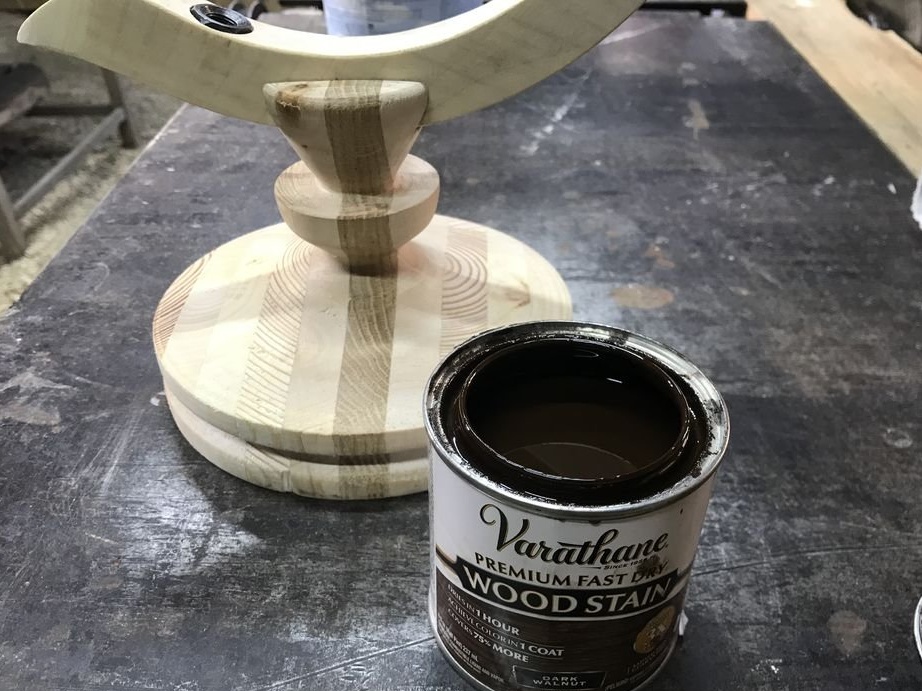
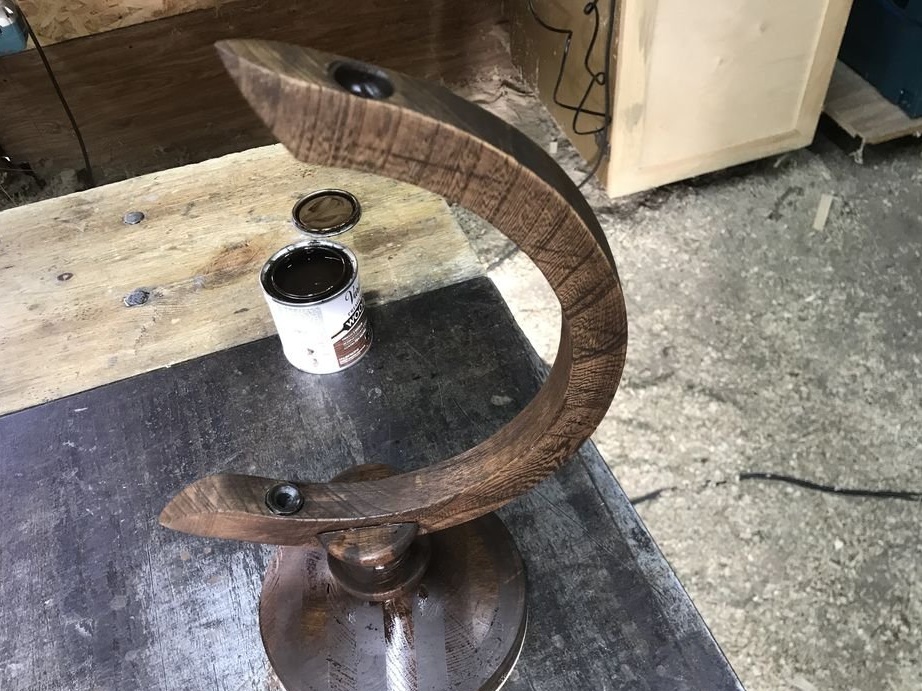
Step Eleven: Foundation
Now the wizard proceeds to finalize the foundation. Marks and cuts in the leg a groove equal to the width of the arc.
Glues the arc to the base leg.
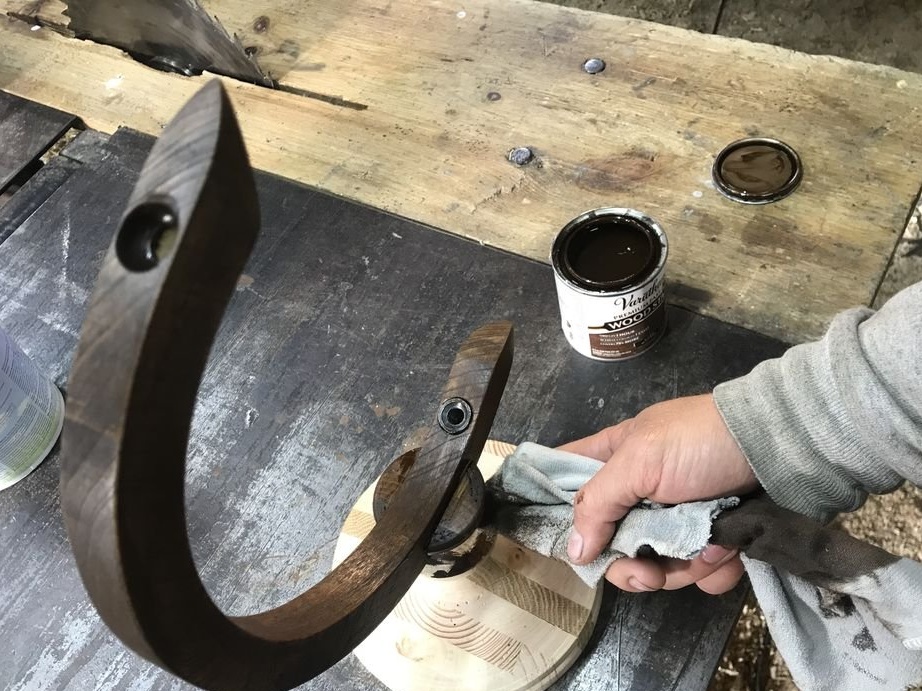
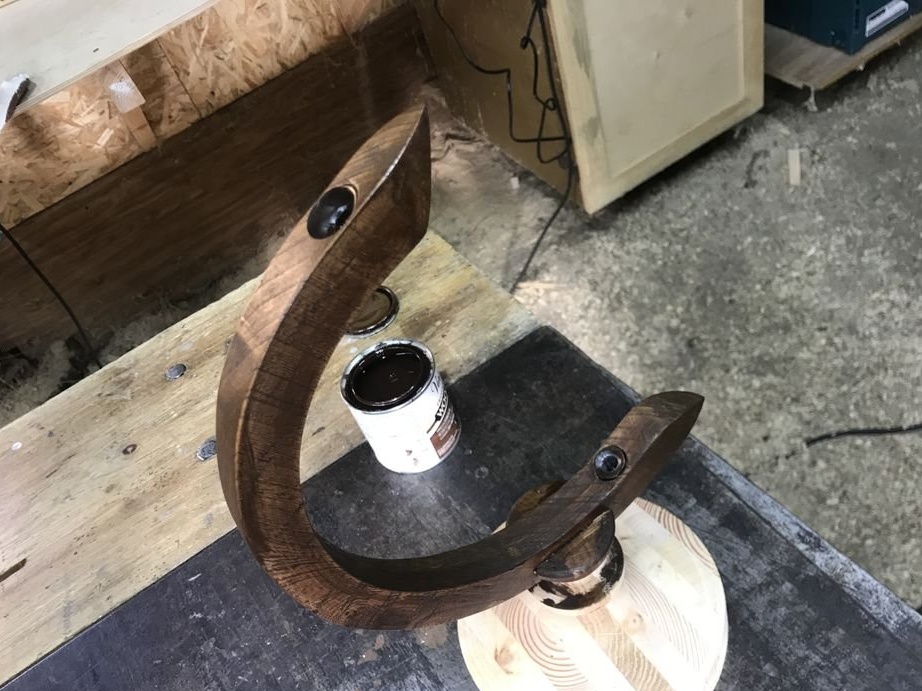
Step Twelve: Covering
The master covers the base with a walnut stain, in two layers.
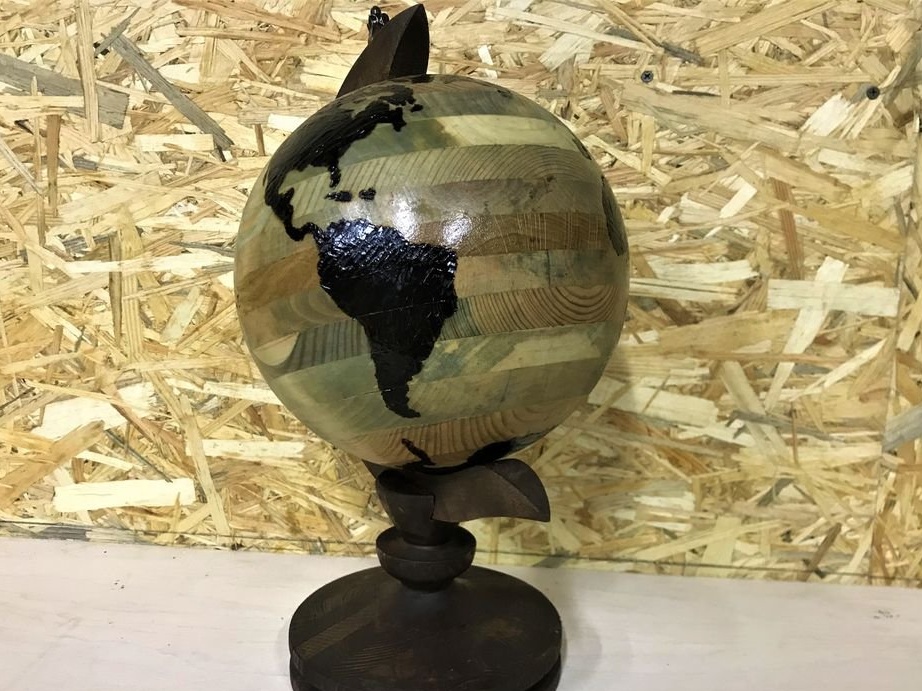
On the globe applied a blue / green coating, in three layers. After drying, applied a layer of varnish on top.
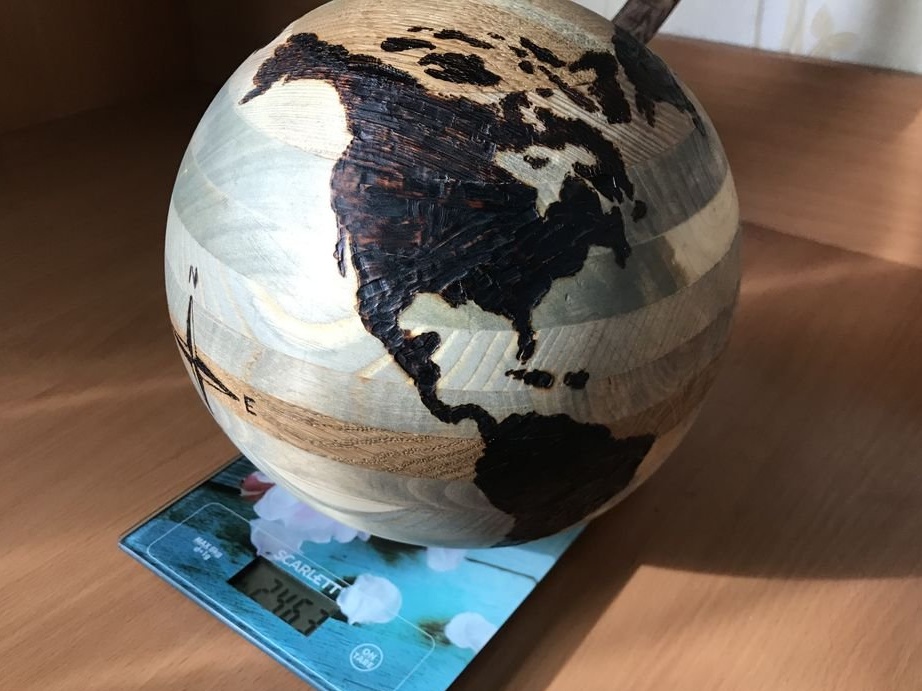
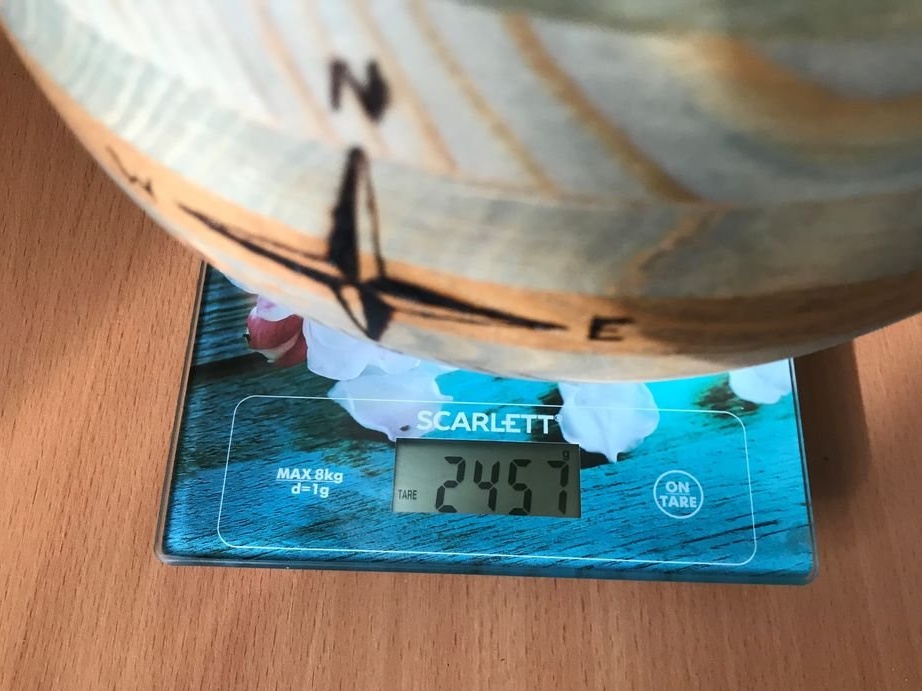
By the way, the weight of the globe is about 2.5 kg.
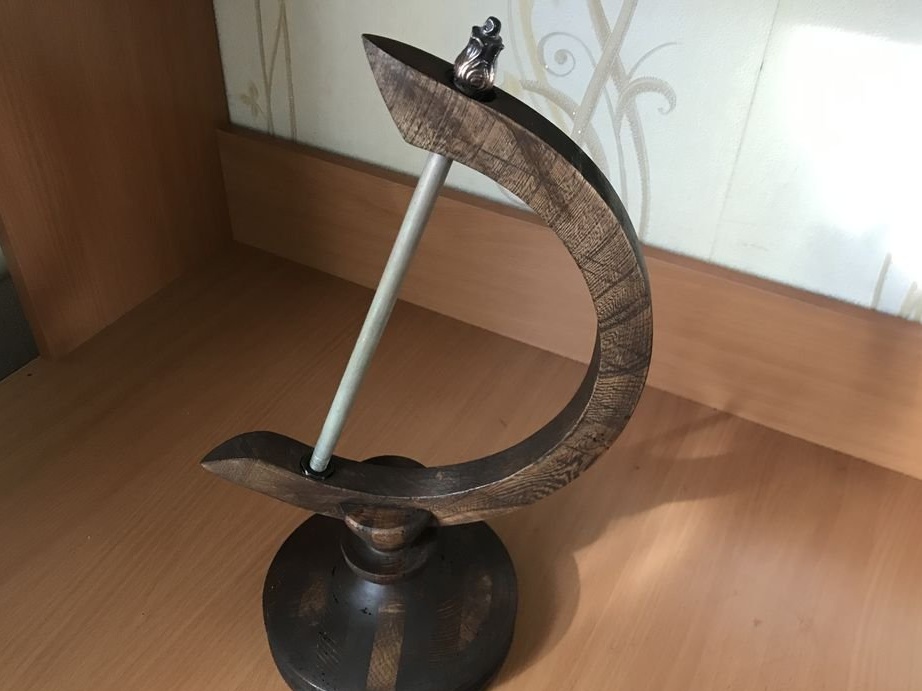
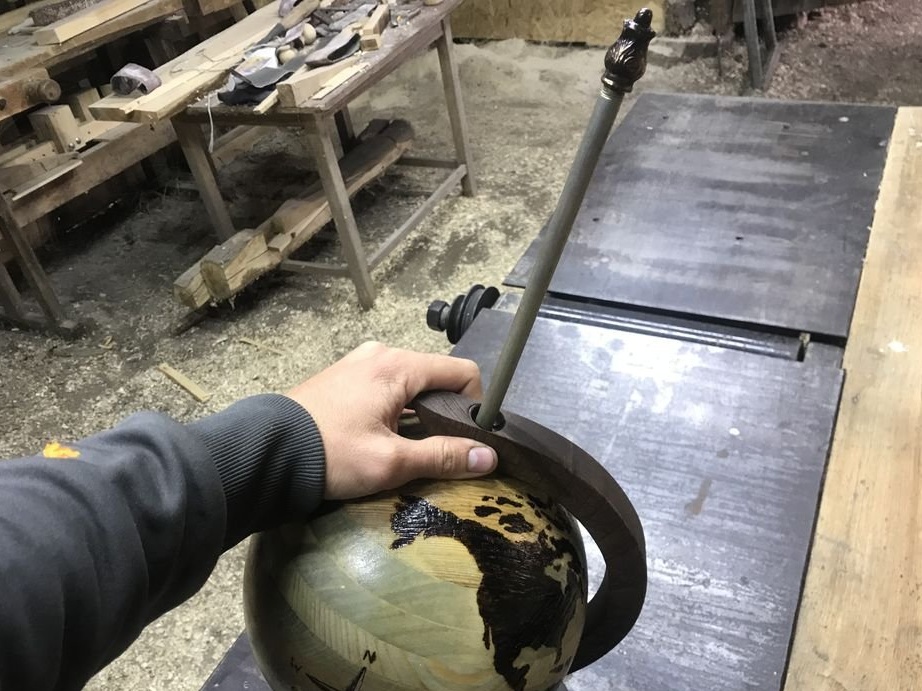
Step Thirteen: Build
Now it remains to collect the globe. The ball interferes in an arc and is fixed by a rod. On top of the rod, the master tightens the decorative nut.
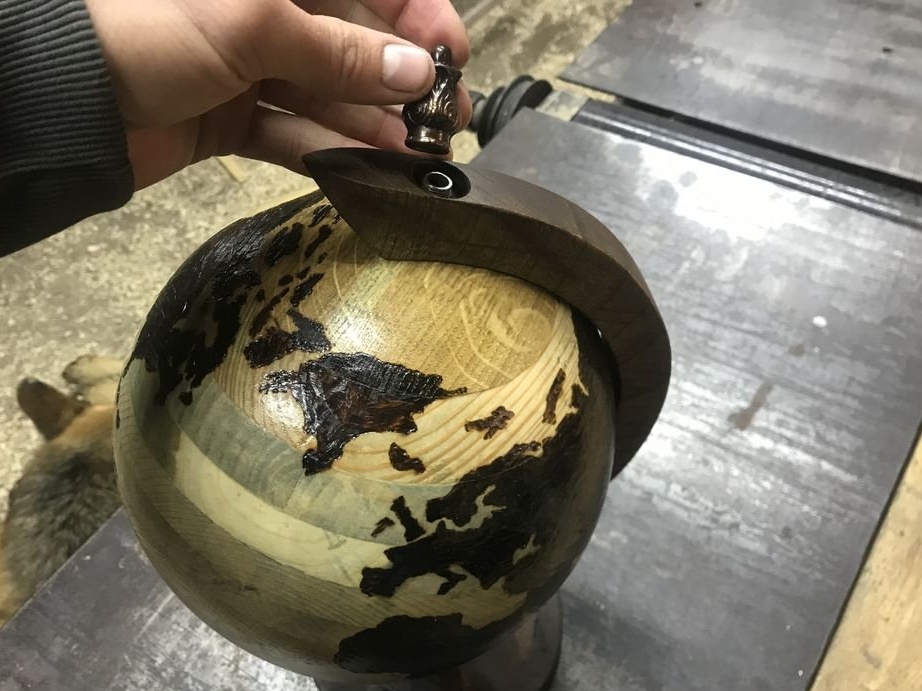
All is ready.
The whole process of making a wooden globe can be seen in the video.