

The wizard works a lot with parts printed on a 3D printer. Various methods are used to connect parts, including metal fasteners. To install metal nuts in the holes they are heated with a soldering iron with a special nozzle. This can be seen in the video.
This is not a bad way, but when installing with a soldering iron, the nut may not be smooth. To avoid skewing, the master made his own thermal press.
Tools and materials:
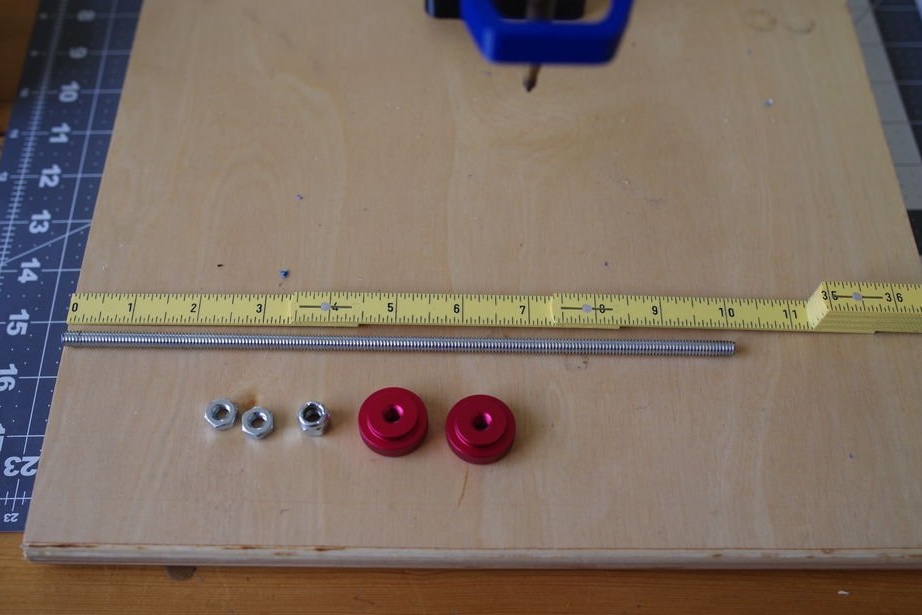
-Bearing 608;
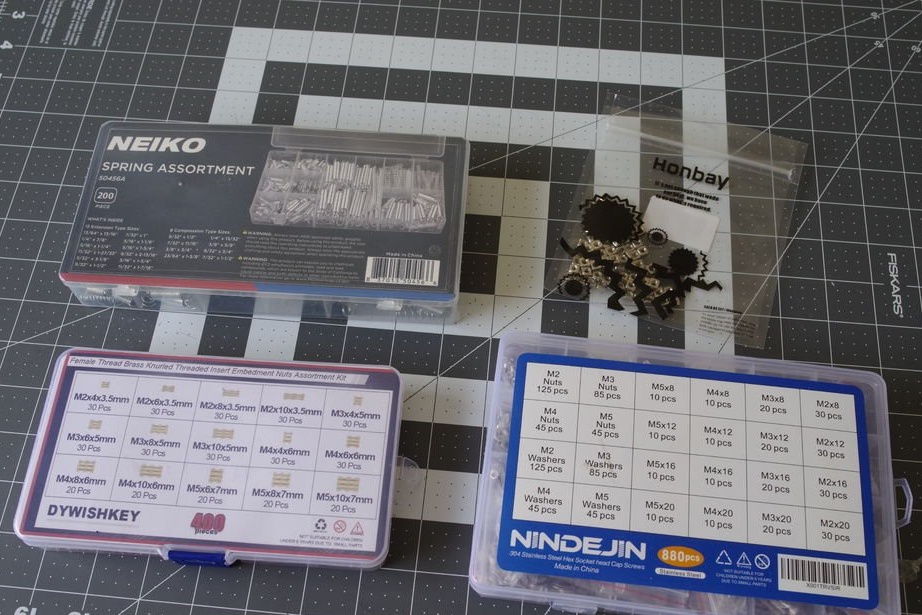
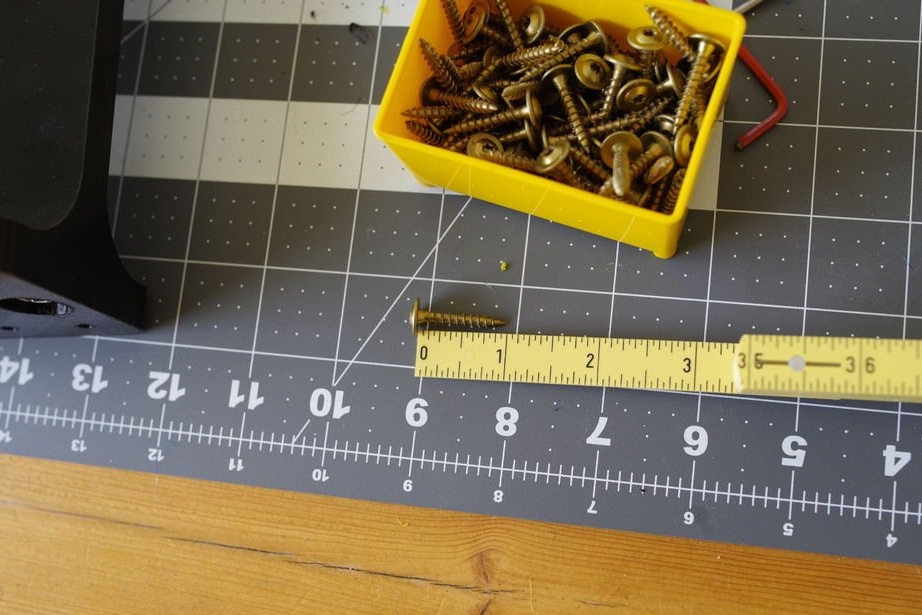
-Fasteners;
-Springs;
-Lubrication;
-Screwdriver;
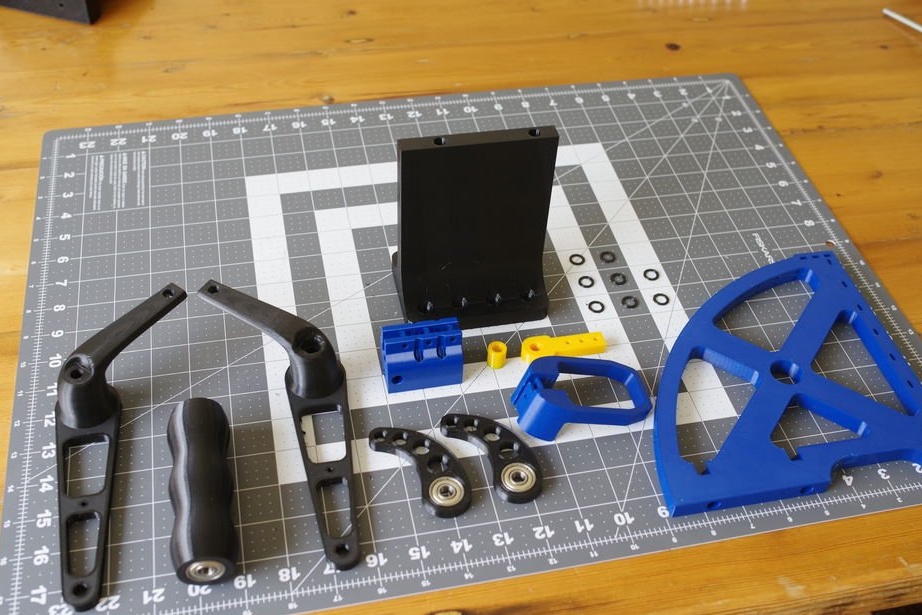
Step One: 3D Printing
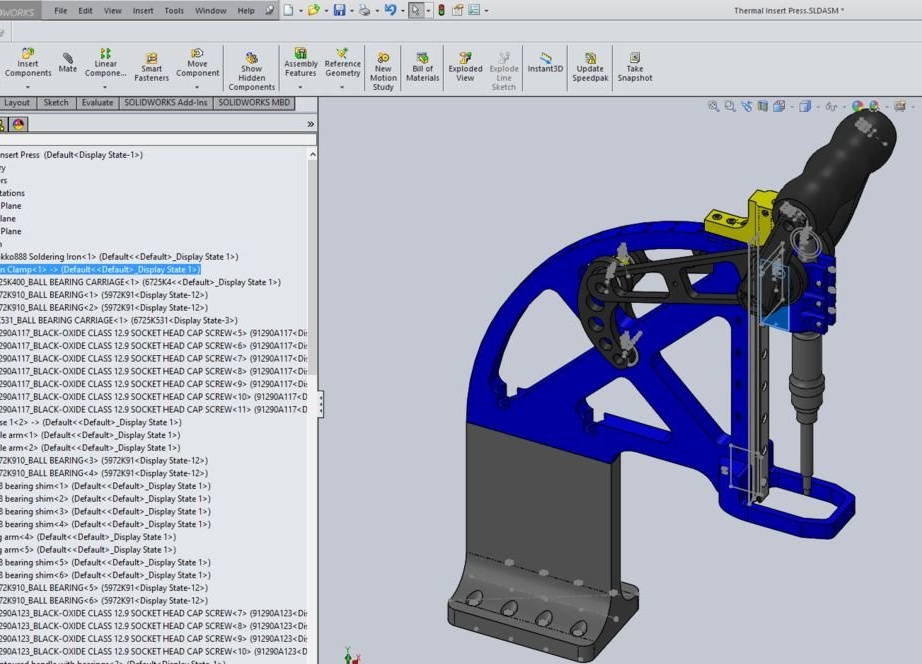
First, the master developed the details in a special program.

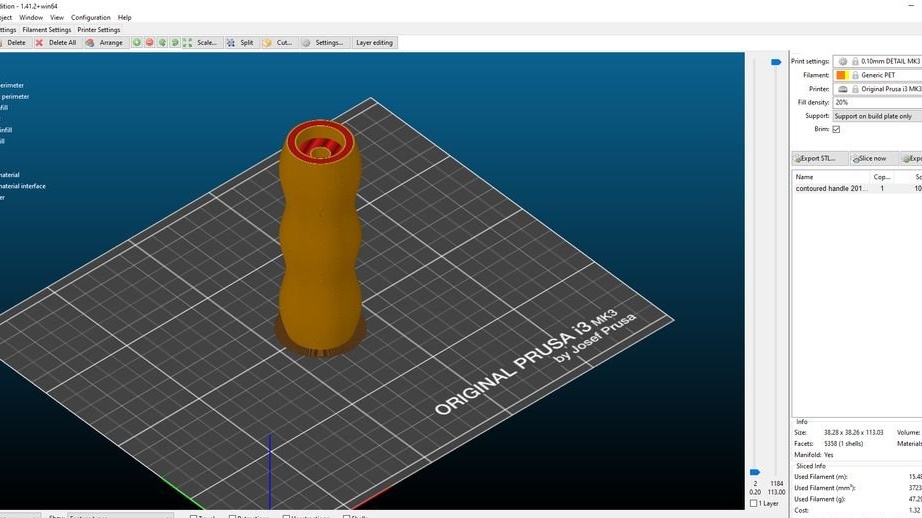
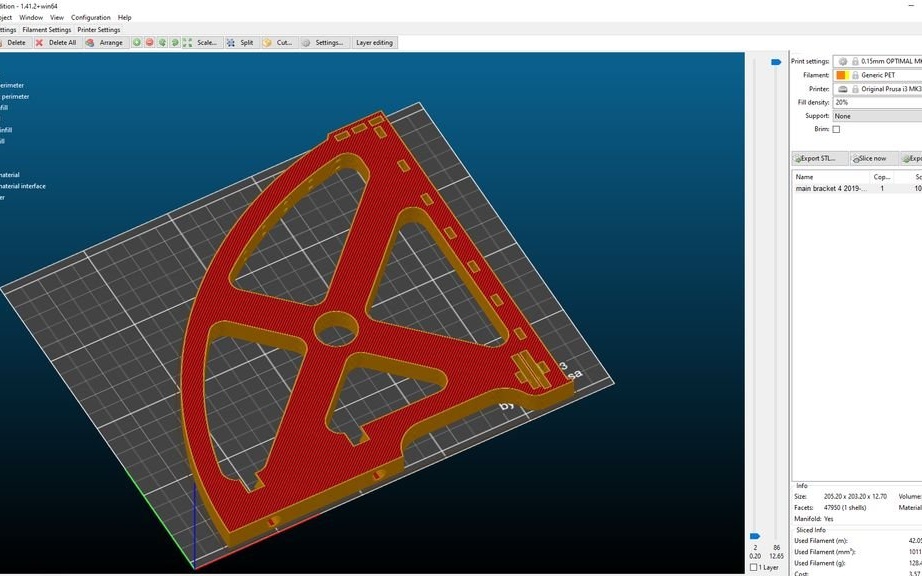
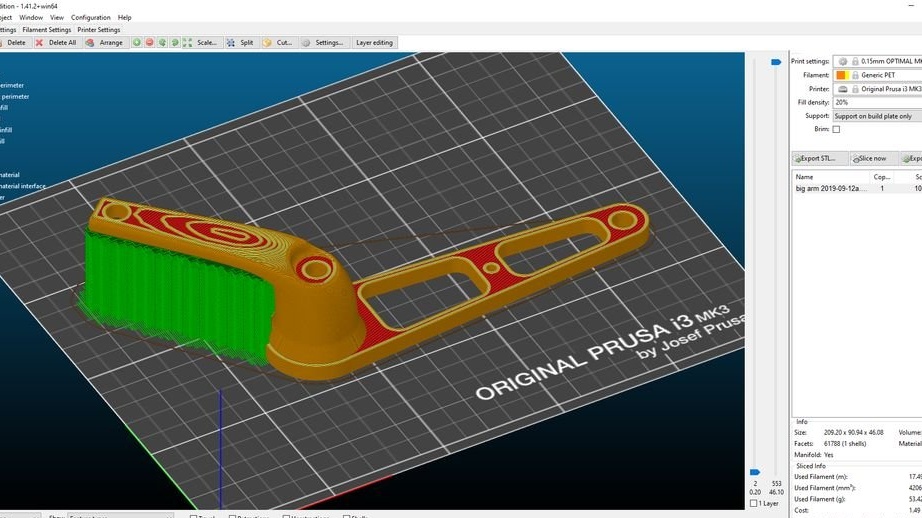
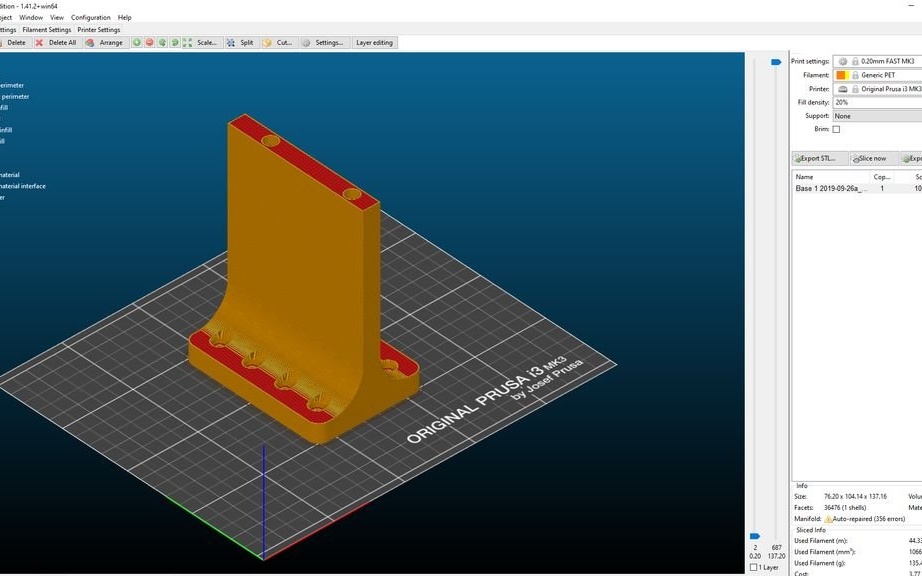
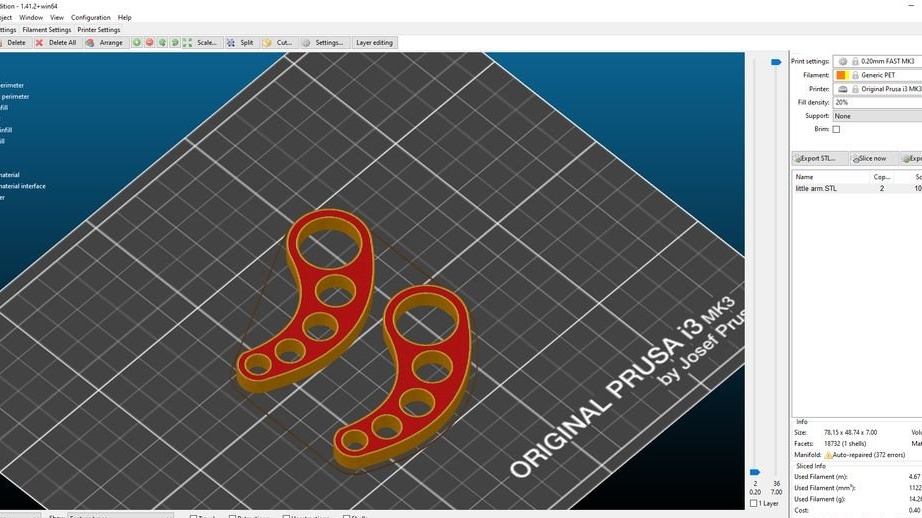

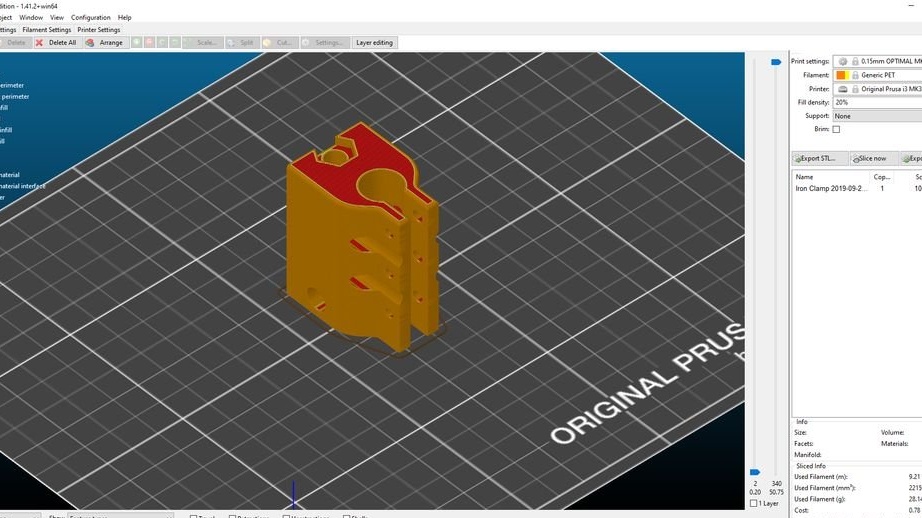

Then he printed the details on a 3D printer. When printing, the master used the PETG thread, but the parts from ABS will be tougher. For printing, the master set the following parameters: layer height 0.15 mm, filling 20%. Printing pens requires support.
Download files for printing below.
Depth Adjustment Bracket2 2019-09-29_J4.STL
0_58 inch standoff 2019-09-28_J4.STL
Iron Clamp 2019-09-28_J4.STL
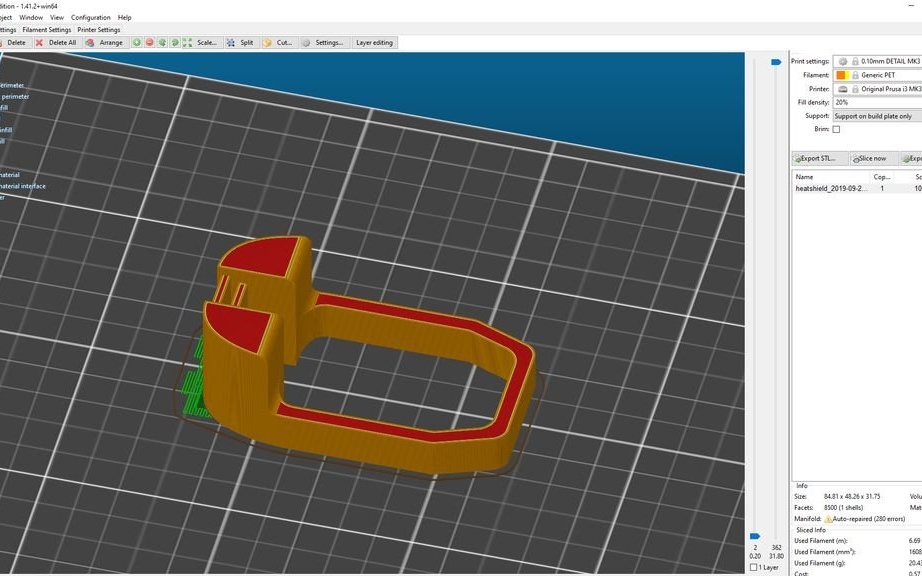
heatshield_2019-09-28_J4.STL
main bracket 4 2019-09-26a_J4.STL
Base 1 2019-09-26a_J4.STL
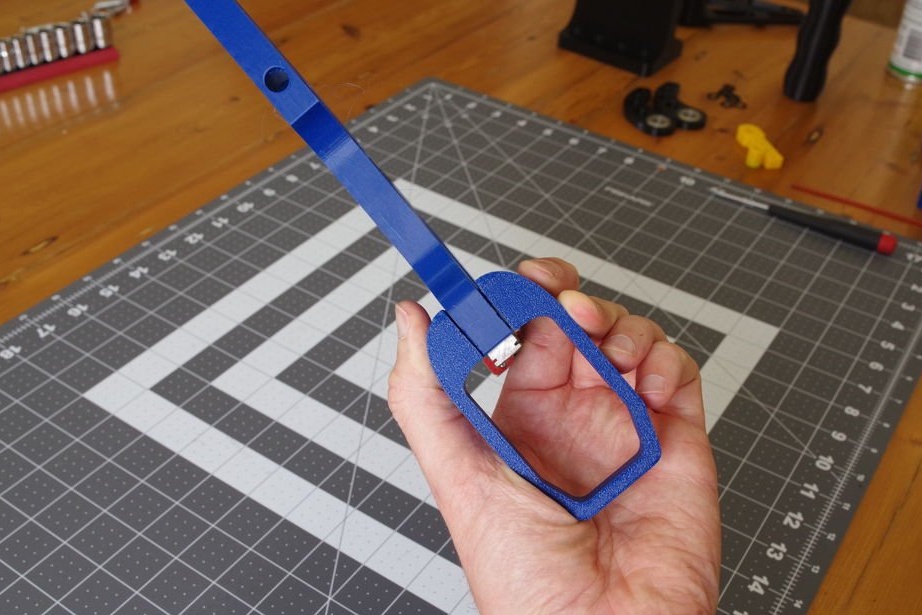
big hand 2019-09-12a.STL
Mirrorbig arm 2019-09-12a.STL
Bearing 608 PWM.STL
shaped handle 2019-09-12b.STL
small hand.STL
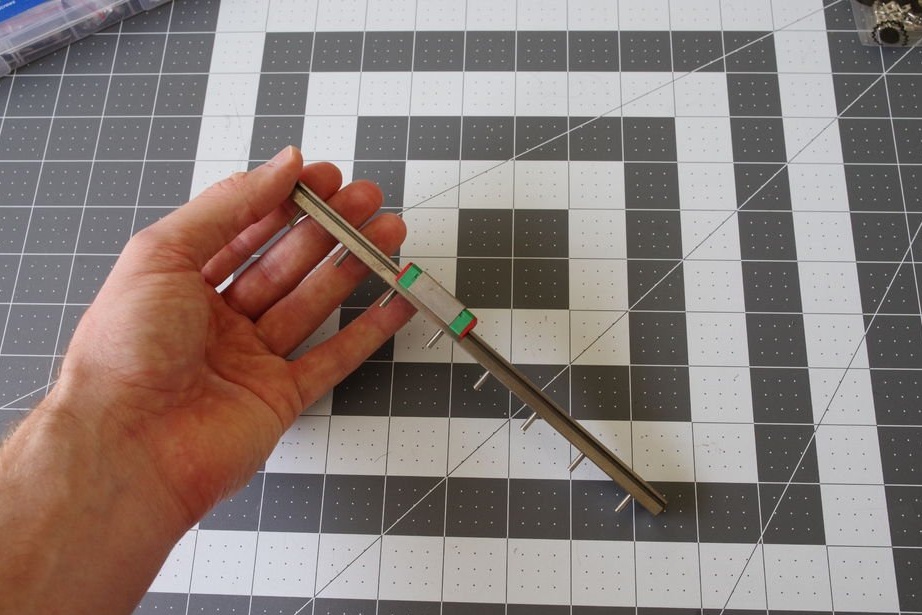
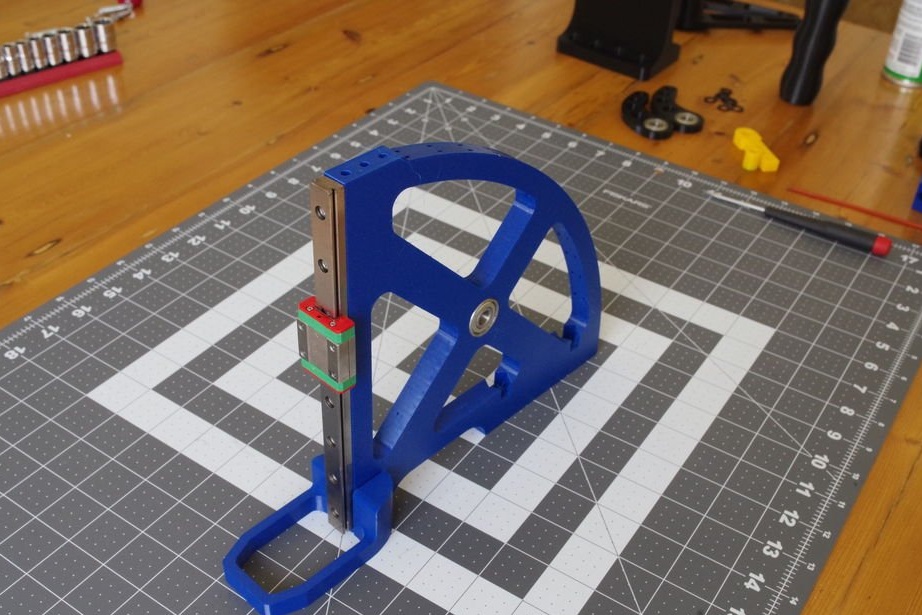
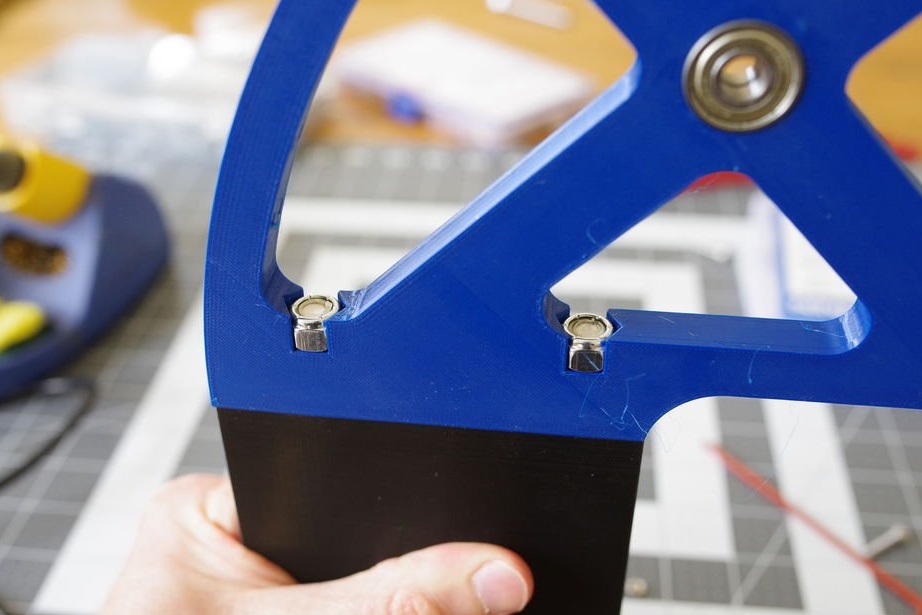
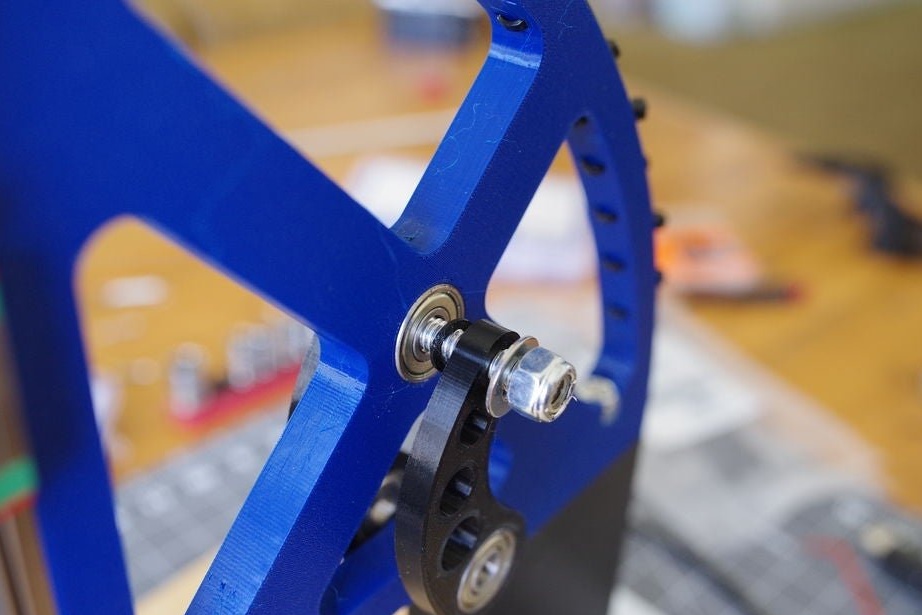
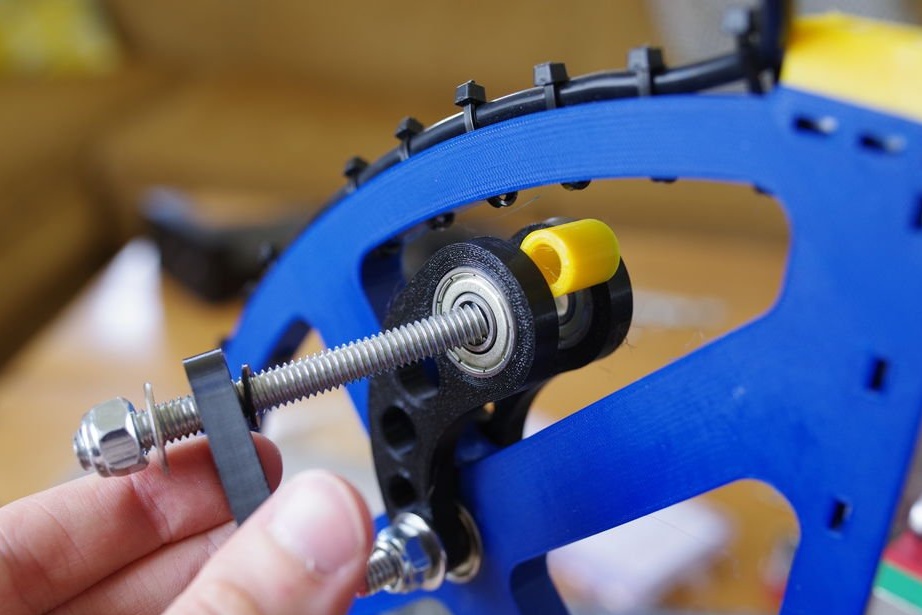
Step Two: Install Bearings and Guide
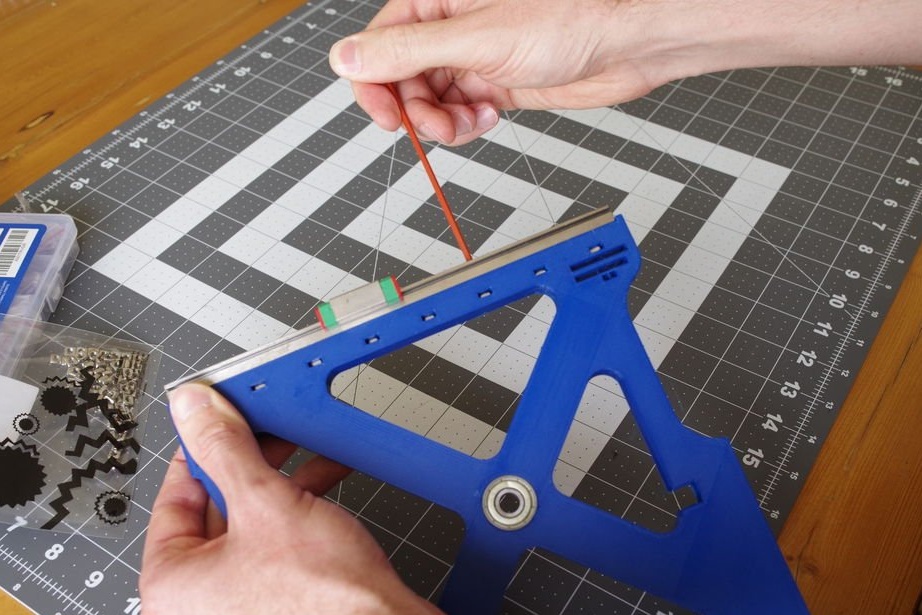
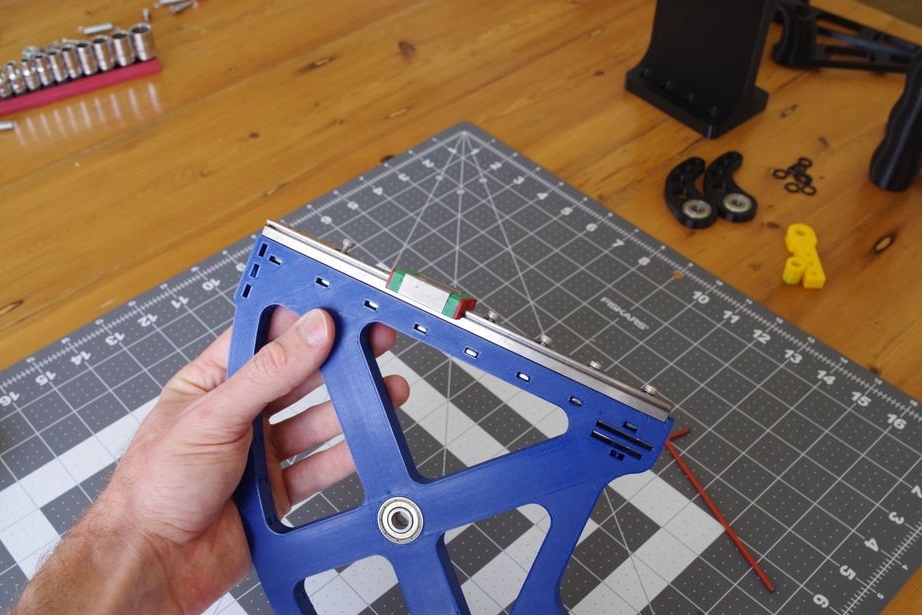
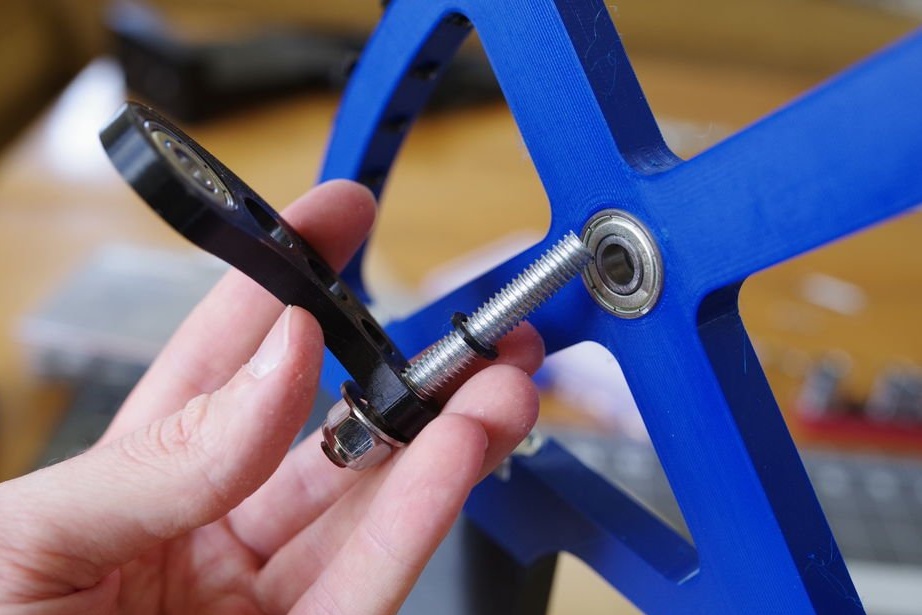
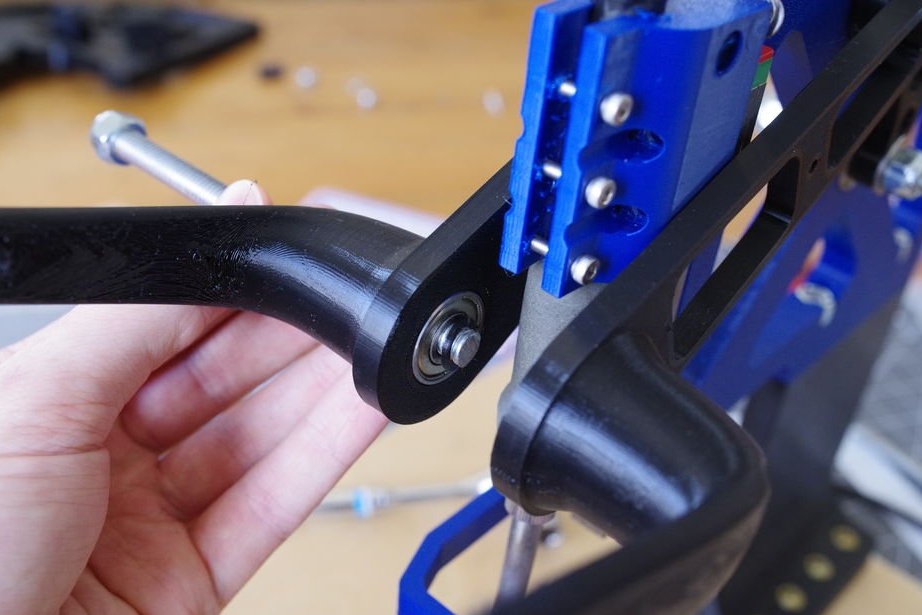
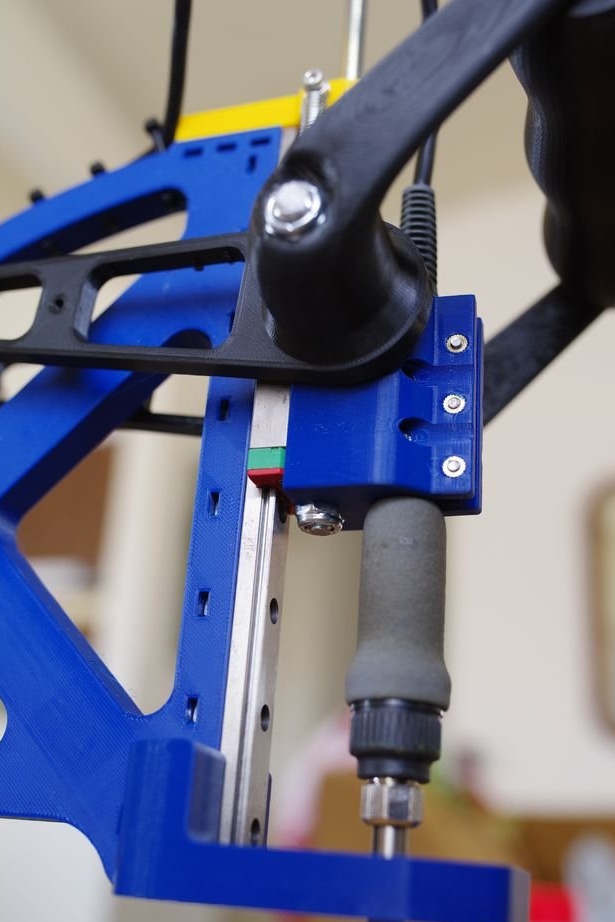
First, the master installs the bearings.


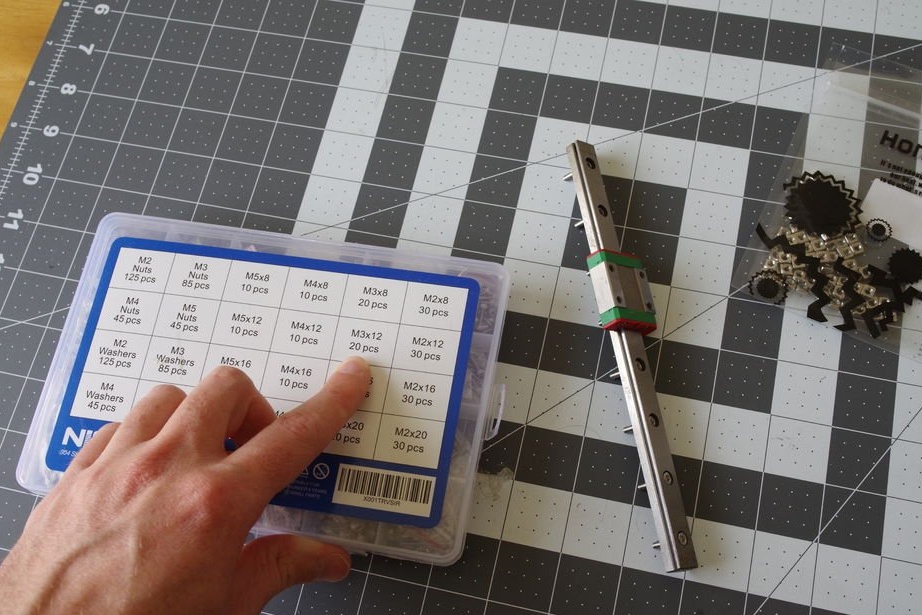
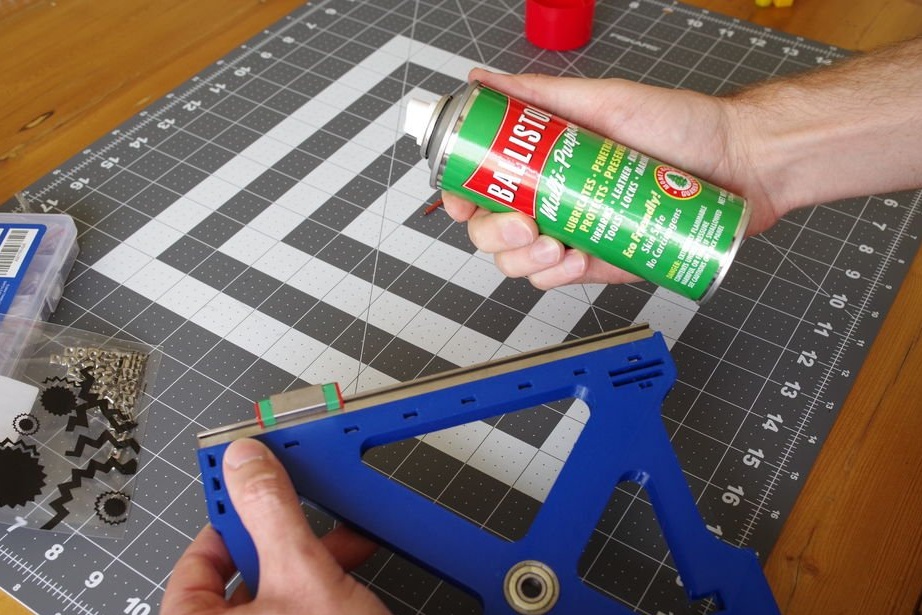
Then it installs the nuts and fastens the guide rail. The guide master lubricates.

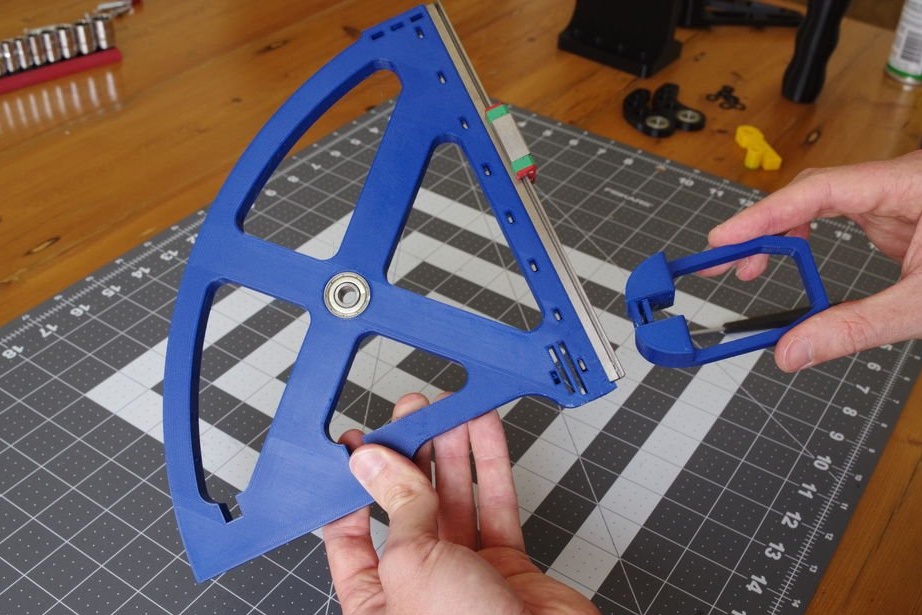
Step Three: Protect
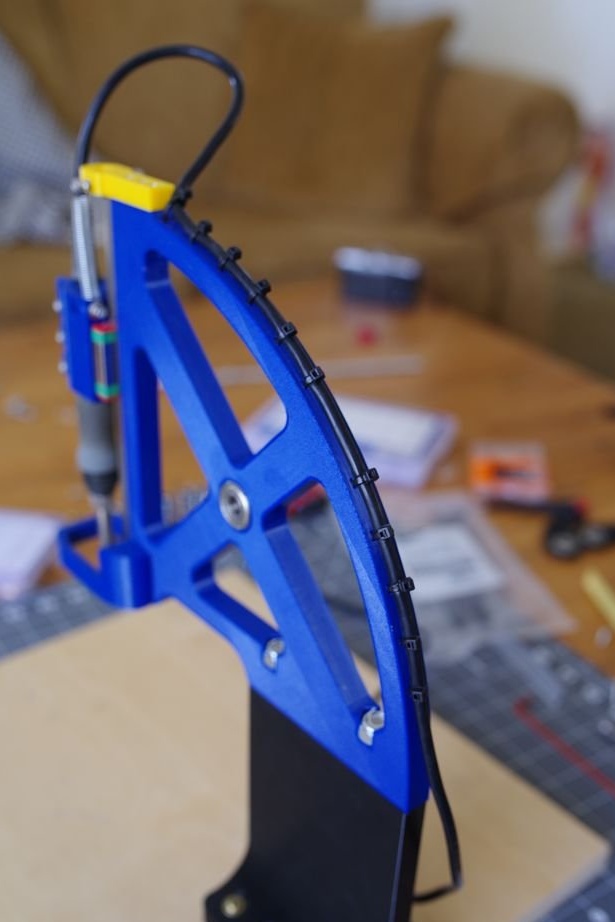
Sets a protective screen. Inside the shield will be a soldering iron.
Step Four: Install Threaded Bushings
Initially, the master planned to install nuts, but then he decided to install special thermal inserts.
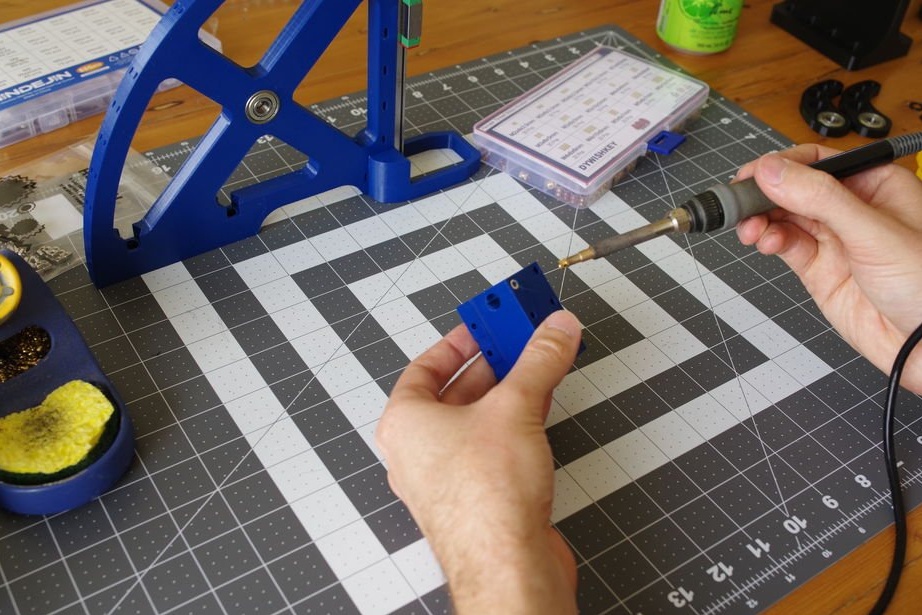
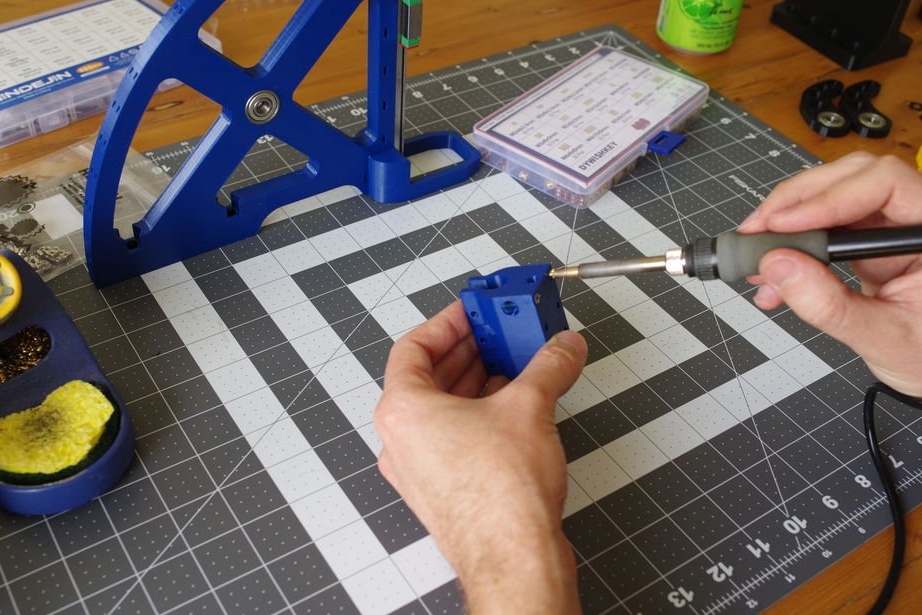
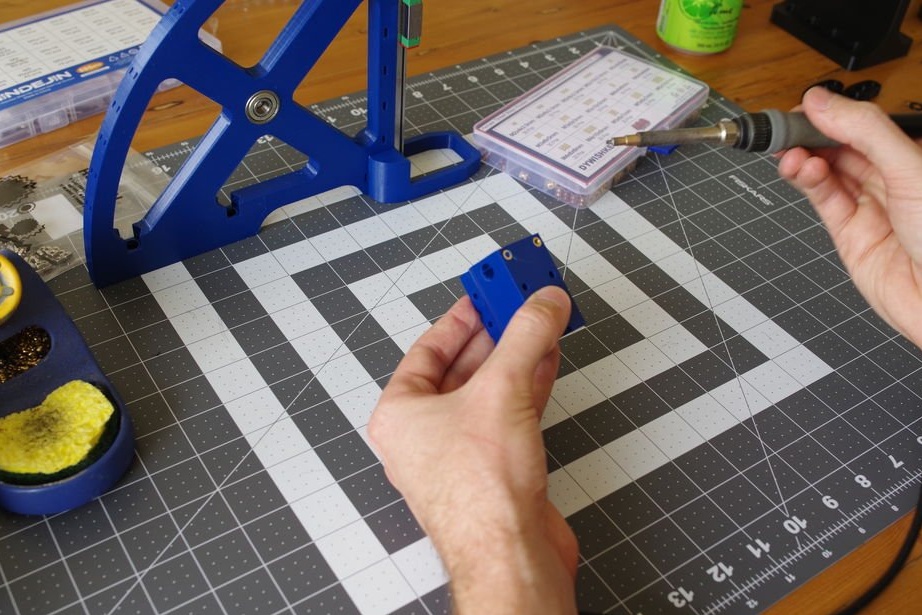
Thermal inserts are threaded bushings with a corrugated outer surface.


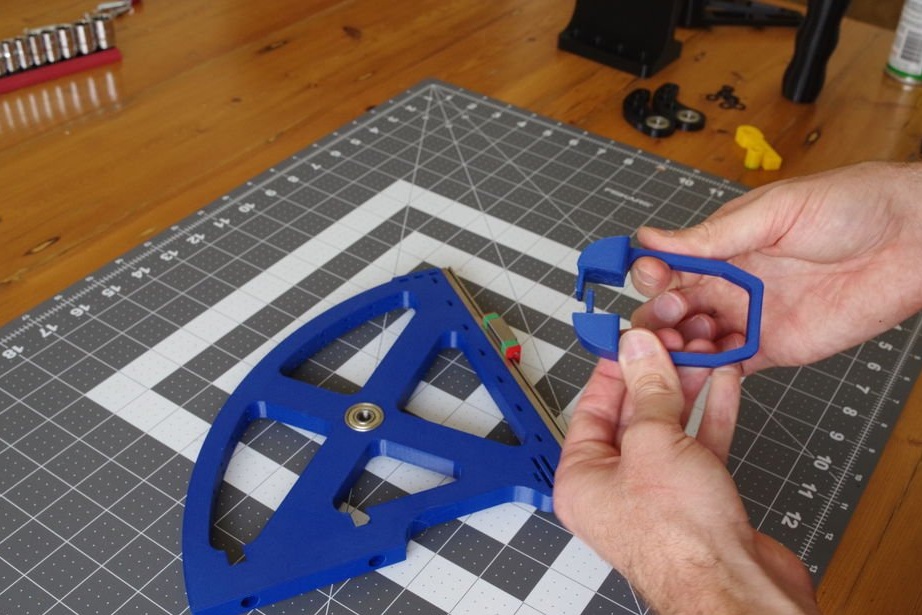
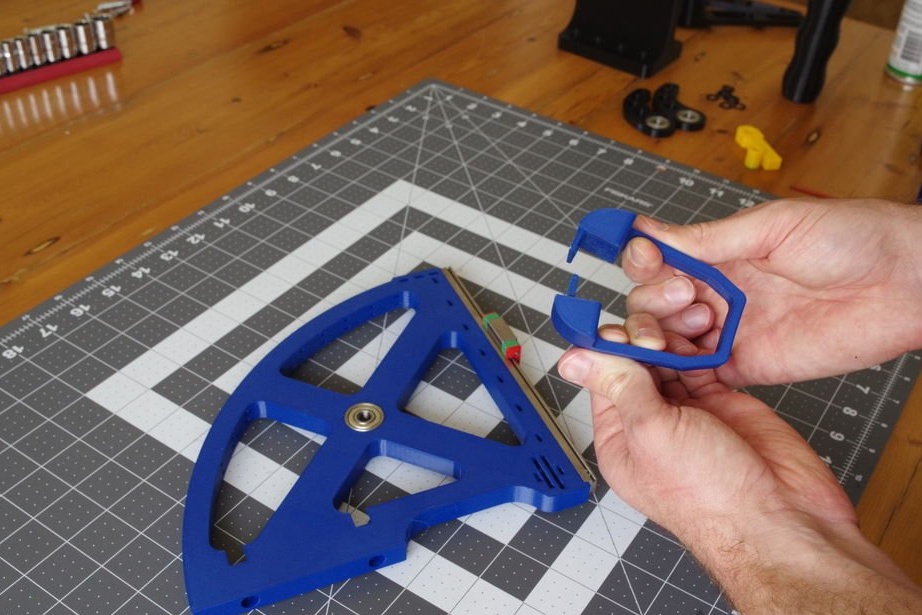
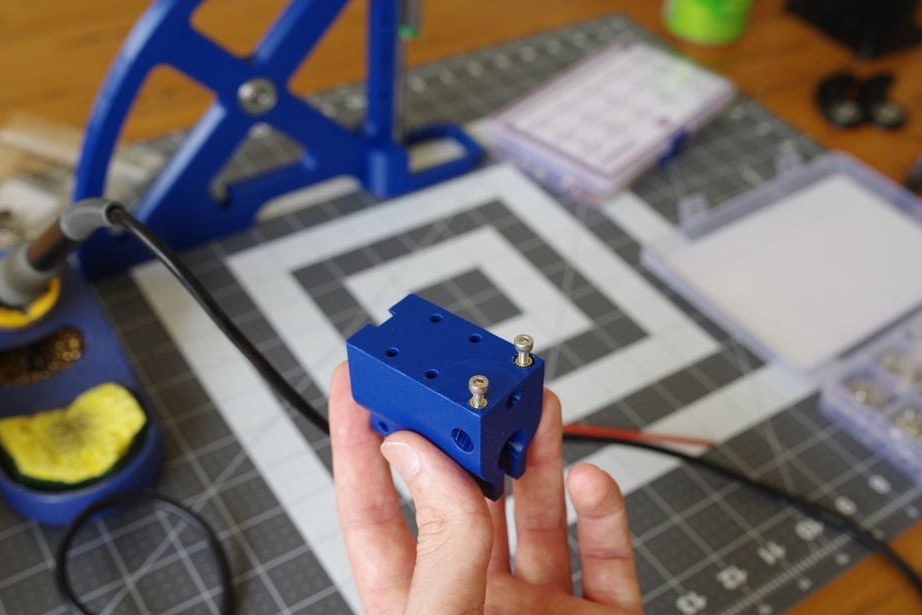
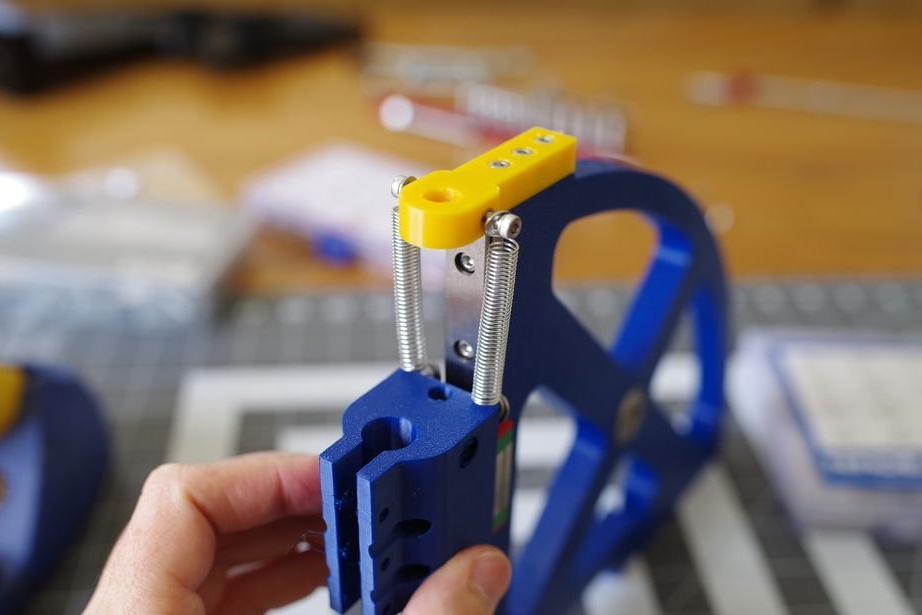
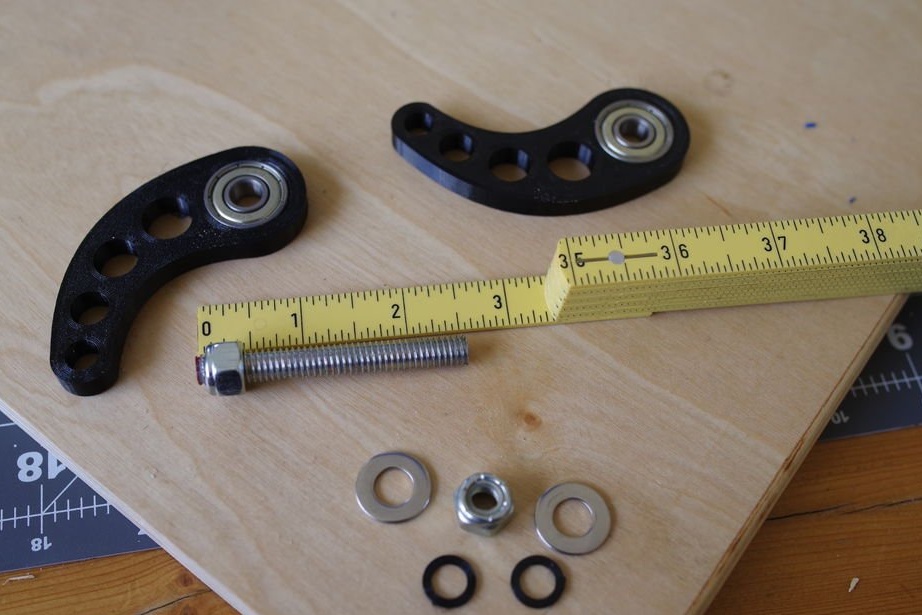
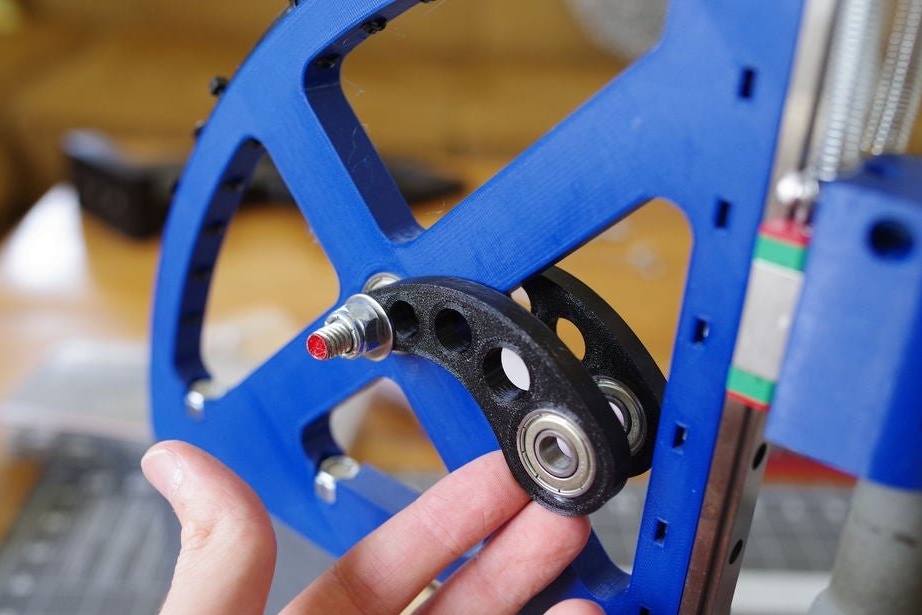
Step Five: Bracket
Bracket master made in two versions. A suitable bracket is installed depending on the springs.


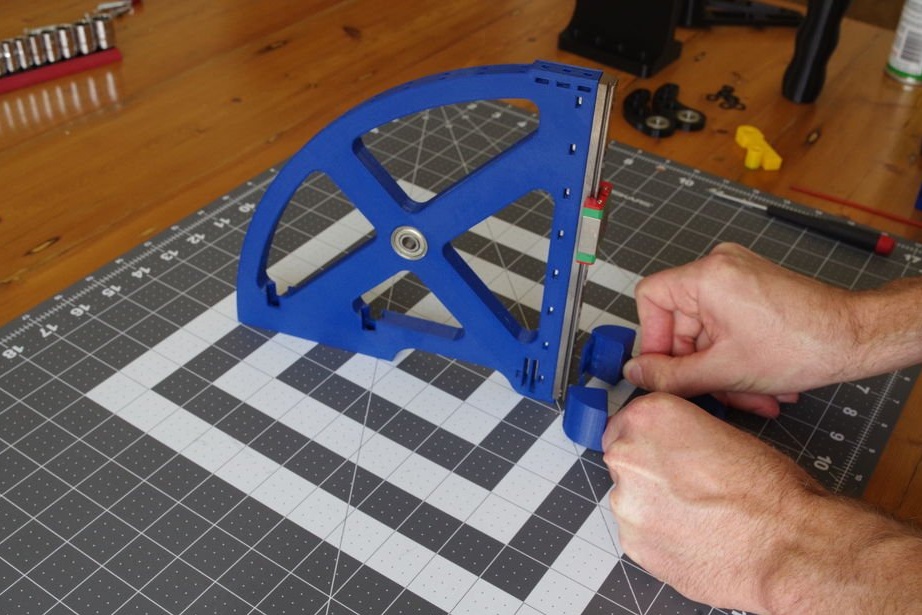
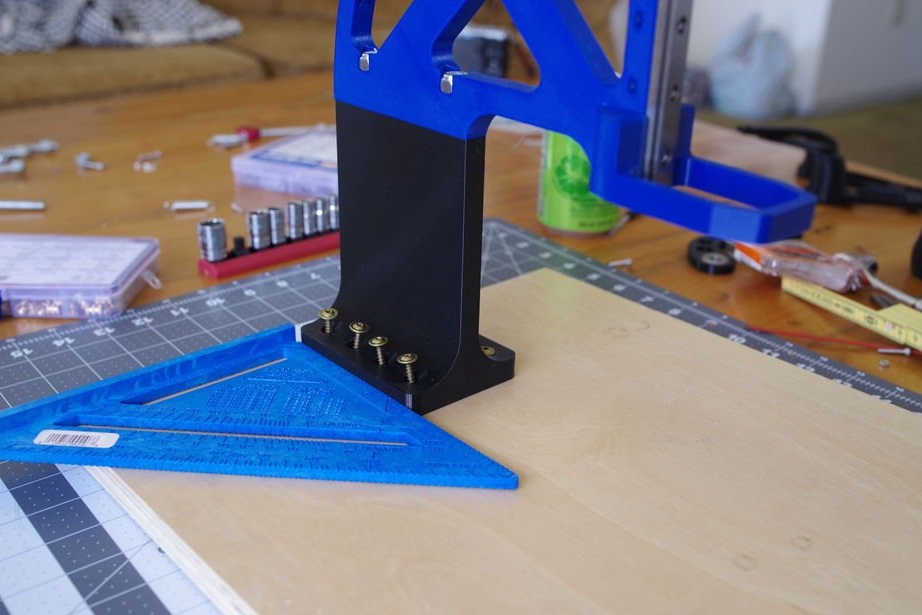
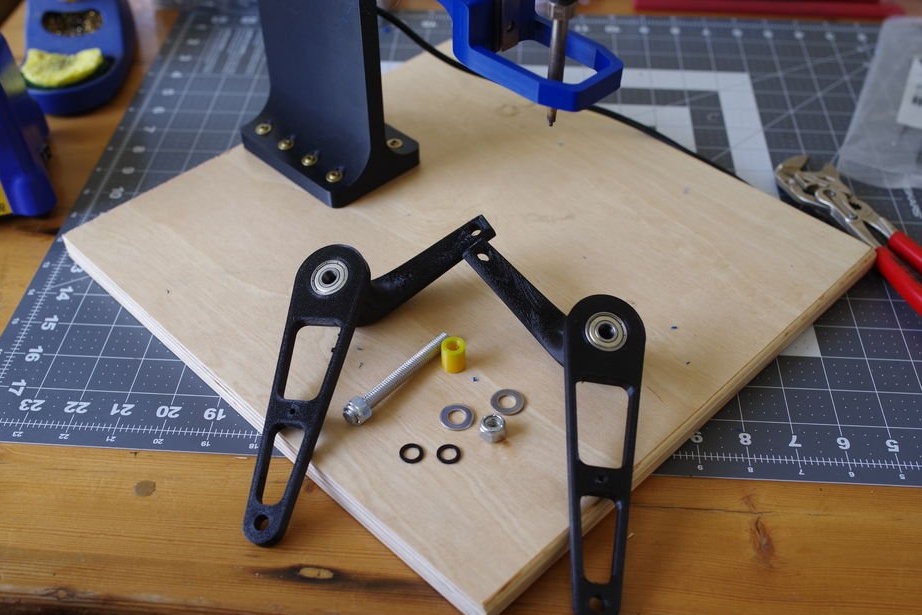
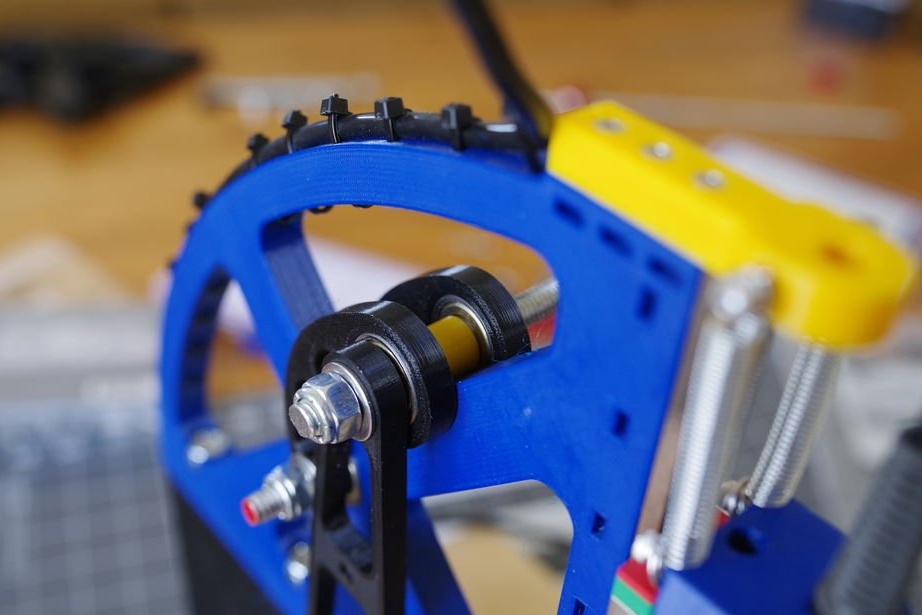
Step Six: Build
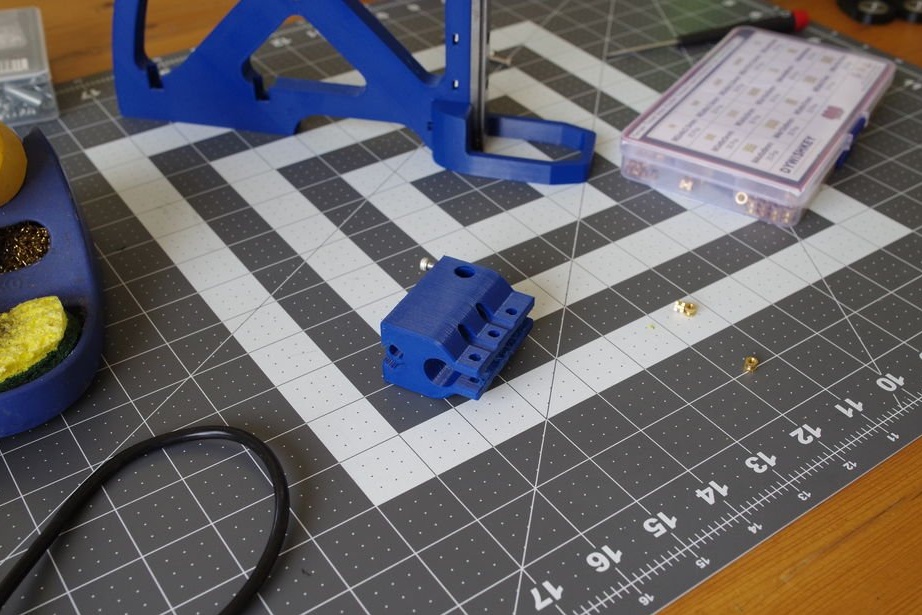
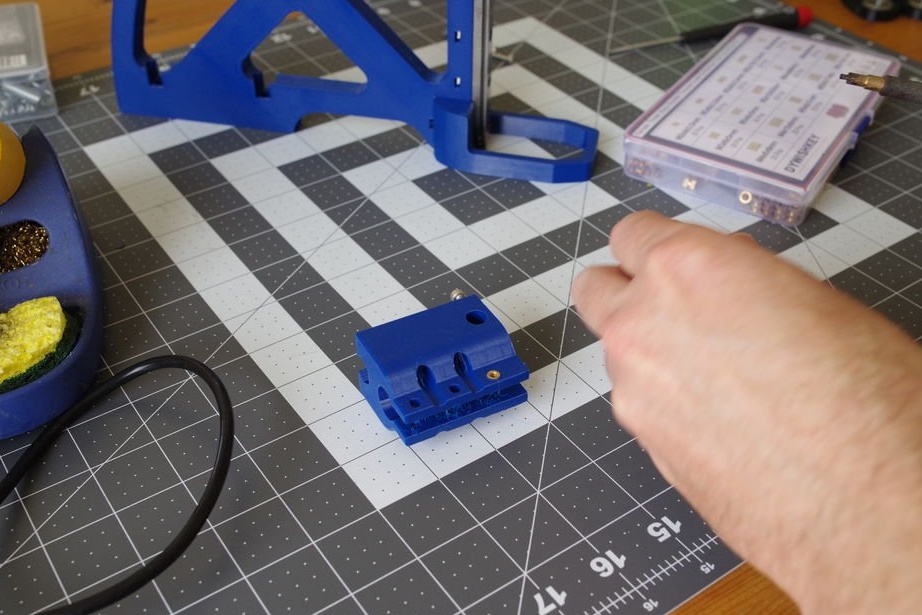
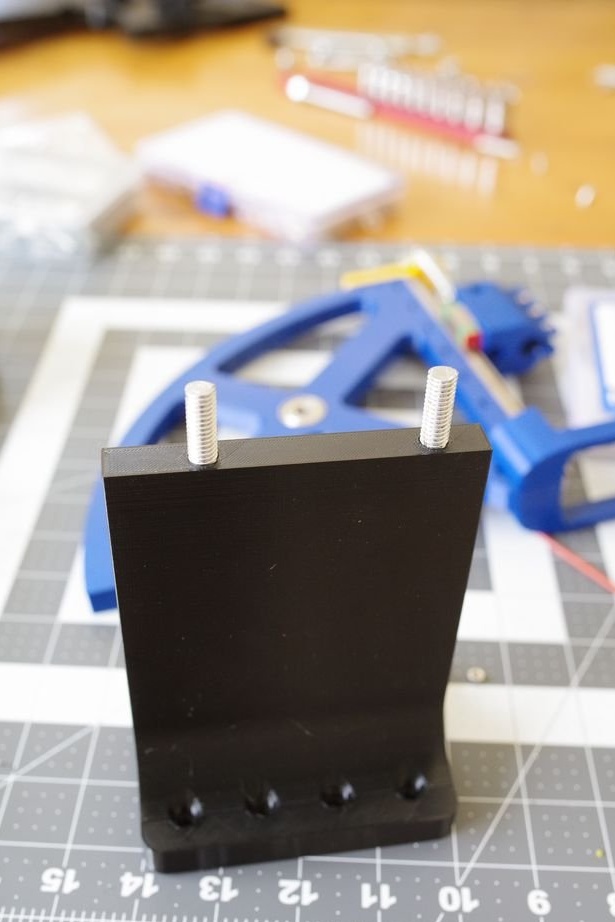
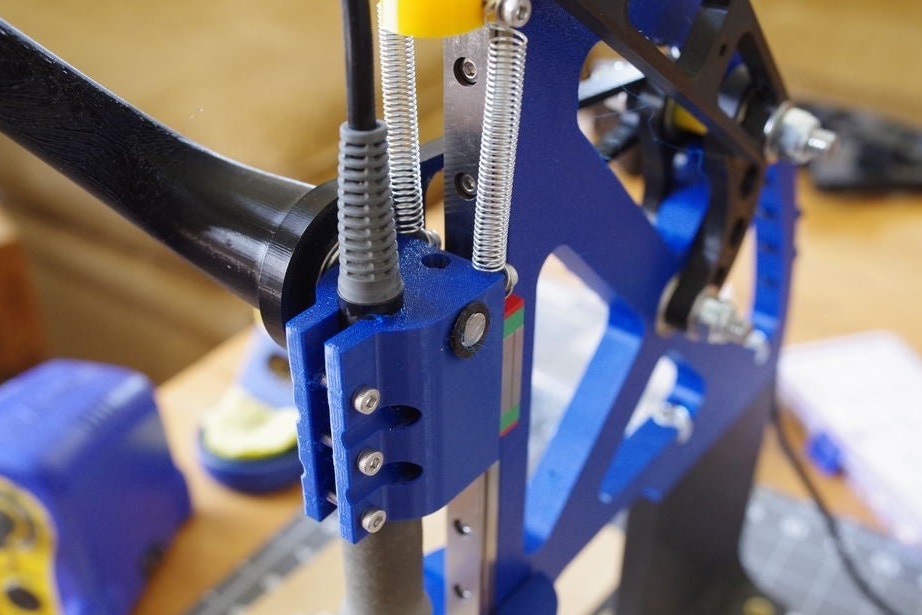
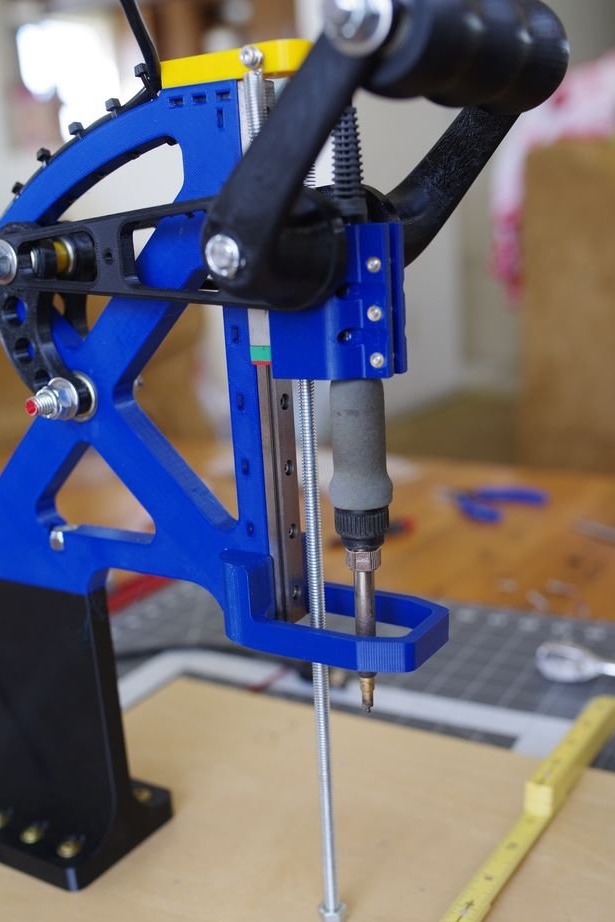
The master screws the stand to the base. Screws the bracket to the stand.


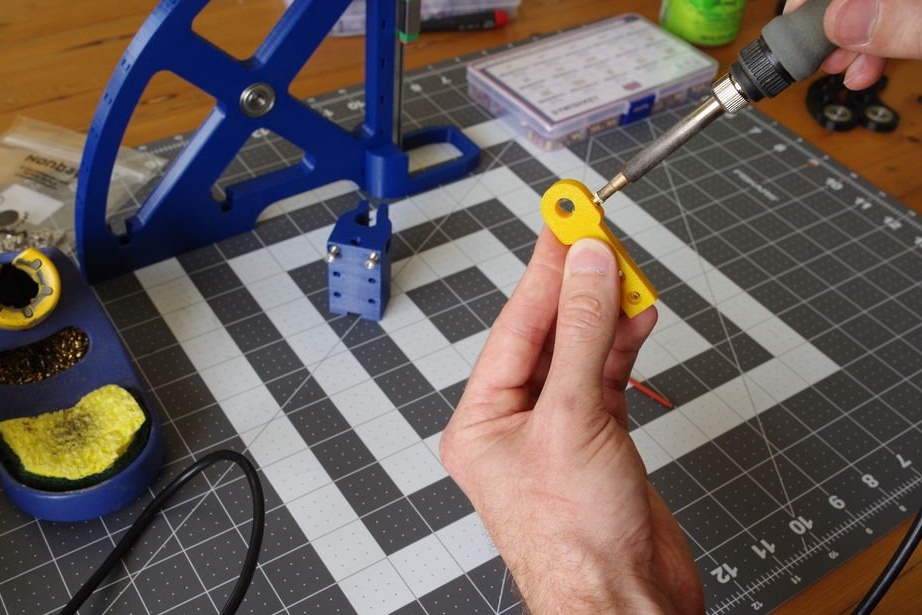
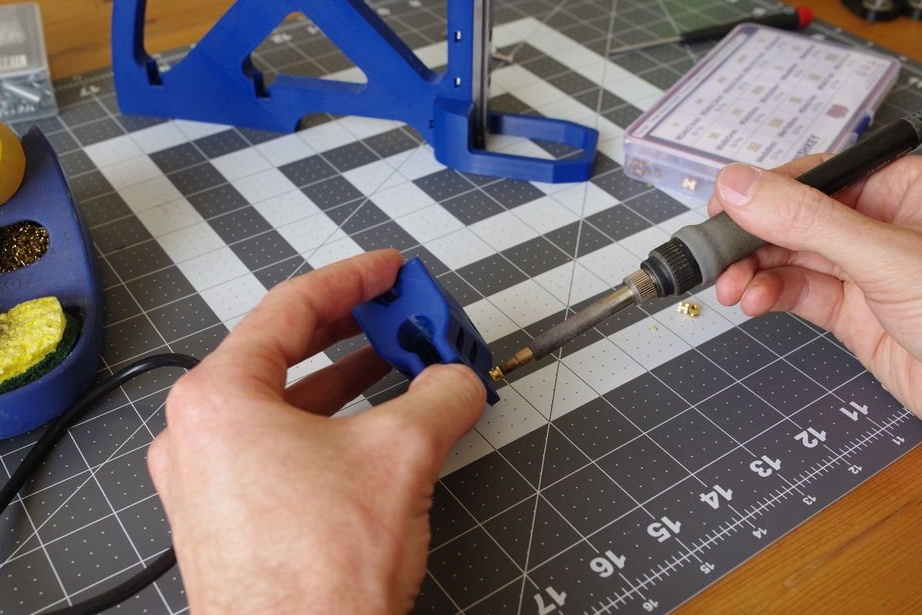
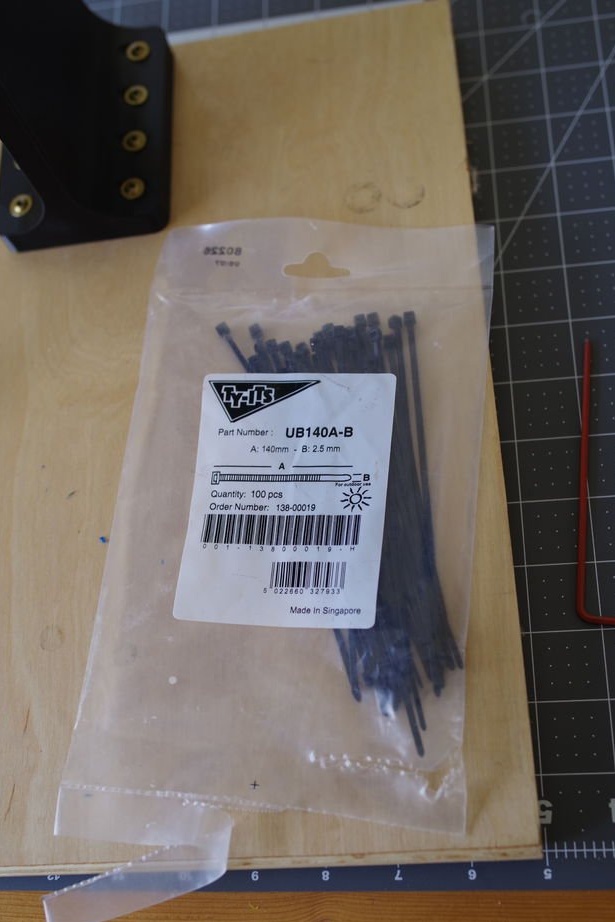
Installs the bracket and secures the soldering iron. The wire is secured with plastic ties.


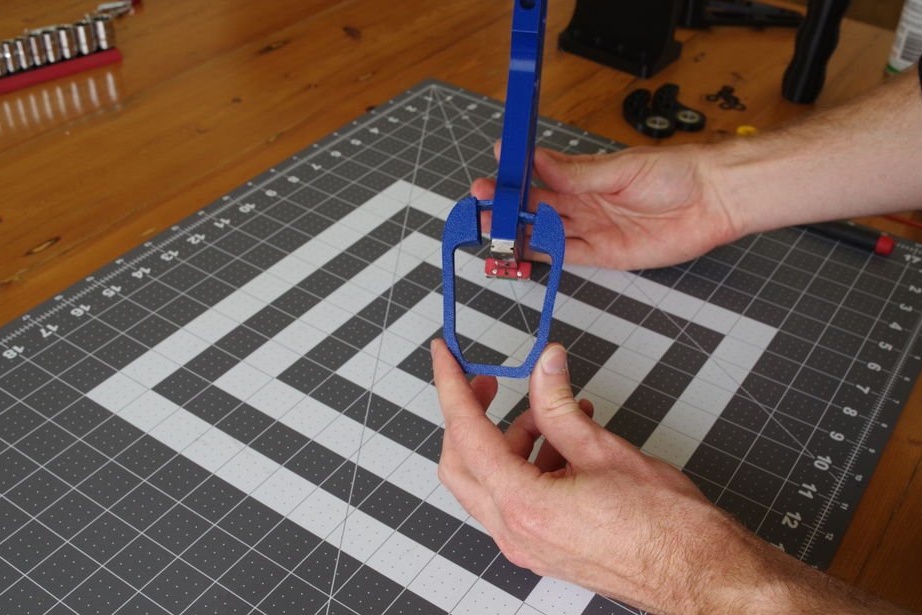
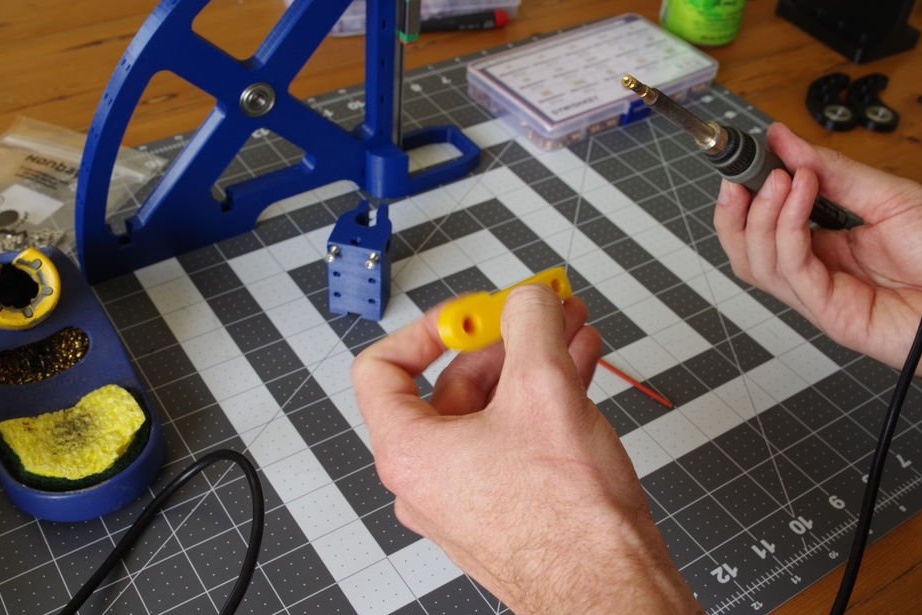
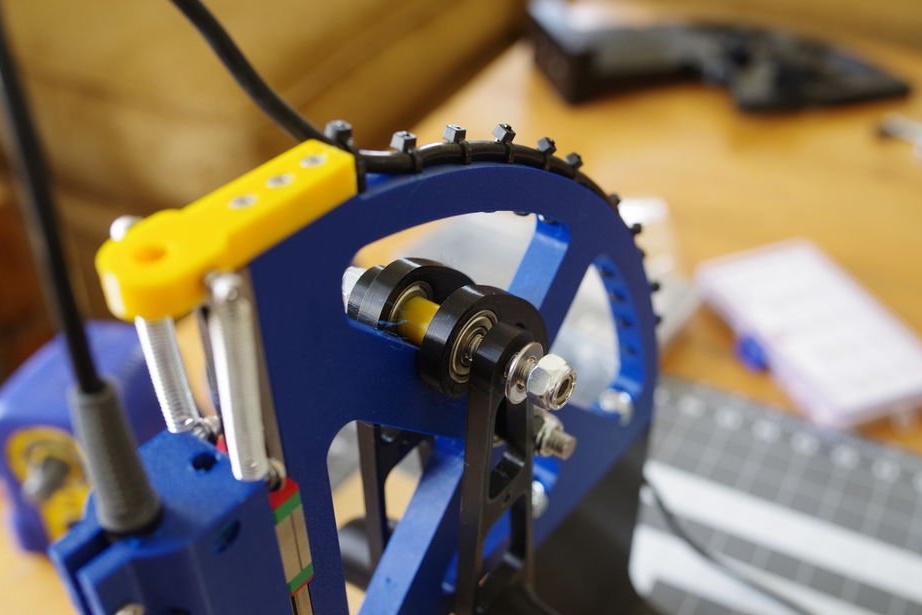
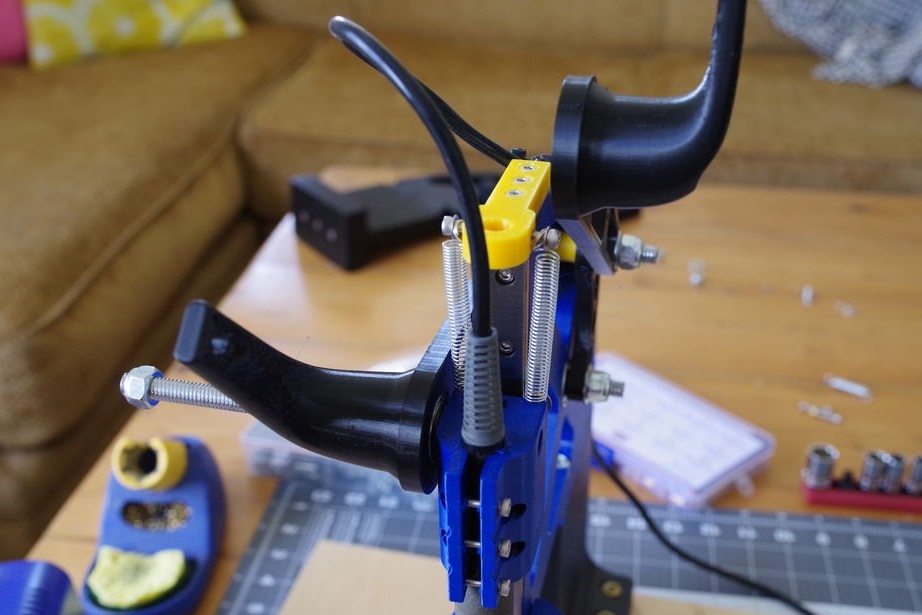
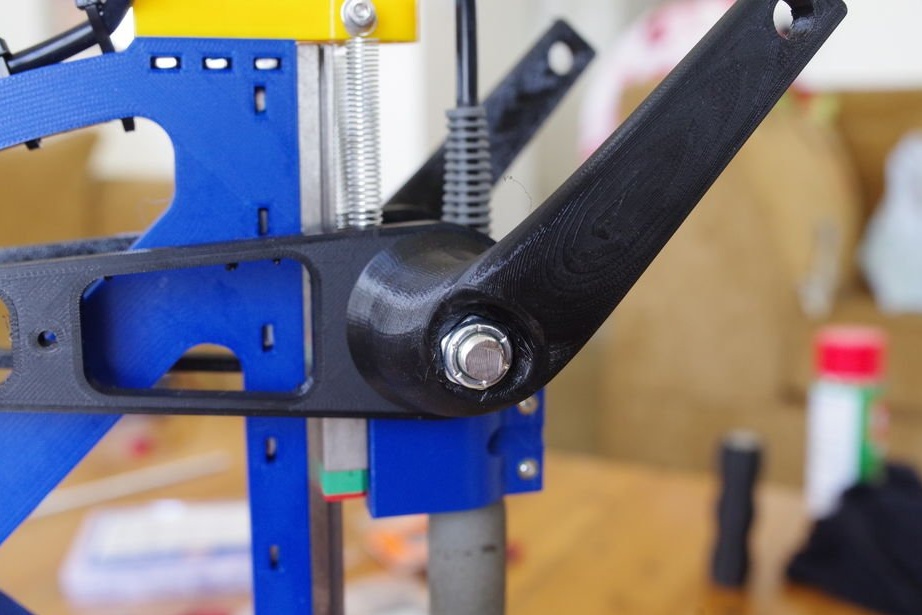
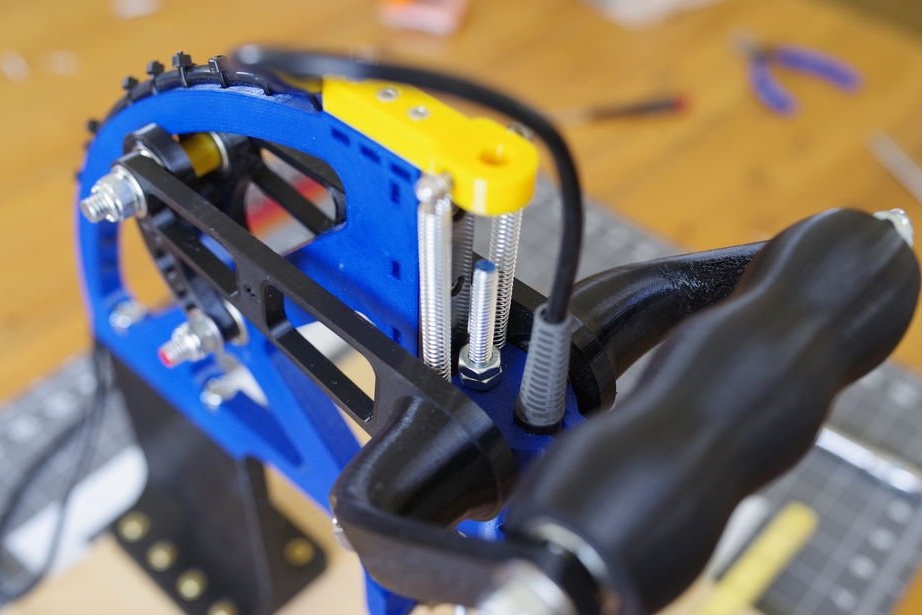
Sets the lever part.
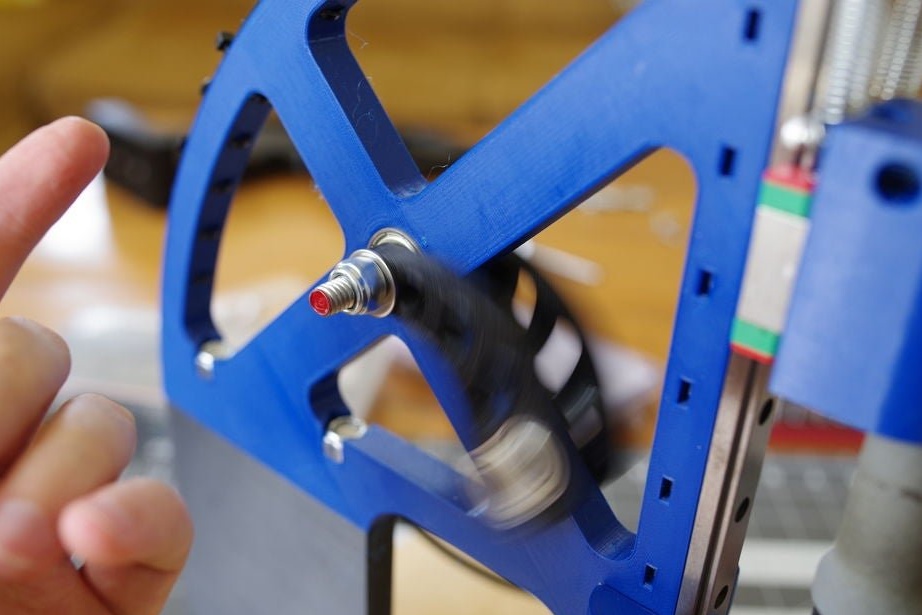
Sets the second section of the lever.
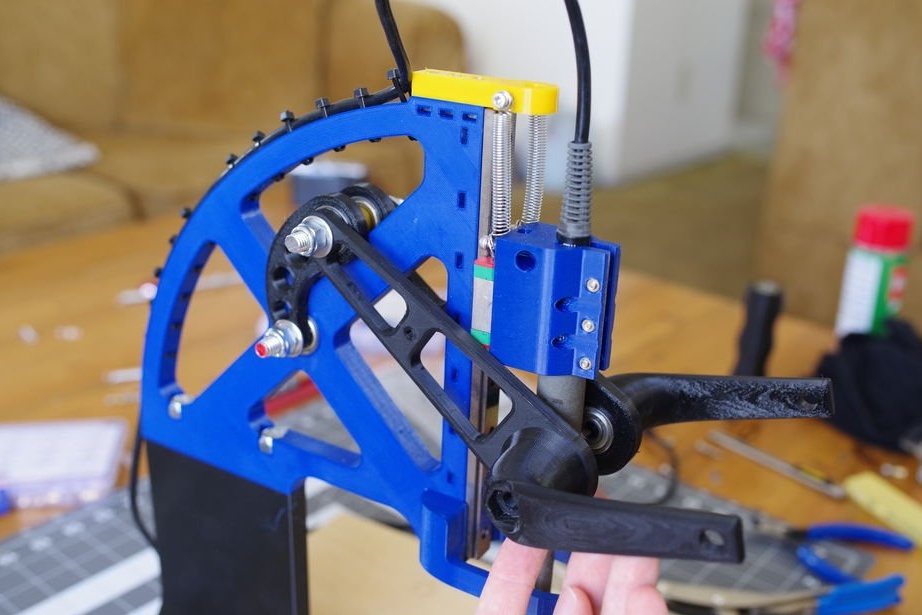
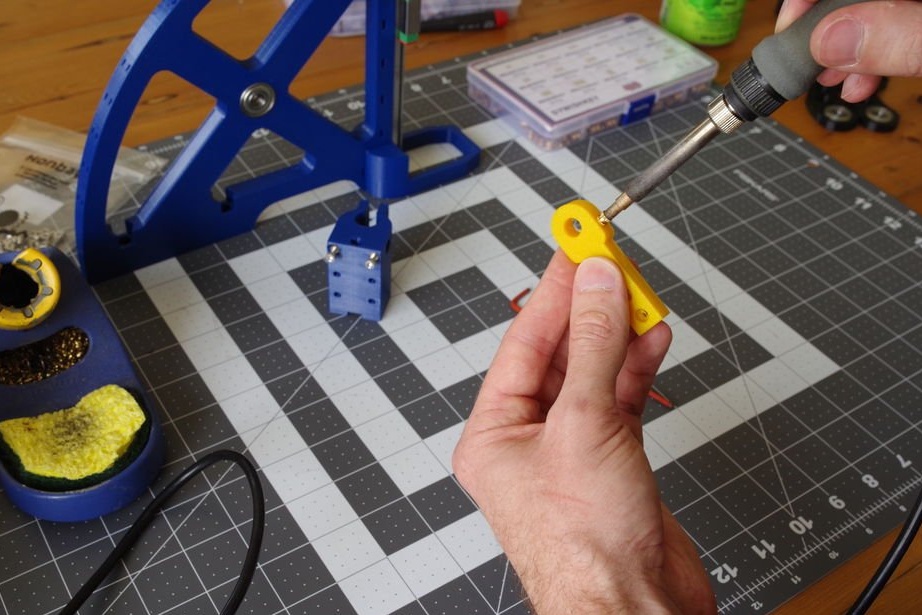
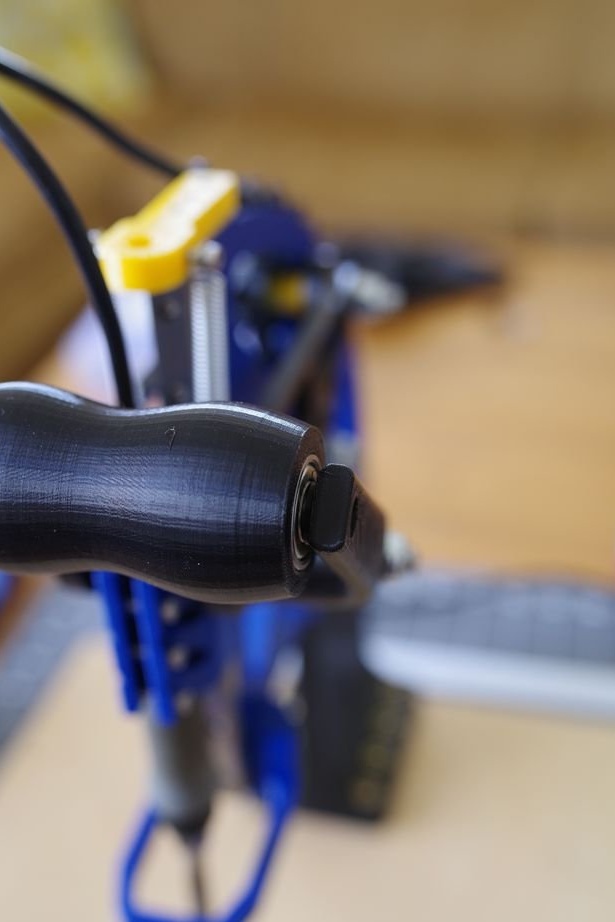
Sets the last section and handle.

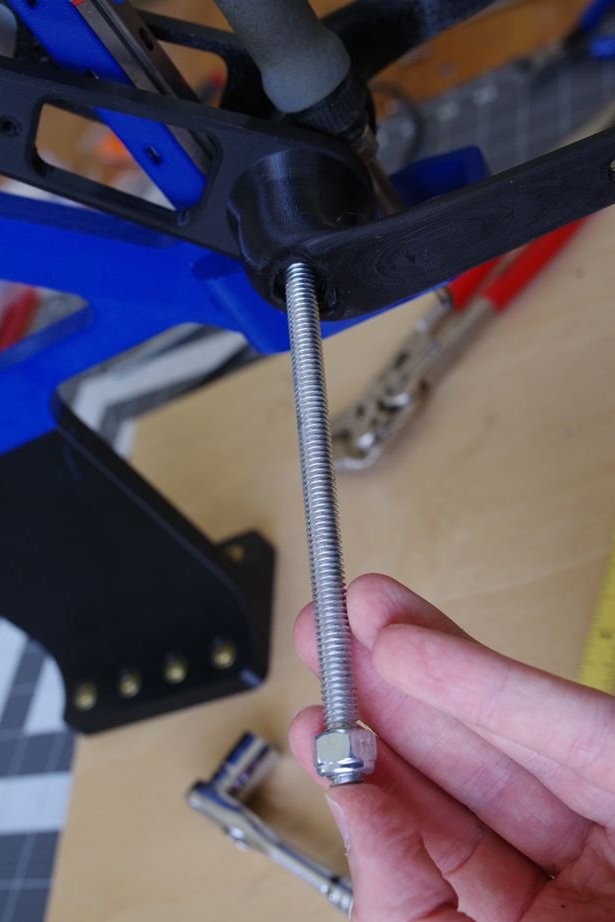

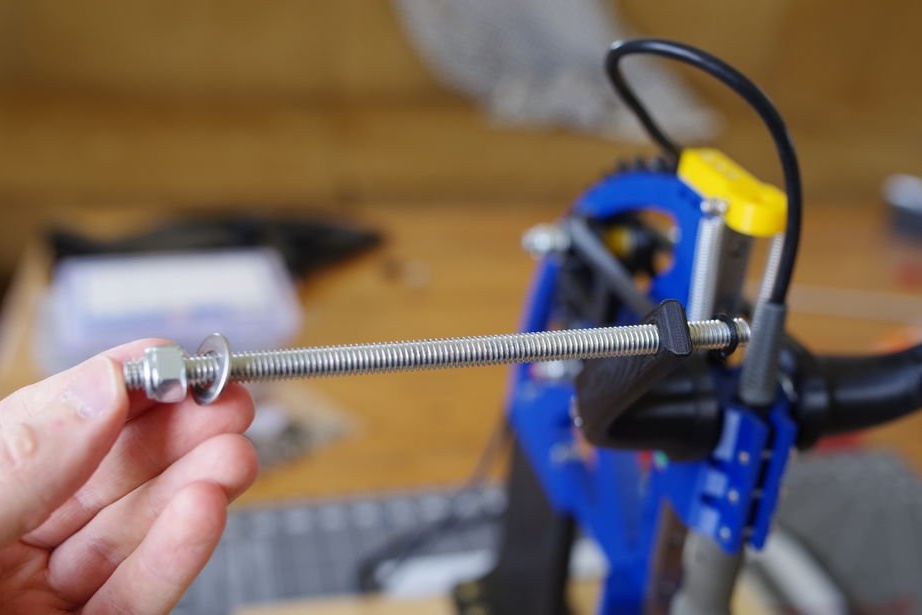
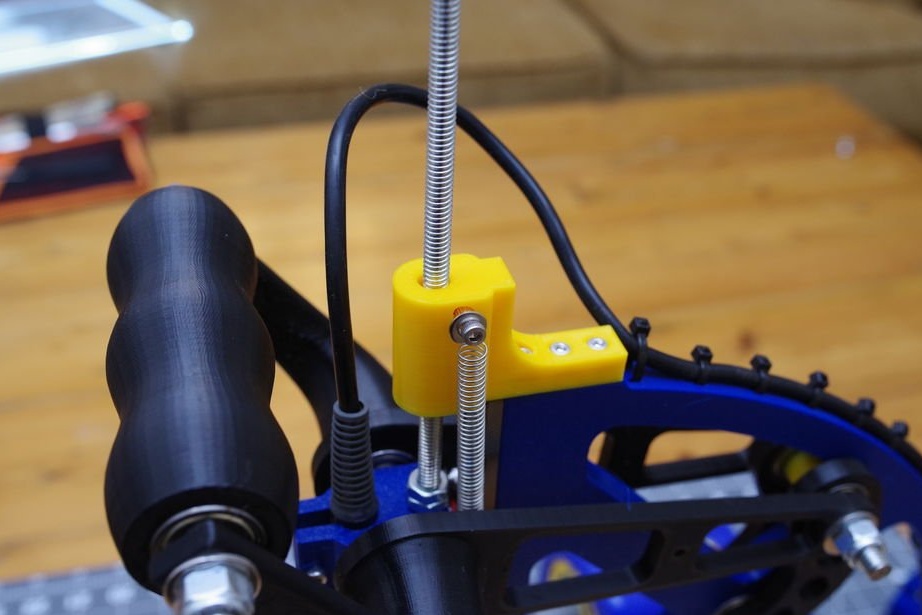
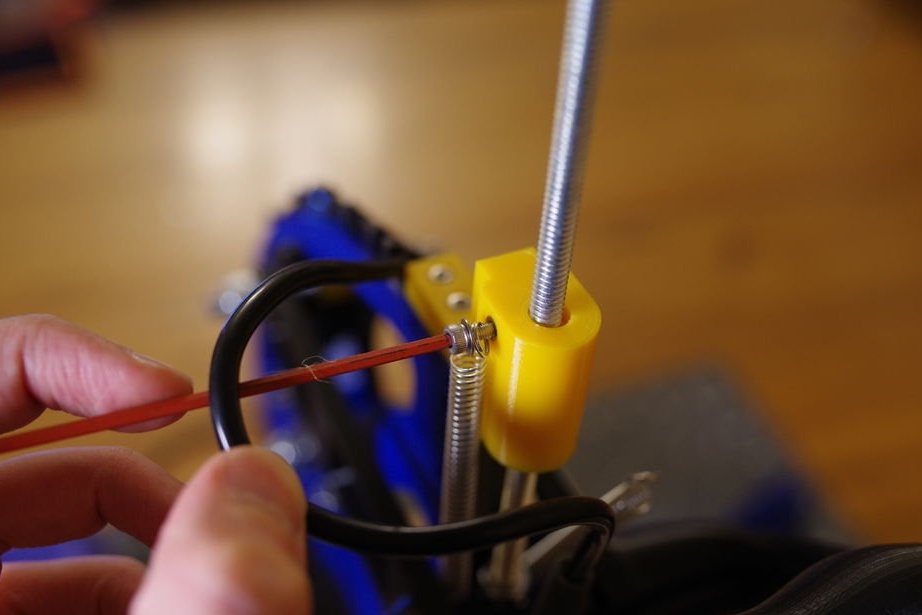
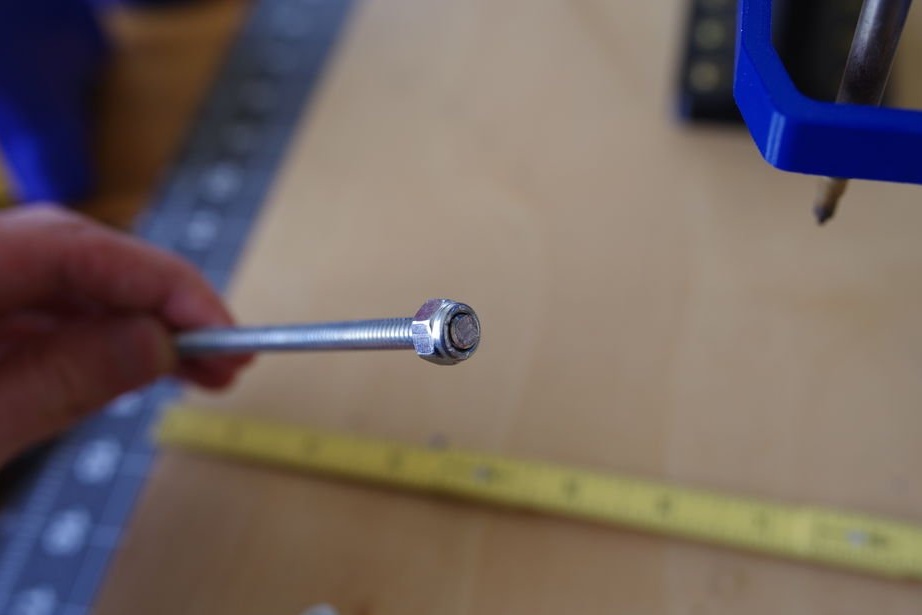
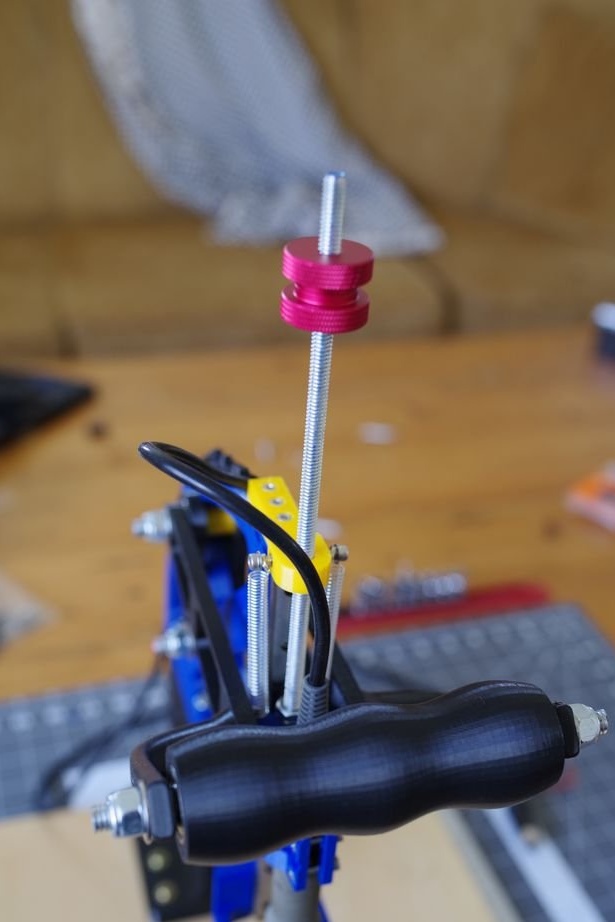
Now it remains to install the threaded rod. He will play the role of a limiter. If necessary, it can be twisted or unscrewed the stroke of the press will be limited to the rod. The master installs and locks the washer on top of the shaft for easy adjustment.
And at the end, some advice from the master: use conical thermal inserts, not cylindrical ones.It is very difficult to install cylindrical inserts straight.