Surely each of you has an ordinary cutting board in the kitchen.
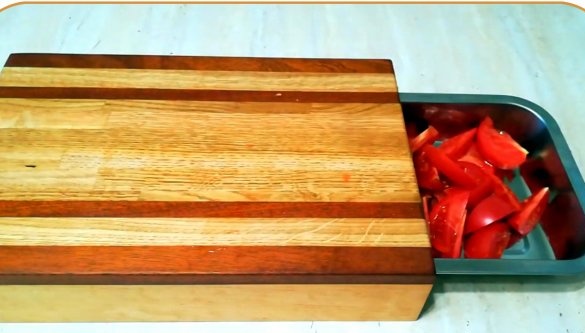
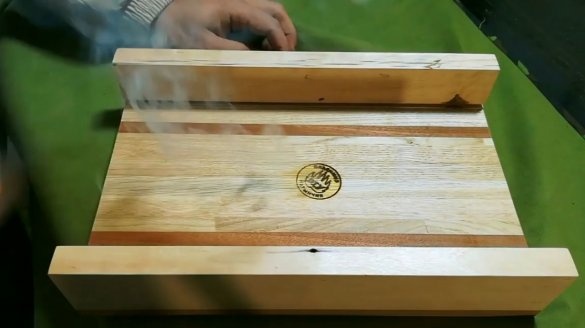
In this article, the author of the YouTube channel Vladimir Natynchik will tell you how he improved the design of the board so that it is now convenient to remove chopped products from it.
Materials
- Boards from birch, oak and mahogany
- PVA glue
—
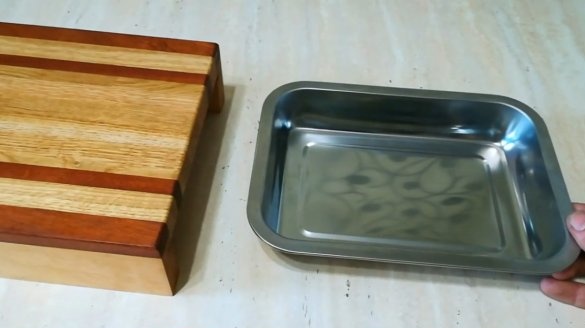
- Stainless steel tank.
Instruments, used by the author.
- Circular and miter saws
—
—
—
- Reysmus.
Manufacturing process.
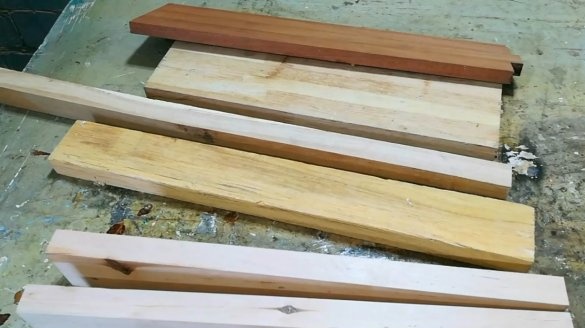
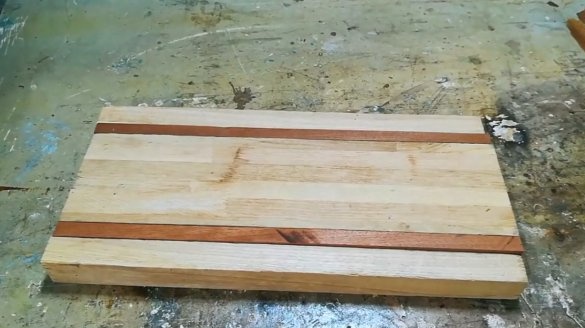
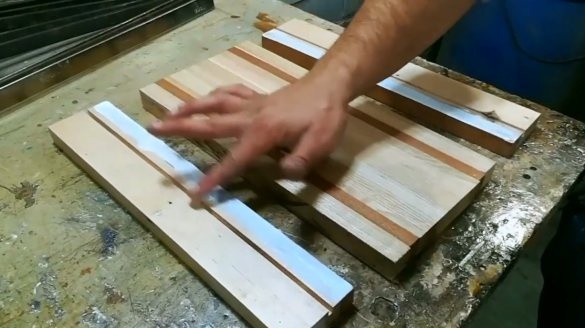
As the main materials, he uses blanks from various types of wood. These are oak, birch, and mahogany.
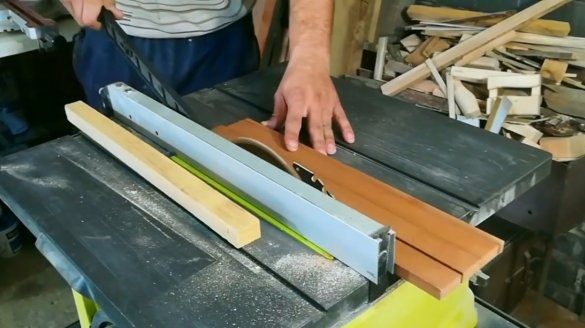
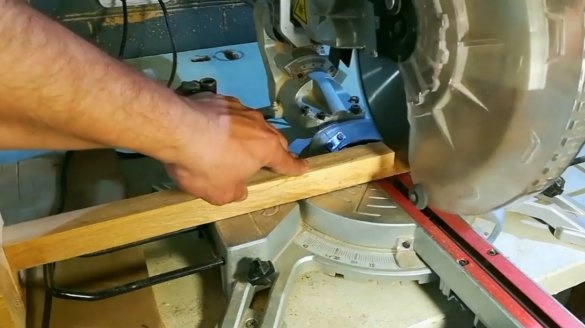
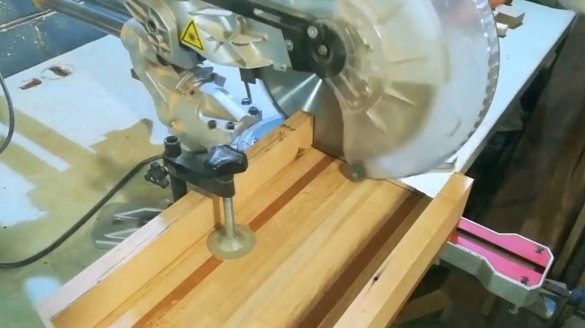
The master cuts these pieces and whetstones into strips of the same width. Then cuts the length of the miter saw, using the emphasis.
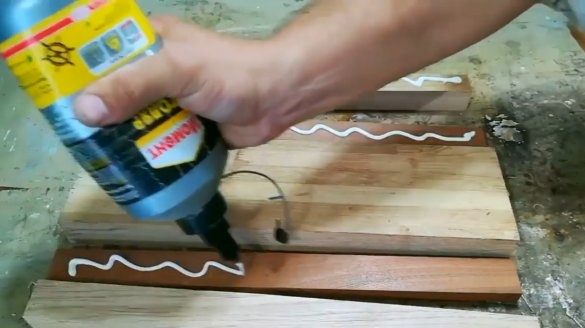
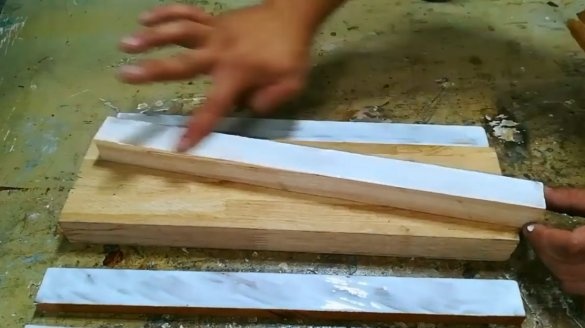
Parts are adjusted in length and thickness, they can be glued. Glue the author smoothes over the entire surface.
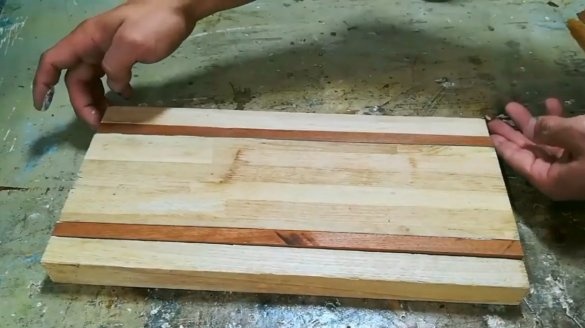
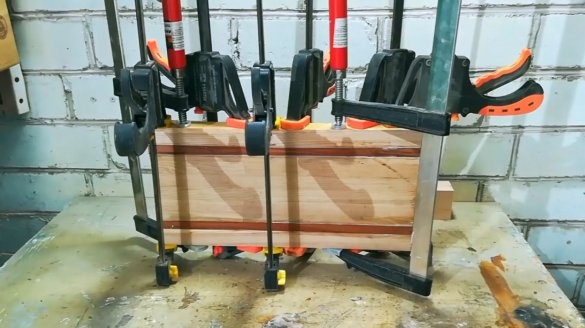
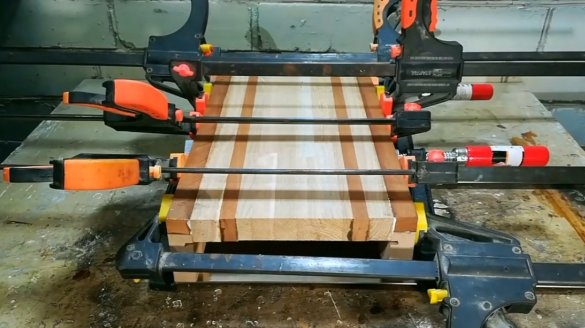
Now the planks are folded into a shield, and pulled together with clamps.
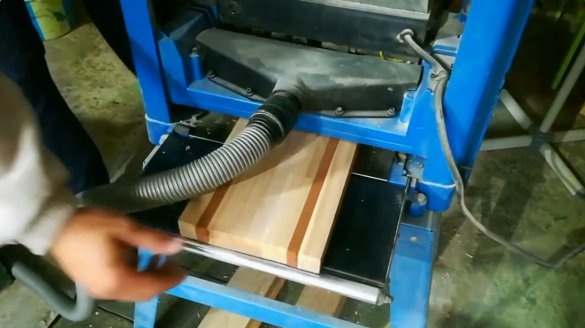
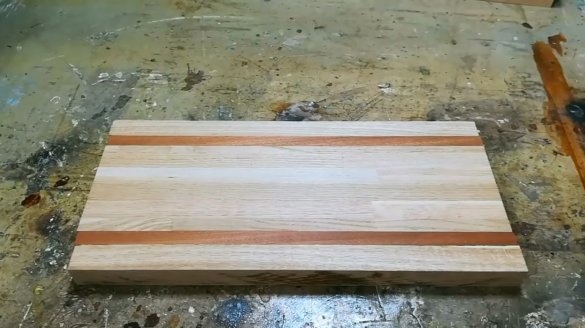
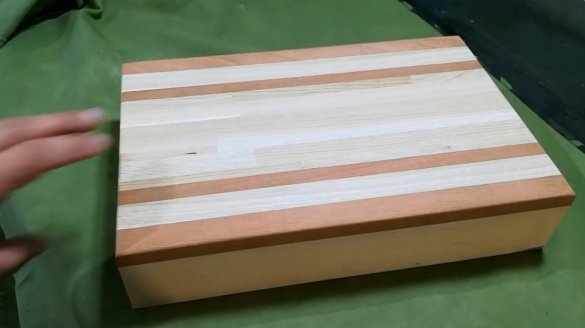
After the glue dries, both surfaces of the board are processed with a surface gage.
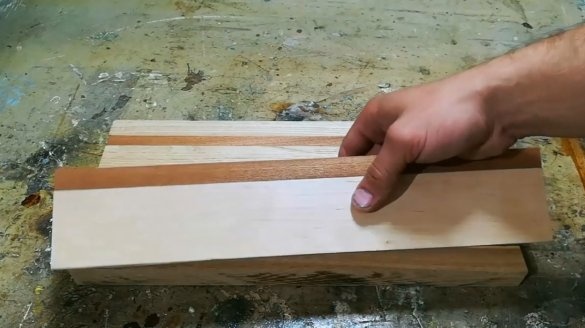
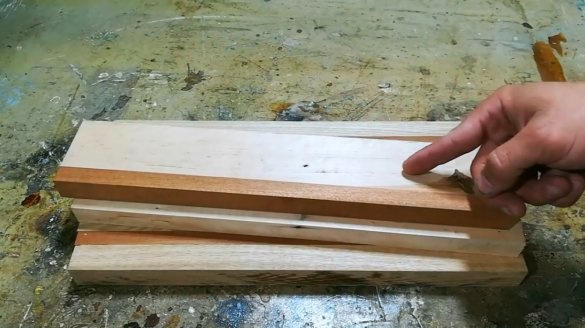
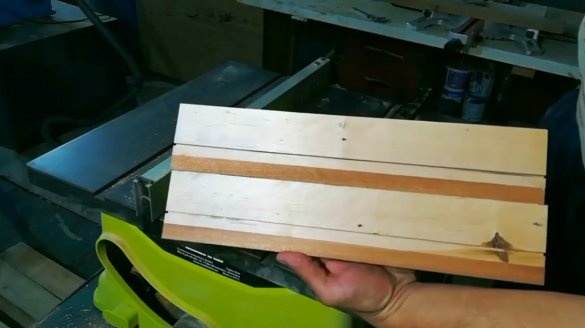
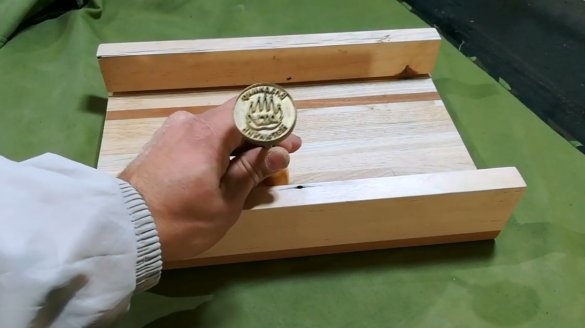
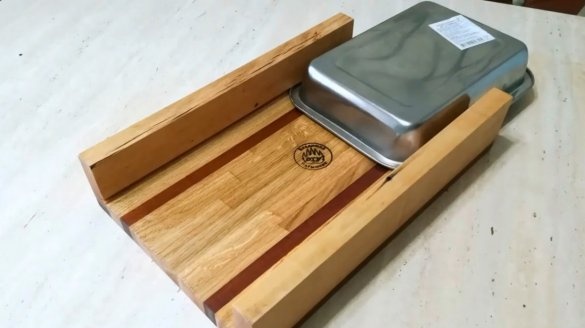
Vladimir also prepared two side supports, they are glued from birch and mahogany.
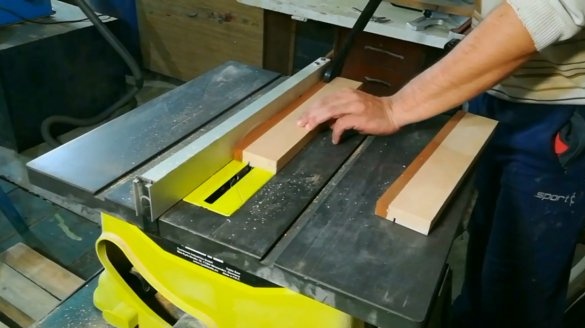
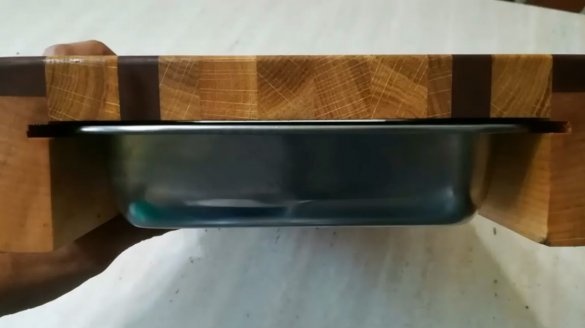
At the level of the thickness of the board in the props, the master makes a shallow groove on the circular saw.
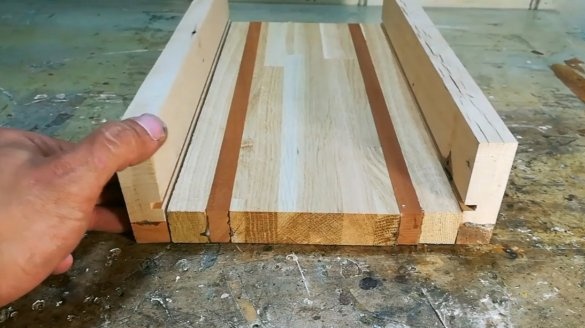
Now these blanks are glued to the main board array.
The ends of the product are trimmed and aligned.
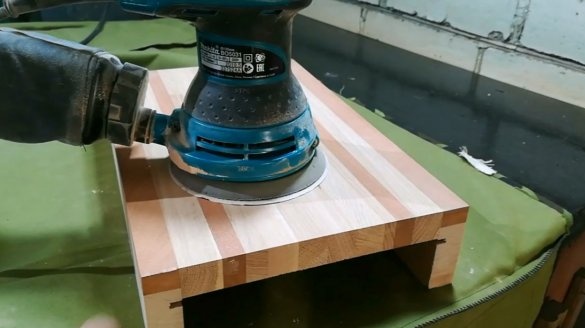
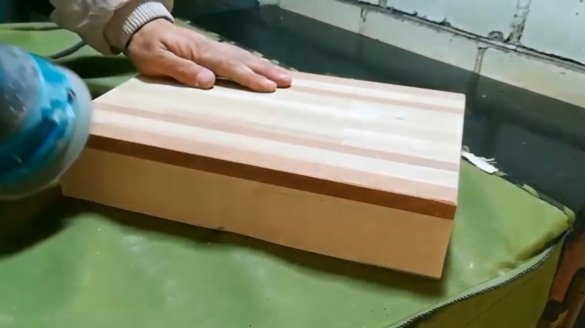
All edges and surfaces are machined by an orbital sander.
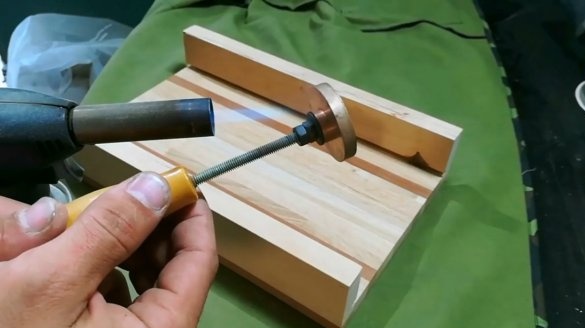
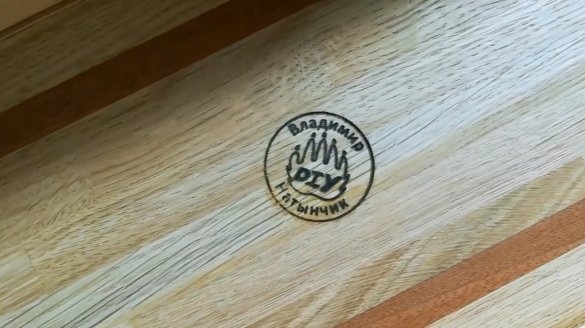
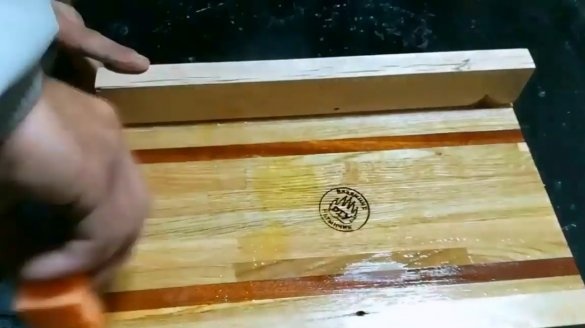
Heated stamp with a gas burner, the master puts his own brand.
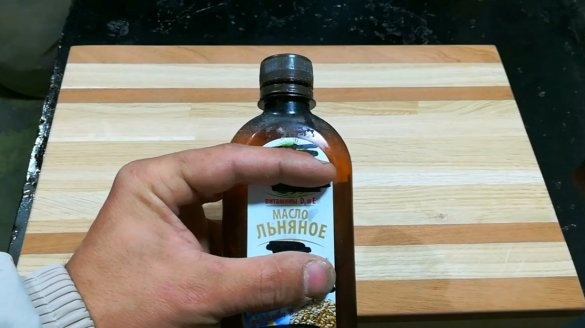
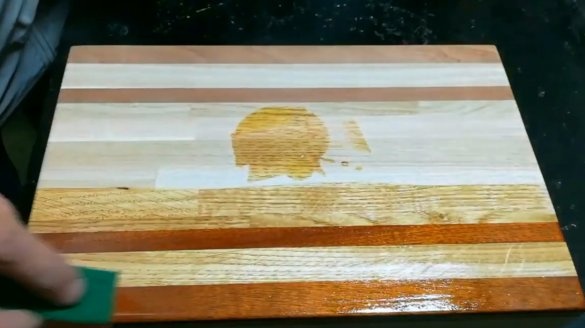
Almost everything is ready, now it remains to soak all the surfaces of the product with linseed oil. It perfectly protects the product from moisture, and is also absolutely harmless when in contact with food. It also has virtually no smell.
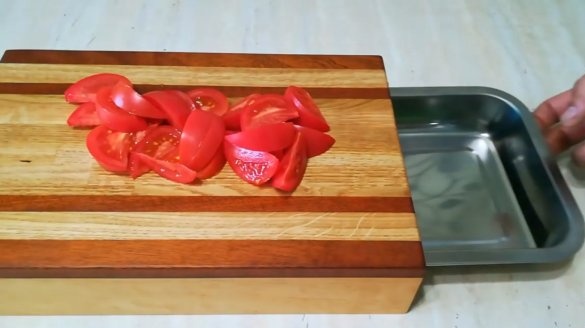
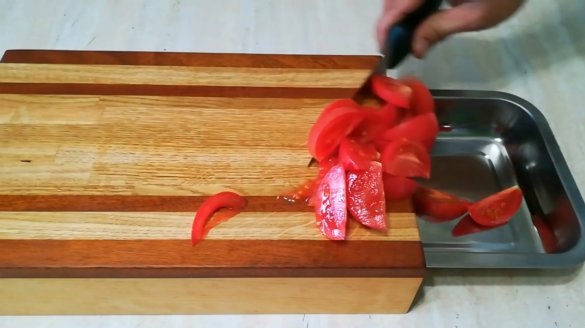
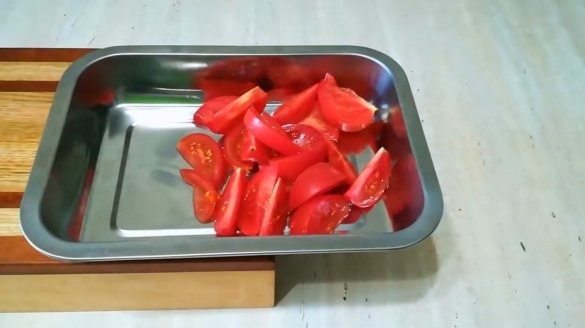
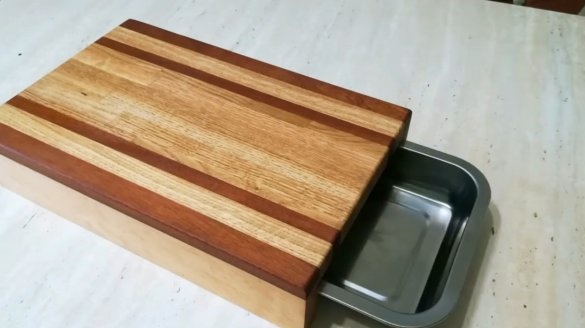
Now you can install the tray in its place, and when the products are cut, you can slide it out and put the finished cut into it.
I thank Vladimir for the very simple but useful idea of the kitchen board!
All good mood, good luck, and interesting ideas!
Author video can be found here.

