
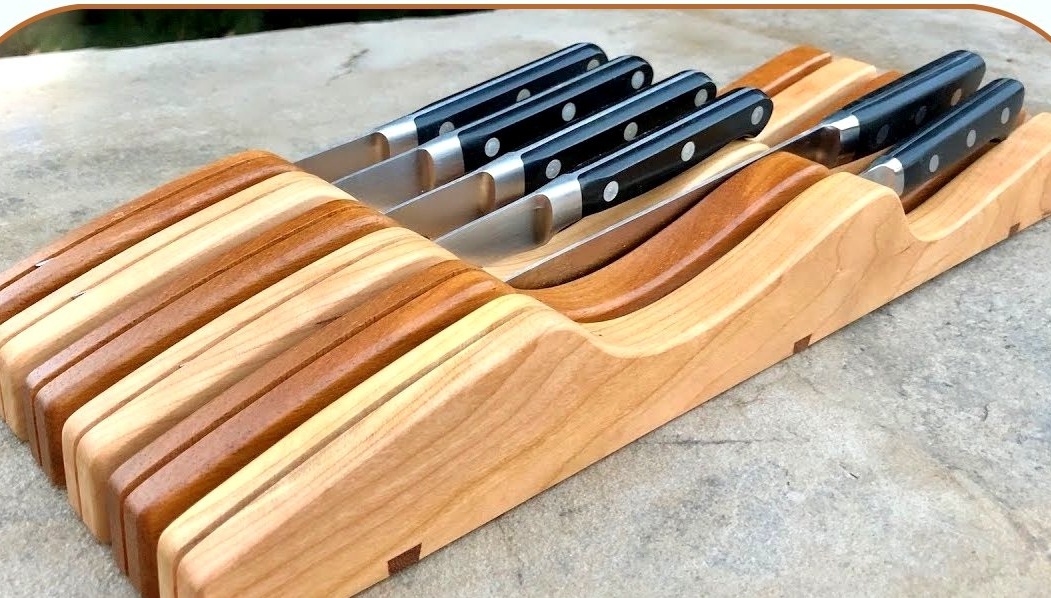
In this article, the author of The Wood Whisperer’s YouTube channel tells you how to make a knife block that fits easily in a kitchen drawer.
Materials
- Brazilian and American cherry boards
- PVA glue
- Two-component second glue
- masking tape
- Sandpaper.
Instruments, used by the author.
- Miter saw
- Jointer, planer
—
- A circular saw
—
—
—
- Mill with thrust bearing
—
—
—
- Drum sander
- mallet, planer
—
- Patterns, ruler, square, pencil.
Manufacturing process.
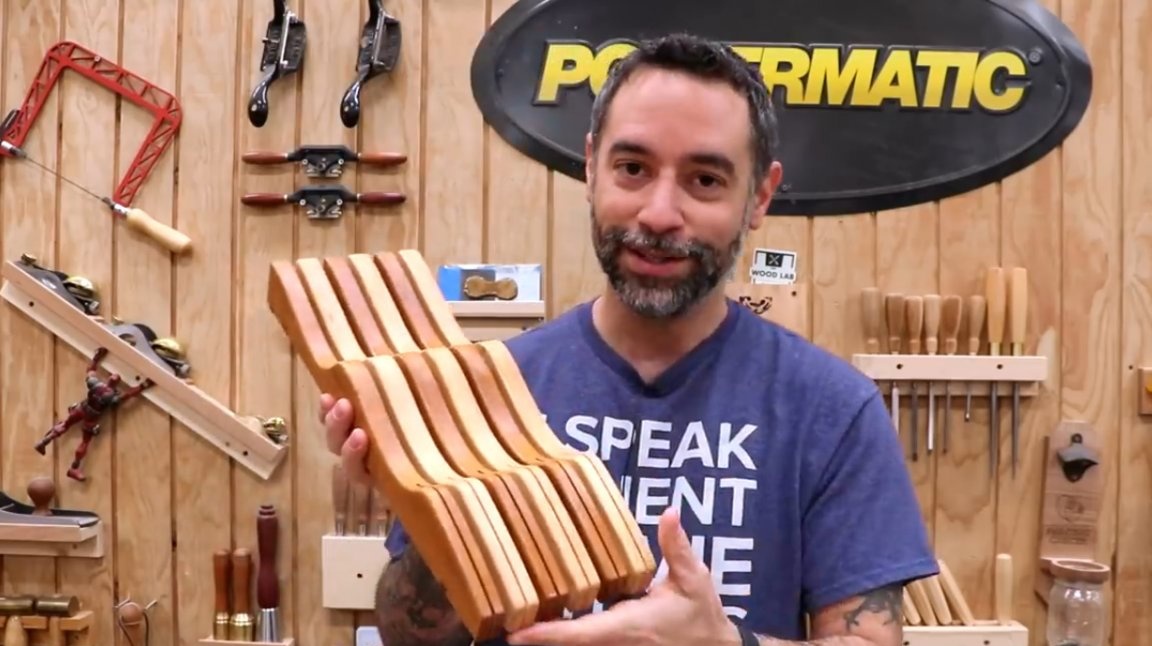
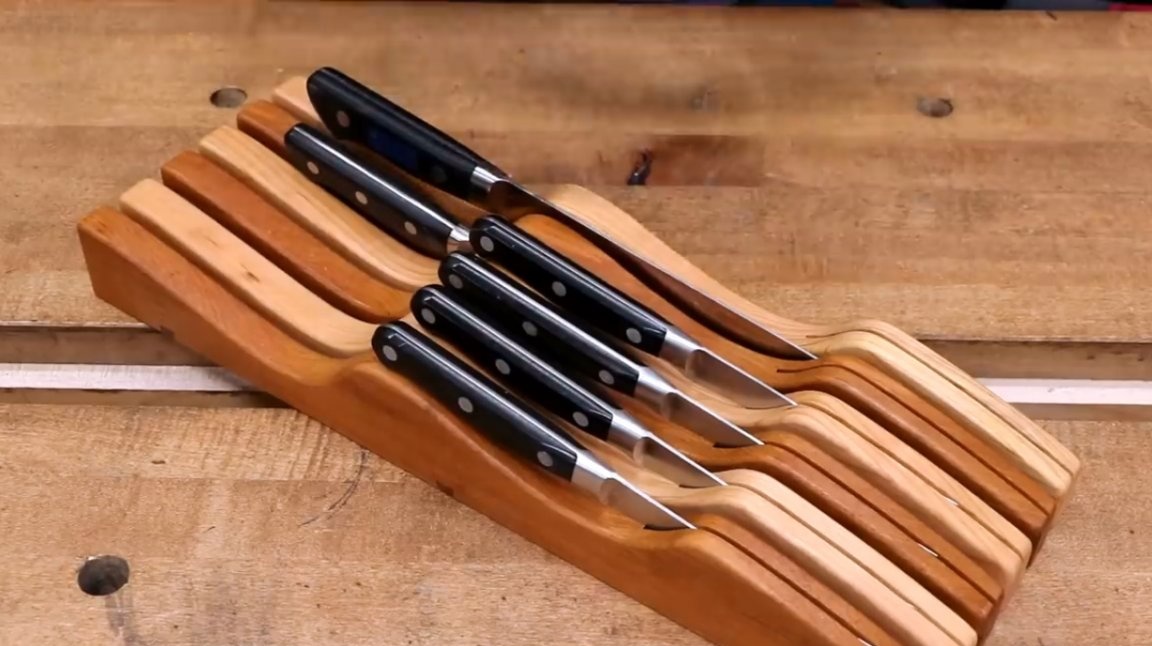
There will be compartments for 11 knives of various shapes and sizes. All of them are held together on a longitudinal dovetail joint.
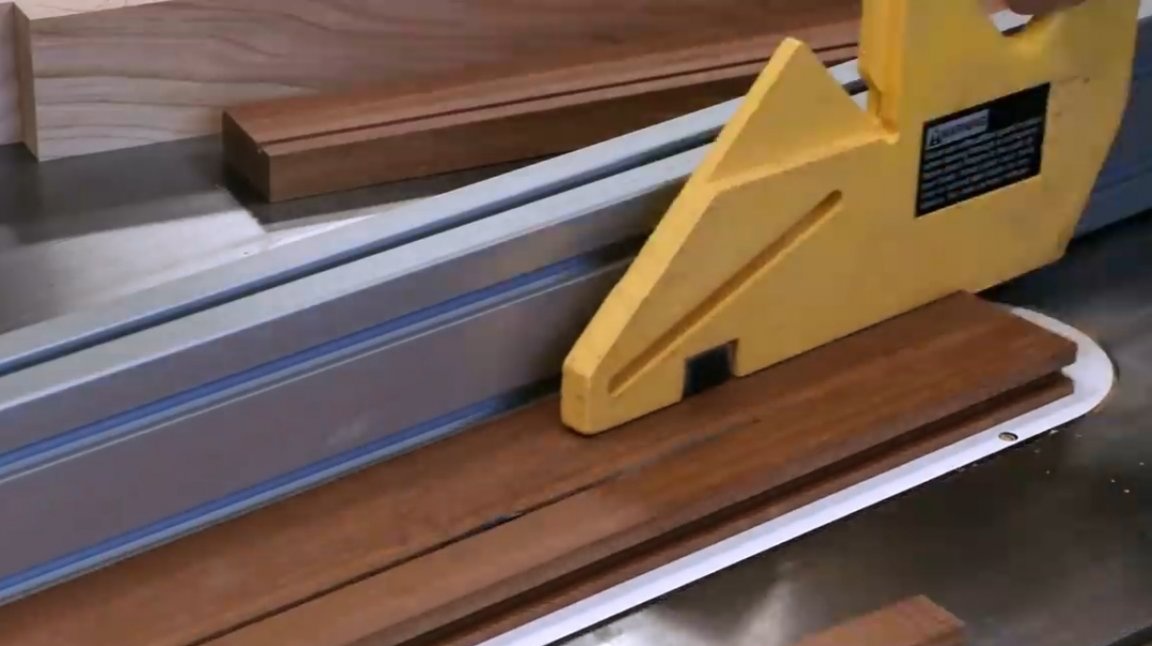
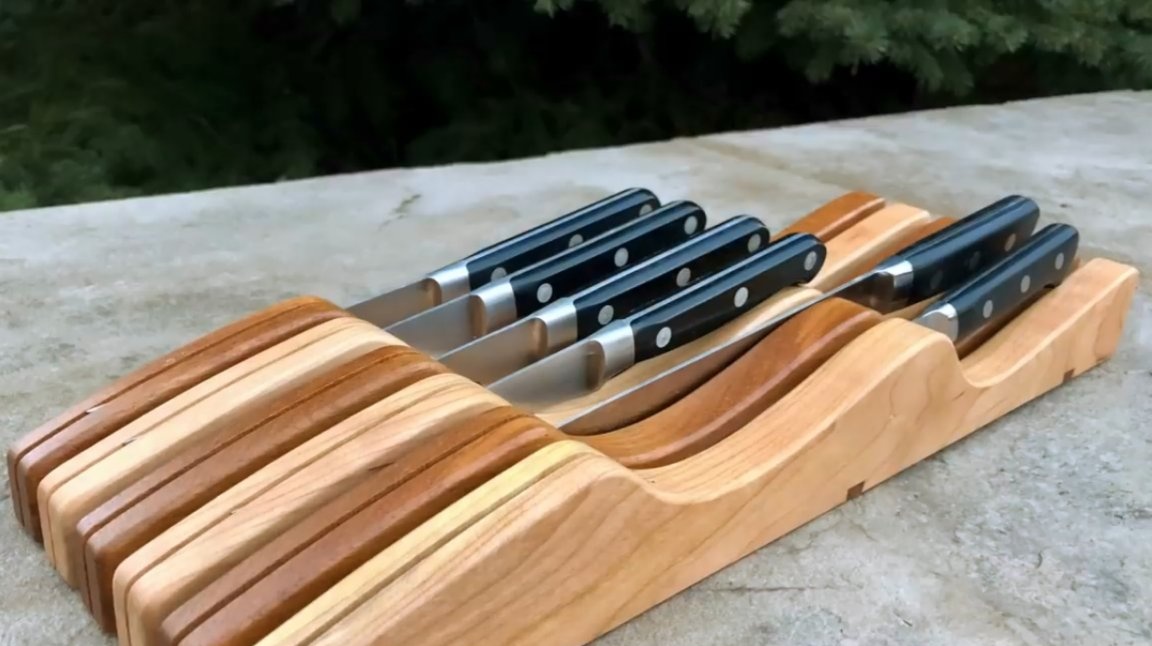
As a material, the author selects trimmed Brazilian cherry floorboards. And for contrast, he takes several boards of American cherry - these will be the sides of the scabbard.
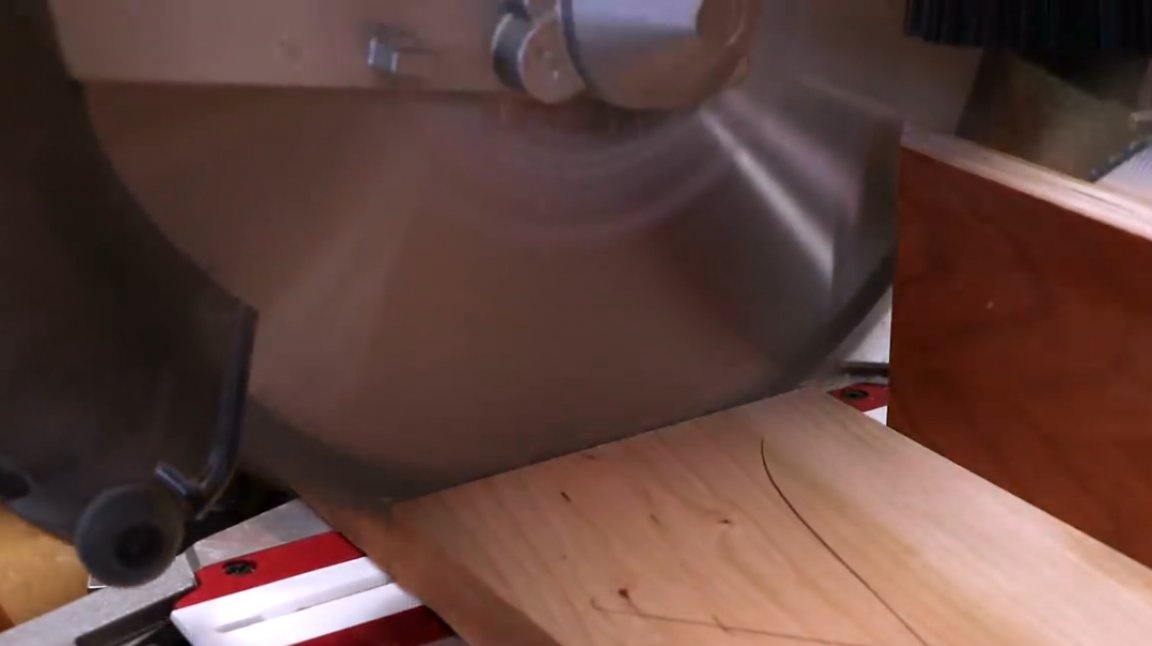
First, he cuts the boards to the desired length.
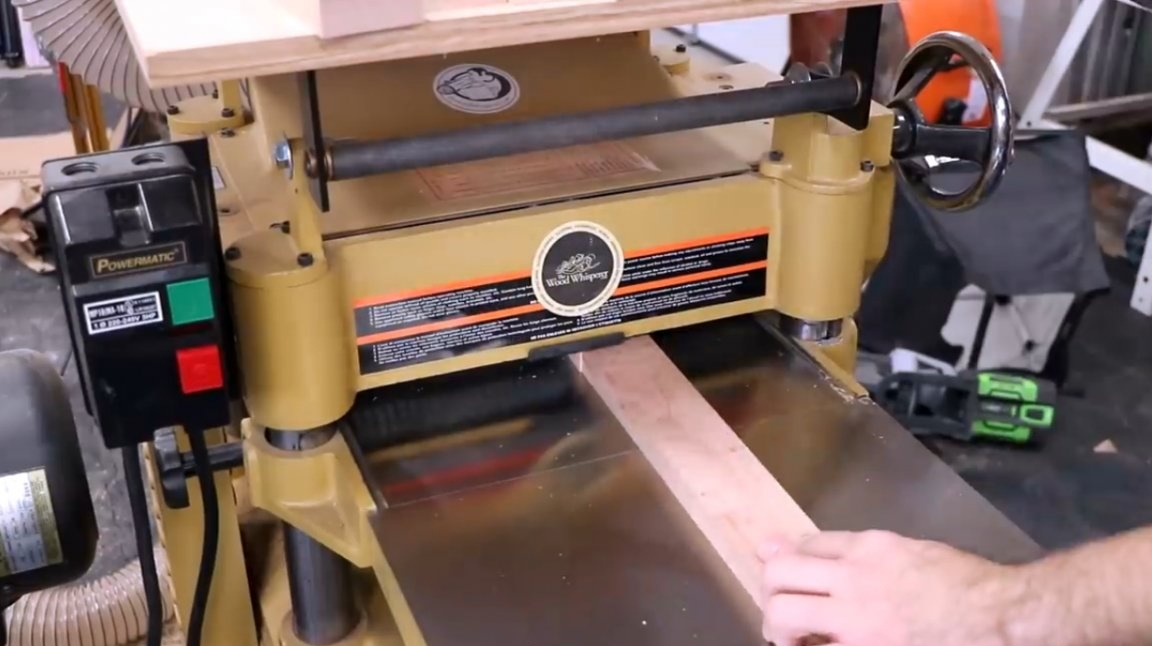
And then it aligns the base surfaces on the jointer, passes them through the surface gage, aligning the remaining planes.
On a circular machine, the master cuts the boards in width, and then cuts them to the final length on the carriage.

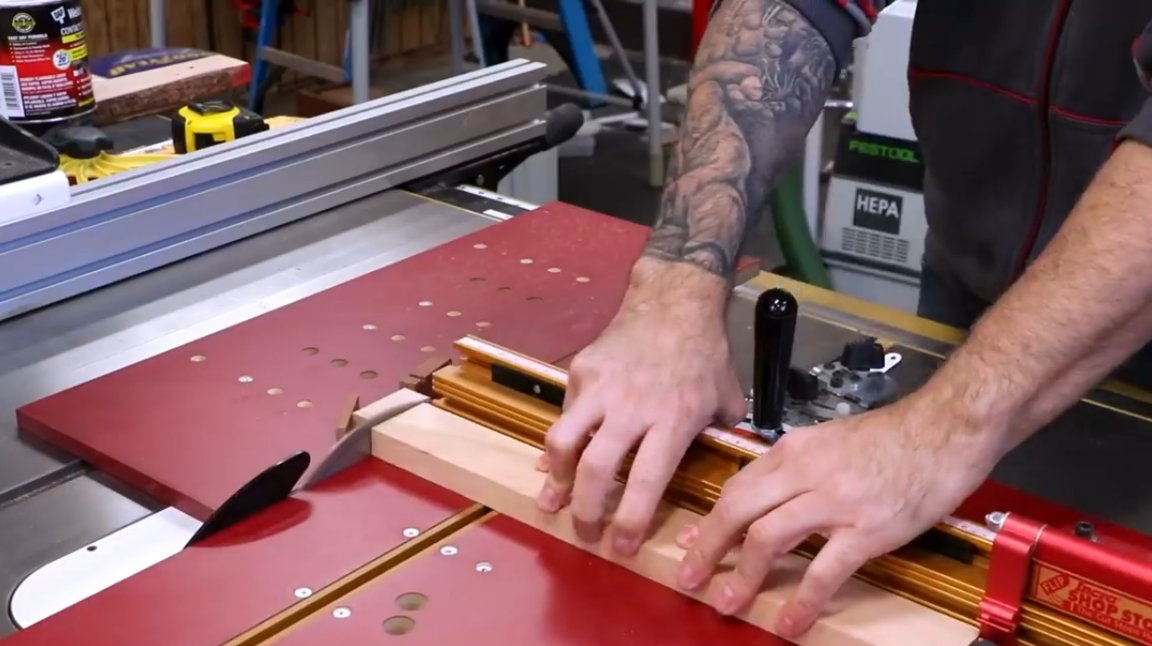
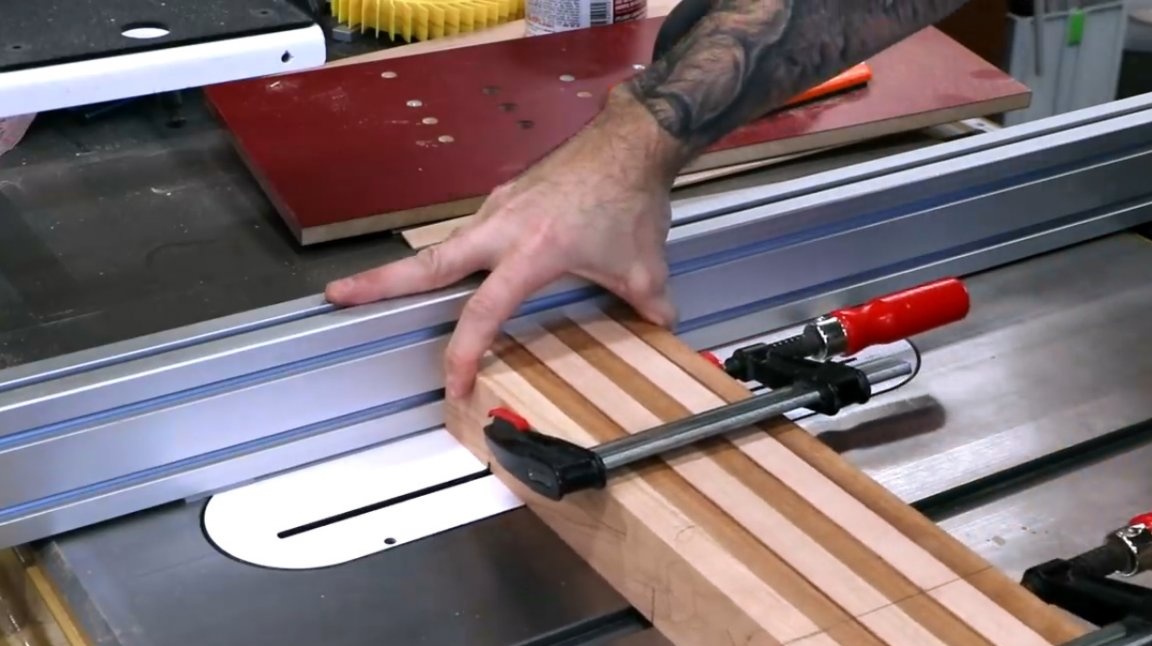
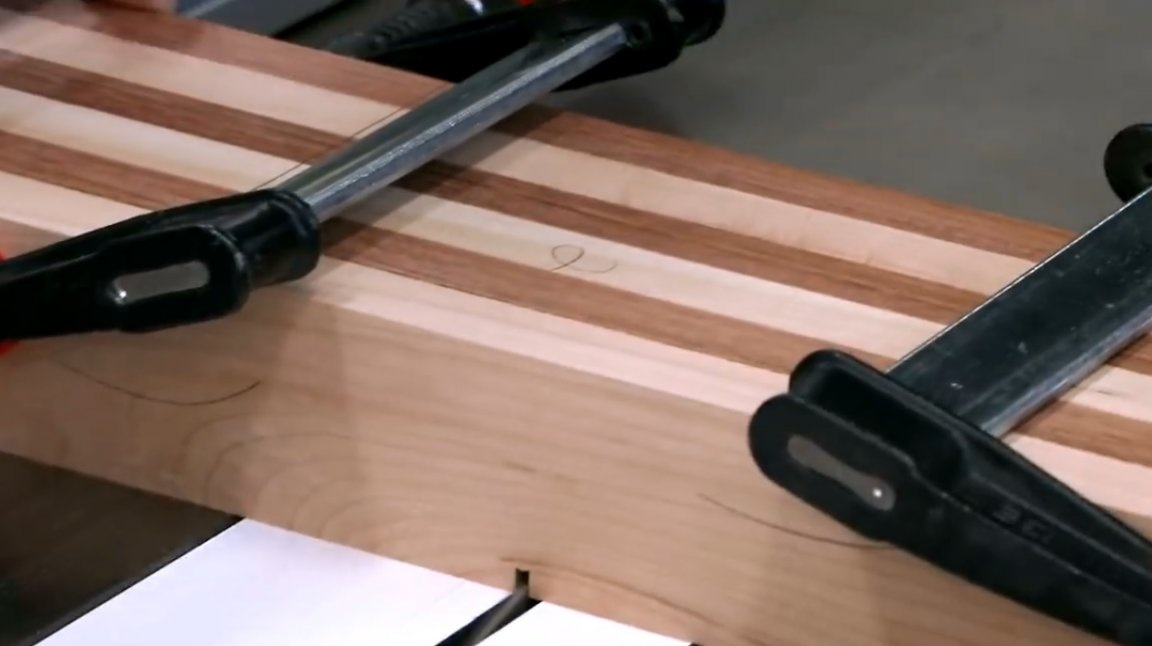
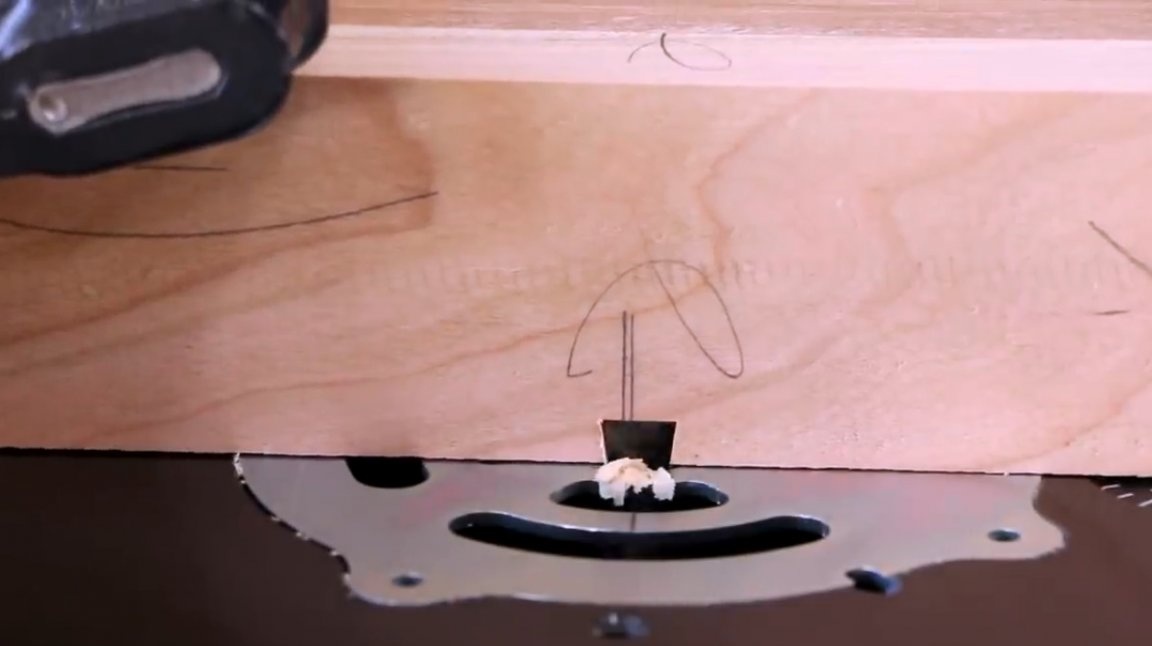
All elements are folded together, carefully trimmed and clamped with clamps. Thus, the master will be able to cut grooves in the form of a dovetail in all segments at the same time. And these slots will be perfectly parallel. First, the author cuts the primary grooves on the circular saw.

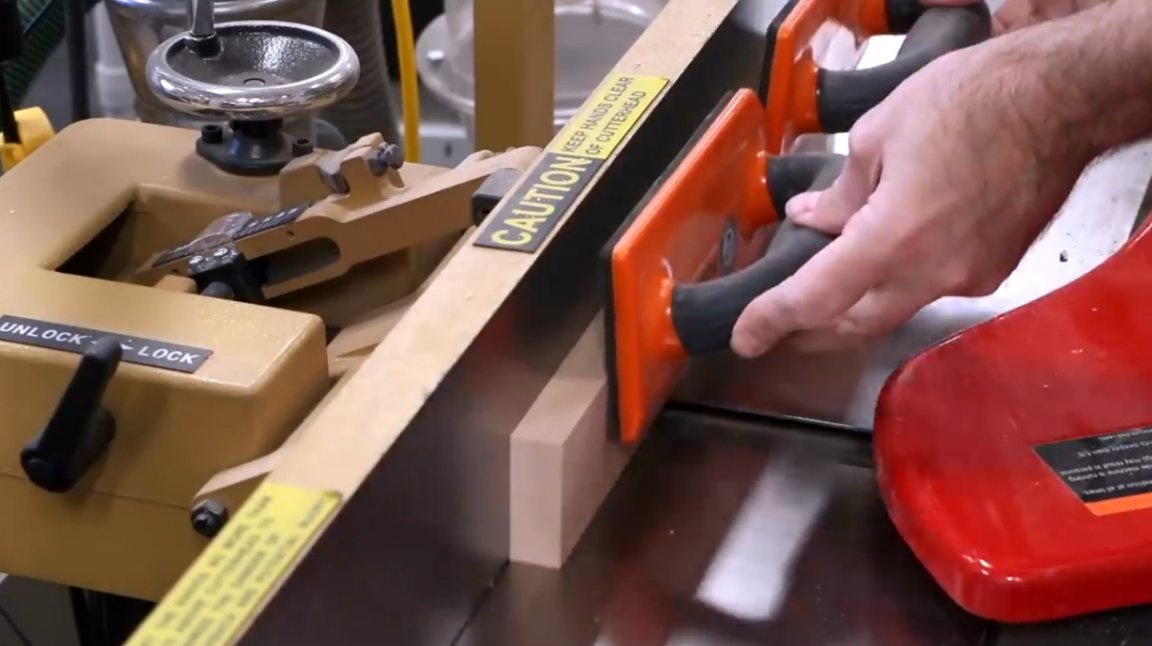
Then goes to the milling table. Using a milling nozzle in the shape of a dovetail, he makes the final cuts.

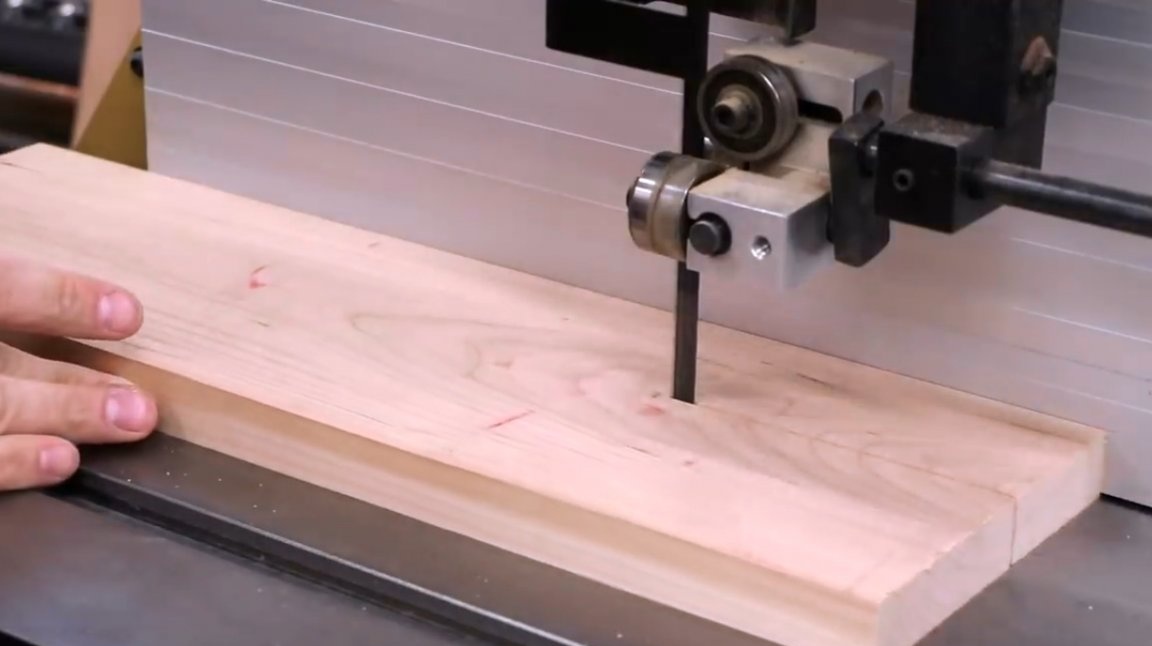
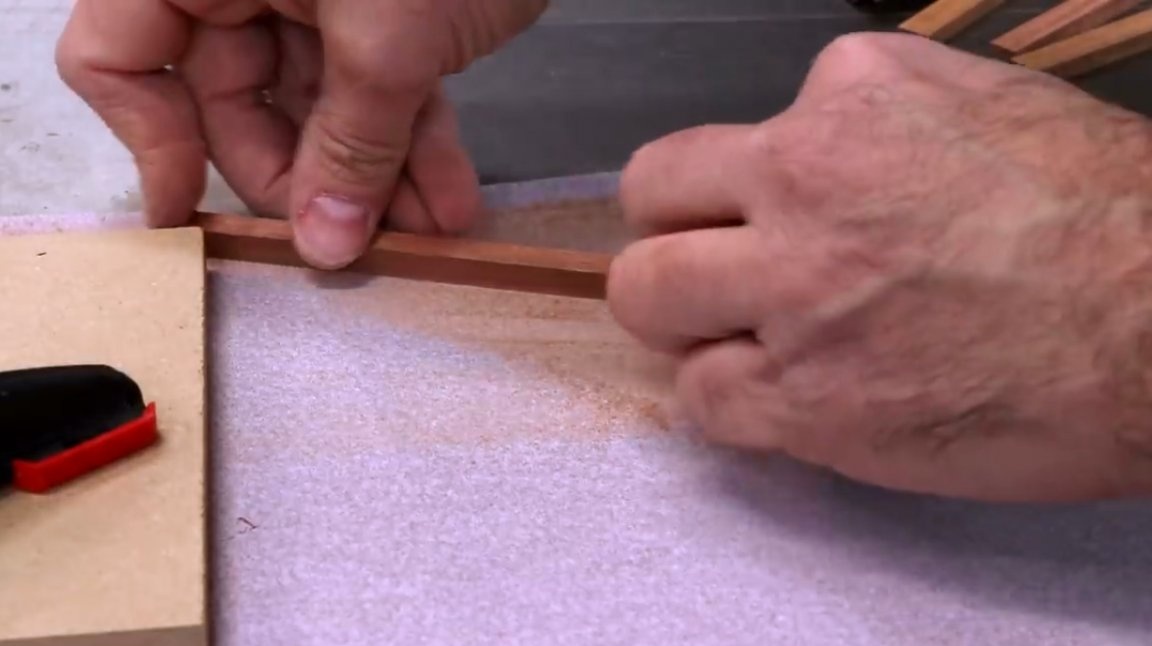
He cuts the planks from scraps of floorboards on a band saw. Its width is equal to the width of the dovetail groove. And the thickness is the depth of this groove.
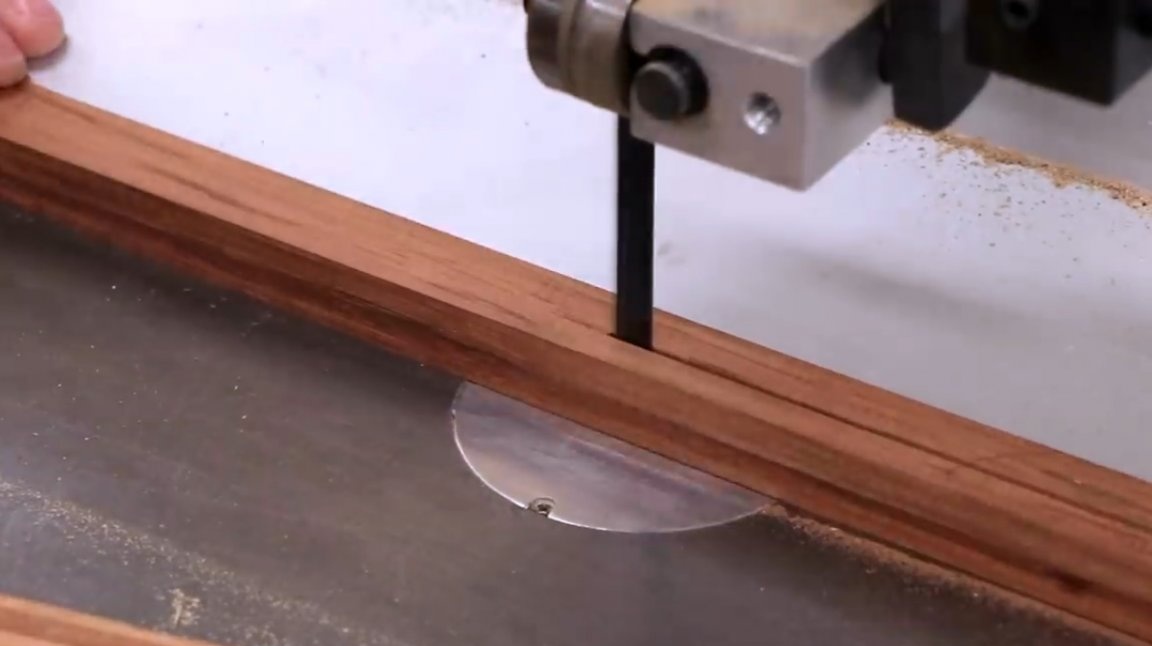

This element is very small, and it needs to be shaped like a trapezoid, so it is advisable to use an angular clamp. Keep your fingers as far away as possible from the cutter.
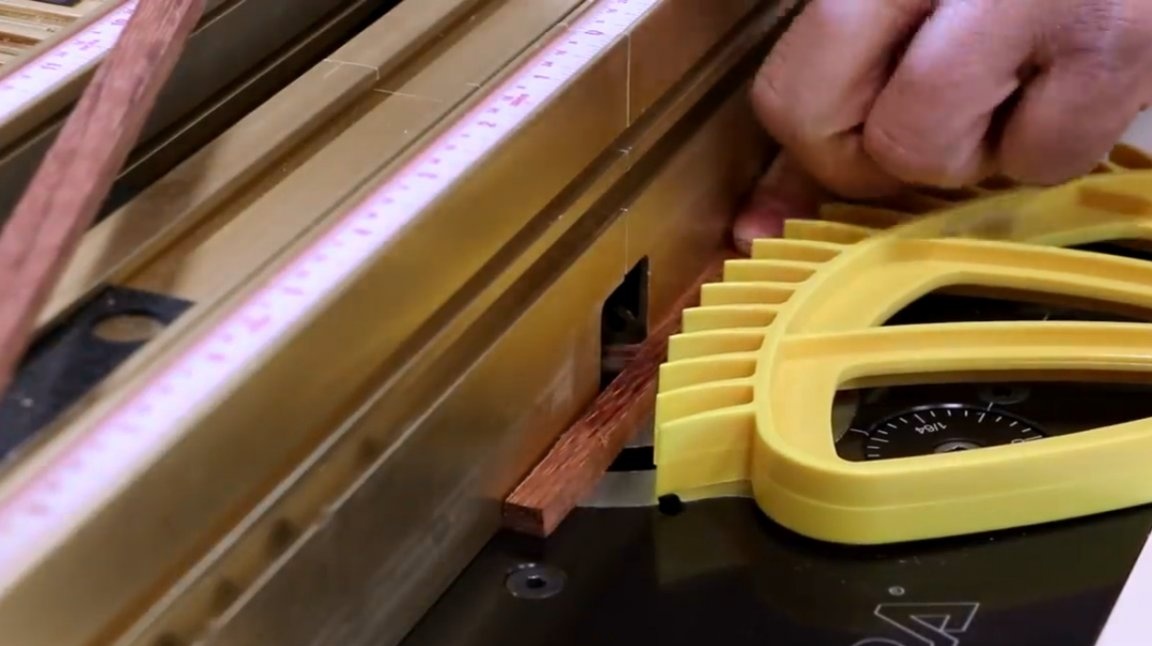
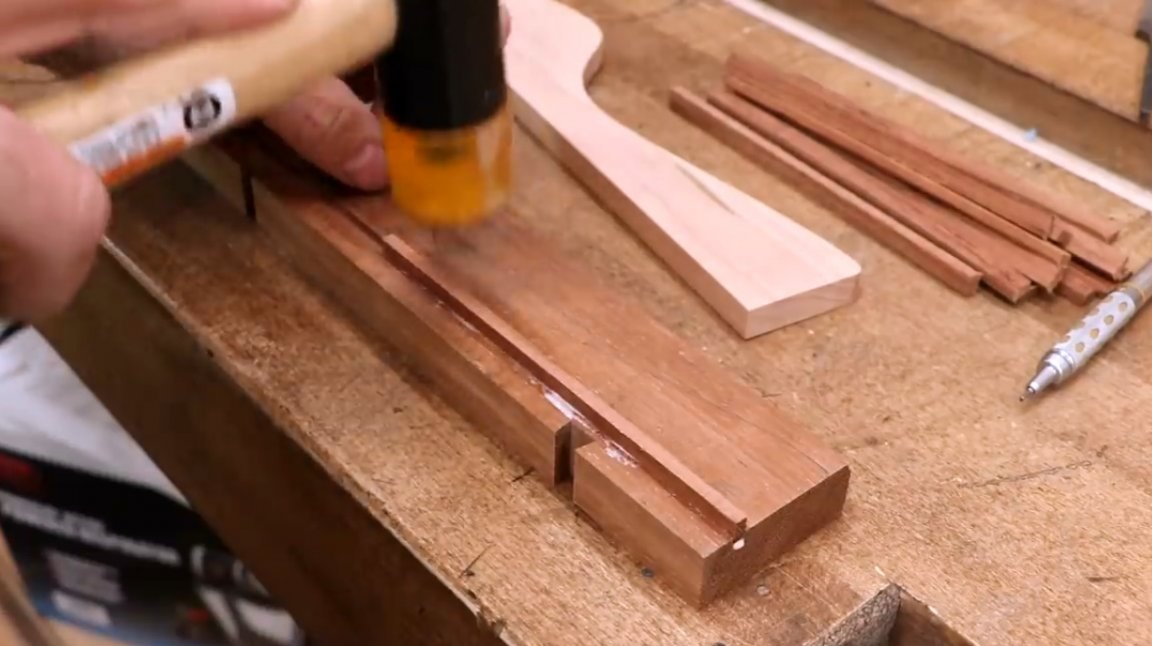
A great help in the manufacture of the dovetail sliding joint is that in this case it is not necessary to select the cutter height for the second pass. It is enough just to stick to the stop and make so many passes until the key “sits” in the groove prepared for it.
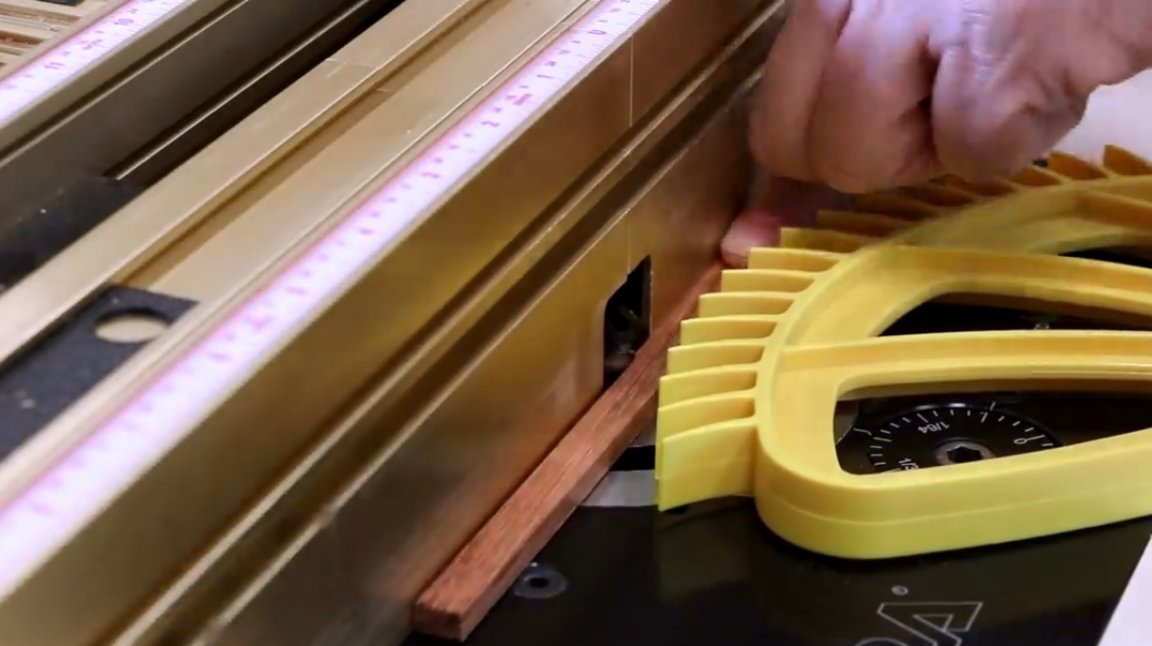
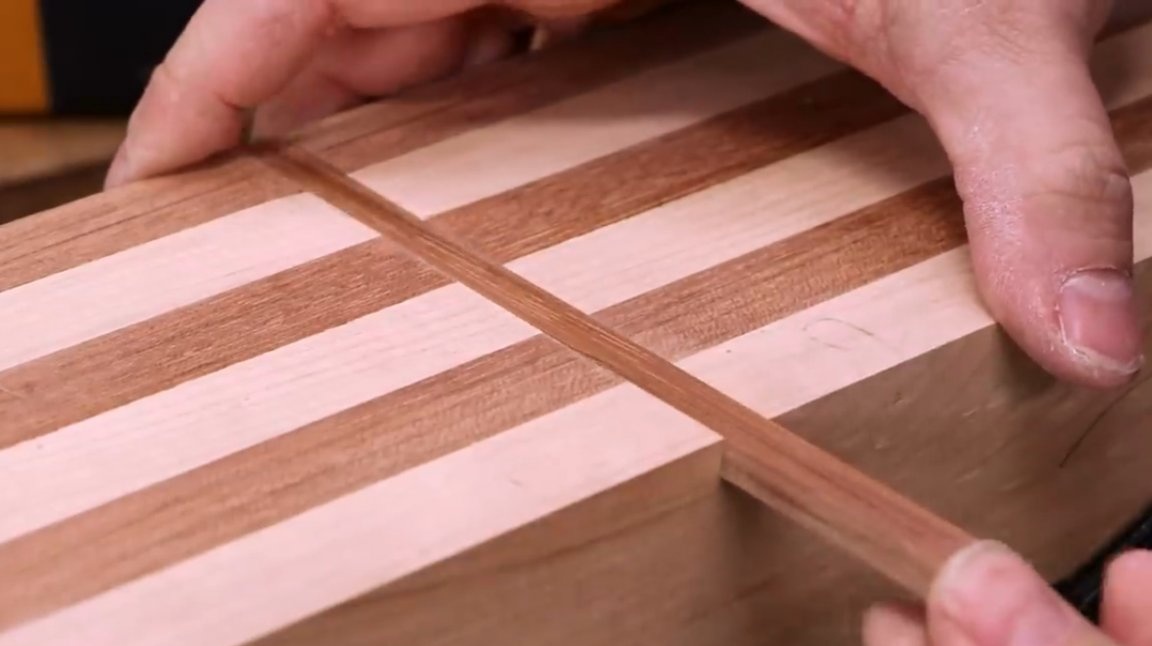
It sits tight enough. A few more movements of the workpiece on sandpaper, and the part fell into place.
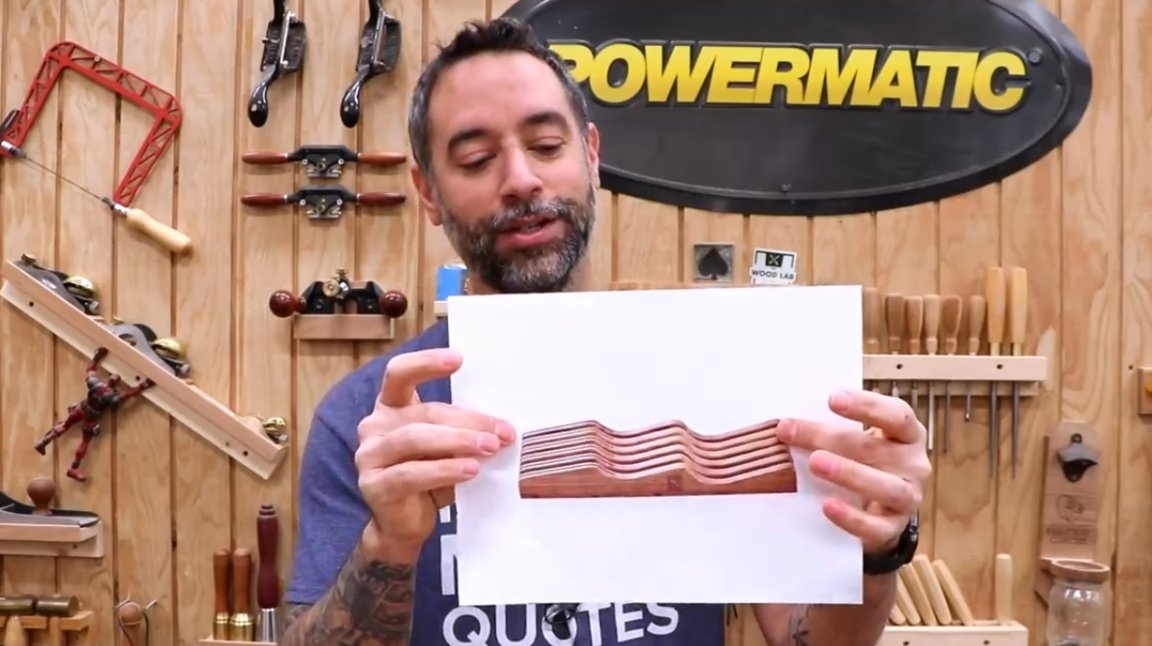
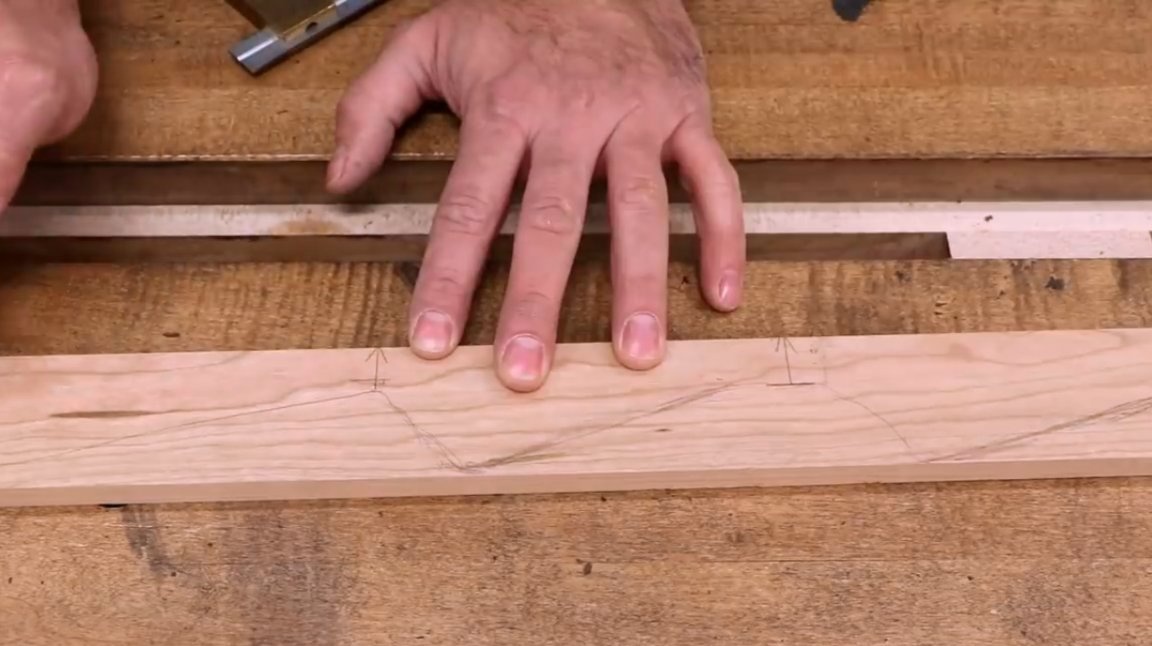
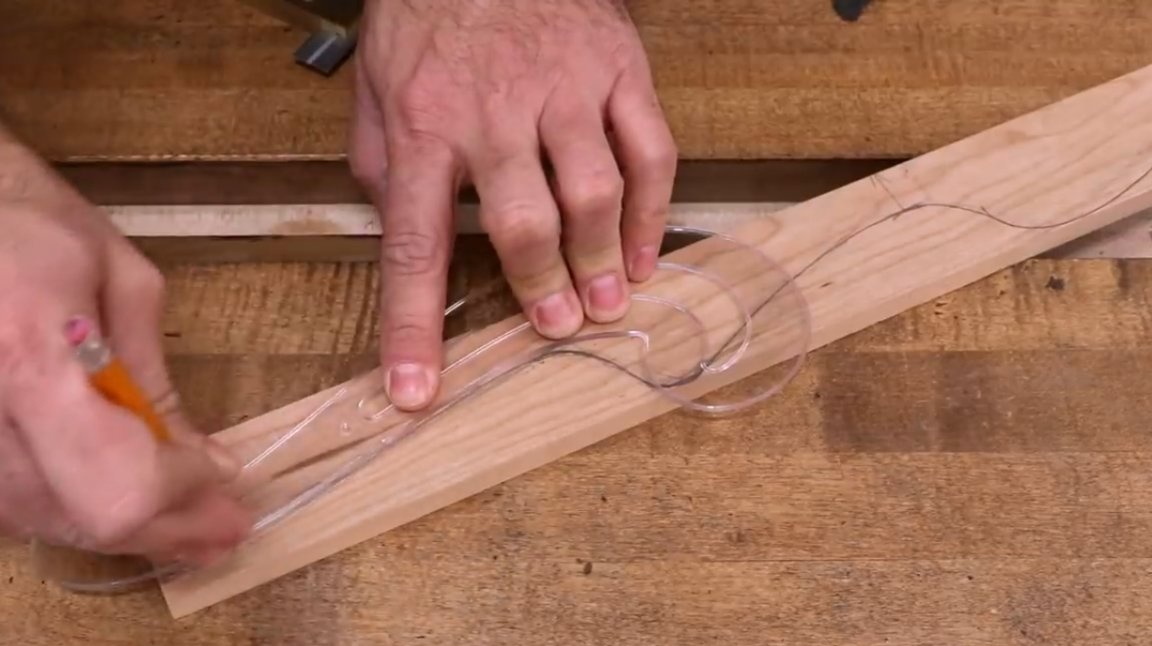
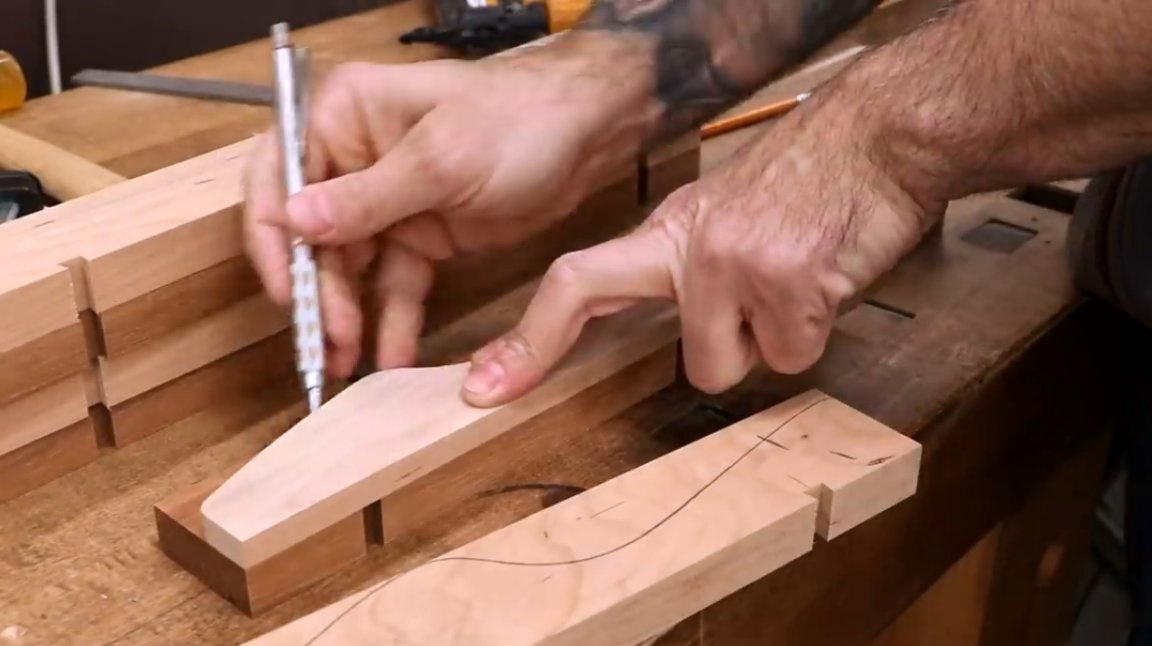
On trimming a board, the author sketches the contours of his product.This will be a pattern that is labeled using a pattern.
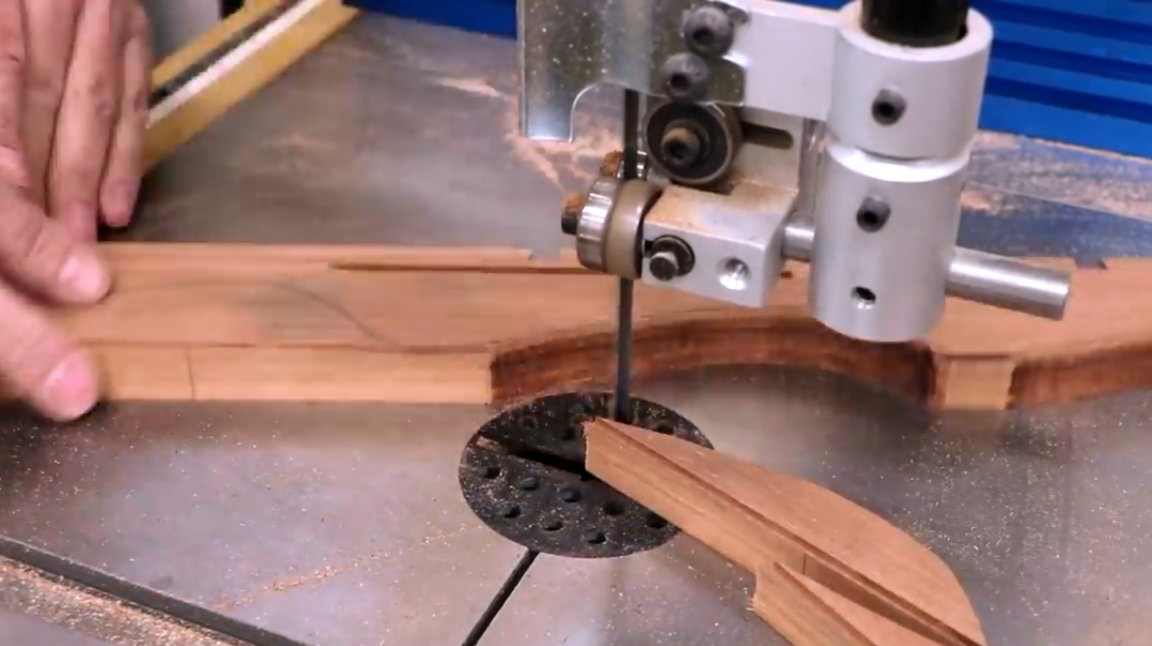
The master cuts the contours of the workpiece on a band saw.
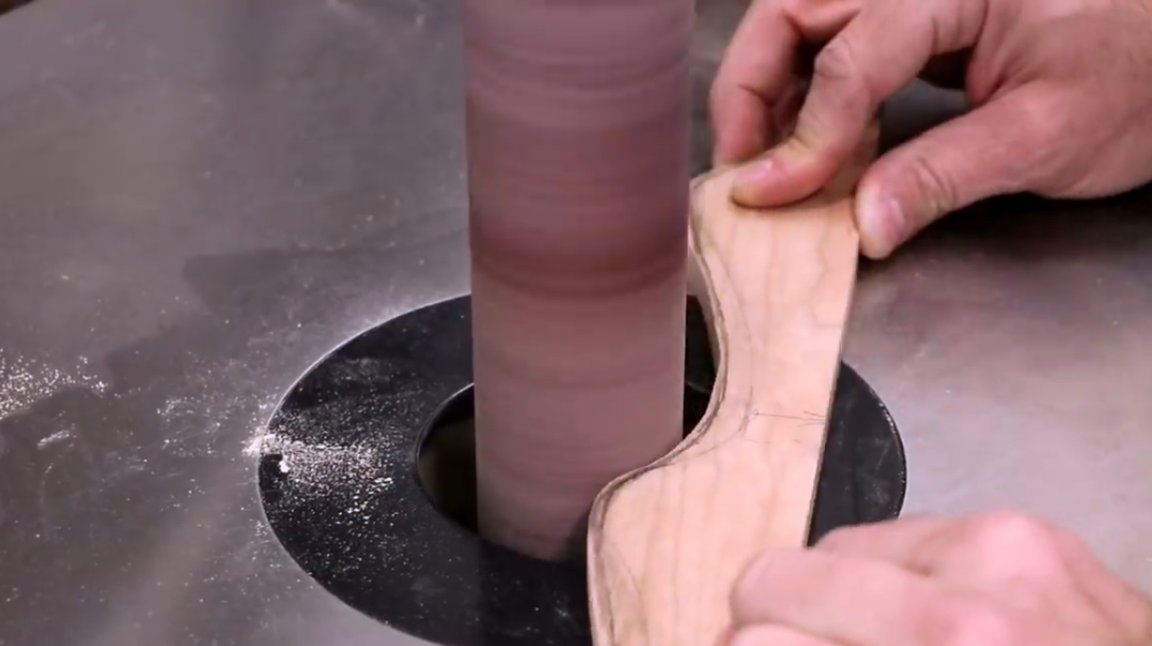
It further cleans it up on a drum grinder.
Then, according to this template, the contours are transferred to the rest of the wood material. To the one from which the scabbard will be made.
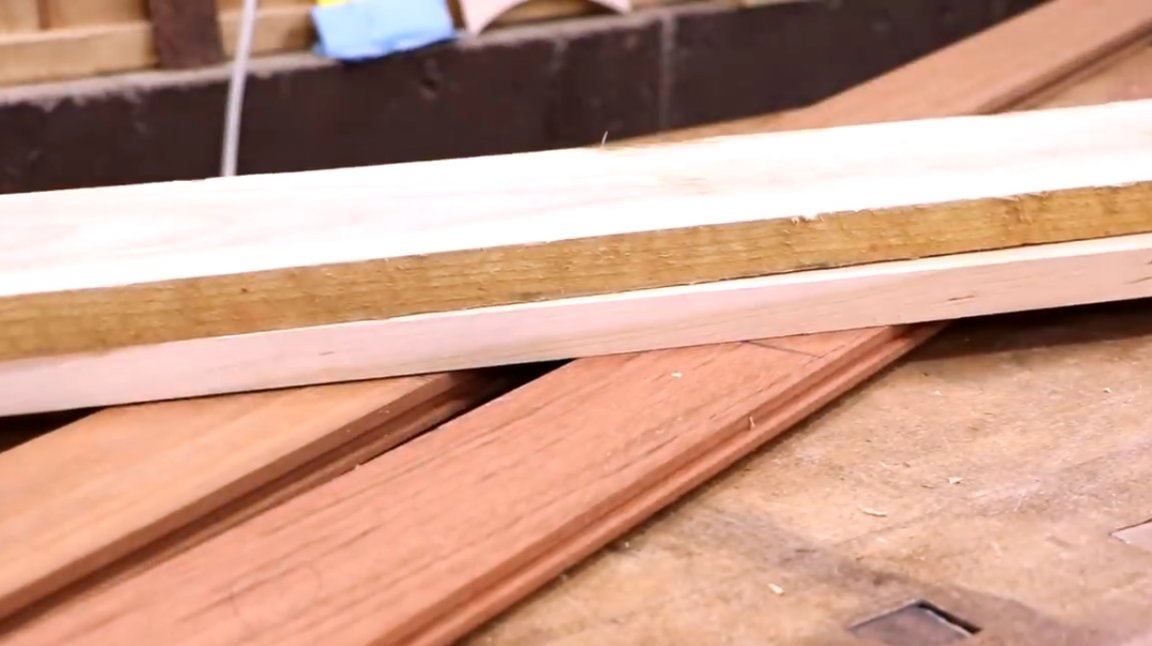
Since this is a floorboard, it has small grooves visible from the sides. The craftsman comes out of the situation, and glues narrow strips of wood into them.
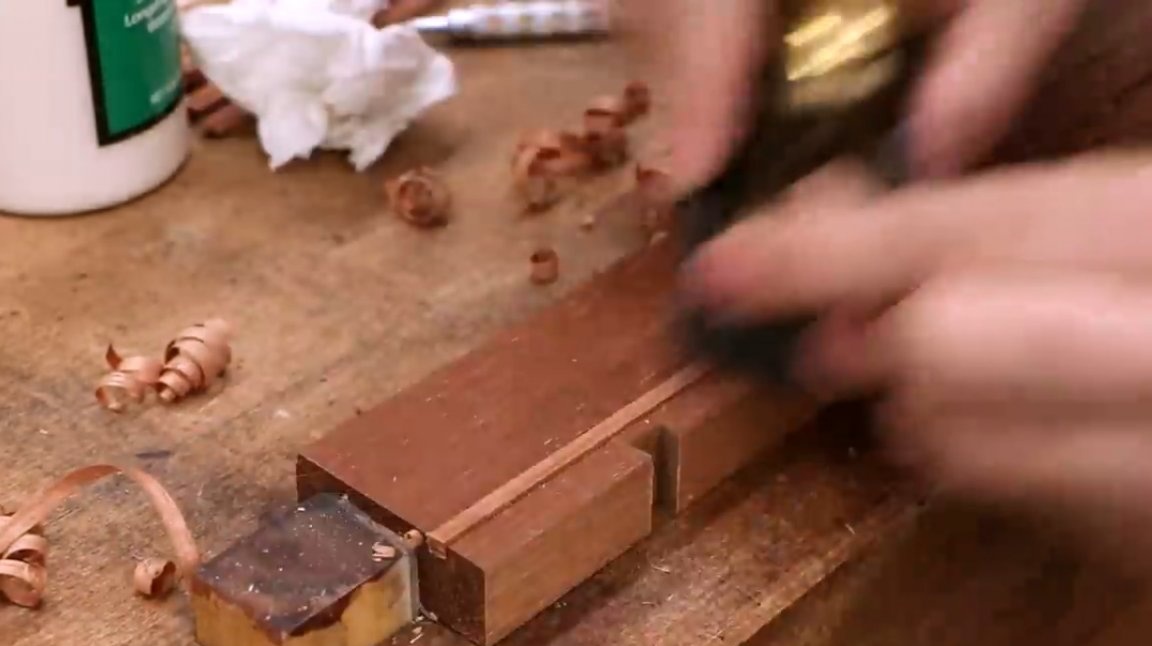
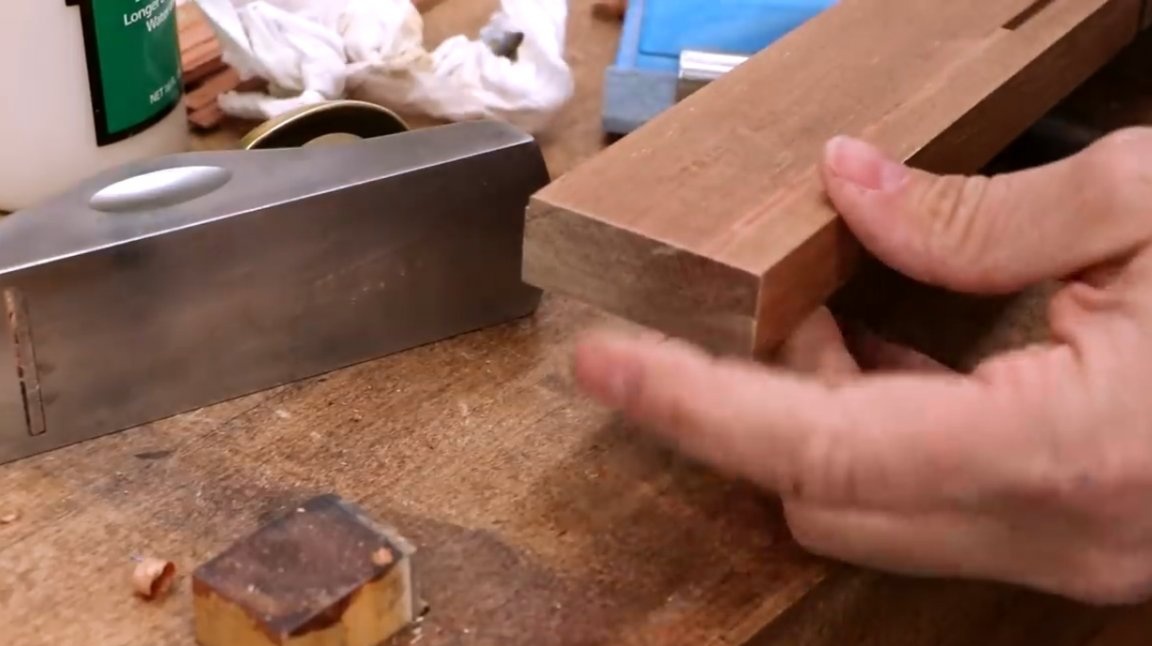
Then he grinds them with a manual planer flush with the surface, and makes sure that these sides of the board will be turned inward in the product.
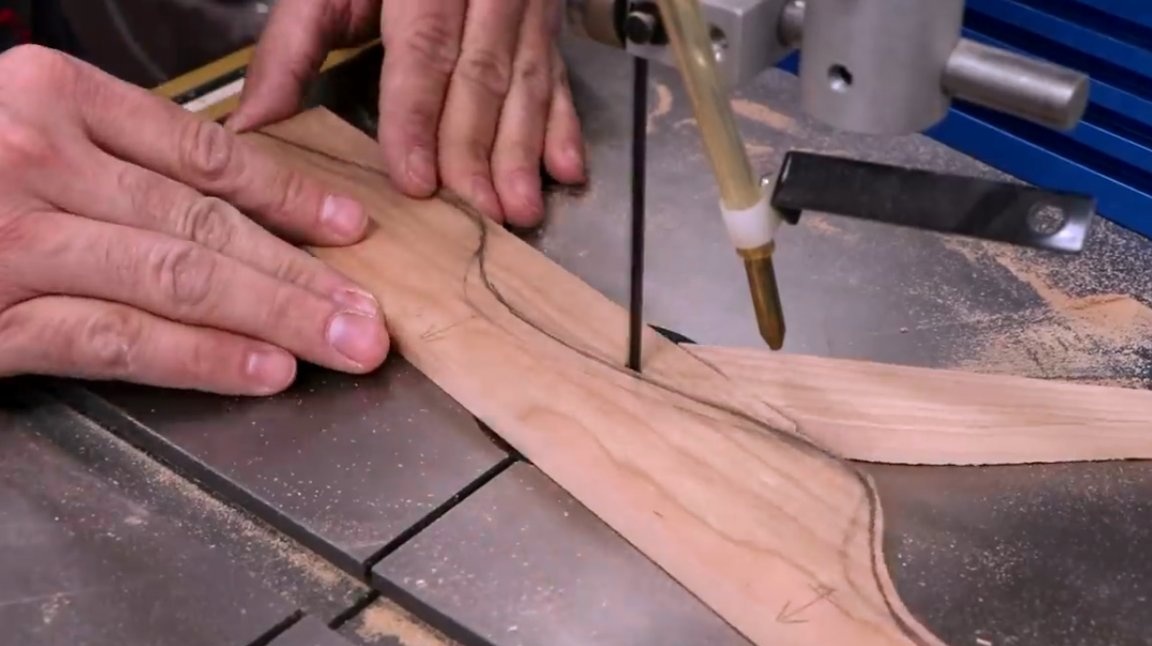
Now all the bends are cut on a band saw, but not strictly along the line, but with a slight indentation of a couple of millimeters.
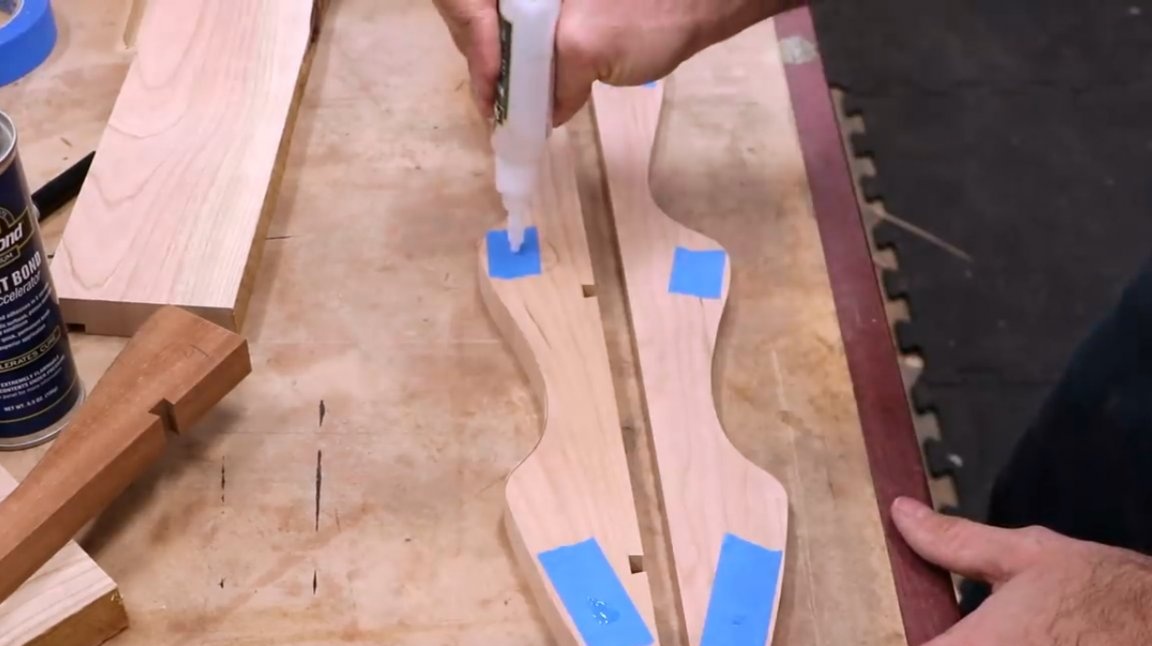
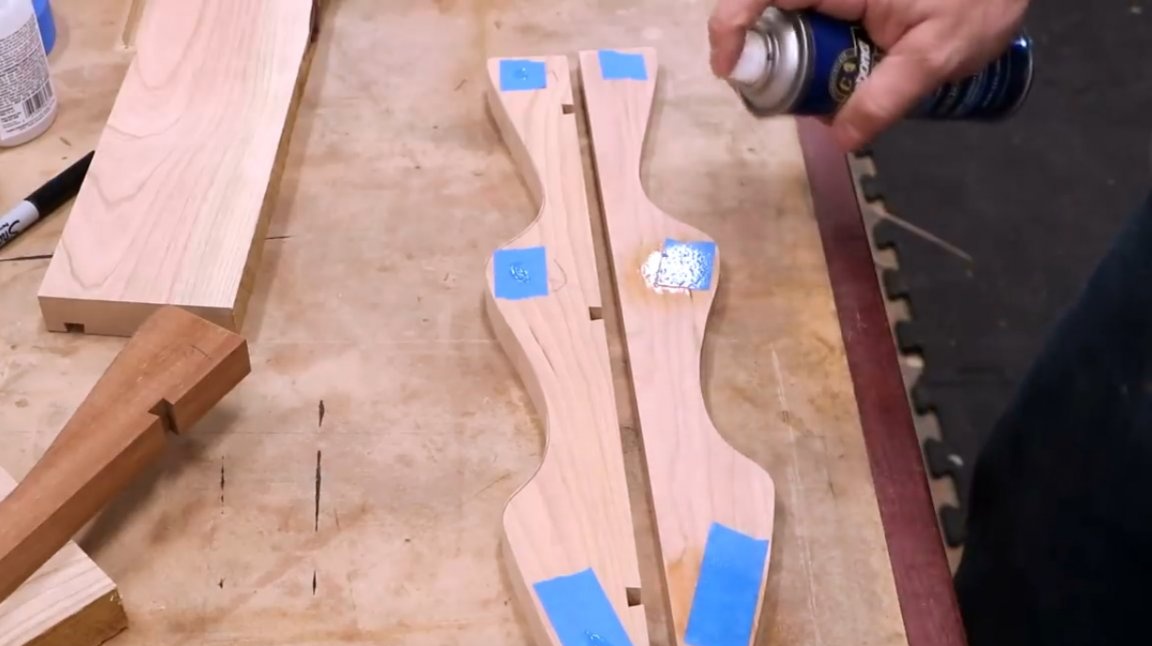
The author uses a blue masking tape and cyanoacrylate adhesive, a technology for fastening a template to a workpiece, which he borrowed from the authors of the Crimson Custom Guitars channel. It places pieces of tape in symmetrical sections on both sides. Second adhesive is abundantly applied on one side, and an activator hardener on the other. This method of connection is quite strong, and does not leave marks on the wood, like double-sided tape.
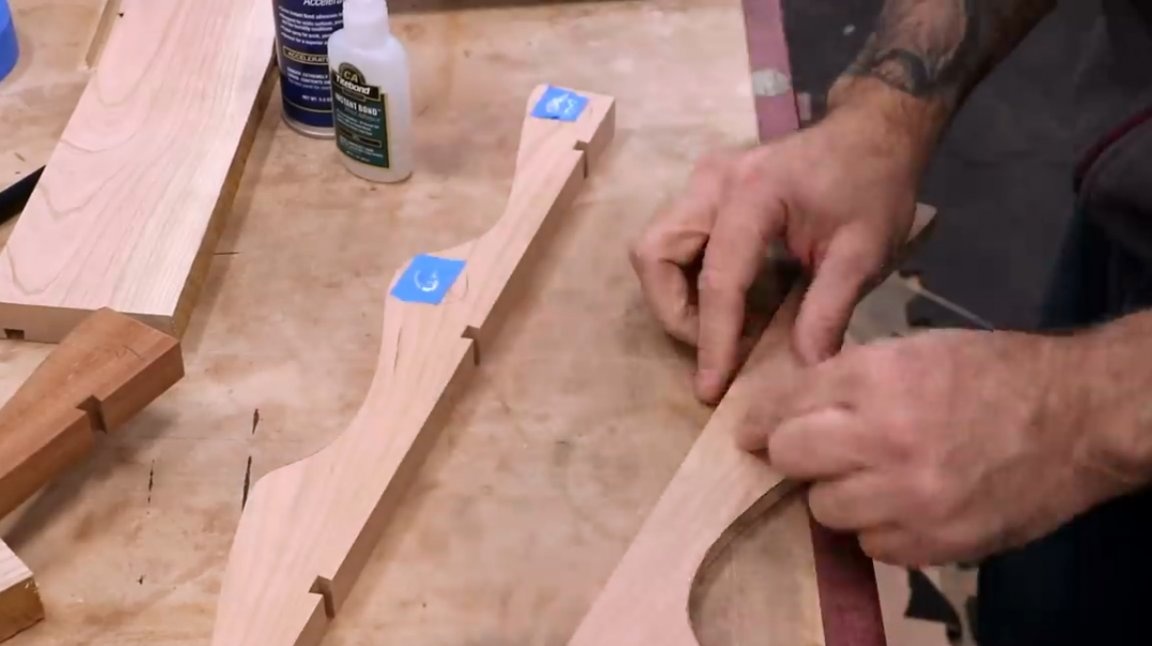
Then properly presses both halves. Bonding takes place in seconds.

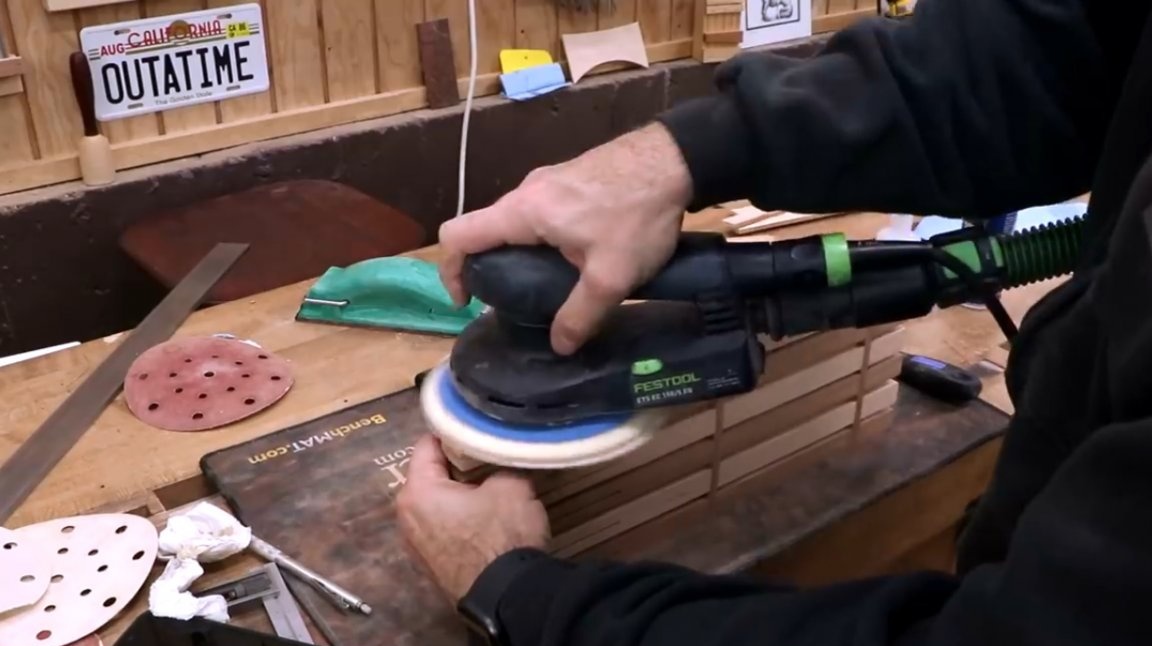
After milling, both parts are glued and processed by an orbital sander.
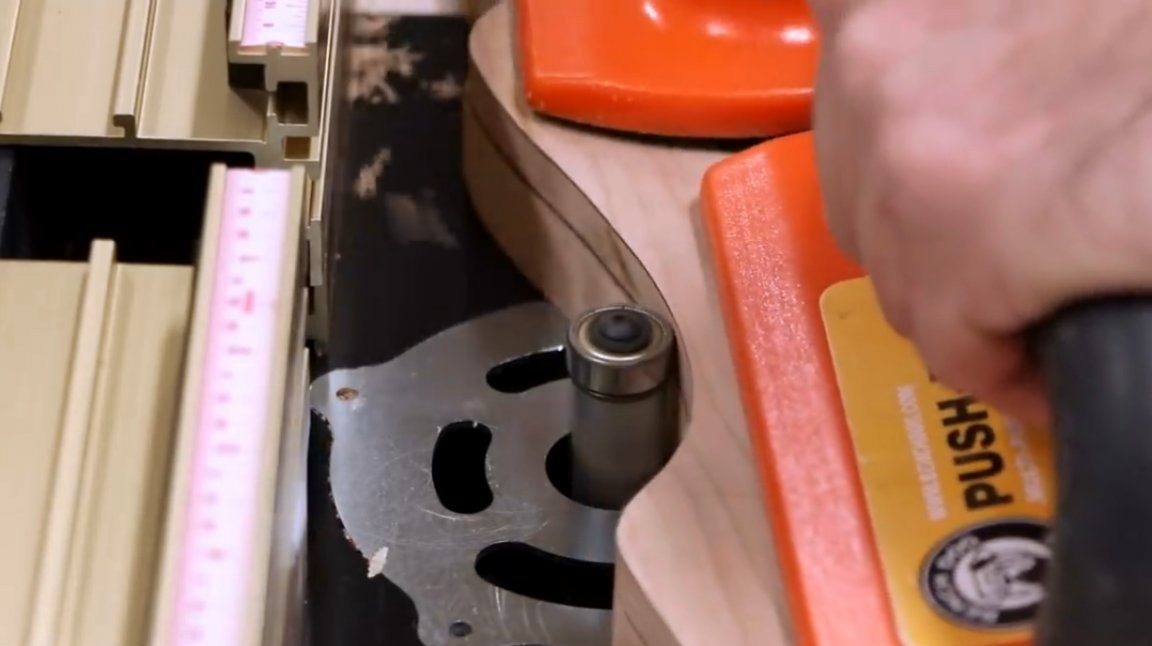
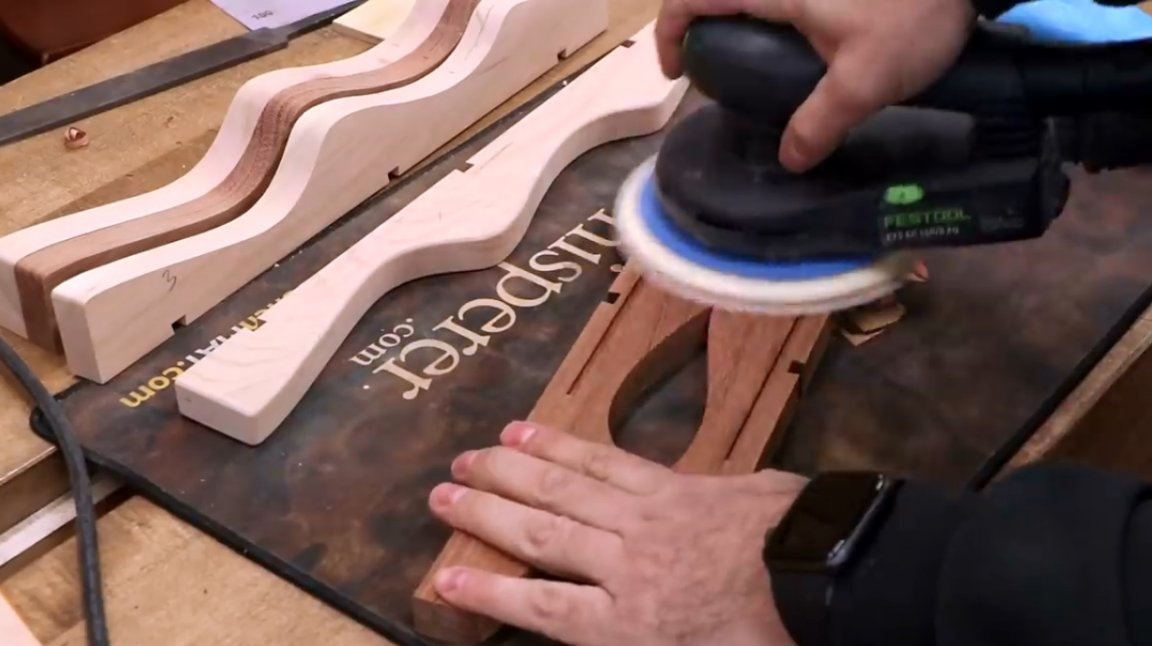
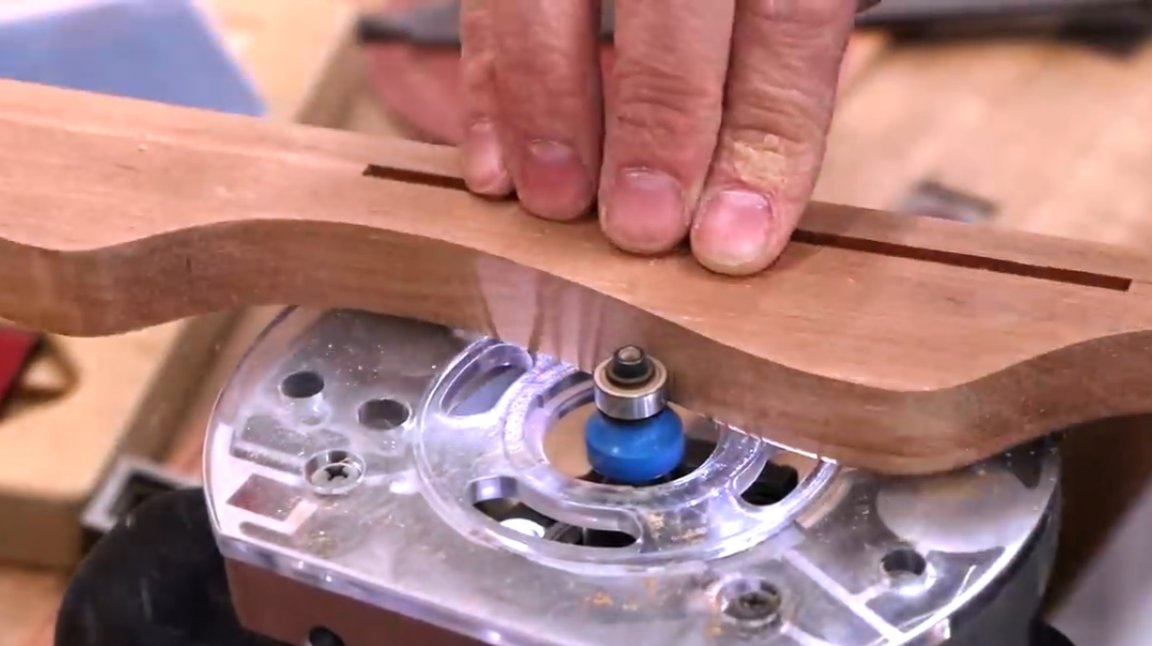
All edges are rounded on a hand milling cutter with a radius nozzle with a thrust bearing.
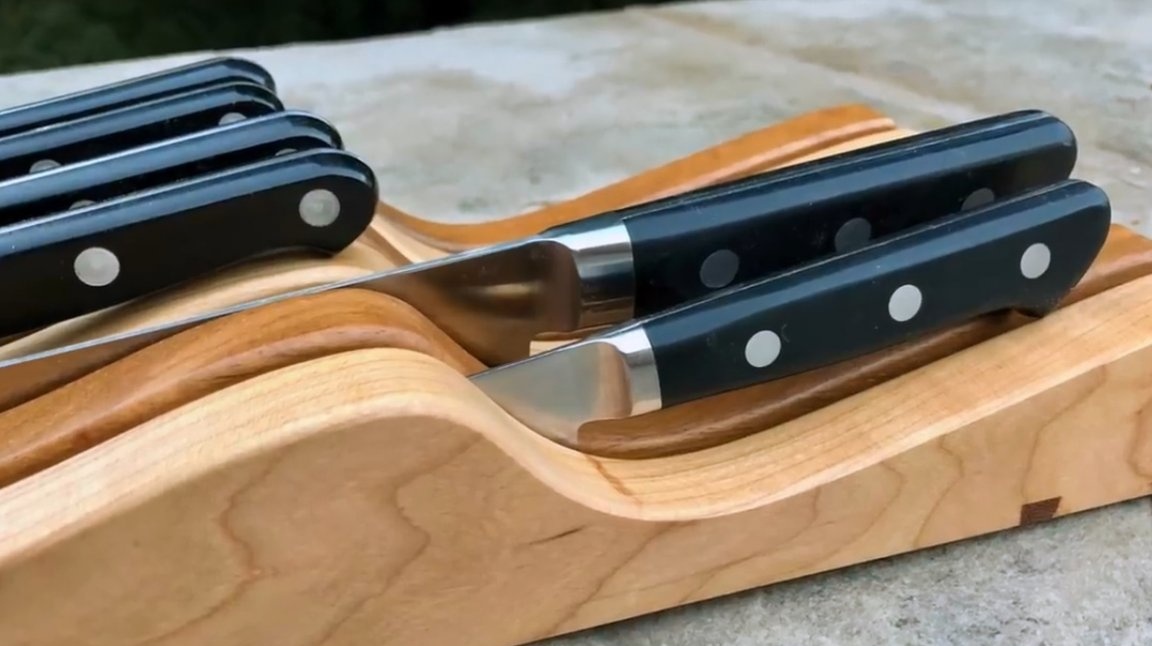
The master makes cuts under the knives on a band saw, using a magnet as a locking block.
In one pass, the slot does not reach the desired width. Therefore, the author takes a second pass, somewhat shifting the emphasis and the workpiece relative to the saw blade.

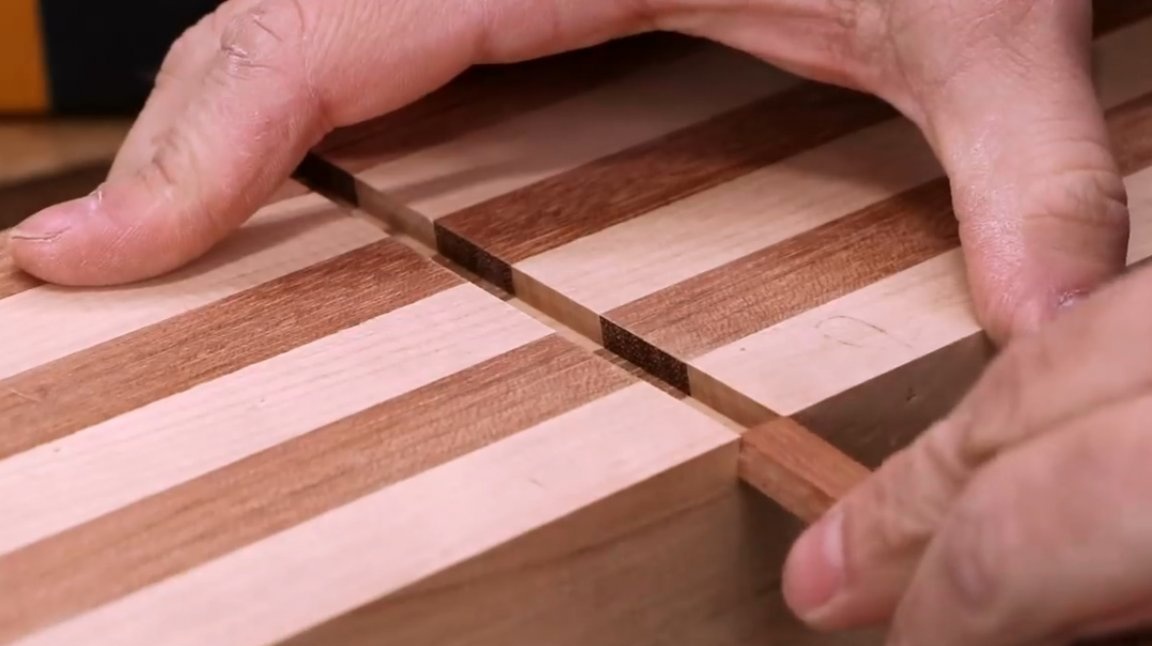
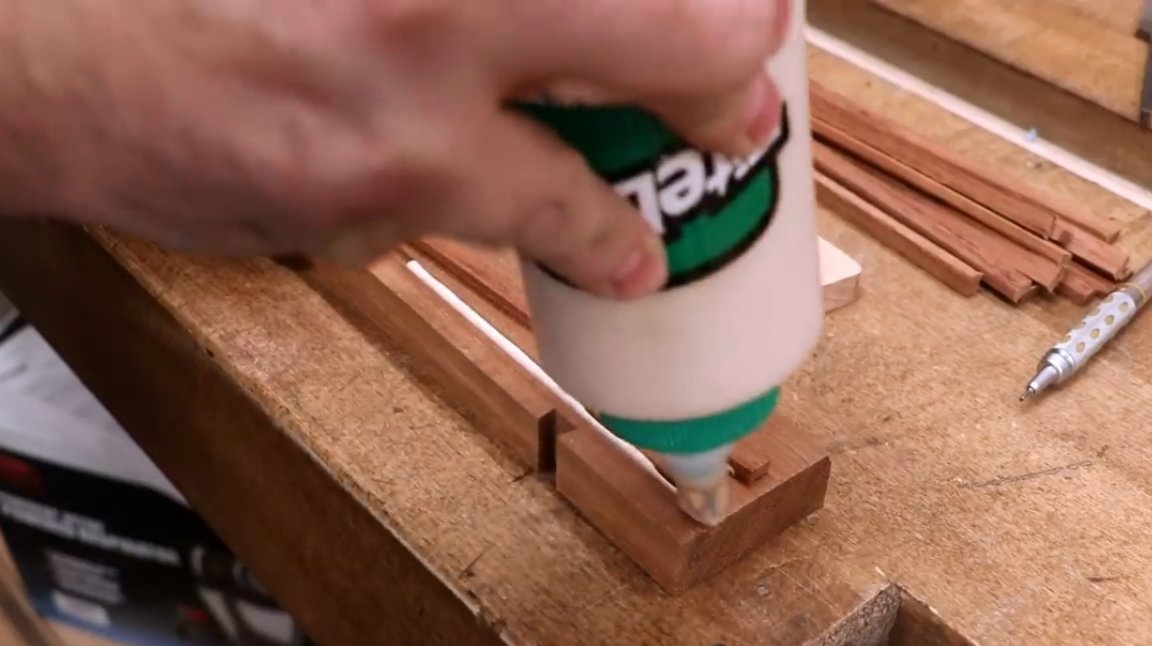
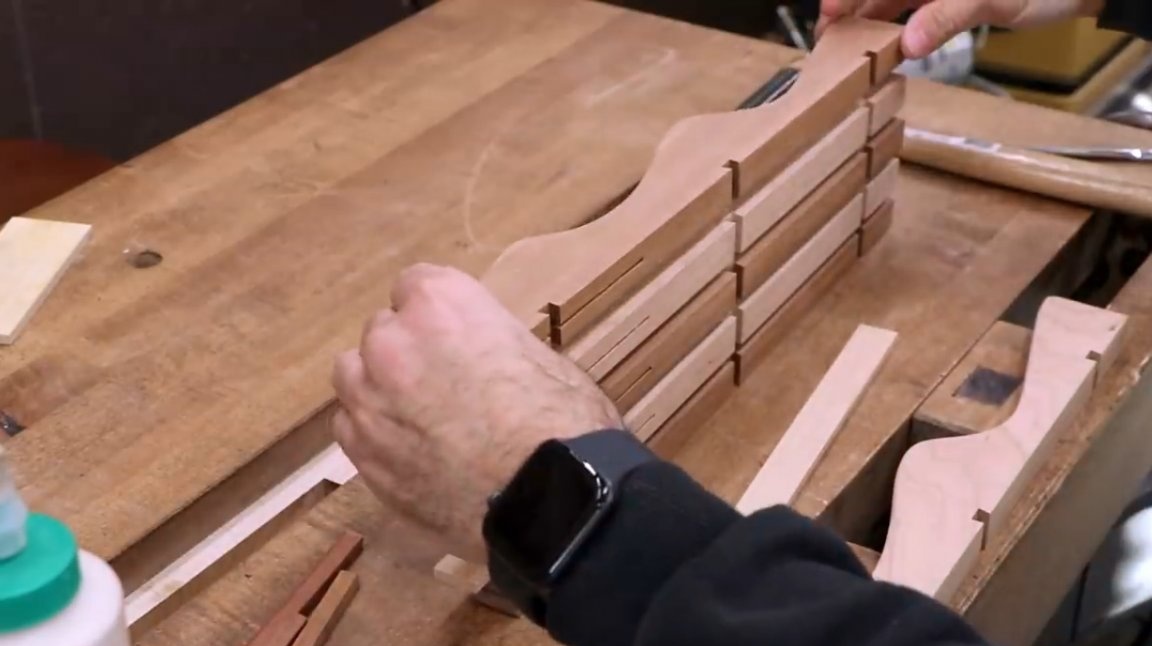
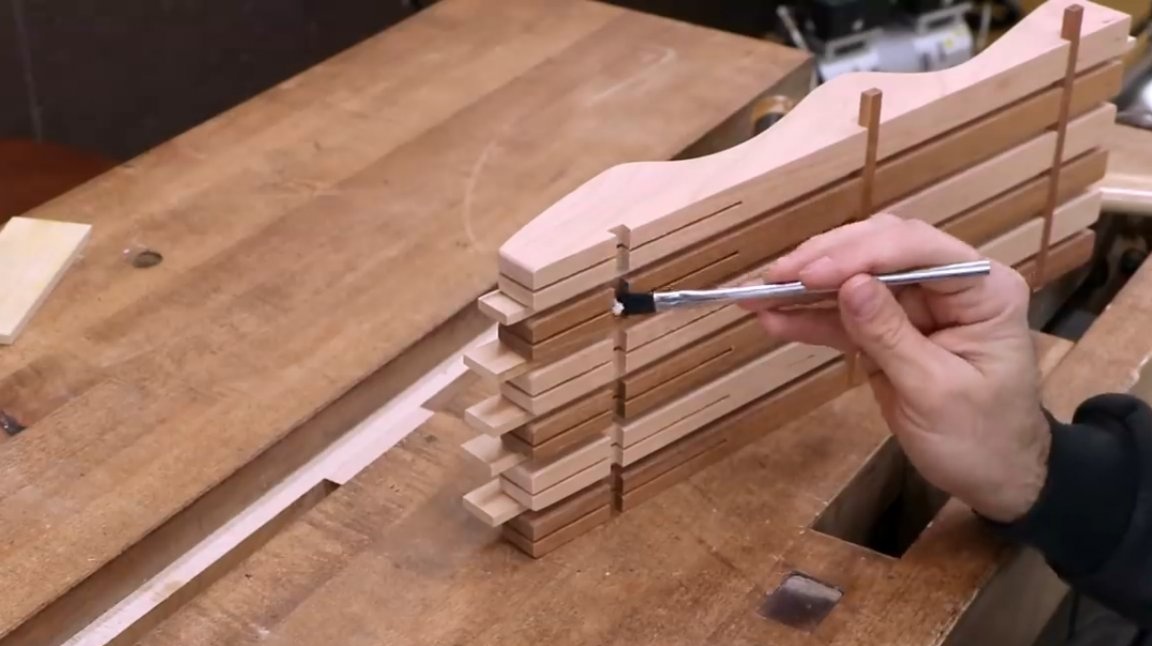
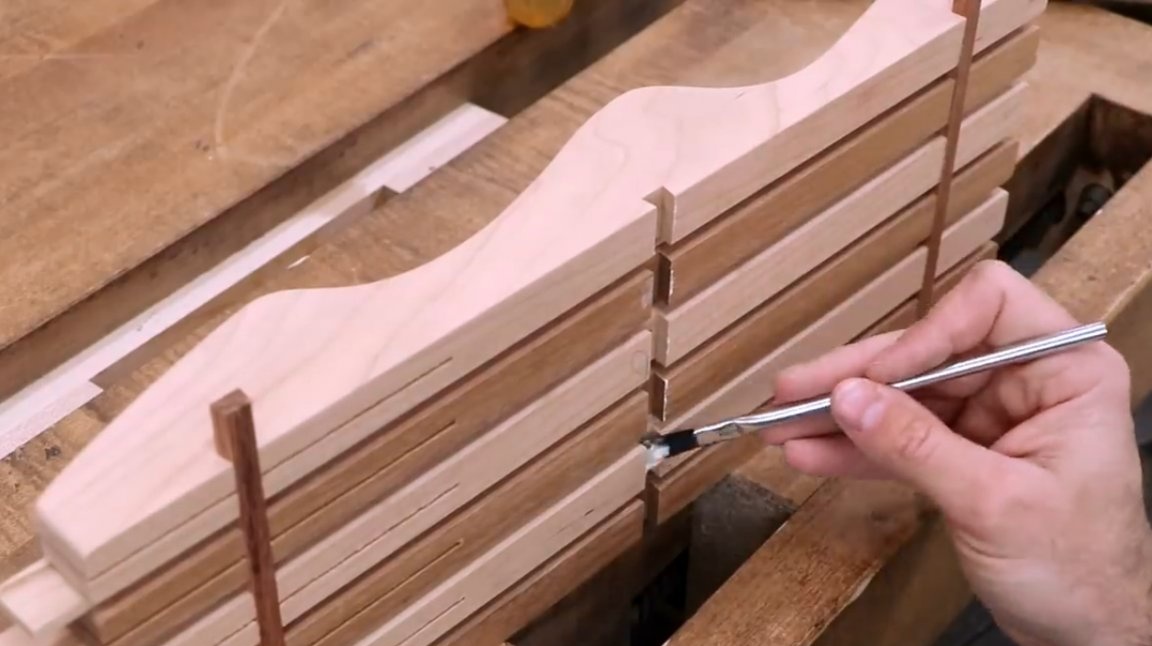
Now the master begins gluing. Between every two ribs he inserts thin dividing strips.
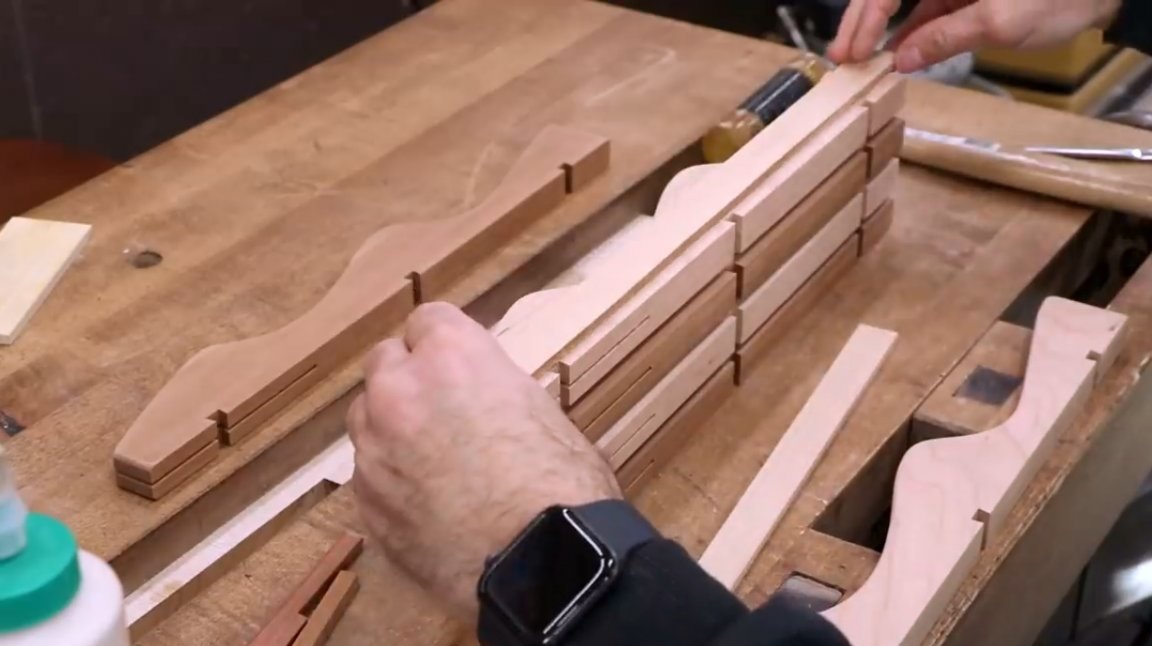
As a result of the use of water-based glue, the wood swells a little. And the dowels, which used to enter dry wood easily, now squeeze into grooves with difficulty.
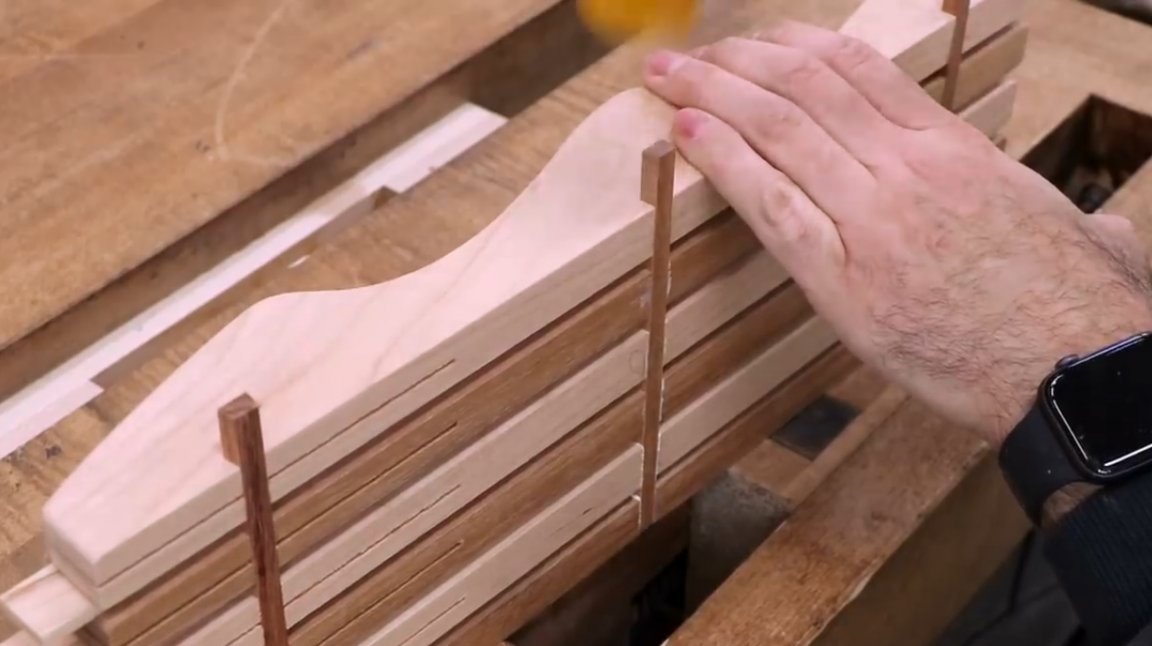
But the craftsman tries to work quickly until the tree is swollen. First, he inserts the central key into the groove without glue to hold all the structural elements together.
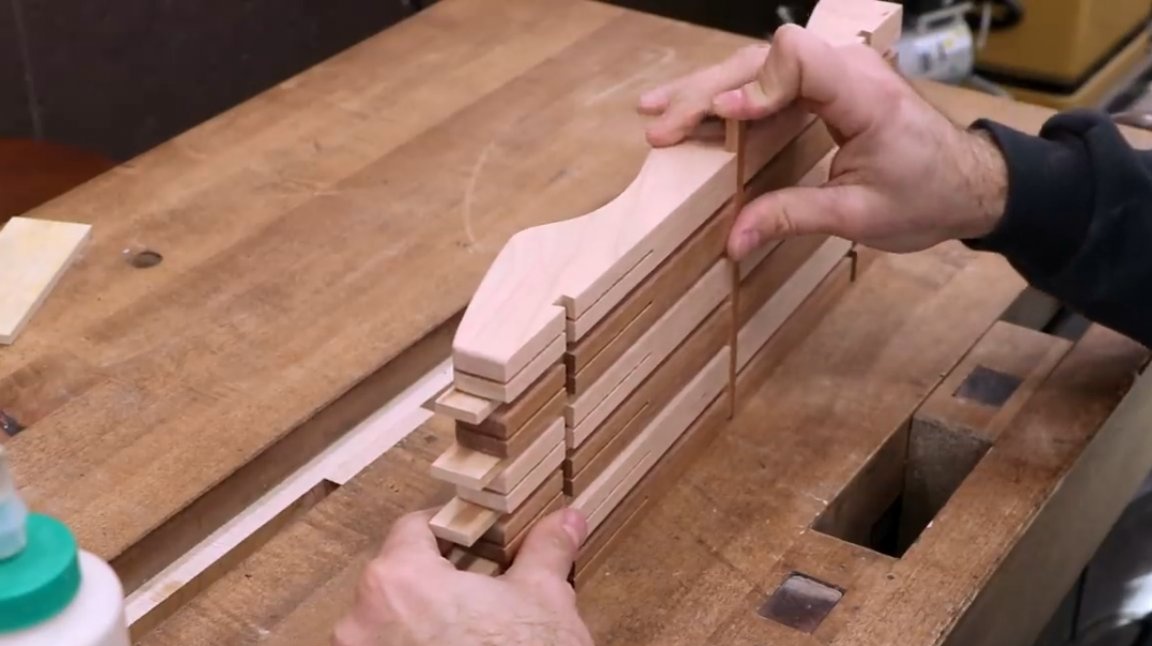
Then, one at a time, glue the external grooves with glue and insert the keys into them. Lastly, he glues the central key.
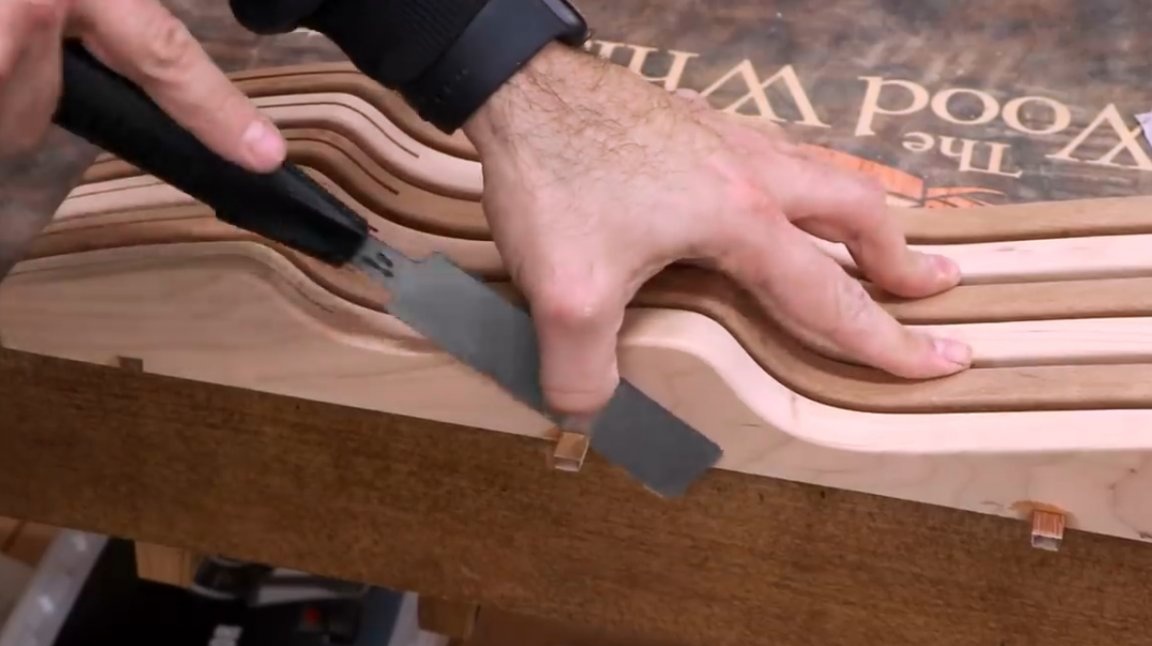
Next, the master cuts all the protruding edges with a Japanese saw and wipes the surface of the product with a grinder.
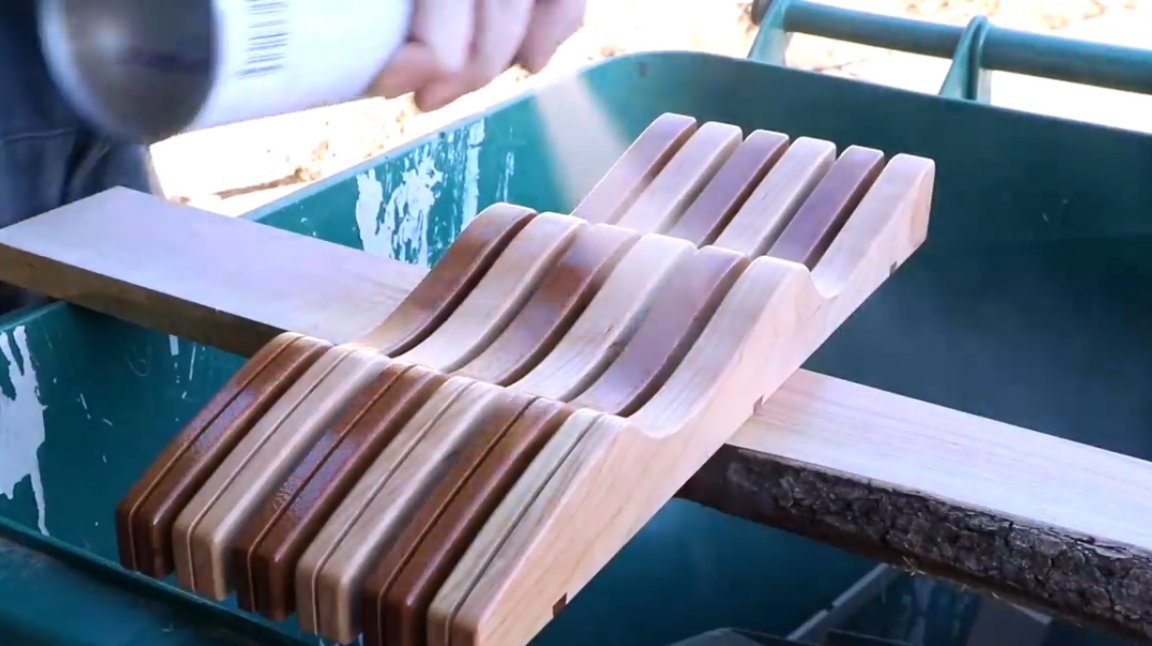
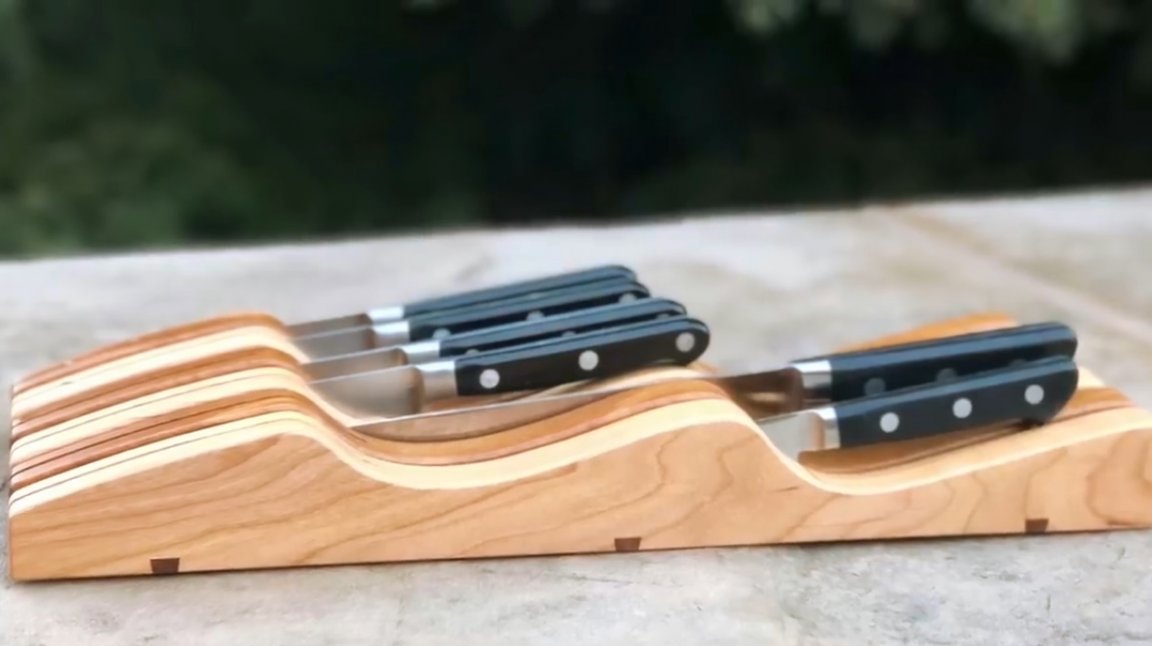
At the end, a varnish spray in several layers is applied to the finished knife organizer. Impregnations for wood, natural wax, or linseed oil can also be used. They are practically harmless for processing products that may come in contact with food.
Here is such an aesthetic homemade product for the kitchen.
I thank the author for the simple but useful device for kitchen!
All good mood, good luck, and interesting ideas!
Author video can be found here.