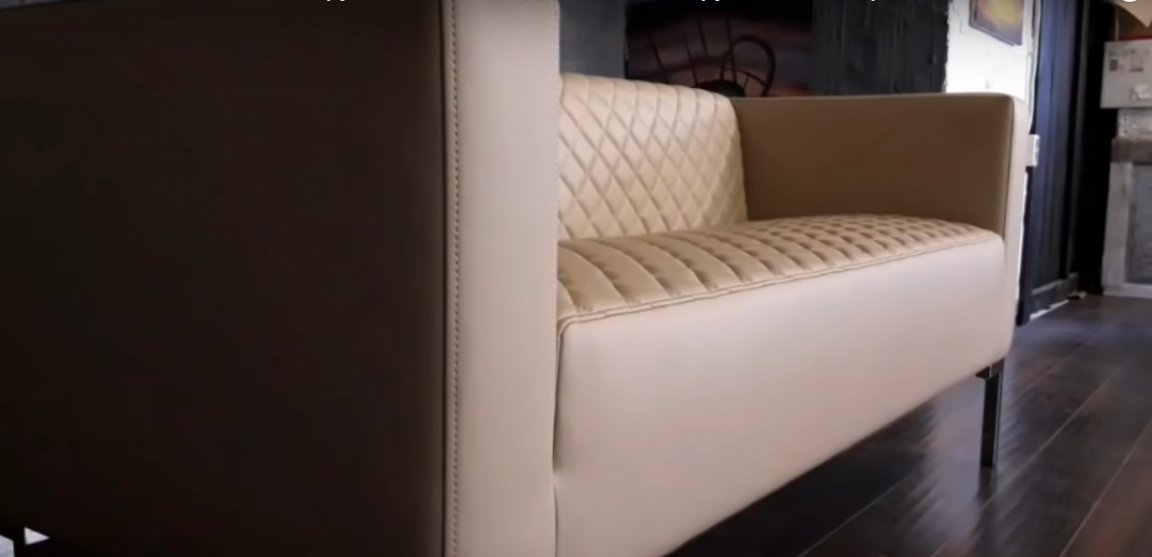
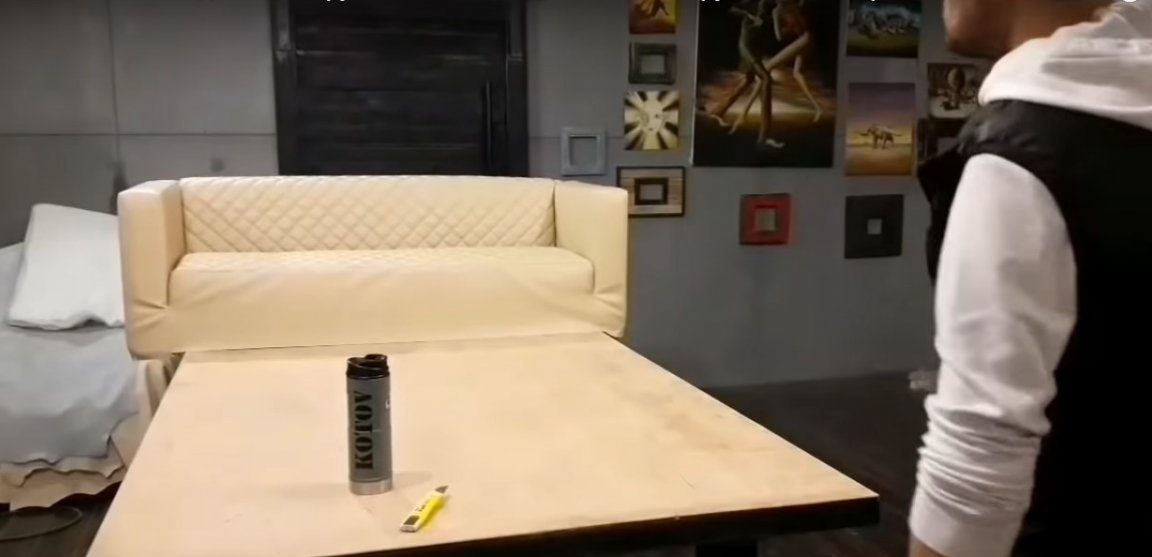
Italian furniture It is famous for its quality, durability and dictates fashion to the whole world. The furniture industry in Italy originated in the 15th century and soon became almost the most popular, combining sophistication, style and reliability. Today, the hallmark of Italian furniture is the tandem of classical traditions and modern technology.
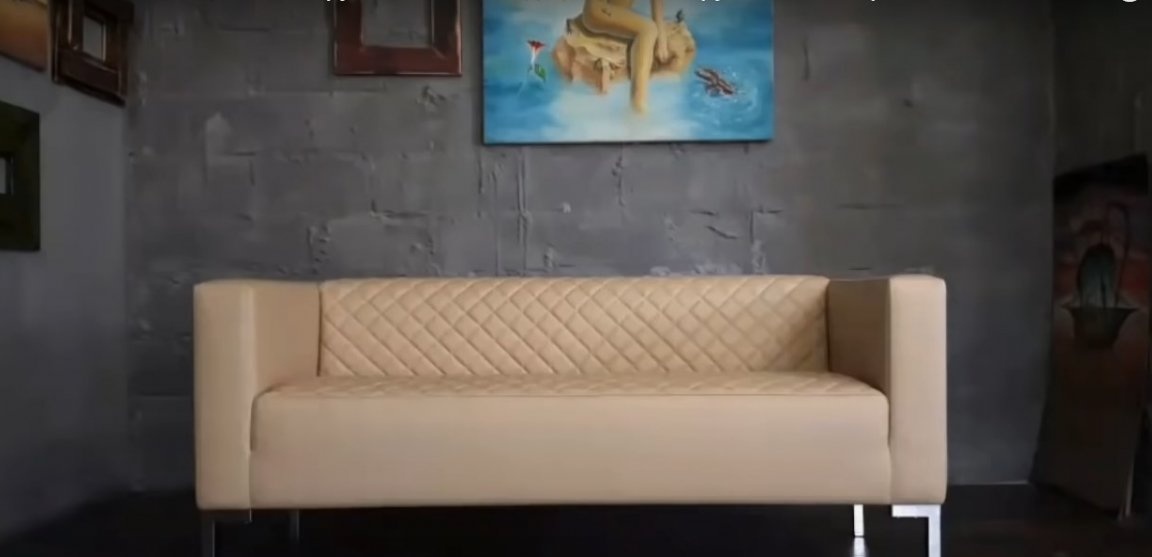
The author of this video made an amazing copy of the Italian sofa, using leatherette for lining. The frame of the sofa is made of plywood. For connecting parts, various furniture nuts are used in combination with bolts and screws, as well as wooden dowels.
To make a copy of the Italian sofa do it yourself you will need:
Materials:
- plywood of the brand FC or FBA with a thickness of 18 - 22 mm for the manufacture of the frame;
- laminated fiberboard for covering armrests;
- furniture bolts and screws, metal staples for a stapler;
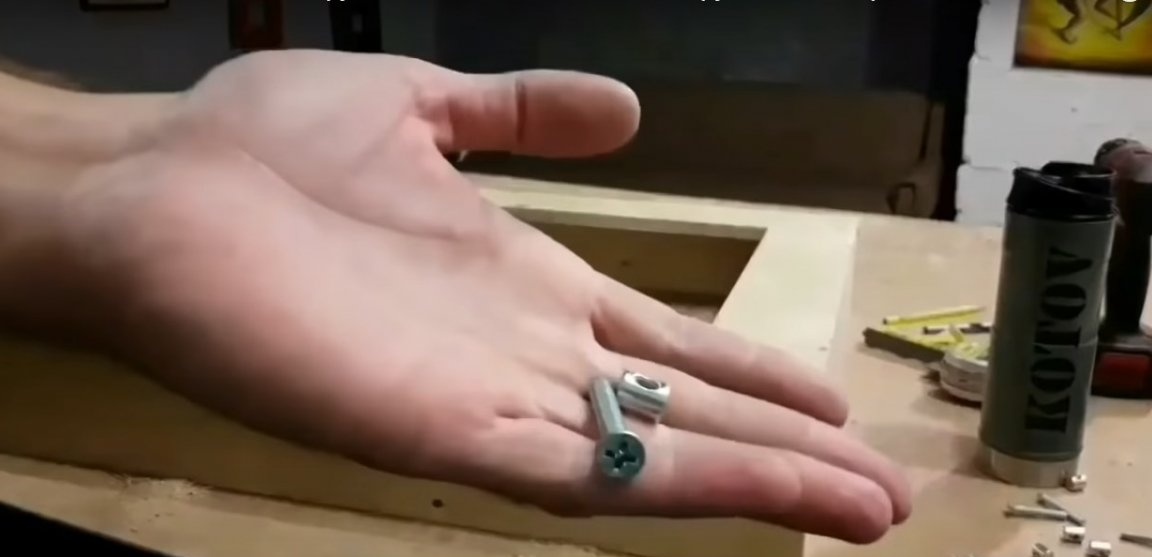
- driven nuts, as well as nuts of the "barrel" type;
- furniture dowels;
- carpentry glue;
- non-combustible glue for gluing foam rubber and sintepon;
- furniture foam 50 mm thick for a back;
- furniture foam rubber 100 mm thick for sitting;
- furniture foam rubber with a thickness of 10 - 15 mm for facing the armrests;
- synthetic winterizer;
- felt;
- high-quality leatherette sand tint;
- strong reinforced or kapron threads for tailoring;
- spanbond for the manufacture of quilted cover elements;
- furniture belt or textile furniture tape;
- Springs sofa type "snake";
- finished metal legs.
Instruments:
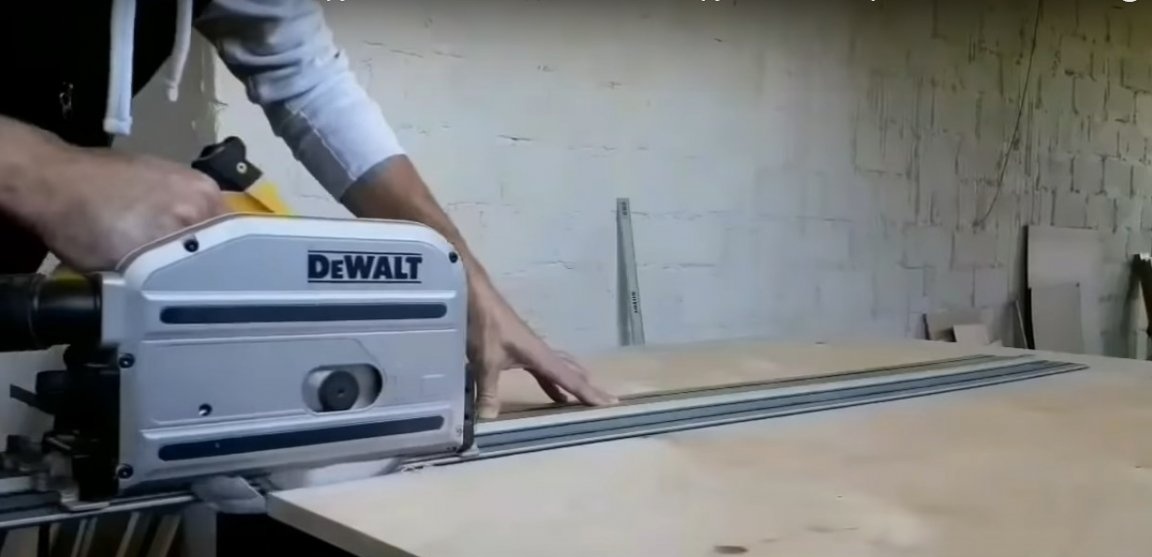
- manual circular;
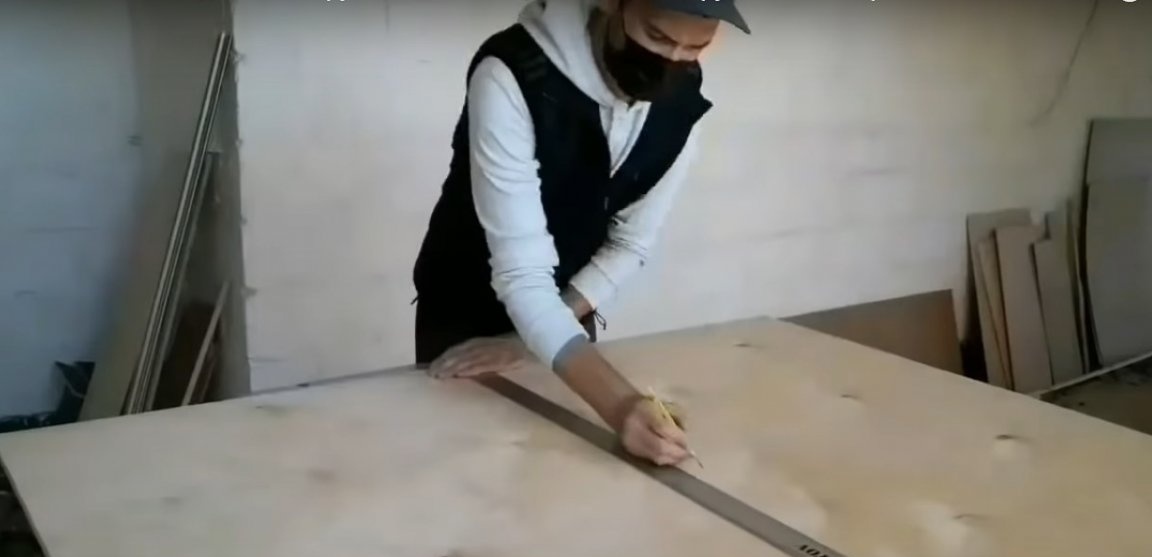
- a special guide for cutting by hand circular or a long ruler and a pair of clamps;
- orbital sander;
- drill;
- screwdriver;
- furniture pneumatic stapler;
- spray gun for glue;
- clamps;
- rubber mallet;
- a sharp knife for cutting foam rubber and leatherette;
- industrial type sewing machine, straight-line with walking foot;
- scissors;
- construction tape, square, ruler;
- marker.
Manufacturing process
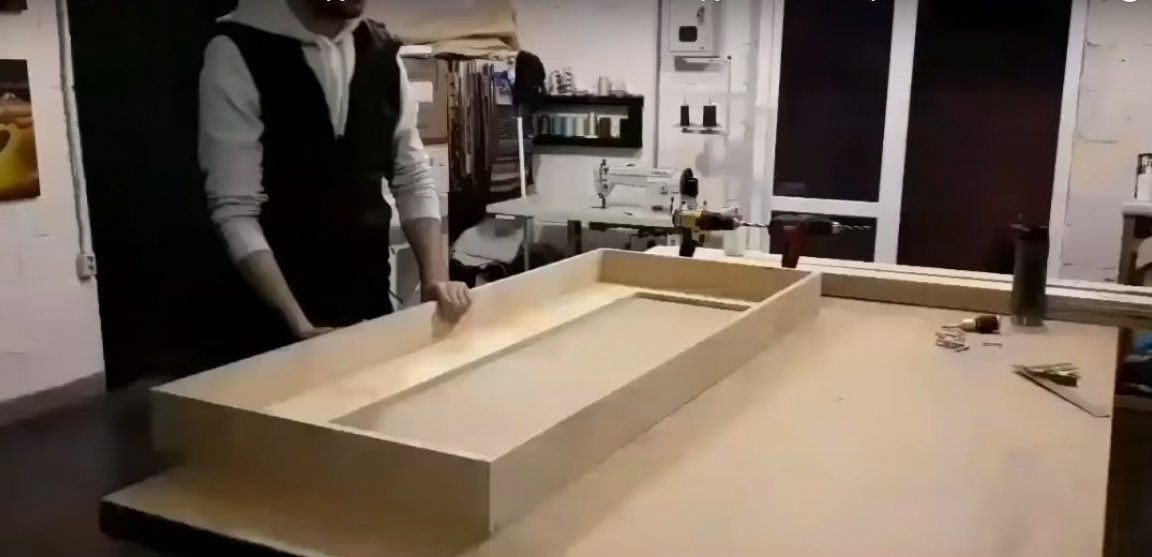
Step one: making the frame of the frame
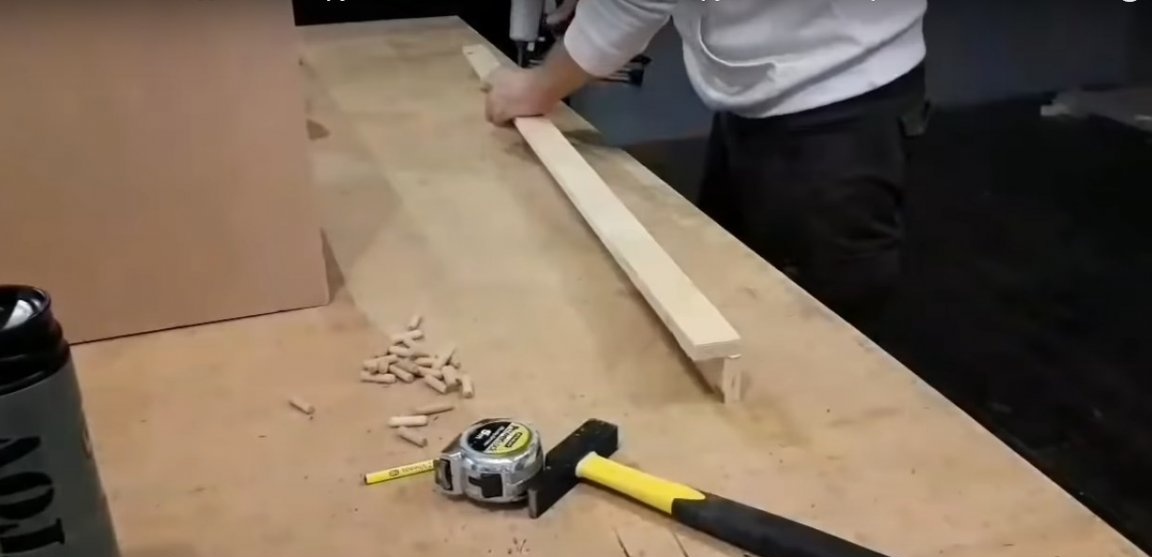
The frame of this sofa is entirely made of plywood. When choosing plywood, pay attention to the marking. You will need non-moisture resistant plywood for use in living quarters. The thickness of the working material is in the range of 18 - 22 mm.


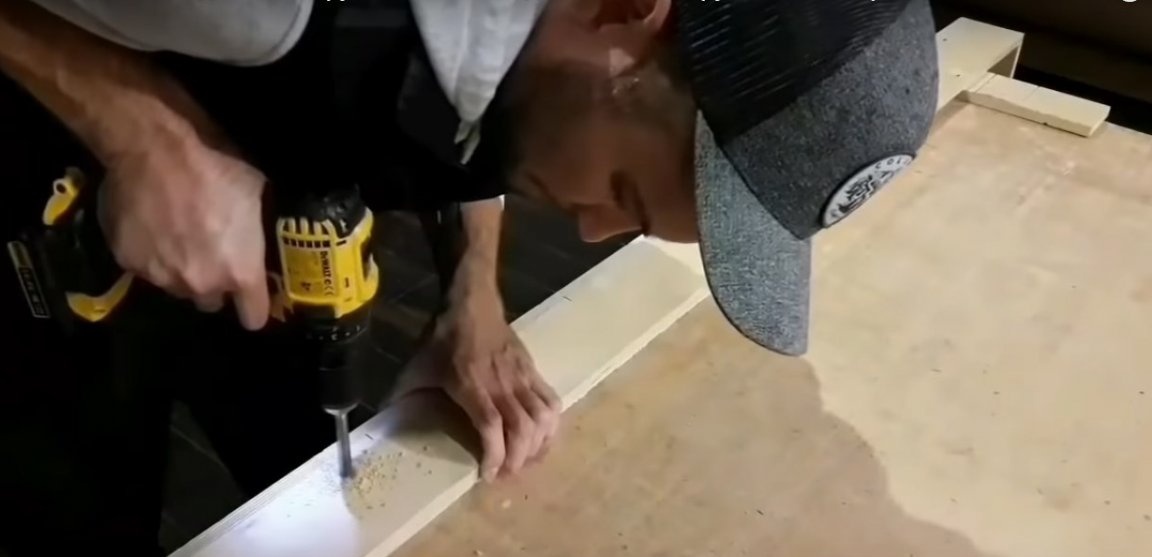
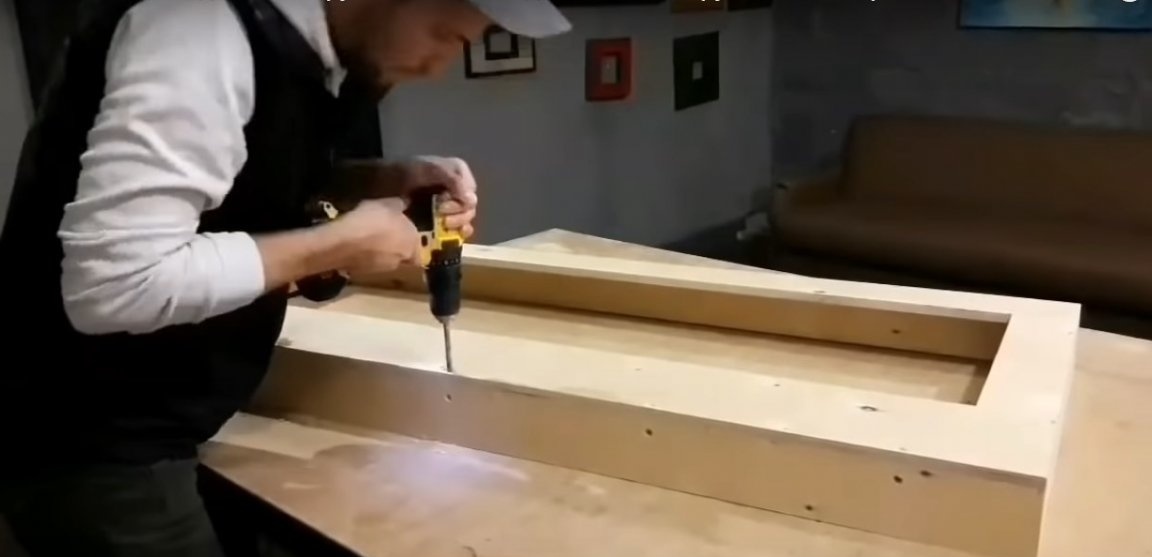
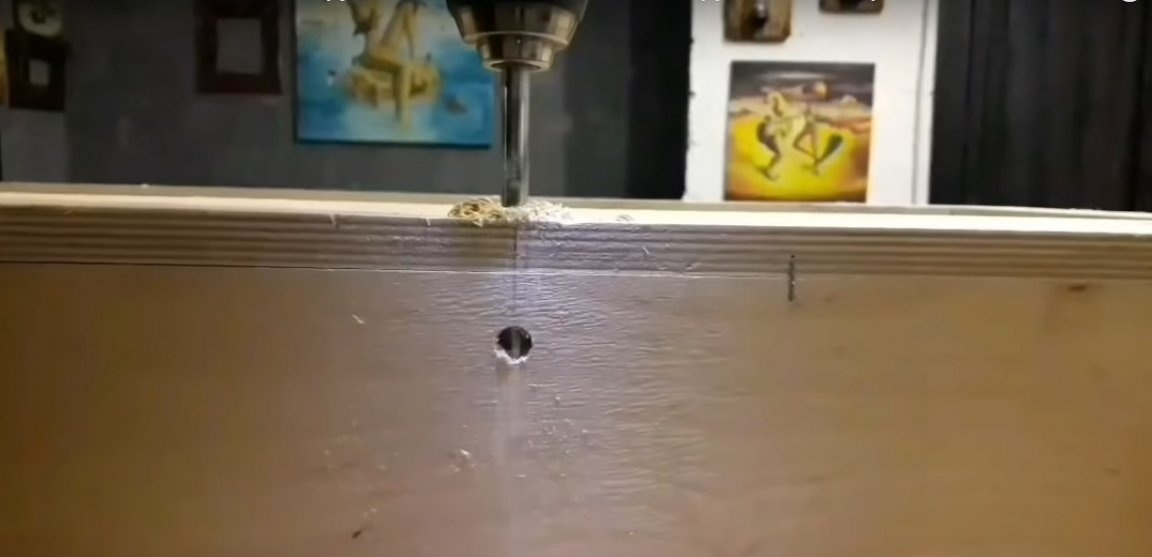
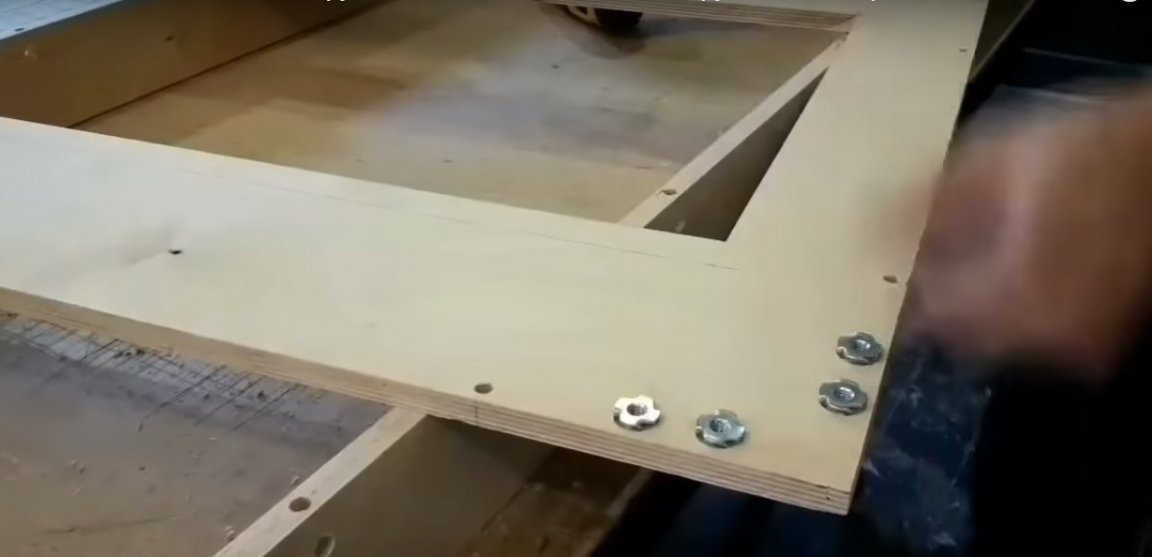
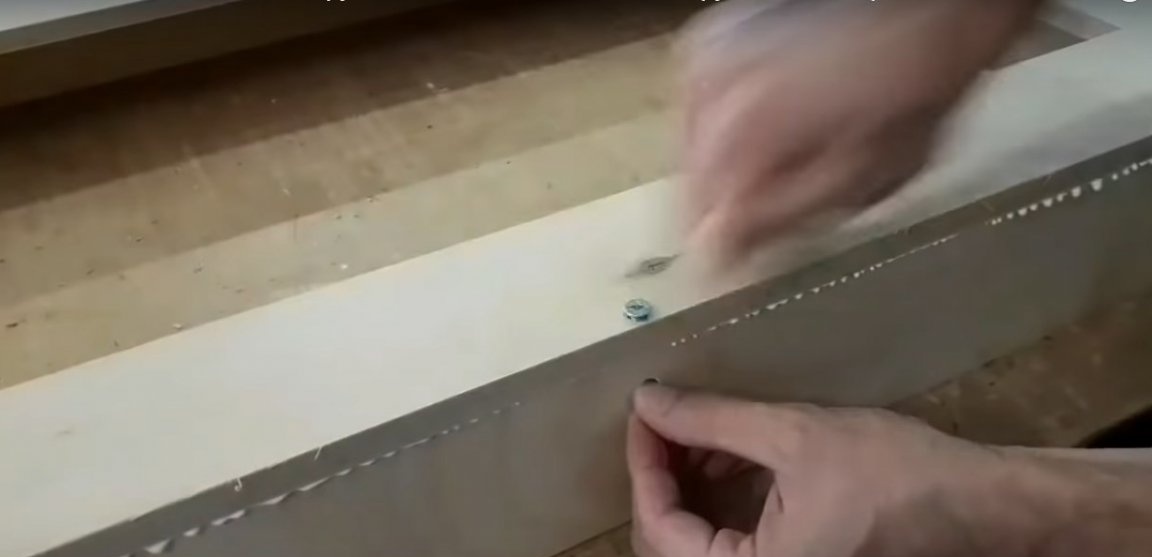
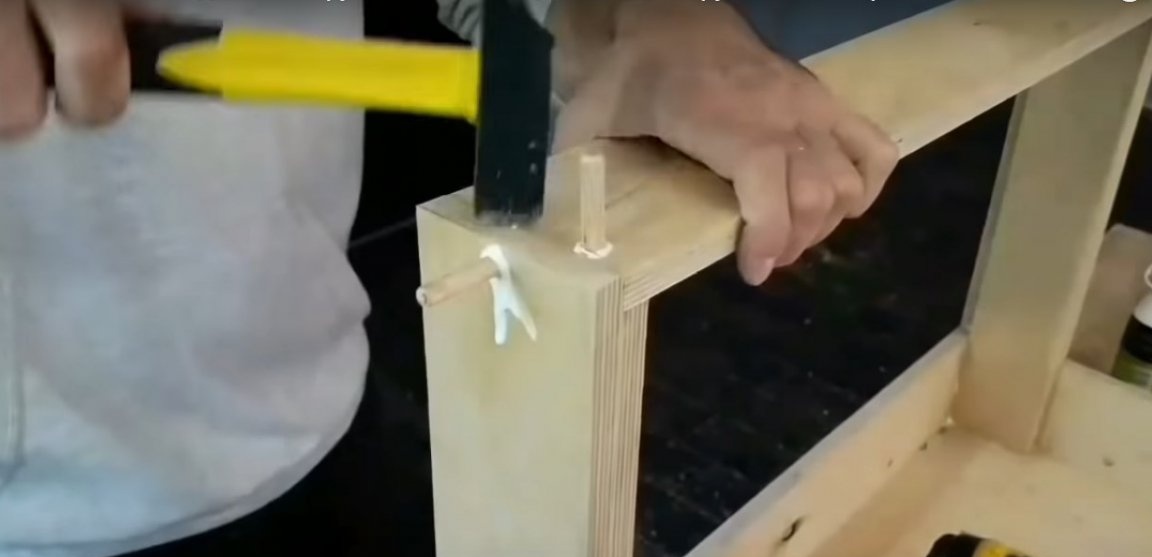
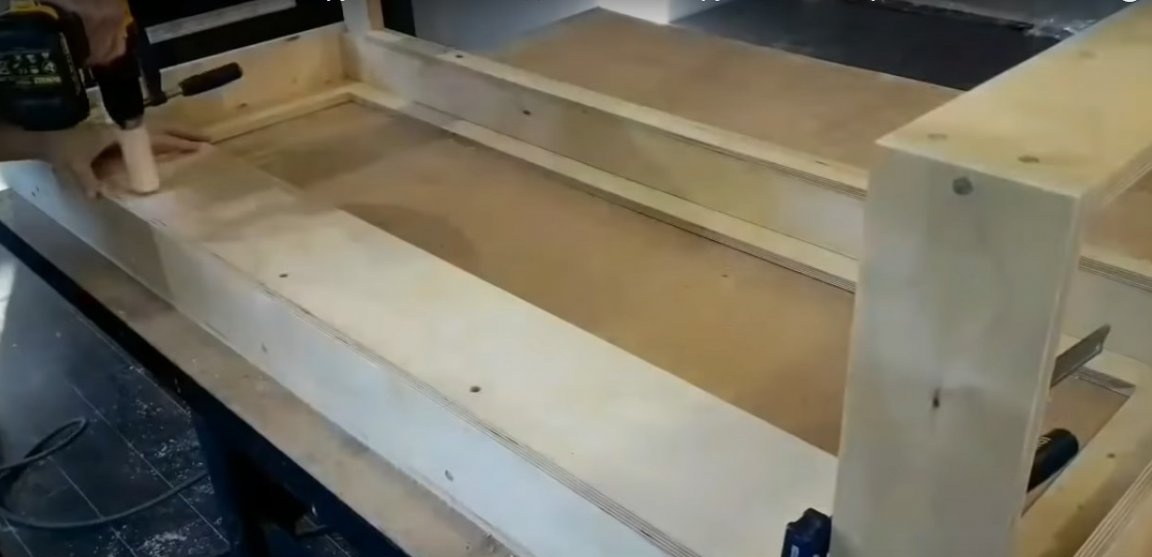
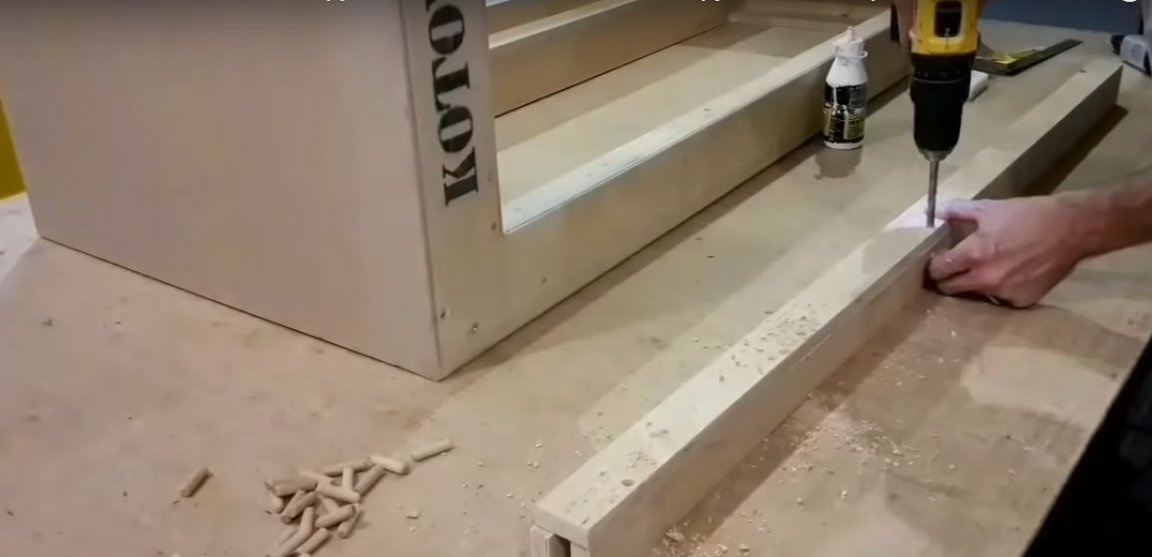
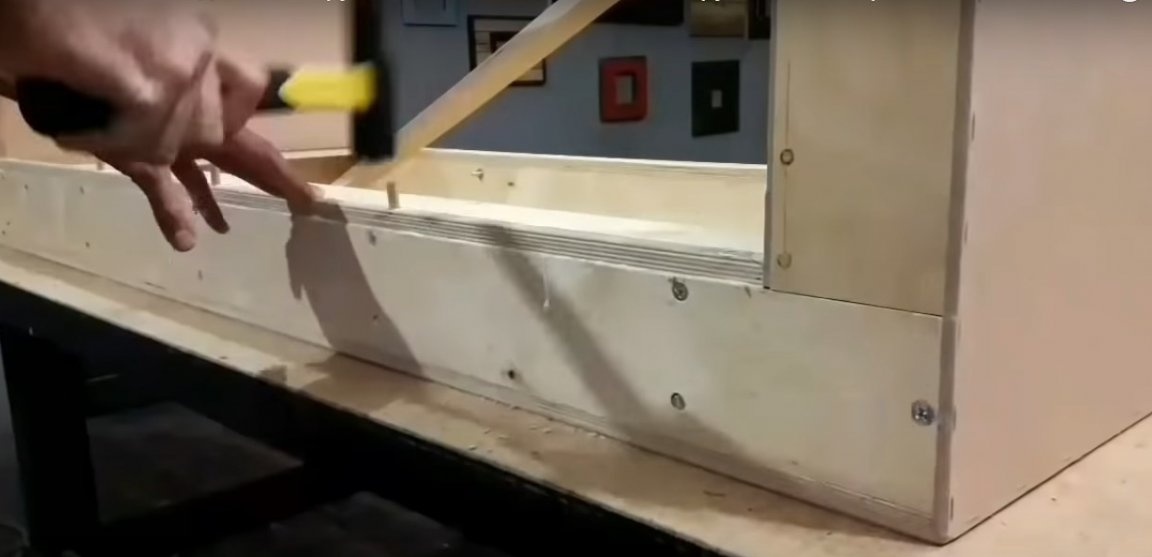
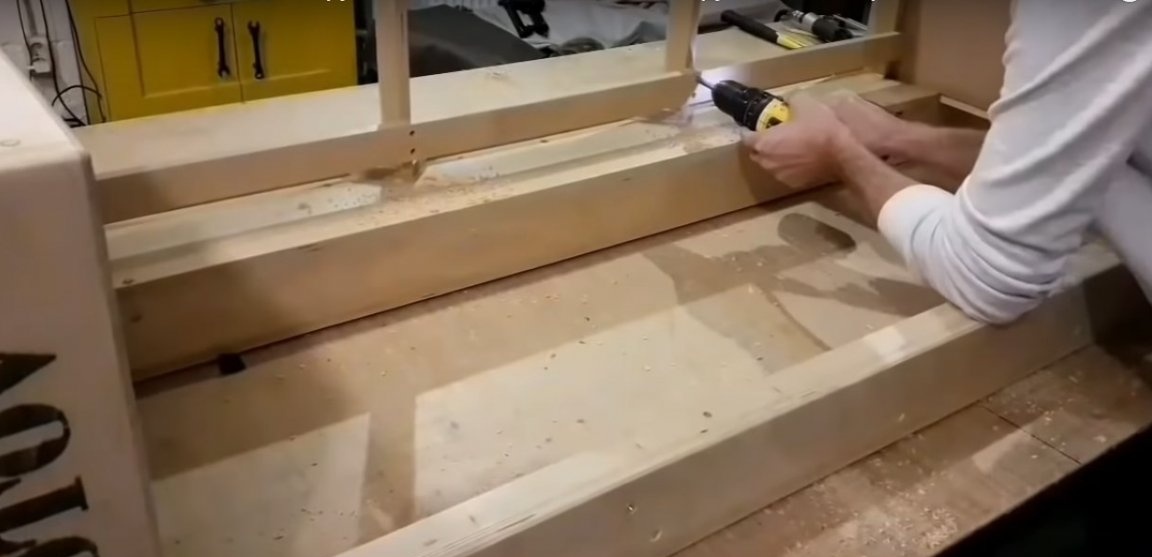
Prepare the frame details.For assembly, the author uses three types of connection: with the help of driven nuts, with the help of "barrel" nuts, and also with the help of furniture wooden dowels. All these techniques allow you to create a very strong and reliable frame without the use of complex grooving techniques.
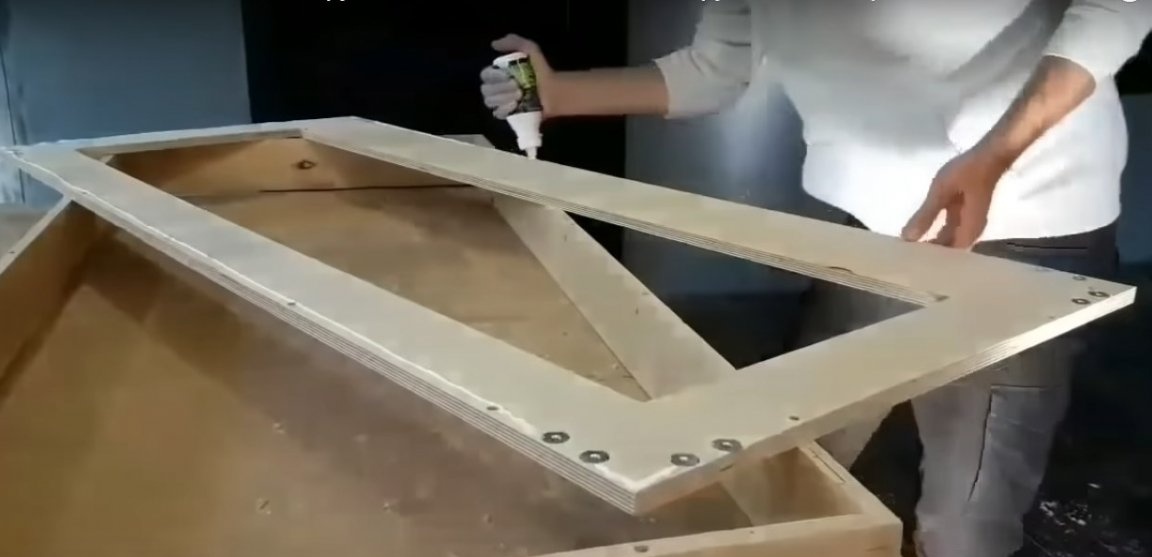
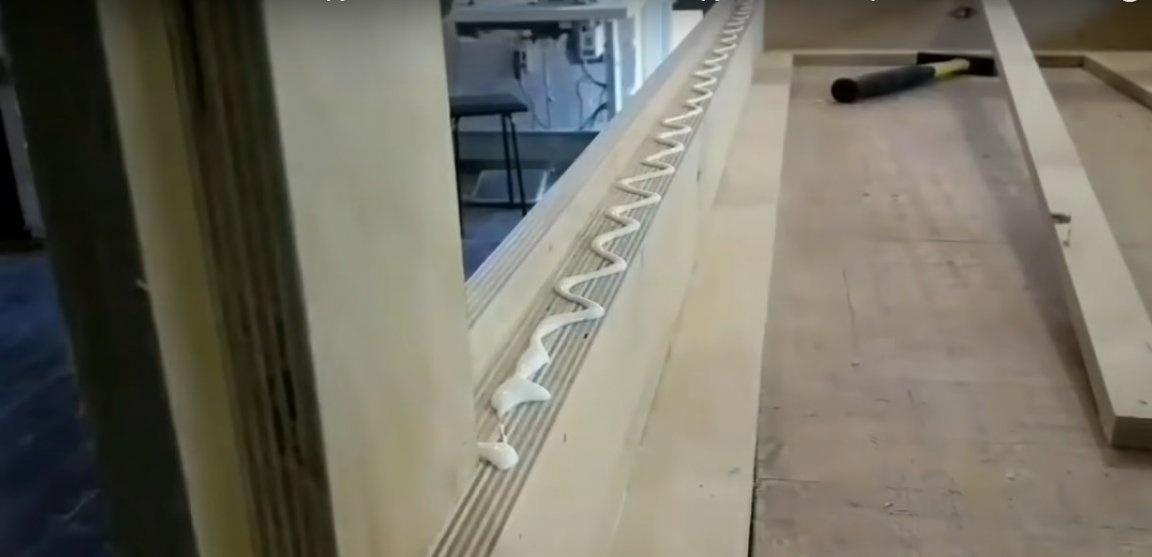
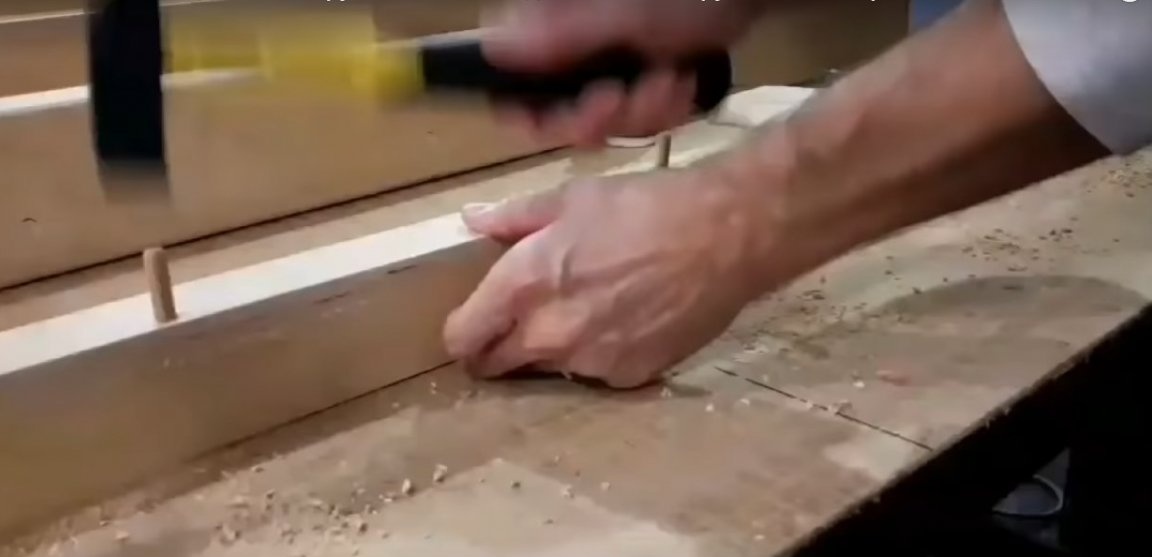
Be sure to use furniture adhesive to strengthen the joints. Remove smudges of glue before mass hardens.
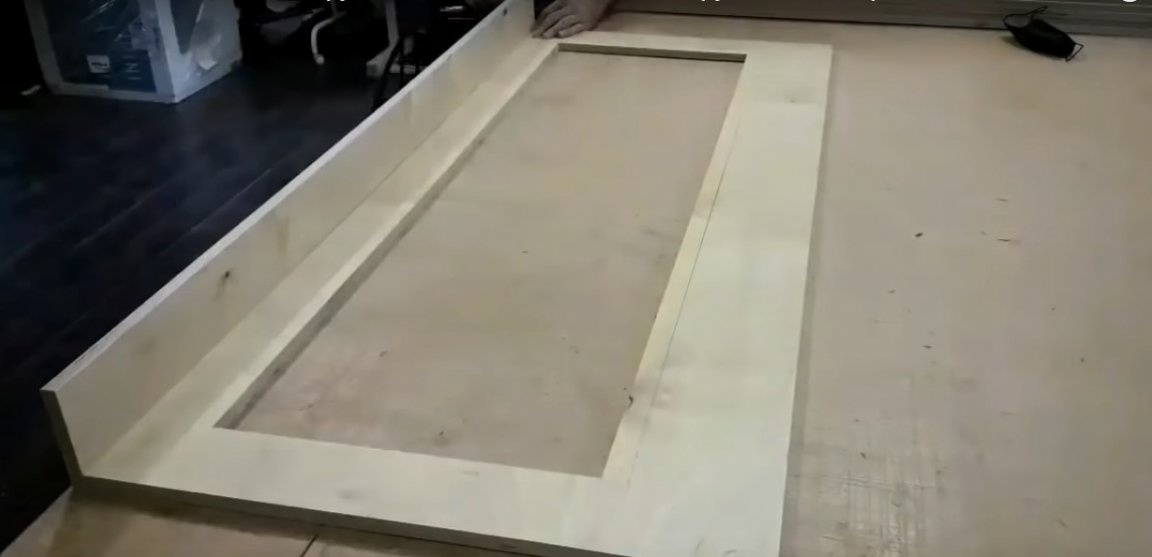
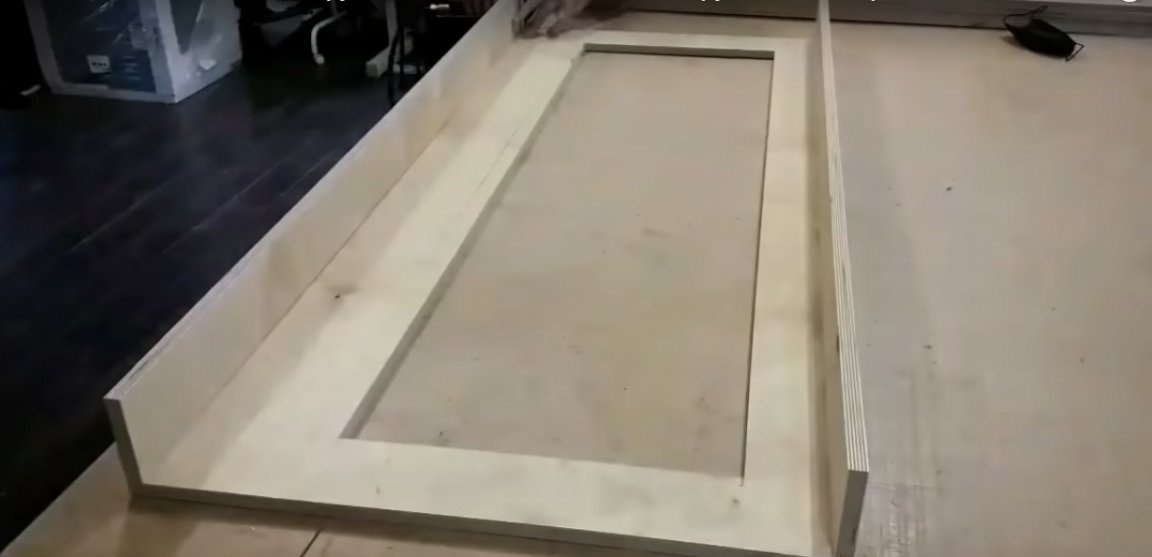
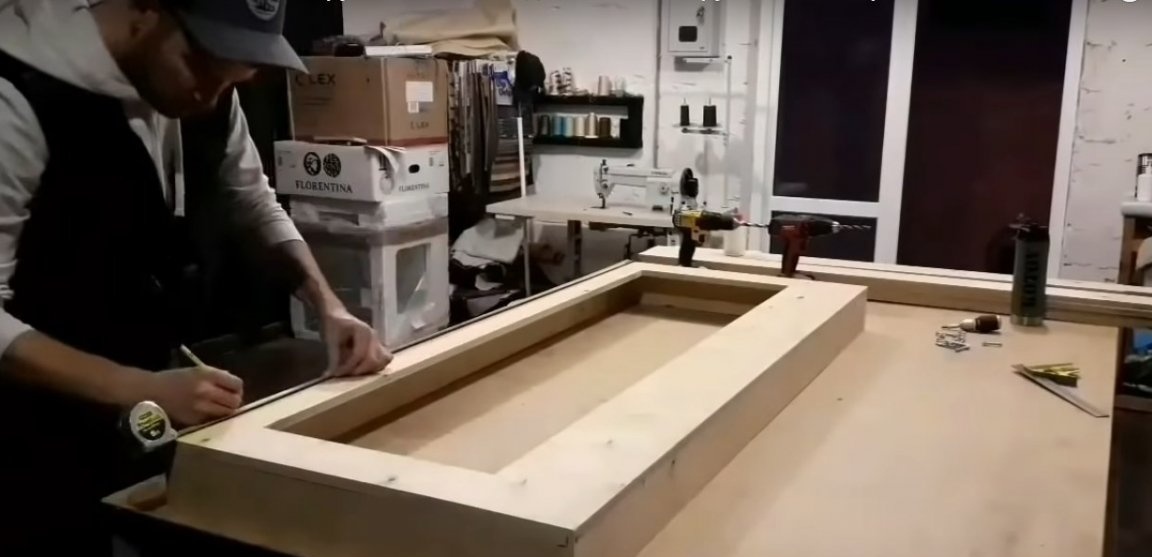


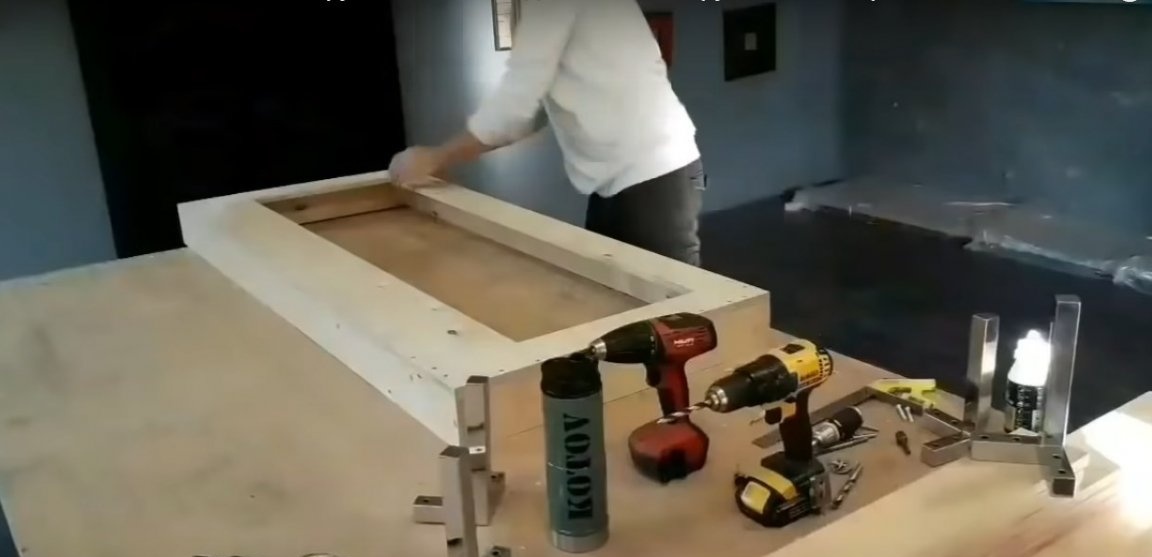
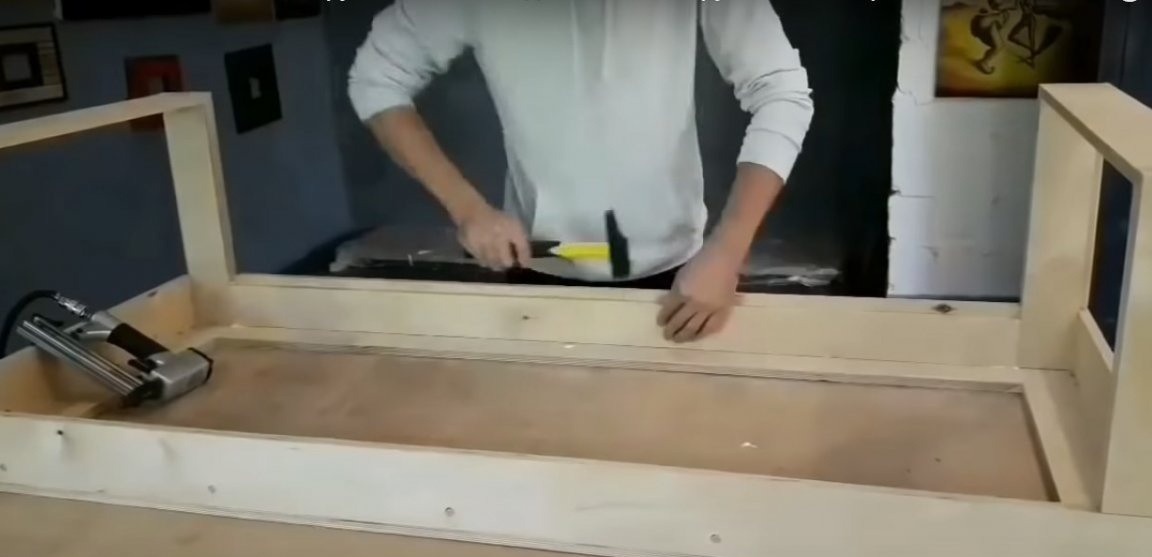
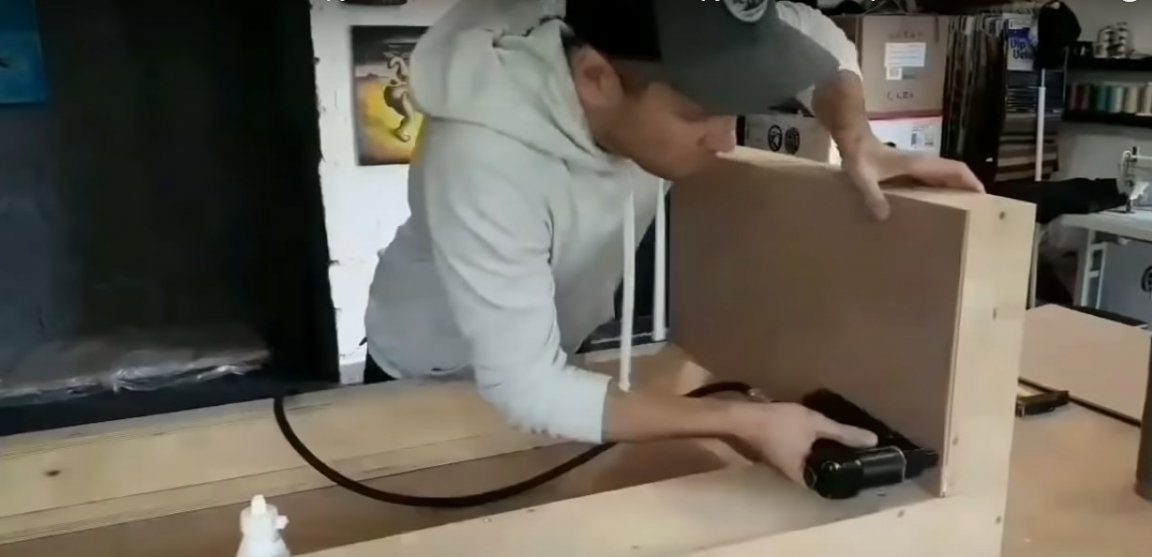
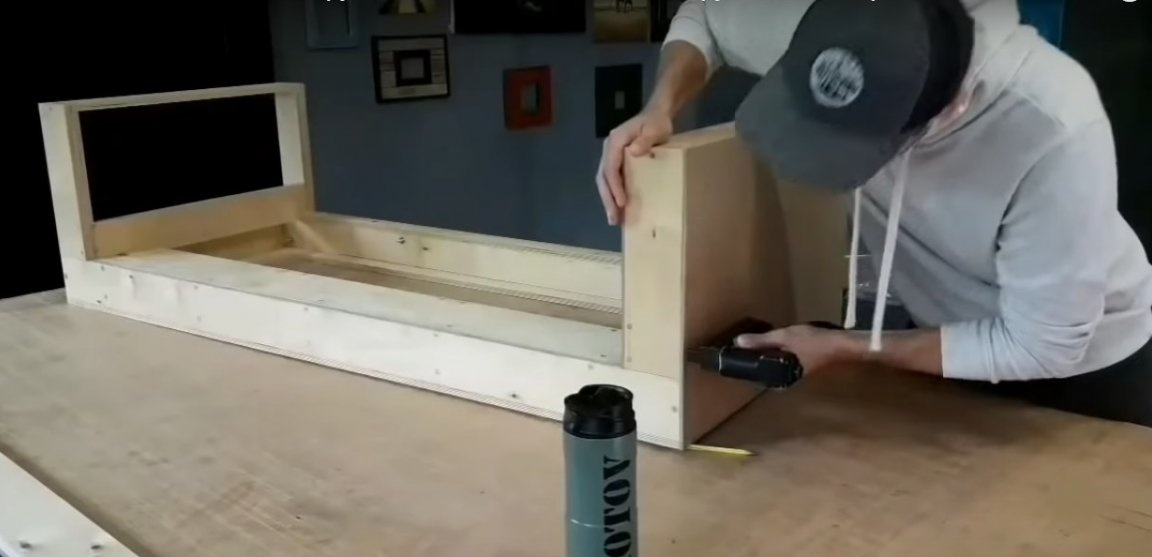
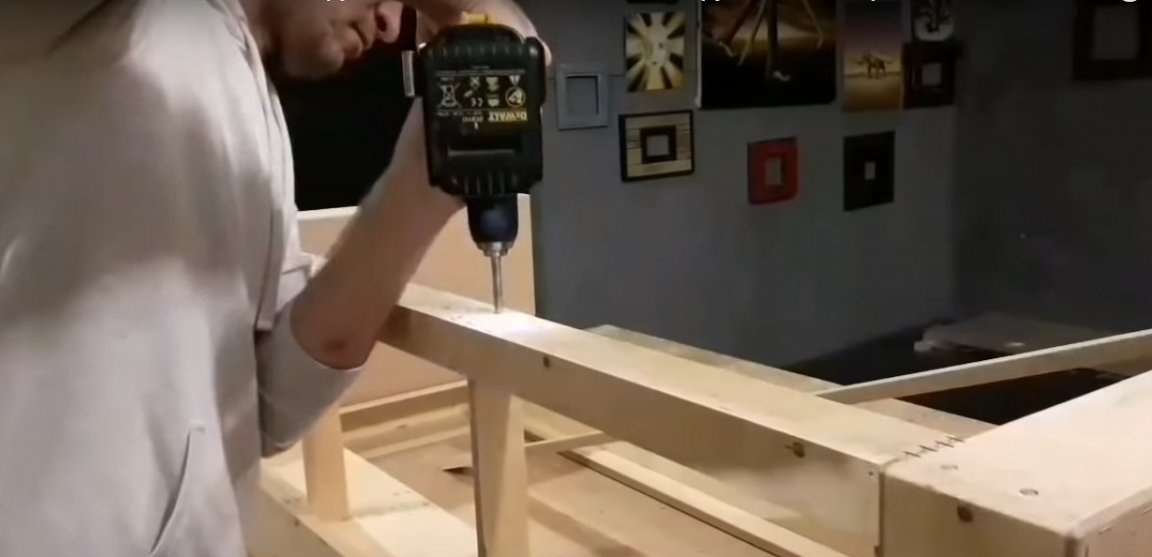
Step two: further assembly of the sofa frame
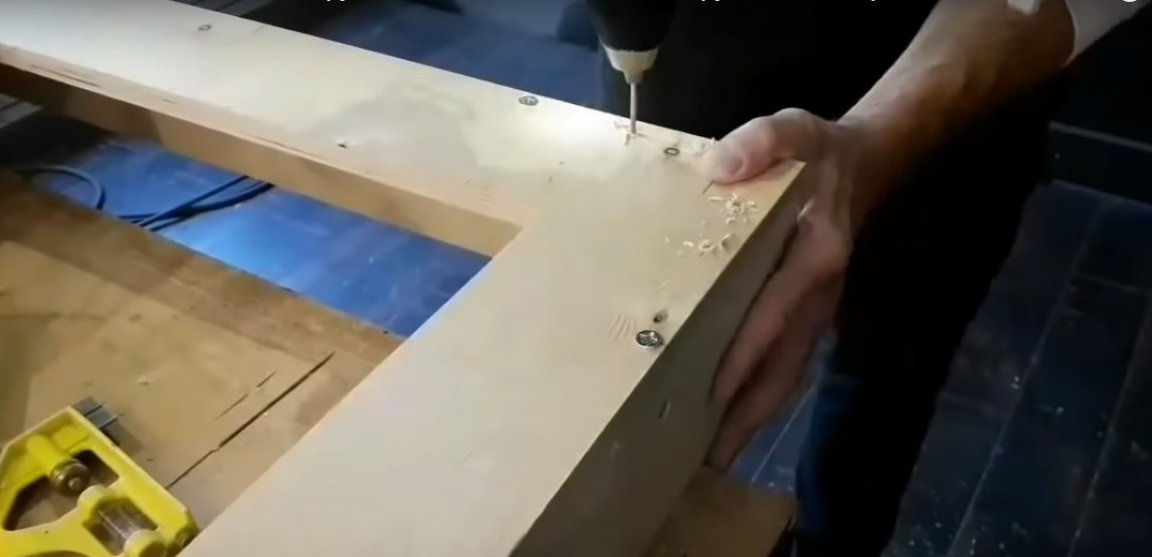
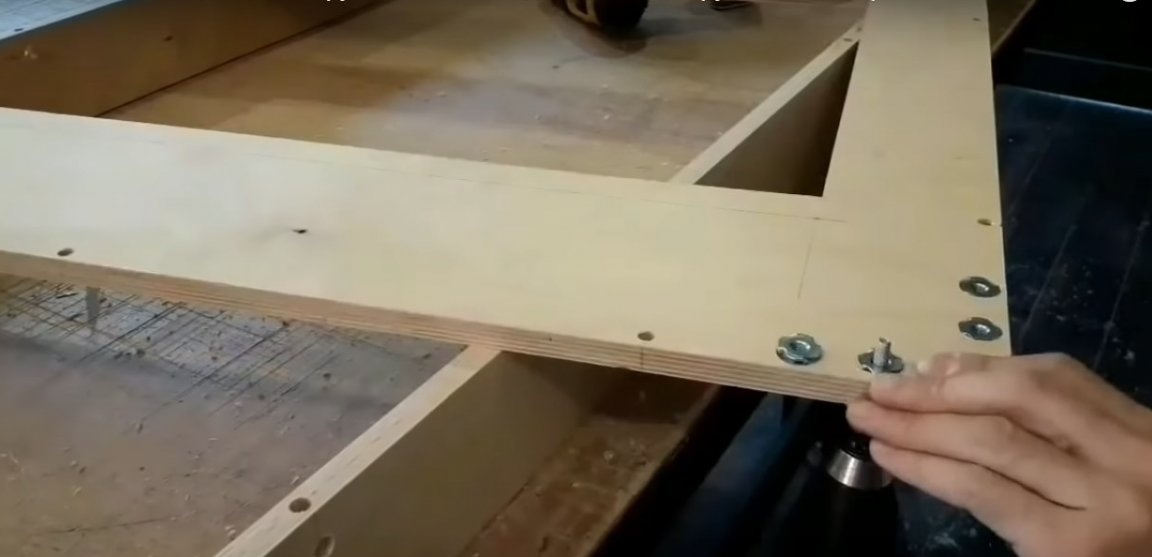
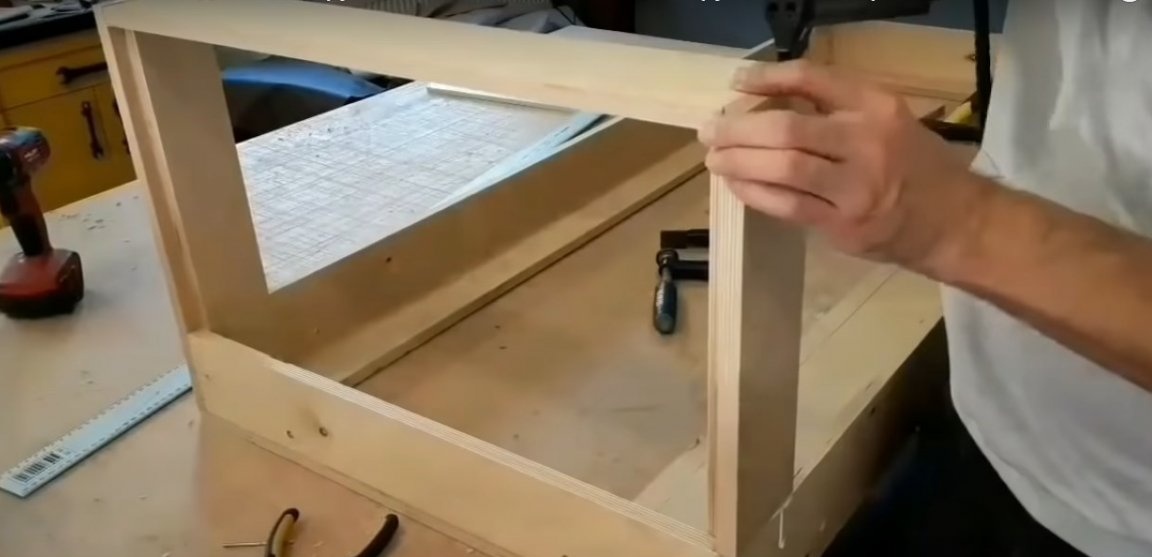
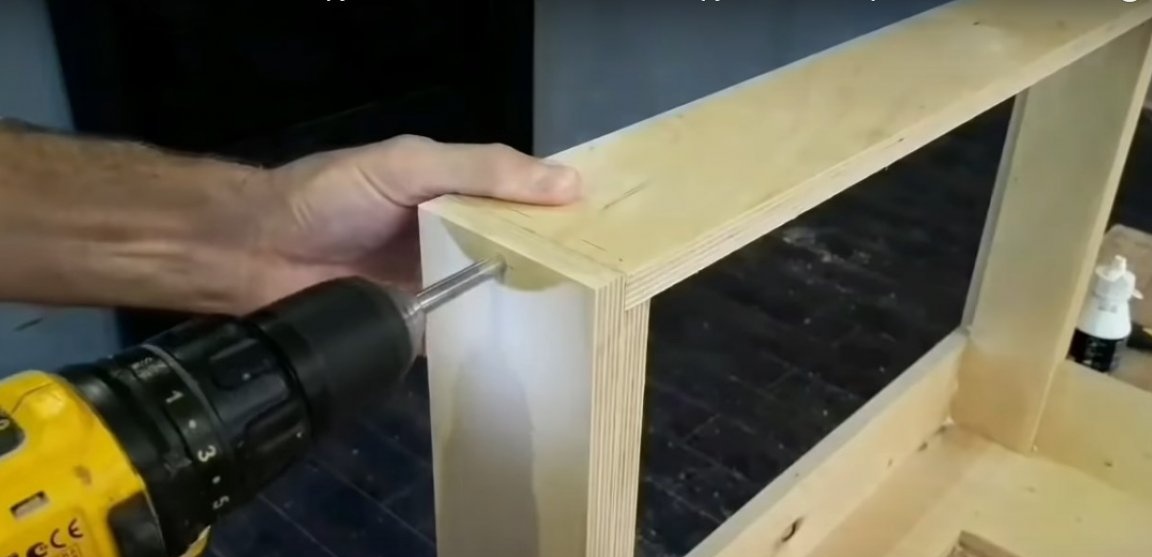
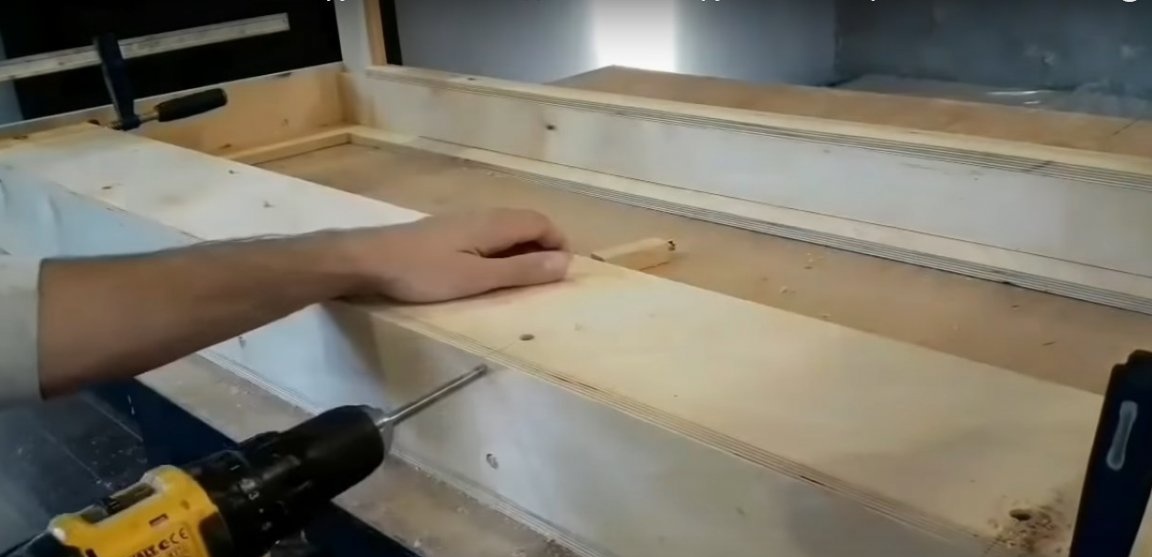
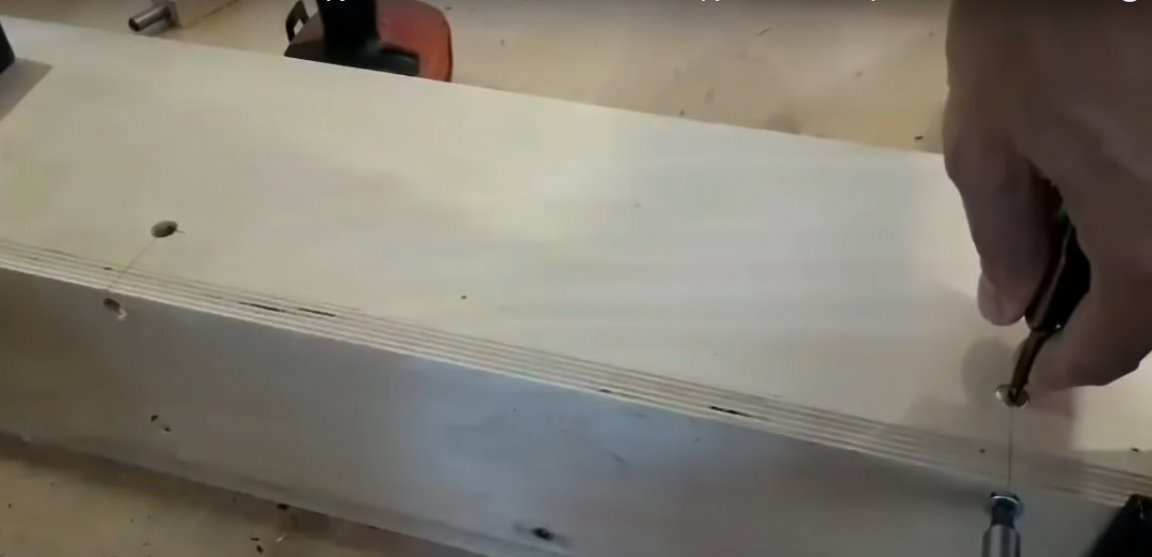
Assemble the armrest frame as shown in the photo. Use glue and wooden dowels to strengthen corners. Flush the front panel of the frame with plywood. The back of the frame, from the back of the sofa is hollow. For its assembly and strengthening the connection, the author uses the "barrel" bolts and furniture nuts


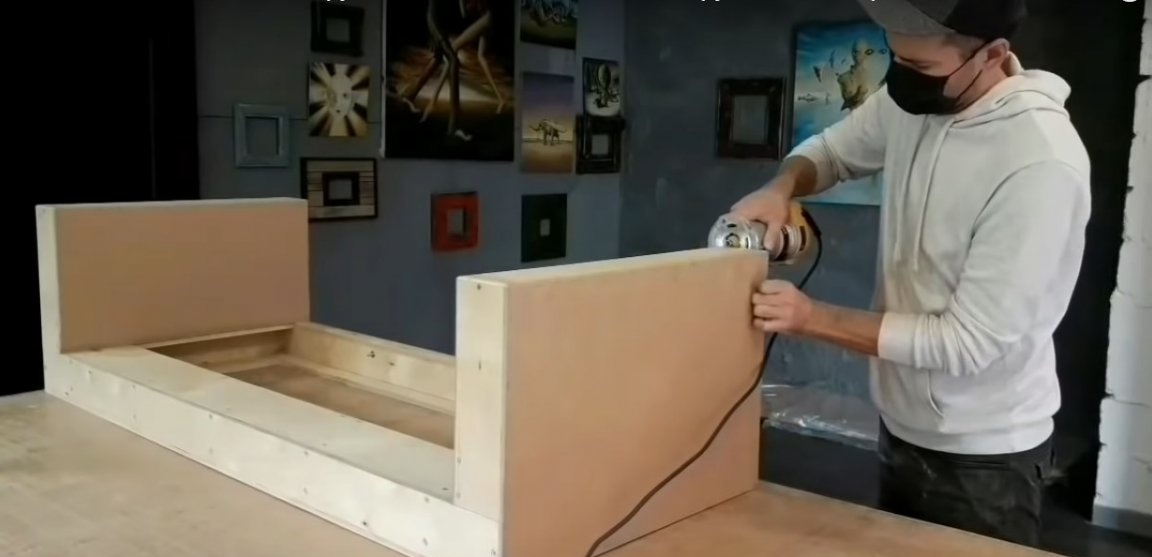
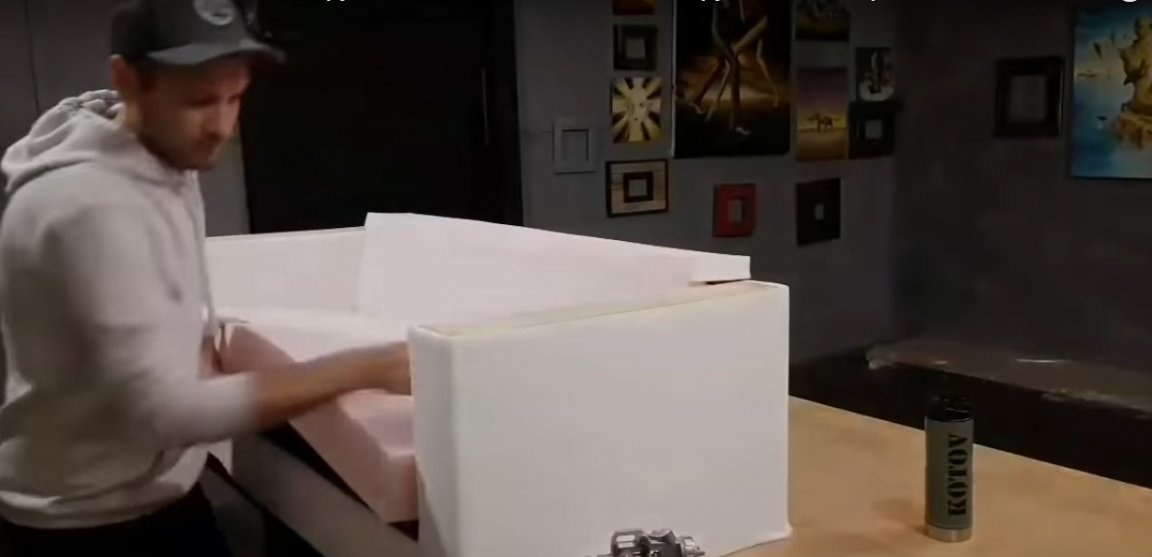
Step Three: Covering the Frame and Making the Back
In this project, carcassing requires only armrests. For this, the author uses a laminated fiberboard. The sheathing sheet is attached to the frame with metal brackets. For reliability, the author uses glue.
At this stage, the frame must be sanded with a grinder. Your task is to round the corners.
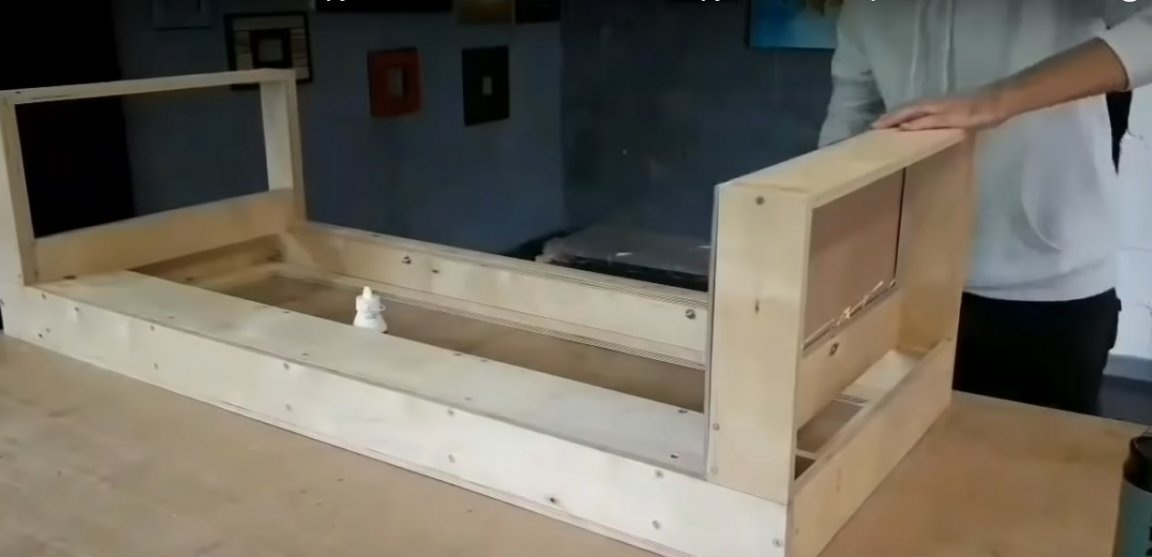


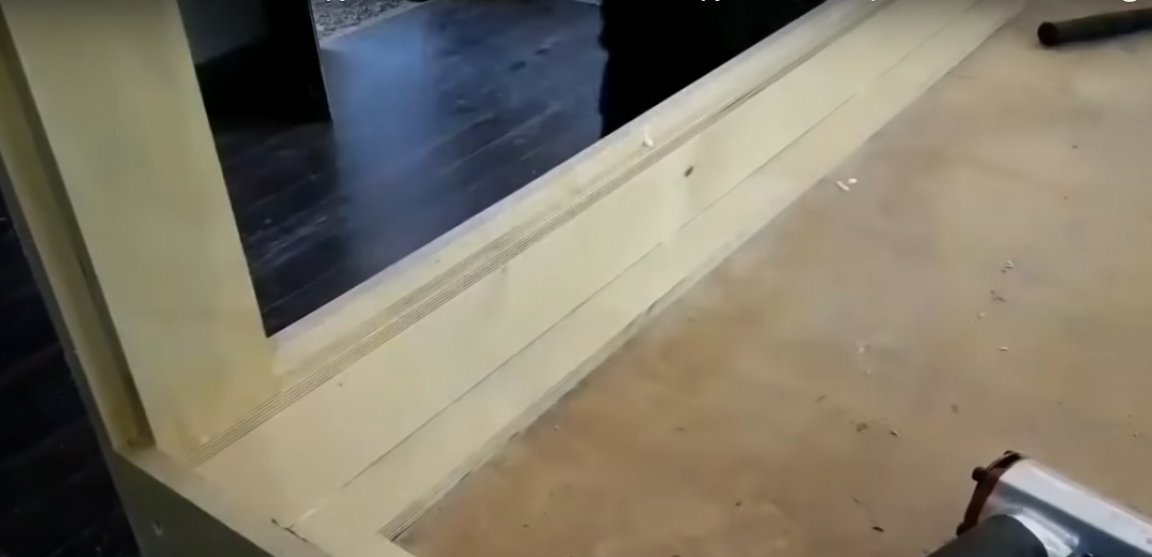
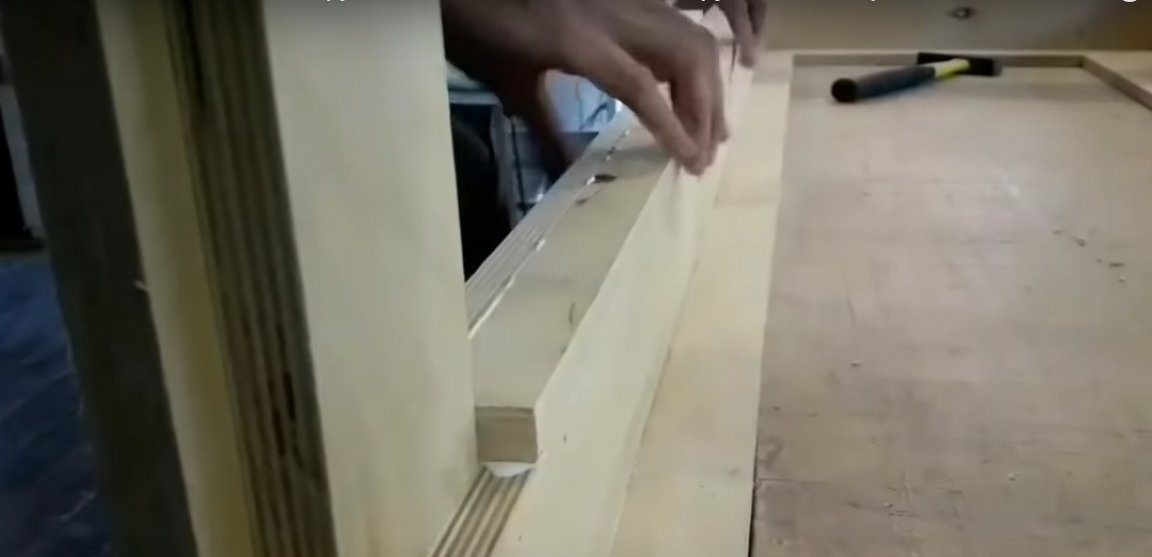
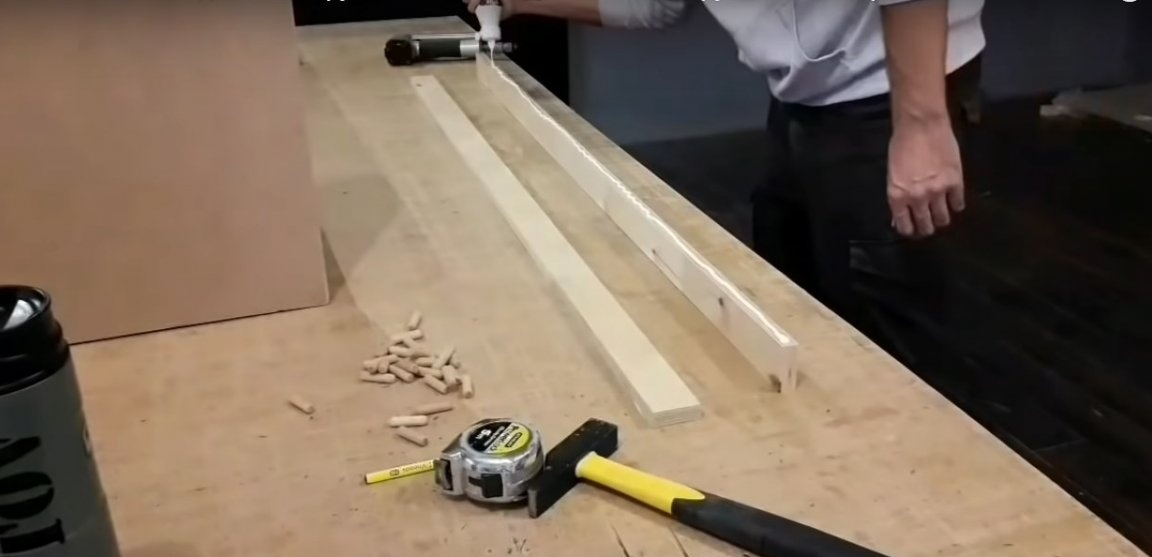
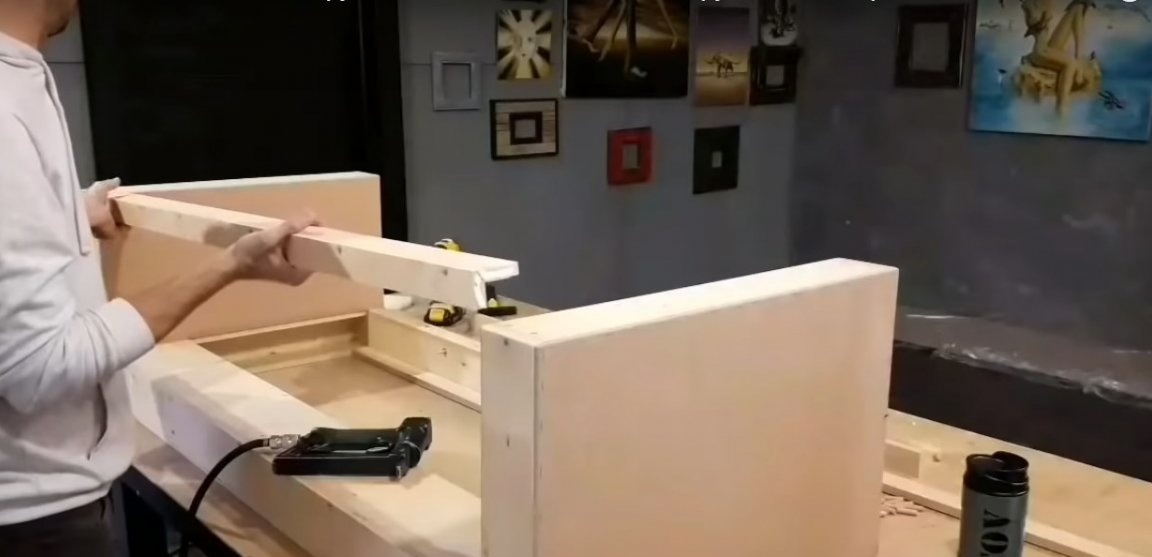
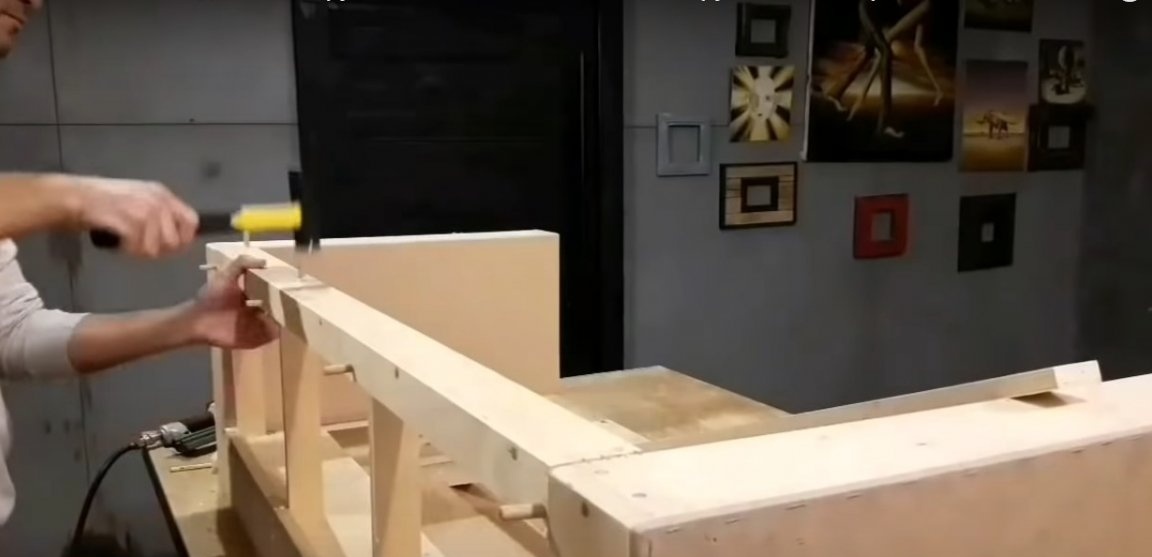
Start manufacturing the backrest frame. To do this, prepare the top element of the frame - the panel of the L-shaped profile. Connect the two slats with glue and wooden dowels. Replace the panel and pre-fix with metal brackets.
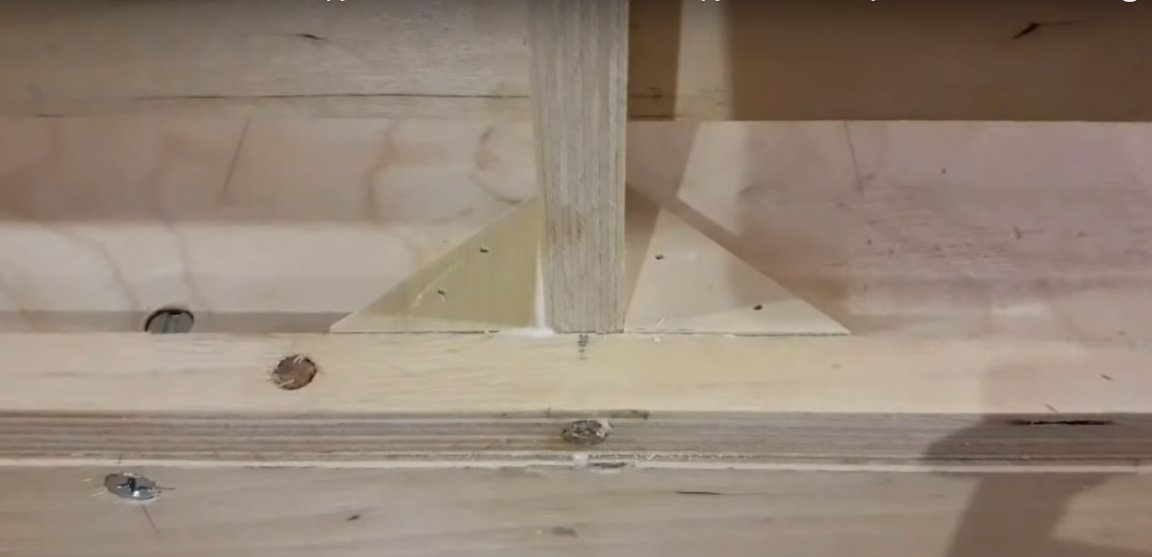
Use the dowels to secure the lower longitudinal part of the backrest. Install flat vertical struts. Lock them with dowels in two planes. The author also installed wooden corners at the base of the struts that would not allow them to deform.
On the bottom, fasten the bar and fasten it to each of the vertical struts.

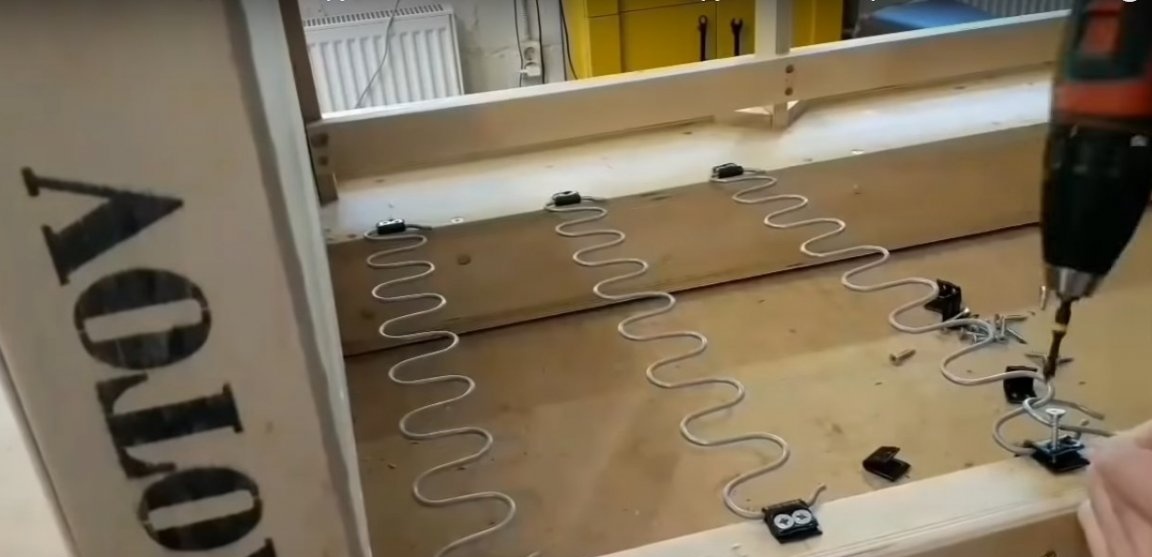
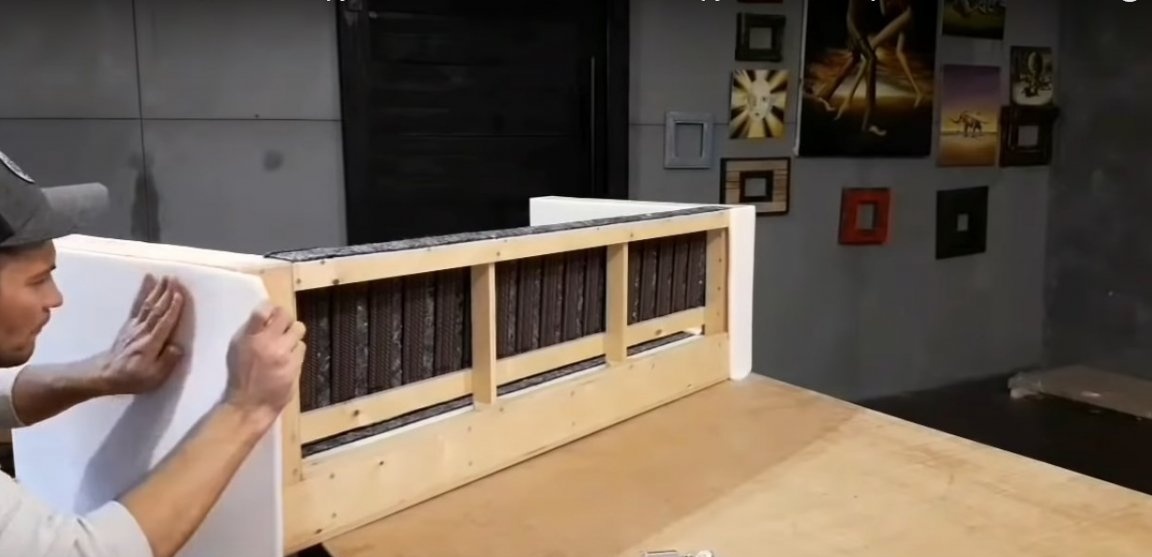
Step Four: Install Furniture Belt and Springs
The basis of the seat will serve as a spring "snake", while the back of the back will be a furniture belt.
For fastening metal springs, you can purchase special accessories. The author uses leather parts and self-tapping screws with a big hat for this.
A furniture belt or furniture textile tape, as it is also called, is mounted on the back with vertical stripes using metal brackets.
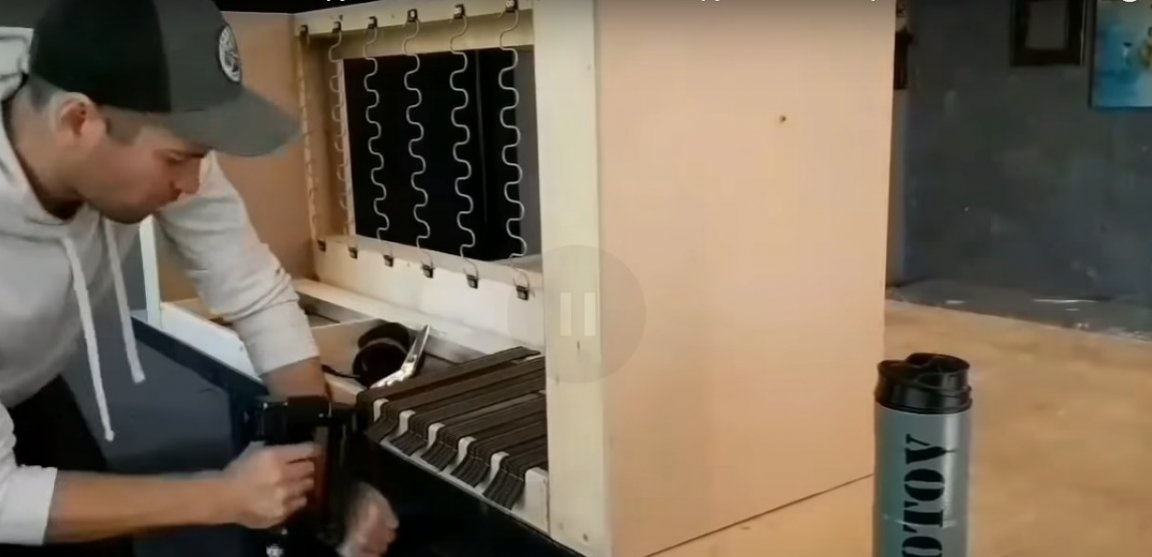
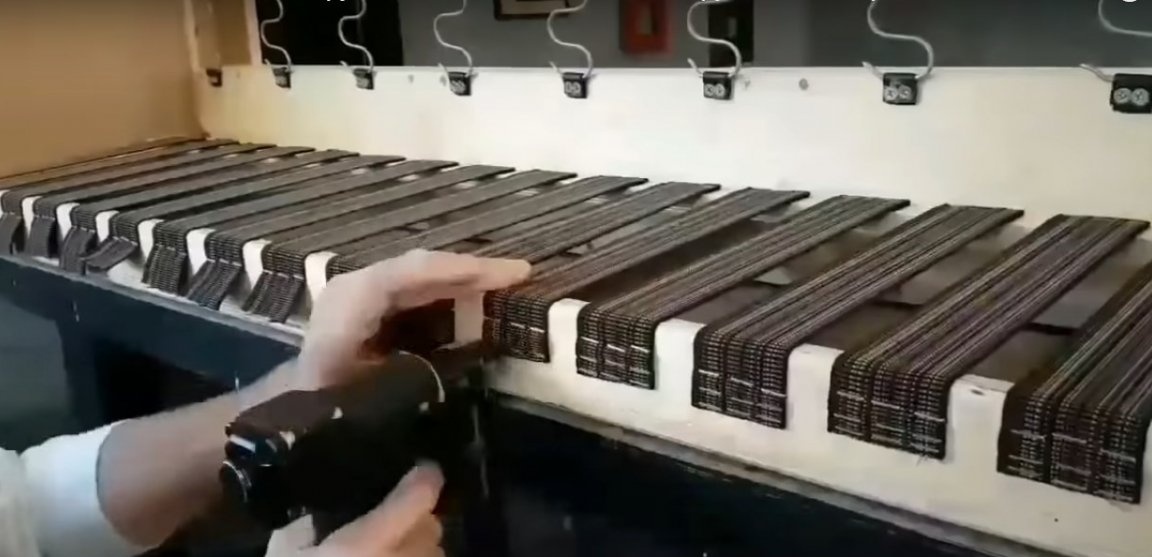

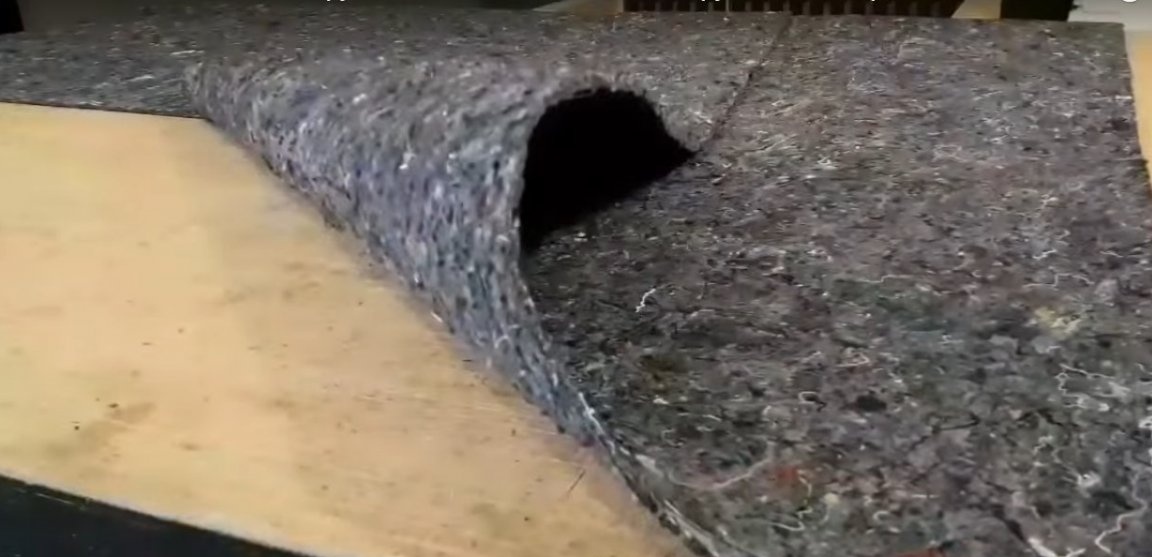
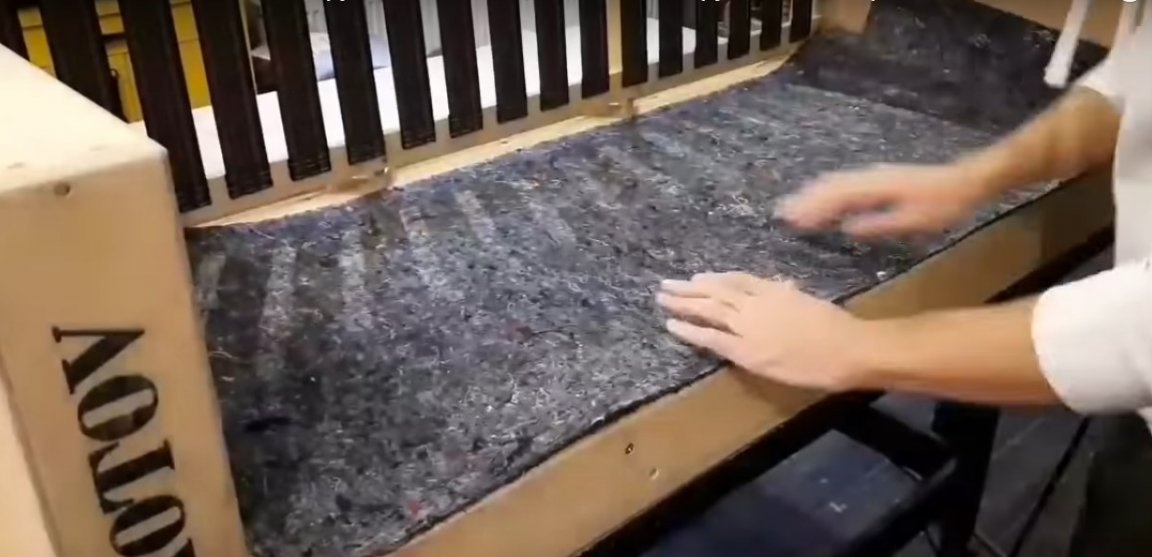
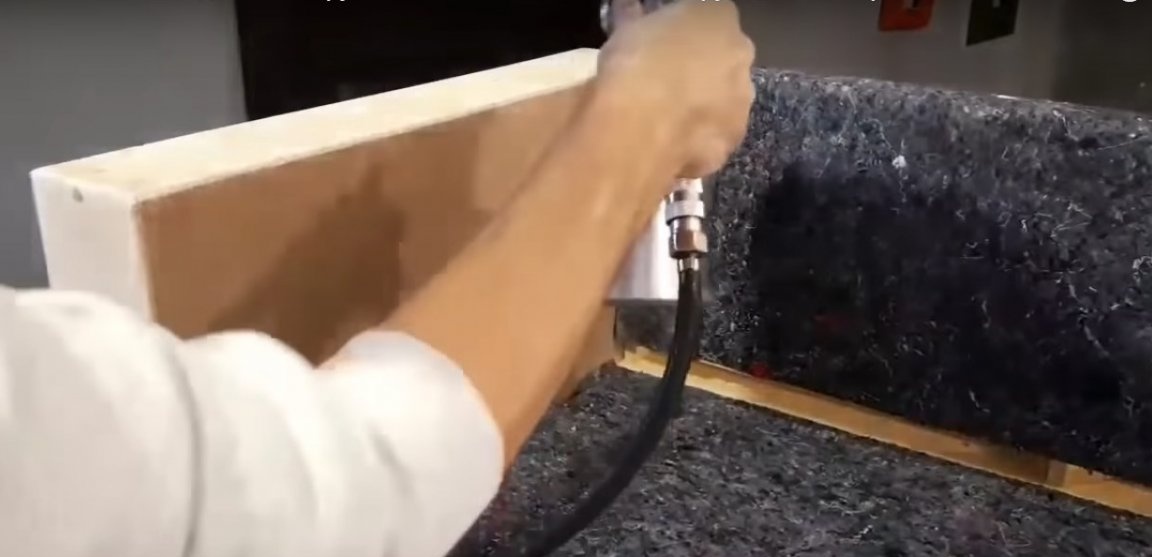
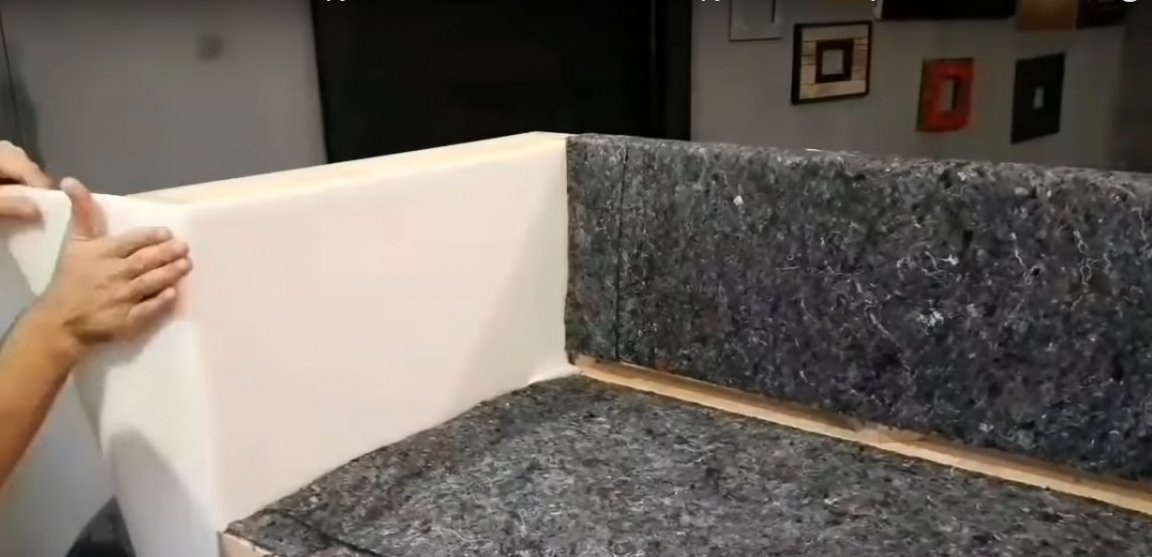
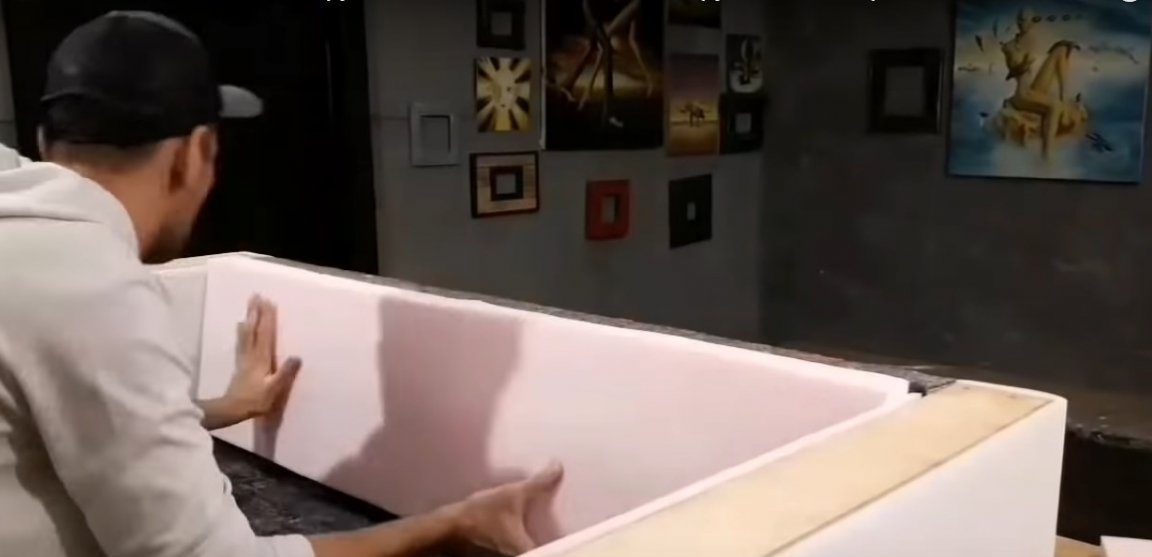
Step Five: Felt and Foam Lining
The author uses felt as the basis for foam rubber. Stick the felt sheet on the seat and back. In the first case, you will need two layers of felt. The back part has an allowance on the sides, which must be bent out and glued to the base of the felt.

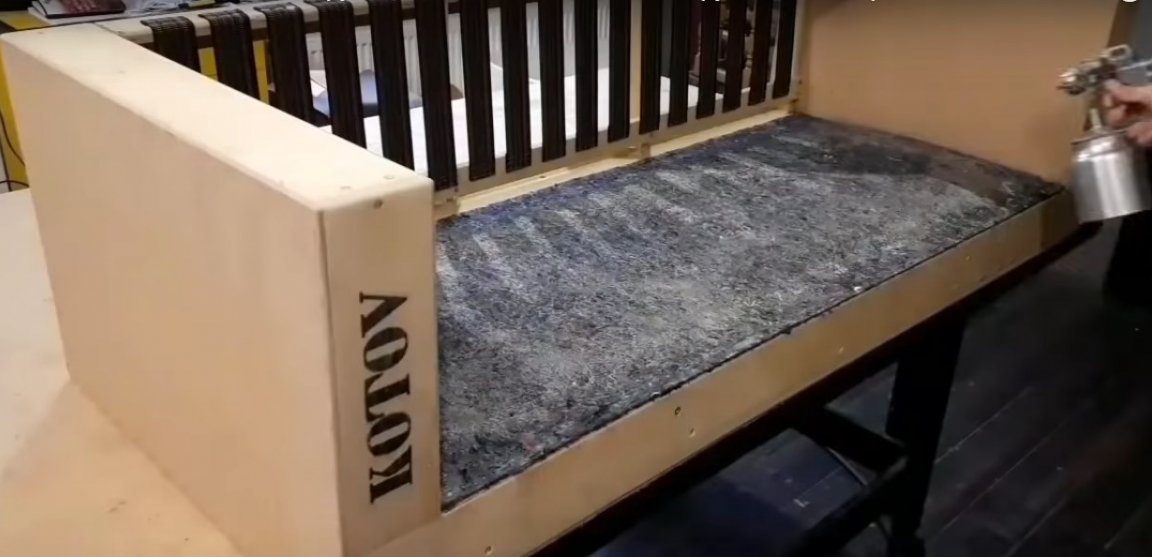


Tape with past foam thin, as well as the front panel of the sofa. On the back, fasten a sheet of foam rubber 50 mm thick. On the seat - foam rubber 100 mm thick. If you do not have thick foam, use two layers of foam rubber with a thickness of 50 mm. Layers need to be glued together.


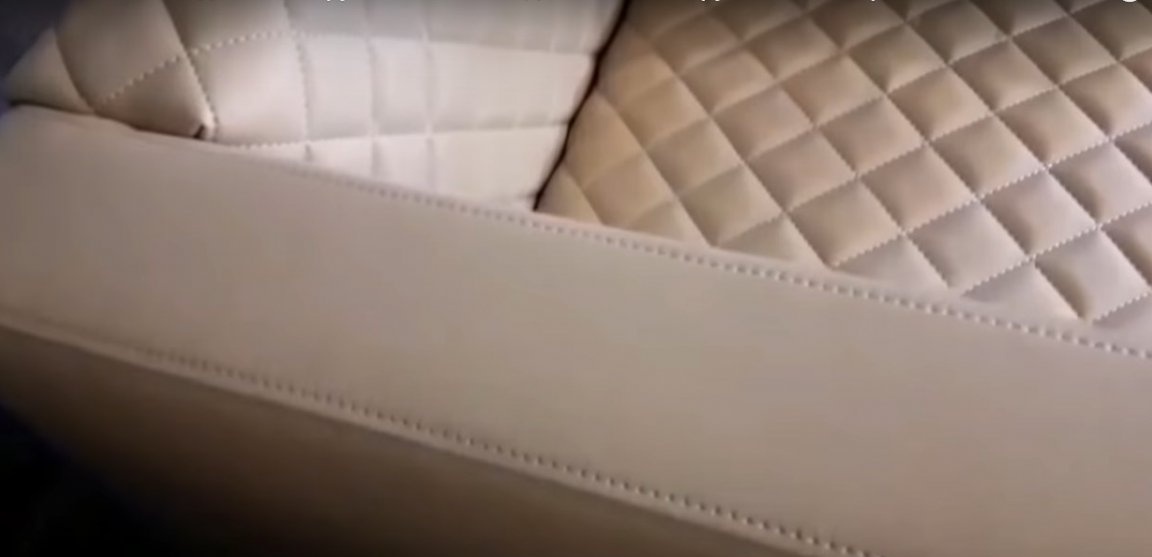
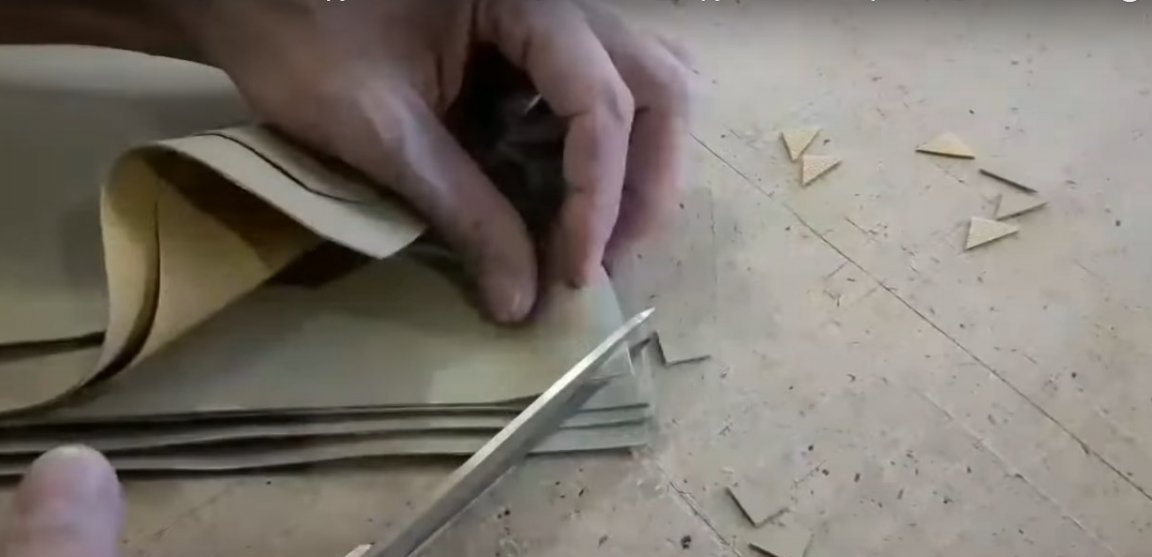
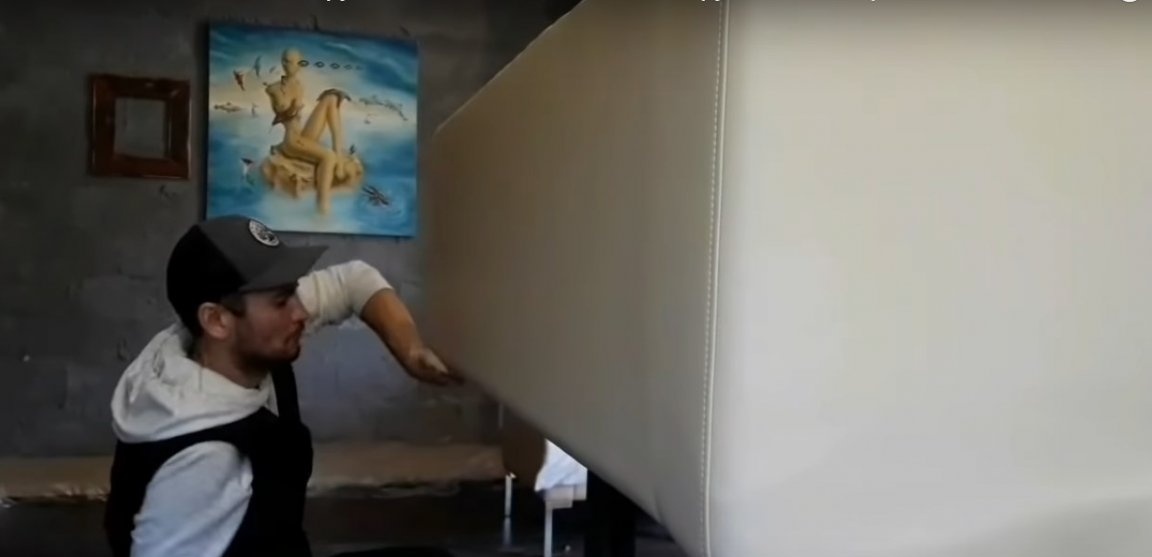
Step six: making a leatherette case
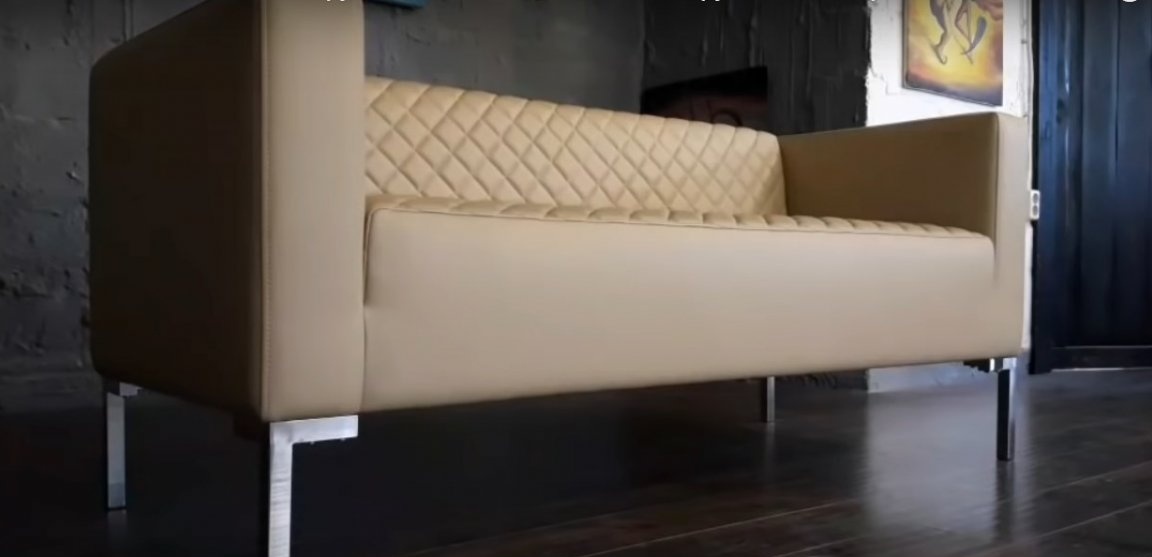
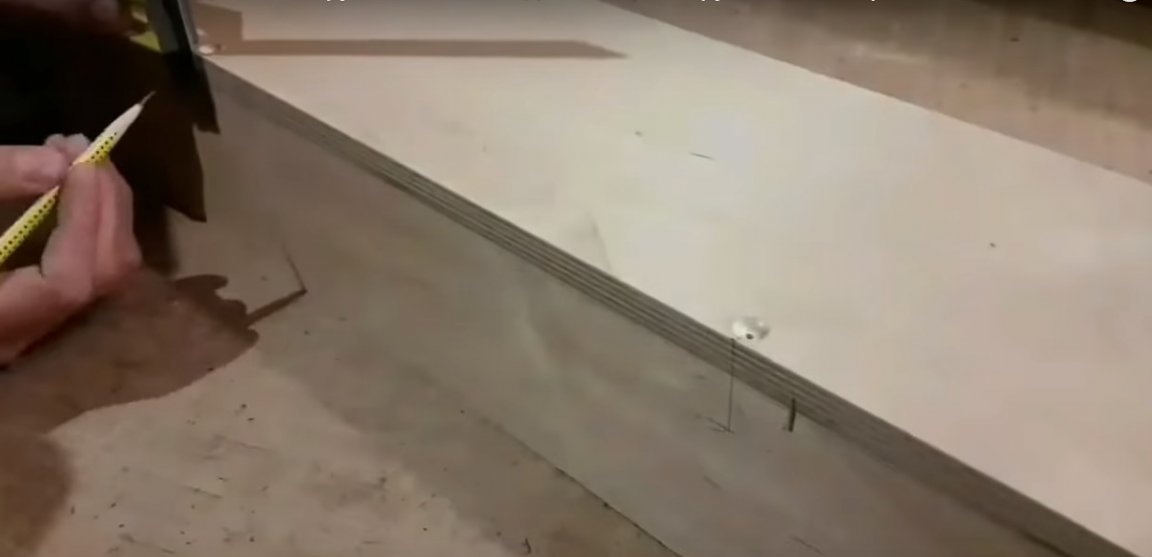
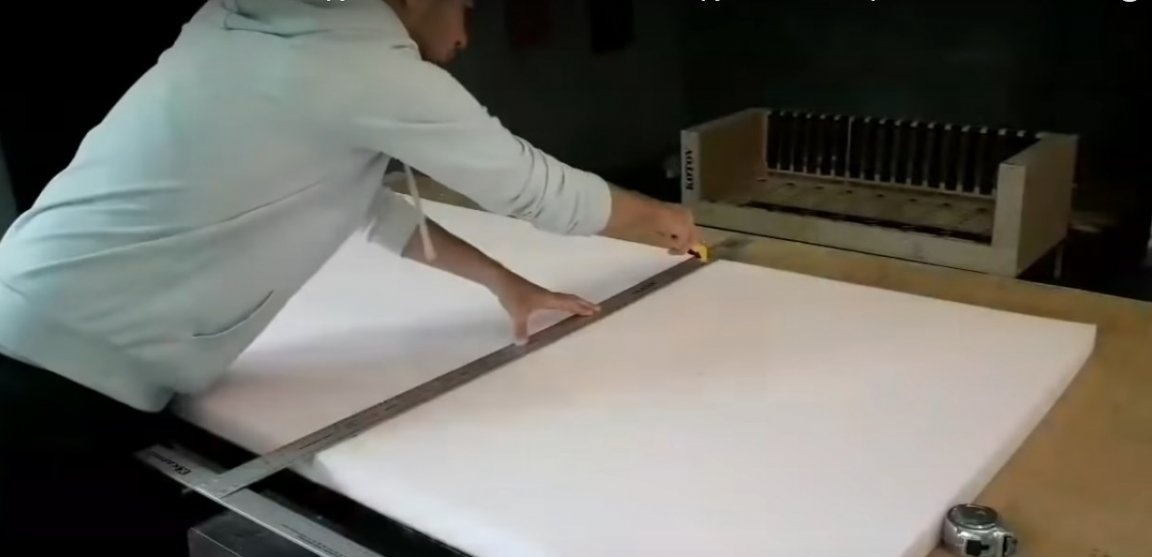
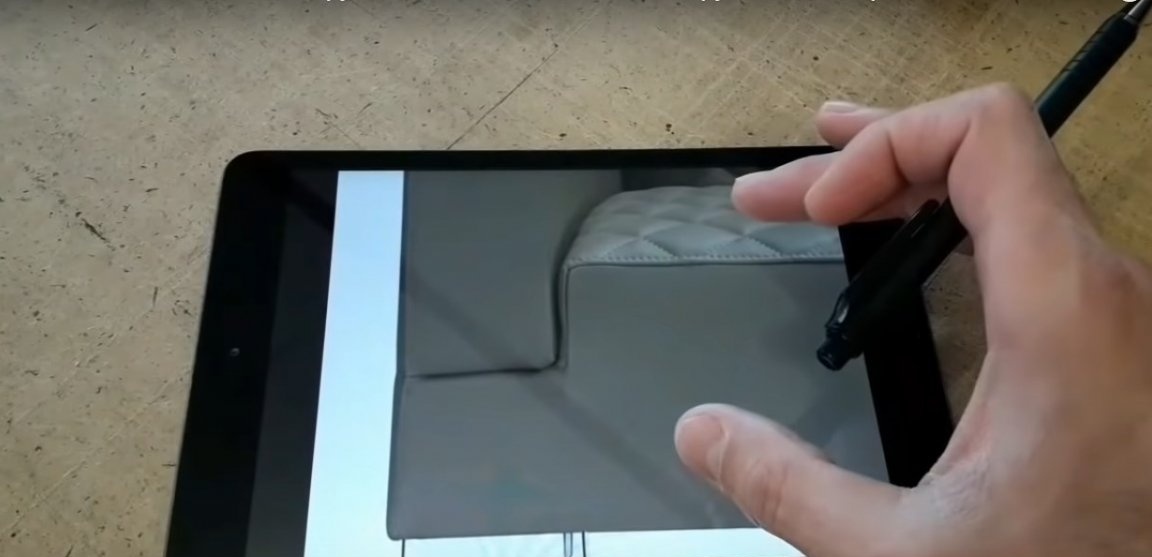
The sofa cover is made of high-quality durable leatherette designed for facing upholstered furniture. In the finished version, this is a one-piece design that is worn on the prepared frame and fixed on the back of the seat. In order to prepare the pattern cover, take measurements from the finished frame, lined with foam.
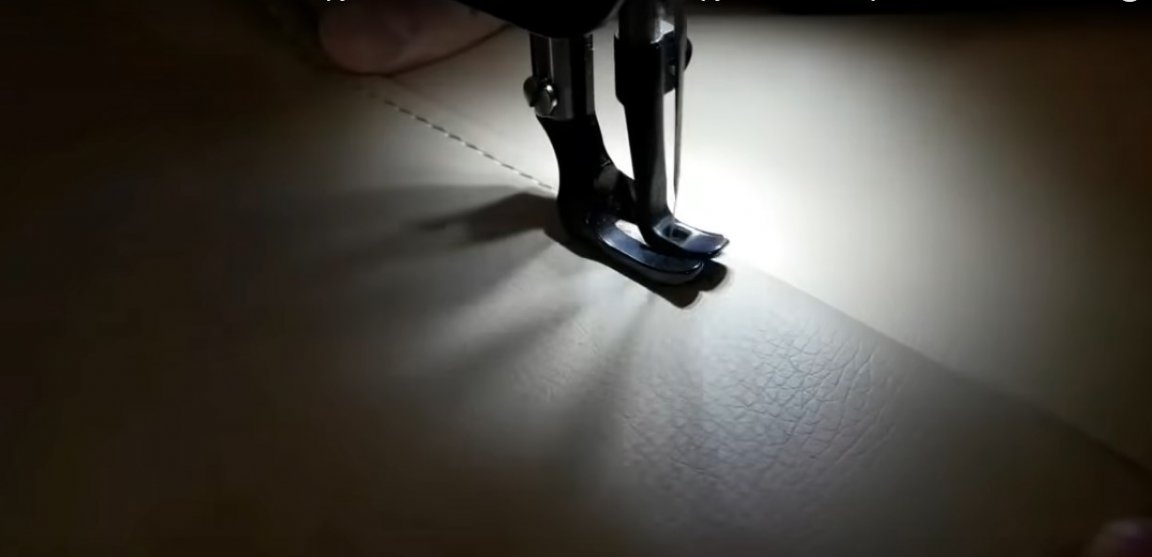
For sewing furniture covers, the author uses an industrial straight-line machine. Engine power and configuration specifics allow stitching dense fabrics in several layers. A walking foot is installed on the machine. Such a foot effectively promotes thick fabrics, so that the stitch is beautiful, with uniform tension.
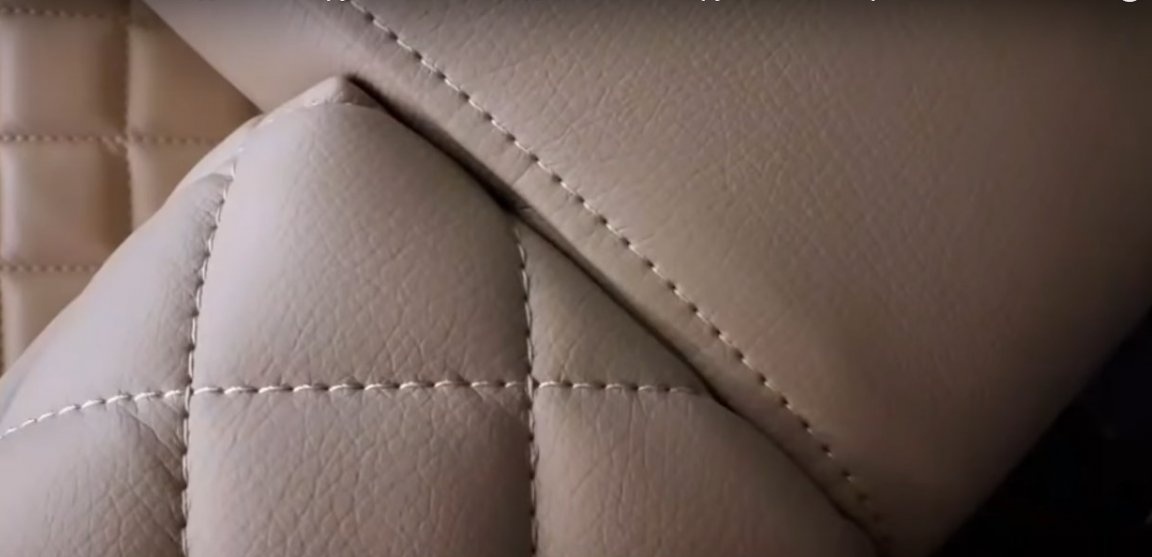
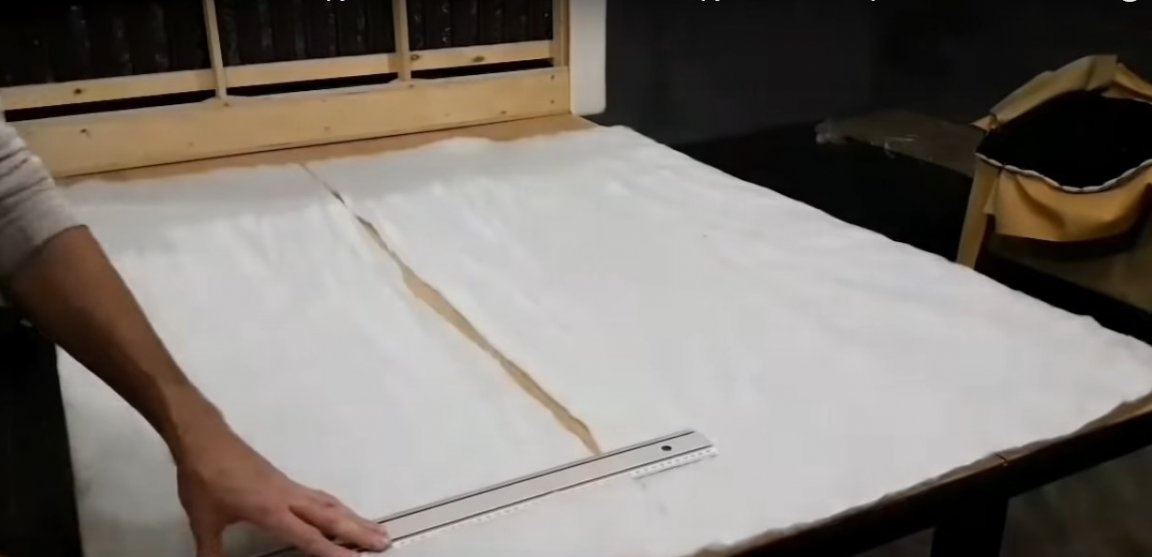
Quilted cover details are made of 3 layers: leatherette, synthetic winterizer and spanbond. Please note that for these elements, materials must be cut with an allowance, since a little more fabric is needed.


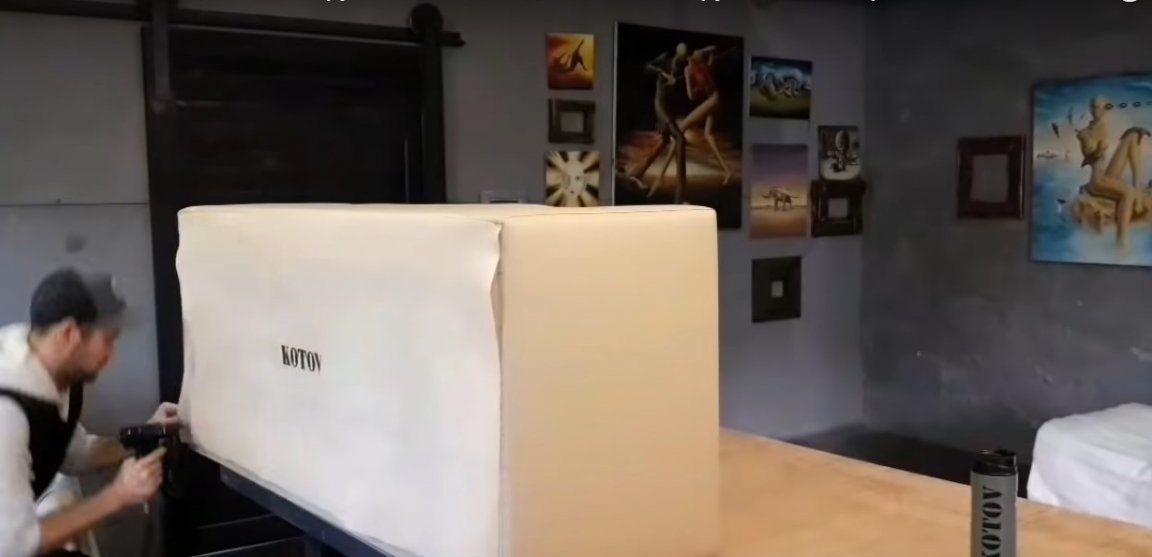
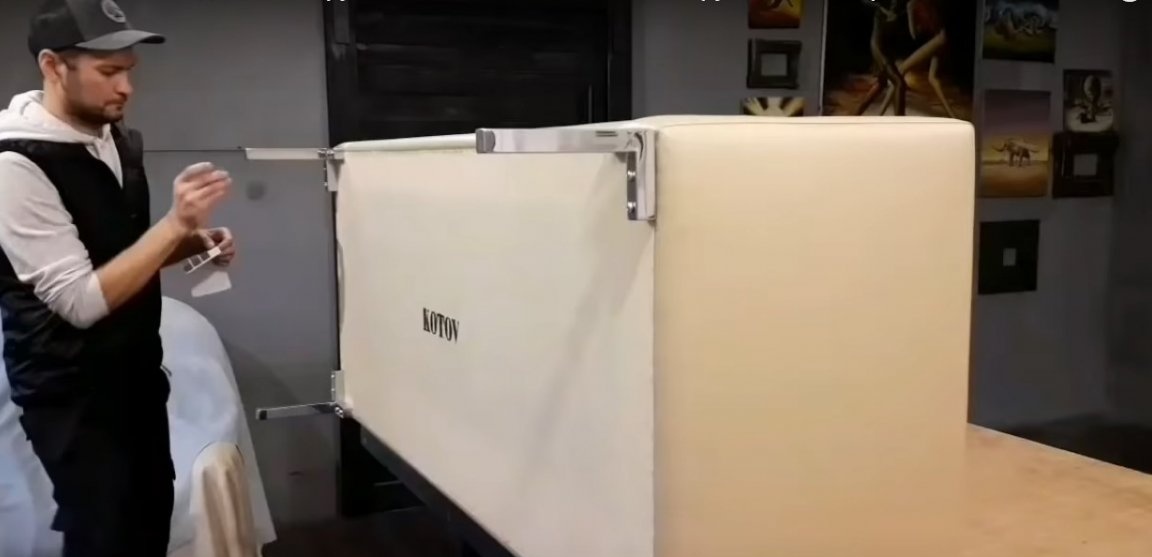
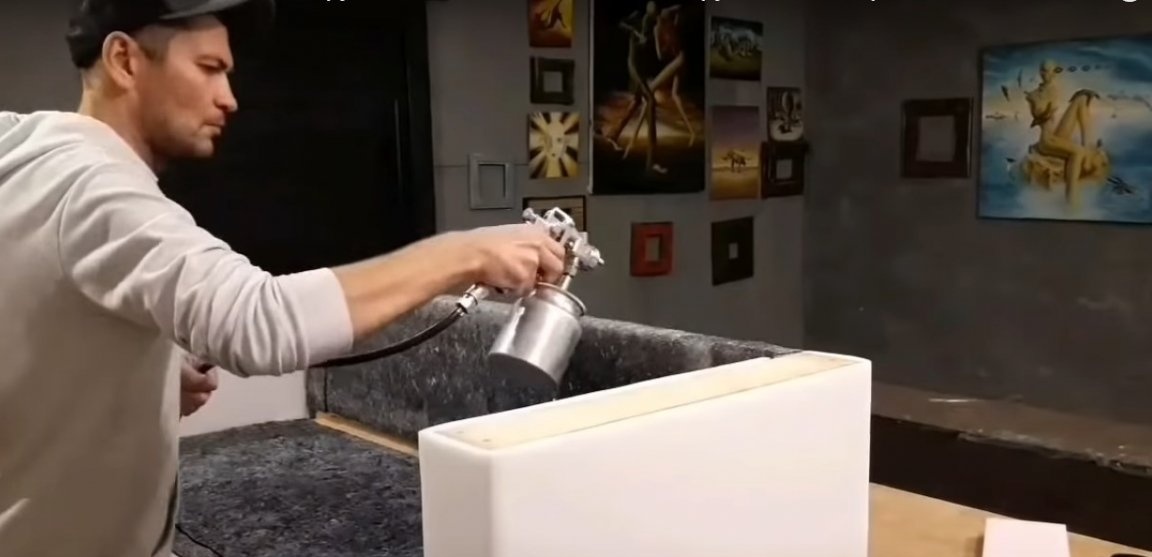
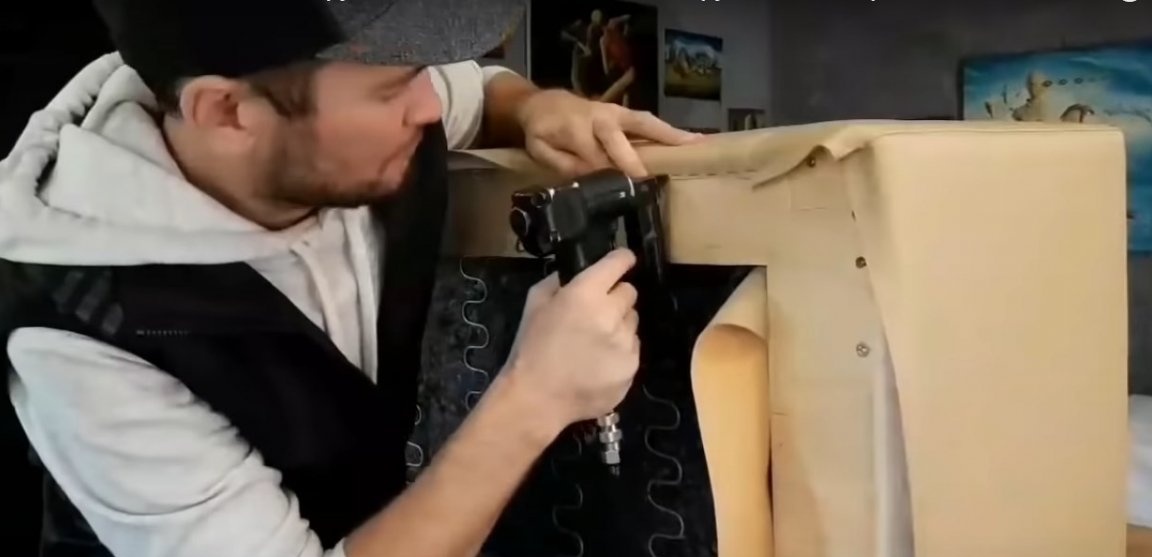
Seventh step: covering the sofa
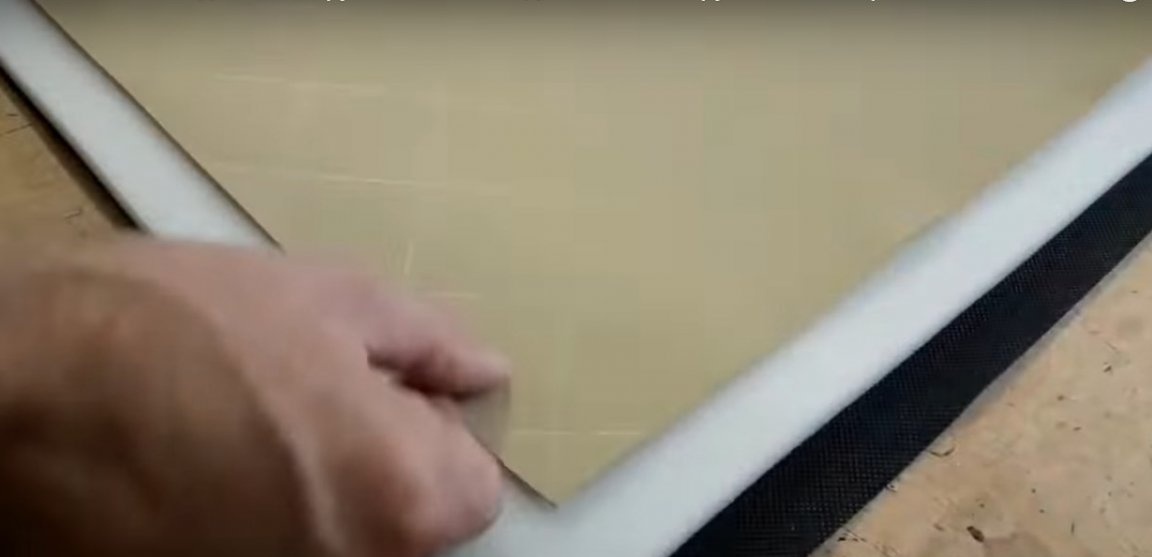
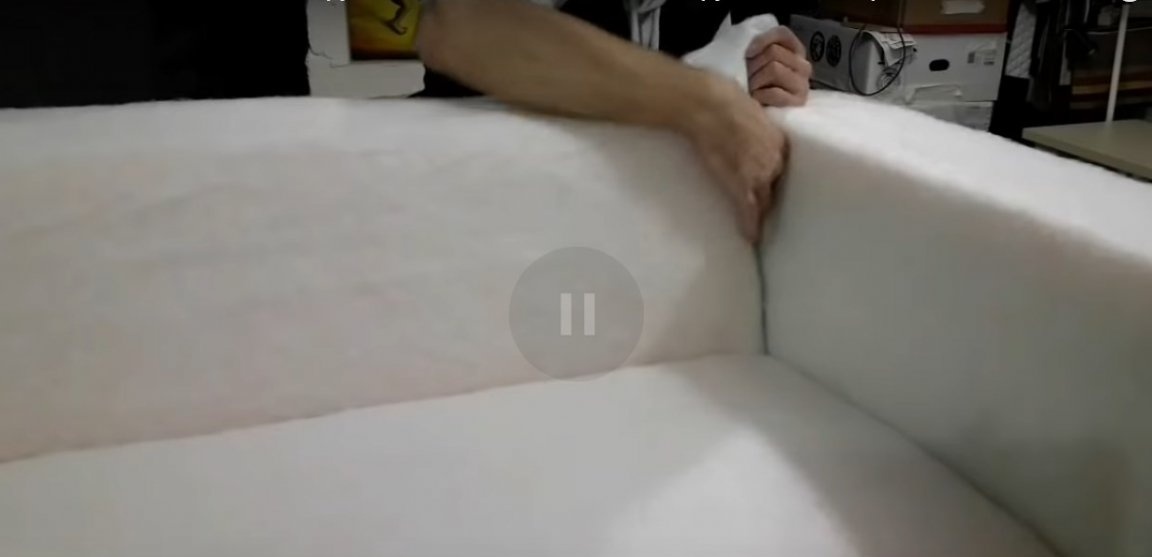
Before proceeding with the constriction of the sofa, cover the surface of the frame with a synthetic winterizer.It will allow to smooth out unevenness, moreover, the surface will gain additional softness and airiness. Fill the edges of the synthetic winterizer inside.
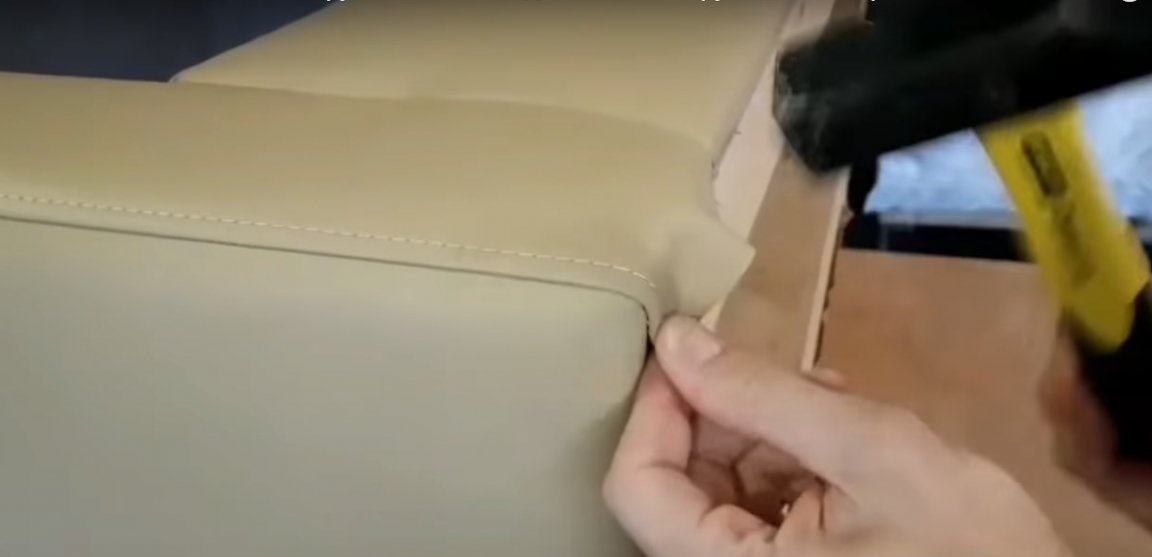
Put on the cover and smoothly spread it over the surface. You can let the material settle down a bit. Fix the edges of the leatherette on the back of the sofa with brackets. Where thick seams are bent and pass through an angle, they must be repelled with a wooden or rubber mallet.


Step eight: processing the bottom of the sofa and installing the legs
Process the bottom of the sofa with a spanbond into the hem. This is a fairly durable non-woven material of synthetic origin. Choose a spunbond of optimal density - at least 100 g per 1 sq. m. Cut the spanbond with brackets.
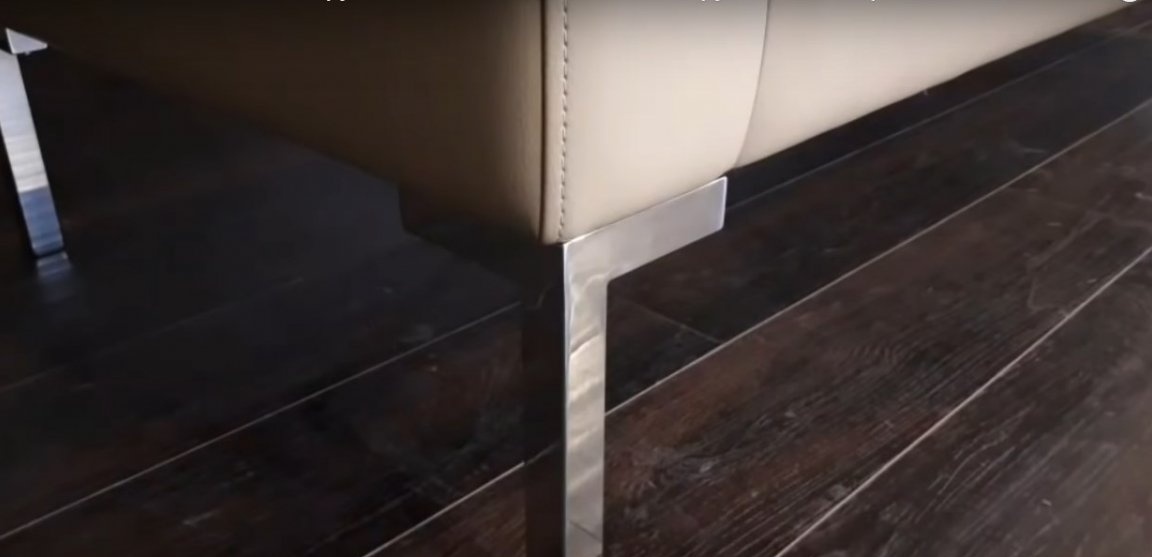
Screw the finished legs to the sofa body with self-tapping screws. You can purchase such legs, as well as many other things, in any online store of furniture accessories.