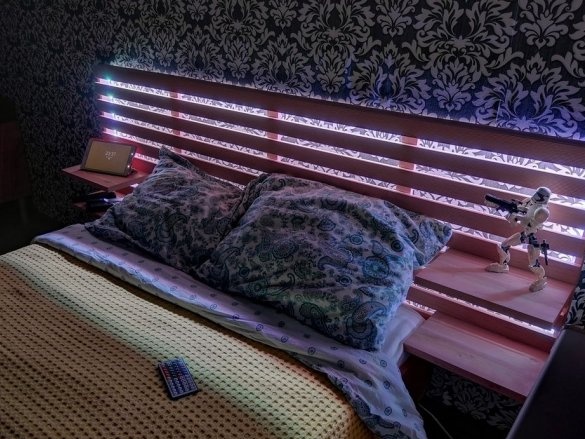
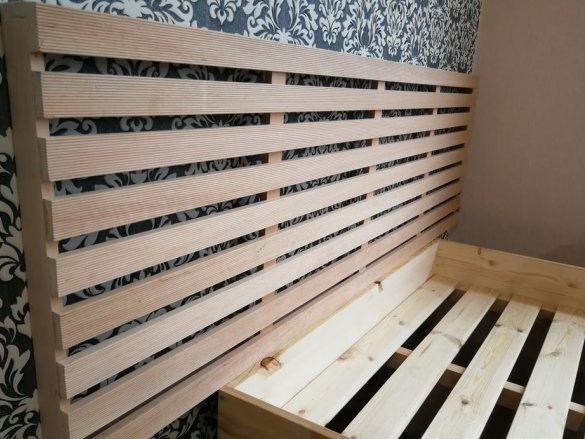
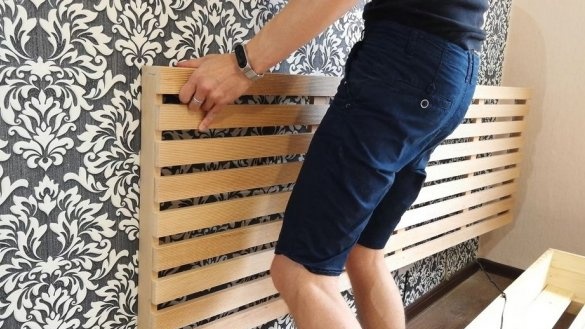
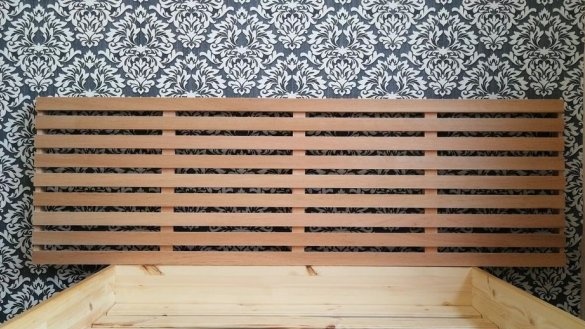
Greetings to all readers and the inhabitants of our sites! If even the most ordinary bed is decorated with an original headboard, not only its appearance, but the interior of the room will change. And you can see for yourself yourself by repeating the idea of the author of this homemade product.
To make a headboard, the author needed:
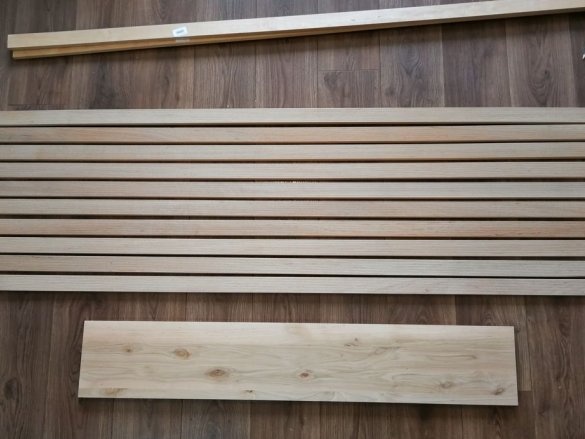
• Alder beads with a size of 1800x45x15 mm 13 pcs
• A piece of a board measuring 1200x200x20 1 pc
• LED Strip Light
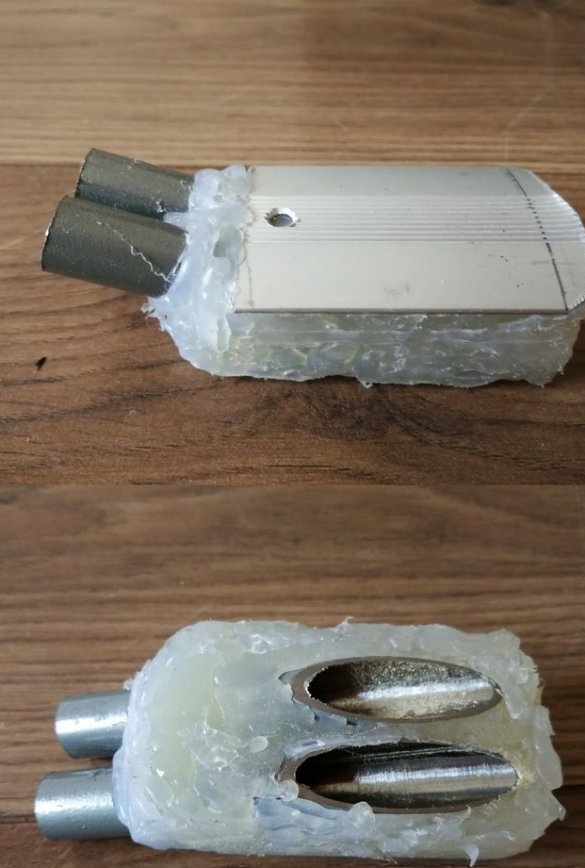
• Thermogun
• Grinder
• Electric fretsaw
• Screwdriver
• Self-tapping screws.
Step 1
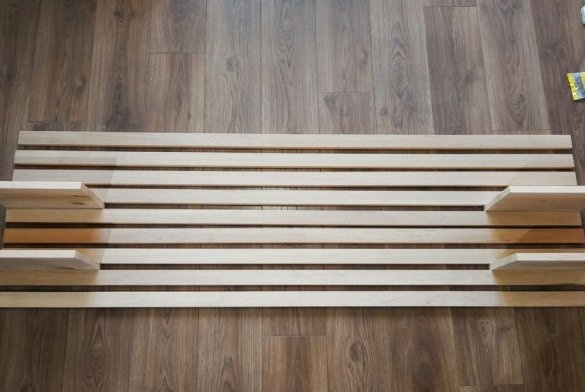
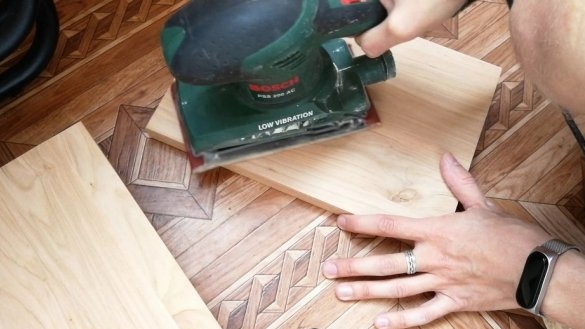
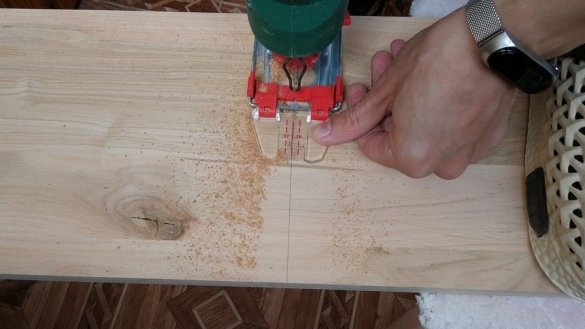
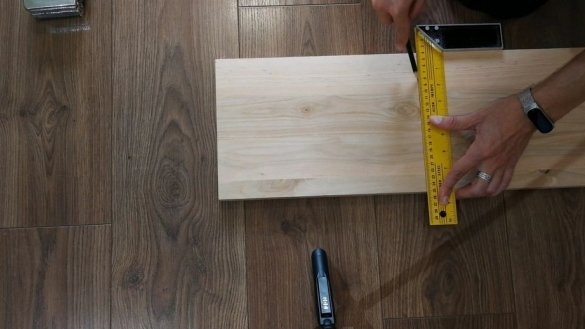
First, the author cut the board into shelves measuring 300x200 mm. Then he polished every detail from all sides. After he folded the parts on the floor in the shape of the proposed headboard.
Step 2
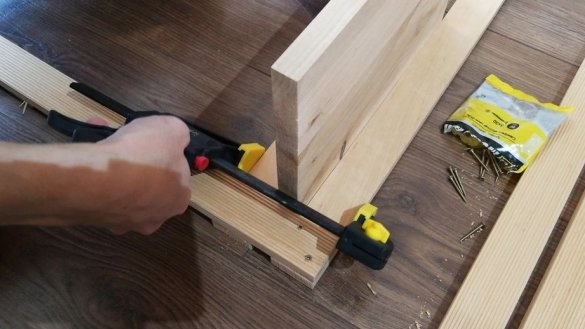
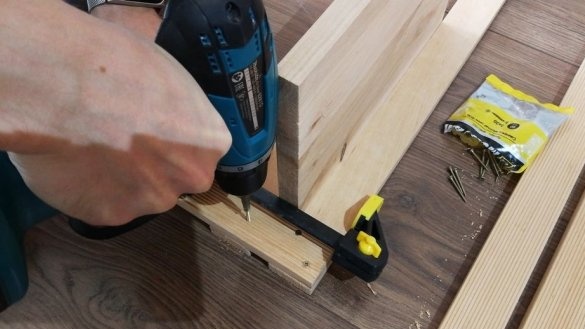
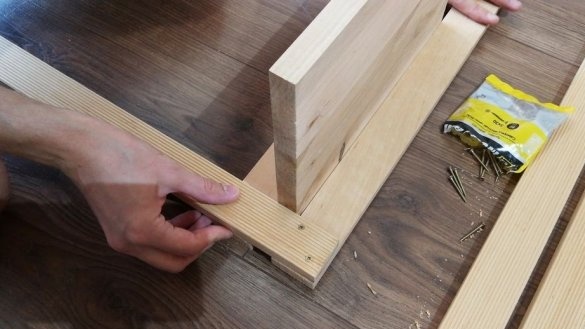
At this stage, the author sawed one bar into three workpieces 565 mm long. Then he laid out two long bars on the floor and placed a shelf between them. Attaching a short blank connected the parts with screws.
Step 3
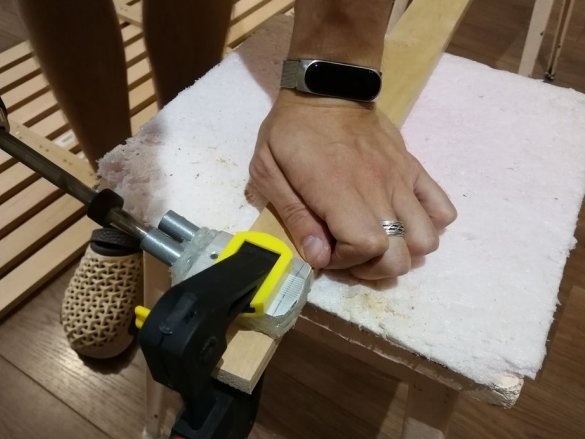
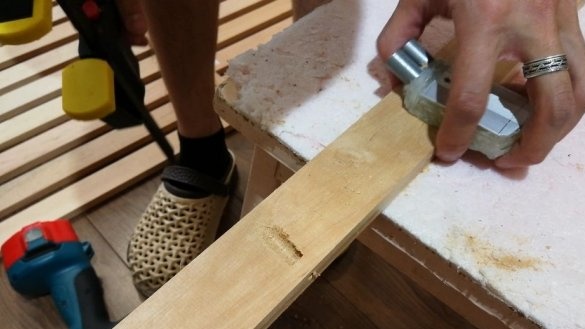
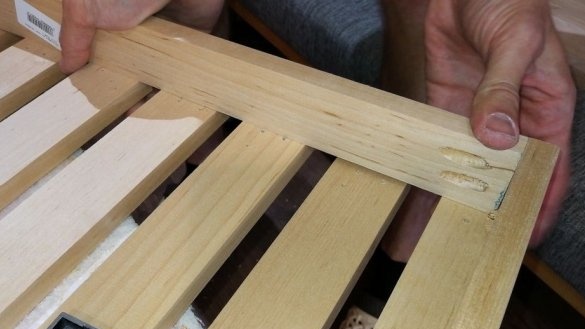
Before continuing with the assembly of the headboard, the author made a template for drilling holes at an angle of 45 degrees. With the help of him, I drilled holes in the necessary details.
Step 4
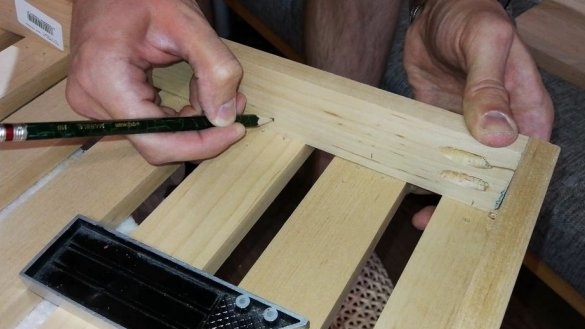
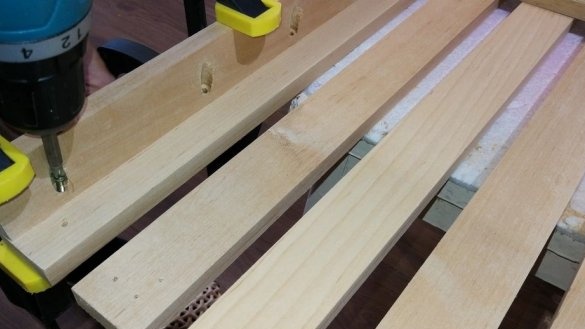
After everything was prepared, the headboard shield was assembled, drilling the necessary holes in the place.
Step 5
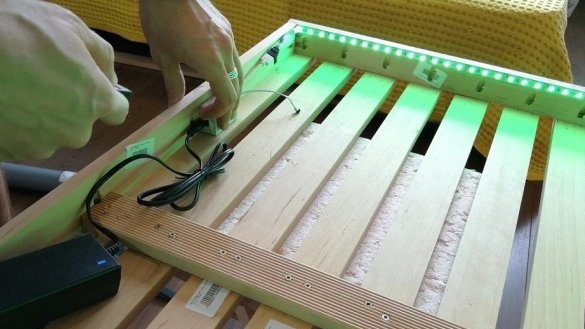
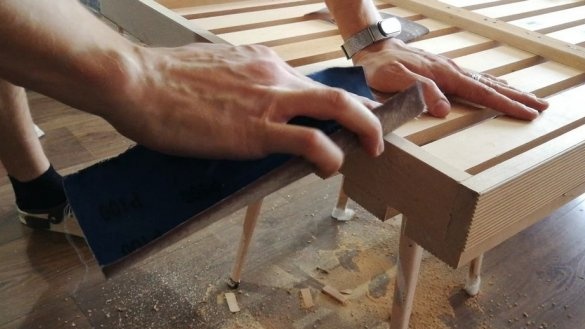
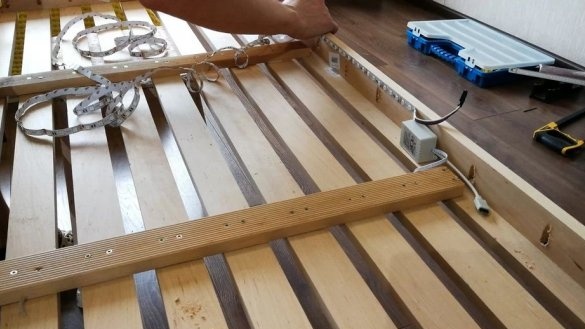
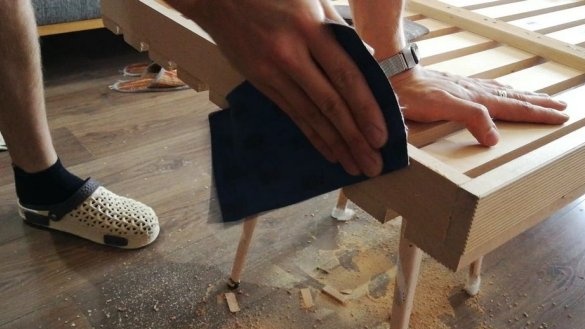
When the base was assembled, the author carefully worked out all the surfaces with sandpaper and fixed the LED strip on the sides from the inside. For this, he used a thermal gun.
Step 6
At the final stage, the author needs to fix the finished headboard on the wall, place the shelves in the desired sequence and connect the backlight.
That’s all for me.
To properly understand the manufacturing process of this homemade product, I recommend watching the video.
Thank you all for your attention!

