

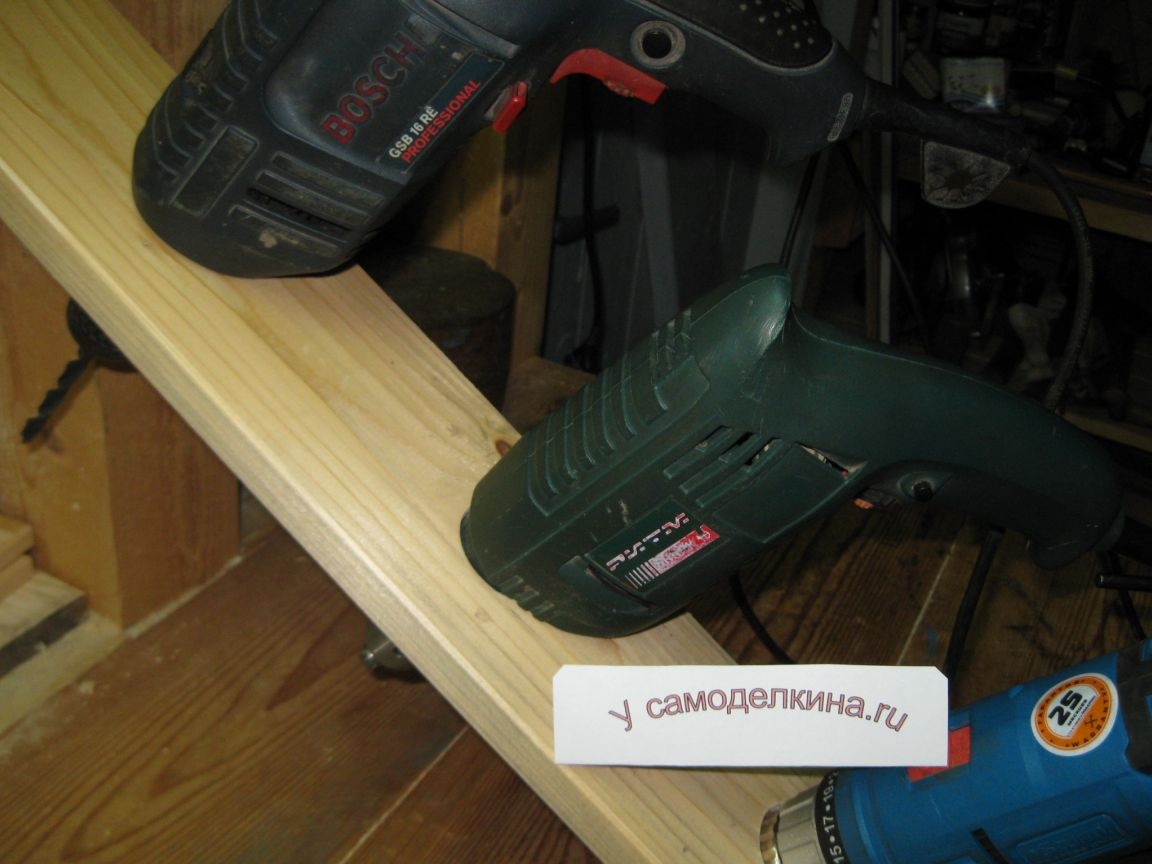
A fairly simple to manufacture and quickly mounted on a workbench stand, on which you can put three drills at once.
When working on various homemade, often you have to use a tool such as an electric drill. Moreover, we can say that among all the tools, an electric drill is perhaps the most frequently used tool.
Indeed, in almost every homemade product, it is necessary to drill holes of different diameters, and if we are talking about homemade products from wood, then it is impossible to do without a drill. Indeed, in the manufacture of wooden parts, it is often necessary to drill holes in a wide range of sizes, from small ones with a diameter of several millimeters to large ones with a diameter of tens of centimeters.
A wide range of different drills is used. This includes metal drills and twist drills for wood, as well as feather drills for wood, Forstner drills, hole saws (crowns) for wood, etc. In addition, when working with wooden parts and workpieces, you often have to use another tool, which is also clamped into the drill chuck.
This includes various milling cutters for wood, for example, for countersinking holes for countersunk screw heads, grinding nozzles, as well as bits for screwdriving, as many modern drills, in addition to the drilling function, also combine the function of a screwdriver.
However, when working with such a variety of drills and other similar tools installed in the drill chuck, it is often very inconvenient to use just one drill. Indeed, in this case, you have to constantly change the tool in the drill chuck, for example, by drilling several holes of the same diameter, rearrange another drill in the chuck to drill holes of a different diameter. And then, in general, you have to install some kind of milling cutter or, say, a screwdriver bit in this cartridge in order to connect the wooden parts with the help of screws.
Thus, I have long ago come to the conclusion that in this situation, it is much better and more convenient to use several drills at once.In this case, a drill of one diameter can be installed in one drill, another drill of a different diameter or, for example, a spherical cutter for countersink holes, and a screwdriver bit for assembling finished wood parts with screws can be placed in another drill.
Due to this, it will not be necessary to change the tool every time in the chuck of a single drill, which will significantly save time and effort (and nerves, too) when working on homemade products. Moreover, at present there are practically no problems with the possibility of using two, three or even more drills at the same time, since almost every modern master, as a rule, has several drills in the household, either wire or cordless cordless drills and screwdrivers.
However, when using several drills simultaneously, there is a big problem of convenient placement of these drills on a workbench. This is especially true for wire drills, that is, those that are connected to the mains. It is quite inconvenient to work with a large number of such drills, and the wires interfere greatly.
That is why, I decided to make myself a special stand on a workbench, on which three drills could be installed simultaneously. At the same time, drills should be compact enough and rationally placed on such a stand so that they are always at hand, and it was convenient to use them during operation.
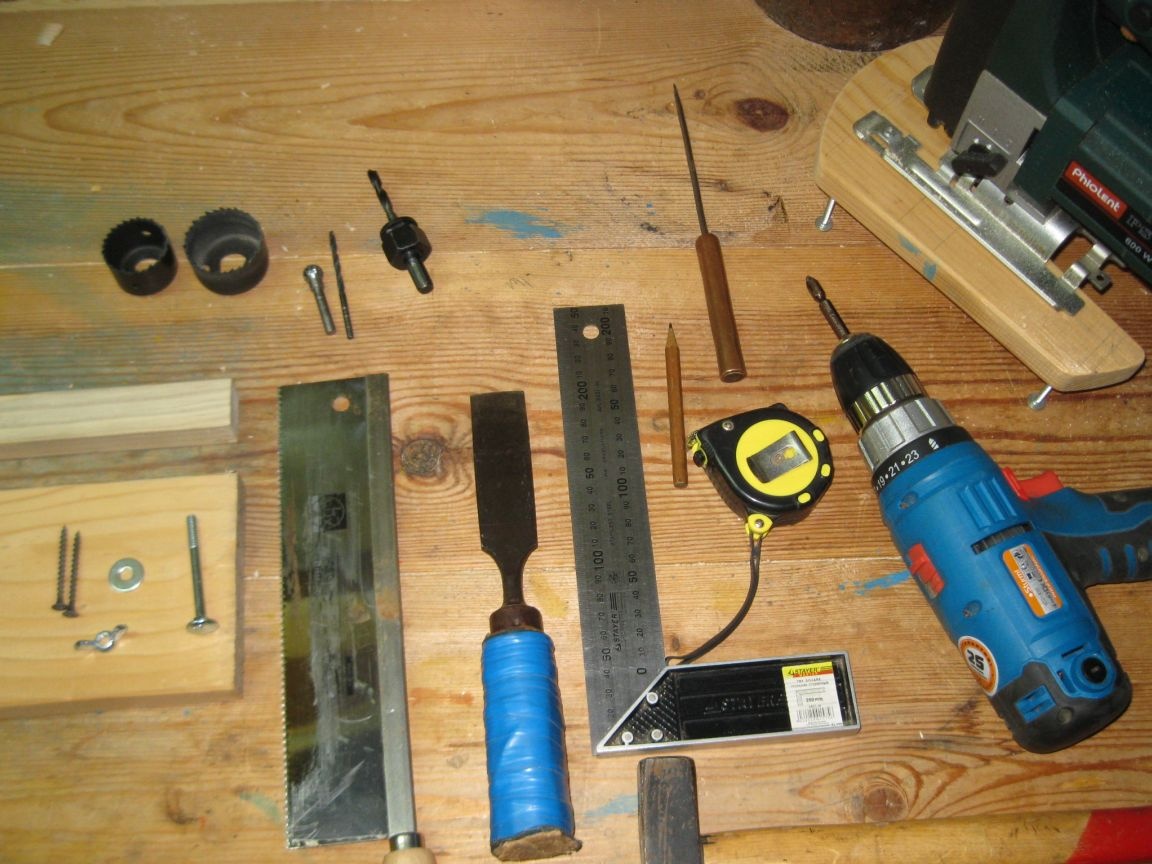
To make such a stand, I needed the following accessories:
Materials and fasteners:
• A section of a board 2 cm thick, 12 cm wide, and 70-80 cm long.
• Wooden block 2.5 cm thick, 3 cm wide, and about 20 cm long.
• Furniture bolt M6, length 65 mm, with washer and wing nut.
• Two wood screws 4x50 mm.
Instruments:
• Drawing and measuring tools (pencil, tape measure and square).
• Awl.
• Electric jigsaw with a file for a figured cut.
• Electric drill / screwdriver.
• Drill for metal with a diameter of 4 mm.
• Set of hole saws for wood with a centering drill.
• Spherical wood milling cutter.
• Hand saw with a small tooth.
• Chisel with a width of 30-40 mm.
• Hammer.
• Screwdriver bit PH2, for screwdriving.
• Sandpaper.
The procedure for making the stand.
Stage 1. Making a wooden part for attaching the stand to the wall.
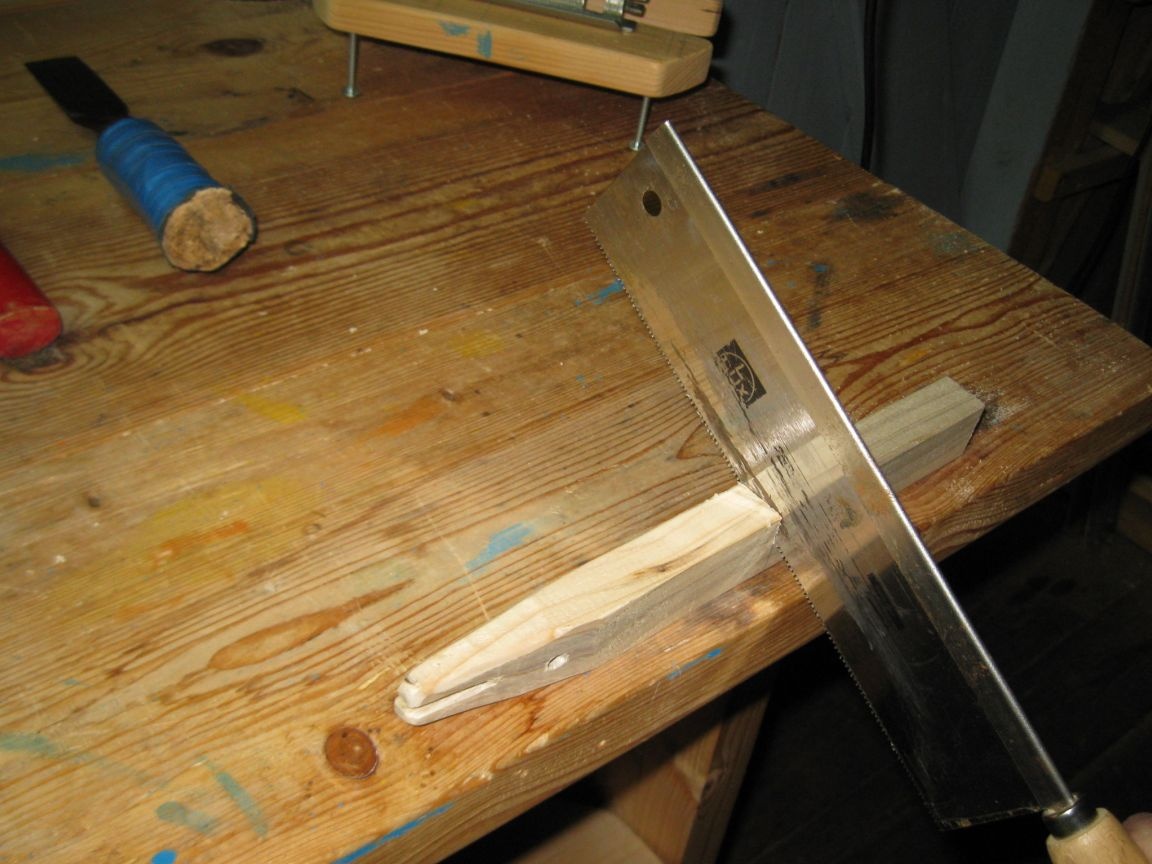
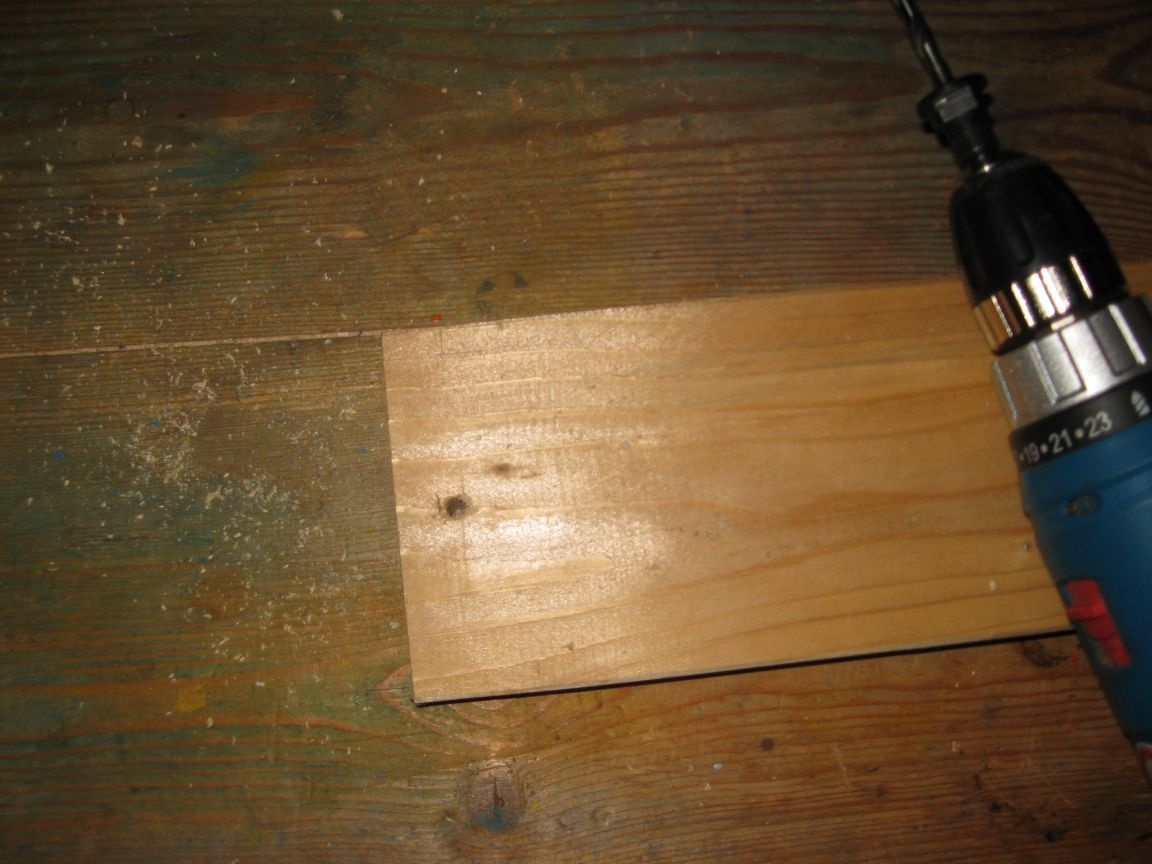
Step 1. Sawing the workpiece at an angle.
Using a saw with a small tooth, we make an oblique cut in a bar.
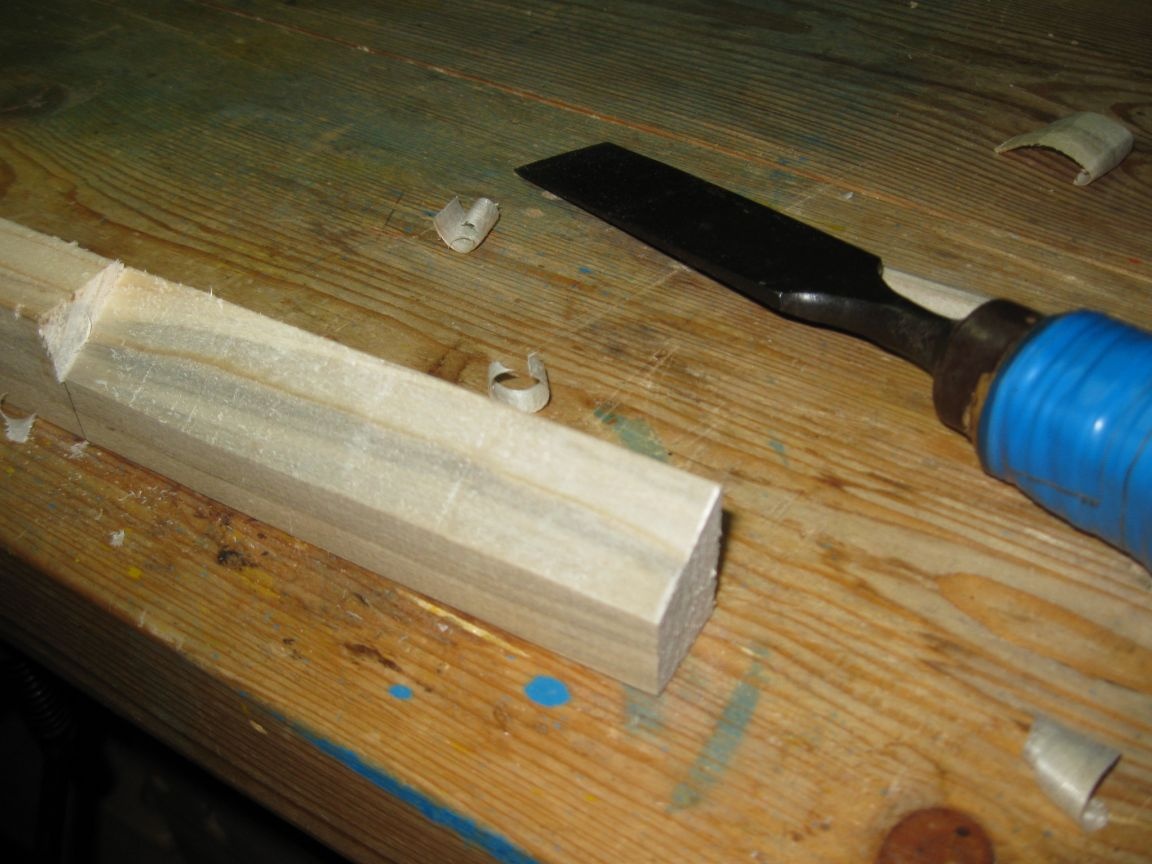
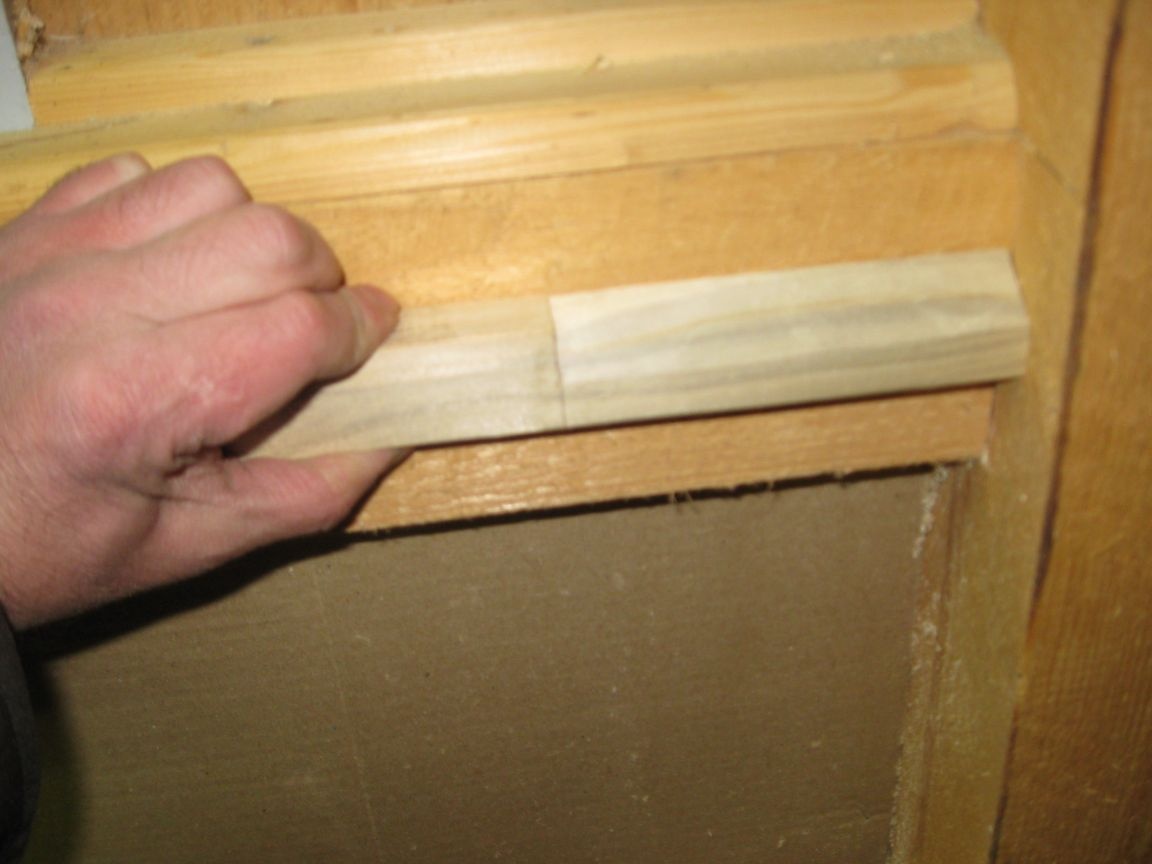
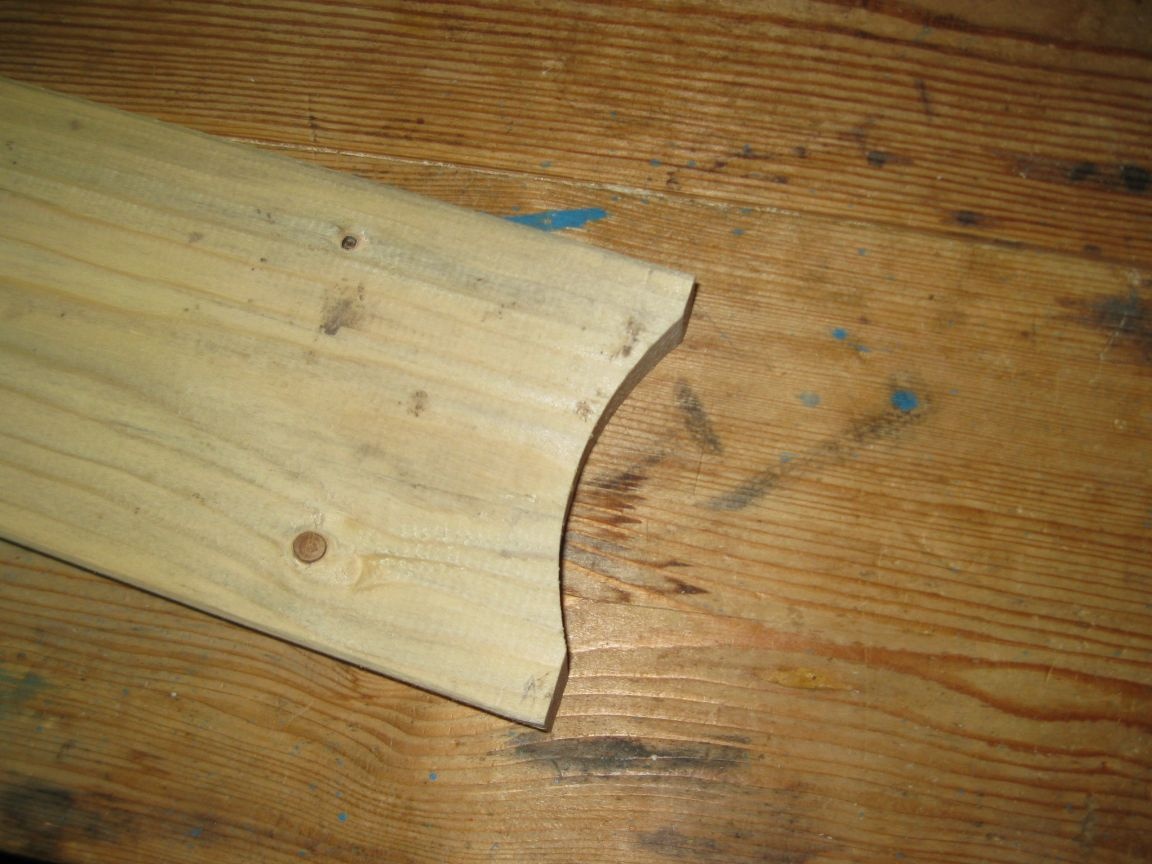
Step 2. The formation of the oblique surface of the workpiece.
Using a wide chisel and a hammer, we cut the wood at an angle from the upper part of the workpiece, starting from its end to the cut itself, thus forming an oblique surface along the workpiece.
After that, we try on our workpiece to the beam on the wall, to which it will be screwed with screws.
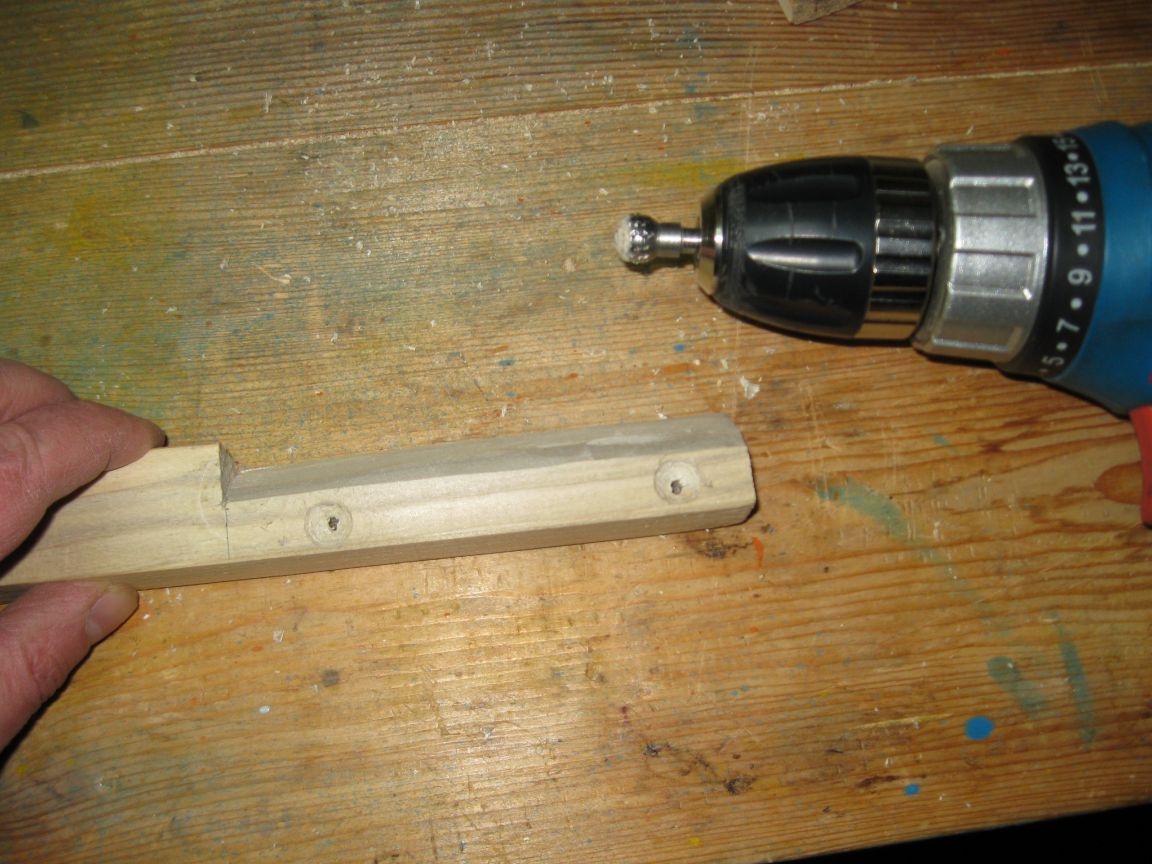
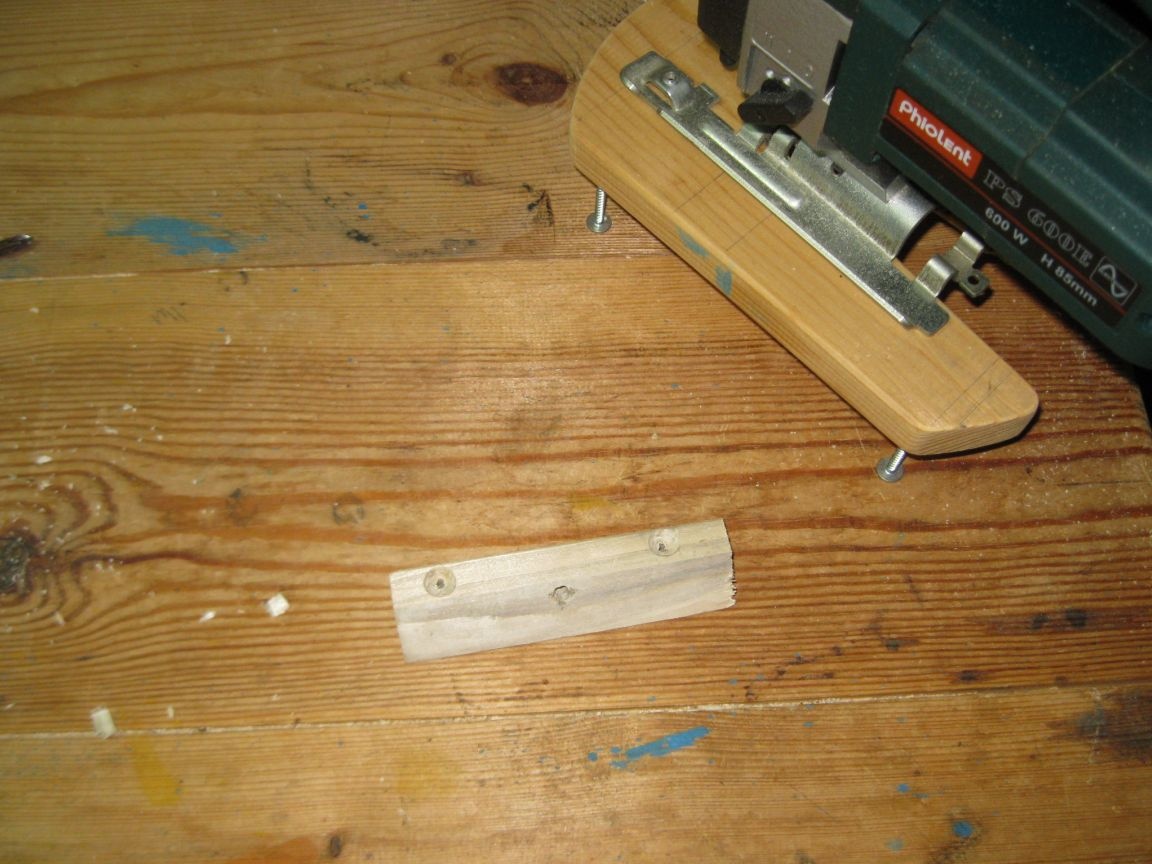
Step 3. Drilling and countersinking holes for screws.
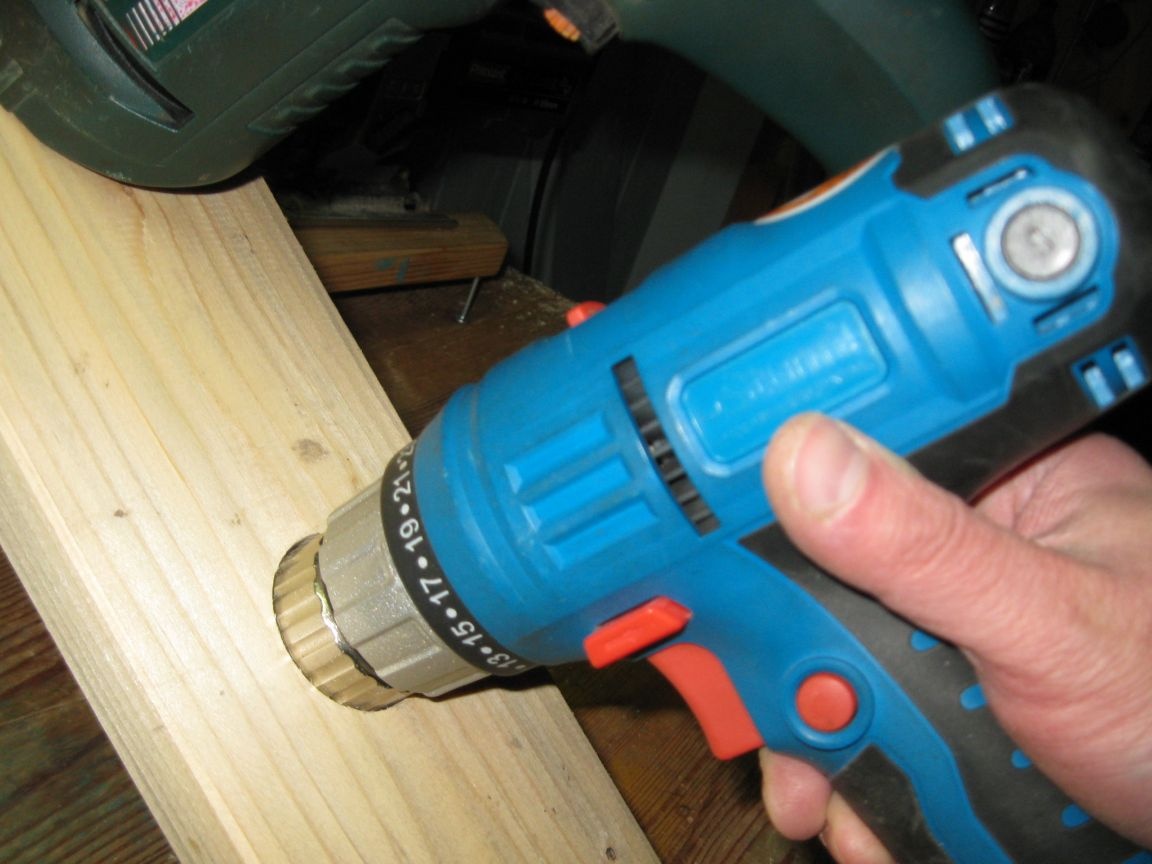
We drill holes at the edges of our workpiece with a diameter of 4 mm, under the screws.
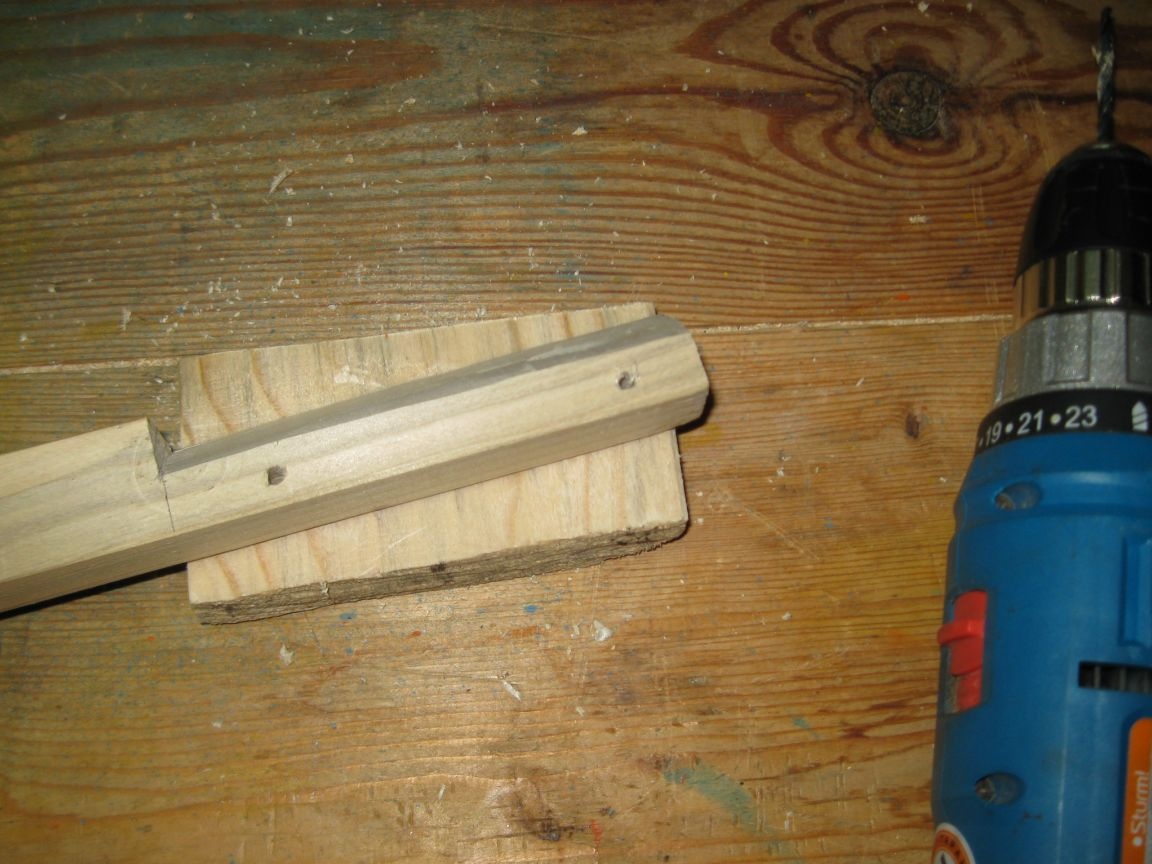
And then countersink these holes for countersunk head screws using a spherical milling cutter on wood.
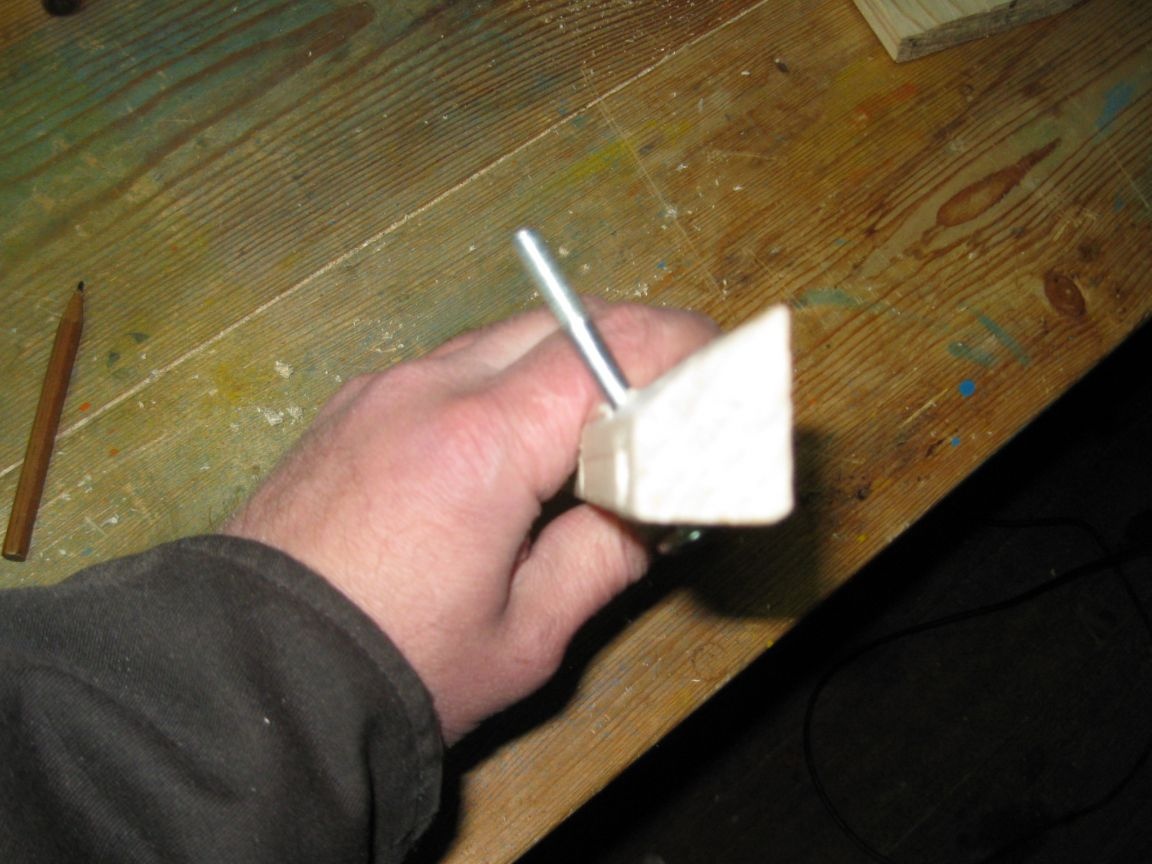
Step 4. Drilling an oblique hole for a furniture bolt.
We drill in the center of our workpiece, a slanting hole with a diameter of 6 mm, under the furniture bolt. The longitudinal axis of this hole should be perpendicular to the oblique surface of the workpiece.

Then insert the bolt into the hole, checking how accurately it is drilled.
Step 5. Sawing off the finished part from the workpiece.
Using an electric jigsaw, we saw off our part from a bar.
Step 6. Fixing the part to the wall.
Lightly process the resulting part with sandpaper and fasten it to the wall, at a pre-selected location, without forgetting to pre-insert a furniture bolt into the hole.
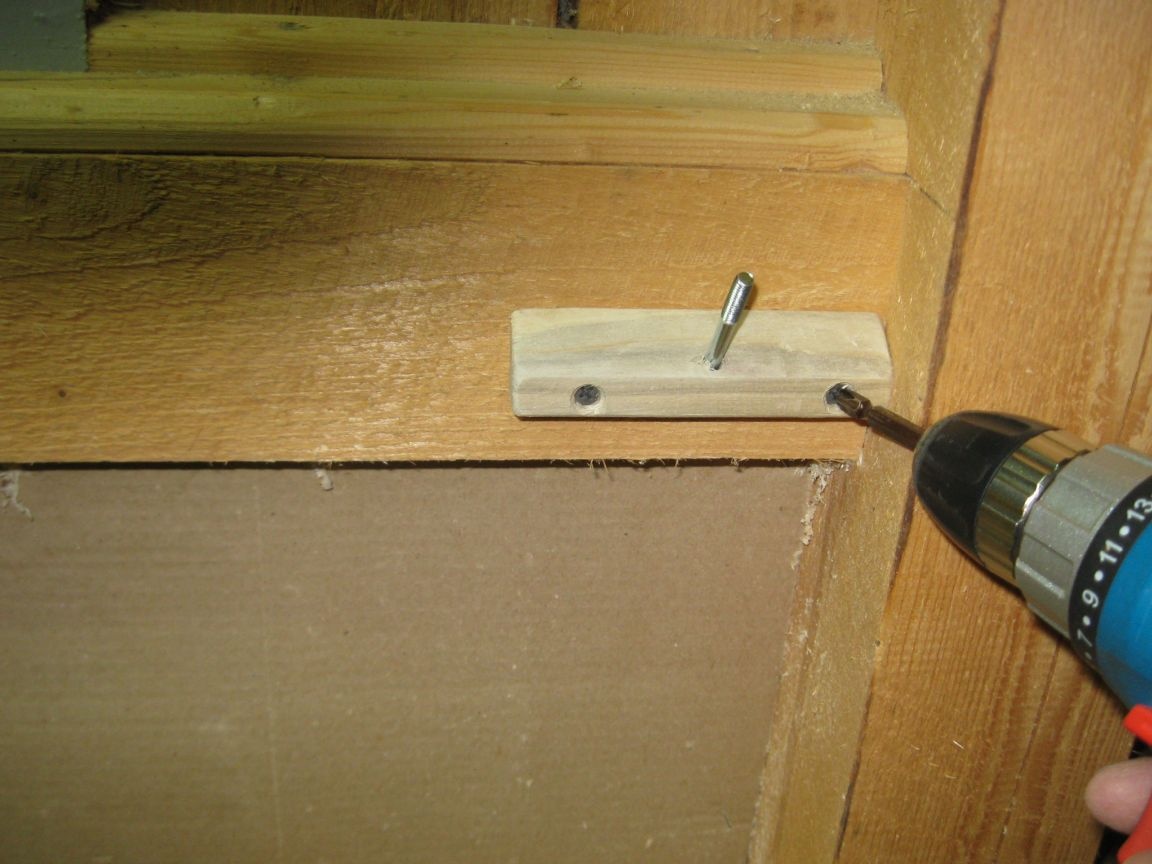
We install a washer and a wing nut on a furniture bolt.
By the way, in addition to the washer and nut, I put on a bolt just such a spring, which I found among my stocks of different parts.
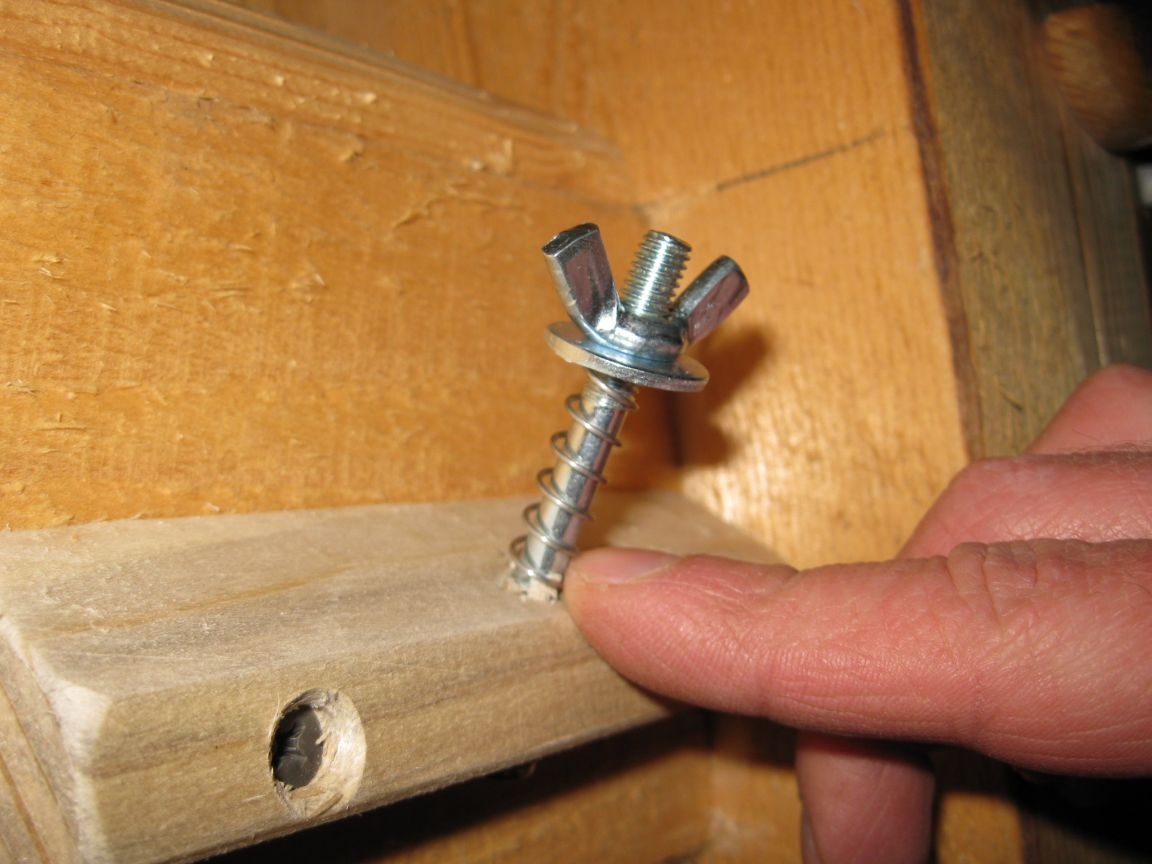
Thanks to such a spring, the washer will always be in the upper position, which will greatly facilitate and simplify the installation of the drill stand itself.
Stage 2. Making the stand itself.
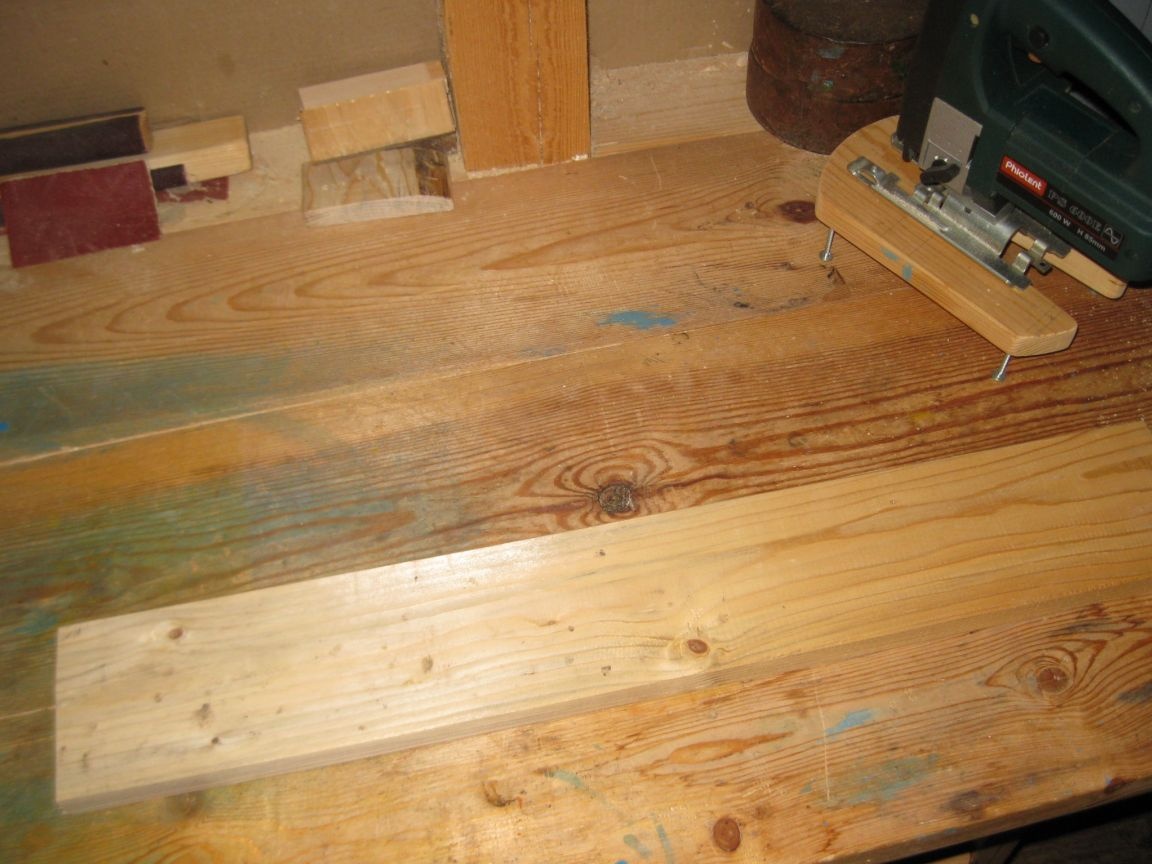
Step 1. Marking and sawing boards.
We mark the board and using a jigsaw we saw off a piece of the board of the length we need under the workpiece stand. I have a workpiece length, it turned out to be approximately 70 cm.
Step 2. Drilling a hole for attaching the stand.
Having retreated about 2.5 cm from the end of our workpiece, we drill a hole with a diameter of 6 mm in the center.
Step 3. Sawing a groove.
Using a jigsaw, saw through a groove from the end face of the workpiece to the previously drilled hole.

This groove will be used to mount our stand to the wall above the workbench.
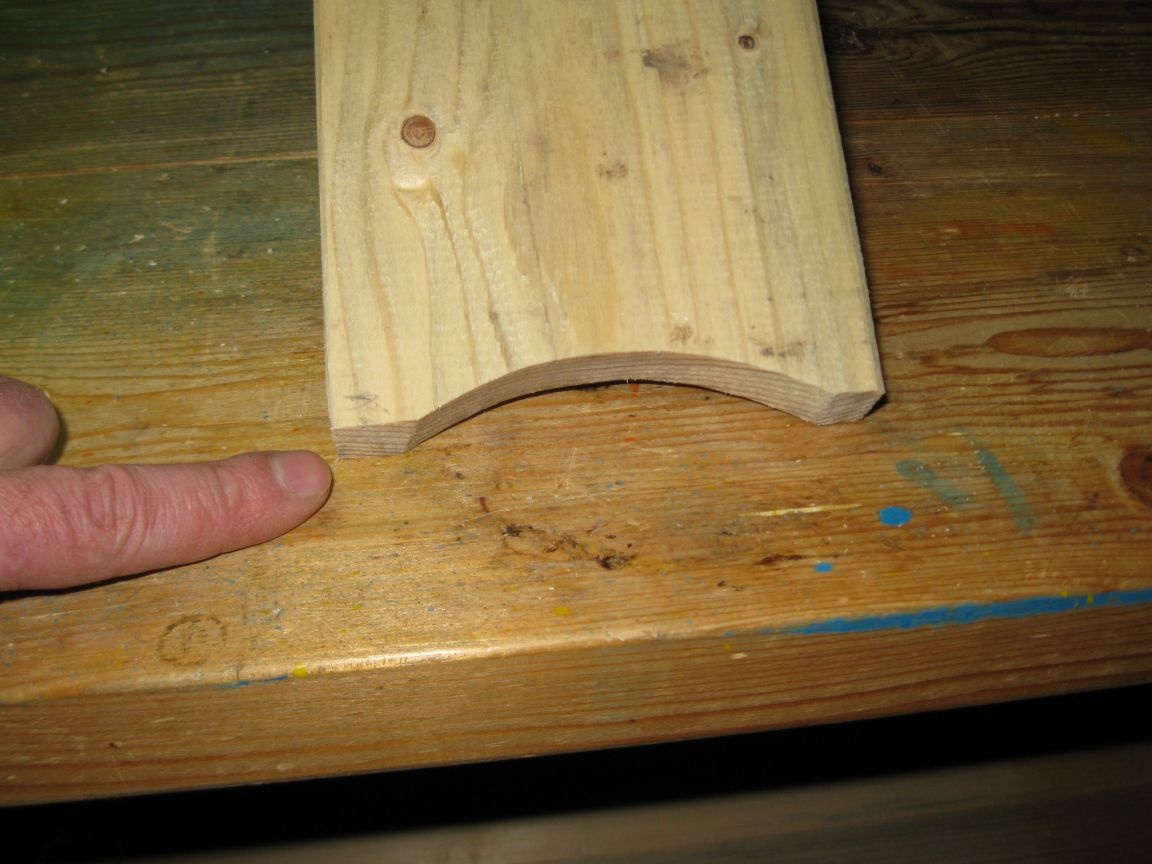
Step 4. Sawing the arc cut.
In order to make our stand more stable on the workbench, we saw it on the opposite end of our blank board, here is such an arc cut-out.
Now, by the way, you can check whether we did everything right. To do this, take our workpiece and bring it with a slotted groove to the furniture bolt, which is located in the part screwed to the wall.
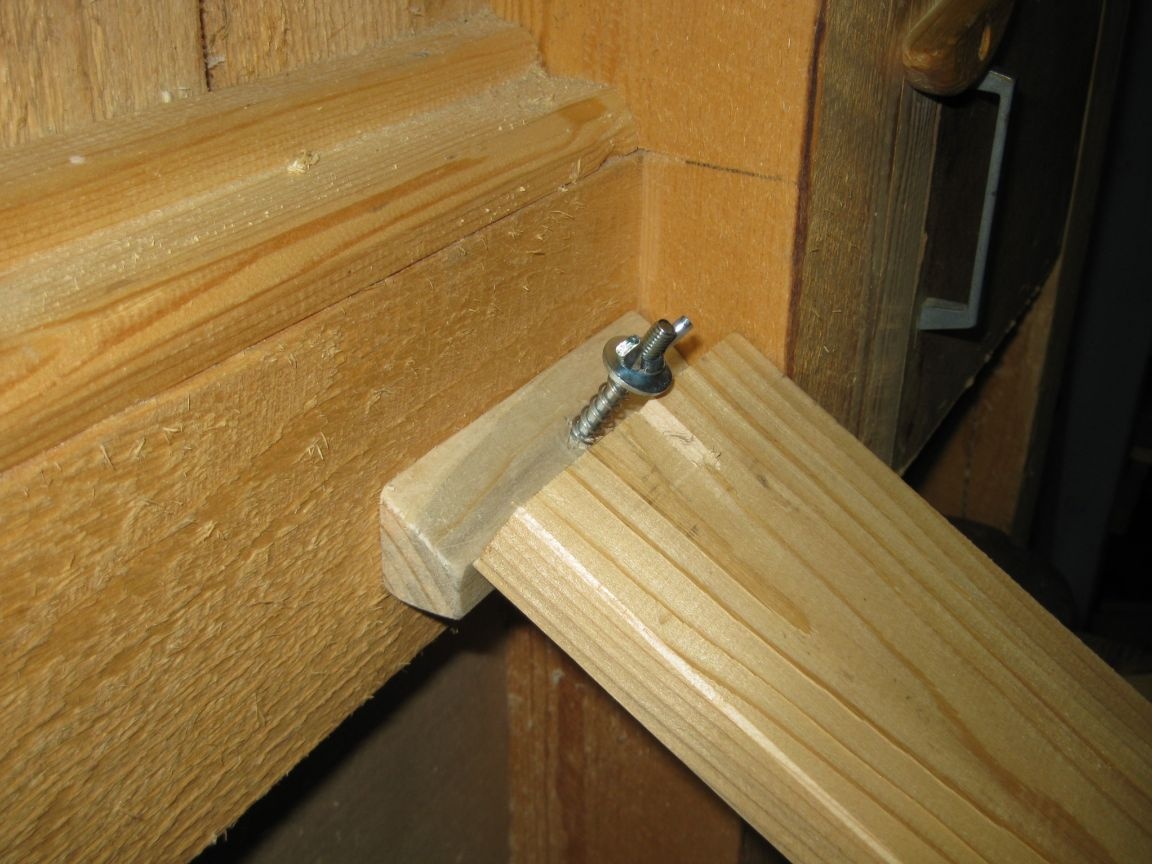
Then we push the groove over the furniture bolt and clamp the wing nut.

And now our stand is in working position.
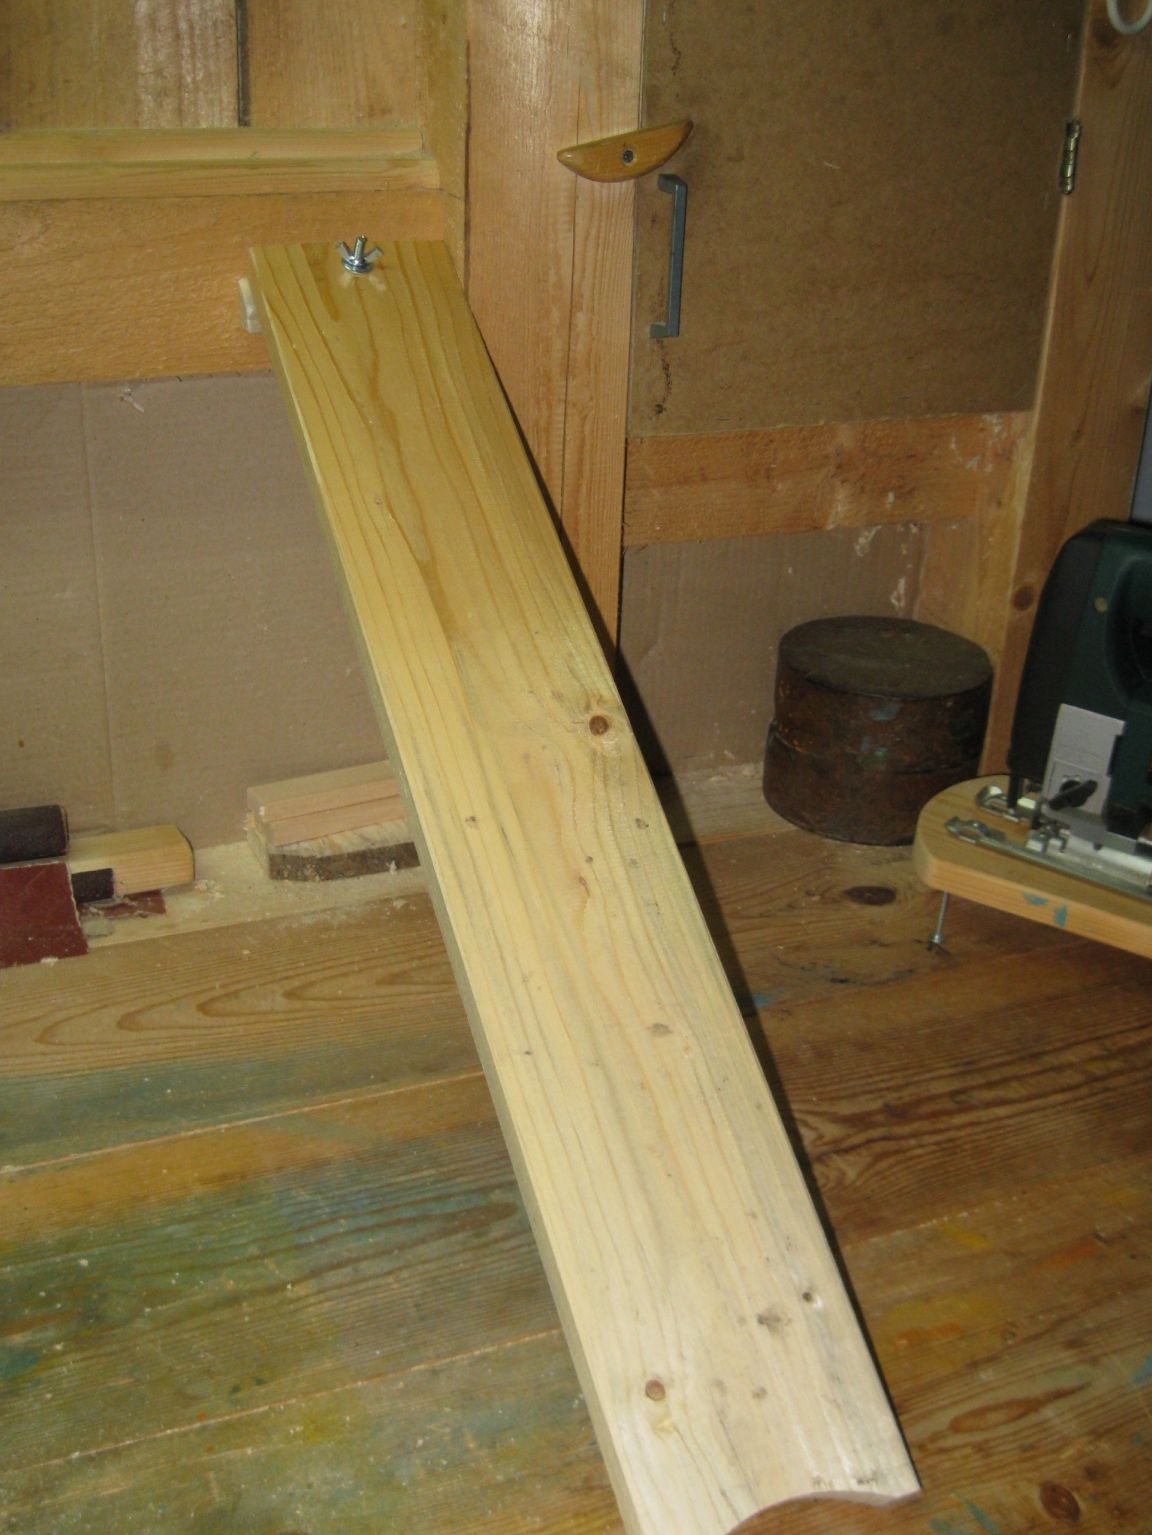
As you can see, one of its ends is attached to the wall, and the other just stands on a workbench. Moreover, thanks to the arc cutout from the bottom of the stand, it stands on the workbench quite stable and does not require additional fastening from the bottom.
Step 5. Sawing holes for installing drills.
We select a suitable circular saw for the diameter of the tree and saw through it with three holes in our stand for installing drills.
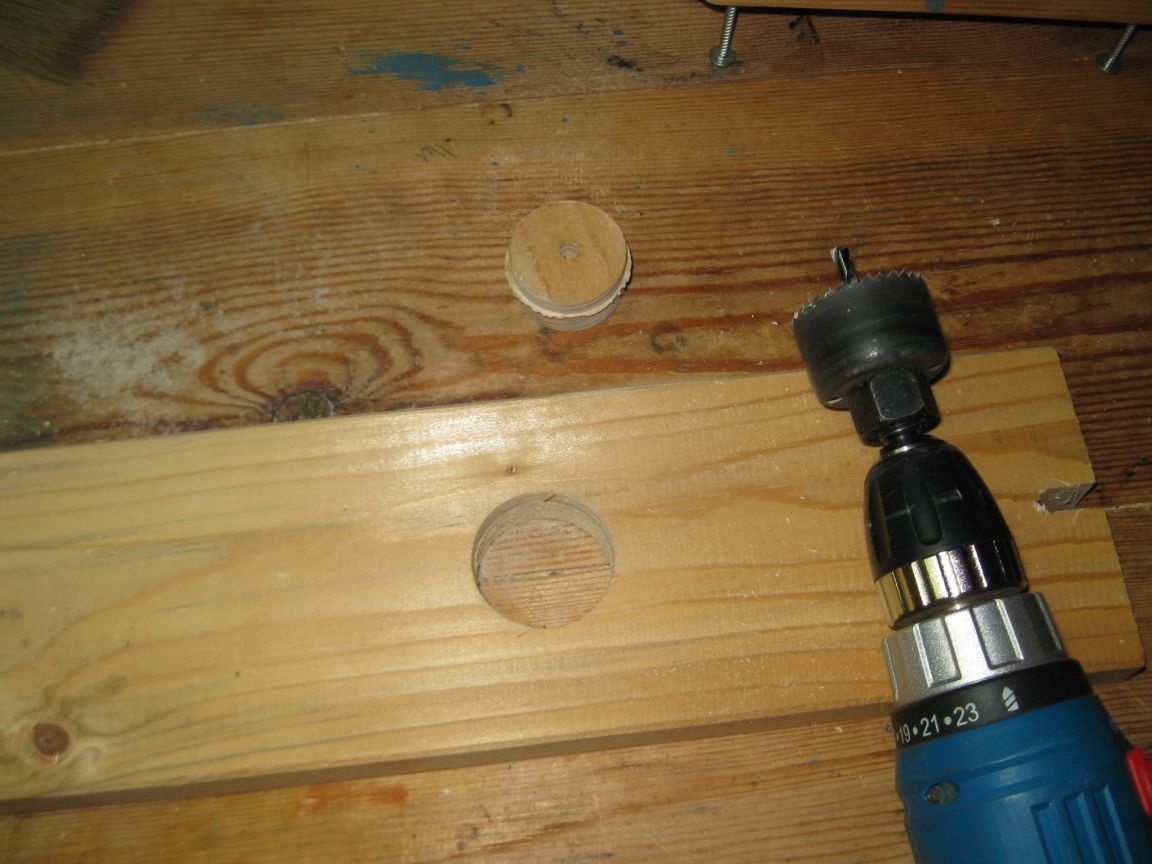
Since the necks of drills have a diameter of 43 mm, it is best to cut a hole with a diameter of 44 mm for sawing these holes.
And now all three holes are ready.
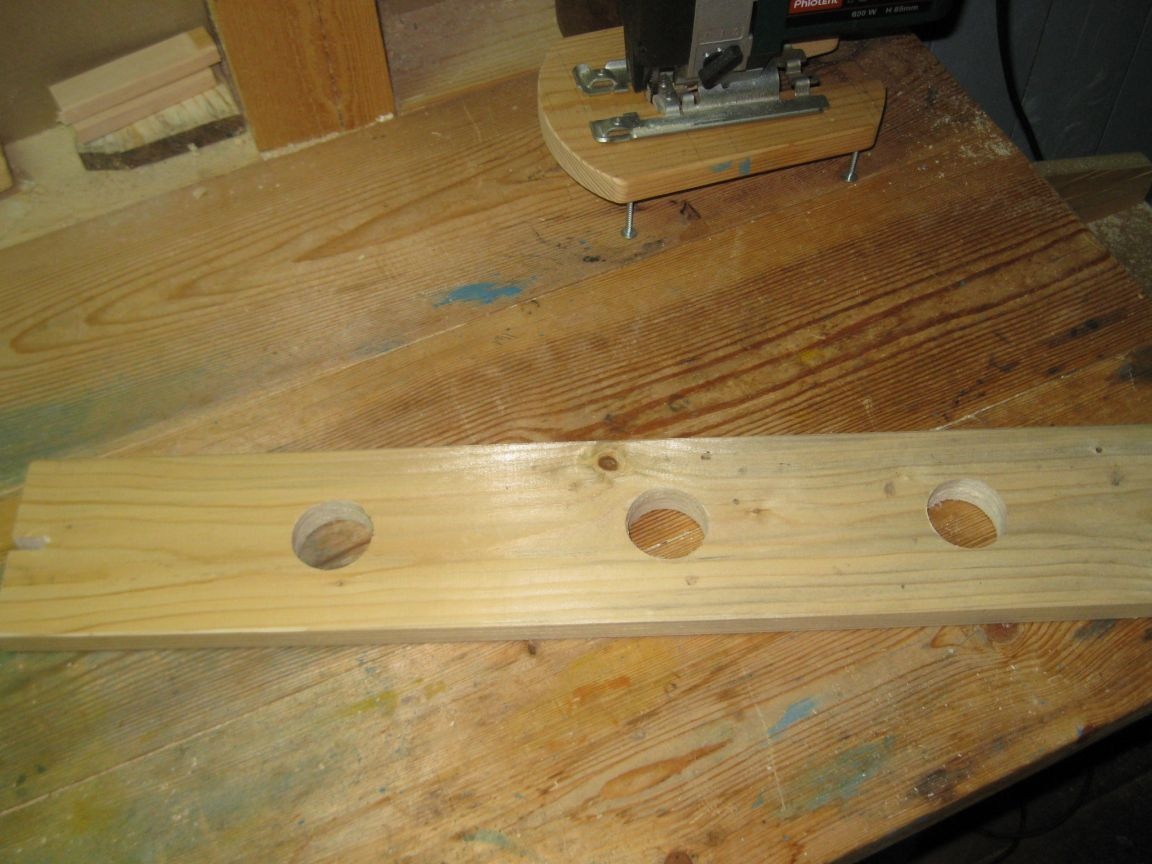
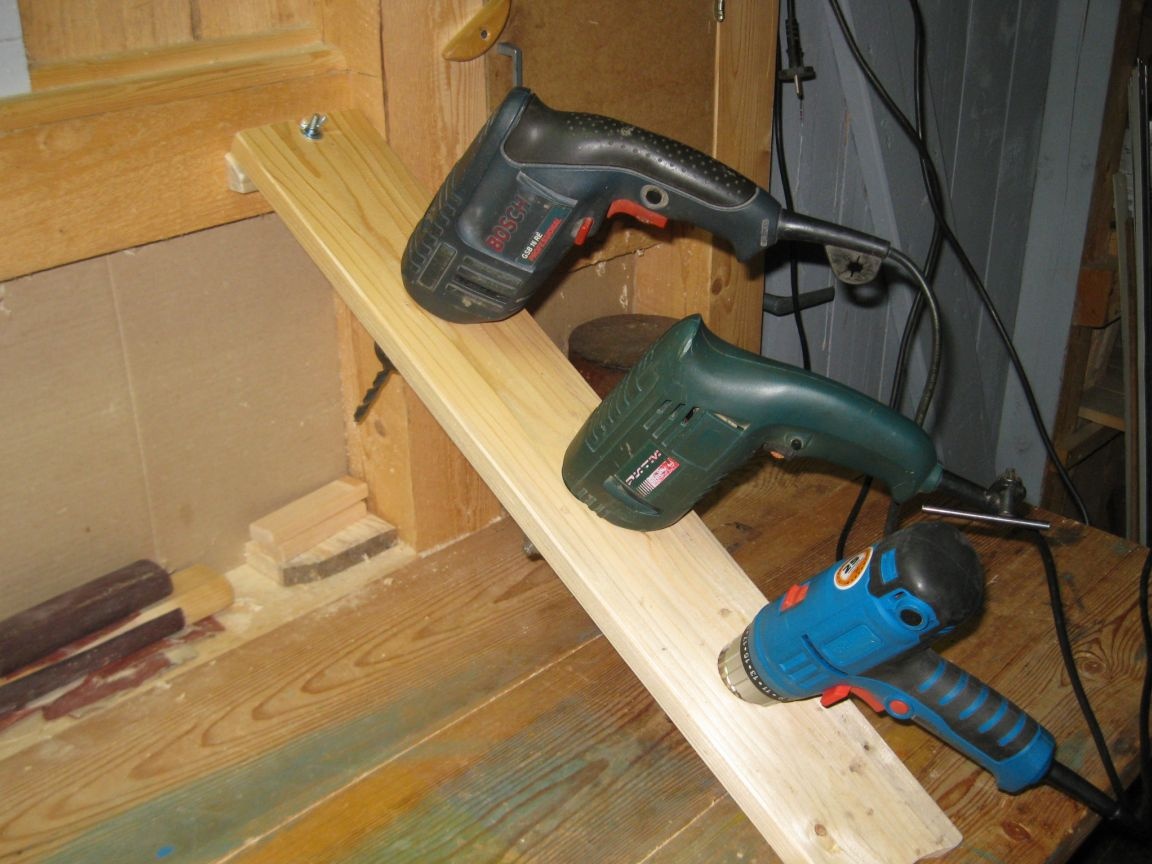
Now set our stand in working position and see how the drills will be inserted into it.
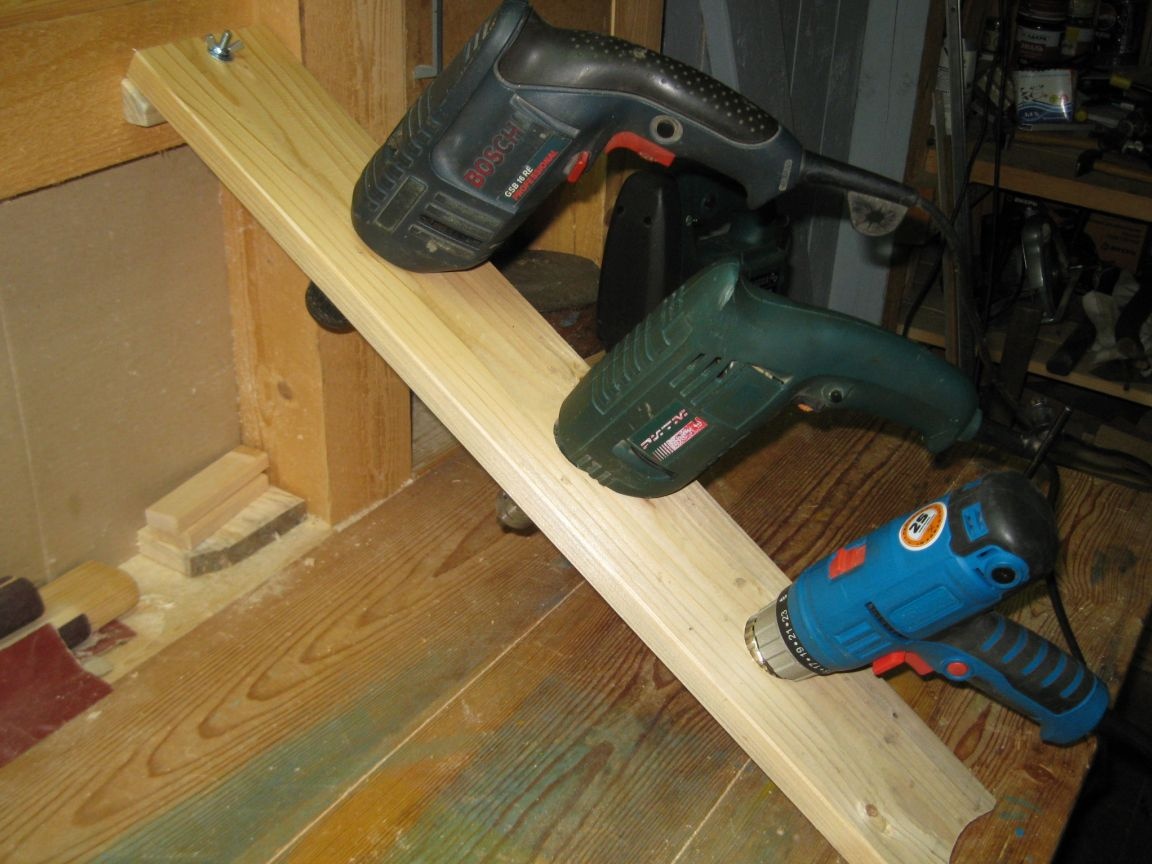
As you can see, all three drills are inserted perfectly. The only drill screwdriver has a slightly different neck configuration due to its design, but its chuck is normally inserted into the hole sawn in the stand.
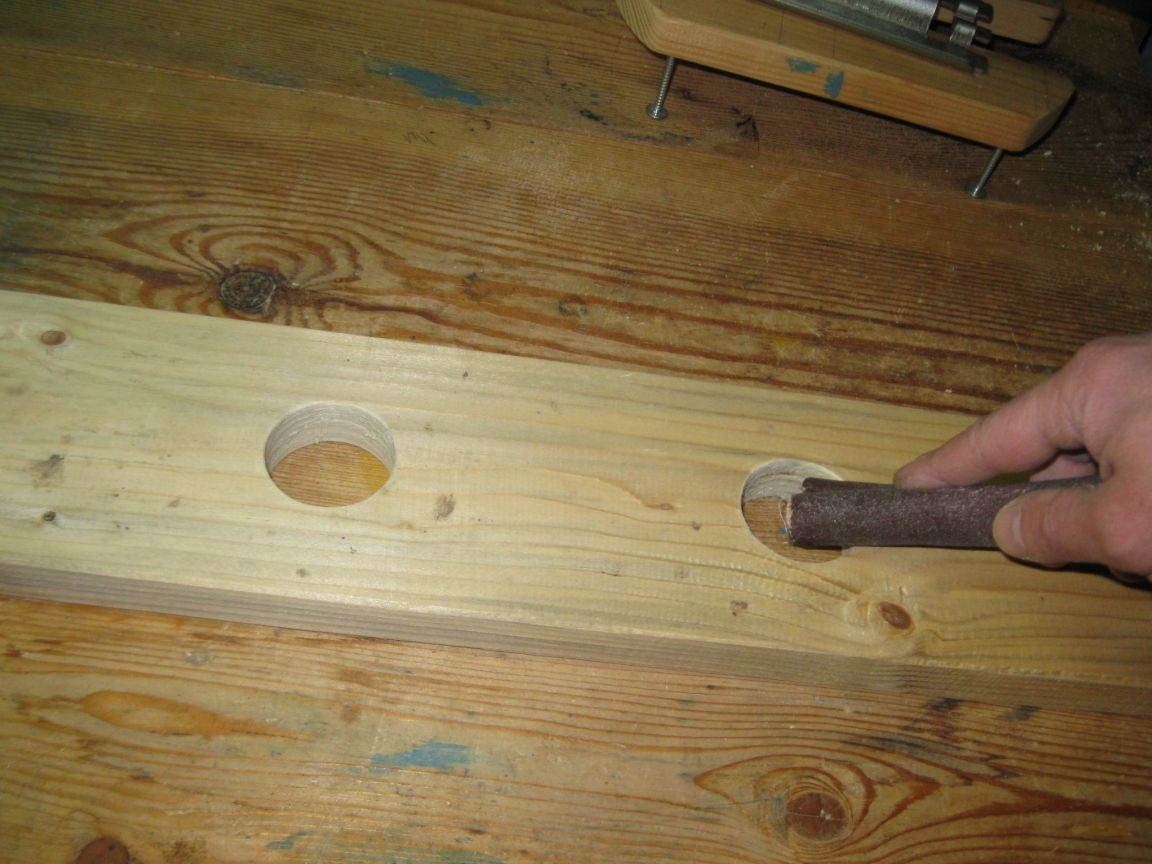
Step 6. Finishing the stand.
We remove the stand and finish it with sandpaper. Including, we process holes for drills.
And now our stand is finally ready!


Now set it to its working position.

And we insert drills into its holes.
Here is a view of this stand in working position from different angles, with drills installed in it.
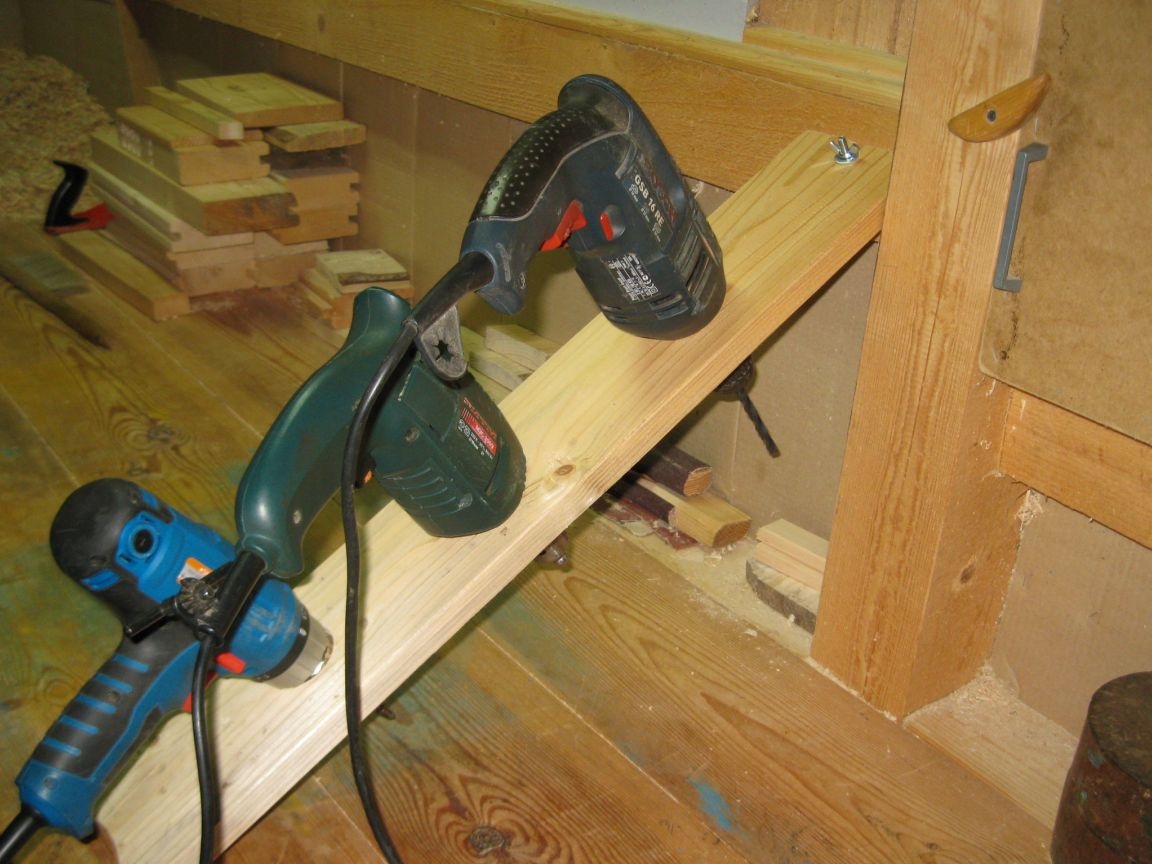

I must say that this stand was very convenient. Firstly, it is installed very quickly, that is, it is attached to the wall above the workbench and is removed just as quickly. Secondly, the drills in it are located directly under the right hand in a very convenient - inclined position. Well, and thirdly, the drills are very easy and convenient to pull out of such a stand and put back.
Now, thanks to such a stand, working on complex home-made products in which you need to drill many holes of different diameters will become much easier and faster.
As I noted above, it will be possible to insert the necessary tool into each drill, for example, into one drill, into another spherical mill on a tree, and into the third - a screwdriver bit.


And thus, you do not have to change the tool every time in the process.
Well, in conclusion, I want to note that, as it turned out, in such a stand you can not only hold the tool during operation, but also store it.
The fact is that if after work, remove this stand from the workbench and fix it in a horizontal position somewhere on a suitable shelf of the tool rack, you can insert the same drills into it and store them in this position.

In this position, the drills will take up much less space on the shelf than when lying down, and it will be much more convenient to take them for work. So I’ll also think about how to fix this stand on the tool rack and store the drills directly in it.