Cool, and at the same time budget, refinement for home drilling machines.
He made this revision in March and is very pleased with her. Therefore, I can recommend it to you.
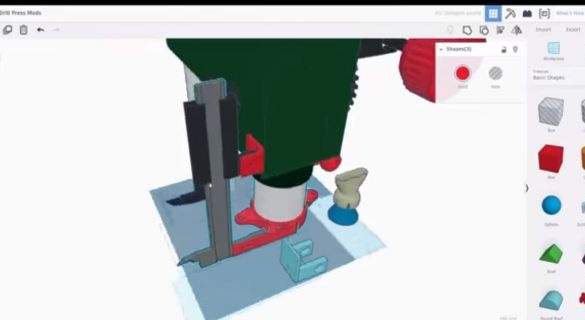
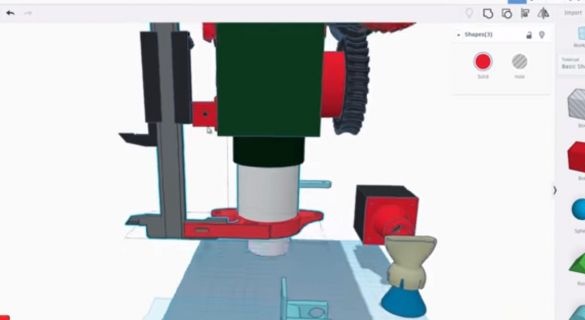
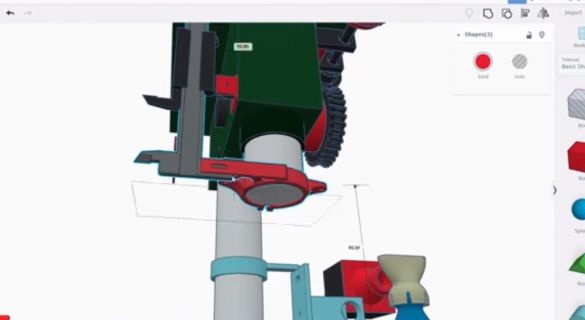
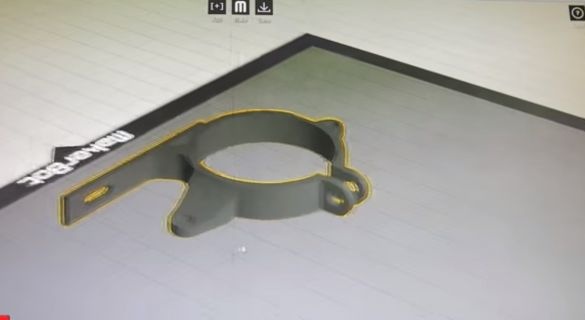
Starts by creating a 3d model, he will need to prepare only 2 elements:
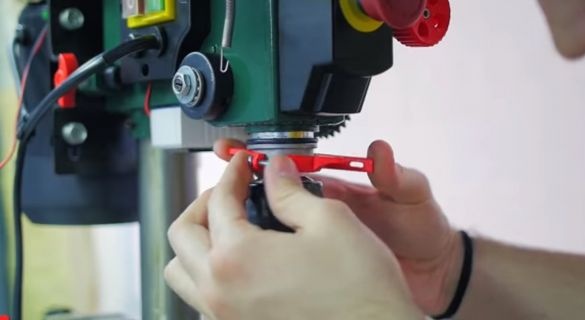
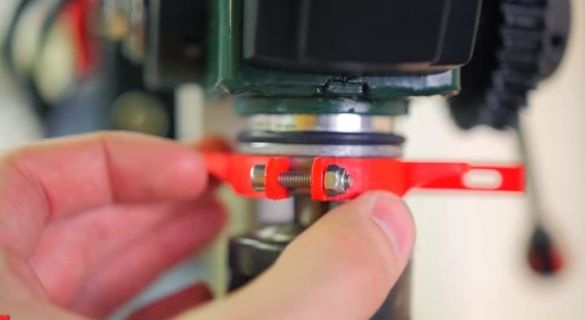
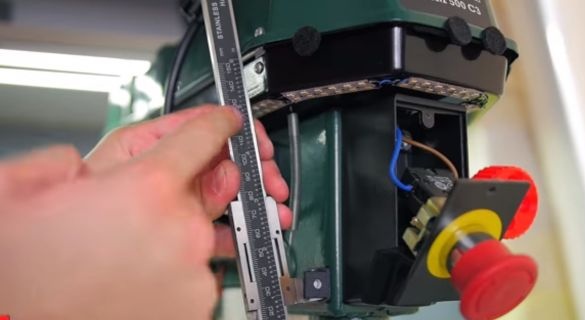
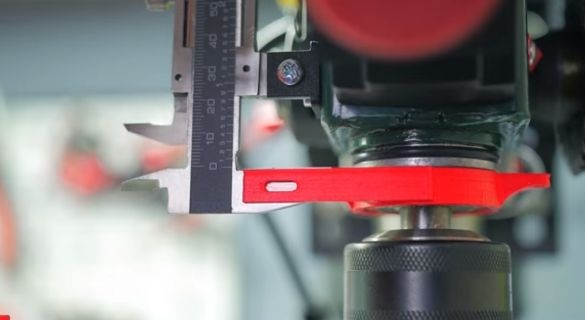
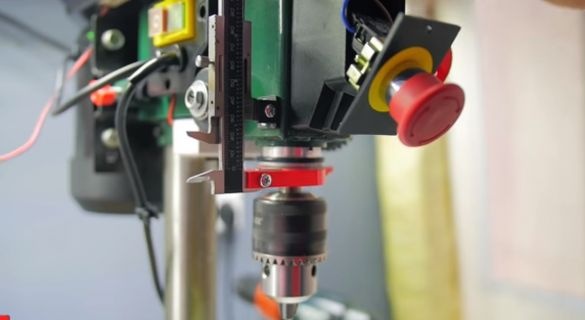
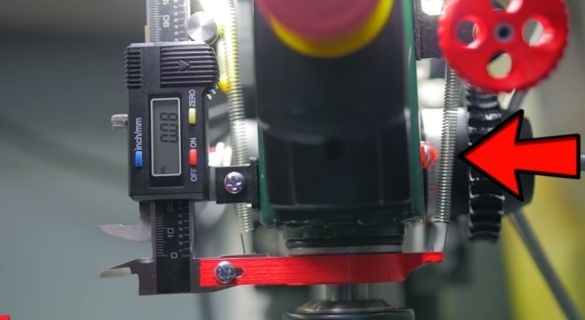
1 Caliper holder, which is located on the spindle guide.
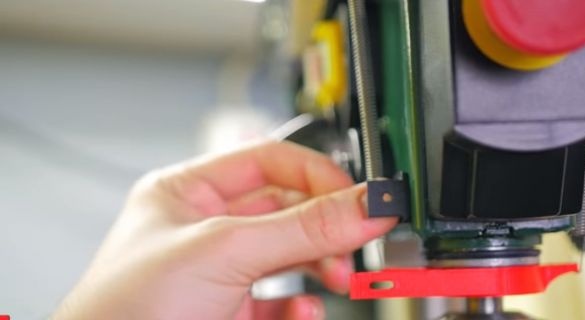
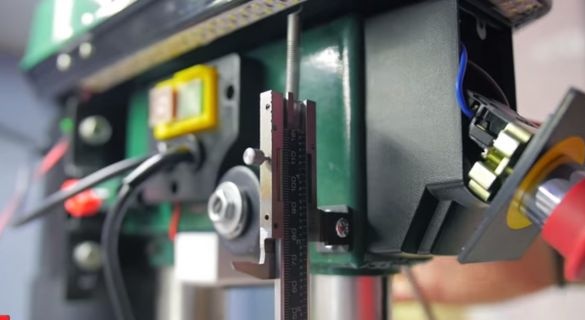
2 A return eye which is fixed directly on the machine.
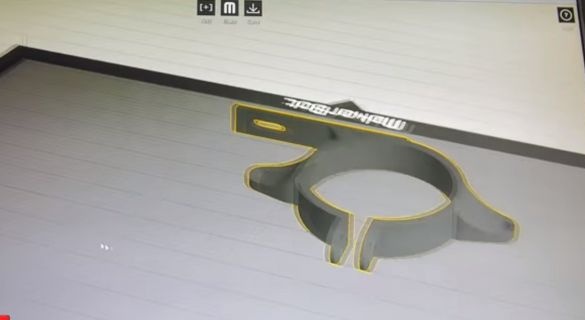
Modeling he exercises at TinkerKad. Unfolds in Makerware
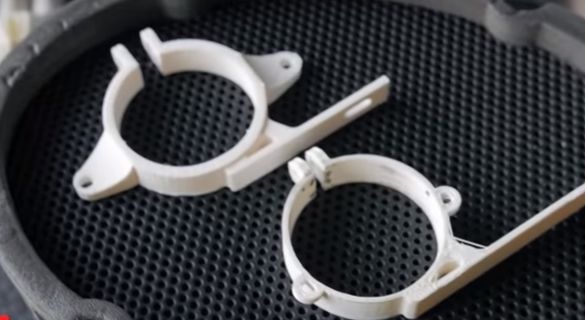
And prints on a 3D printer using PLA plastic.
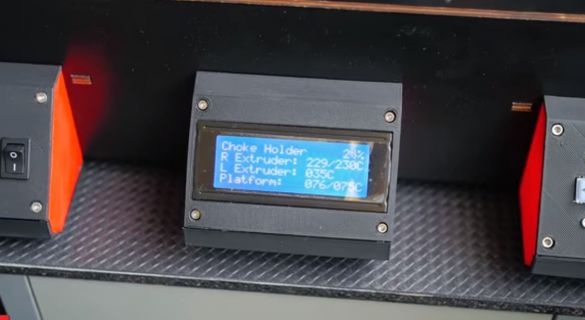
Settings are visible on the screen.
Items are small and print fast.
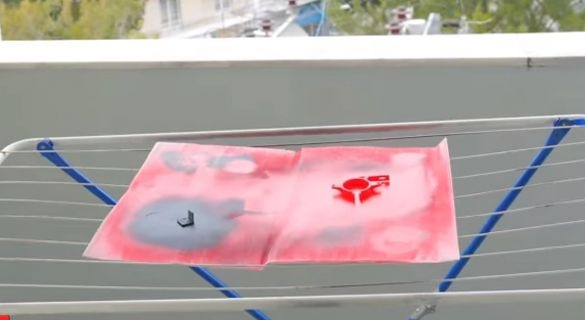
Repaints the holder in red. And the eye is black.
And begins the installation.
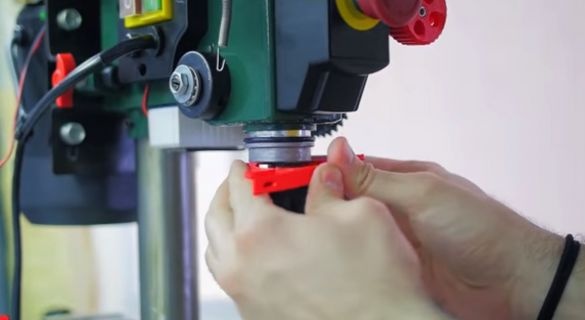
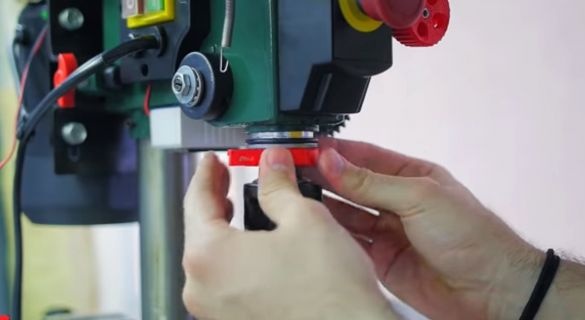
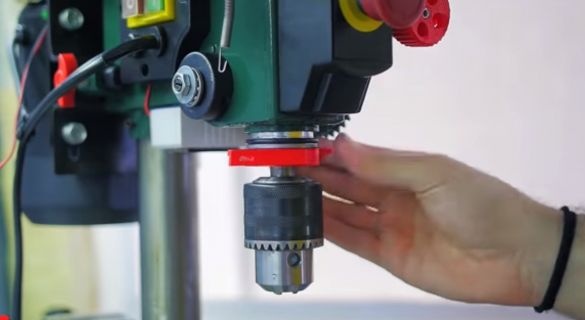
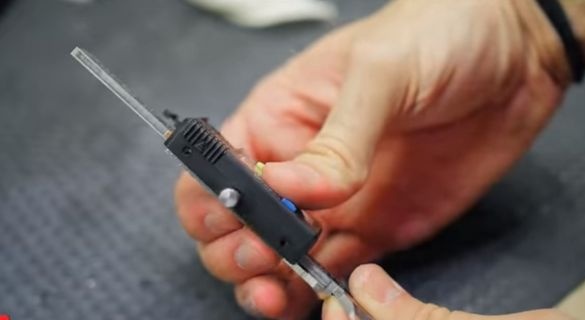
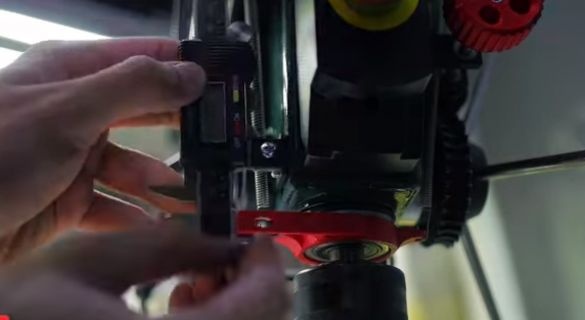
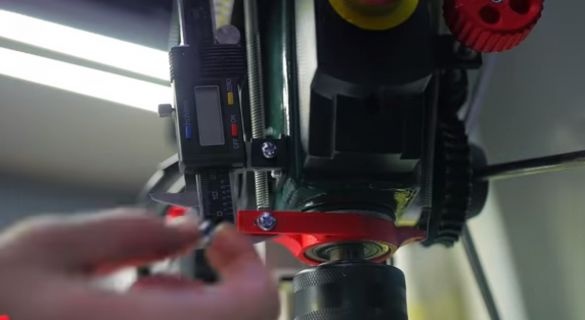
The holder is put on the guide.
Fixes it with a screw and nut with a nylon gasket.
And the ear fastens from above.
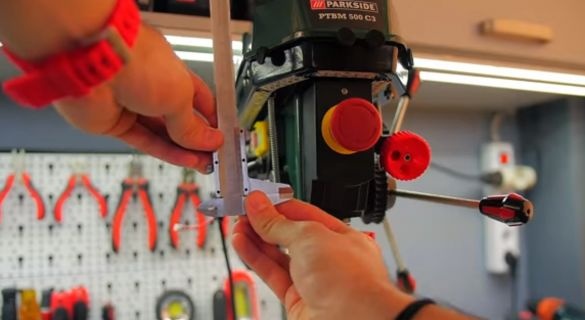
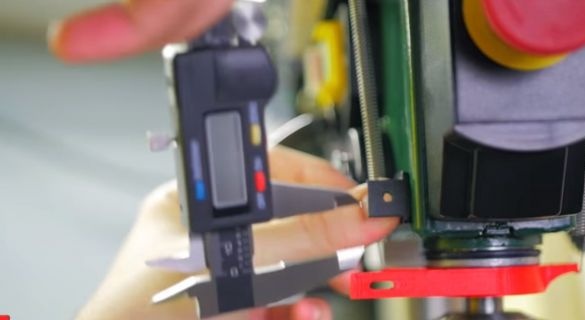
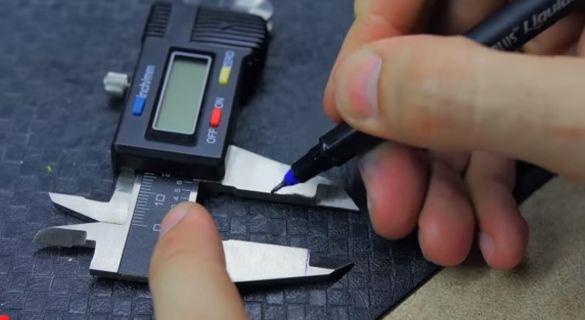
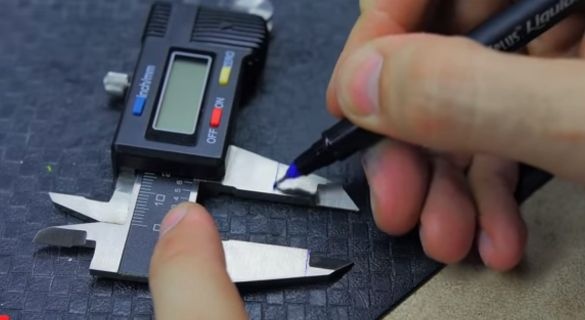
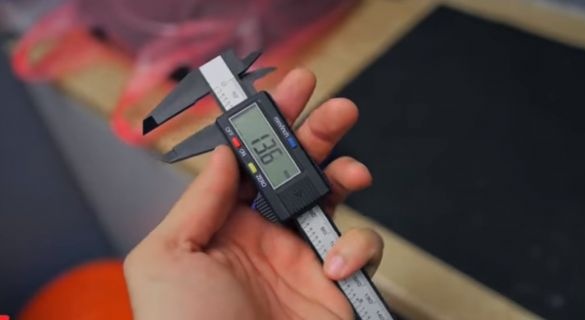
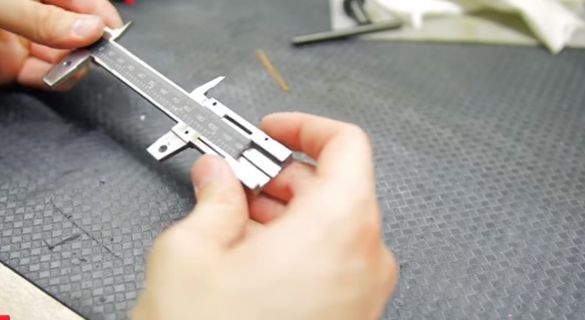
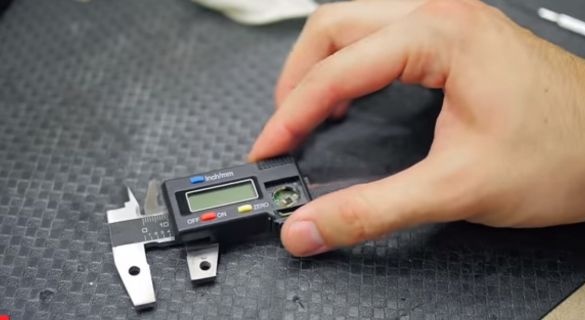
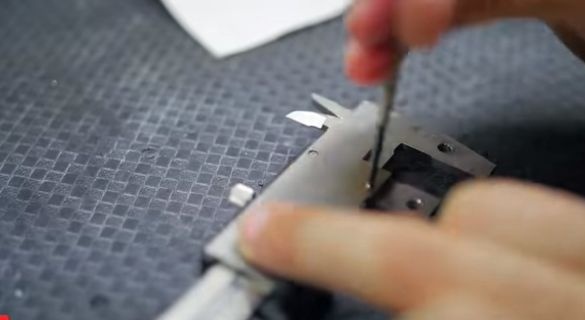
The caliper must be trimmed a little.
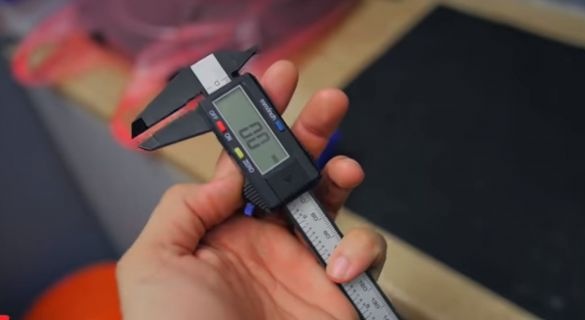
Further many unnecessary movements, because Alpha took a vernier caliper with steel measuring jaws.
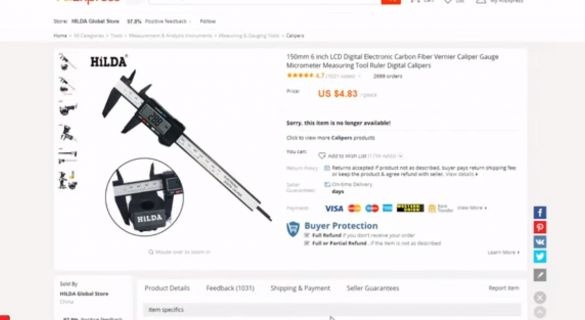
As a result, the author recommends buying this
For these purposes, it is several times cheaper, plastic sponges are easily processed.
Plus a large display.
The author needs to modify the compass so that it can be installed on the machine.
To do this, Alpha Mods uses a brand new coordinate table.
For the first time, the author made a mistake with the choice of nozzle. And she stepped off.
For the second time this has not happened.
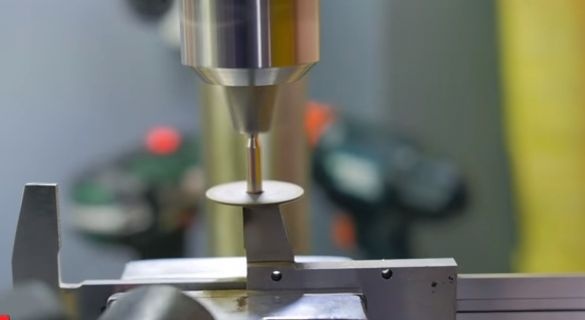
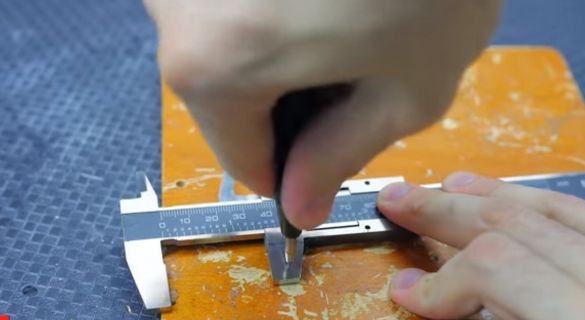
And now for the fun part. Need to drill holes. But it was not there.
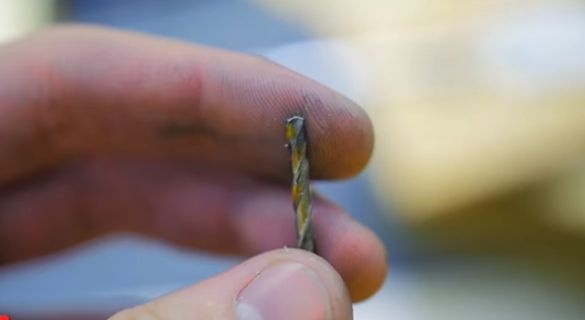
Steel rod, and even red-hot. Even a little corrupted Chinese core.
In short, Alpha’s attempts to drill were unsuccessful.
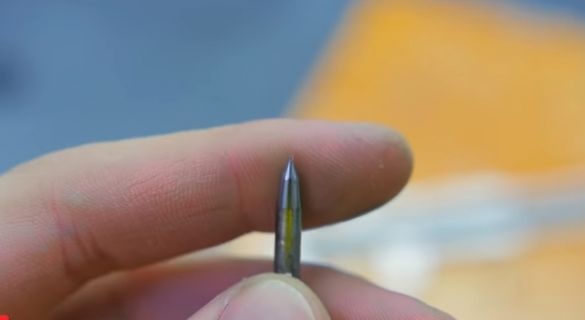
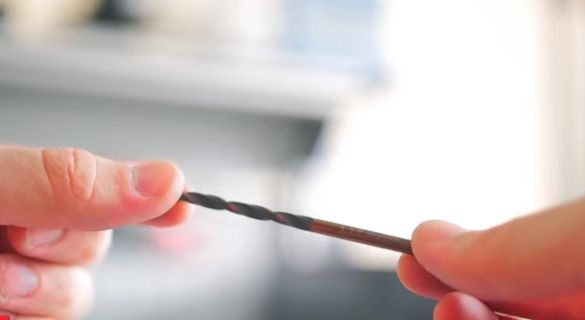
Two drills immediately became dull.
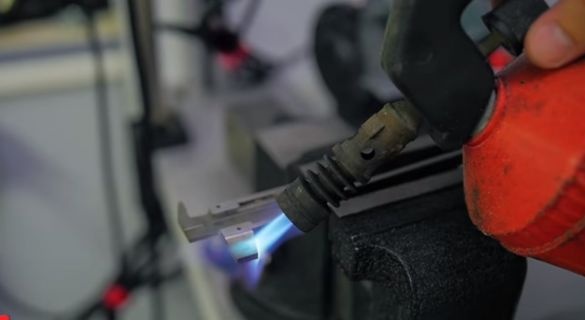
Even an attempt to release steel did not produce results.
Although he got a hole on the third drill.
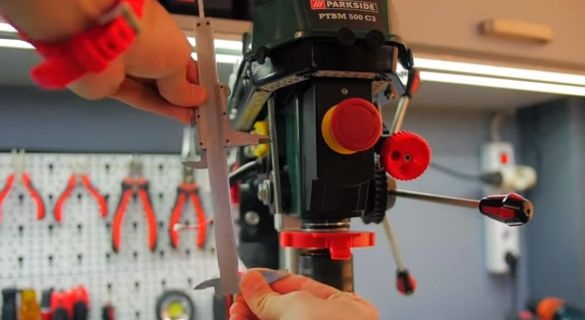
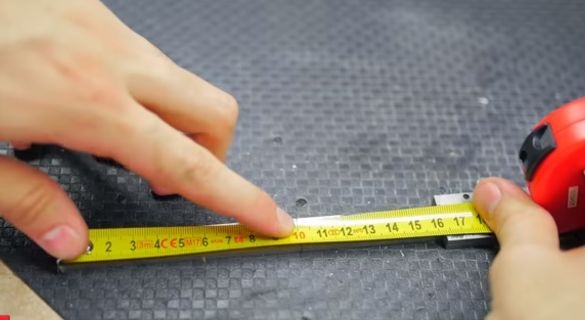
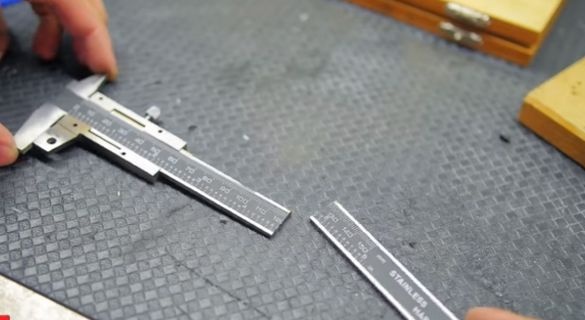
Now the author needs to reduce the length of the caliper.
the stroke of the machine is about 50 millimeters.
So it measures with a small margin.
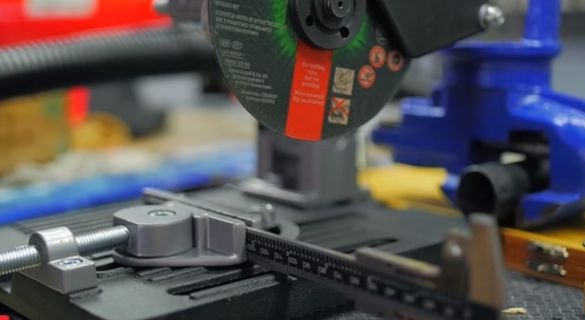
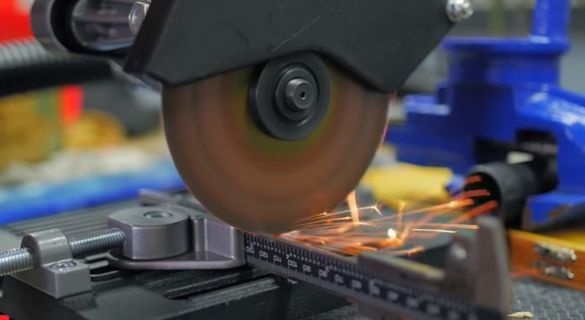
He takes a Bulgarian to help with this difficult matter.
He sawed off the bar.
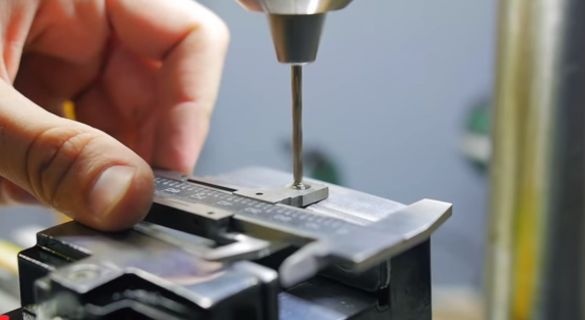
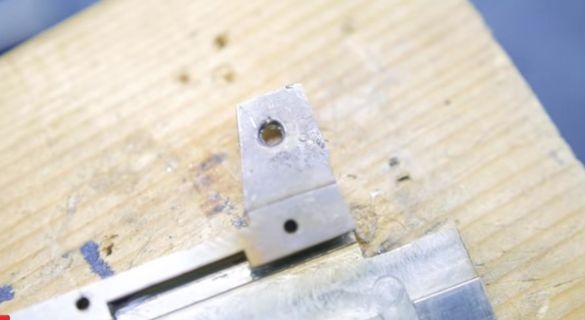
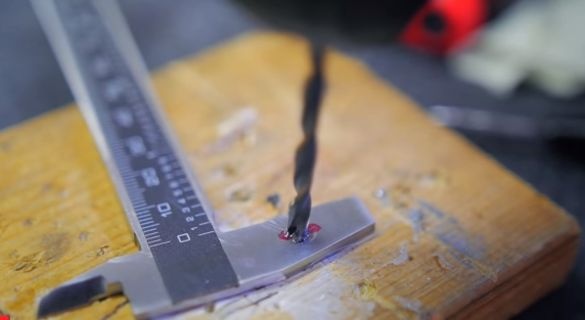
Installs on the machine and marks the second hole.
This time, Alpha Mods used a cobalt drill,
with which he calmly made a second hole.
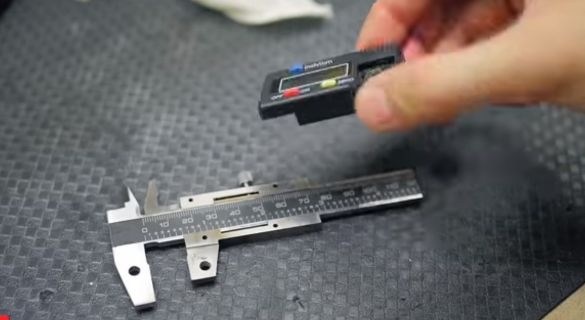
Collects two caliper halves
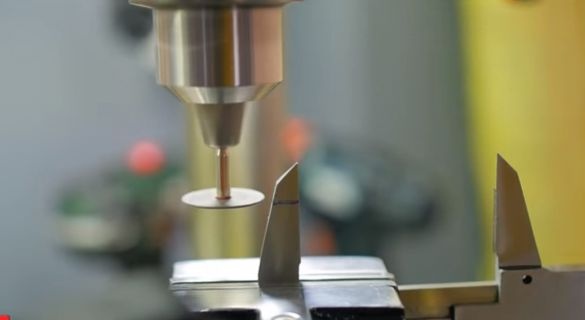
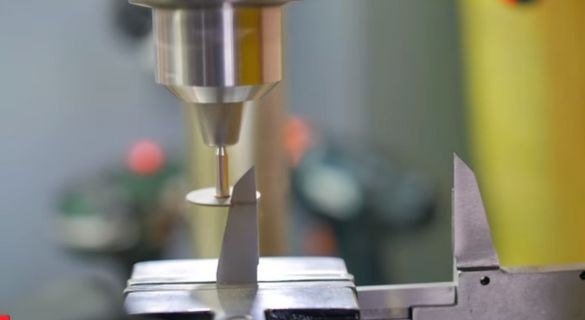
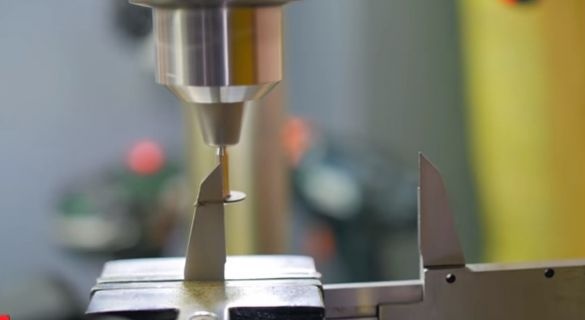
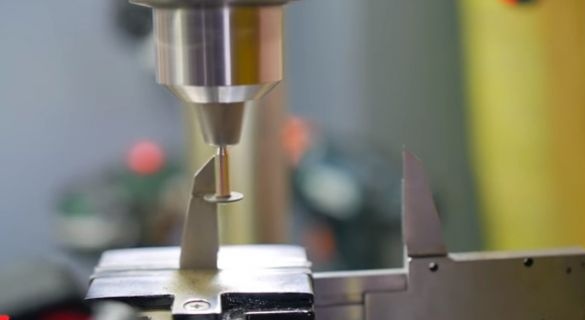
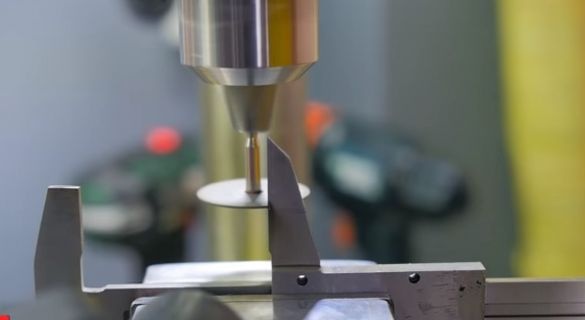
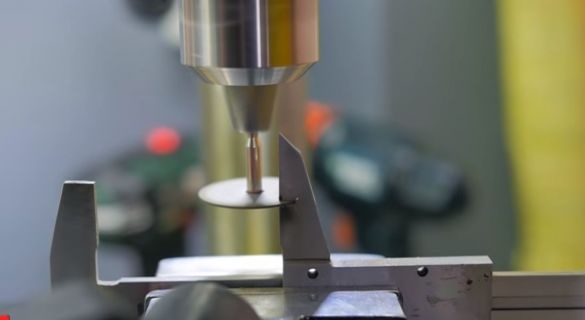
and checks if there is enough progress.
Once enough - collects it to working condition.
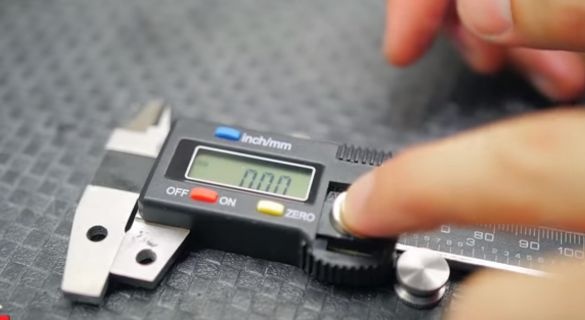
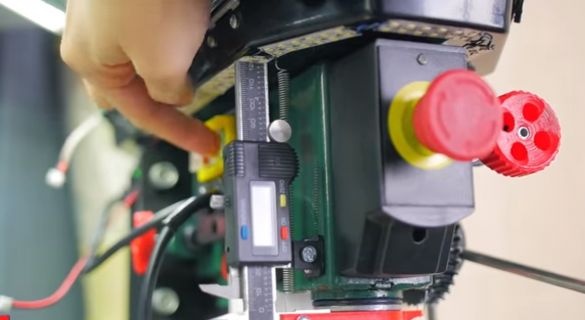
Fixes the display
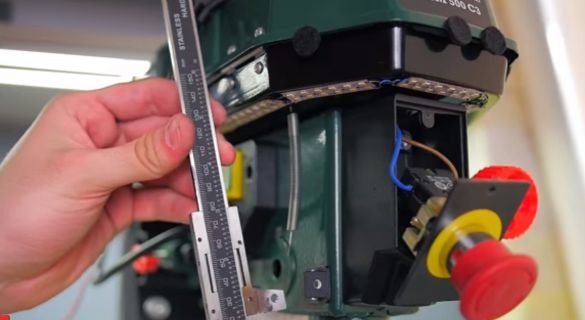
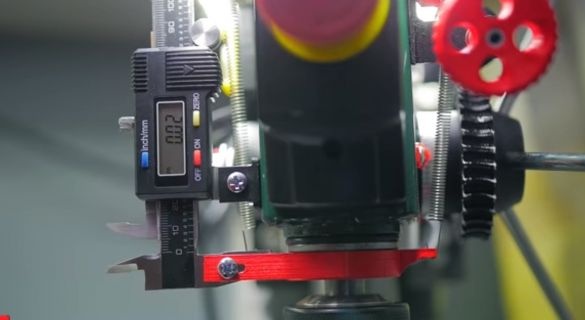
And the caliper is ready for installation on a machine.
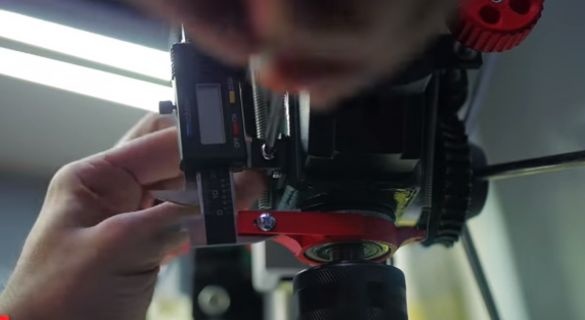
Fastens everything on two screws
Both with locknuts.
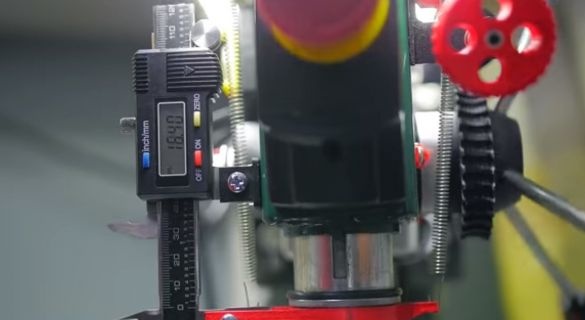
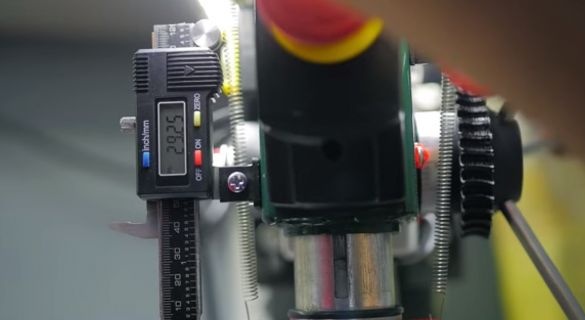
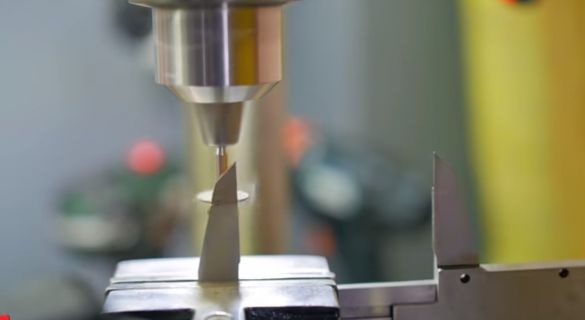
And everything is already working!
The main plus of such a ruler is that it measures the guide directly.
Accordingly, no backlash, and gives accurate readings.
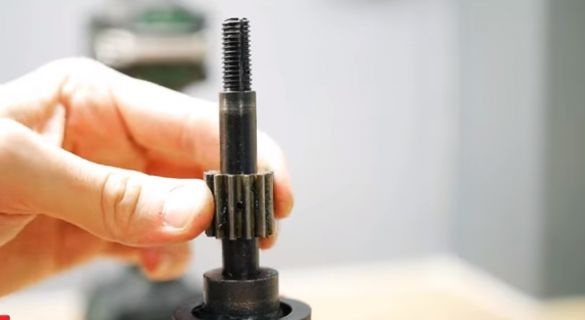
The standard ruler is installed directly on the helm. Accuracy, given the gear backlash, no.
Until this thing comes to the guide.
As a result, 4-5 millimeters of free play.
In this project, Alpha Mods succeeded!
The link to the original video is below. Source Button In the same description in the video there are links to 3D models.
All good ideas for a pleasant creation.

