
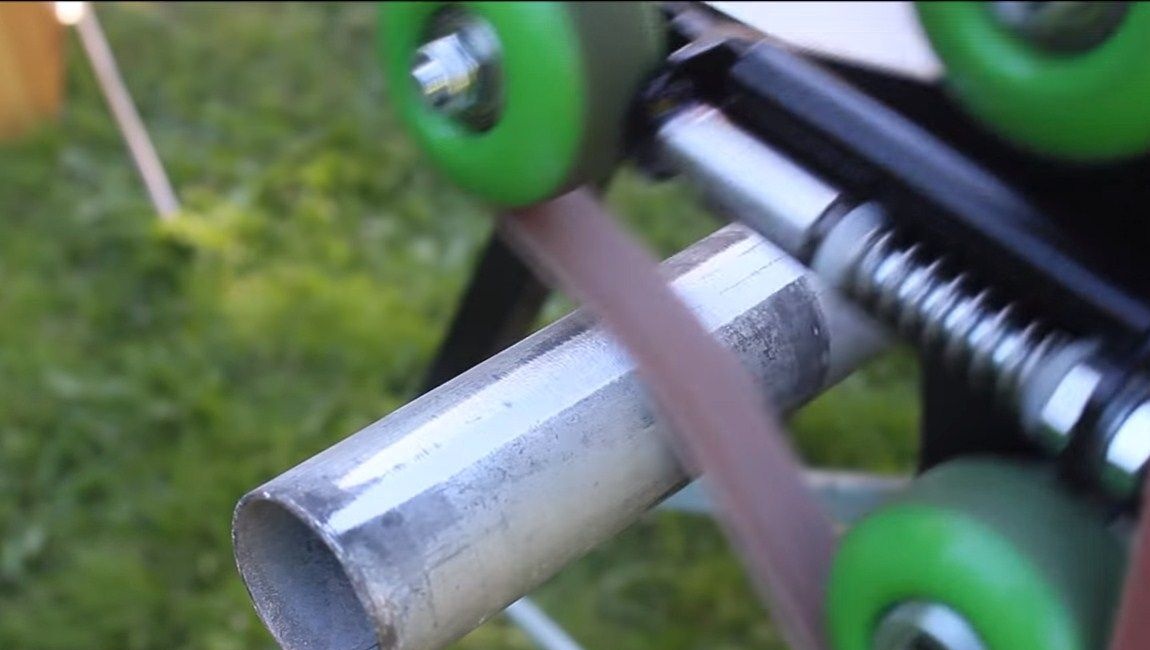
Hello everyone, in this instruction we will expand the capabilities of your grinder! Homemade will turn it into a belt sander. The main uniqueness of this nozzle is that it knows how to grind pipes. The fact is that the belt on the nozzle bends when grinding, thereby covering a significant area of the pipe. Of course, in addition to pipes, with the help of this nozzle it will be possible to process other products, including flat ones.
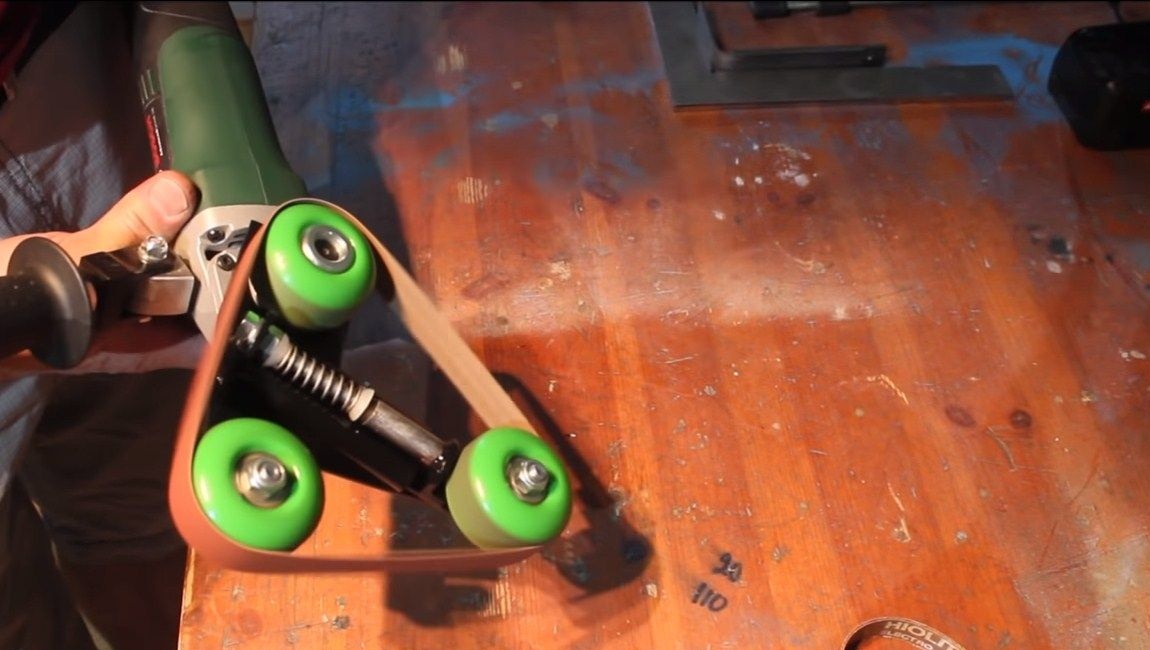
The device is assembled very simply, and you will not need to change the design of the grinder! The nozzle is installed instead of the protective shield of the grinder. The author's shield is attached thanks to special grooves, so that the nozzle changes with a slight movement of the hand. Everything is done quite simply, skateboard wheels are used as wheels. The biggest challenge is to make the frame. Everything is made of metal, here you will need a grinder and welding. The author is profiling some parts on a hydraulic bending machine, but you can simplify these parts. So, we will consider in more detail how to assemble such a nozzle!
A similar grinding adapter can
Materials and tools used by the author:
Material List:
- Sheet steel;
- three wheels from a skateboard;
- a nut for the shaft of the grinder;
- sandpaper or cut sanding belt;
- an axis, a spring, plastic emphasis and other for a tensioner;
- paint.
Tool List:
- welding machine;
- grinder;
- drilling machine;
- marker;
- ruler;
- vise;
- files;
- drill.
Homemade manufacturing process:
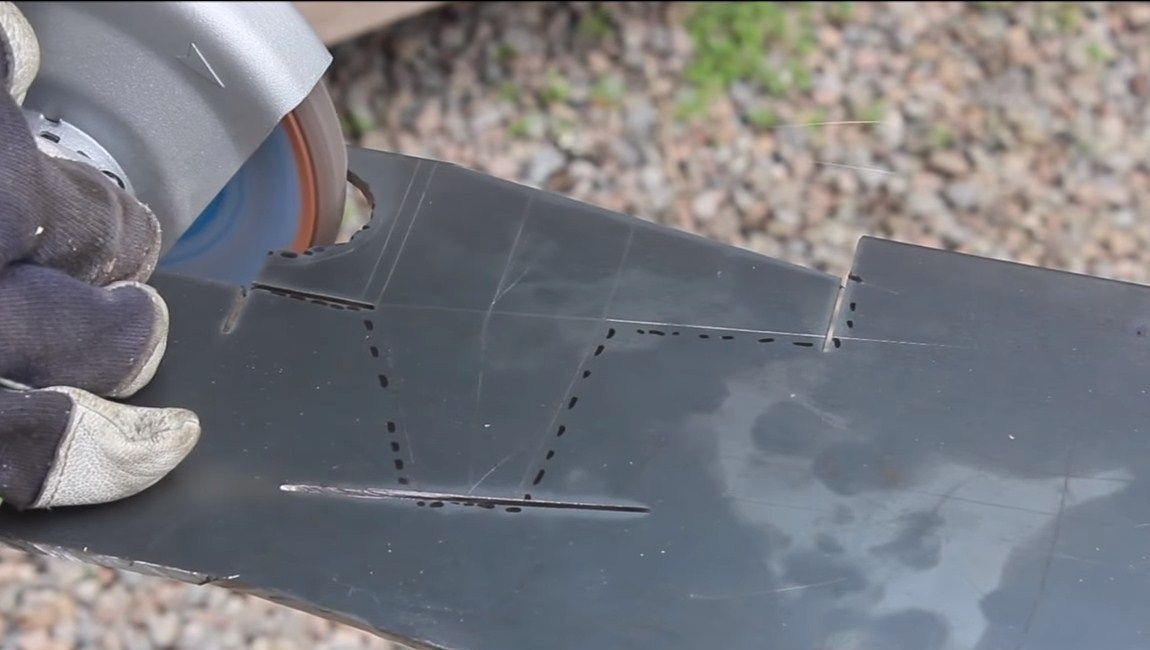
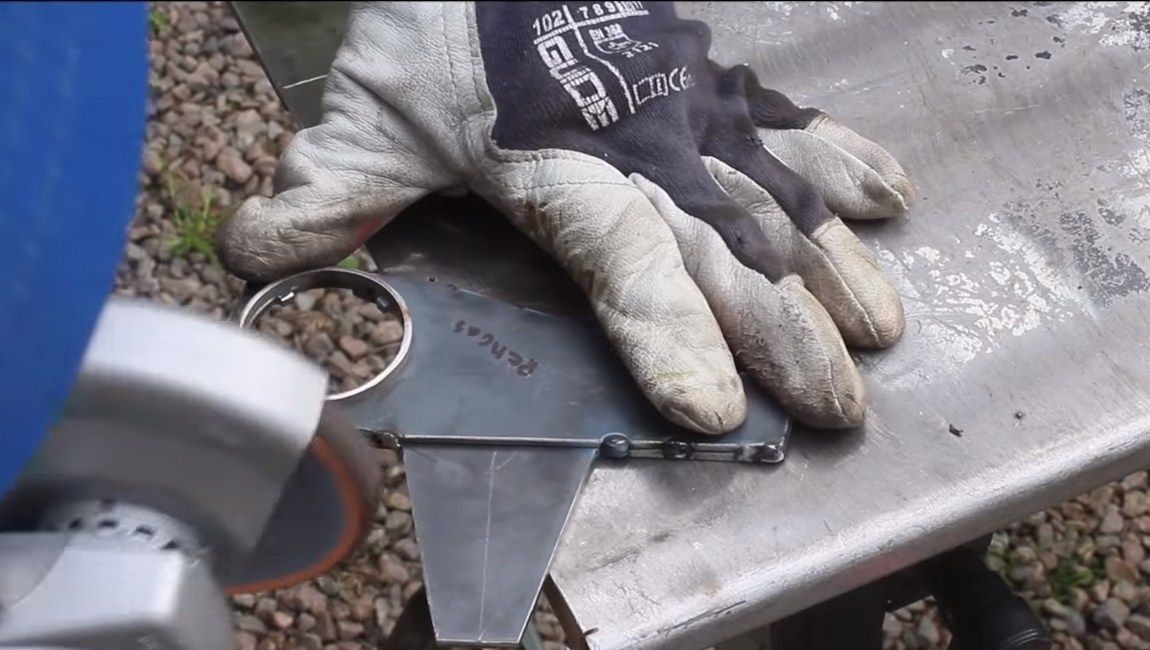
Step one. Cut out the main part of the frame
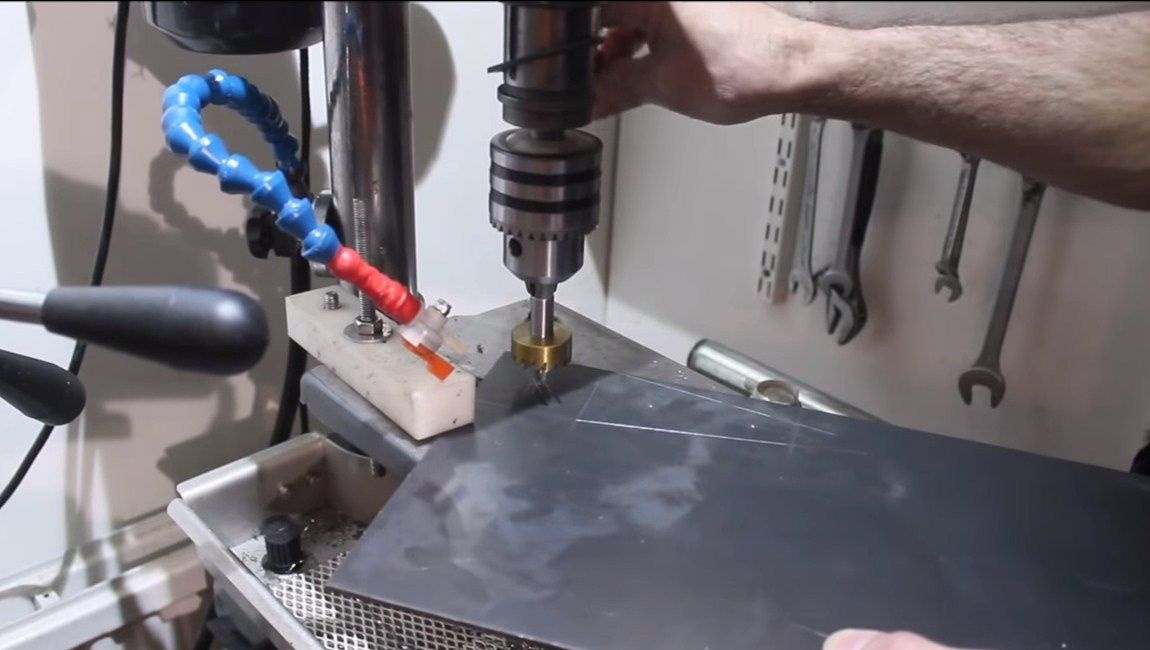
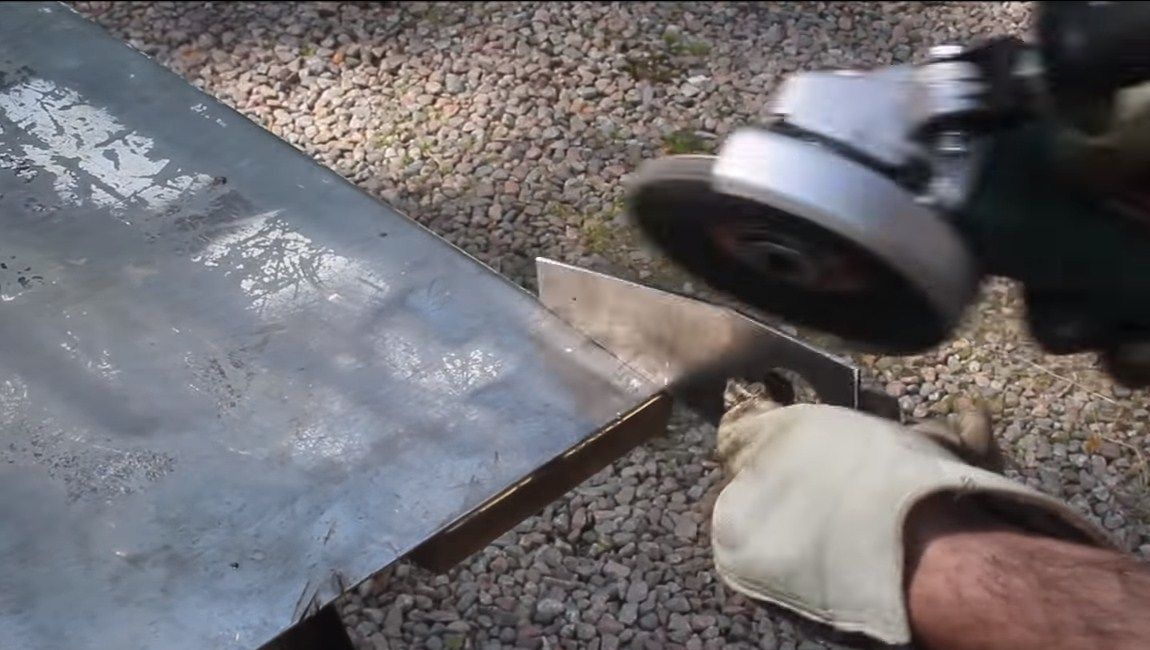
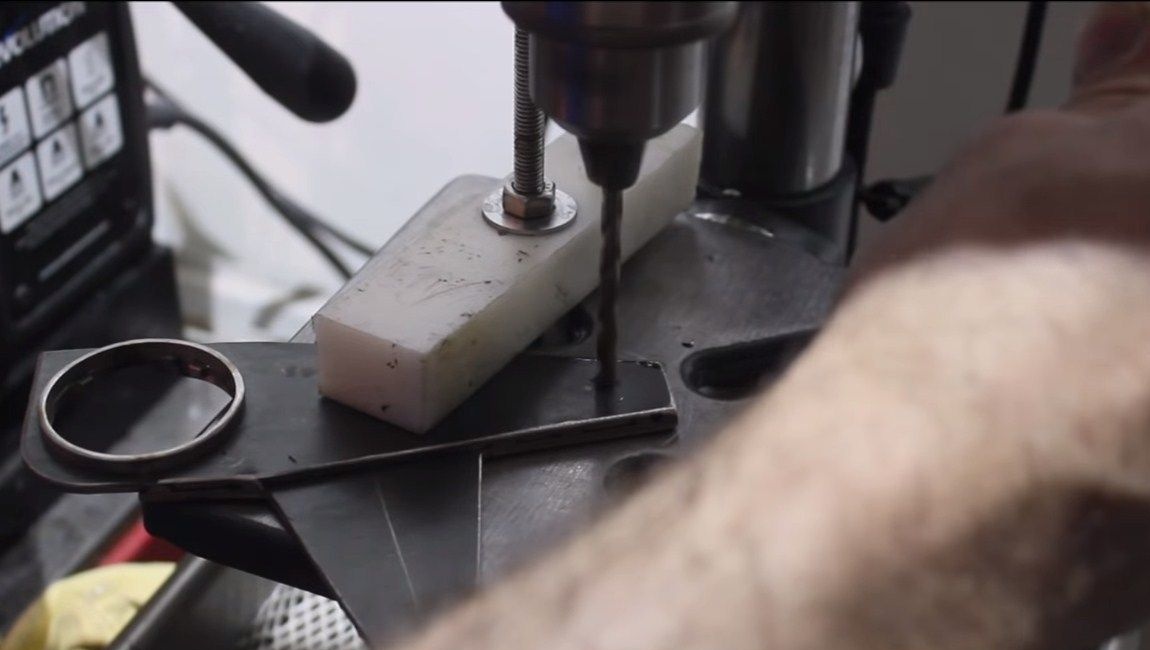
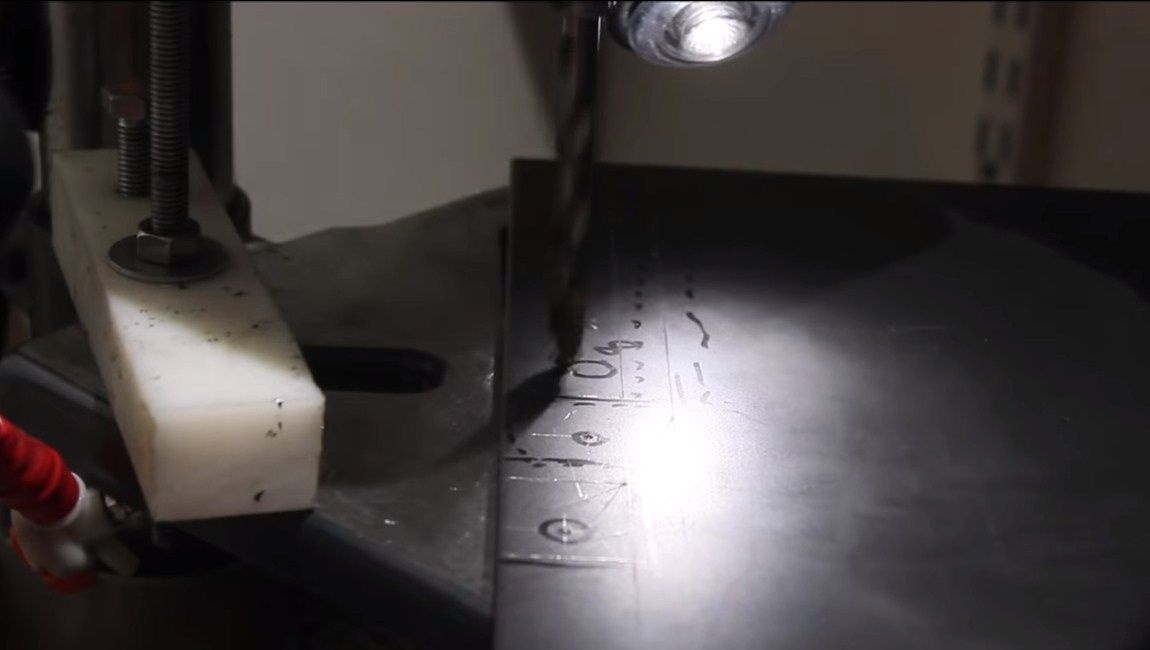
The frame is made of sheet metal, it must be of sufficient thickness so that the frame is durable. First, draw the desired shape, and then go to the drilling machine. Here we need a bit of suitable diameter to drill a hole for mounting the structure on the grinder.
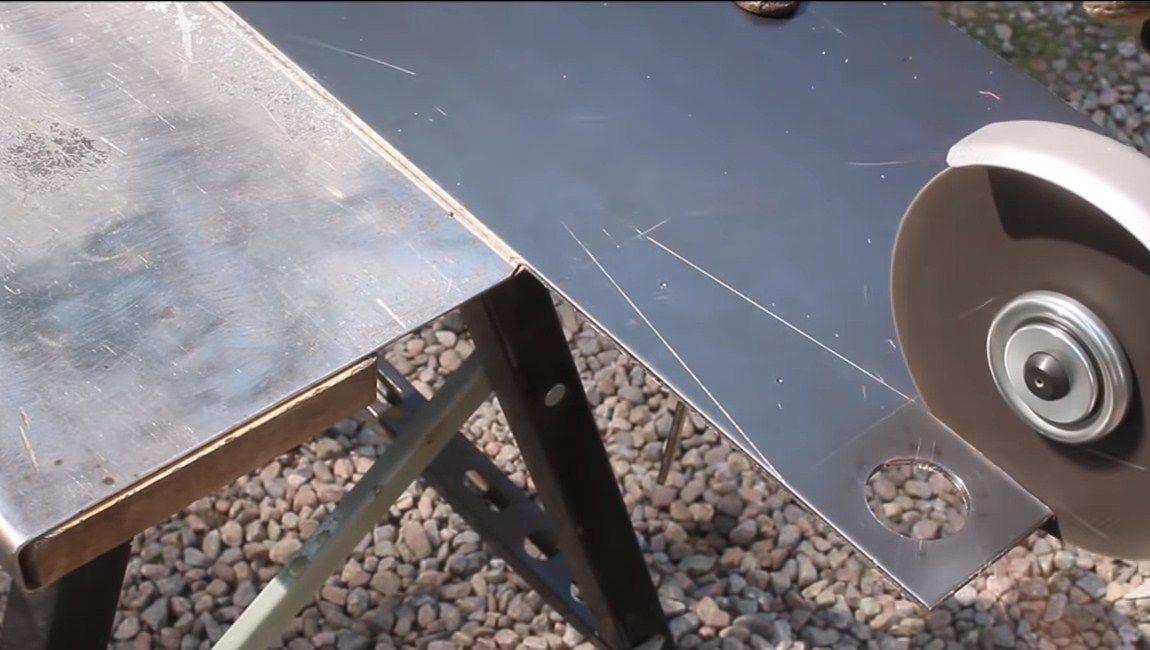
Having drilled the necessary hole, we cut out the part with the help of a grinder. This can also be done with a band saw.After that, polish the edges of the product so as not to get hurt. For this we use a grinder with a grinding disc.
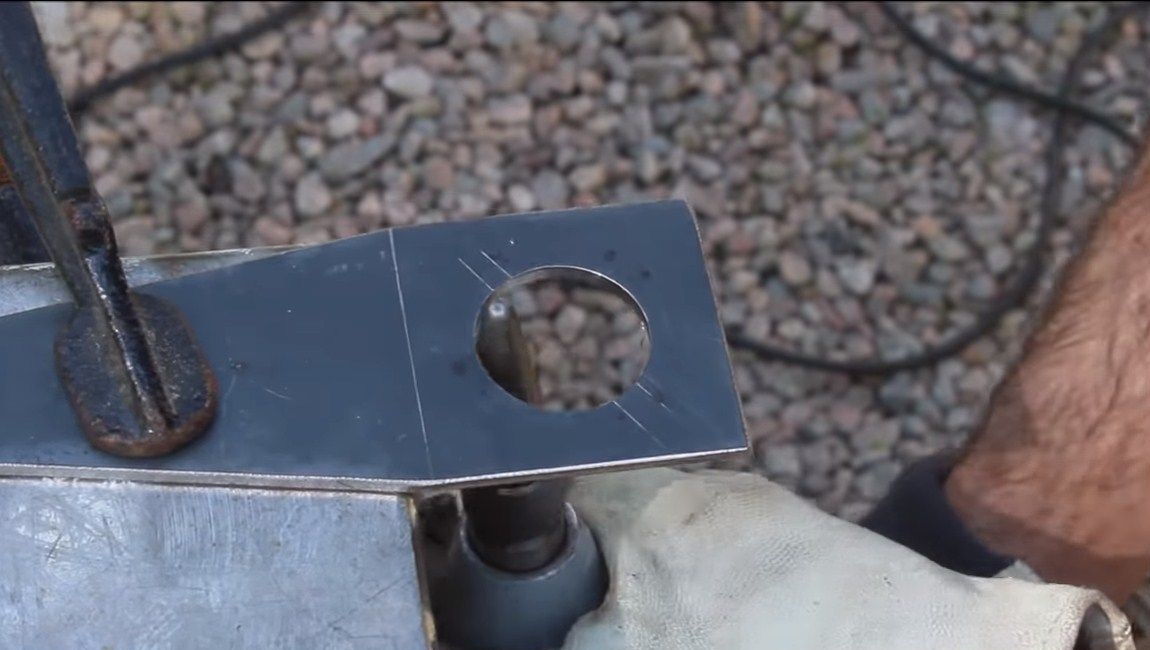
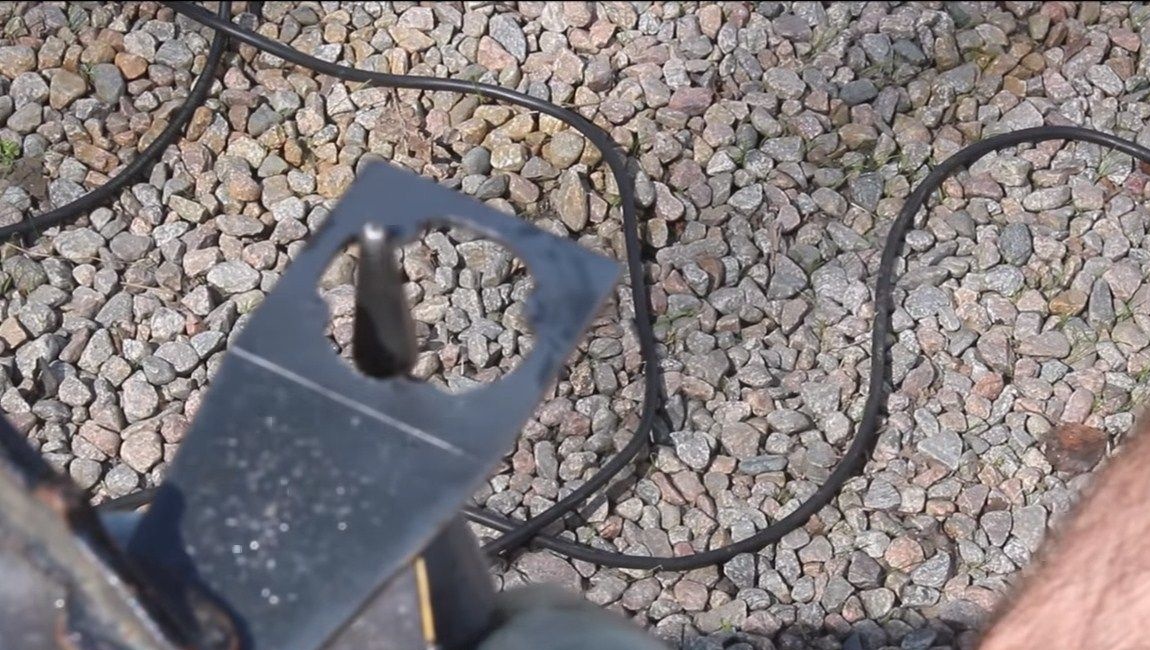
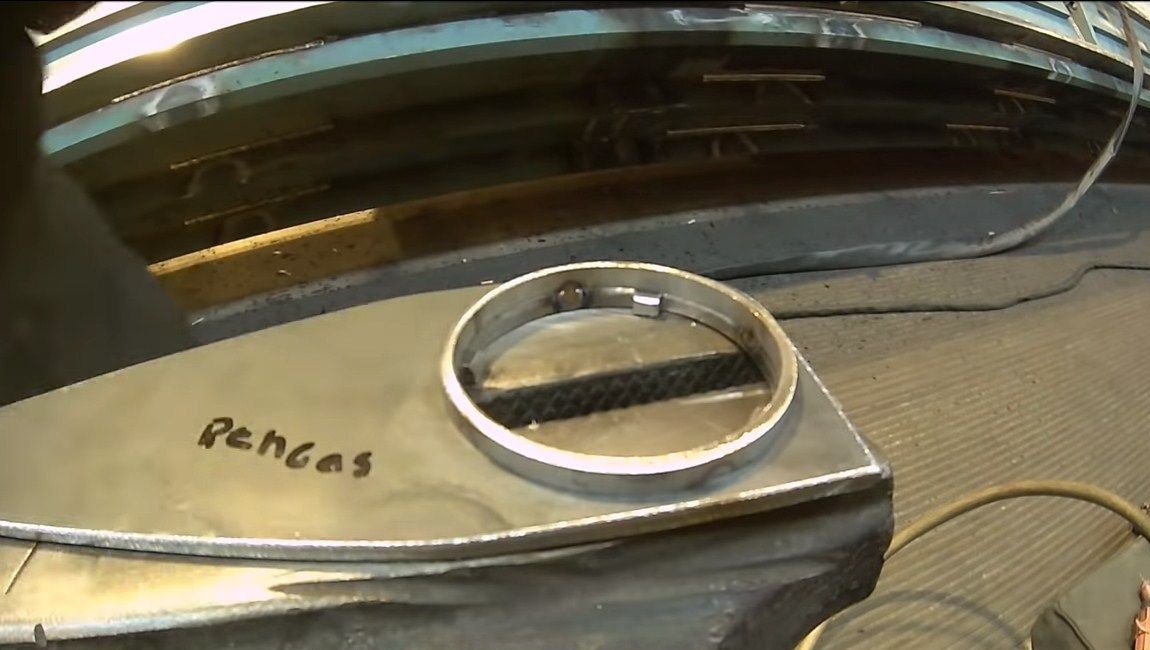
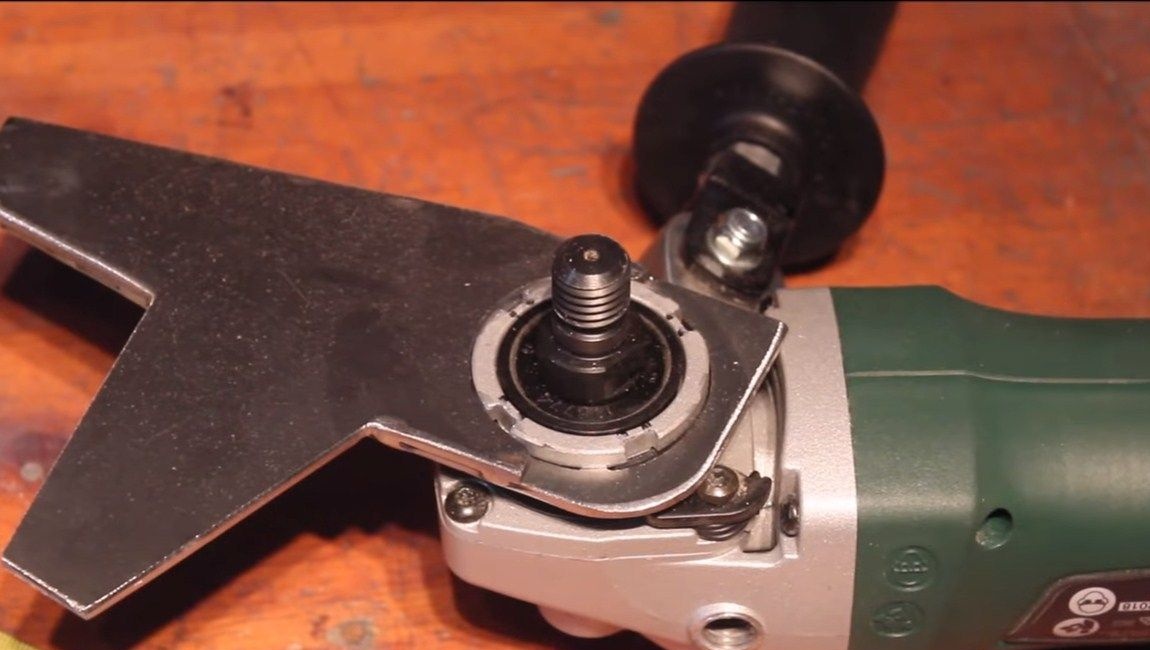
Step Two Mounting hole
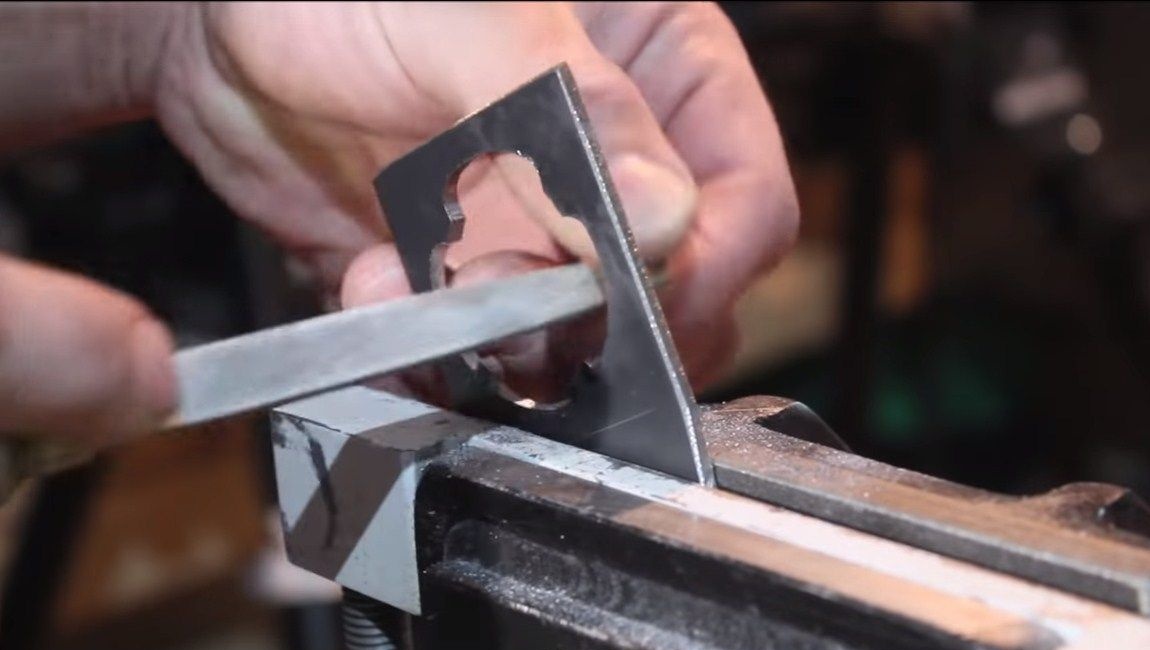
The author’s shield is fixed with a groove joint, that is, there are no fixing screws here. For this connection, we customize our hole, in it it will be necessary to carve 4 cloves. For the initial formation of the desired profile, the author uses a special nozzle and drill. Well, then the author modifies the product using files. As soon as the product is ready, we weld a steel ring around the hole.
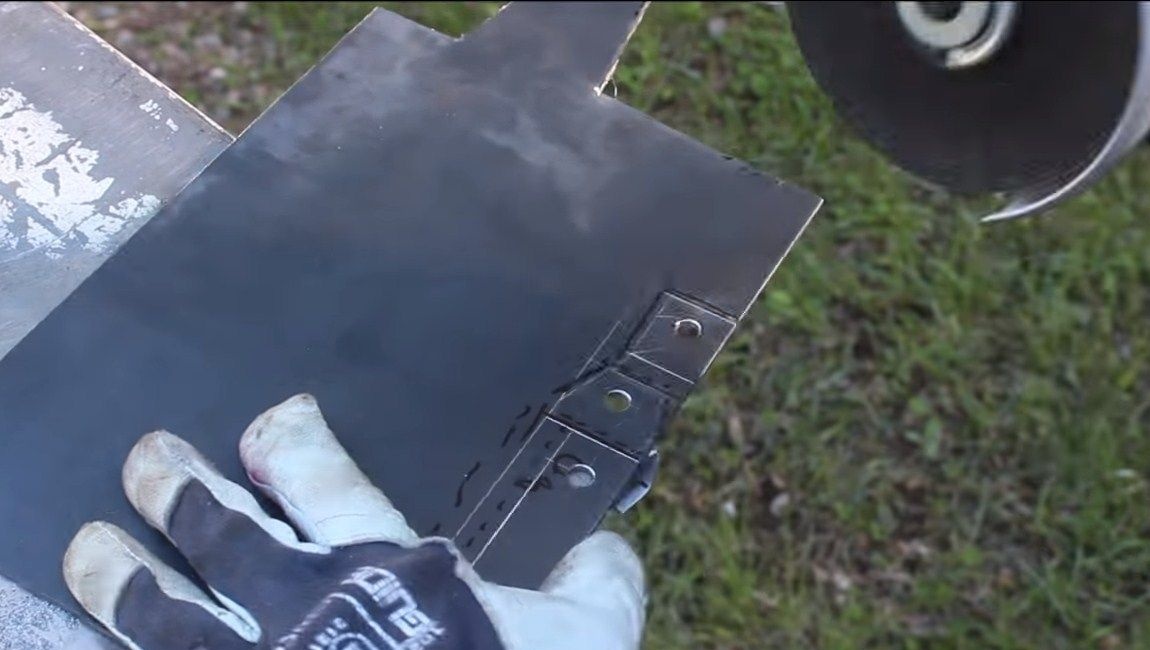
Step Three Cut the second part of the frame
The frame consists of two parts, it remains to cut the second. It is also cut out of sheet steel, and what shape the product should be, look at the photo. Further, these two parts are welded together. We clean the welds so that everything looks neat.

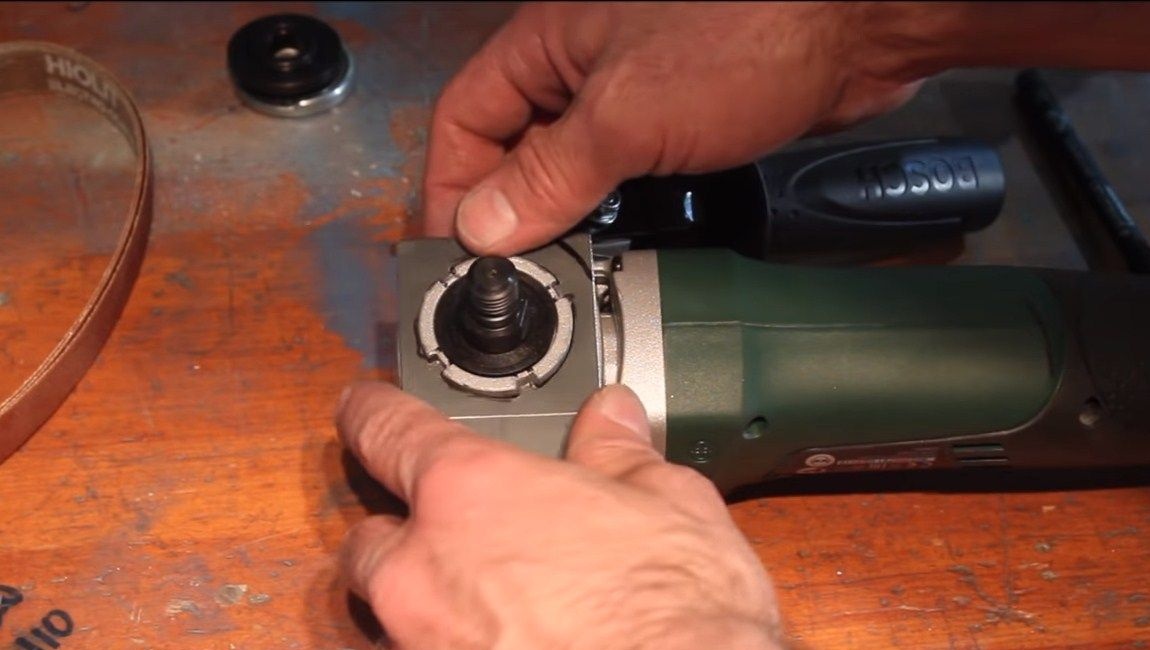
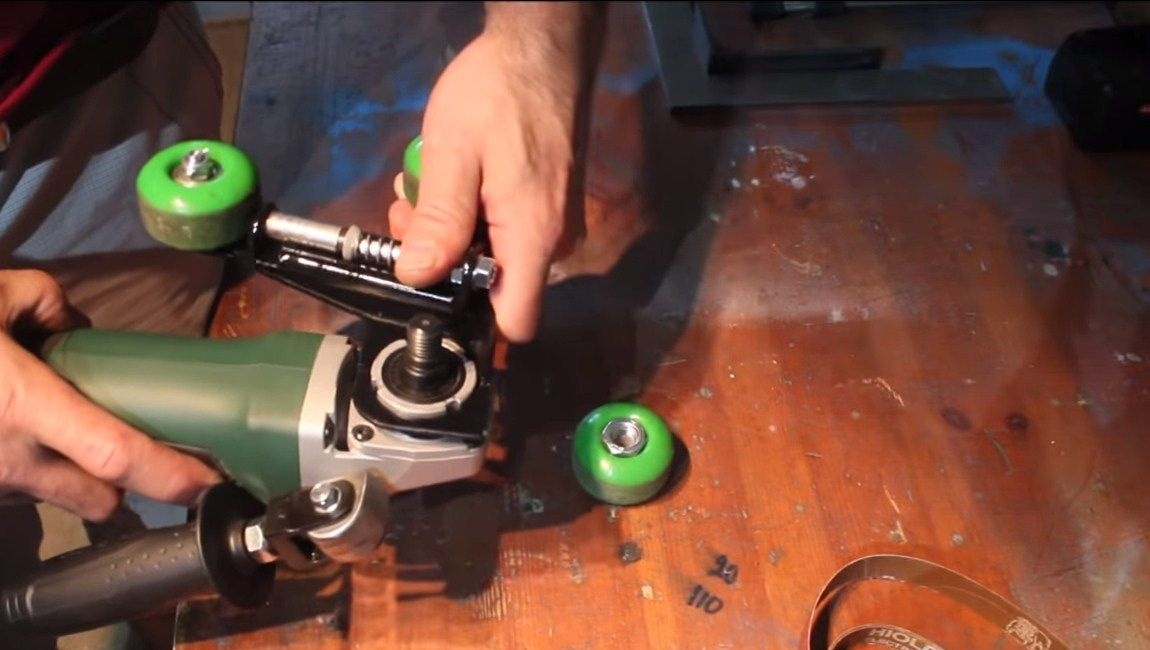
Step Four Making a drive wheel
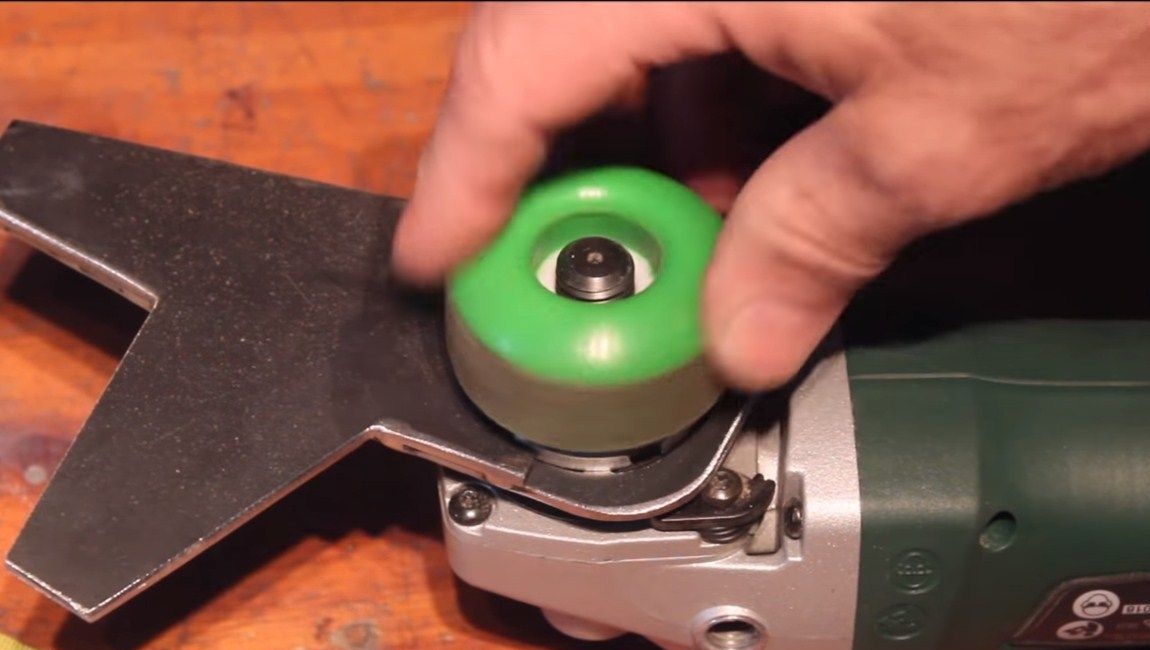
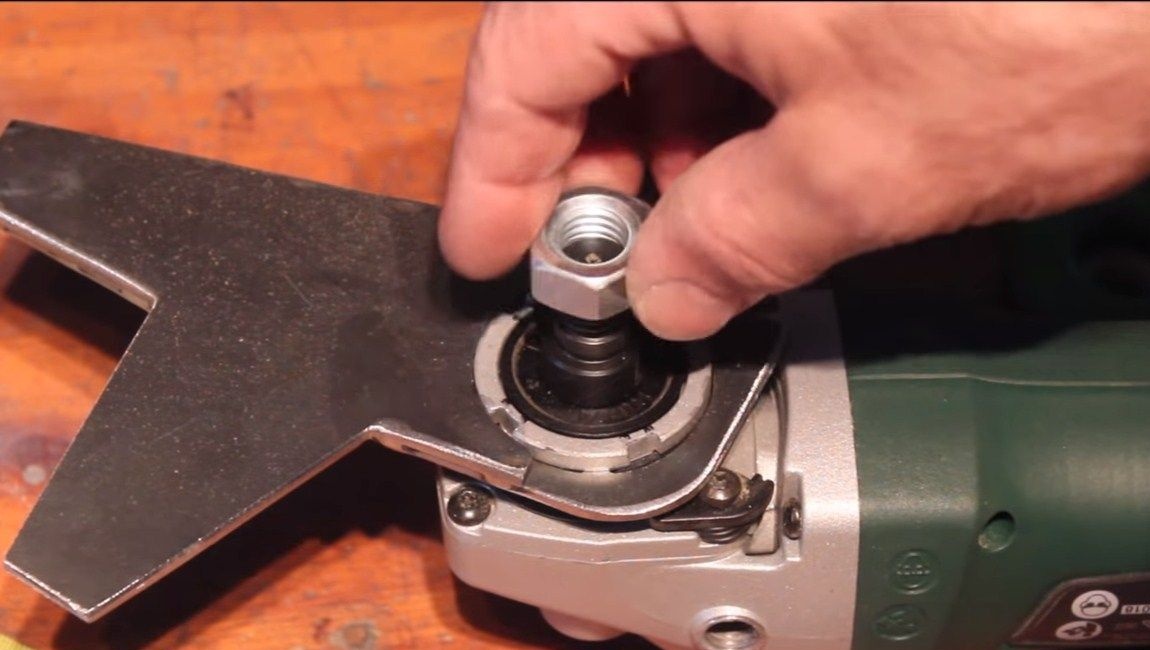
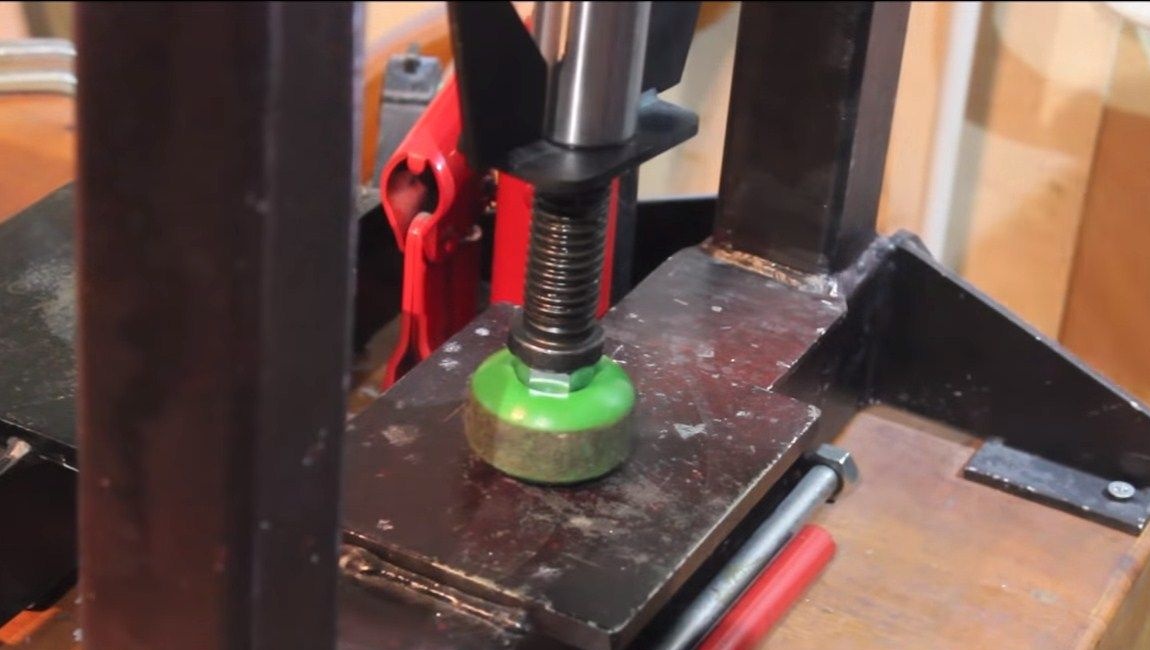
The driving wheel, like the driven ones, is made of wheels from a skateboard. The drive wheel is mounted on the shaft of the grinder. To do this, we need a nut with such a thread that it is screwed onto the Bulgarian shaft. Further, the author simply presses this nut into the wheel. For reliability, the nut can be fixed with epoxy glue or another similar method.
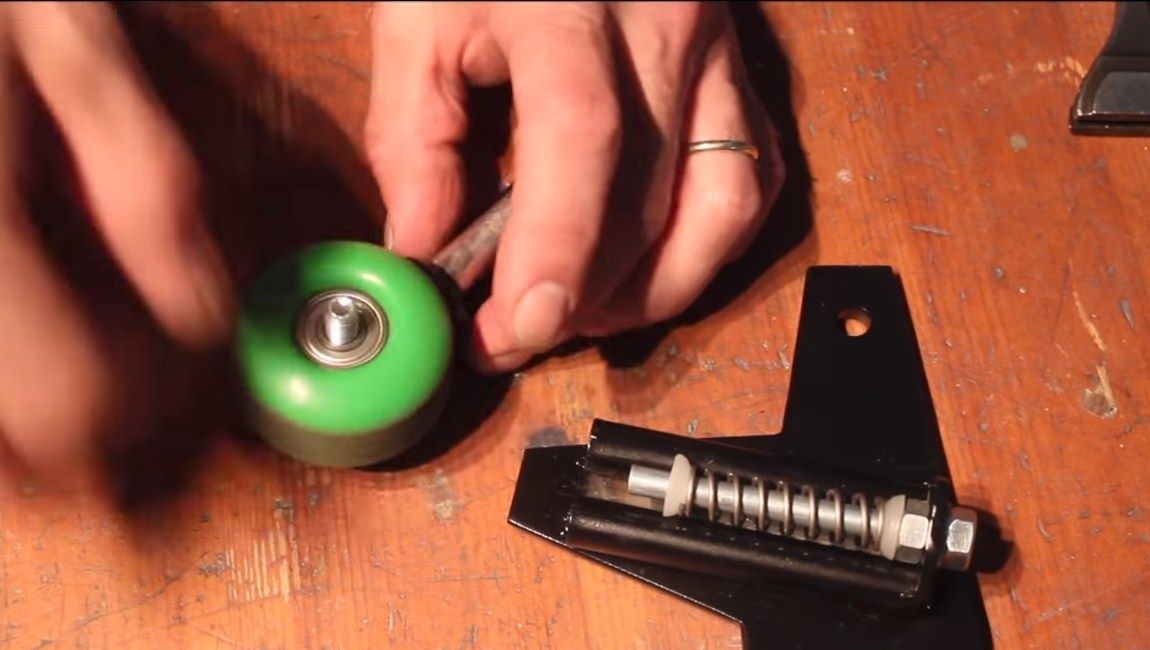
Step Five First driven wheel
Next, install the first driven wheel. To do this, a hole is drilled in the frame and a bolt or threaded rod is installed. Well, then install the wheel on it.
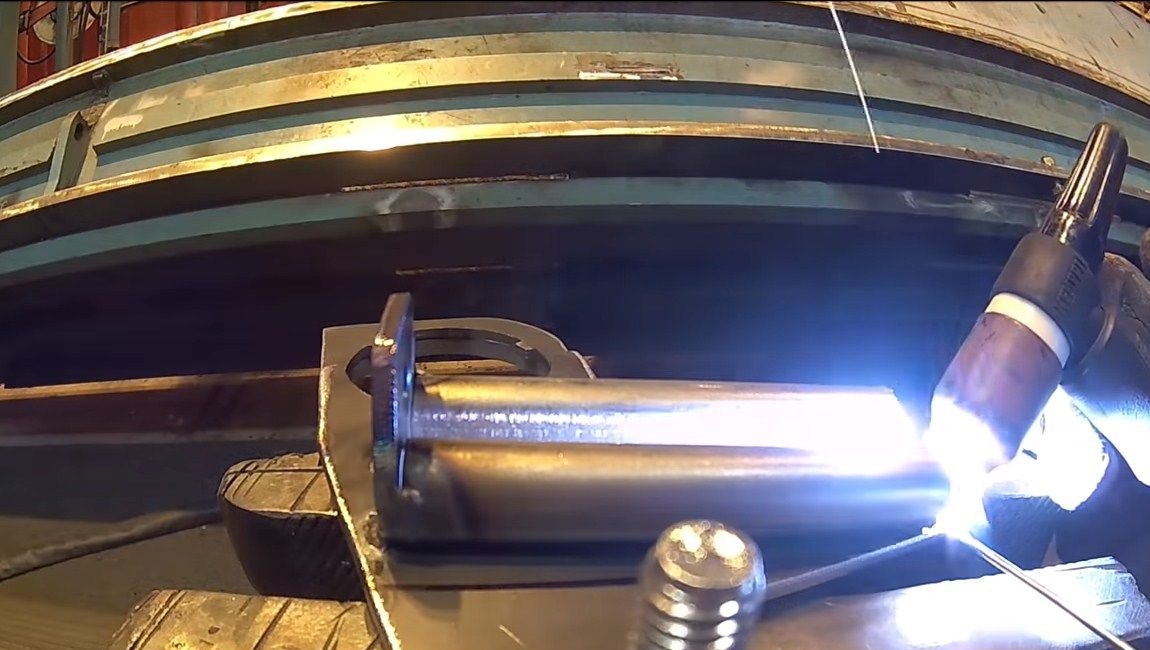
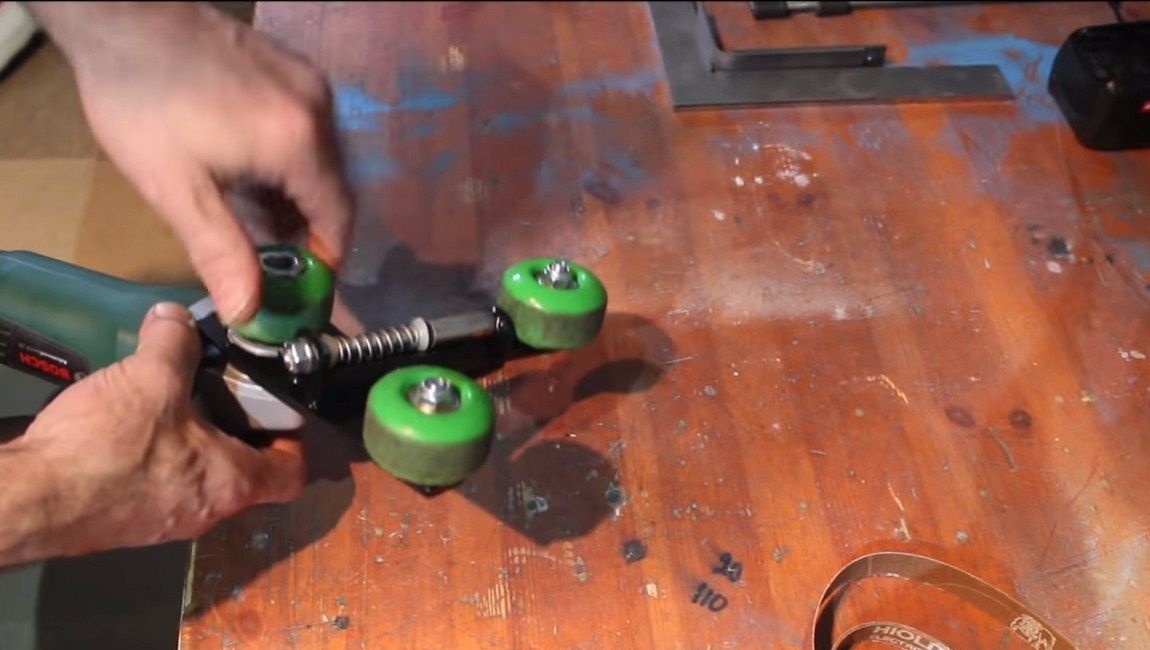
Step Six Tensioner and second driven wheel
The author’s tensioner has been made quite difficult, but at the same time qualitatively. First of all, he made a special bracket by bending. Its task is to hold the plate that will move. Also here in the center there will be an axis, with a spring installed, which will work as a tensioner. This whole thing is made by bending on a hydraulic machine, and then the mounting plates are welded and everything is assembled. We look in more detail at the photo.


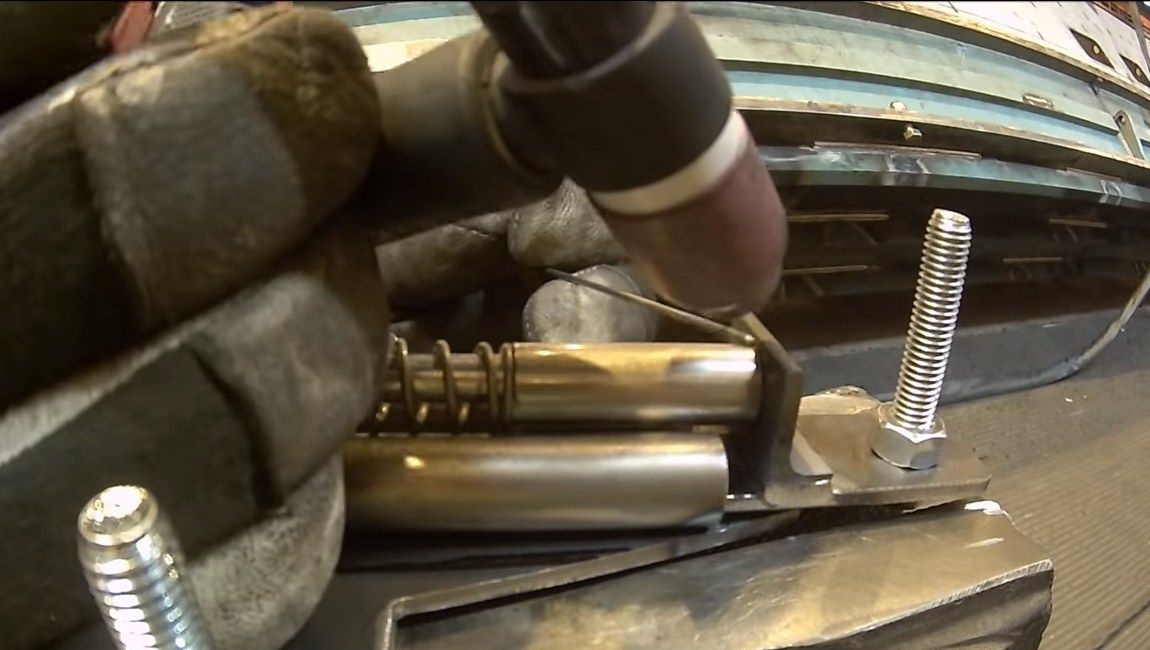
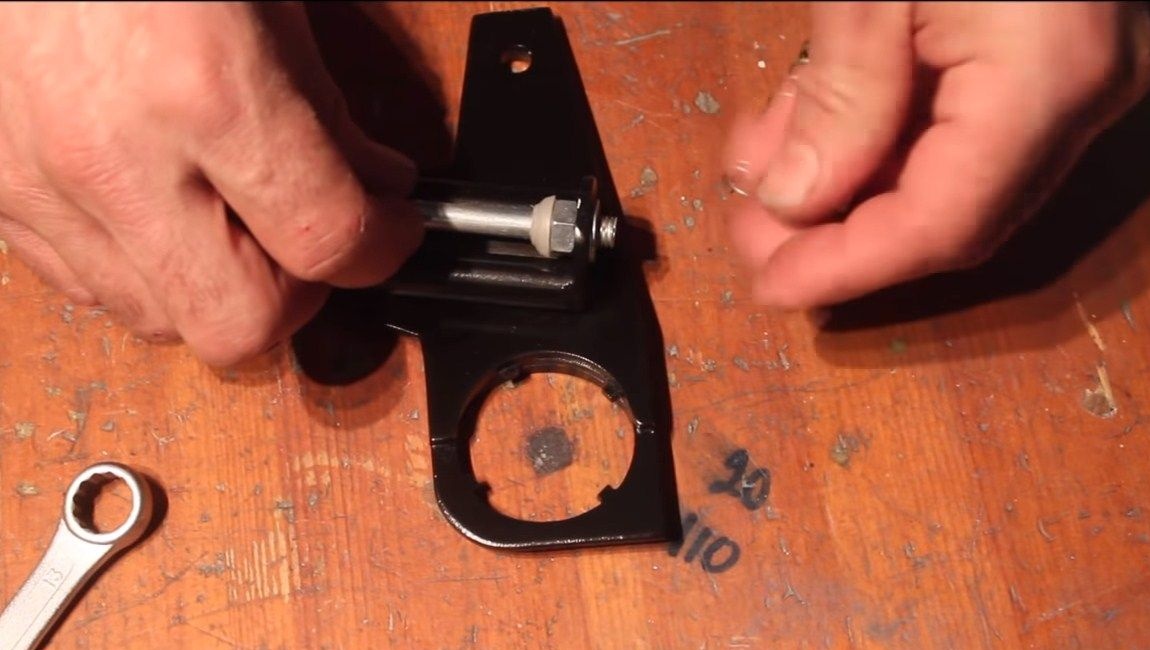
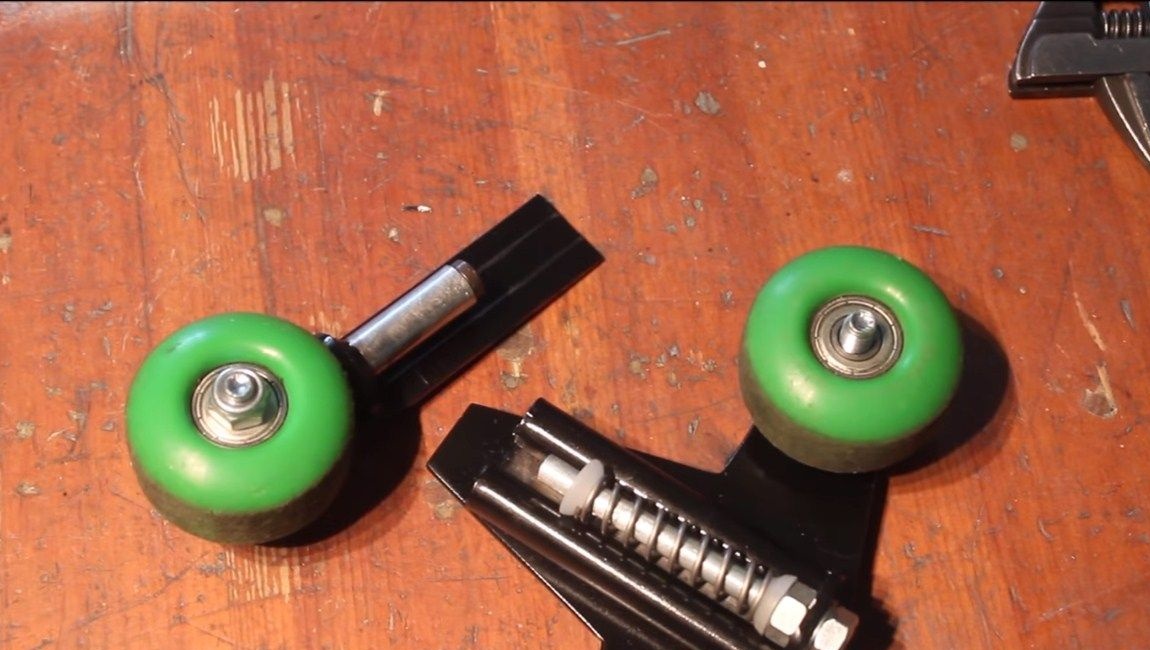
The tensioner can be assembled, on the spring on both sides install the stops of plastic or similar material. The tensioner itself consists of a rod, tube, spring and two stops. And the guide is made of steel plate.
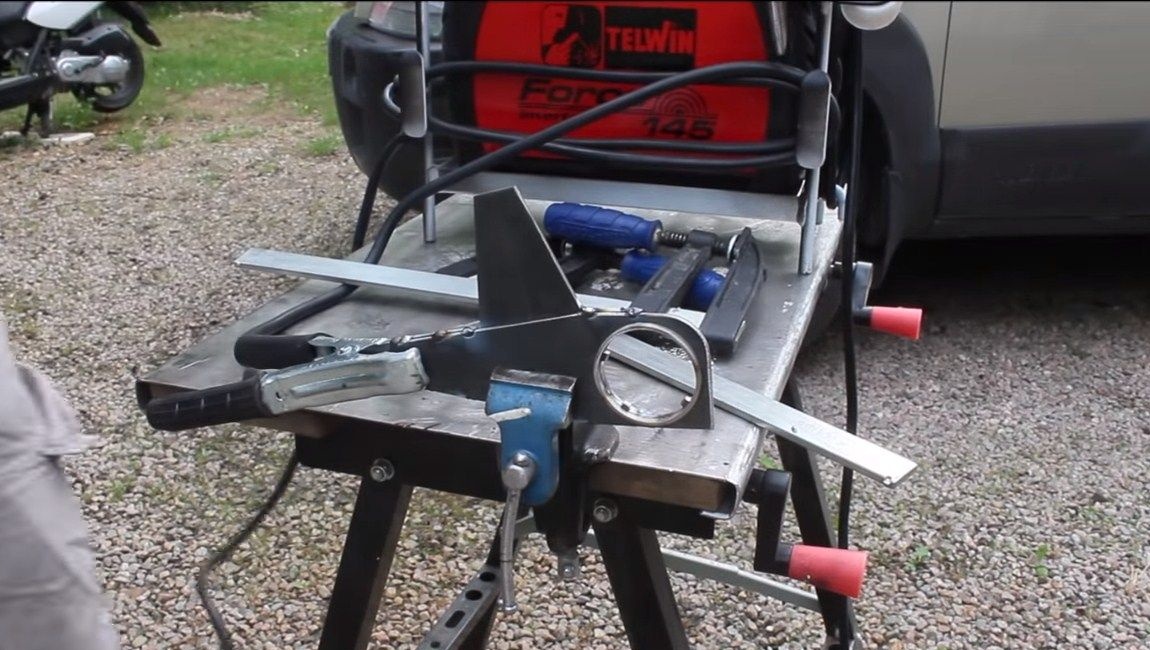
That, in fact, is the whole point of homemade work. In the end, you need to paint it, this will protect the metal from rust and make the product more beautiful.
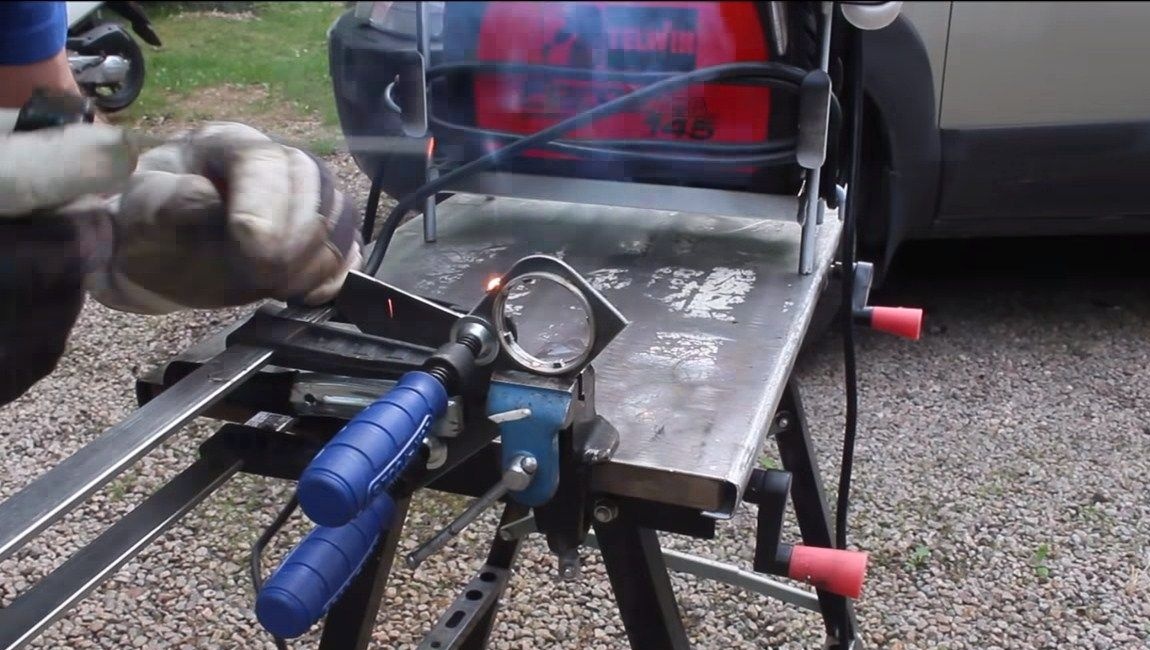
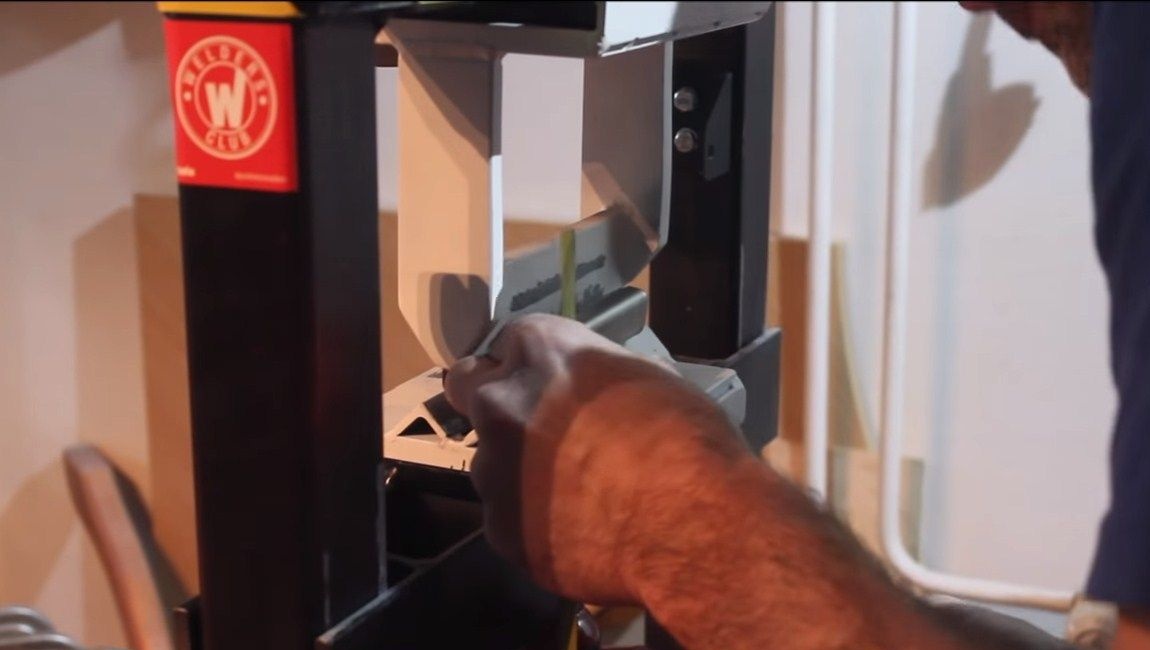
Seventh step. Getting started testing!
We install the nozzle on the grinder, the fastening may differ depending on the model of the grinder. And then we install the grinding belt. An interesting fact is that there are no adjustments here, however, the belt does not fly off, for this everything should be assembled perfectly evenly. As for the tension, everything is automatic here, the belt is constantly tensioned properly.
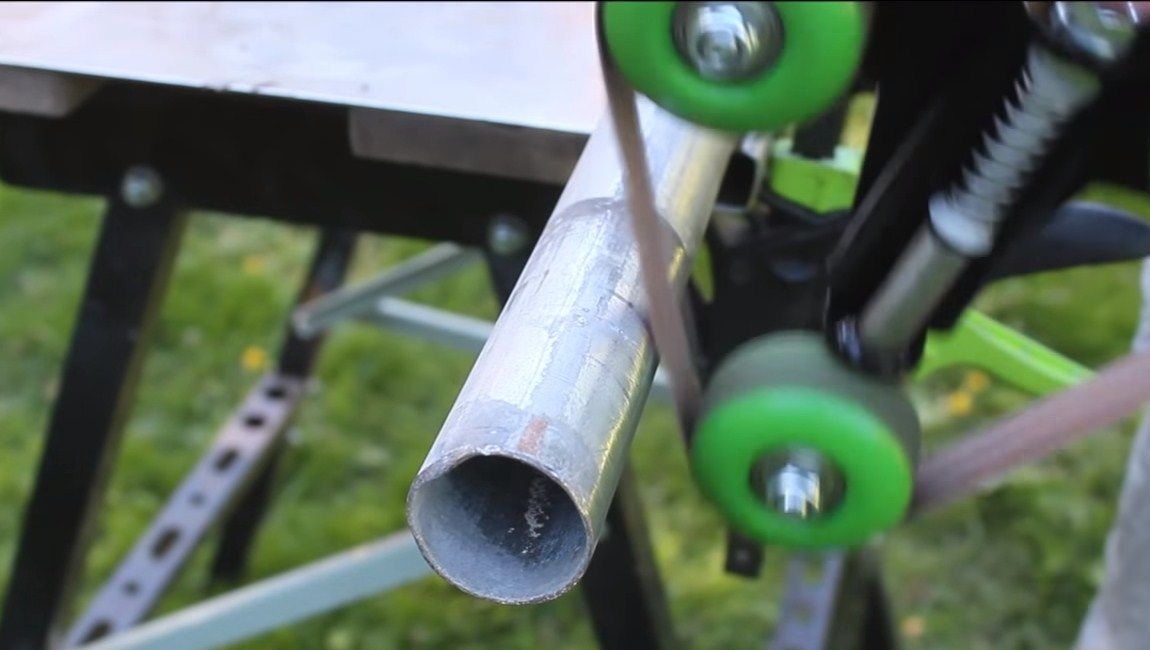
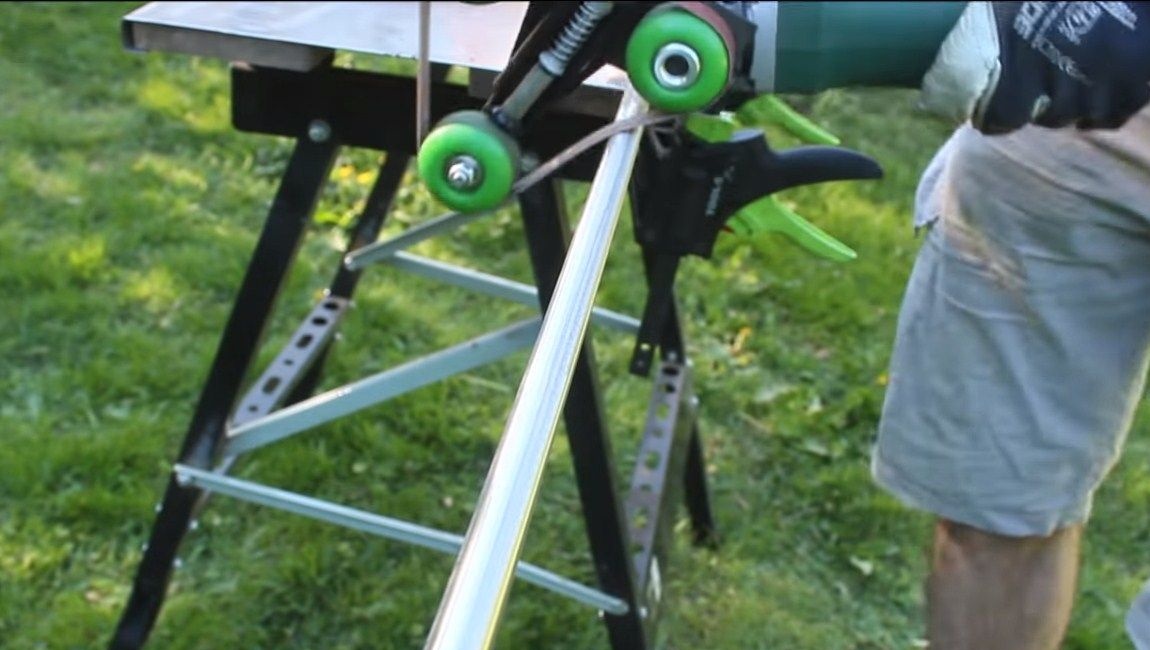

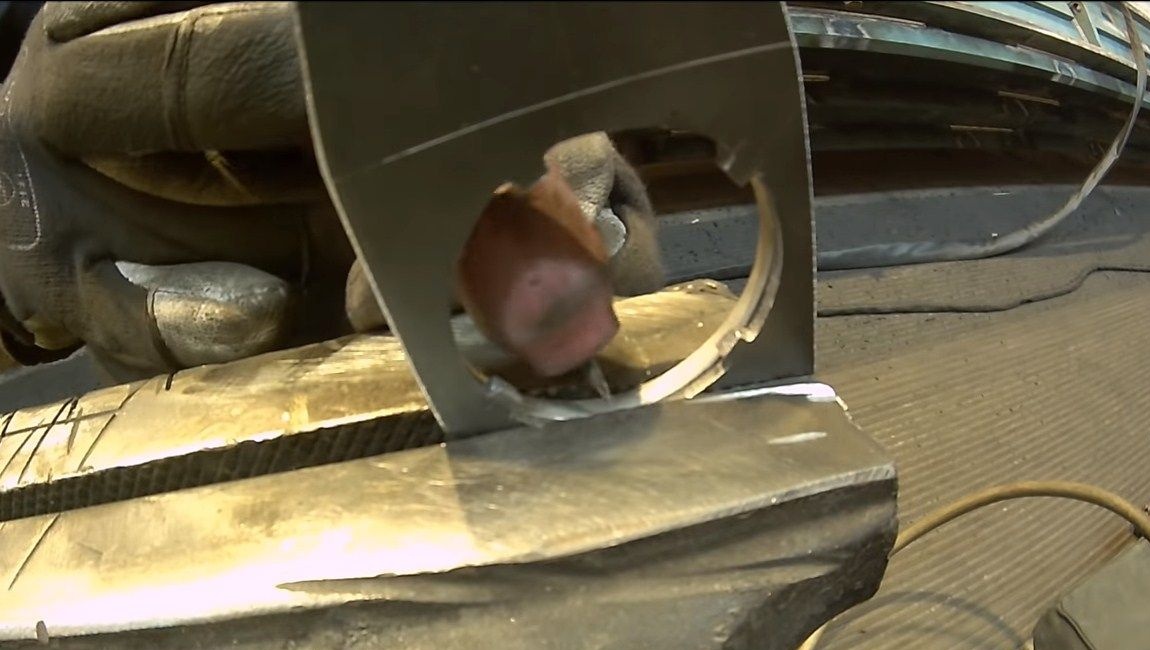
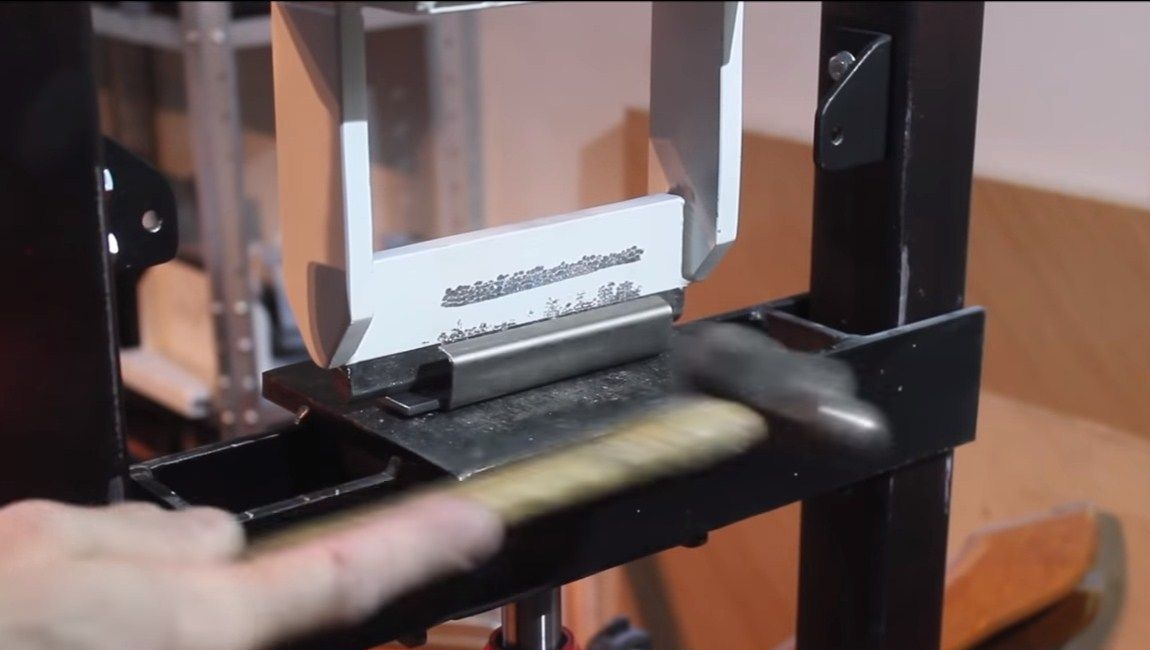
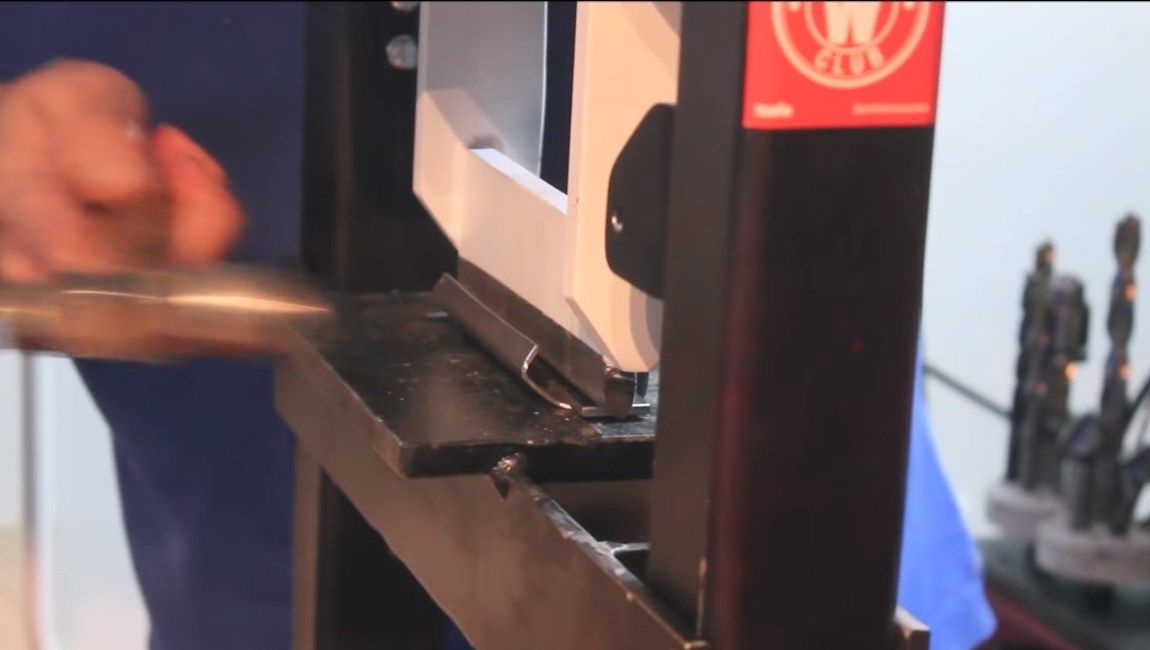
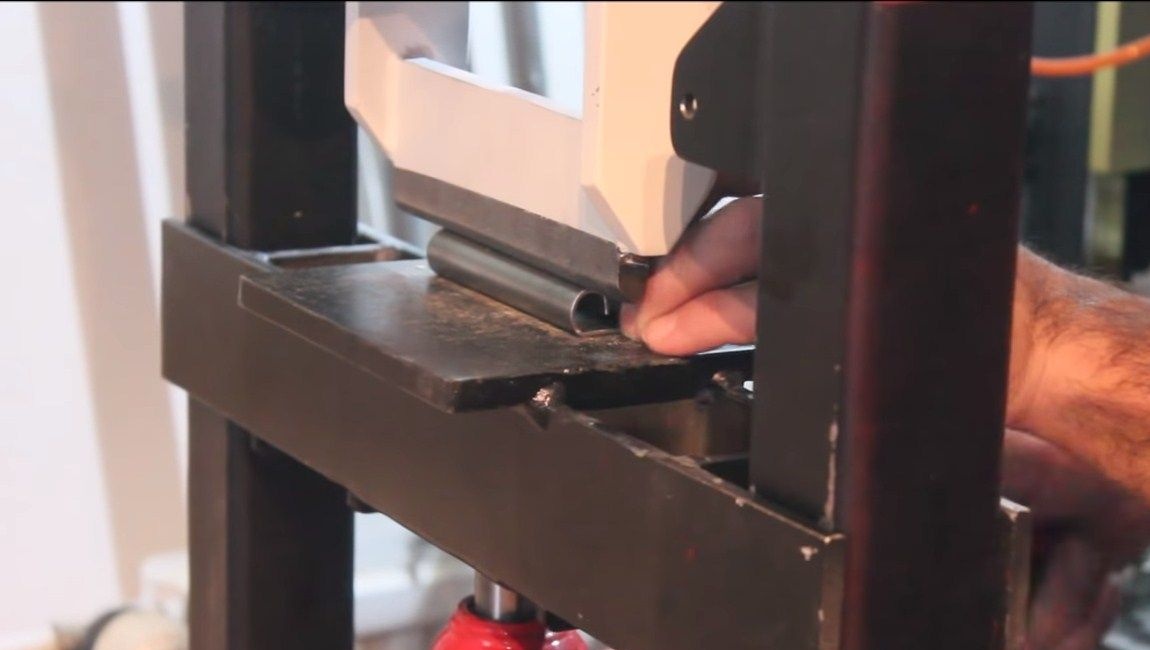
How it works, look at the photo. When you touch the pipe, the belt bends a little, as a result, a large plane of pipe processing is captured. Now it’s easy to process the pipe quickly and efficiently.
The nozzle is removed very easily and after installing the shield with a circle, the grinder acquires its standard version.
I hope you enjoyed the project, and you found something new for yourself. Good luck and creative inspiration in the manufacture. Do not forget to share your best practices with us!