In this article, Matthias, the YouTube author of Matthias Wandel, will tell you about making a spare quick-release plate for a tripod.
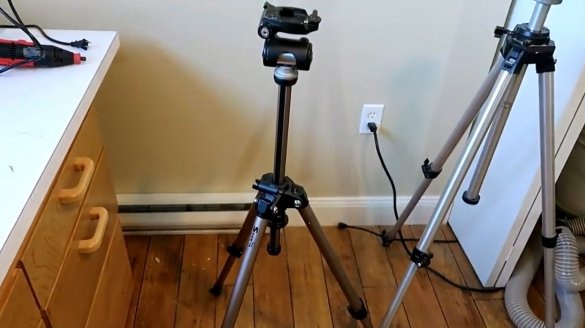
Tripods of this kind are quite popular among photographers. They are affordable, but they have one “but”: this insert inside is very often lost. The author came up with a replacement for her.
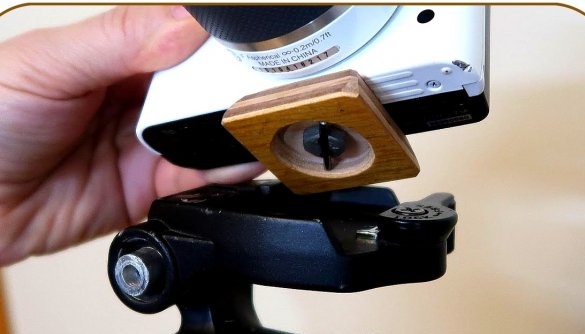
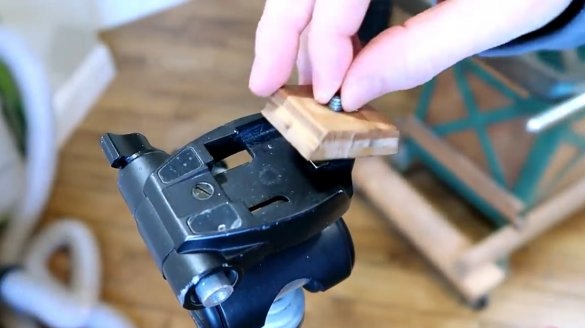
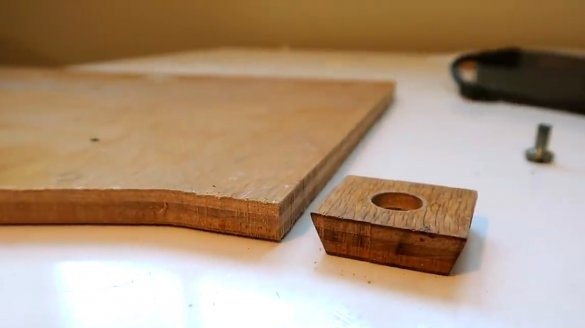
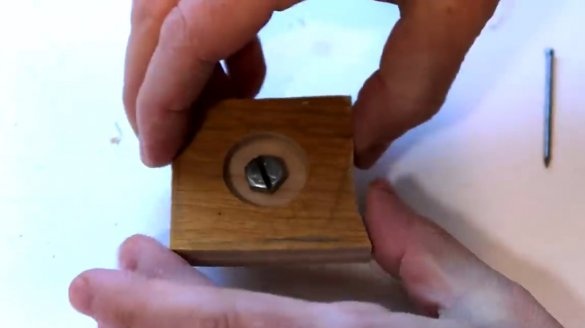
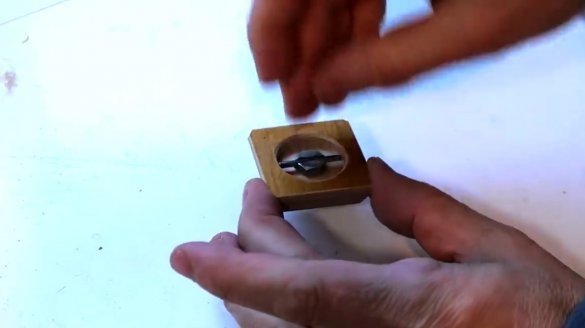
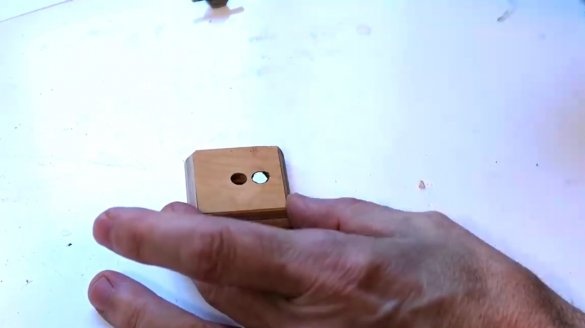
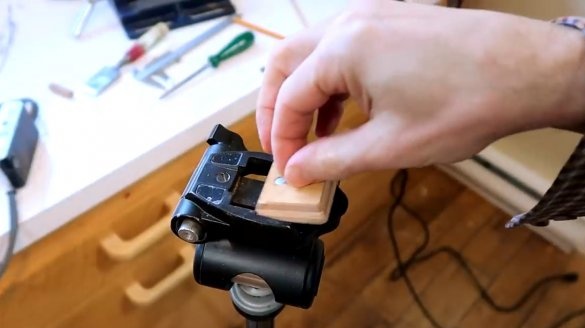
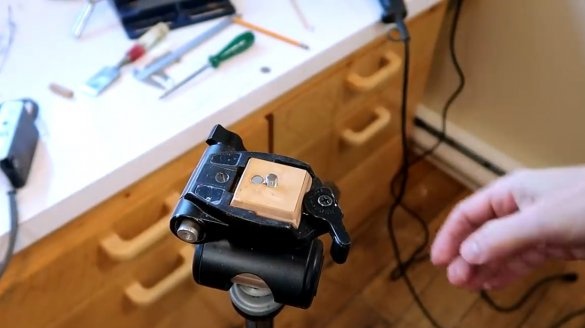
This small wooden block with a bolt in the middle is able to make up for the lost part.
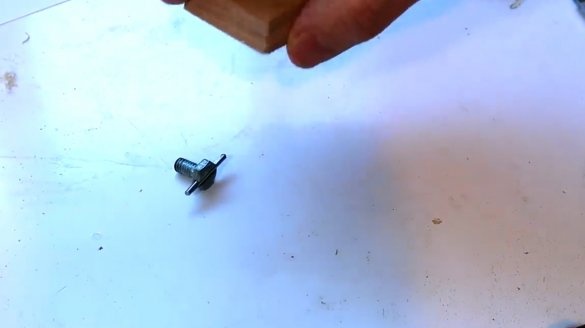
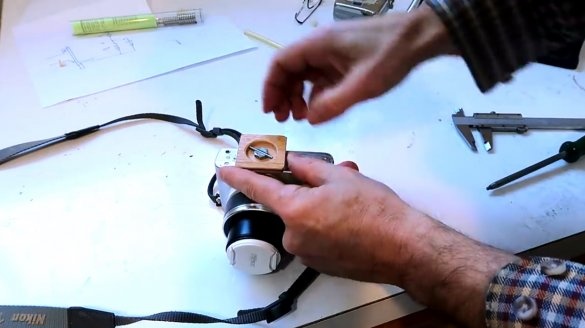
The specimen shown is not perfect. The insert has a ¼ inch bolt in which the author has machined a small slot so that it can be easily tightened. It was originally conceived so that the bolt could be twisted with the thumbnail. It is very convenient and you do not need to carry small objects with you in the form of a key or washer. But the slot turned out to be somewhat wide.
In addition, the author did not take into account that this insert should be on both sides. In this part, it turned out somewhat narrower than necessary. It is also necessary to pay attention to this.
Materials
- sheet plywood
—
- A bolt, a nail.
Instruments, used by the author.
—
- A circular saw
—
—
—
- Drilling machine
—
- Vise, chisel.
Manufacturing process.
So, the master is going to make the second version of the insert. He will make it from the same material - thick plywood. It differs from ordinary plywood in that it includes several layers of maple veneer.
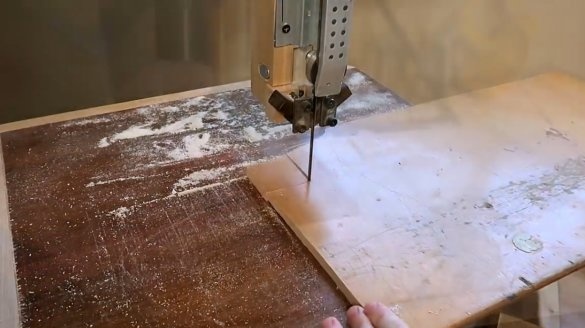
First, the workpiece is cut on a band saw.
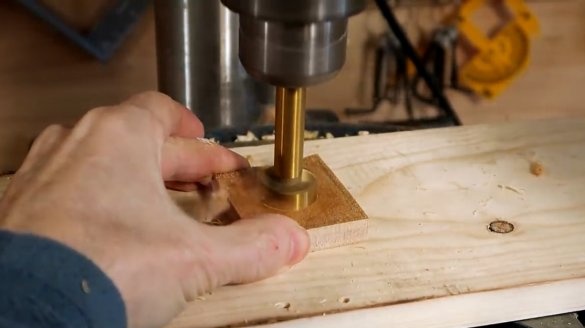
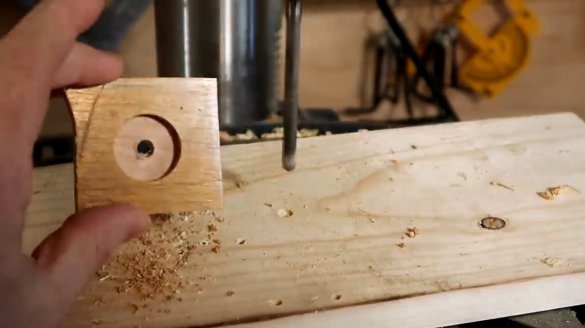
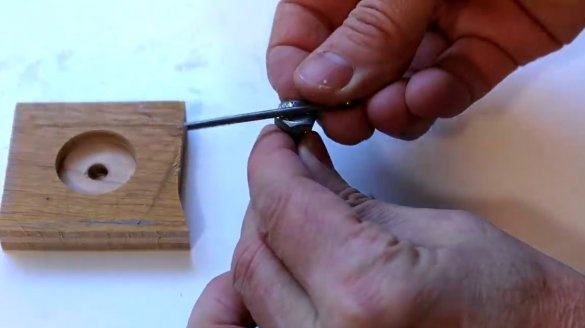
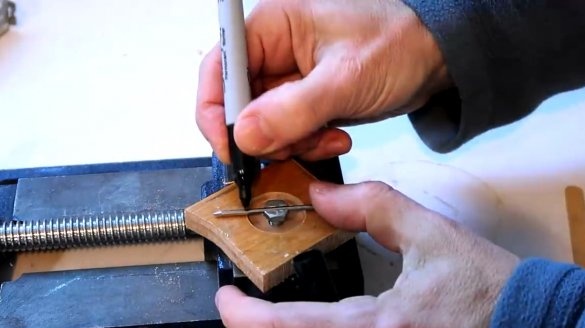
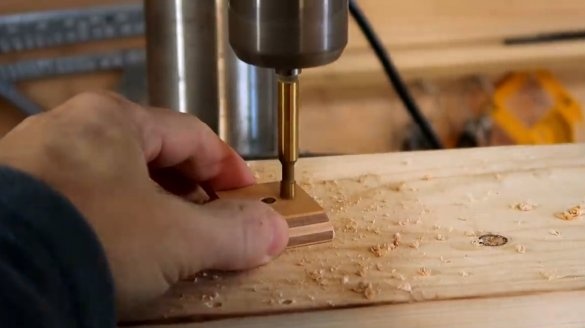
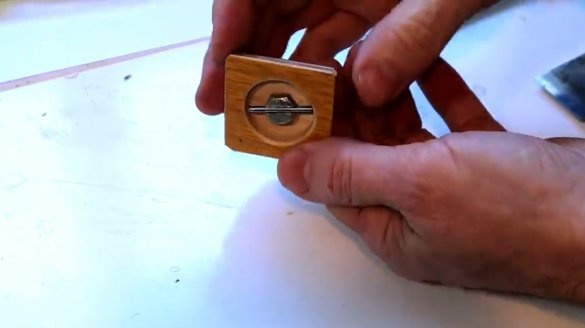
After the Forstner drill, a wide blind hole is made in its center, which is complemented by a through central hole. The first recess is made for the convenience of a manual grip, while a bolt will be threaded through the second.
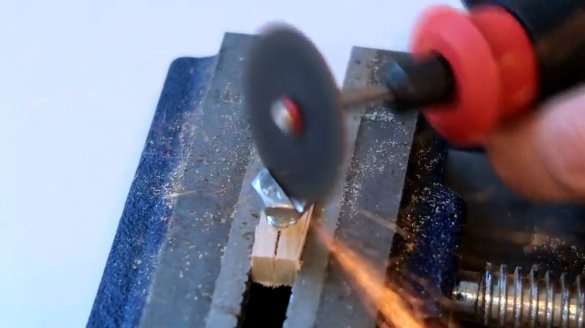
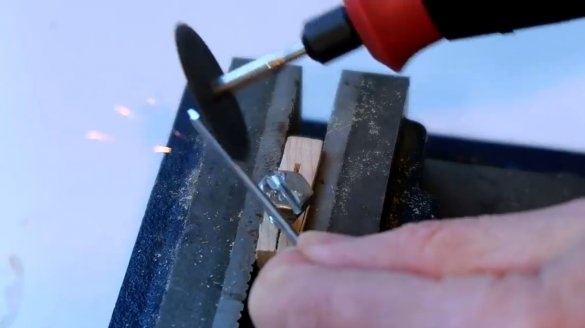
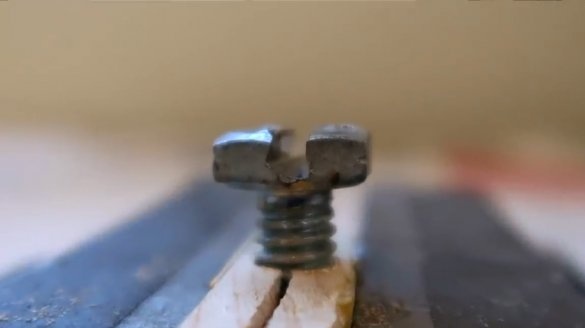
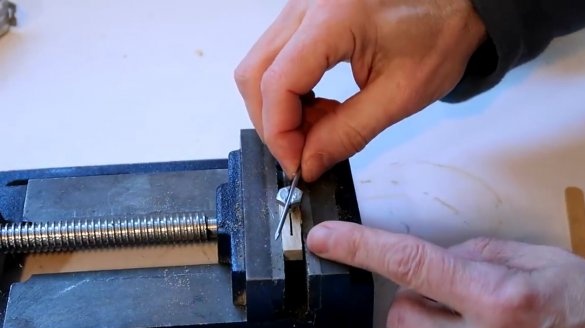
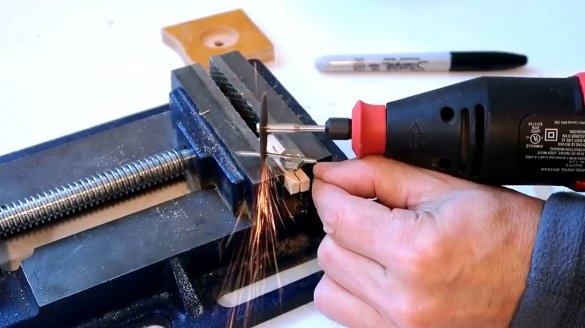
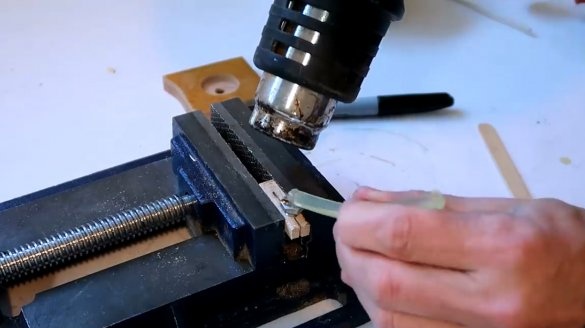
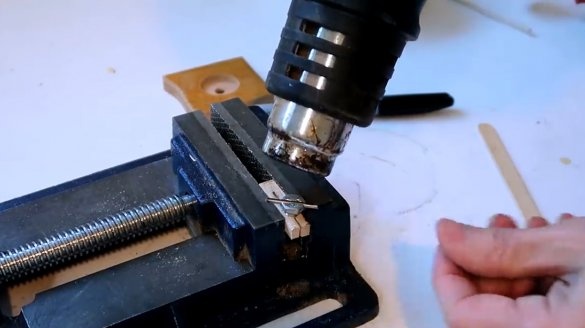
The author comes up with an idea to thread steel studs through the slot in the bolt to increase the lever when tightening the bolt. The slot is made using dremel. At the same time, the author grinds two opposite sides of the nail, making them flat. Now they will clearly go into the groove.
It turns out here is a groove narrowed from above, but expanded downward.
Excess parts of the nail are cut off.
Now a drop of hot glue, and the rod is tightly fixed in the groove of the bolt head.
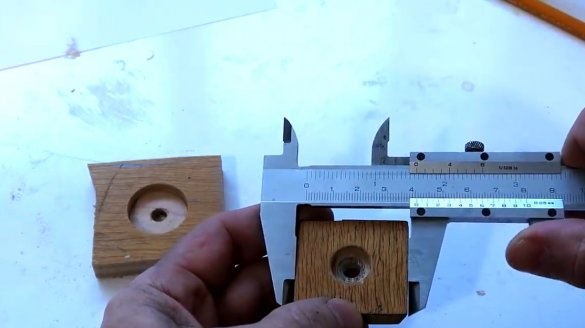
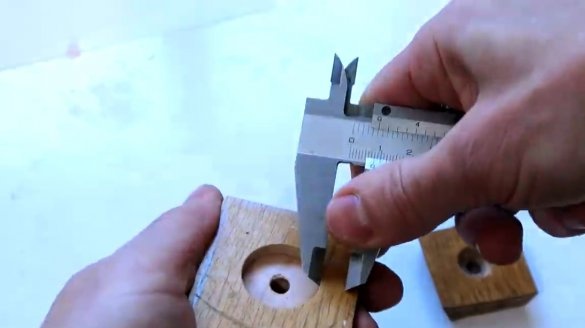
The second insert will be slightly larger than the first. Say 40.5 mm. And the internal recess is 25.4 mm. The difference is 16 mm. From the inner wall, the master lays on each side out half the distance of the diameter of the recess.
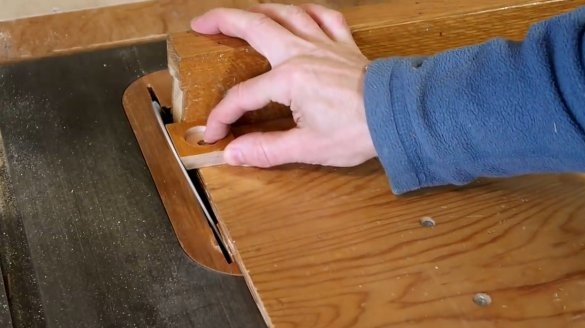
The rest of the work is done on a circular saw. First, the sides are trimmed with a blade perpendicular to the plane.
And then the blade is mounted at an angle. So Matthias gets the beveled sides.
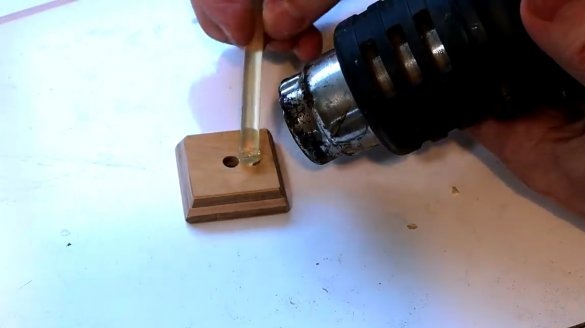
The author does not want the bolt to fall out of the socket just like that. Therefore, it attaches a neodymium magnet to the back.
He makes a small hole on the drill press,
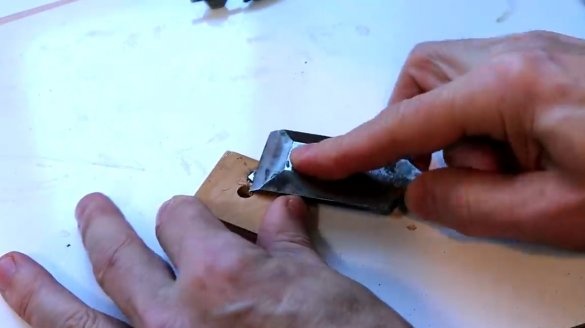
Adds a little hot glue there and glues a magnet. It is important not to overheat it, otherwise it will lose its magnetic properties. Better to use a second glue. Excess glue is cut off with a chisel.
Now the bolt does not fall out anywhere.
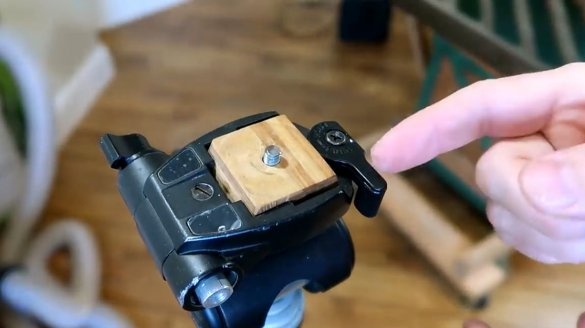
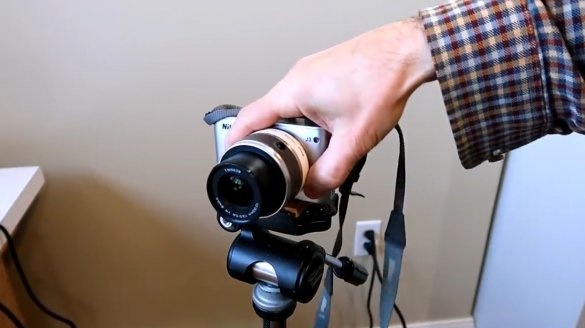
But here is how it looks in the assembly, the plate snaps securely into a tripod. The insert is no worse than the original, plastic.
I thank the author for the simple but useful device for the photographer!
All good mood, good luck, and interesting ideas!
Author video can be found here.

