
In this article, you will learn how the author of the YouTube channel “Good Master” modernized and improved his drilling machine. Today we will select an engine for it, install a digital ruler, as well as a backlight.
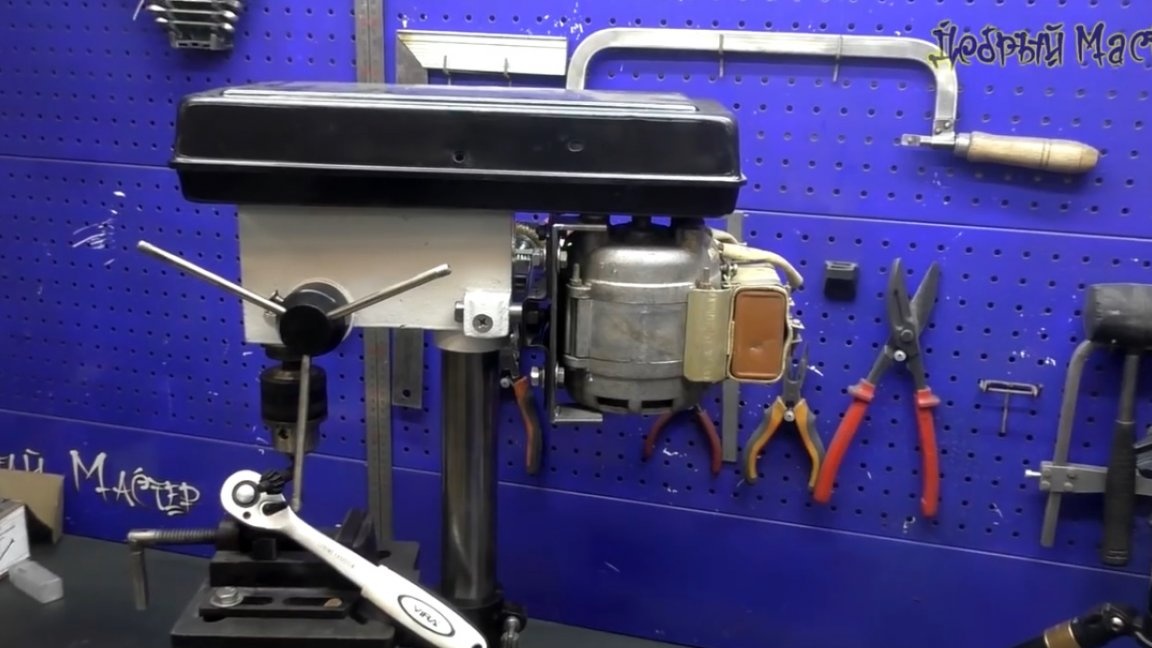
So, the state of this machine leaves much to be desired. After long picks of the electric motor, the author's choice fell on this kid from the Soviet washing machine.
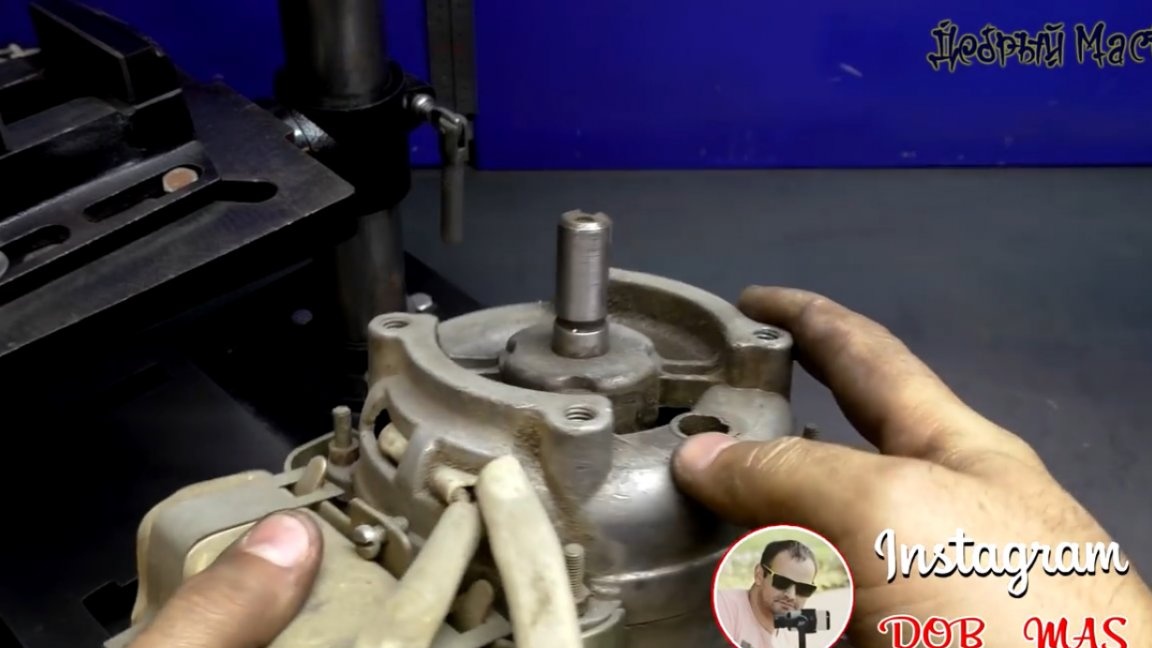
This engine is fully operational and even with a starting capacitor. To begin, let's try to fix it in its rightful place on this plate with a tensioner.
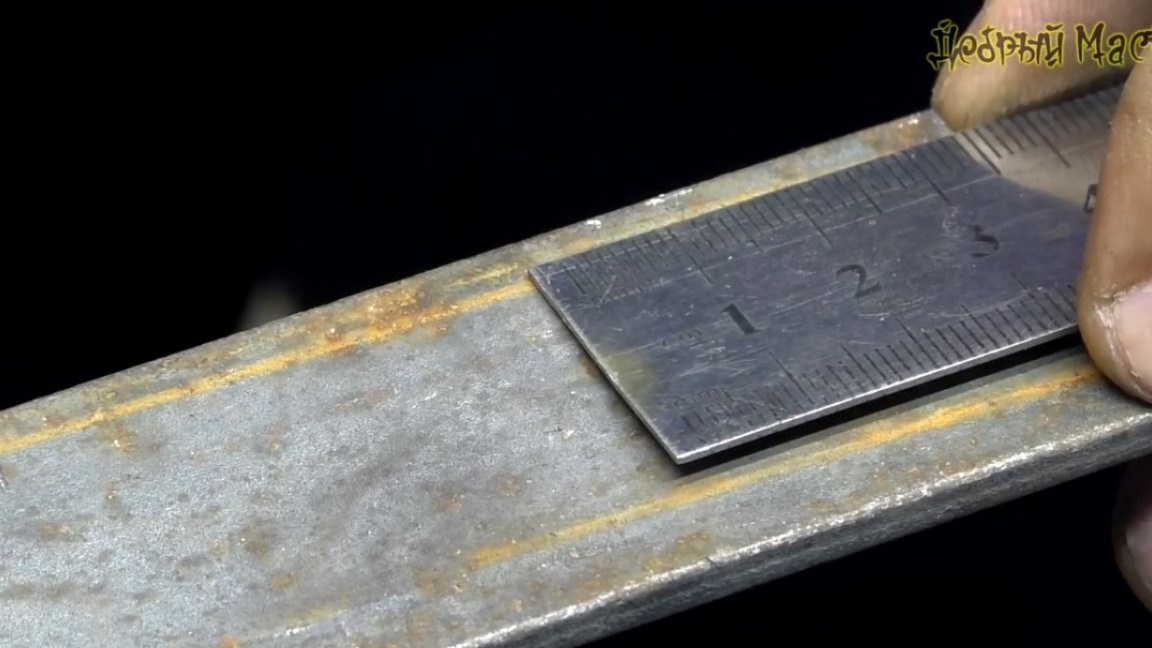
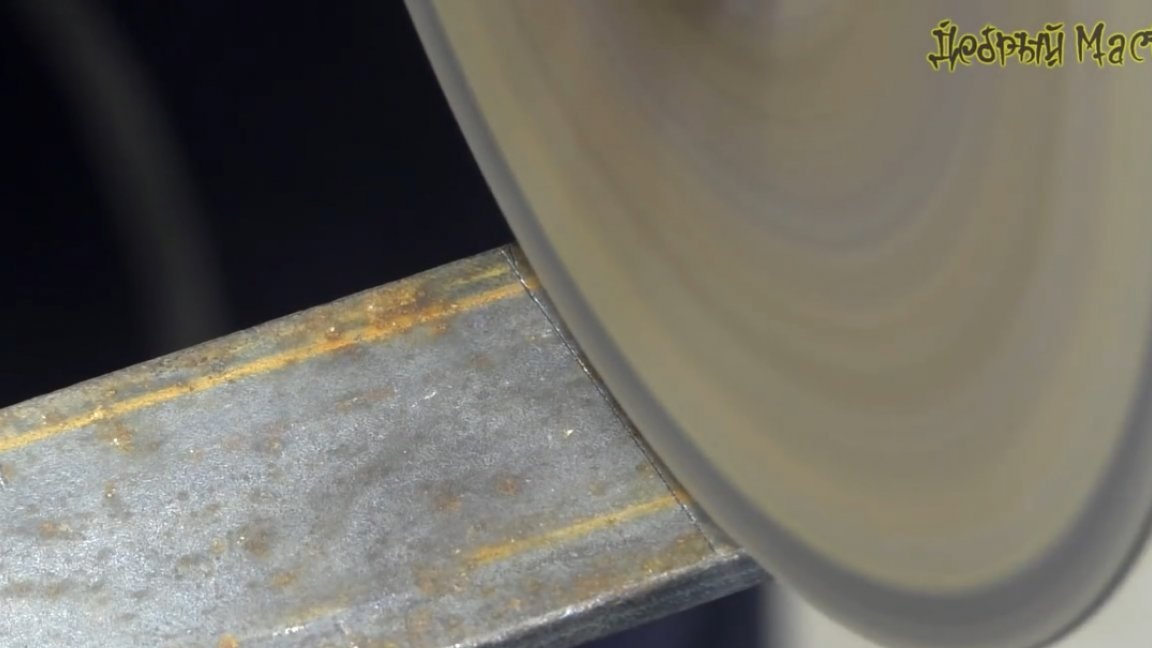
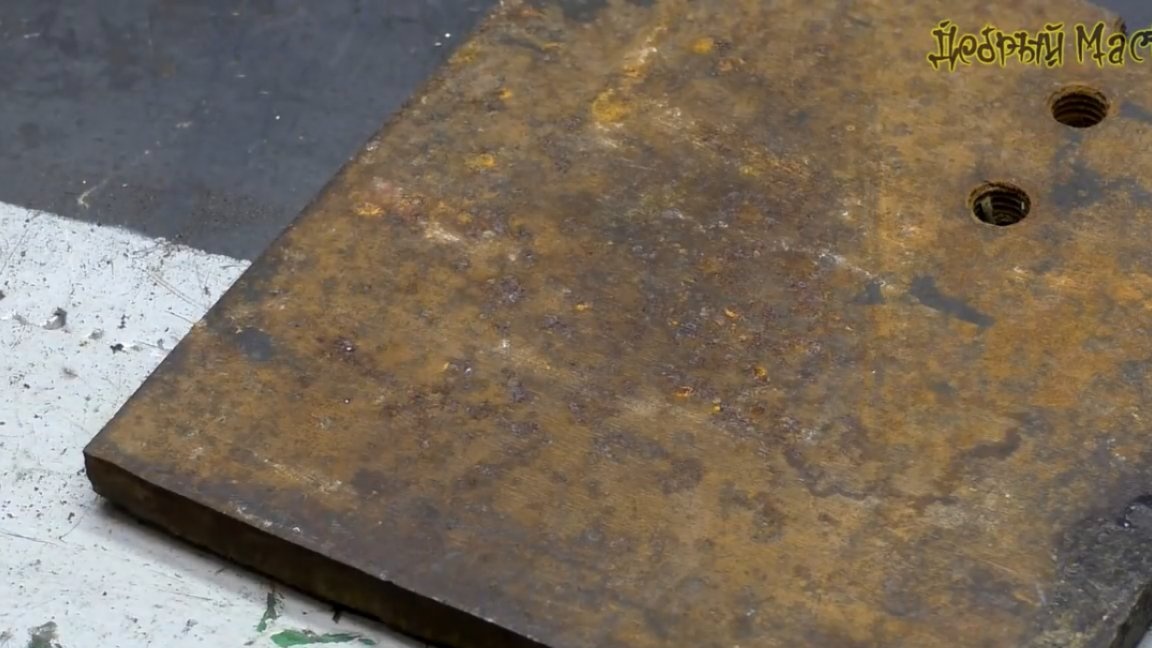
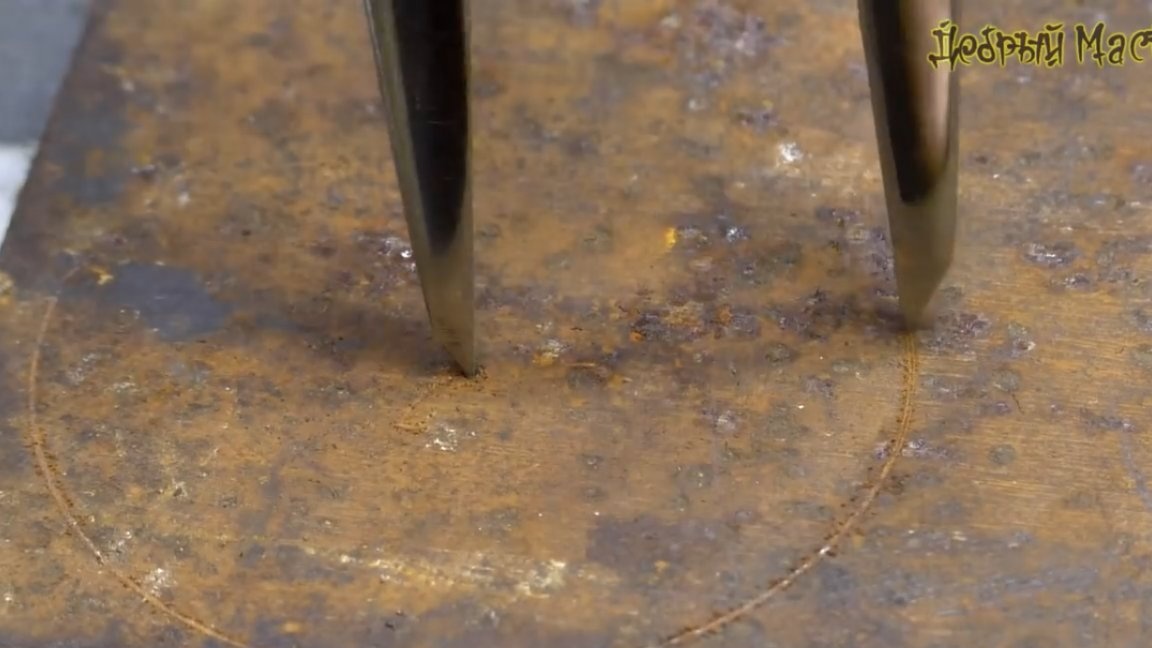
Since the holes on the standard plate are horizontal for mounting the engine, and vertical on the new motor, adapter plates will have to be made. We will make them from a strip of metal 40 mm wide. To do this, mark the cut lines and cut using an angle grinder.
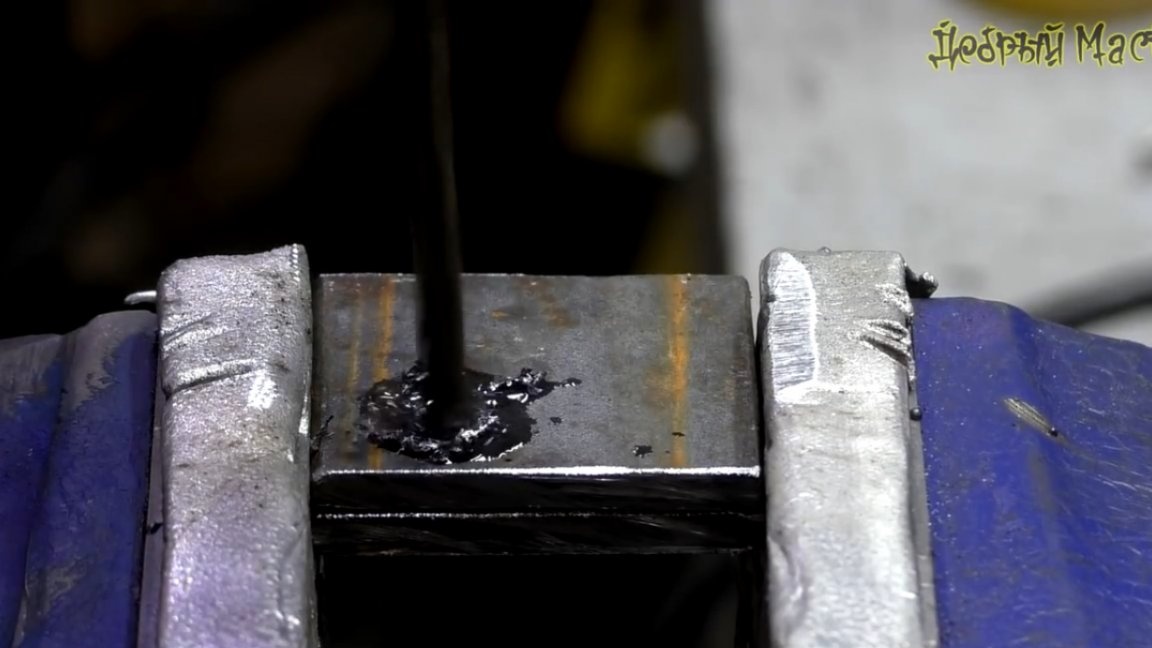
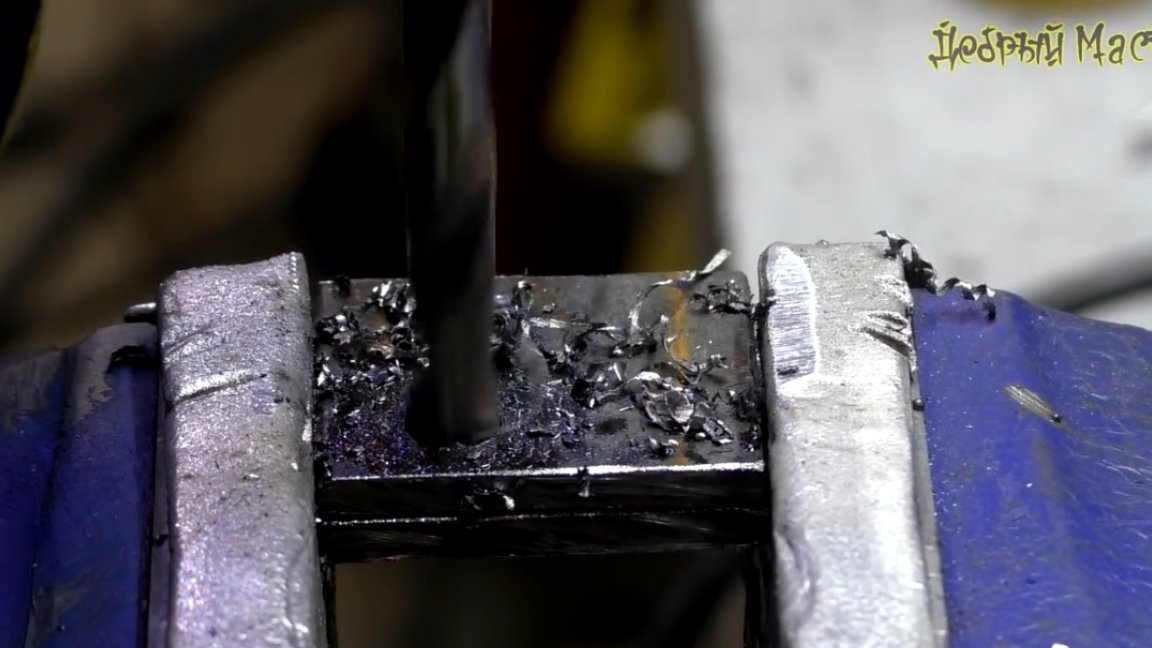
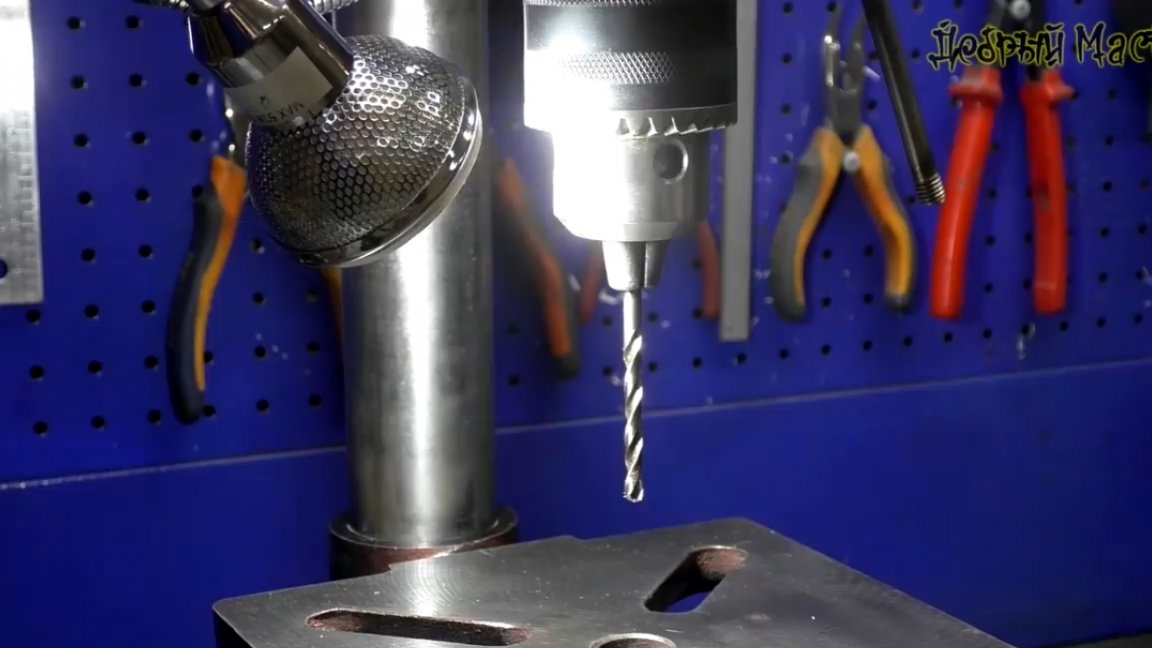
Do not forget to use protective equipment. To make the holes coaxial, we drill the plates in pairs, as usual, first with a thin drill and then in the desired diameter.
The upper plates are ready and now you can try them on. We will mount them here on such m8 screws.
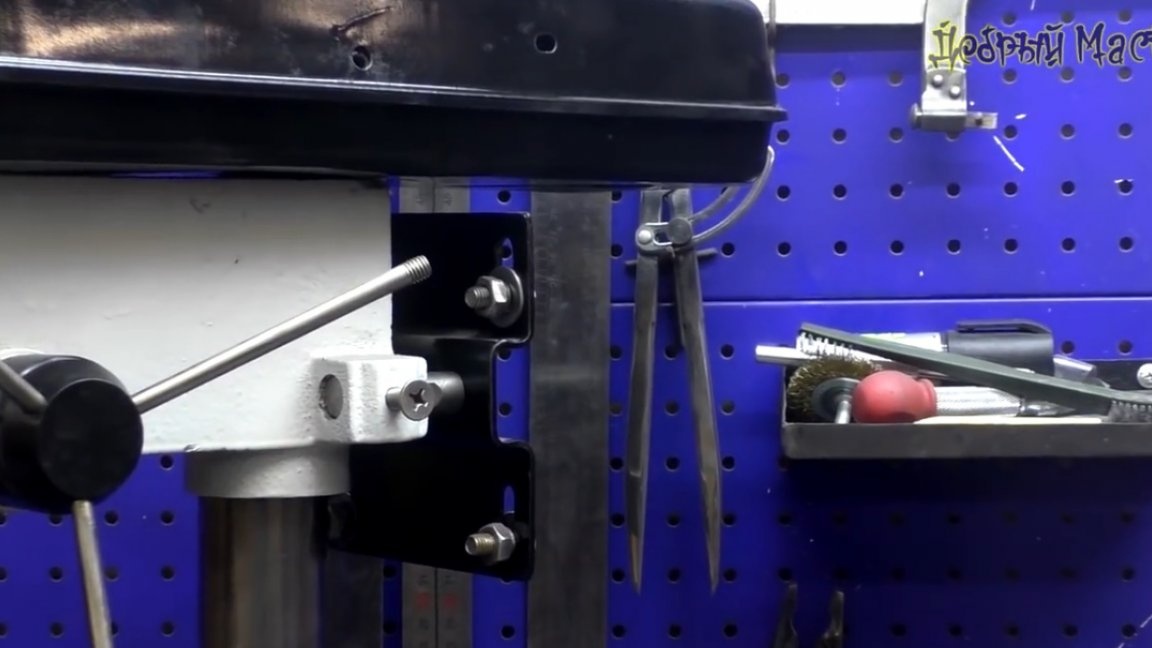
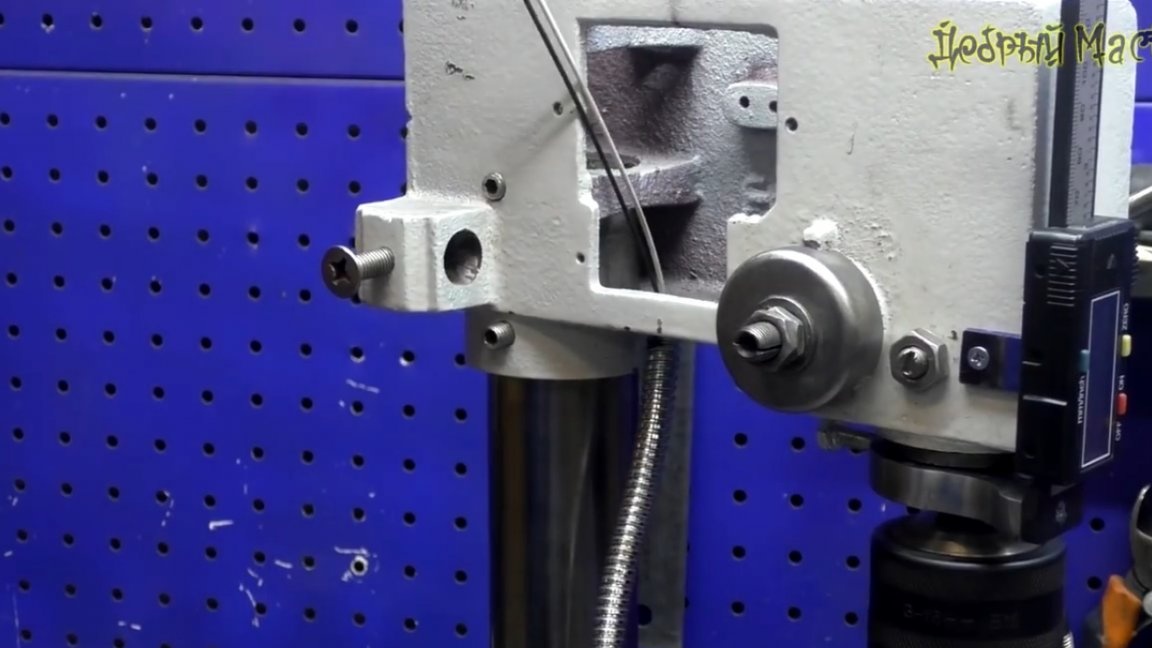
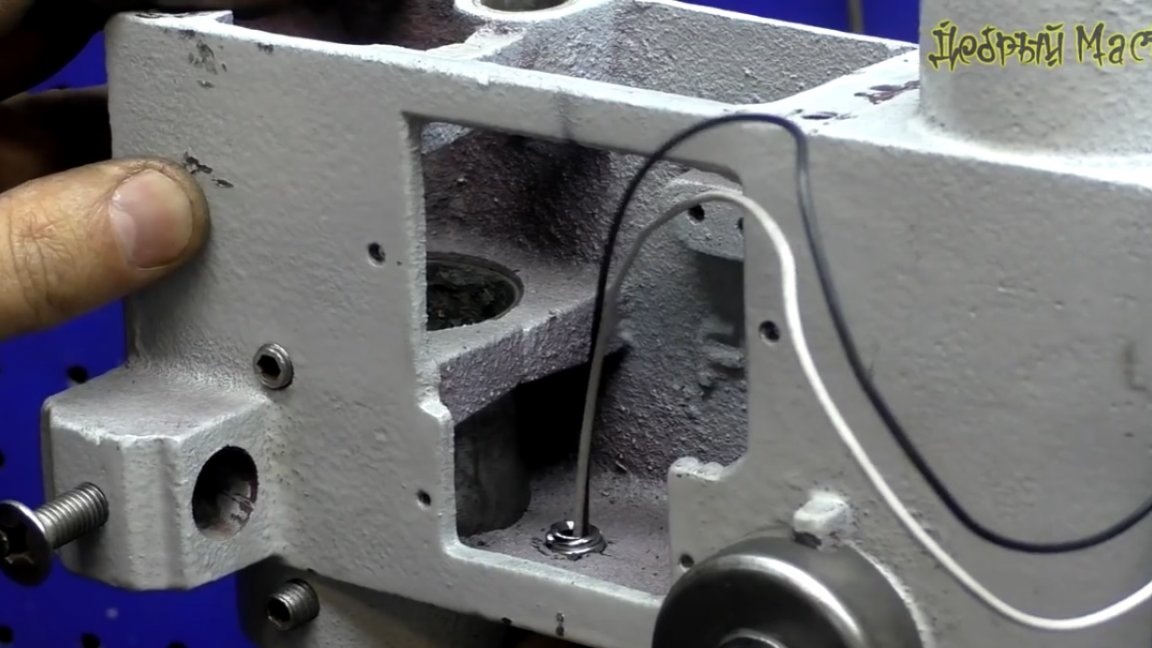
The author decided to cook the remaining parts of the future mount in place, so it will be more accurate.

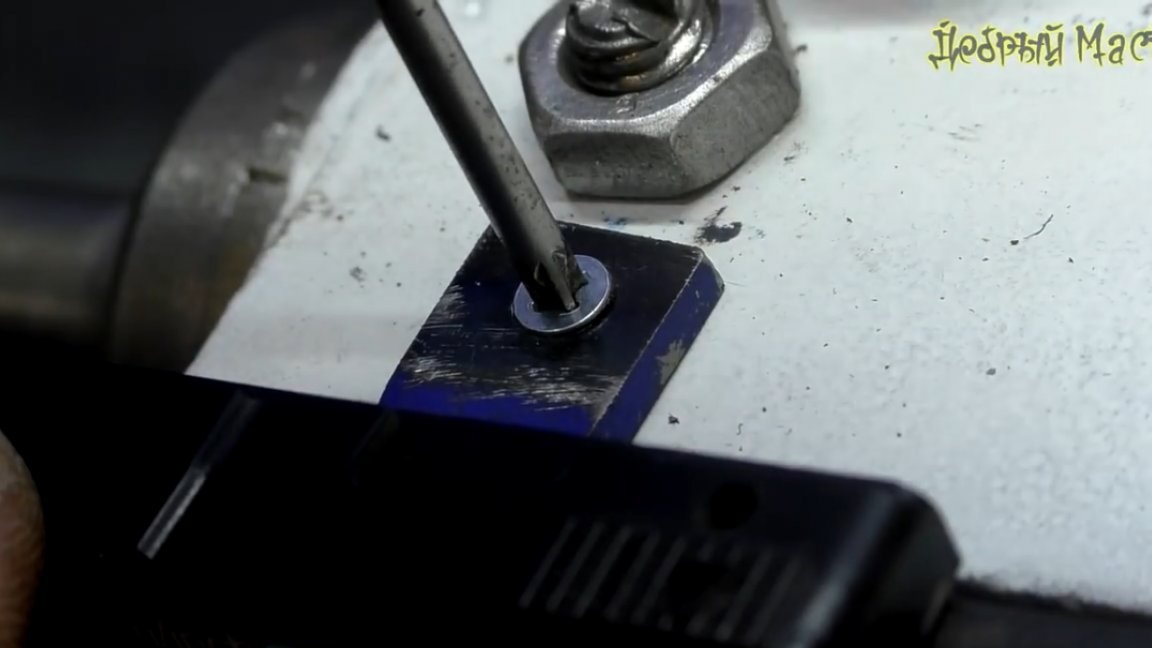
Now we simply attach the factory bracket to our design and mark the places of future holes in the middle of the grooves and drill.

And here is our machine with an engine mounted on it.
Now you can disassemble this design for subsequent painting. In the meantime, the details are dry, let's move on to the digital line.
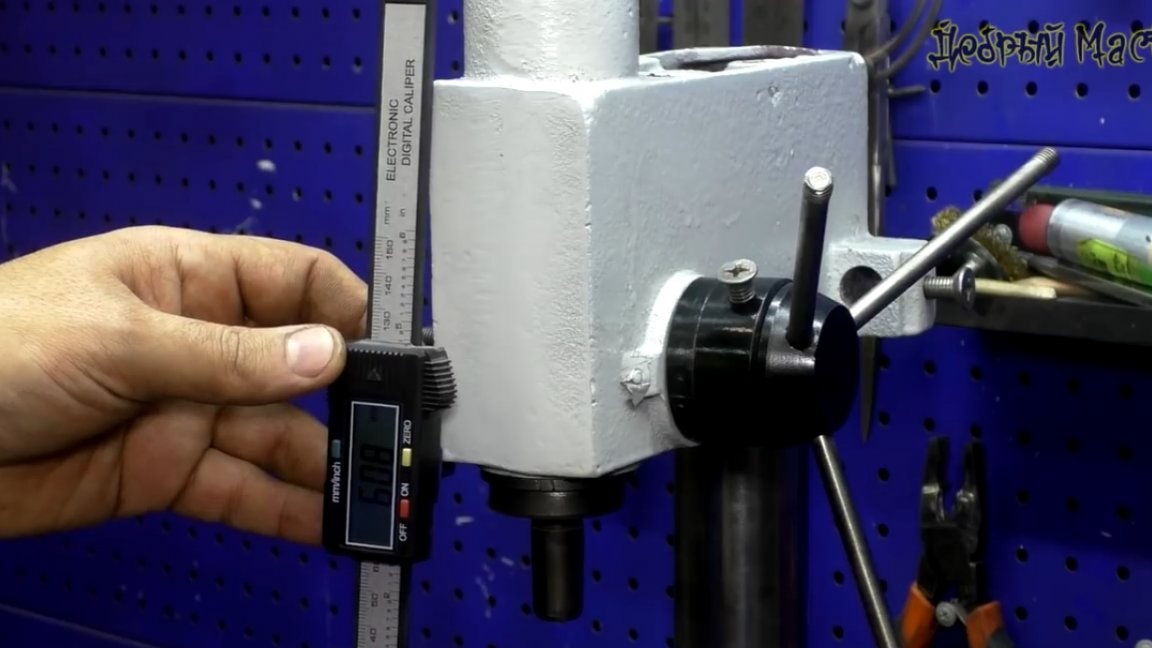
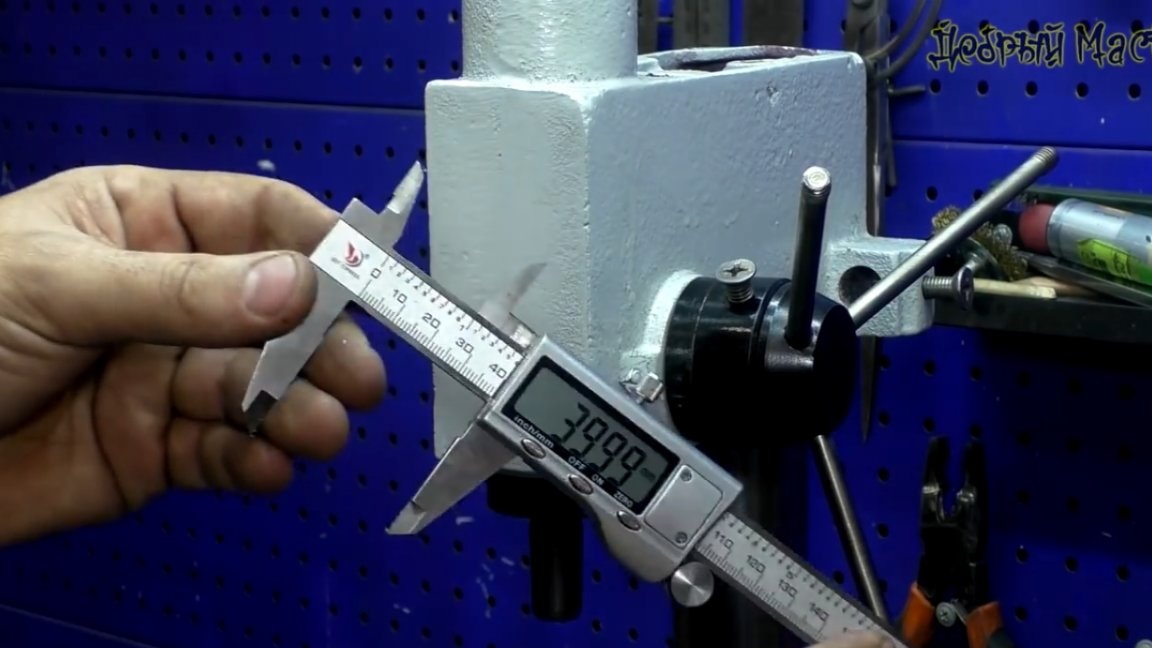
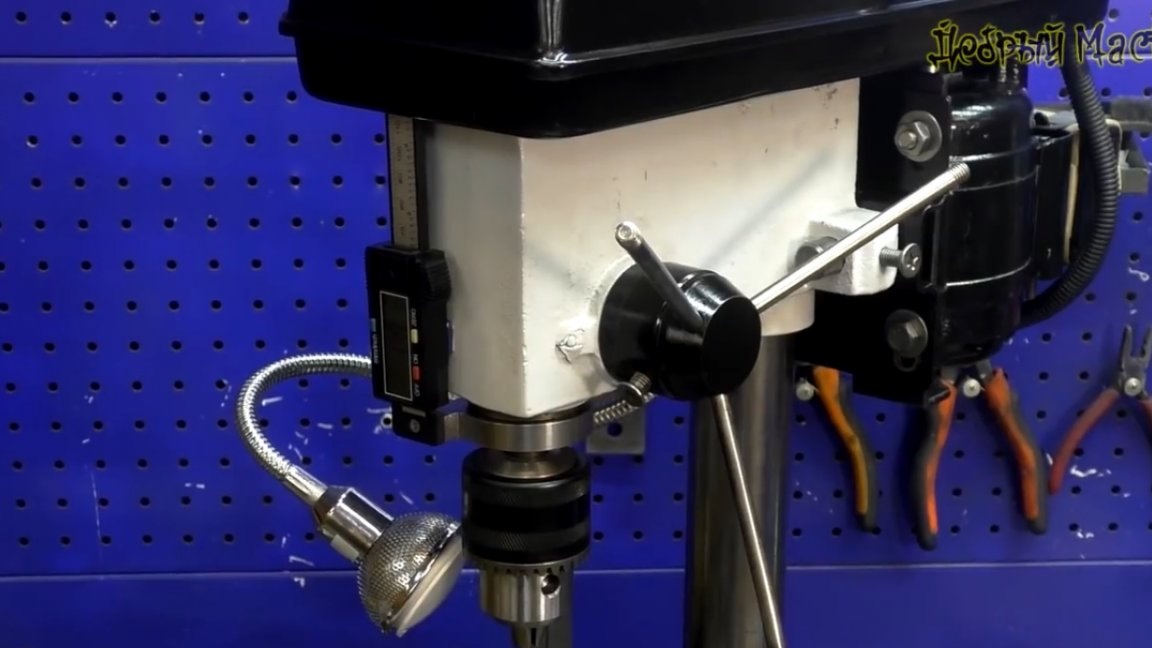
The author removed this device from his old home-made drilling machine. The ruler is plastic, made from a Chinese caliper. We will attach the moving part to the pins of the drilling machine. It has a groove on which protection was previously worn. The diameter of this groove is 40 mm.
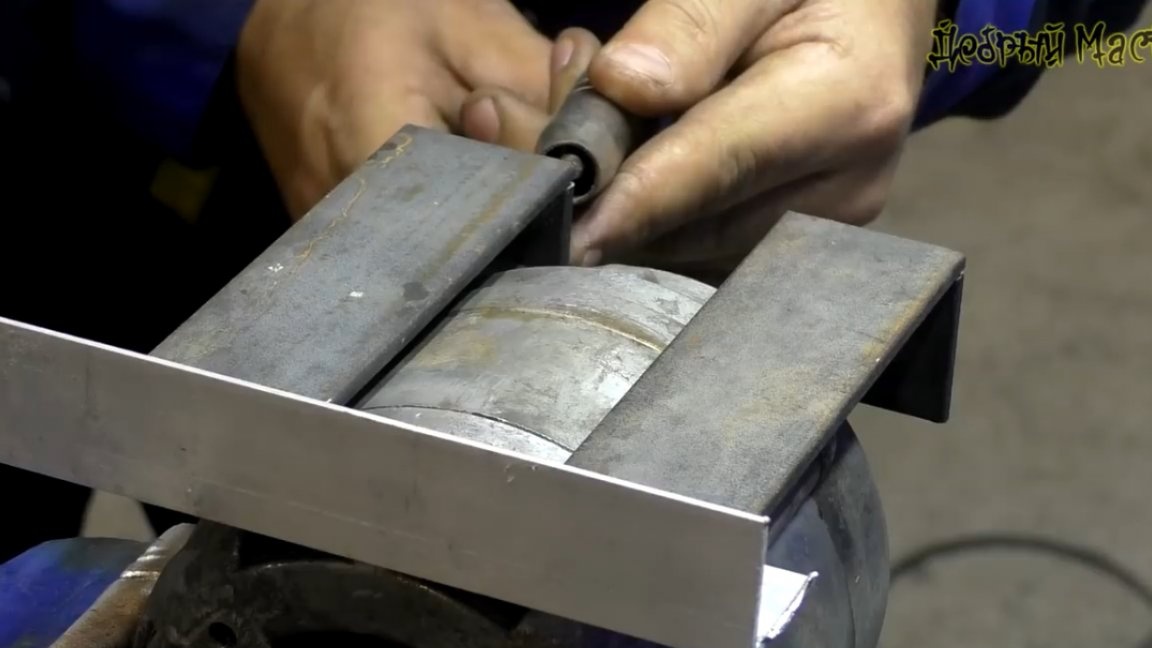
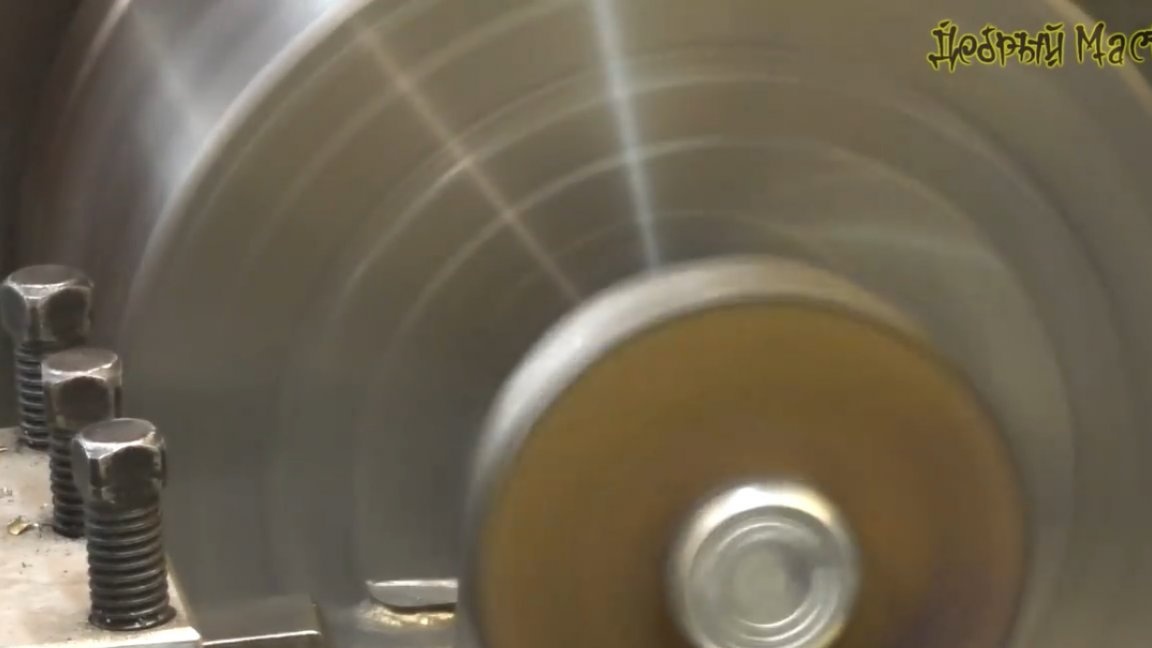
Since the author did not find a round log of the required diameter, he decided to make a blank of sheet metal with a height (thickness) of 10 mm.
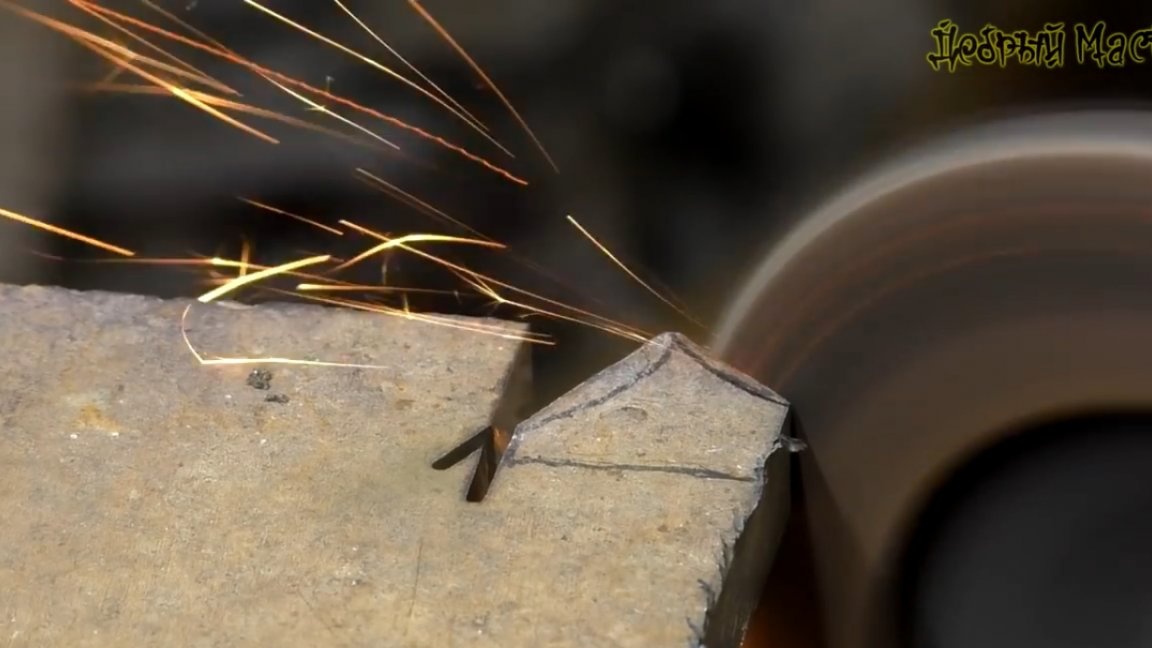
We mark the approximate circumference of the future part and cut it with an ordinary grinder. We also cut off all sharp corners in order to remove less metal later on a lathe.
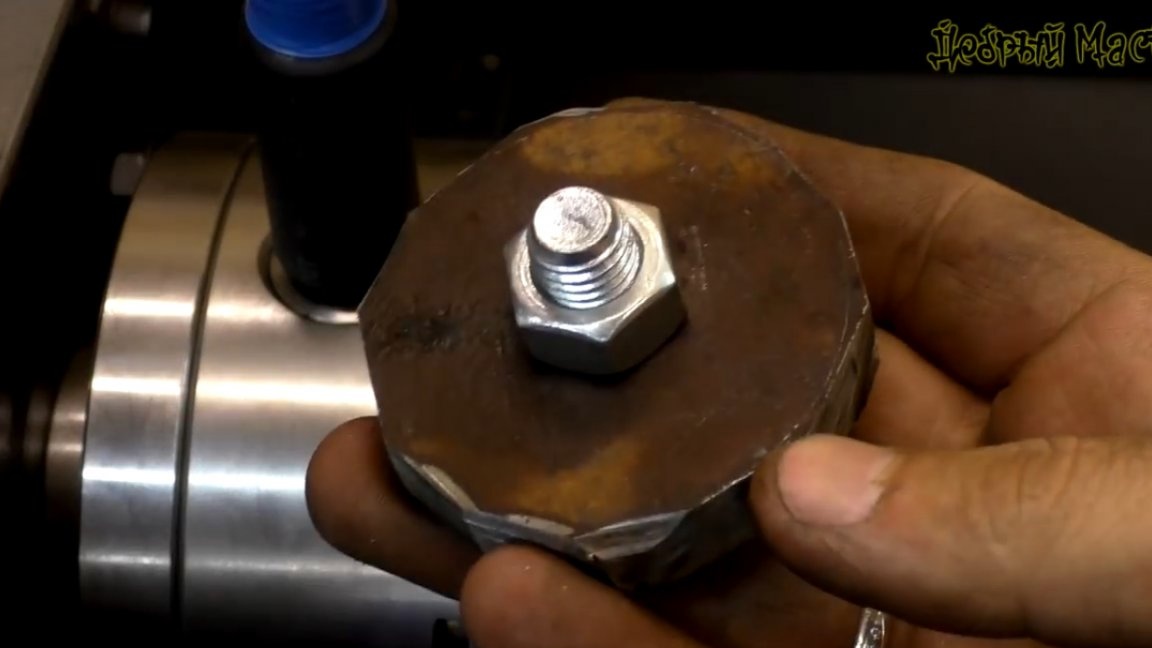
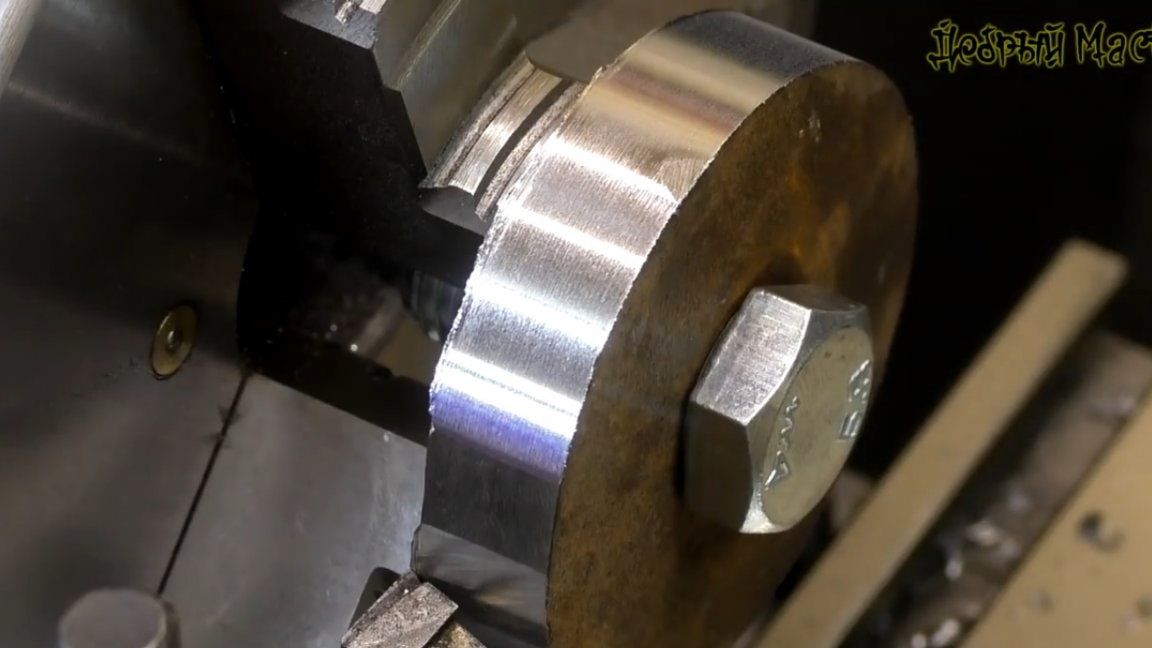
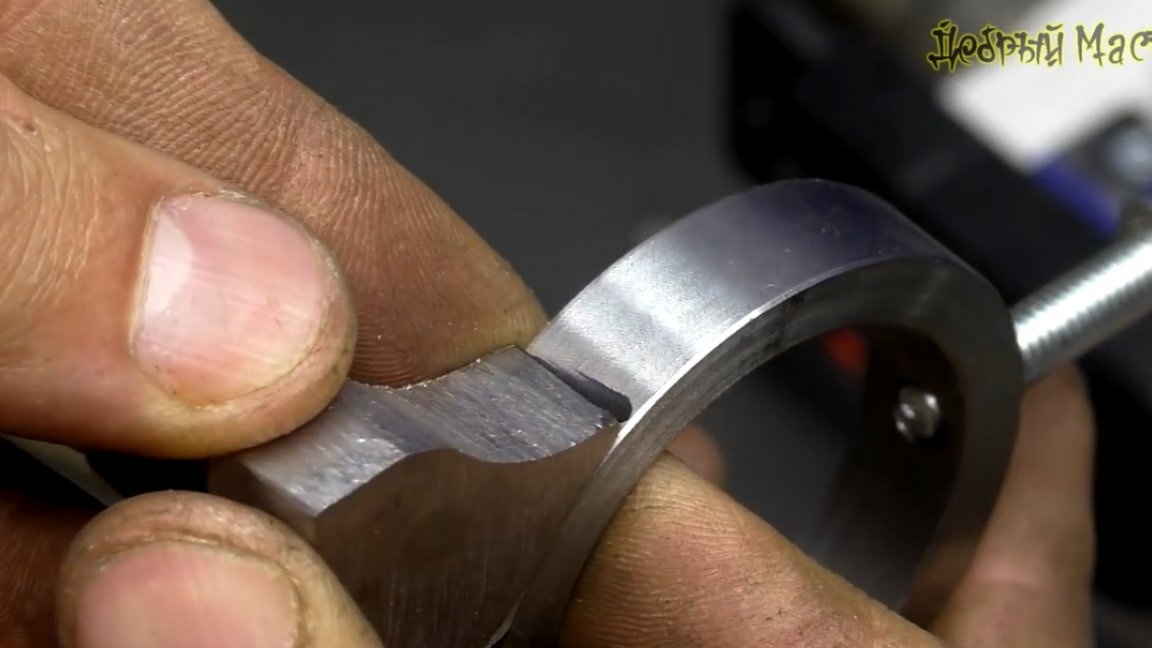
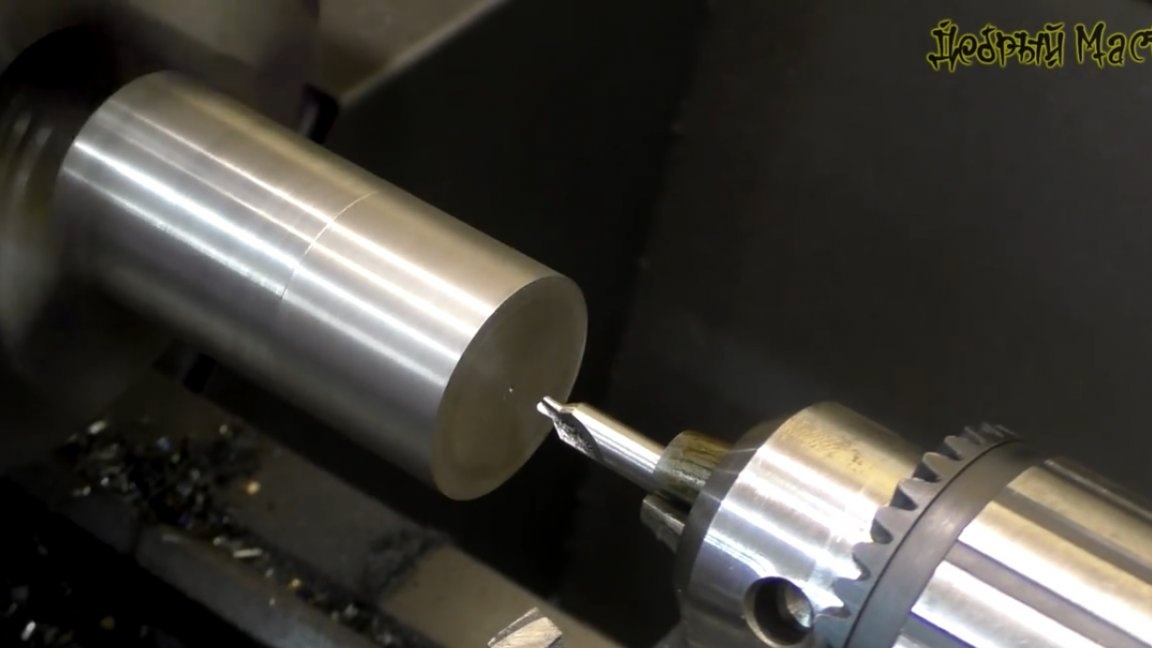
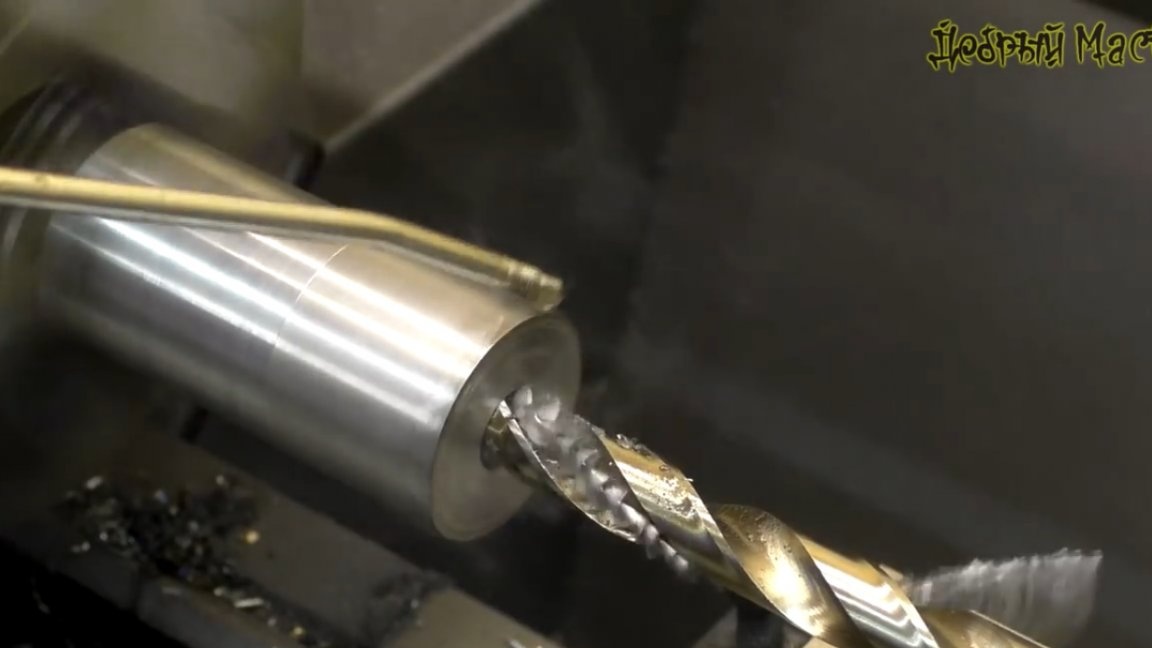
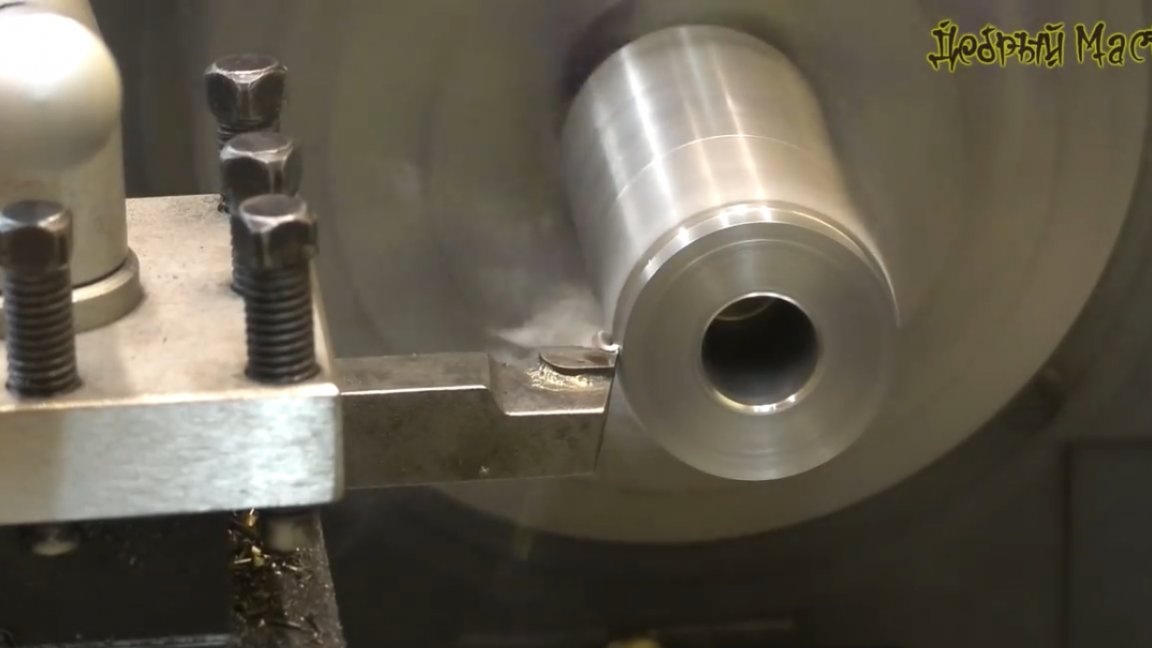
Instead of a mandrel for external processing of parts, the author decided to use the most ordinary bolt with a nut.Then, simply clamp our workpiece in the reverse cams on the outside and bore the inside.
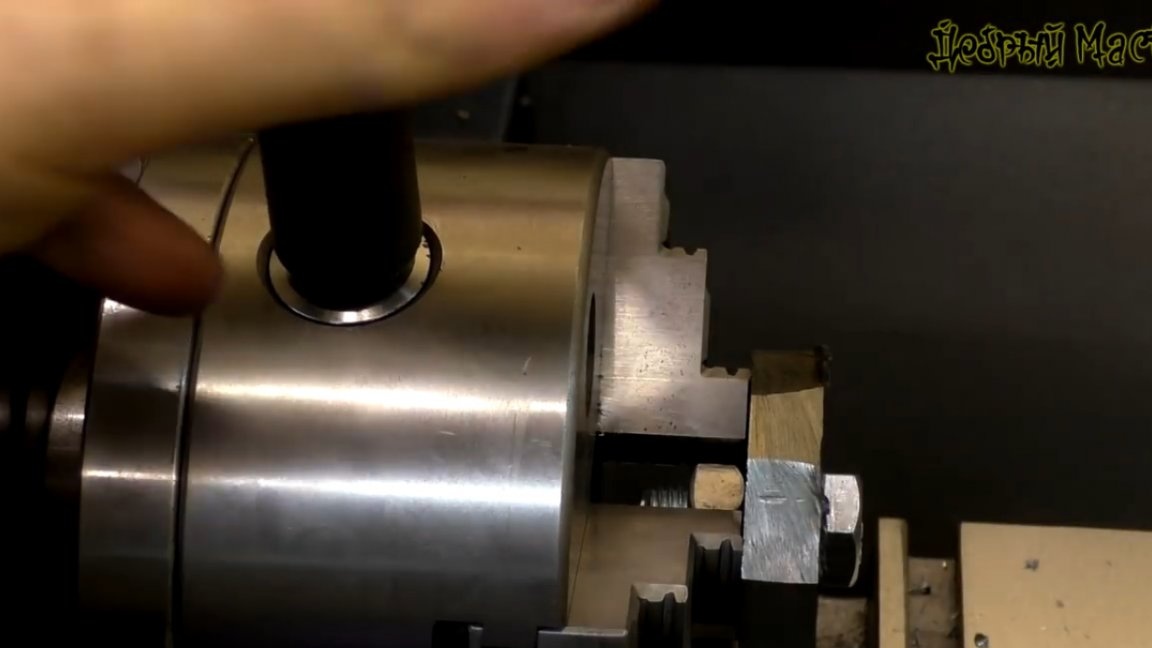
The author admits that this is probably his favorite part, he can look at how metalworking on a lathe takes a very long time.
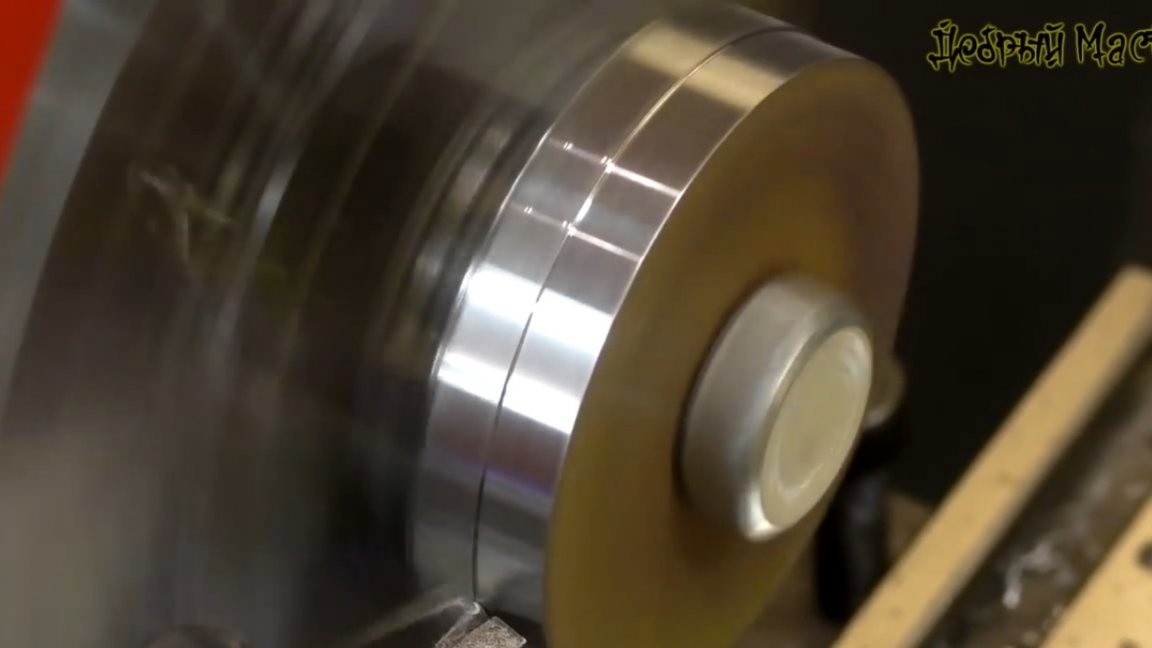
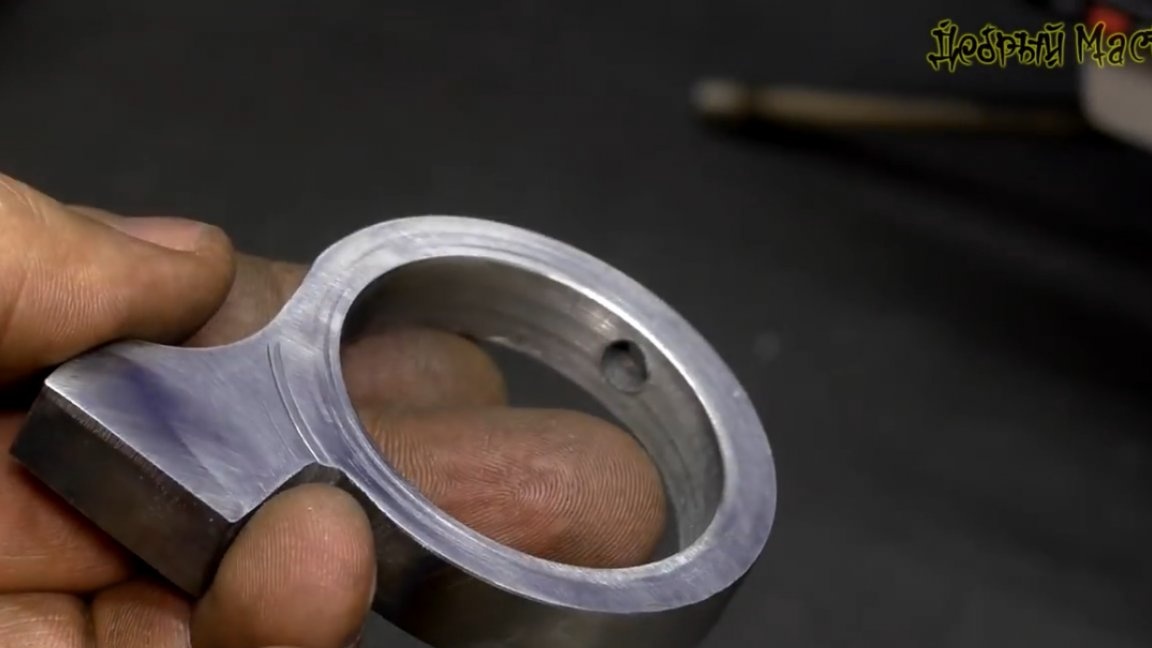
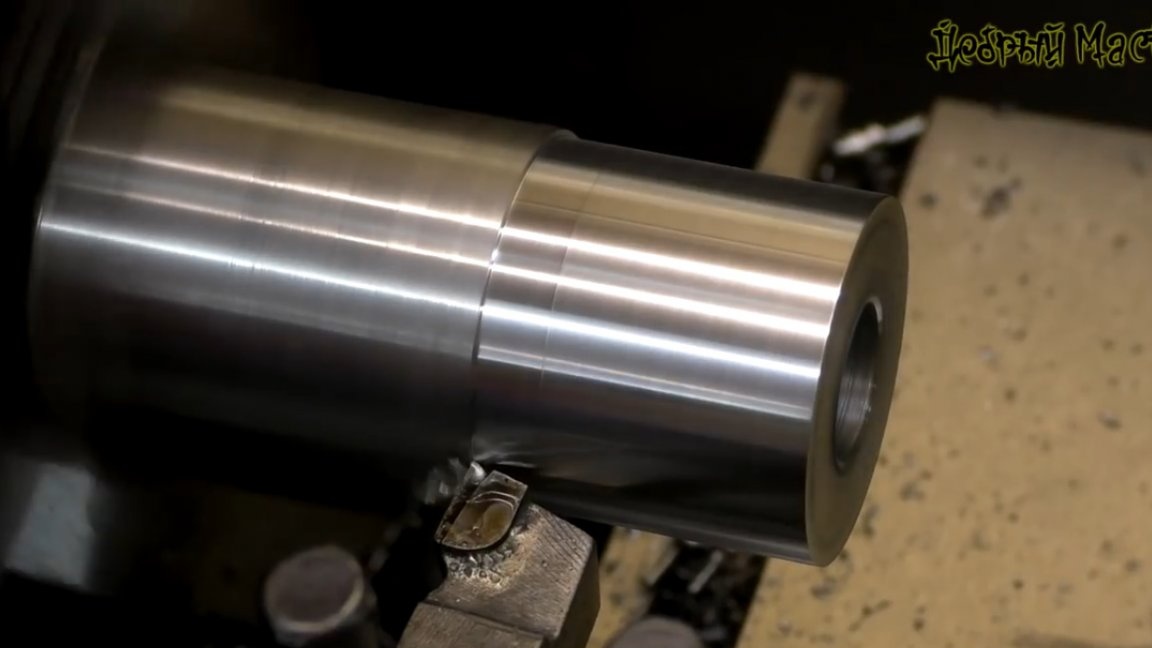
As a result, here we have such a beauty:

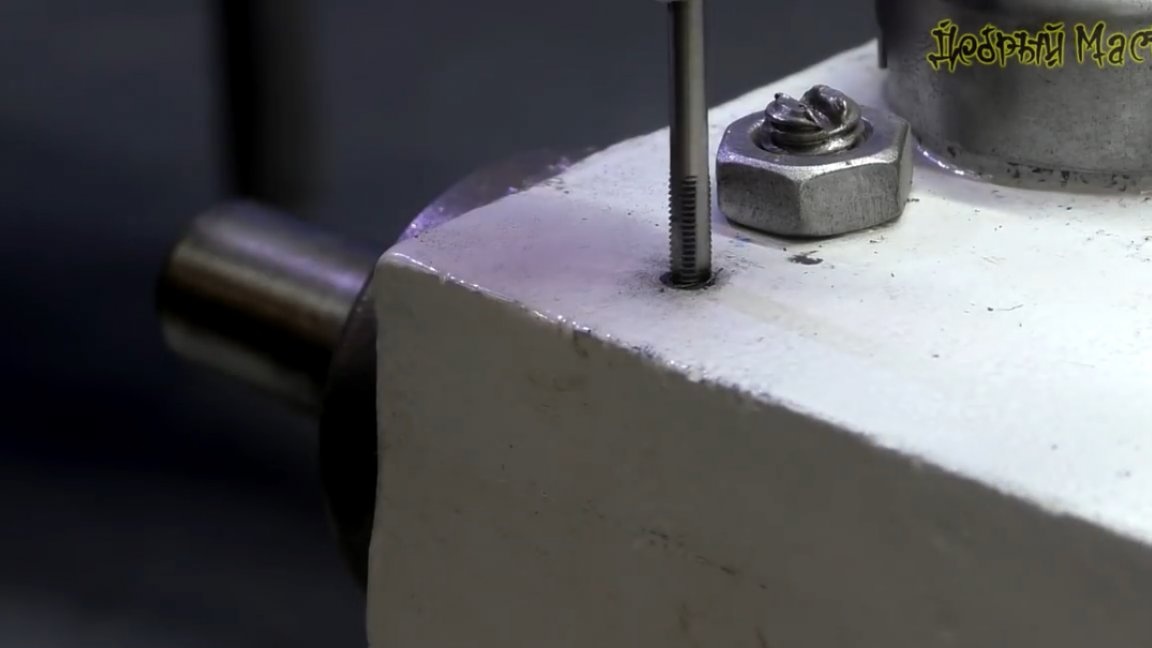
This ring is put on the pinole loosely, and will subsequently be fixed on it with a pair of gujons.
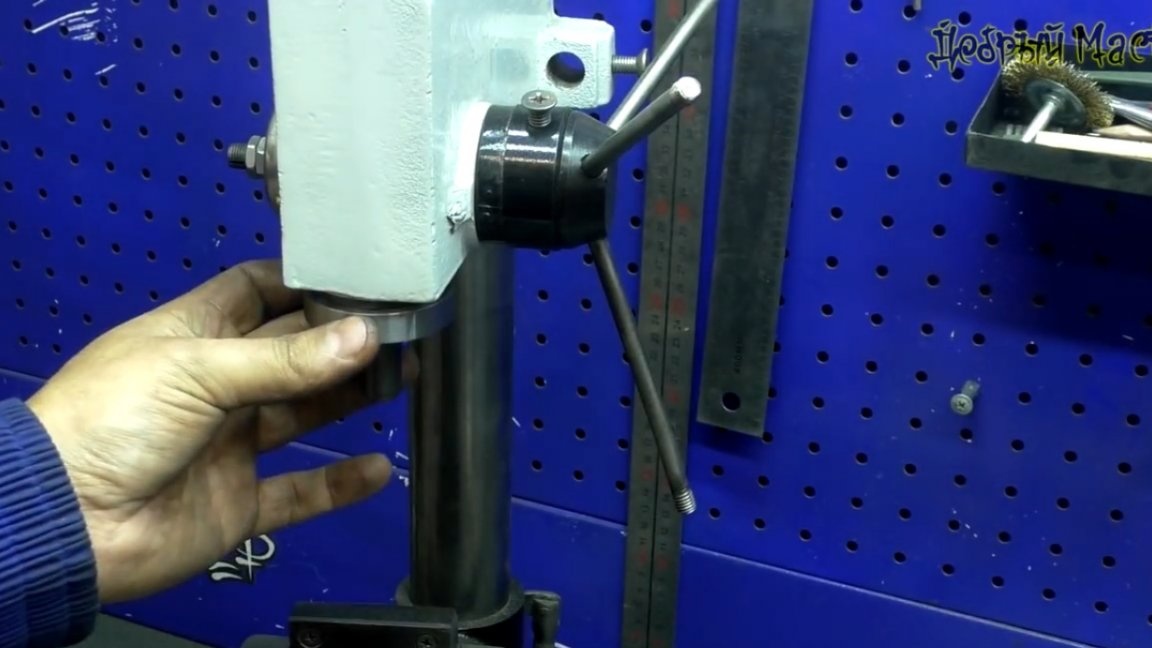
The line itself will be attached through a metal corner to the machine body.
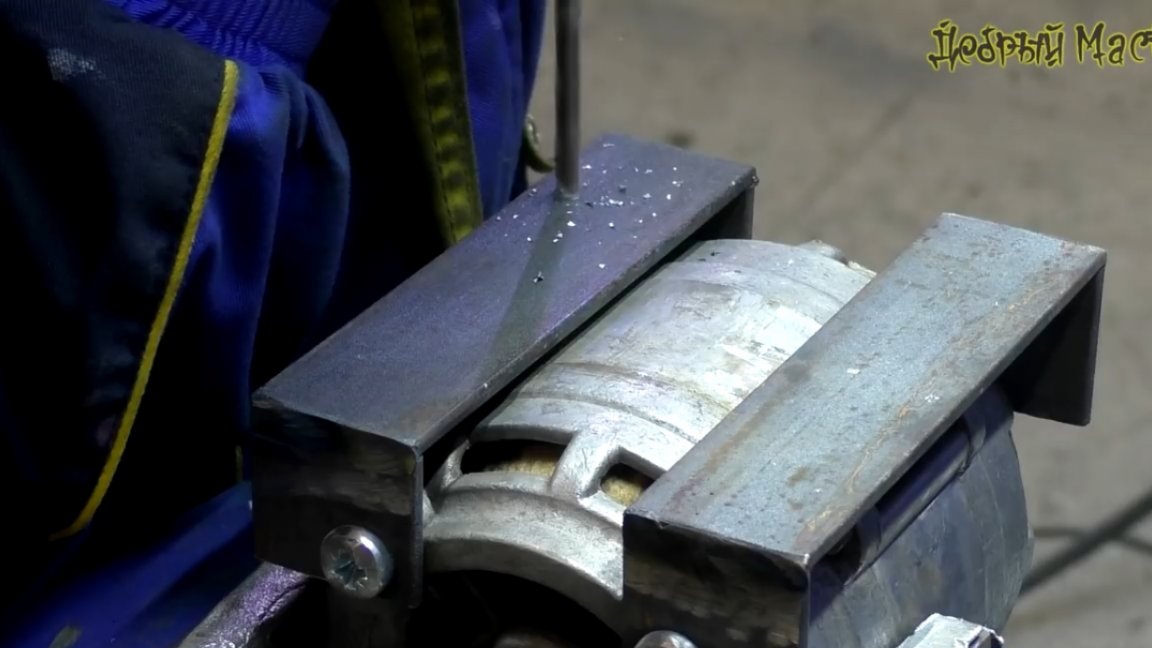
To do this, drill holes and cut the m3 thread.
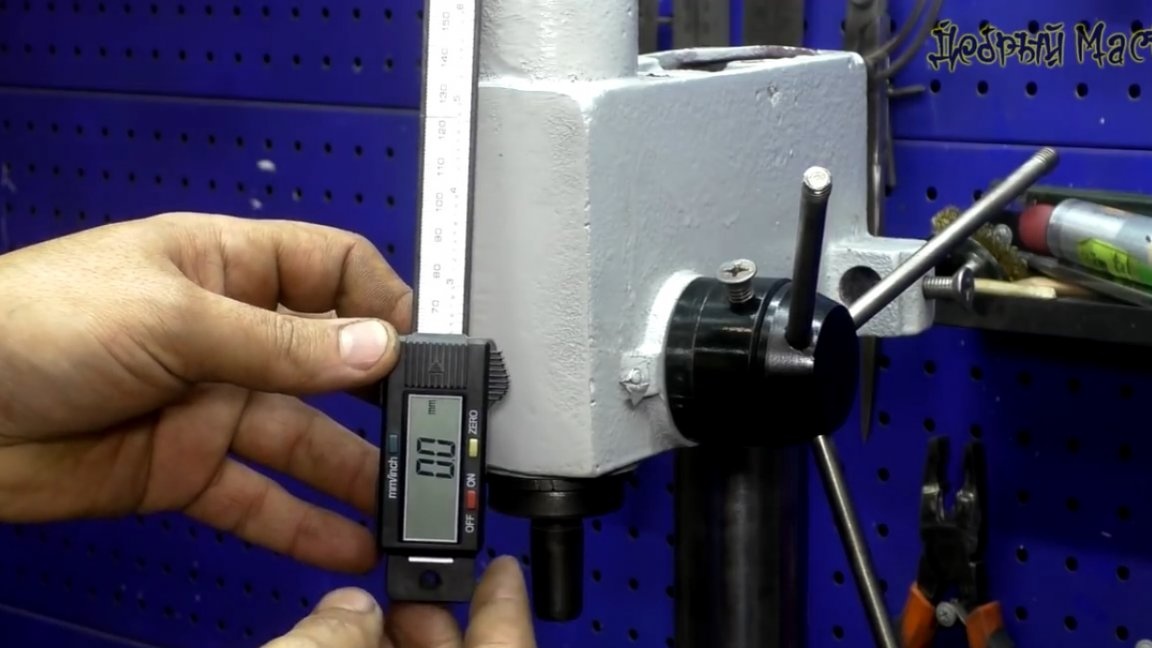
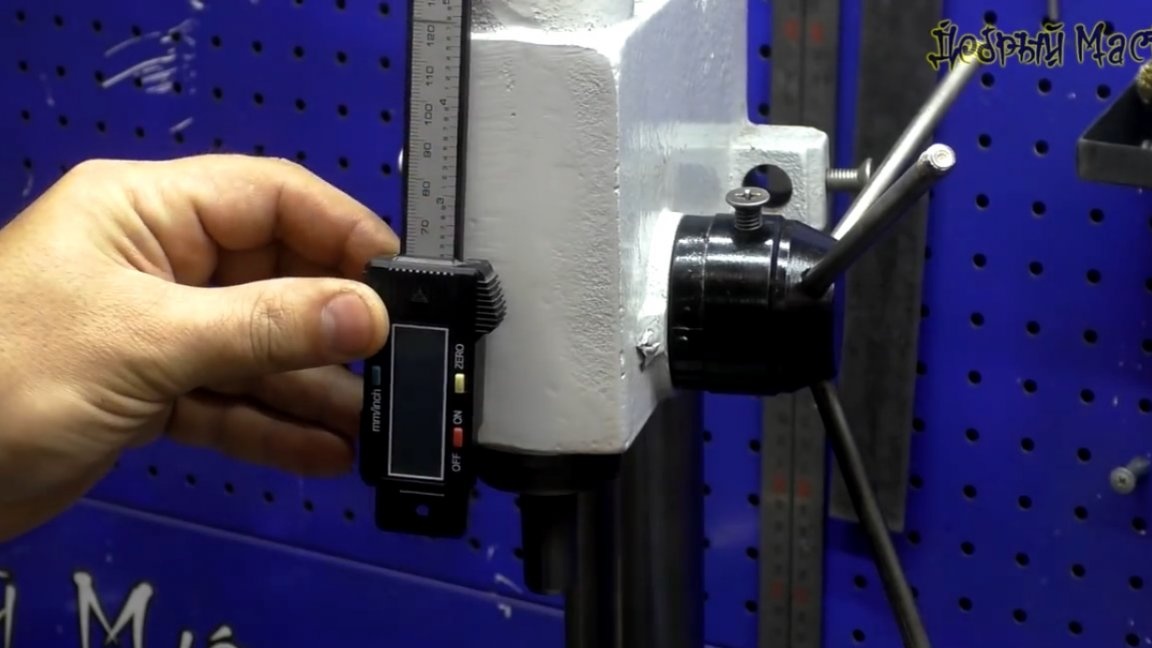
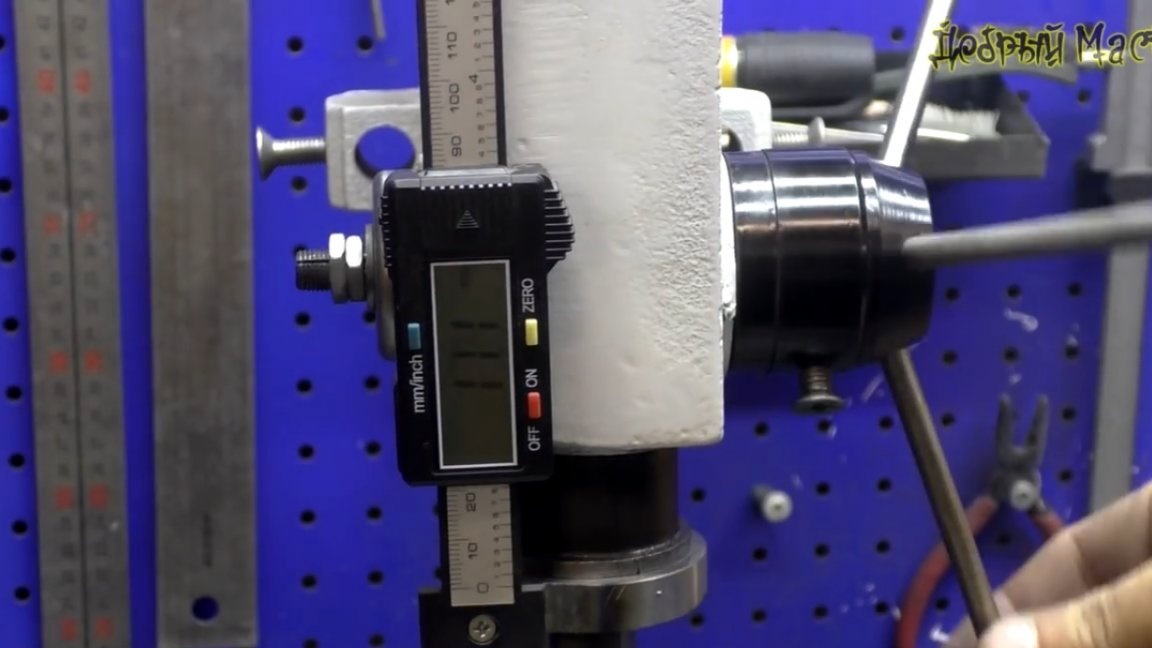
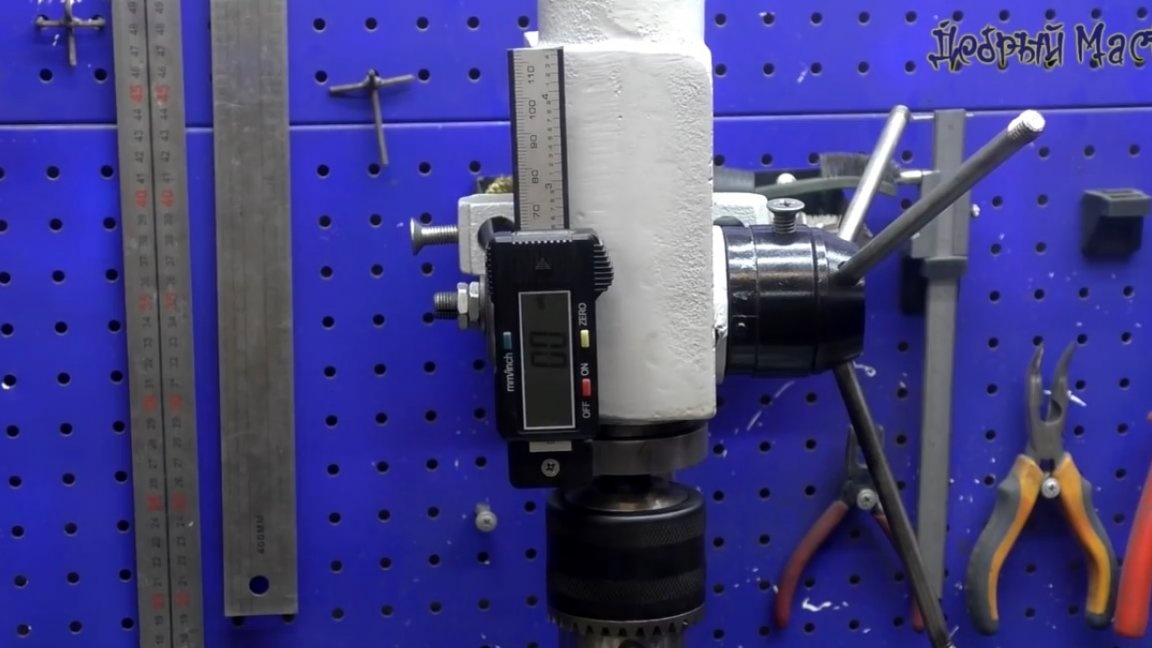
After attaching the ruler, it was possible to remove the necessary dimensions. And here is another detail for attaching to the machine pole.

We cut it out using an angle grinder, and it is also necessary to immediately process some edges before cutting the workpiece, it will be much more convenient.
After rough processing, you can weld the part to the ring and you can install everything in its place.
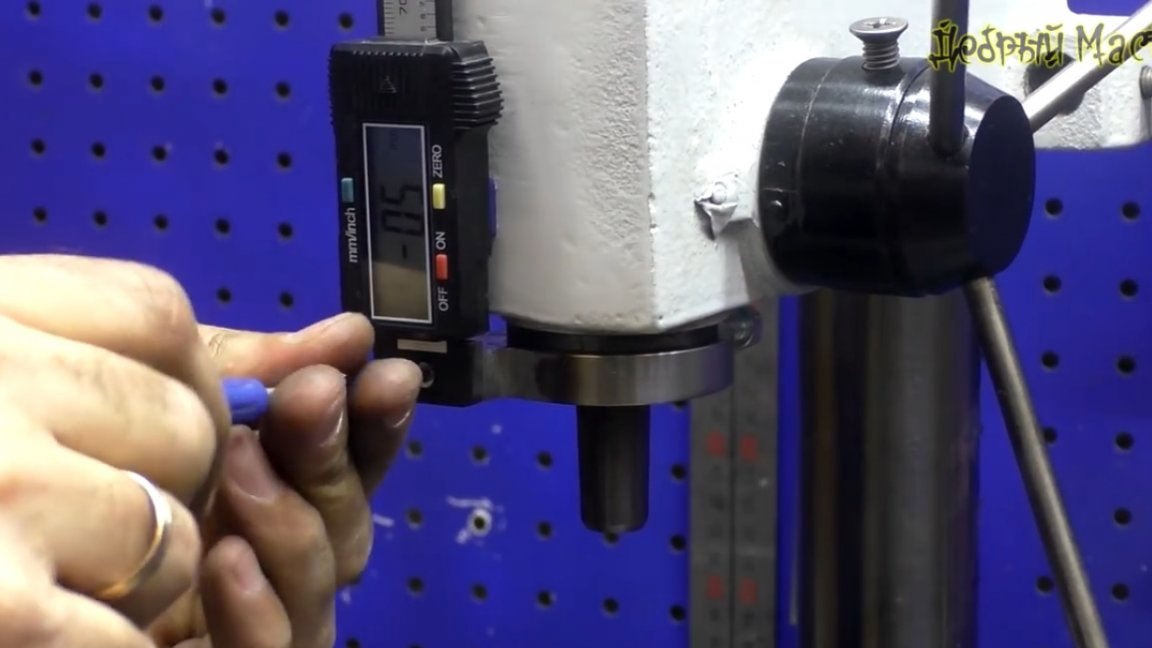
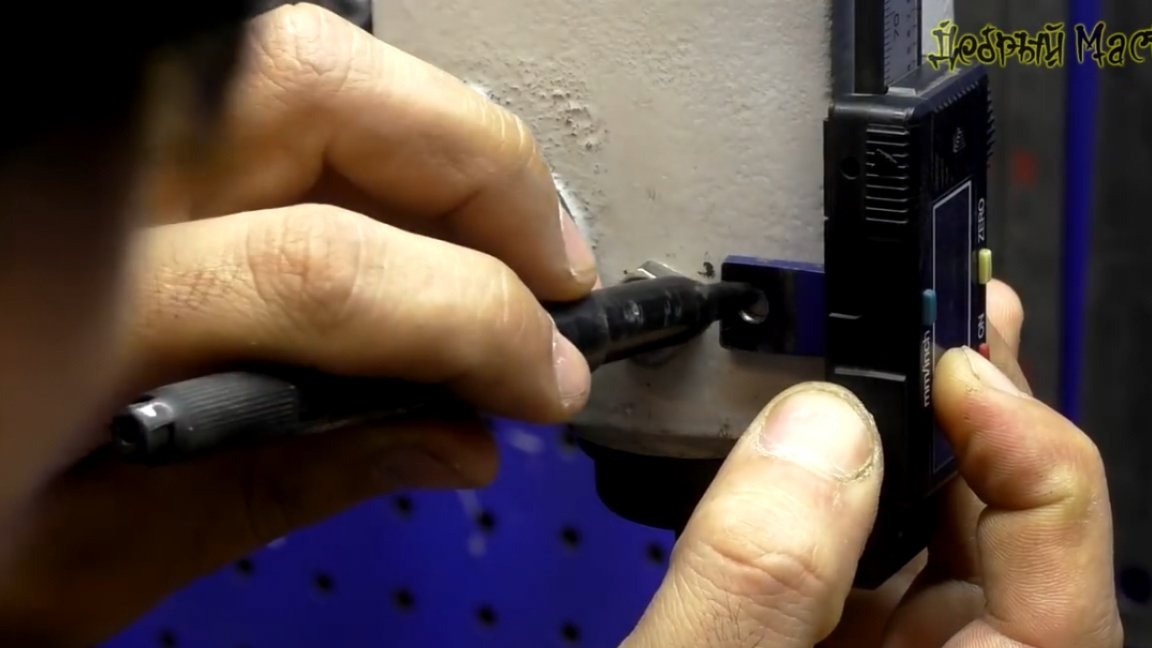
As we can see, the line works, but it needs to be shortened a little.
The author admits, he thought that after such an operation, the former Chinese caliper will simply stop working, but nothing happened.

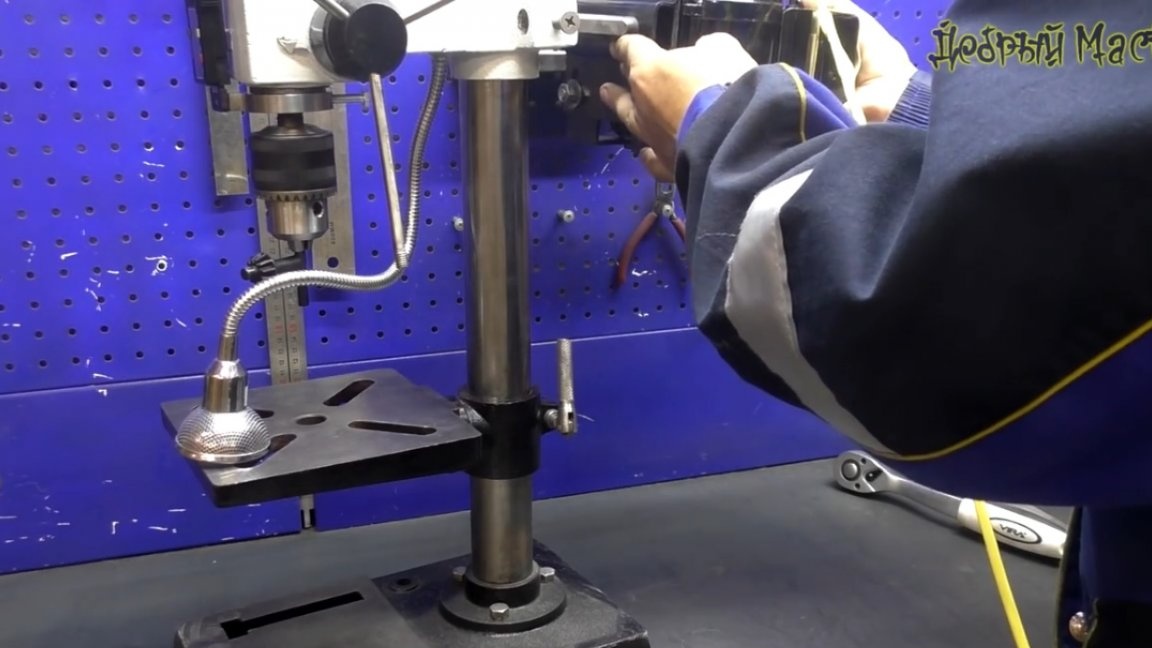
In his rubbish, the author found such a lamp.
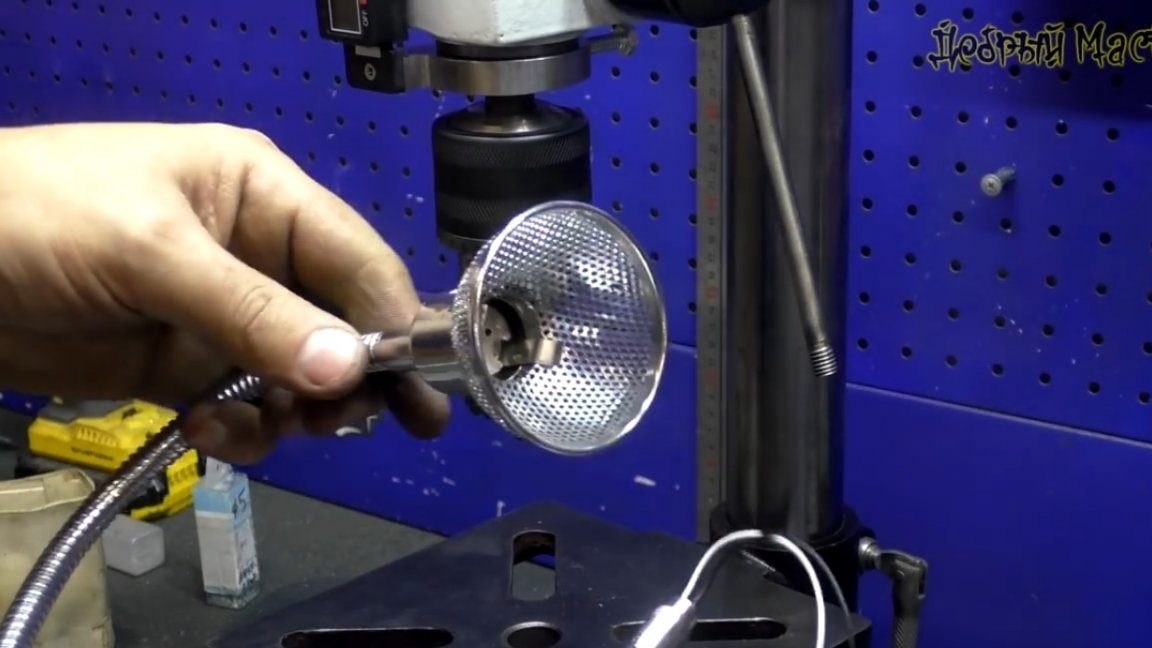
He once brought this lamp from a metal receiver, we mount it on this machine. We will mount it from the bottom of the machine parallel to the rack.

Everything is simple here, we drill a hole for the flexible leg of the lamp and glue it.
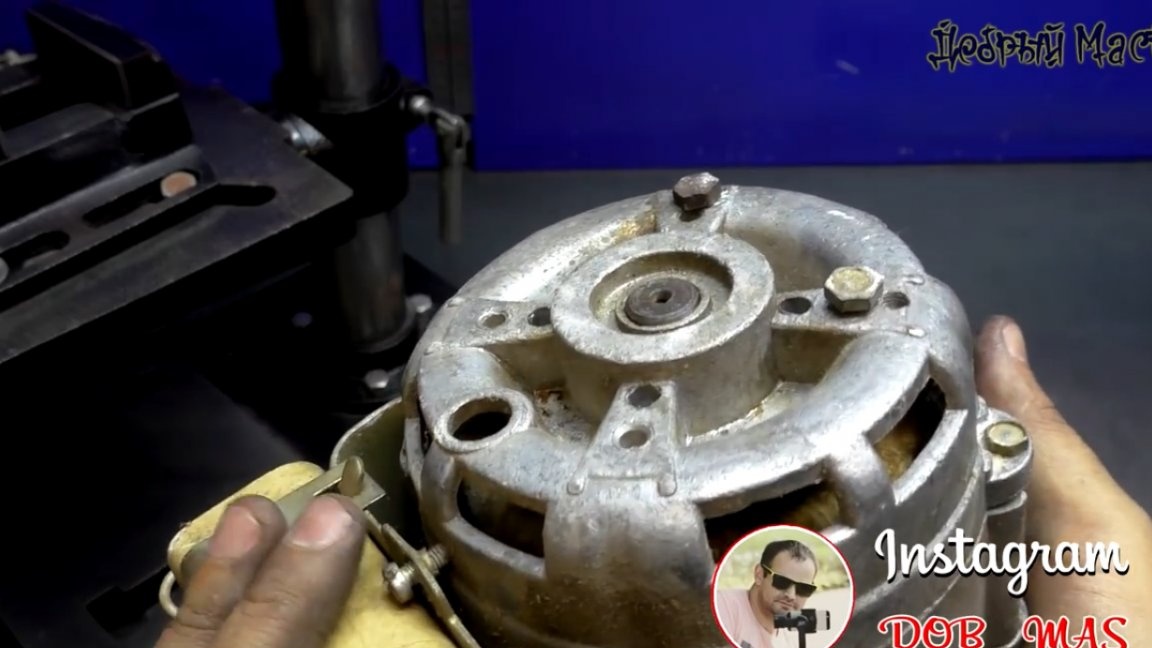
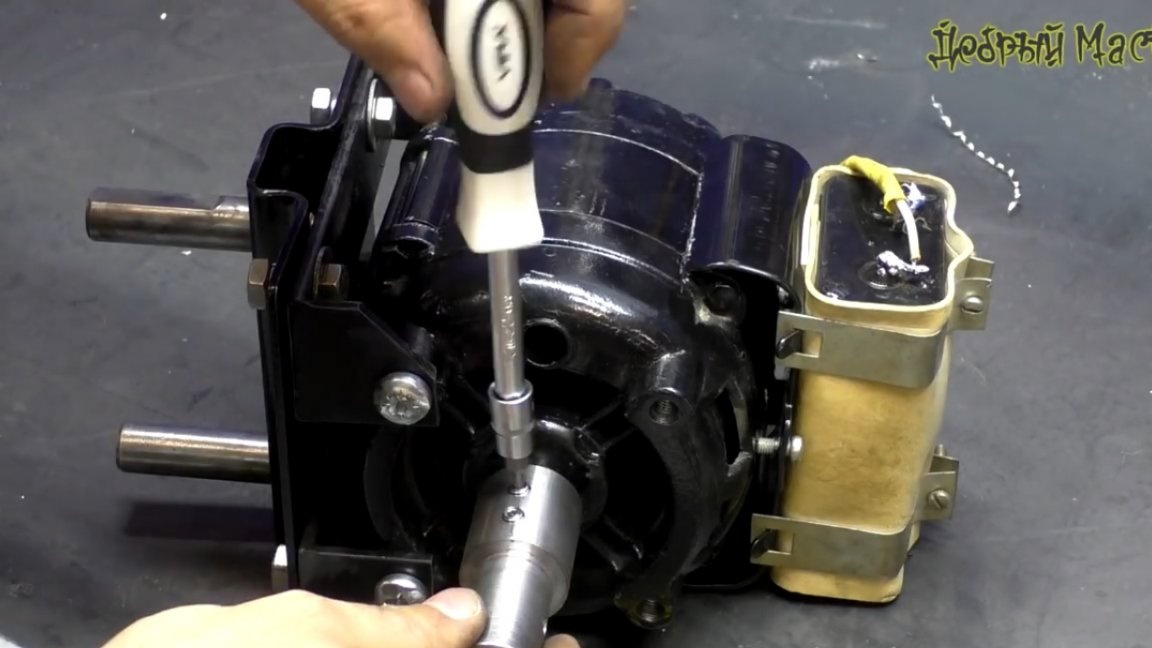
At this point, the engine has dried up. The author went through it, lengthened the wires and put on a heat shrink, though yellow, but which one was available.
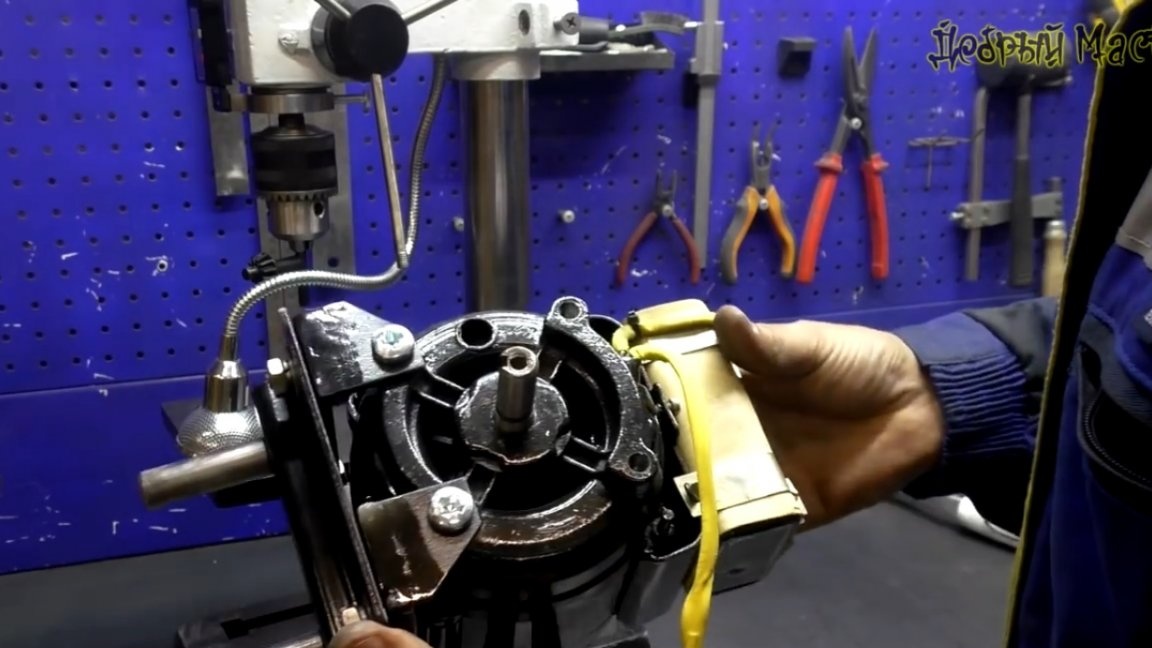
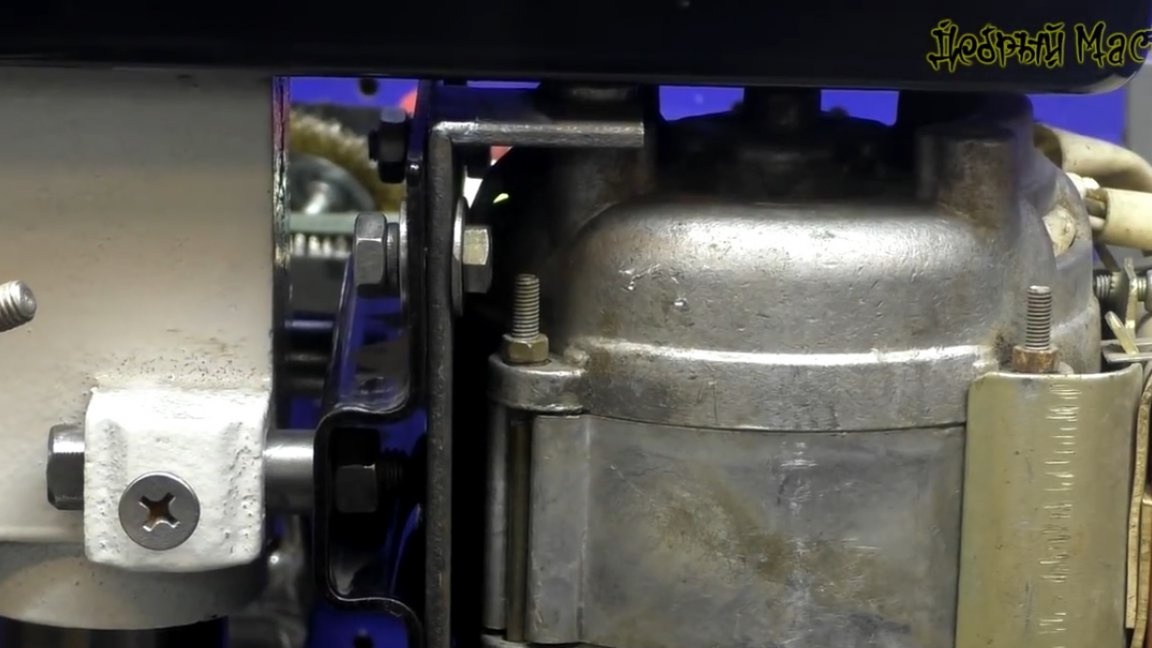
Now you can install the engine.
The motor shaft will have to be increased, since it is much lower than the pulley axis.
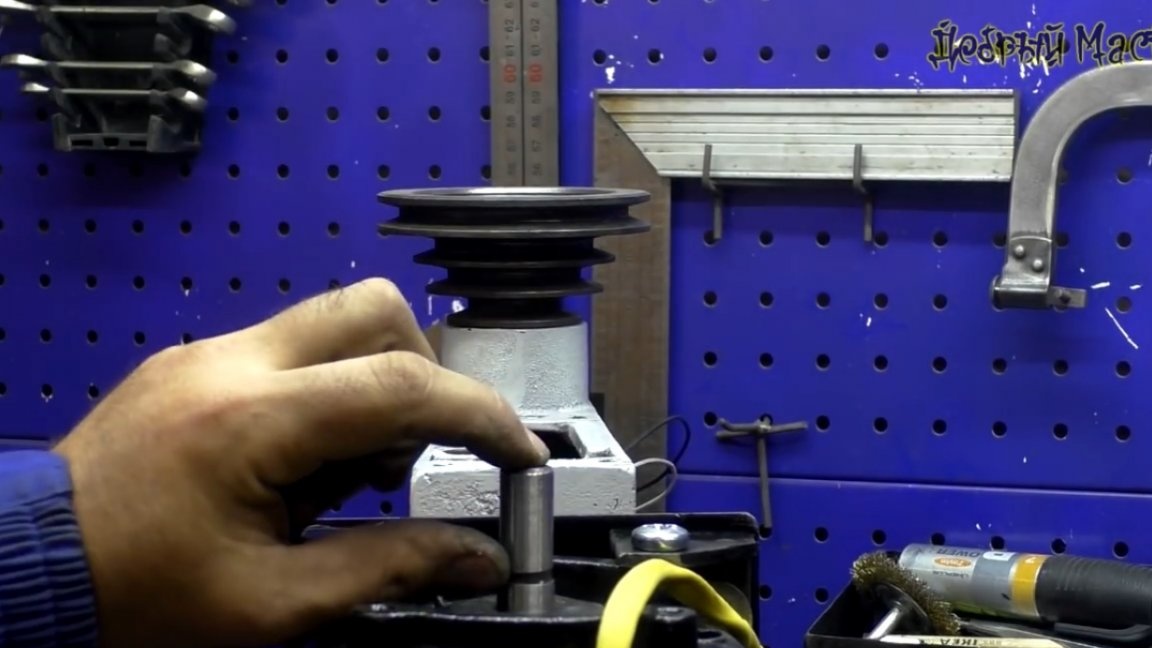
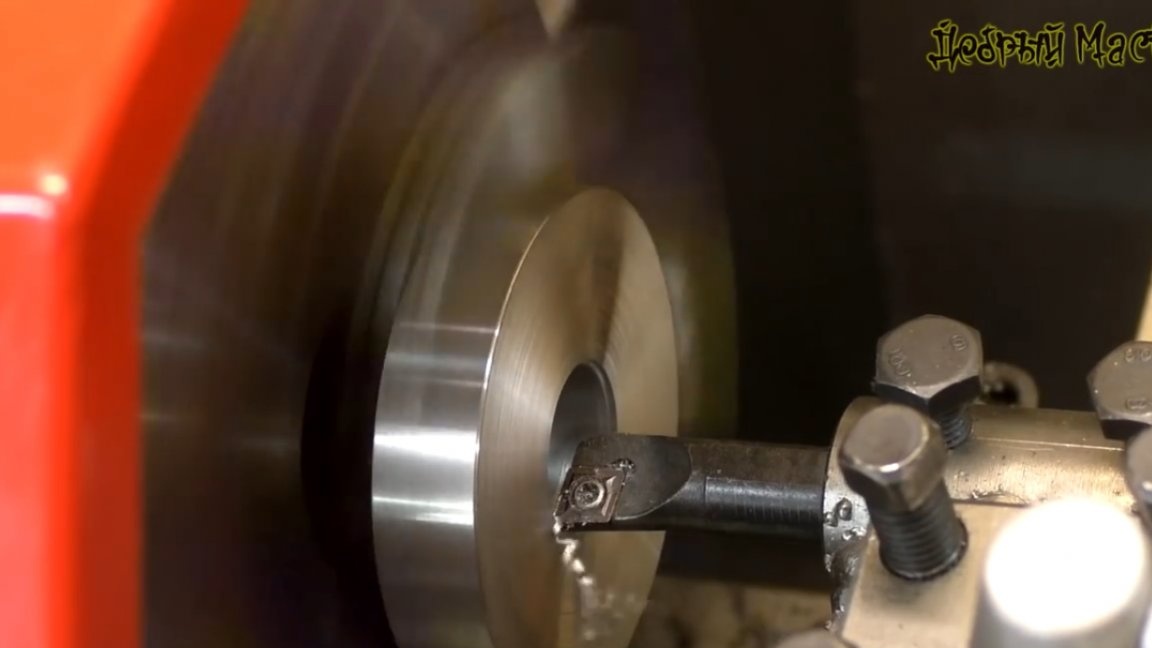
We go to the lathe. The author does not understand how he had managed without him before.
We center, drill and bore a hole for the diameter of the motor shaft, as well as slightly simplify the design.
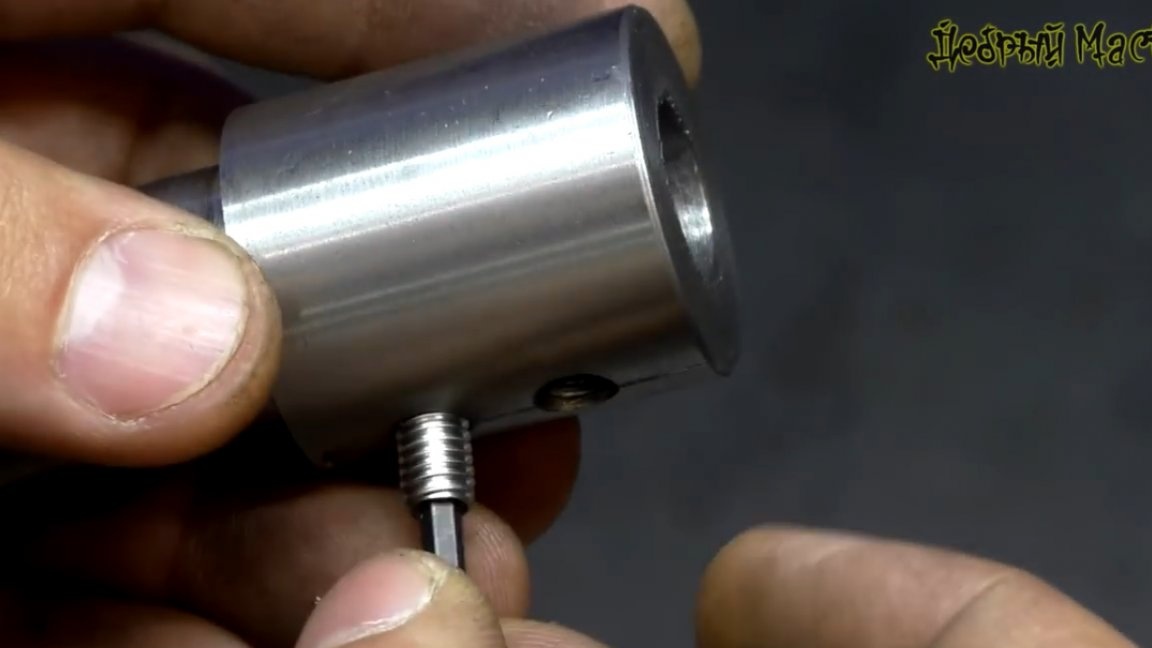
Unfortunately, the workpiece had to be turned over, but the author put it on the indicator and achieved a minimum beating. Now sharpen the landing under the pulley.
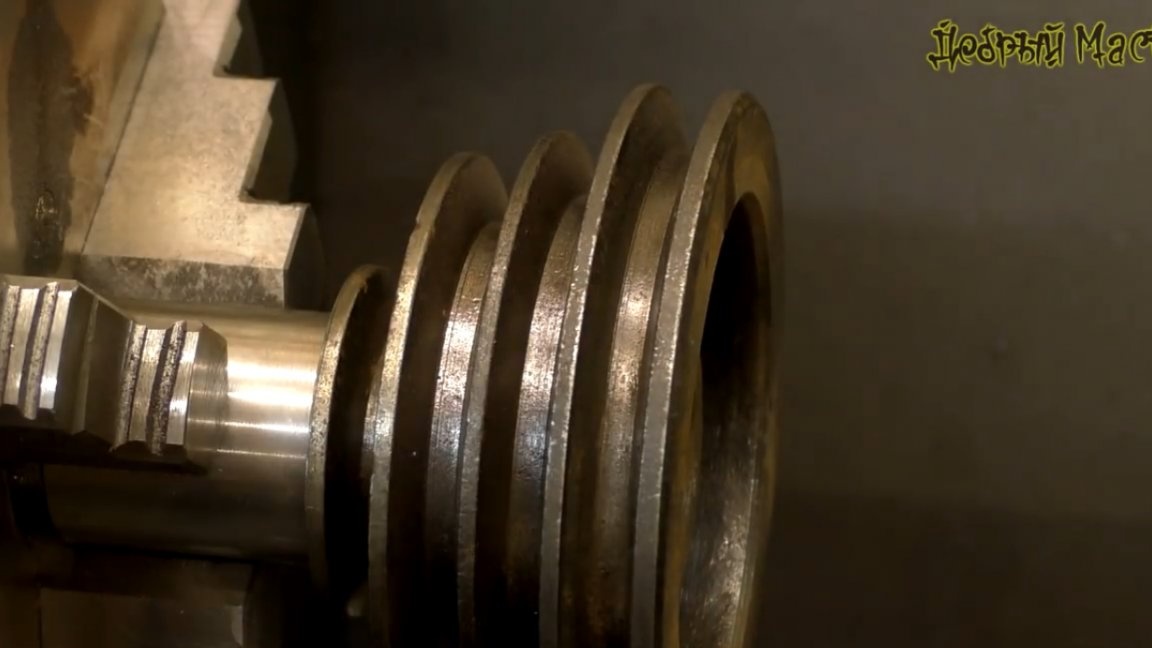
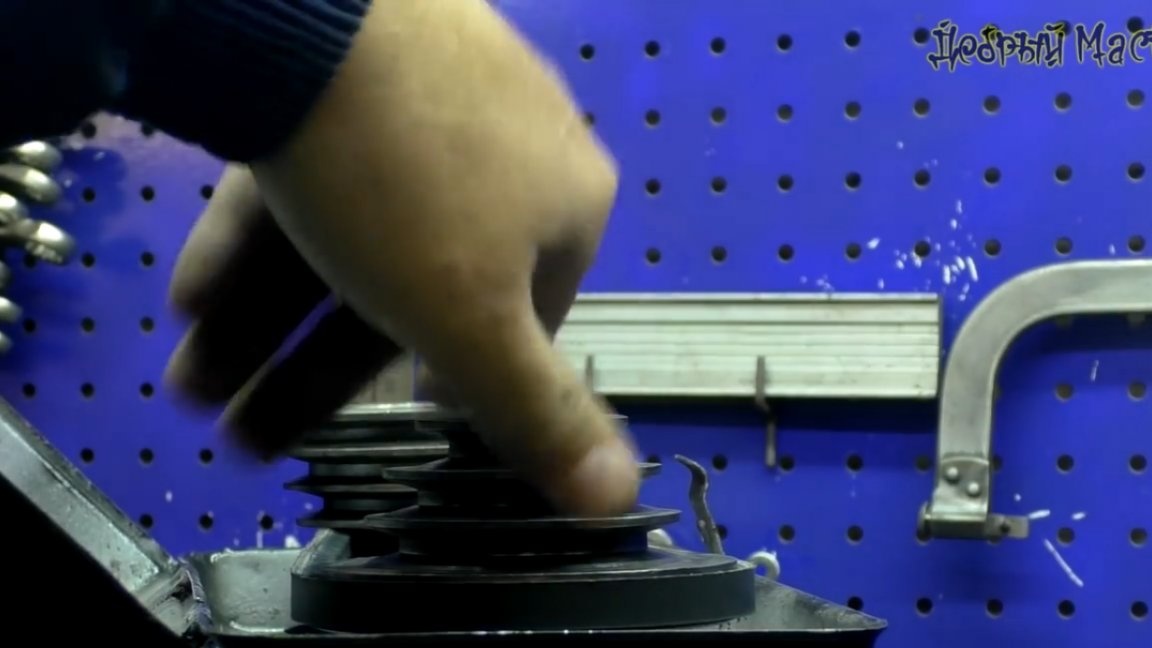
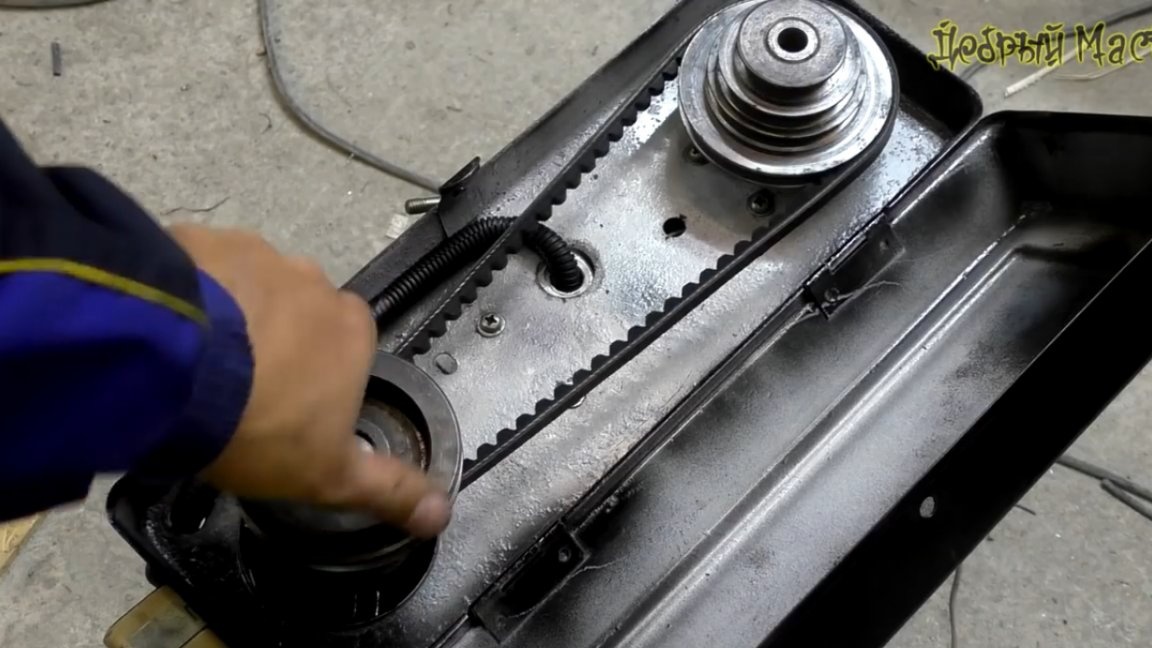
And as we can see, the pulley is very tight and there are no backlashes.
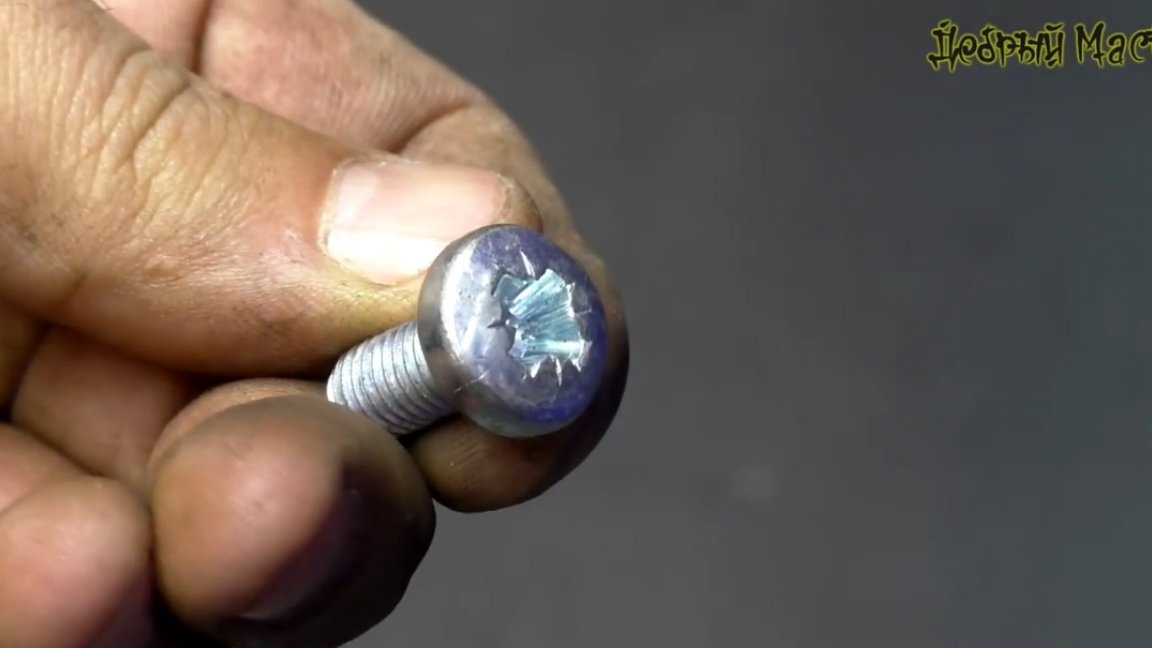
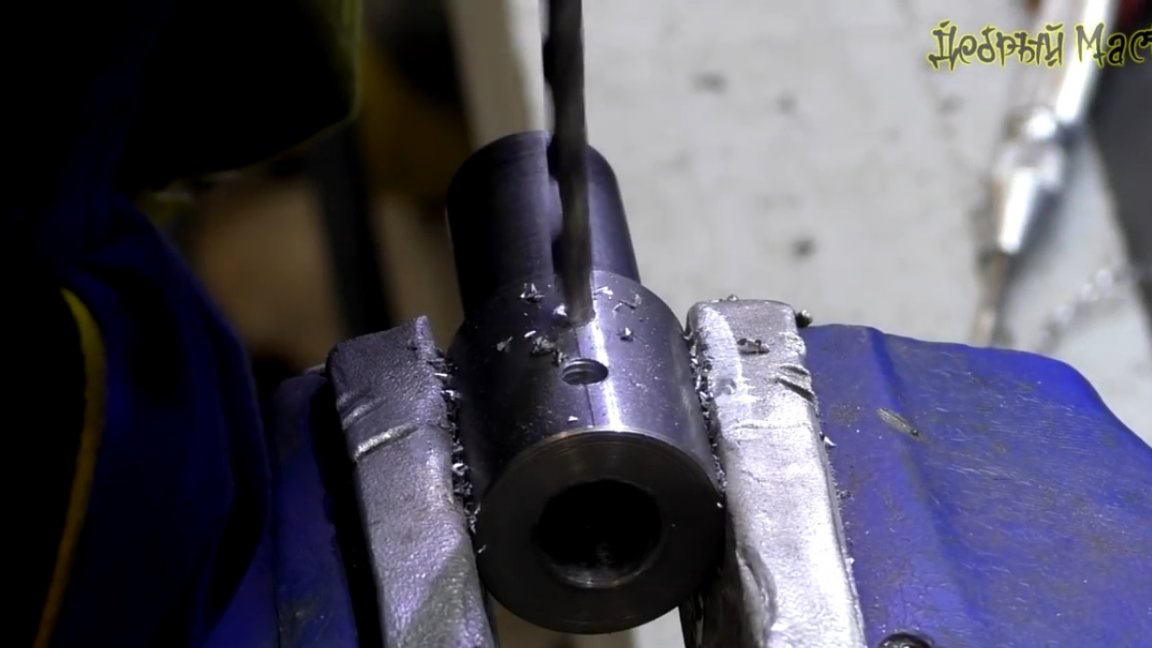
The master decided not to cut the keyway in the adapter, but simply decided to drill holes and screw in the stainless steel screws. They will not be cut, this engine is not so powerful.
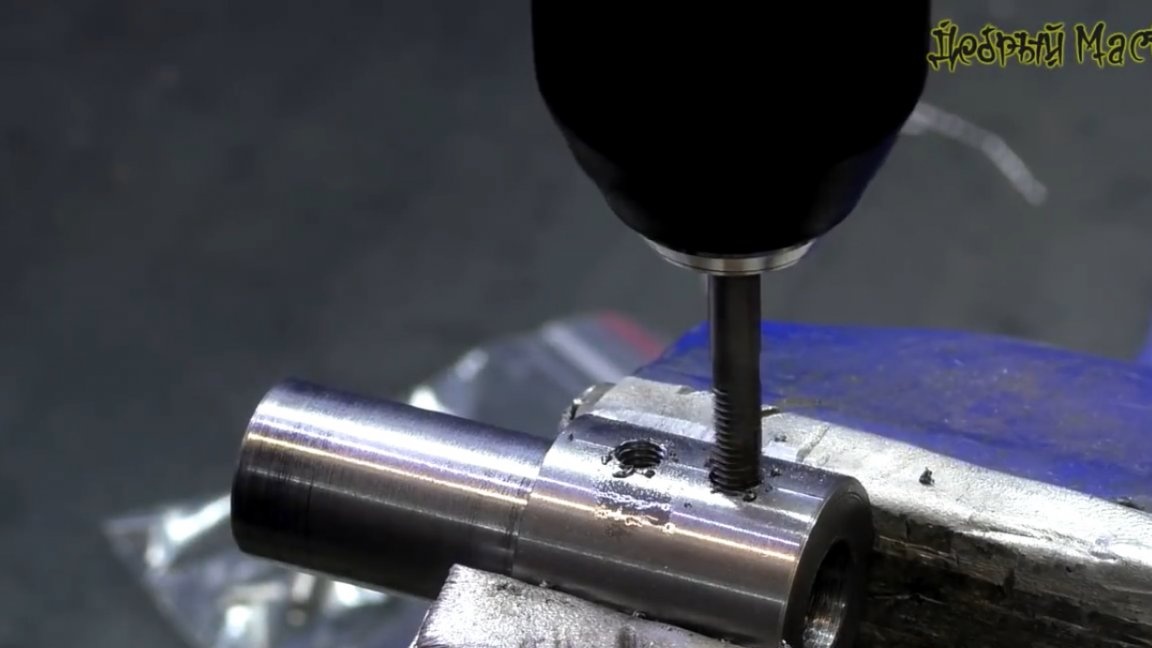
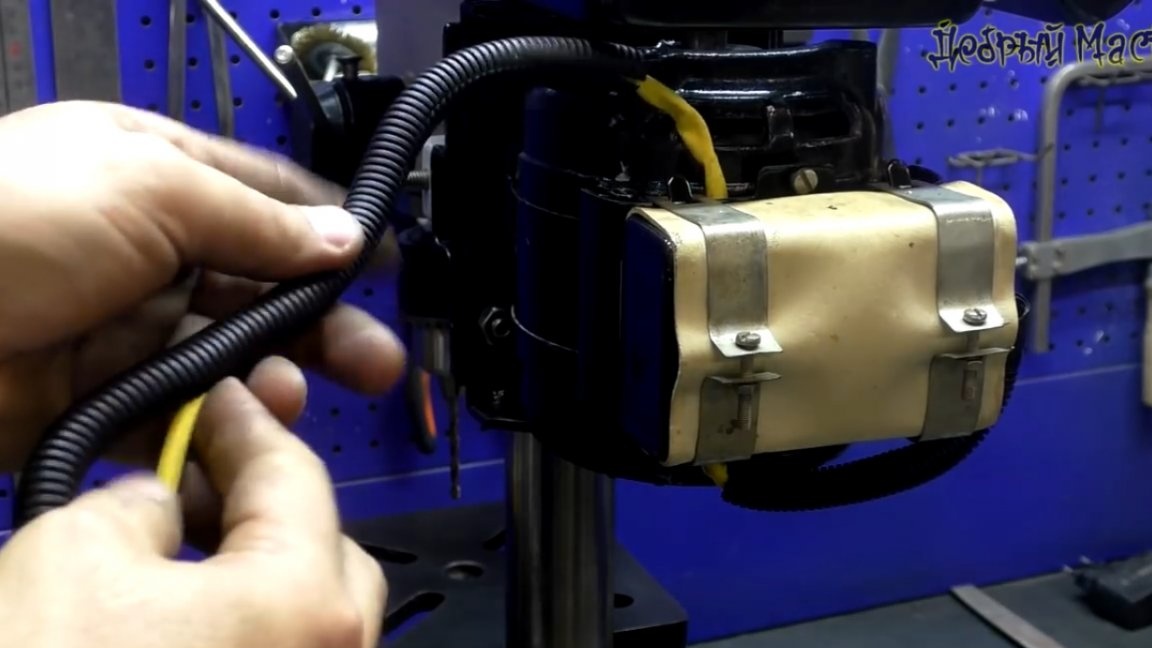
In the car shop, a suitable timing belt was purchased, as well as an automobile corrugation. With it, the wires leading to the engine look much more aesthetically pleasing.
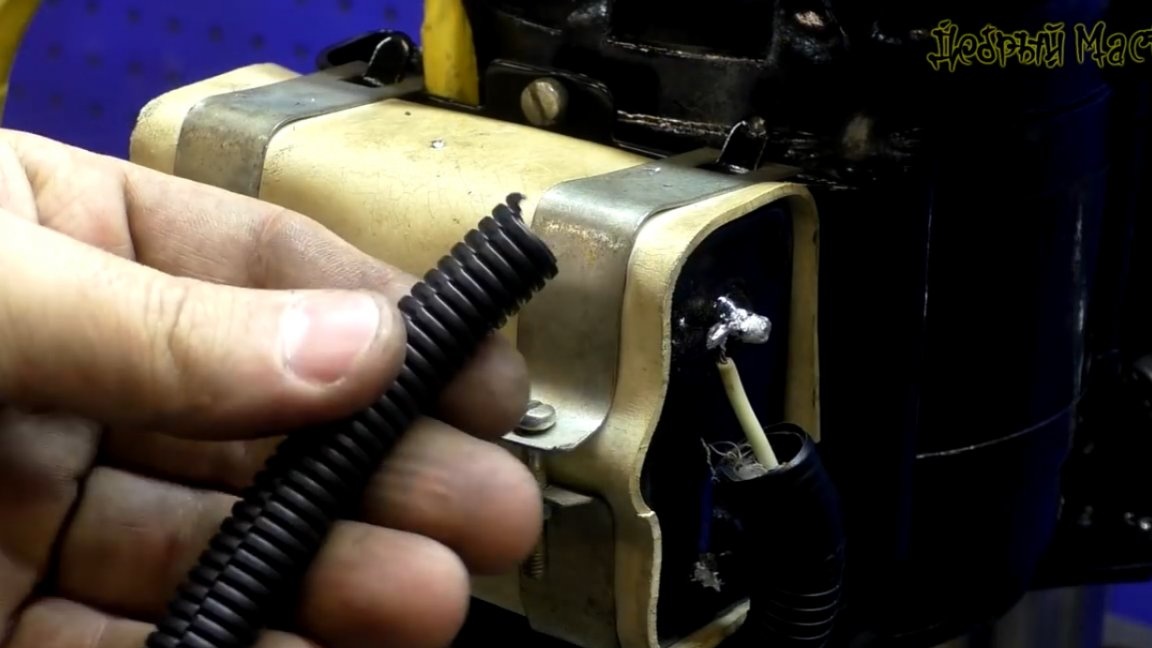
The wires will go to the switch through the upper protective casing, and so that it does not hang inside, we fix it with ordinary plastic clamps.

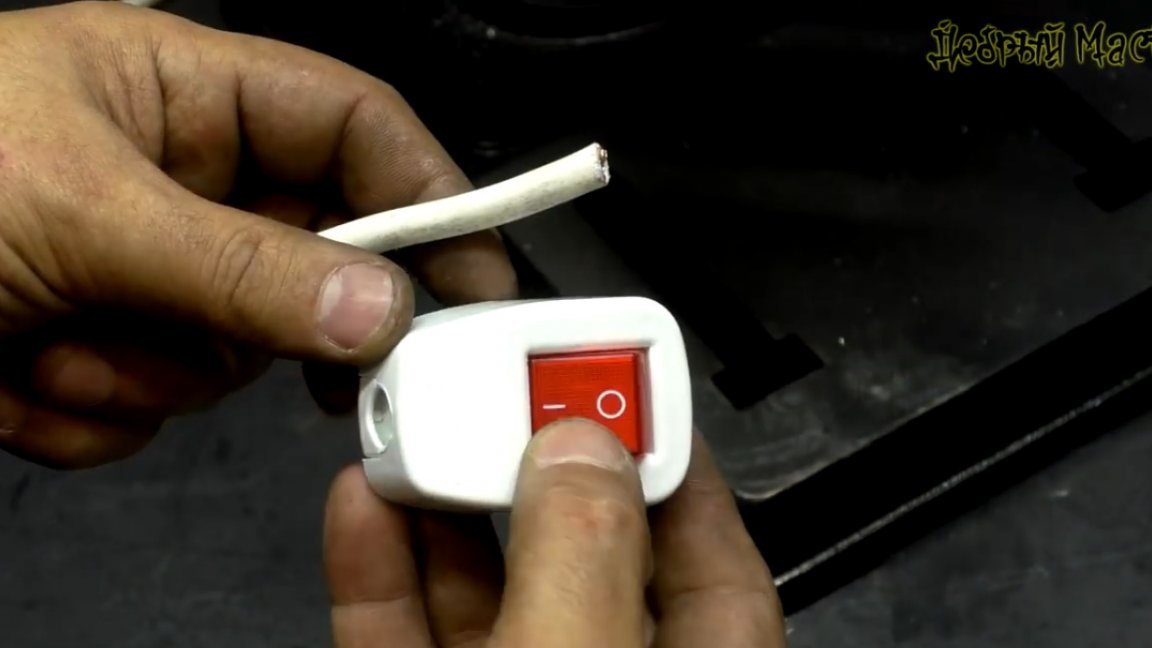
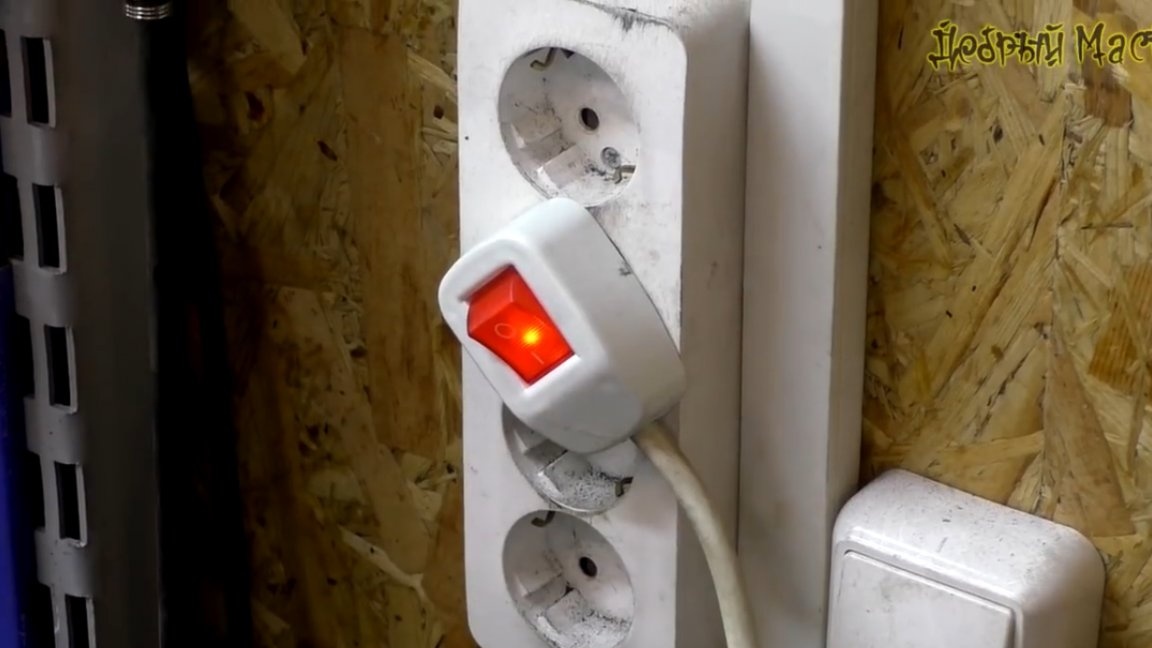
To turn on the machine engine, set the button with the fixation.
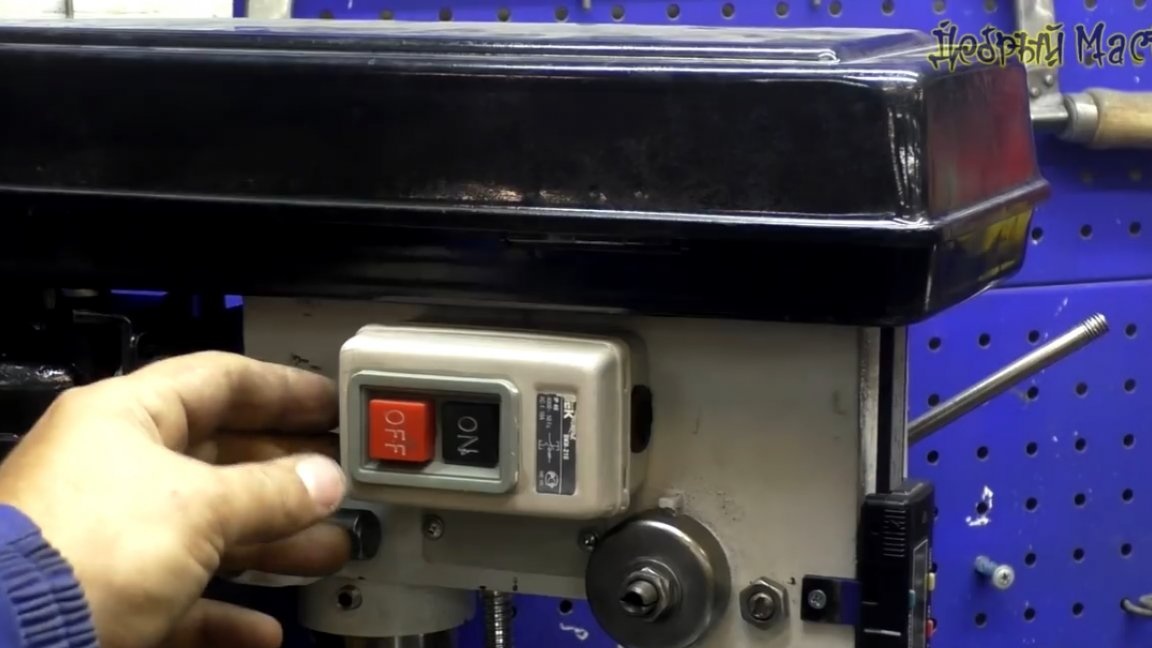
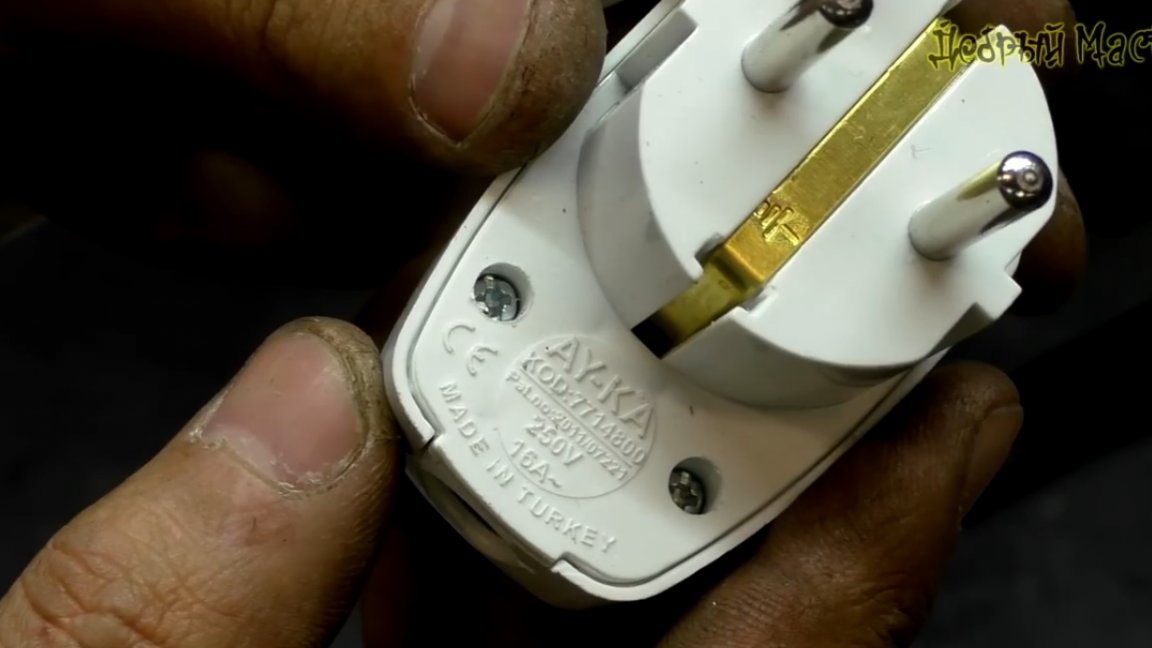
Now it remains only to connect this plug to the network cable of the machine. It is designed for current up to 16A and with the load of this machine must cope.
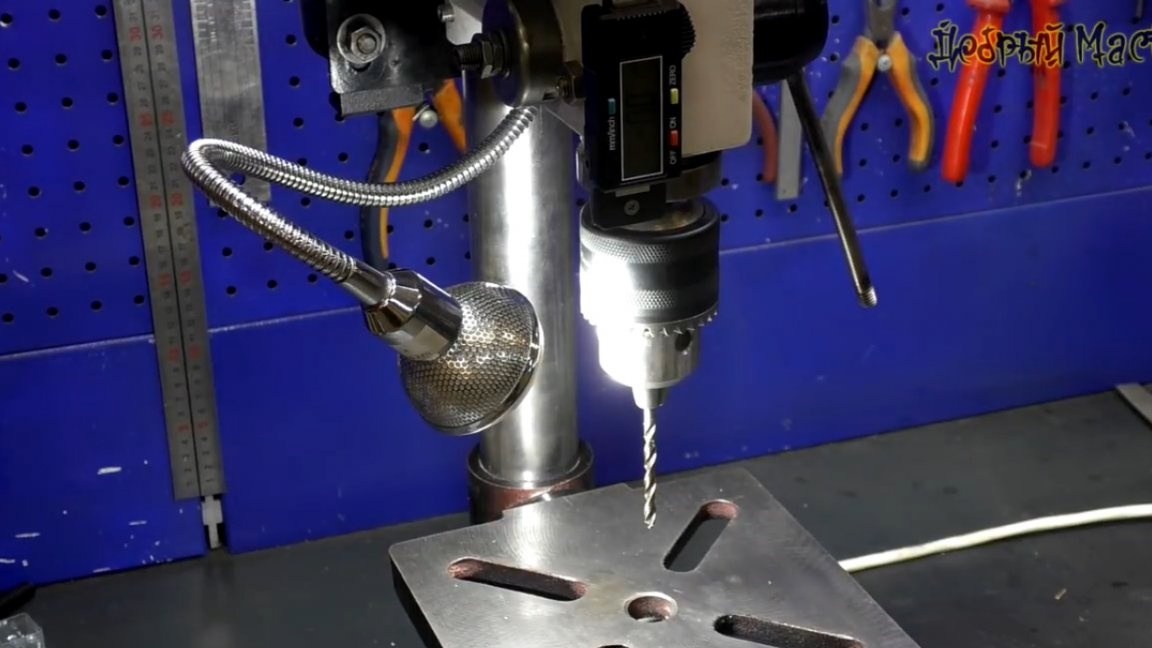
Well, friends, our machine is fully assembled. All these improvements turned out pretty well, especially the master is pleased with the bright light in the work area.
For verification, the author installed the largest drill, which he had in his arsenal with a diameter of 13 mm.
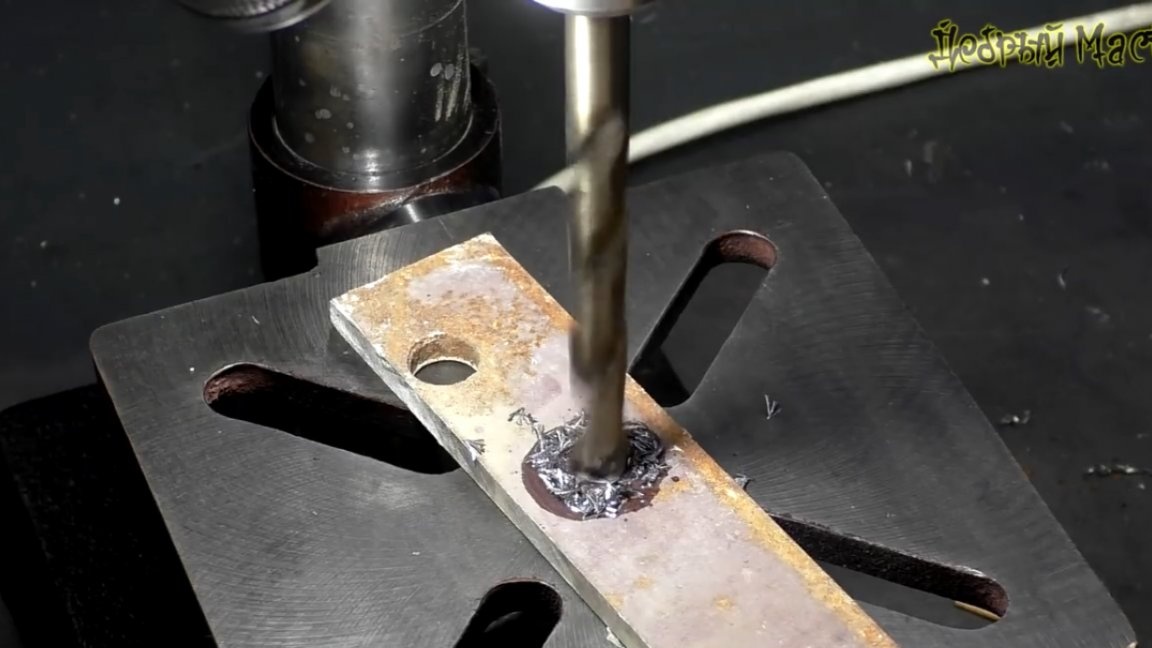
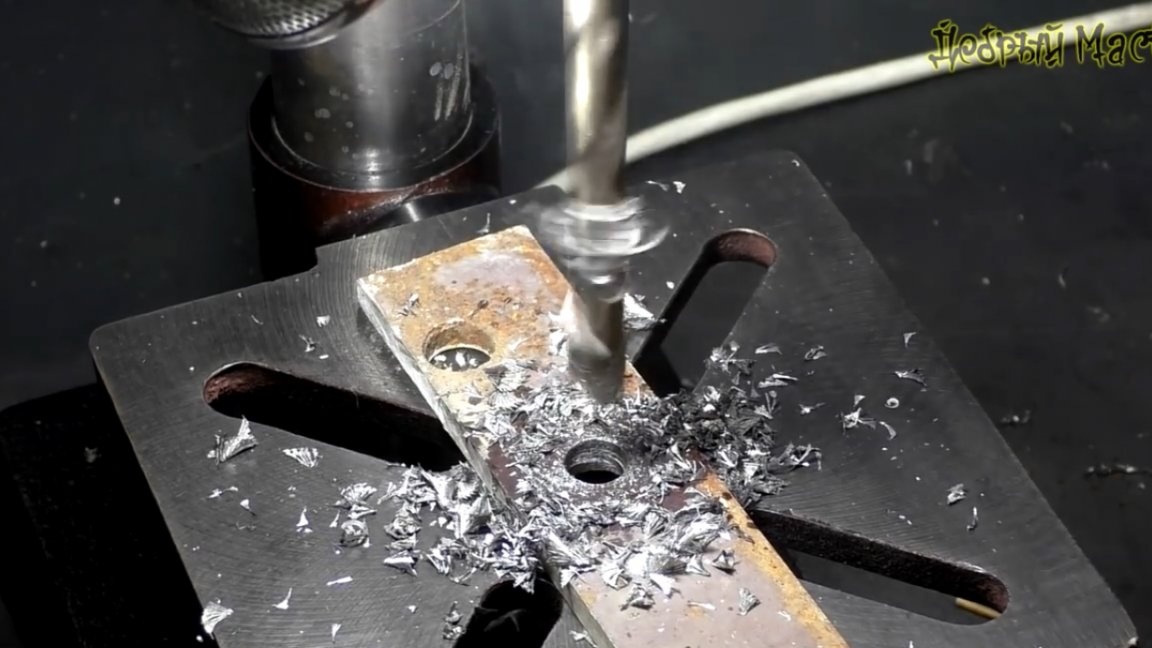
And as we can see, the engine power is enough for drilling. This is how our machine turned out, it remains only to wind the balls on the handles, but the author ordered them in China, so he will do it soon.
And that’s all for today. Thank you for attention. See you soon!
Video: