

Today I want to tell you about how I made an “eternal” foam grater.
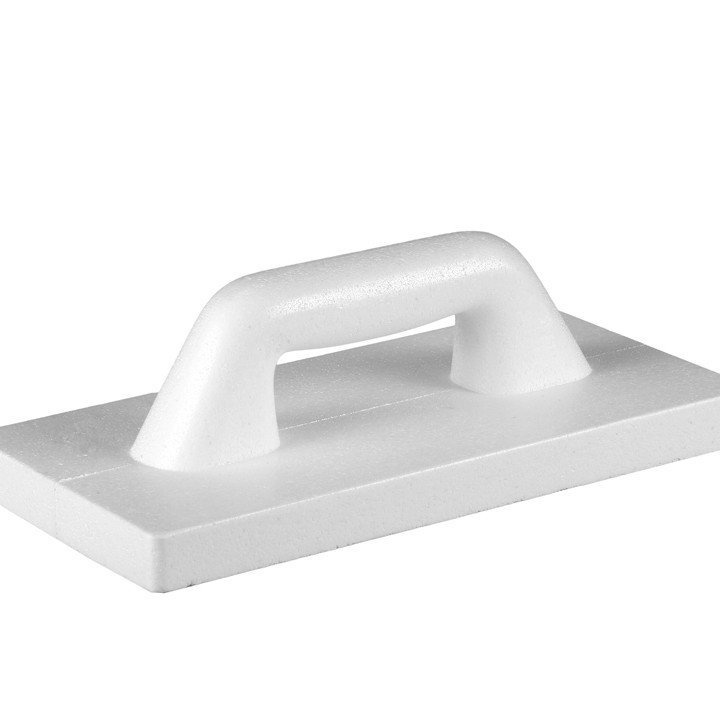
During construction and repair work, such graters from dense extrusion foam are widely used:
The main purpose of this tool is to grout the plaster. But it’s very convenient for me, for example, to carry out not only this type of work. I use it, for example, for laying concrete during the screed construction. First, by slamming, I compact the concrete and pre-level it. Then, after leveling, I overwrite with it the same small caverns and "sides" left by the end of the level. The next day, when the screed is set, I again use the grater for the final alignment (mashing).
The tool is good for everyone! And convenient, and easy, and effective! One thing is bad - not durable !!
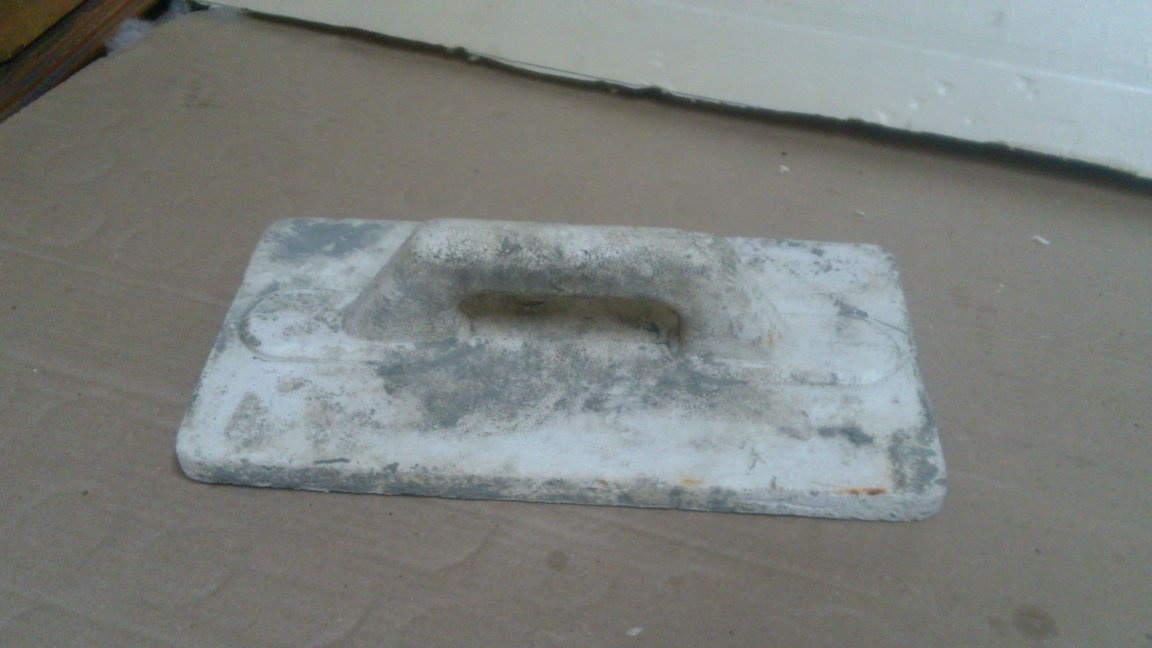
And, although it is not expensive, it’s not always possible to buy a new grater. And, sometimes, I just forget. And then, one day, tormented in the evening with a grater that had become almost unusable, I continued to work with a piece of extruded polystyrene, scraps of which I had left from previous works. It was not convenient for him to work, and I had the idea of making a grater holder in which such pieces would be fixed.
I believe that it is advisable to make homemade in the following cases:
1. The purchased product does not possess the necessary qualities.
2. Homemade can significantly save.
3. Homemade saves time. (The tool is needed here and now, but to make it faster than to buy!)))
4. Homemade makes it possible to attach trash, making something really necessary out of it !!
The product I have obtained corresponds to all cases except the first ...))))
The materials I used:
1. Scrap of plywood 10 mm thick.
2. Scraps of waterproof laminated plywood, 20 mm thick.
3. a metal frame from the shelf of the old refrigerator. (It fell under the arm. You can use galvanized sheet, for example).
4. Trimming extruded polystyrene foam (EPS).
5. Wood screws ordinary and with a preshayka.
Of the tools I needed a jigsaw, a angle grinder with various circles, a drill, a screwdriver.
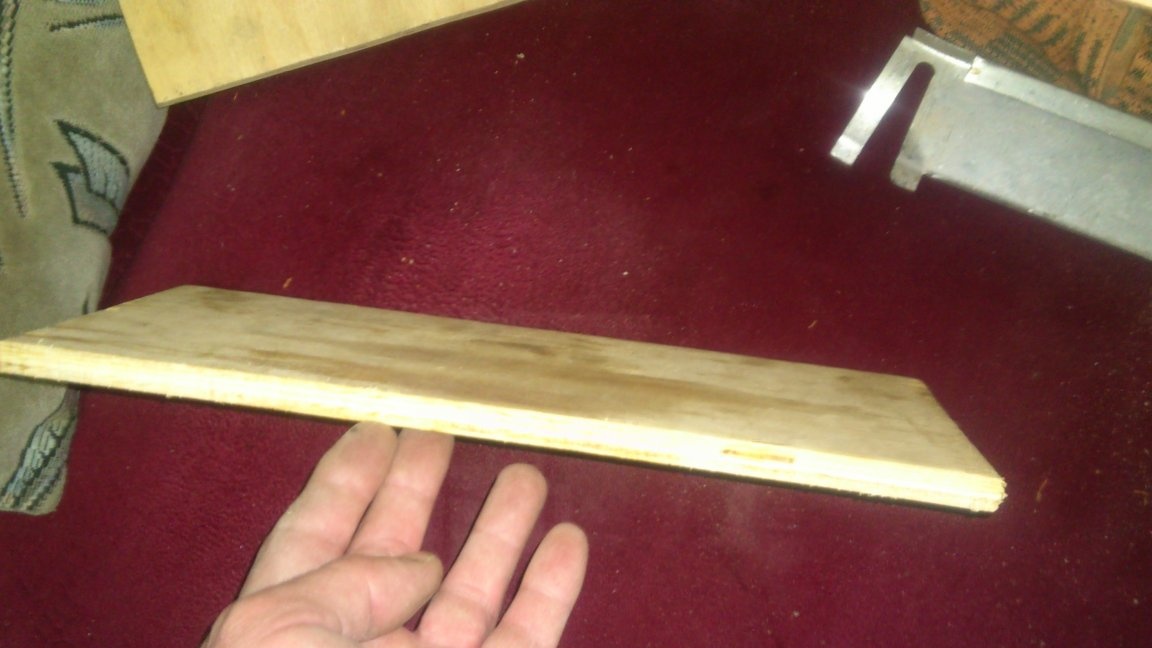
I began by finding in my rubble the "right trash" a suitable piece of plywood. (I decided to make a grater, with the size of the working platform 150 to 300 mm.These were the dimensions of the previous purchase, and I decided that it would be more familiar. Yes, and the EPPS sheet, as a rule, has a width of 600 mm, so if I have to use a whole sheet, or half of it, such dimensions will fit in well)).
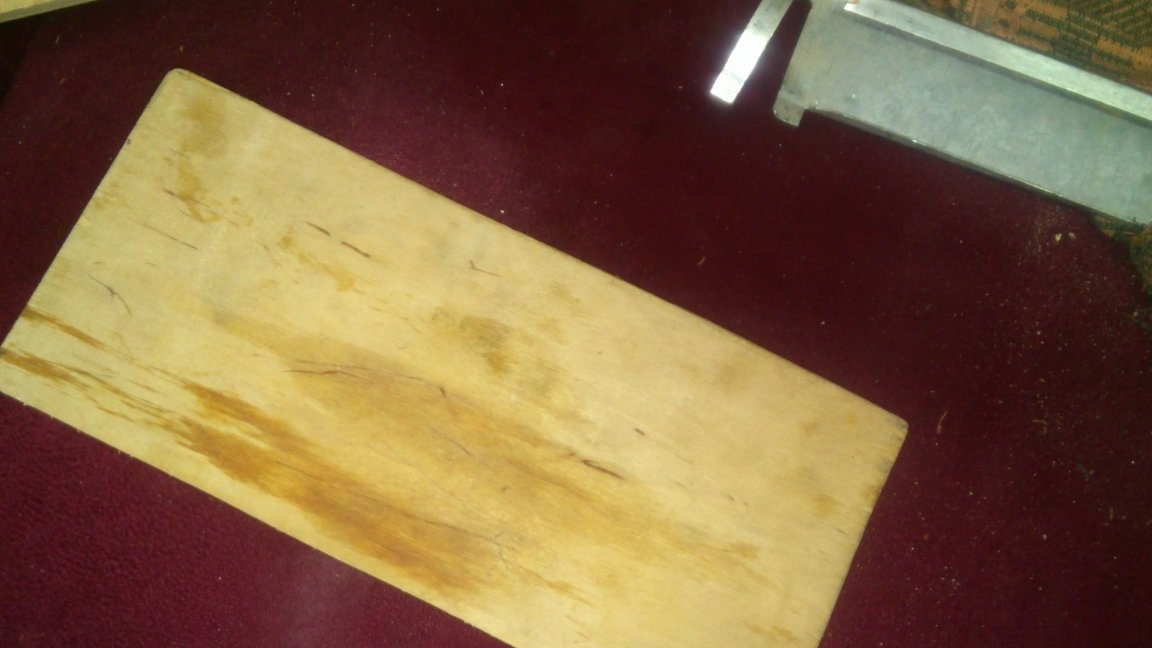
The plywood was found, 10 mm thick. From it I cut a pad of the right size:
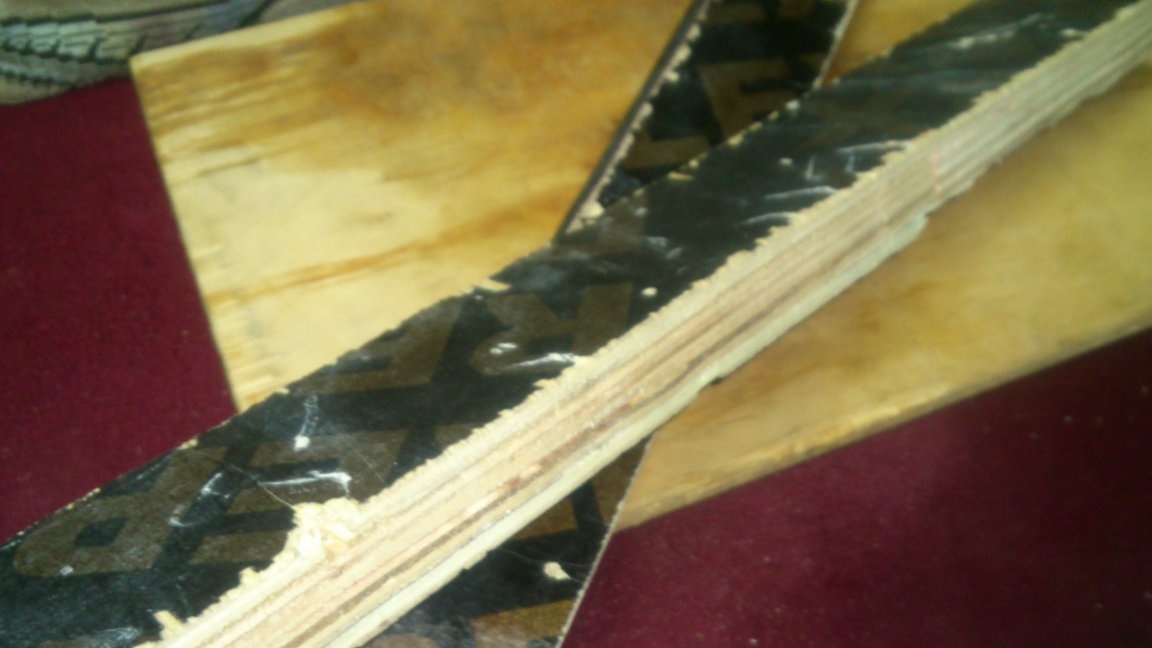
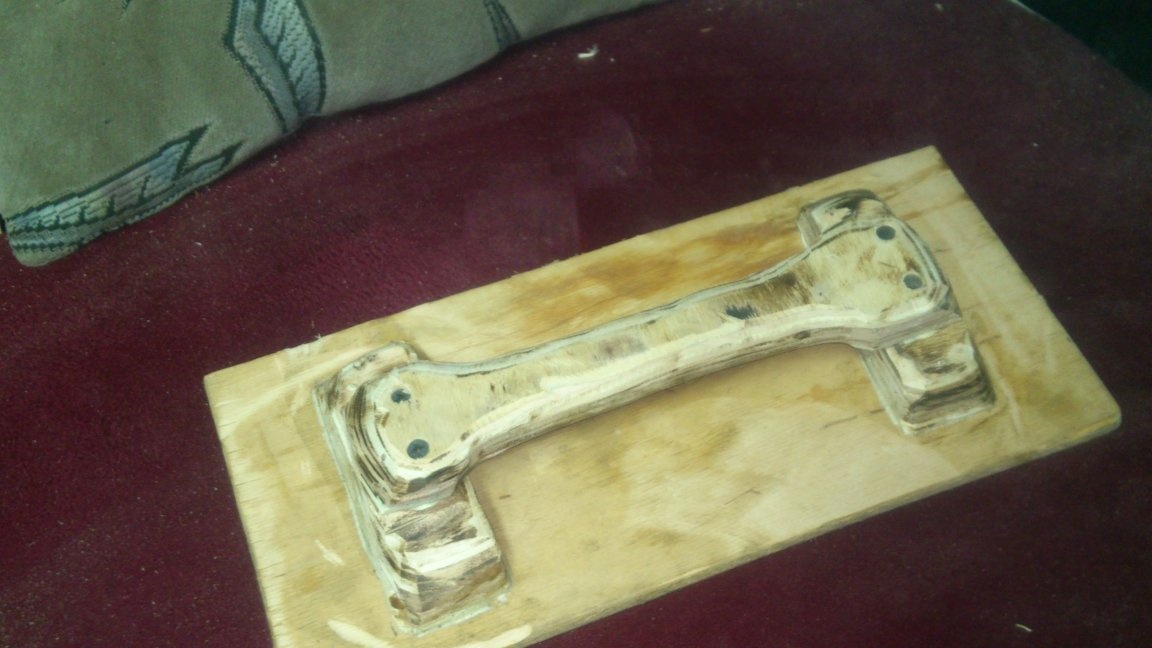
Now you need to make a strong handle to it. Having rummaged still, I found scraps of the laminated waterproof plywood, 20 mm thick. This material is very strong, so I decided to make a handle from it:
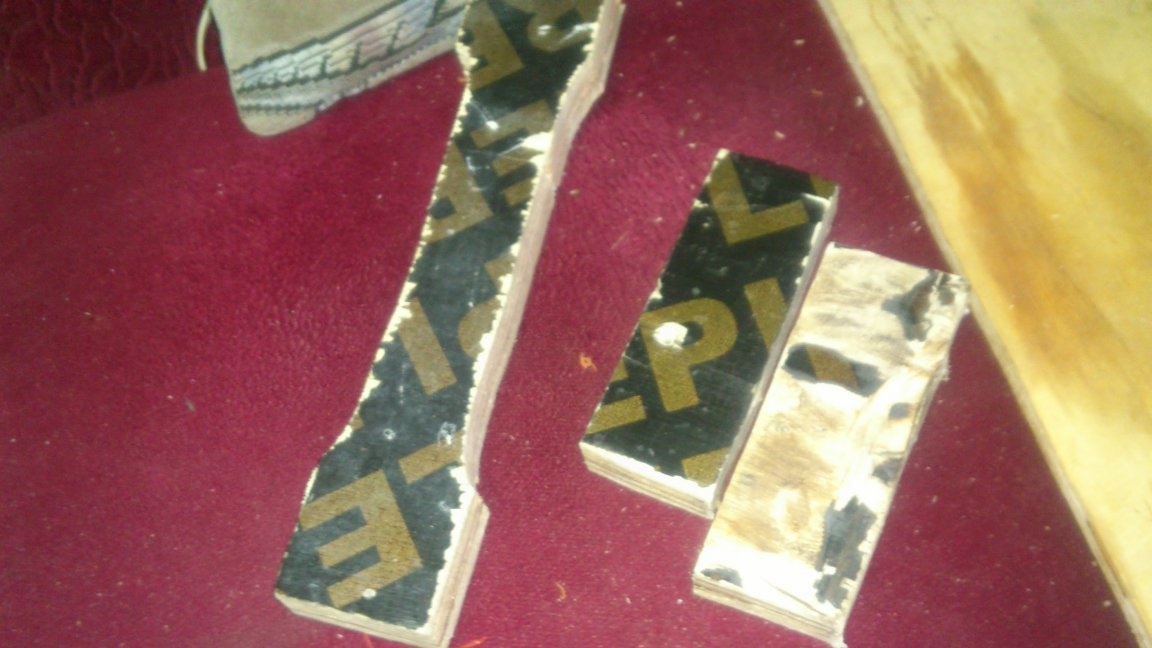
Not marking anything up (time is more expensive))) I roughly cut the handle itself:

I decided to raise it above the platform using transverse spacers from the same material:
Before fixing, I previously processed these parts a little grinder with a petal circle:
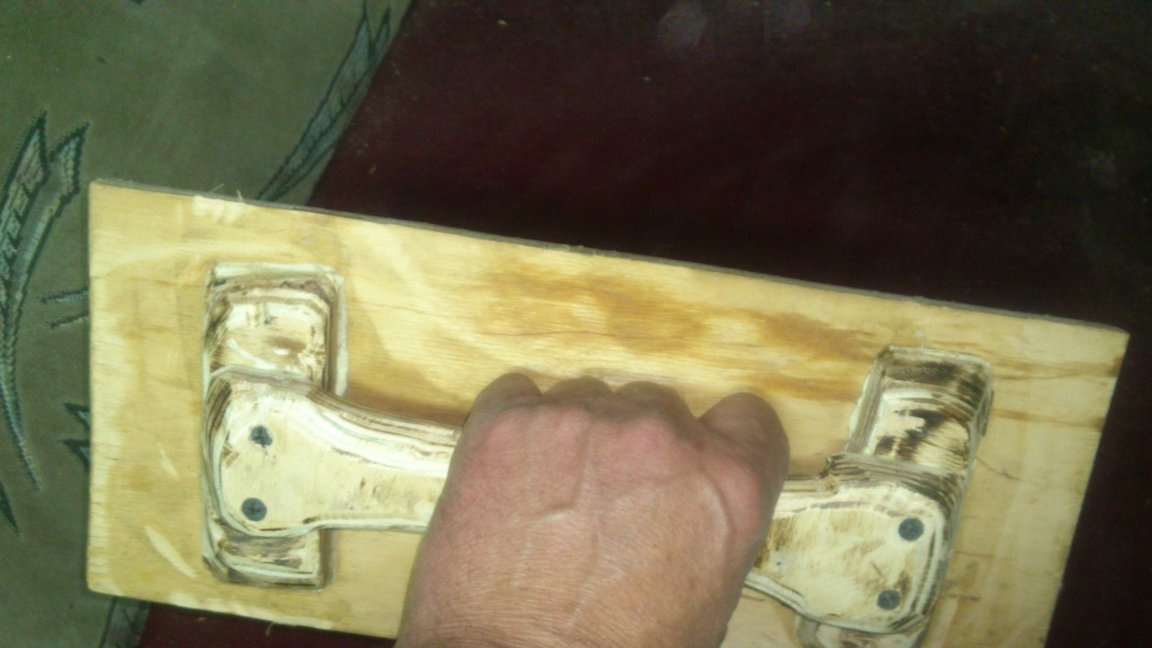
I decided to connect the parts with screws, after having pre-coated the parts with carpentry glue. I drilled holes under the screws with a thin drill, because the parts are not very massive and can crack. The resulting handle was attached to the site using the same method, screwing the screws from the bottom, from the side of the site:
After that, I finally processed the petal circle:
Now you need to think about how you can fix the foam on the underside of the site.
Having rummaged in the "scrap metal". I found several such details:
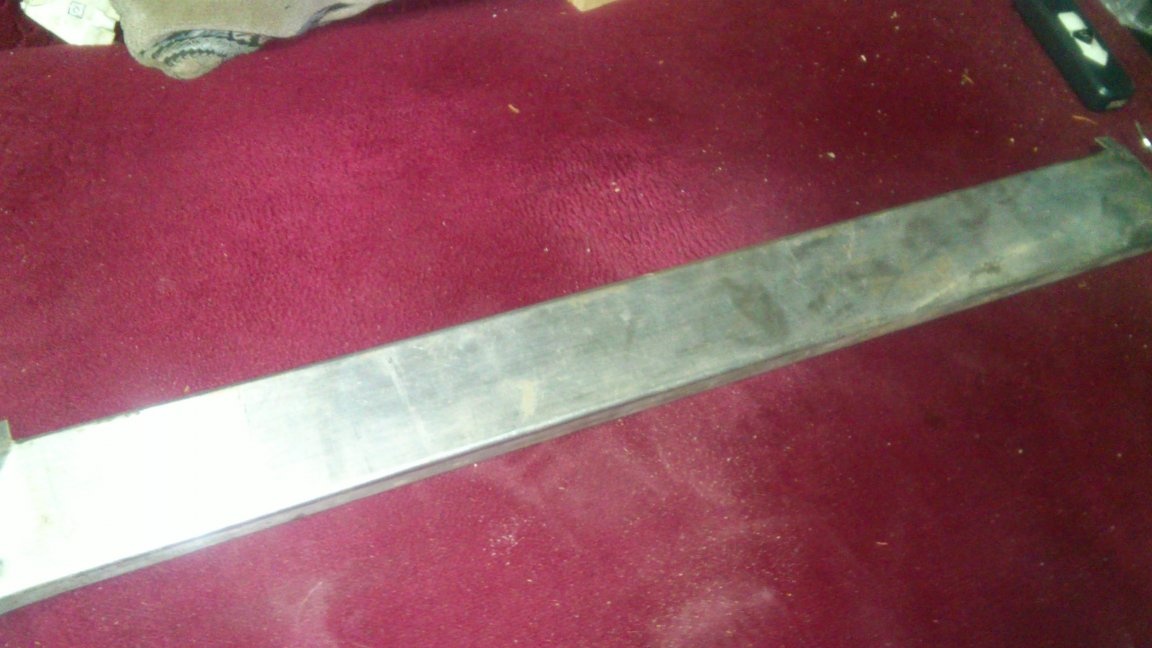

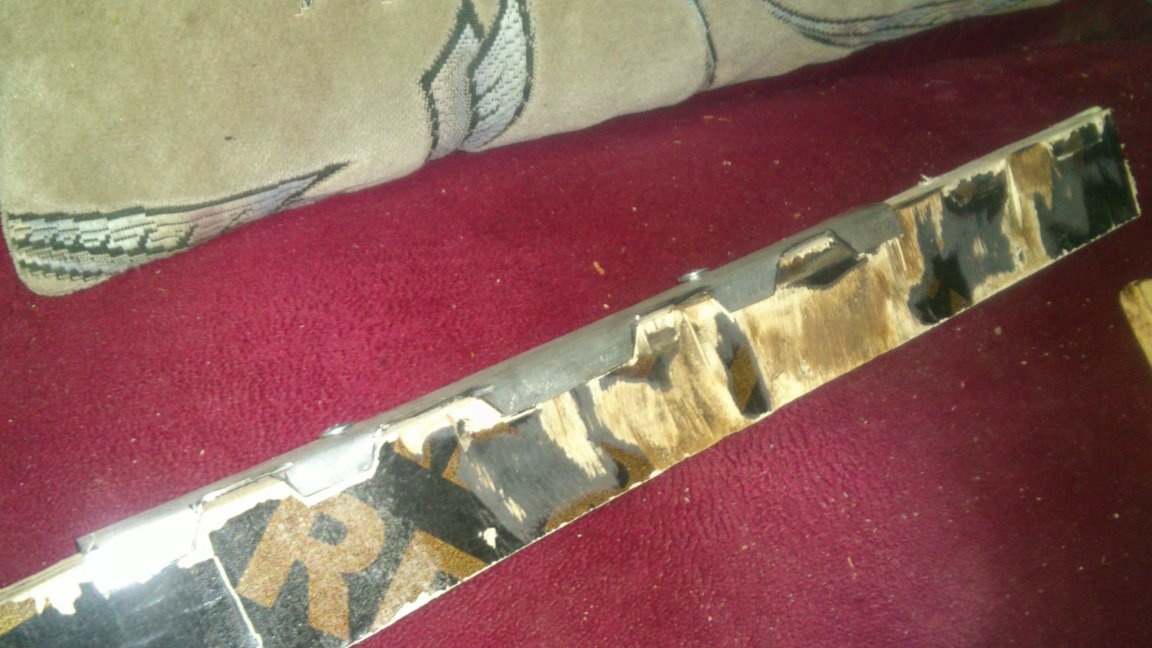
These were parts from a very old refrigerator. The "railings" of the shelves that are located in the refrigerator door were made of such a stainless steel, inside of which were plastic inserts. The stainless steel is thin, but of high quality ("magnetic"), so when the refrigerator was disposed of, I did not discard these parts. I marked one part so that after the cut, I got a corner with one rest of 30 mm. (The size of the other is not particularly important to me. But "automatically" it turned out to be 10 mm.))).

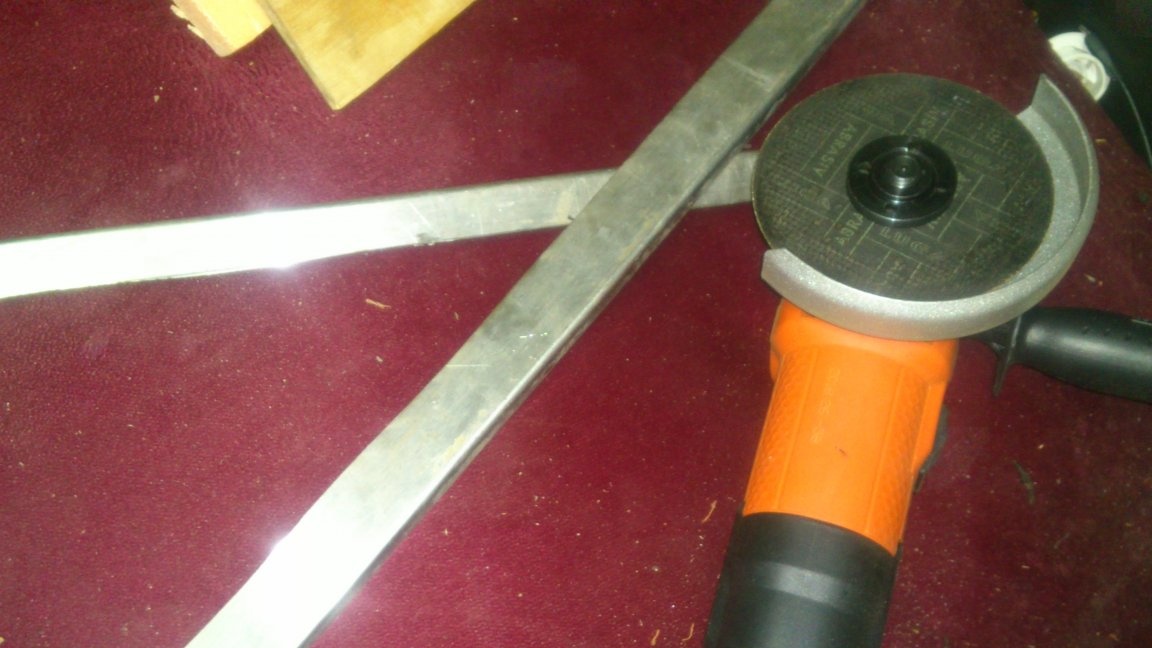
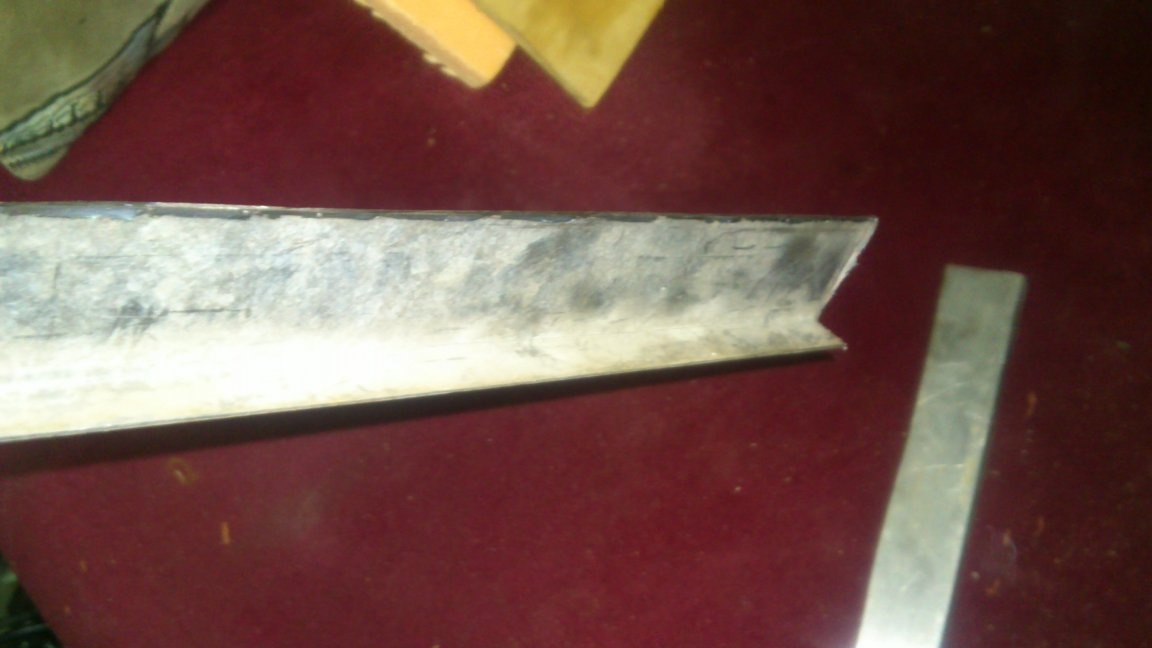
Then I cut it across to get two details:
I drilled two holes in each of them, with a diameter of 3 mm:
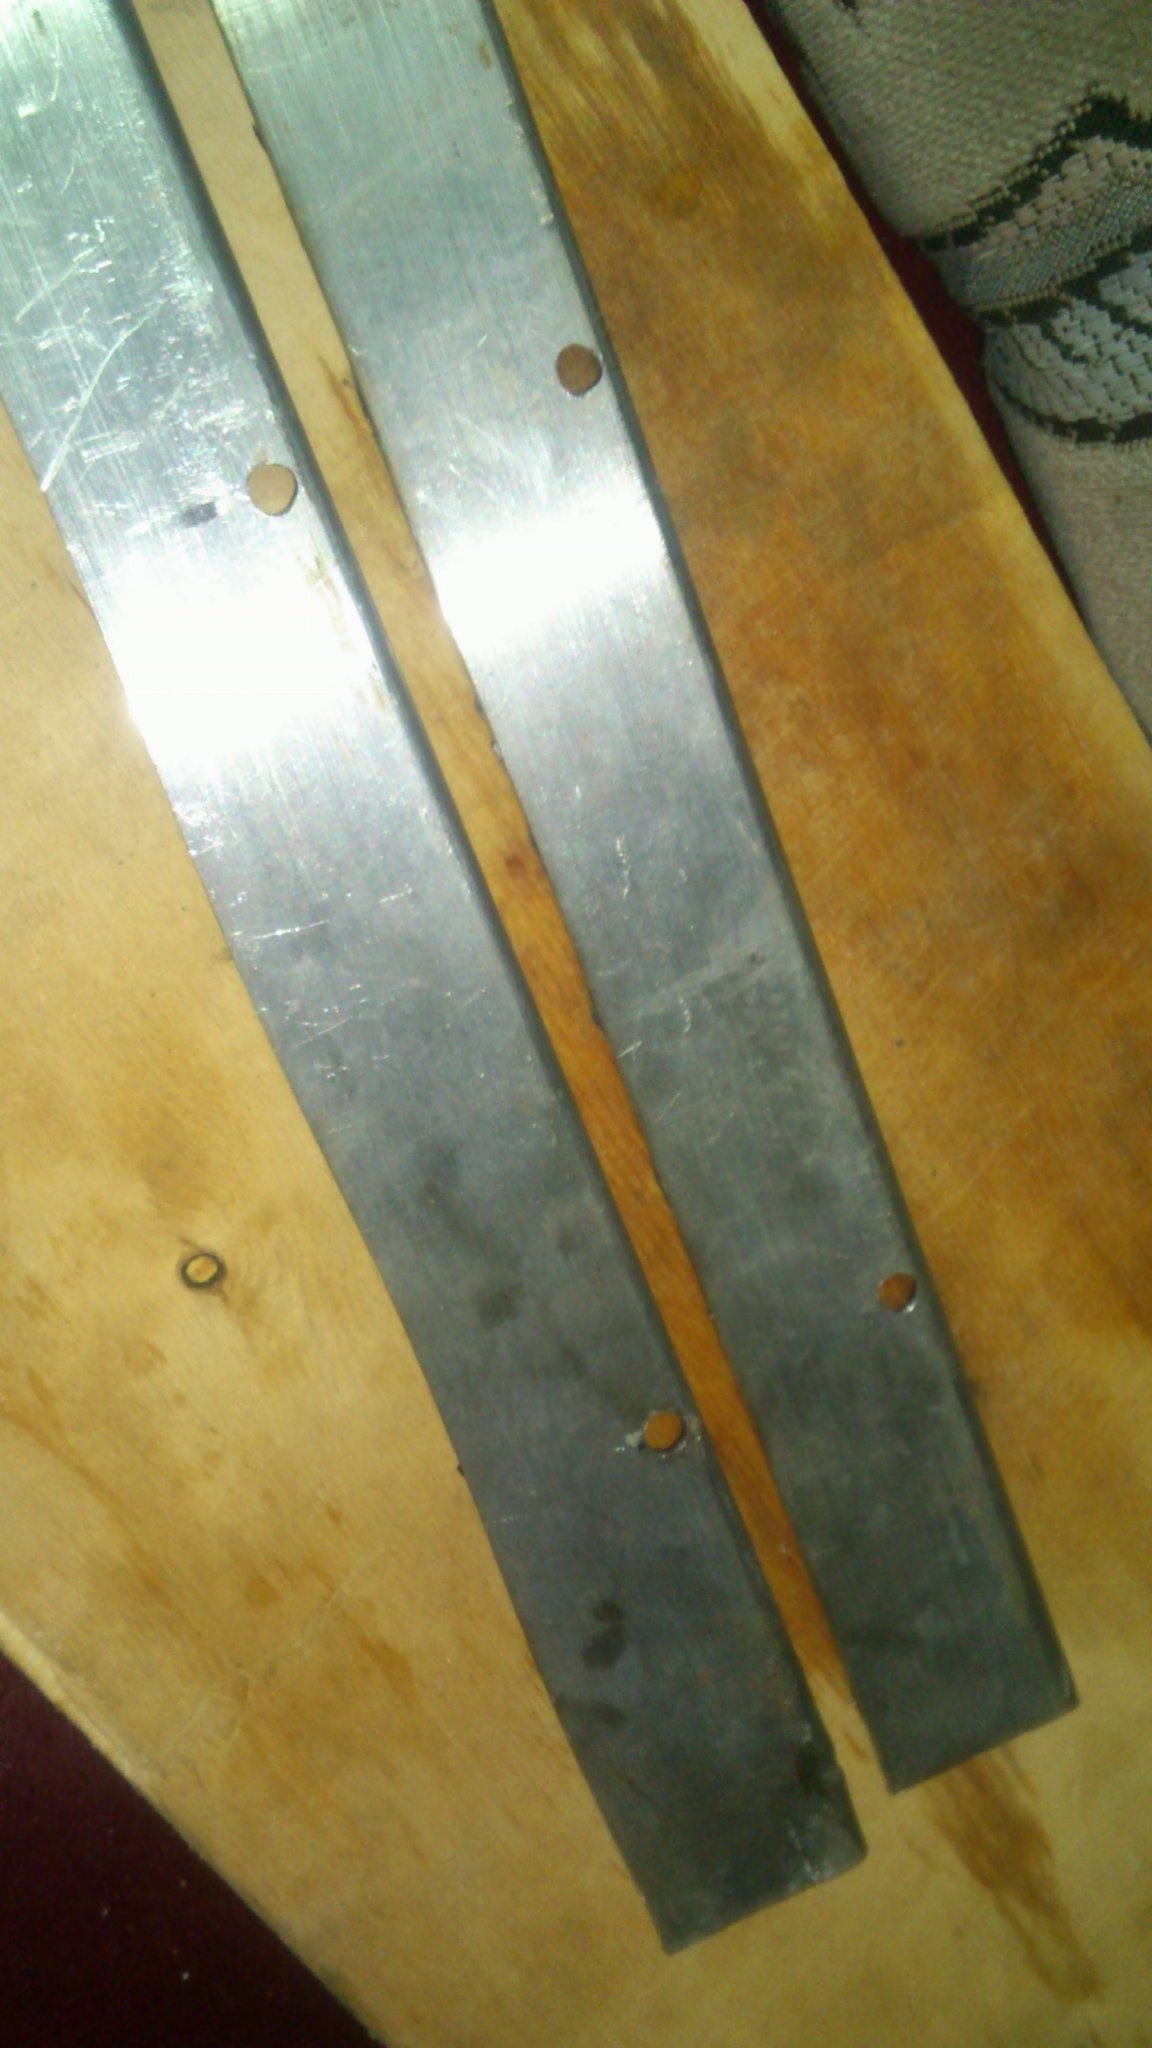
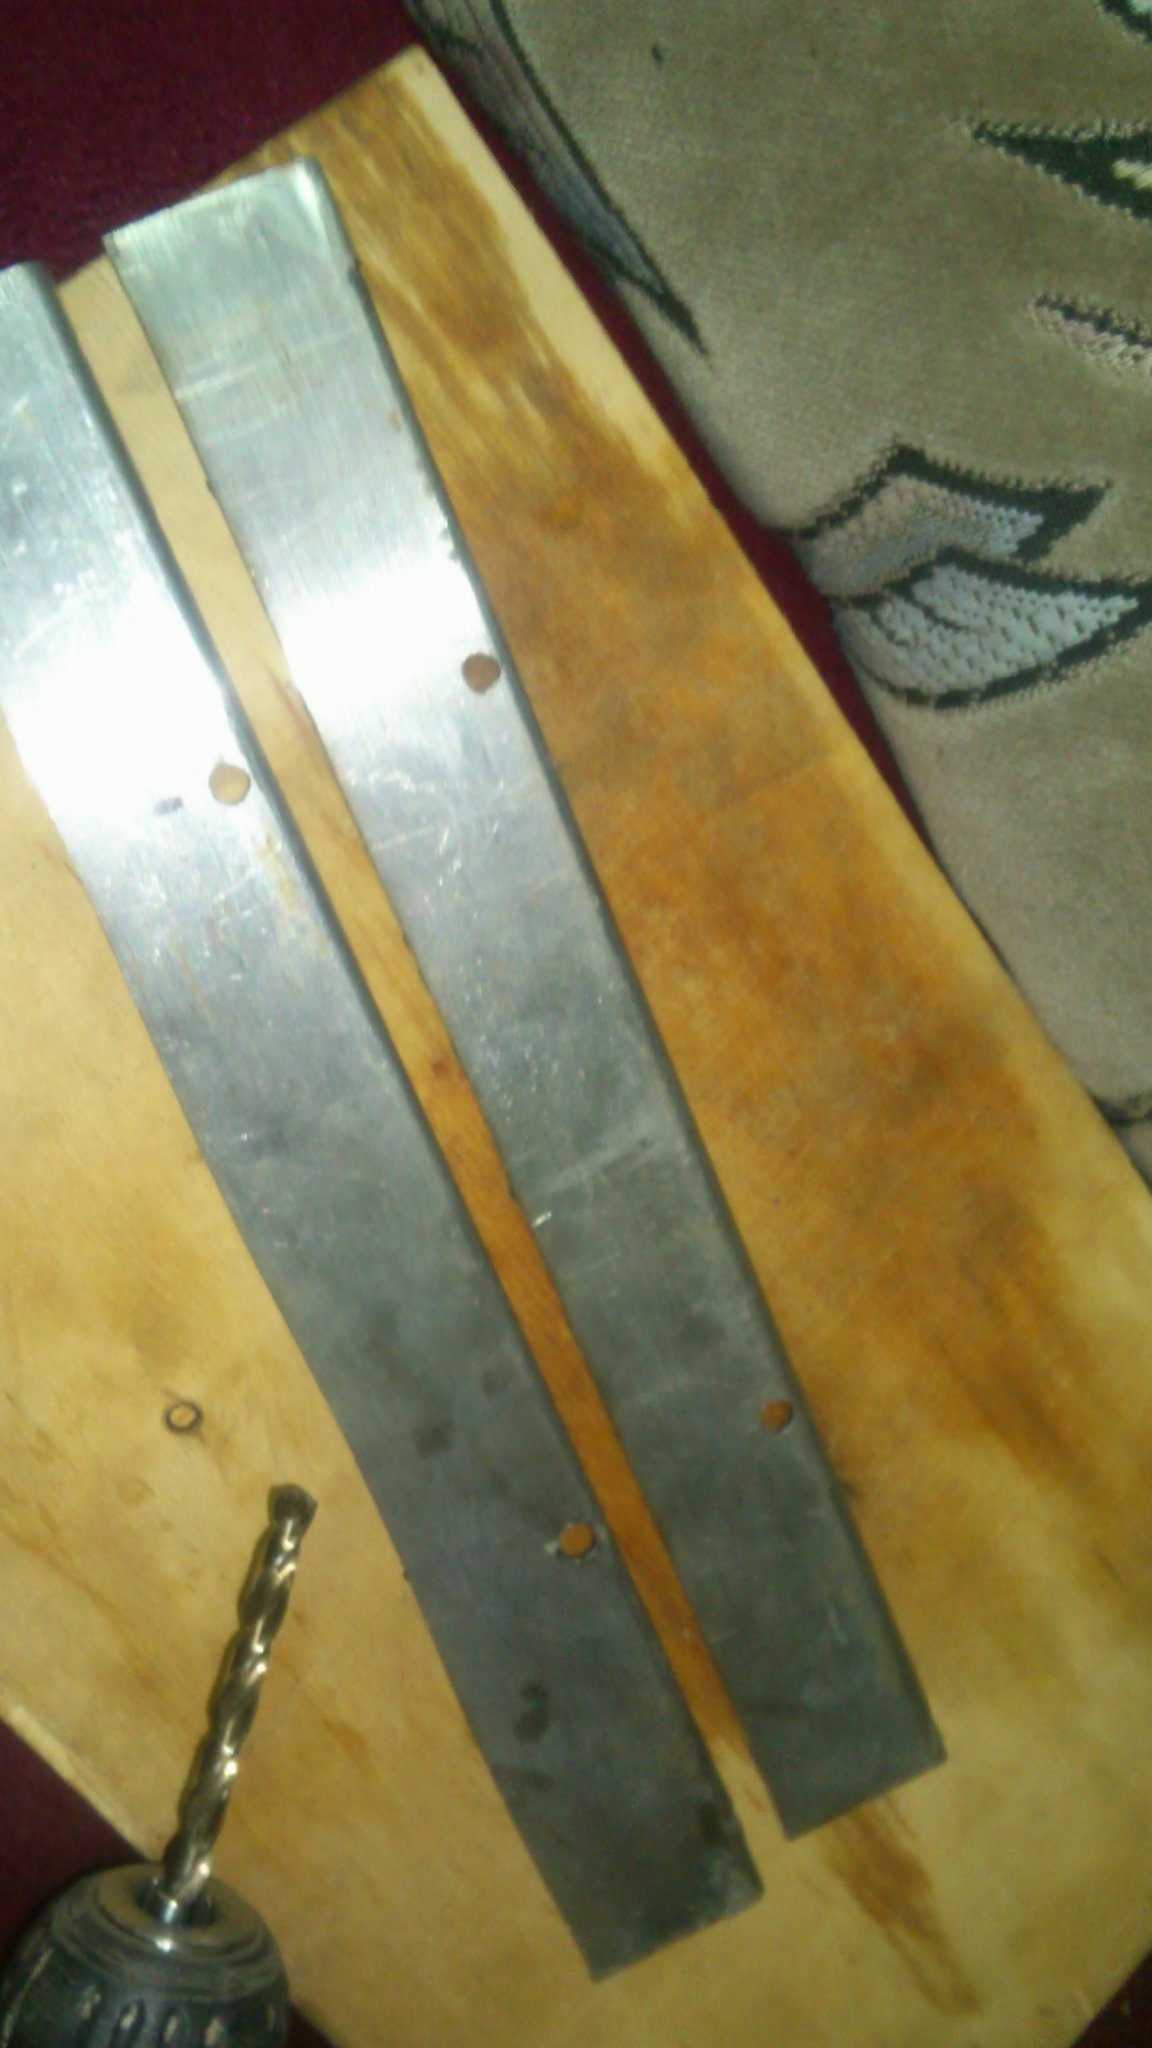
(Do not ask how far from the edge and from each other ...))). In a hurry ... I did it by eye. The main criteria were two factors: That the details were symmetrical and ... and "that it was normal.")))
Then I took as a mandrel a strip of laminated moisture-proof plywood, 20 mm thick, and screwed my workpieces through the drilled holes to its end. Used with screws with a preshayka:

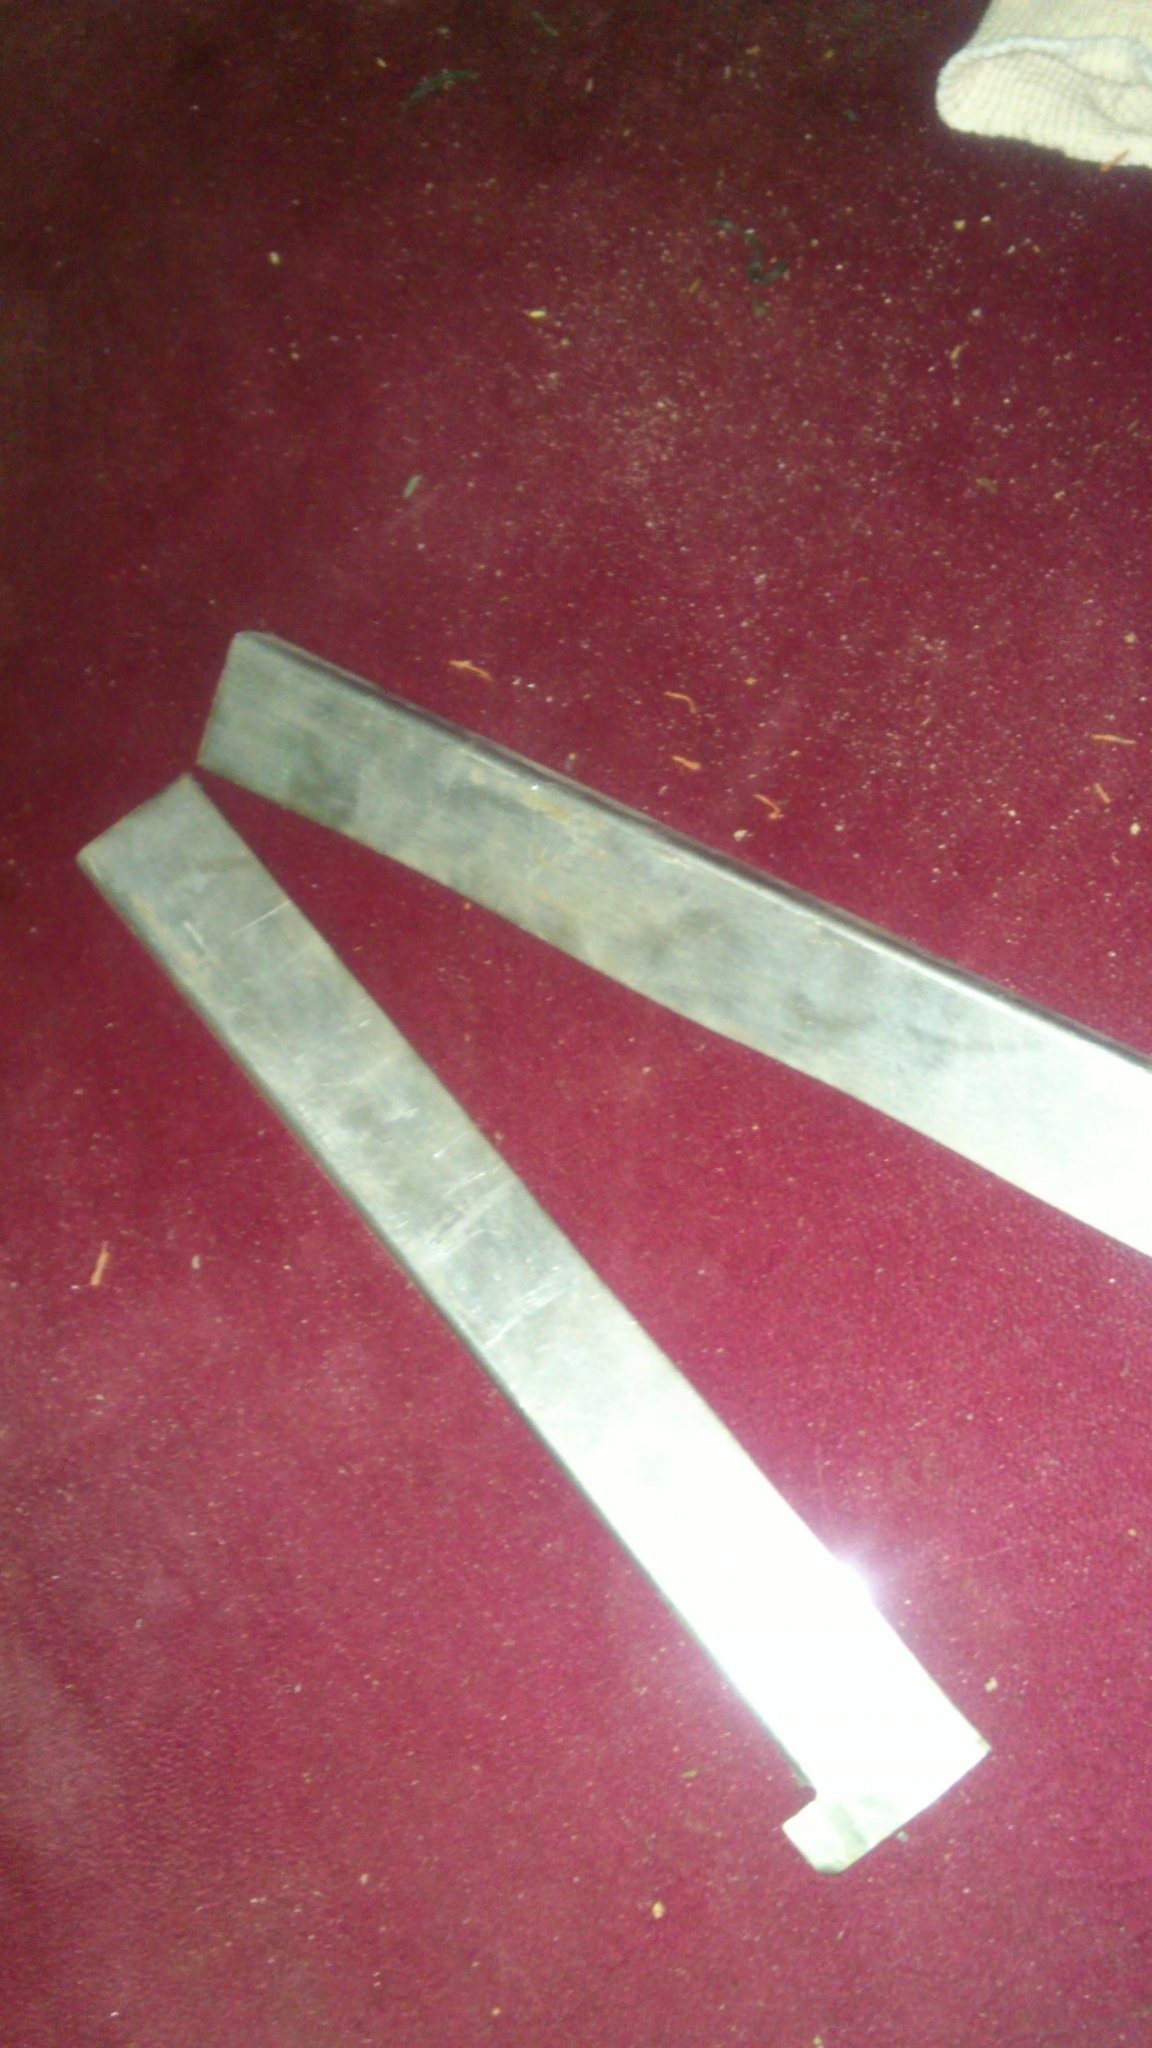
At first I thought to make frequent teeth, like a saw. But, after reflection, I decided to make several long "teeth" that will dig into the foam:

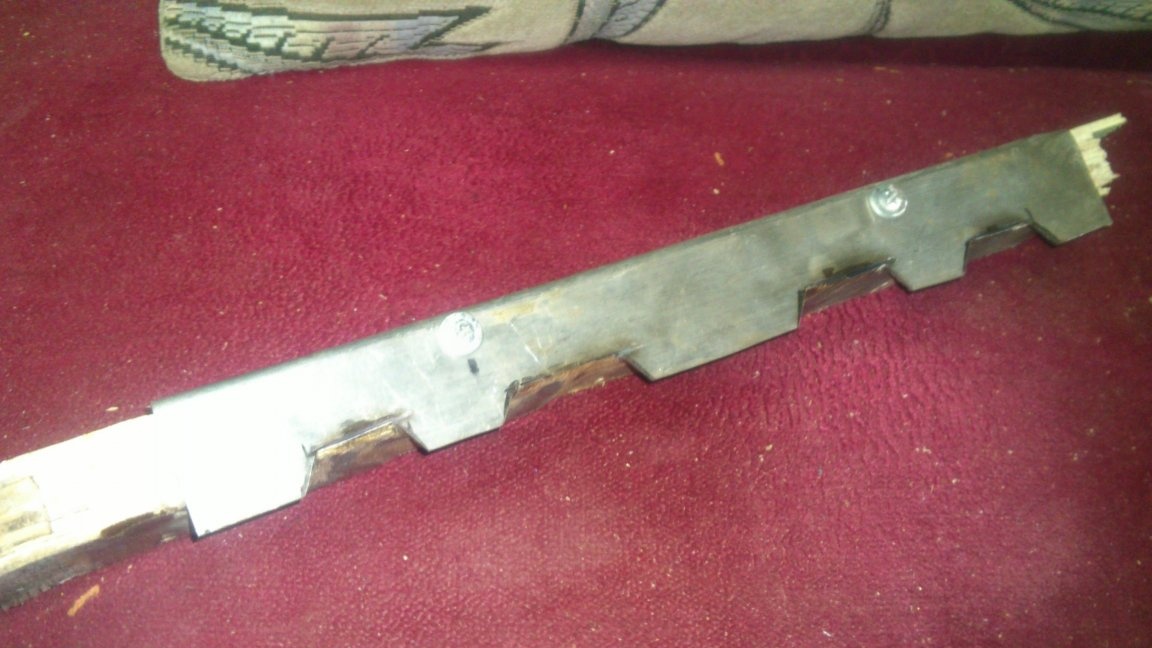
After that I bent them with a hammer ninety degrees right on the template:
I thought of several options for mounting brackets to the site. Thought to "implant" into the plywood some metal embedded elements with thread and in them, with screws, to fix the brackets already.
But, when I already did, I thought that such complication is excessive !!! I will simply fix it with screws. Enough for my age !! I'm not professional builder!!!
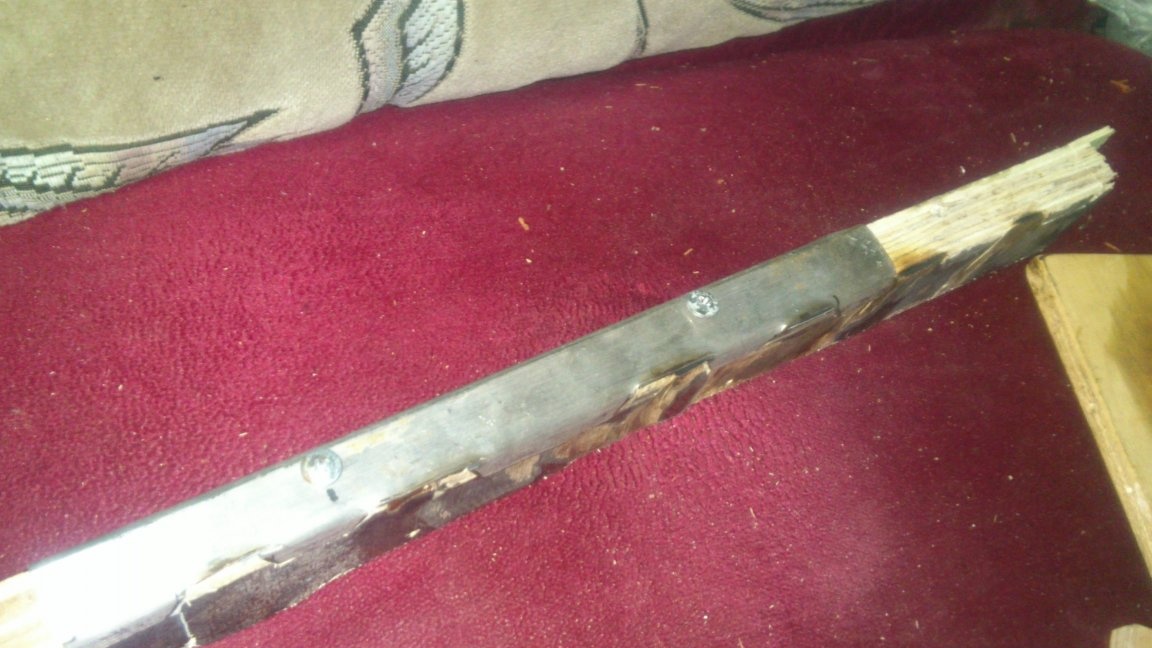
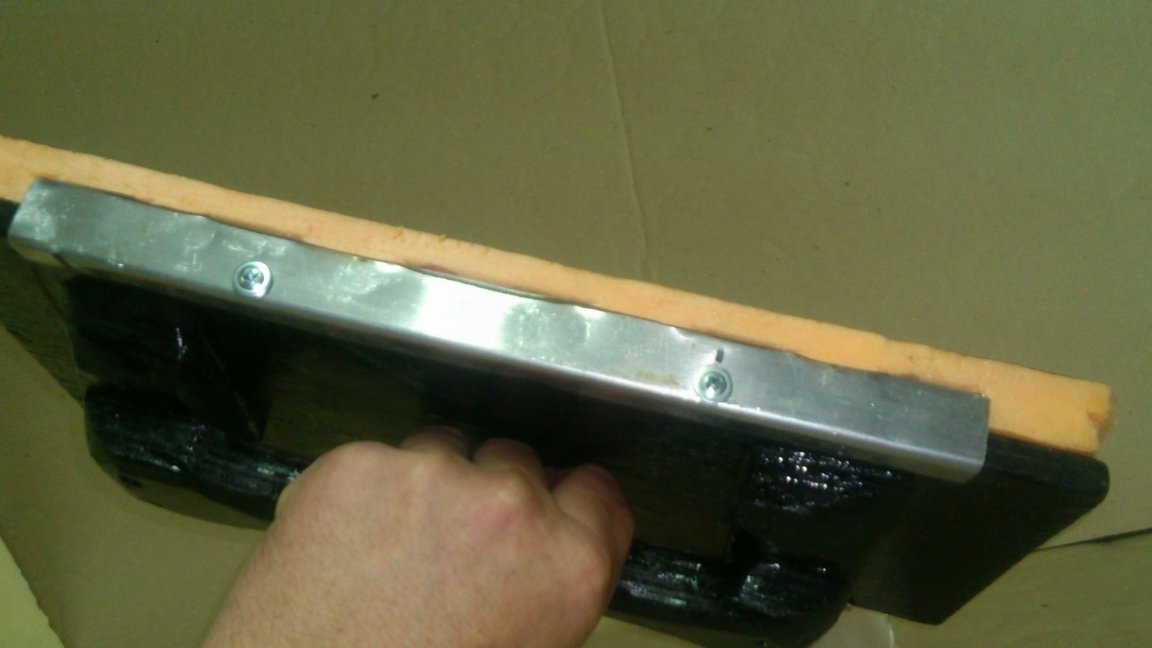
Well, five times I’ll change polystyrene on it, maximum ... (I think even less than that actually))). If, suddenly, the landing screw loosens, you can, after all, take thicker screws. At the worst, drill a new hole nearby, and drive the screw into a “fresh place."))) Therefore, I simply drilled holes for the screws with a thin drill, and fixed the brackets with the same screws with a pres washer that I used to fix them to the template during manufacturing:

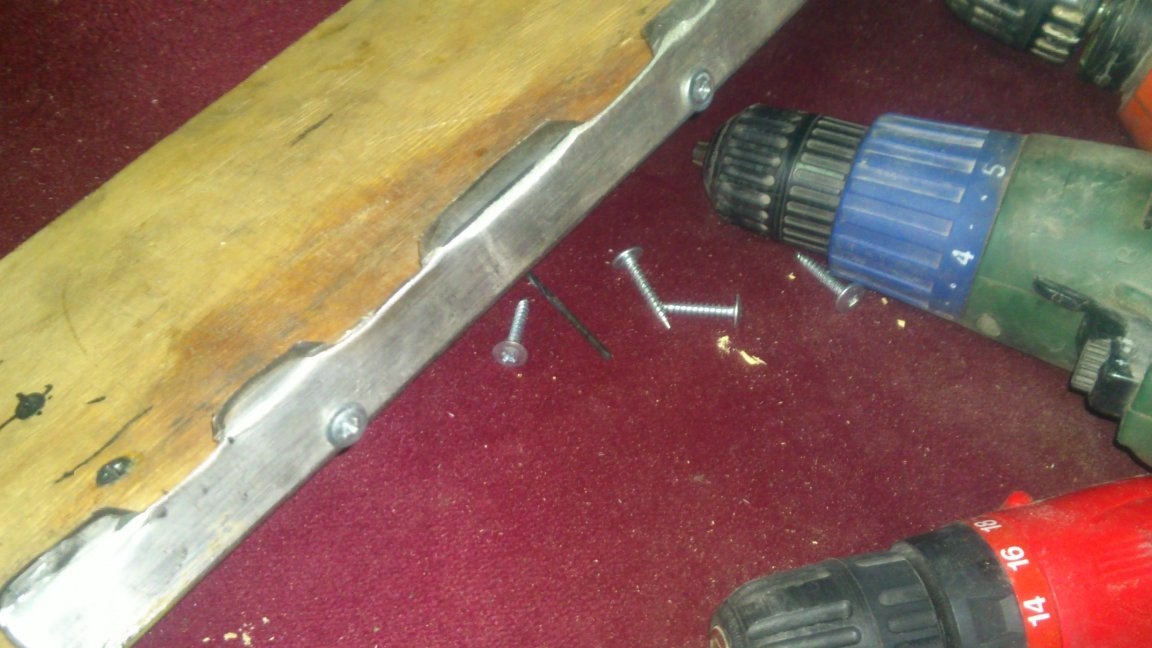
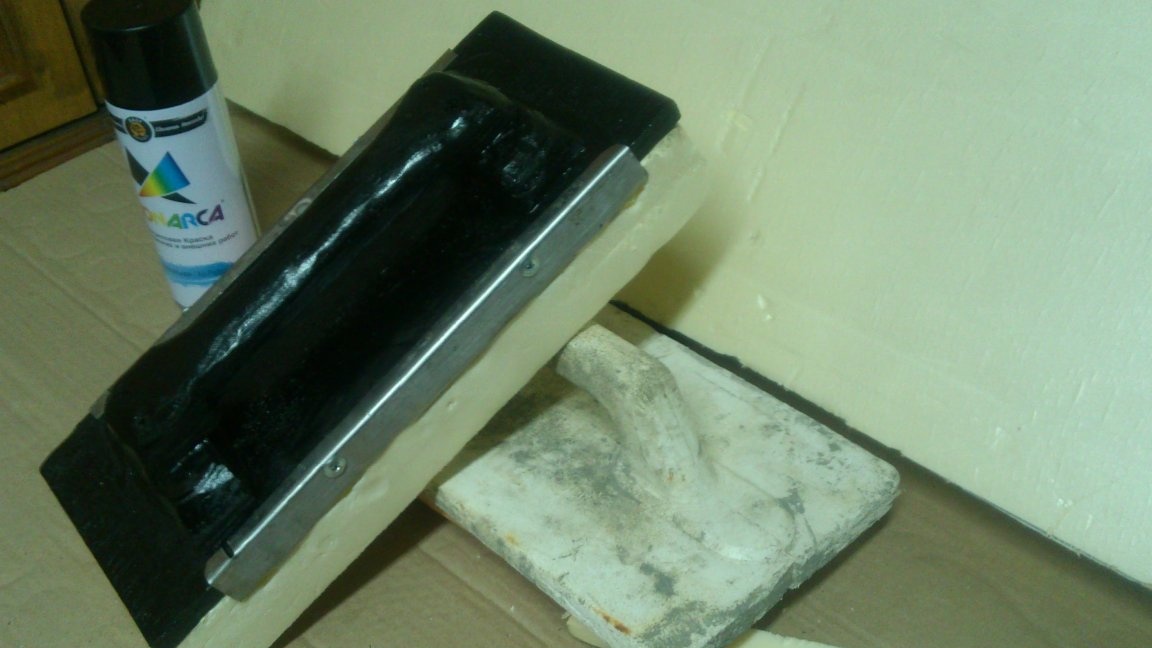
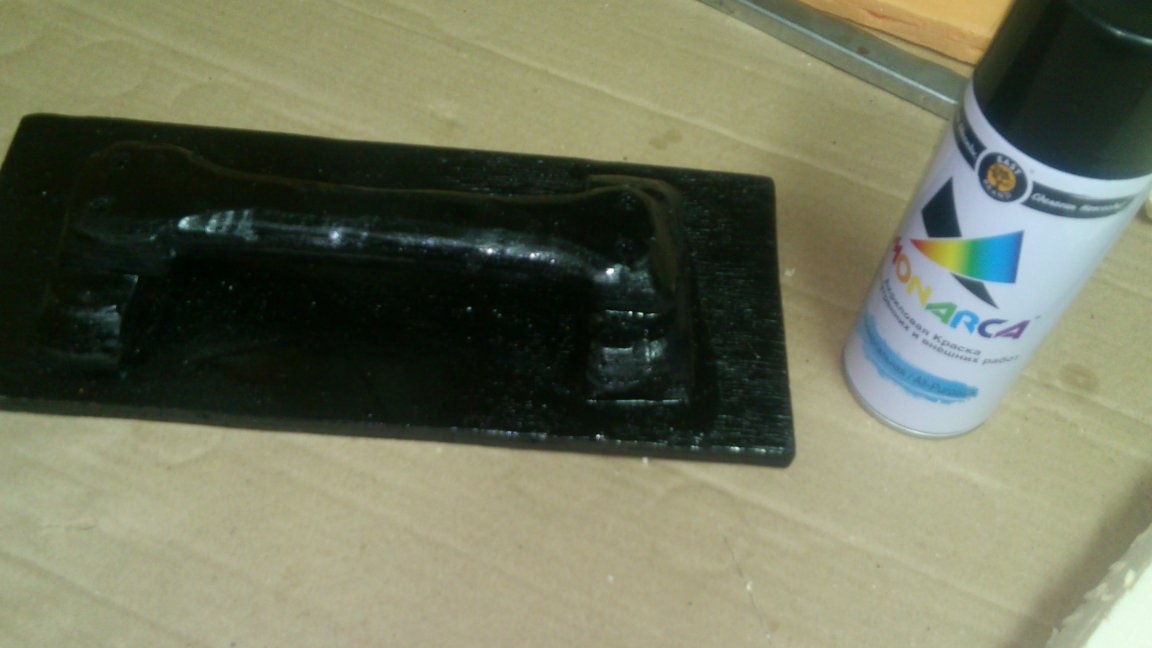
After that, I disassembled my product, and sent the plywood base to be painted. It would be more correct to paint in gray. Indeed, when working with cement-containing compounds, it is practically impossible to avoid gray streaks on the tool after washing with water. But I had only black enamel, and I took advantage of it! Indeed, painting in this case is necessary not for reasons of aesthetics, but to protect plywood from moisture!
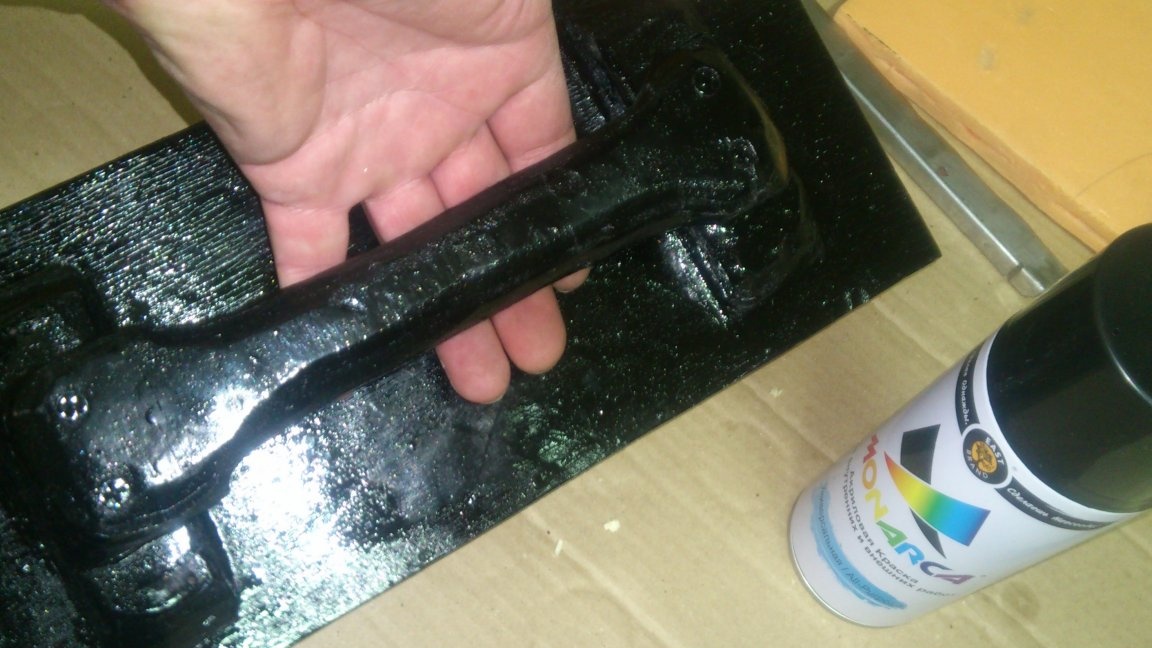
He applied several layers of black enamel with an intermediate ten-minute drying.(until the paint is no longer absorbed.)
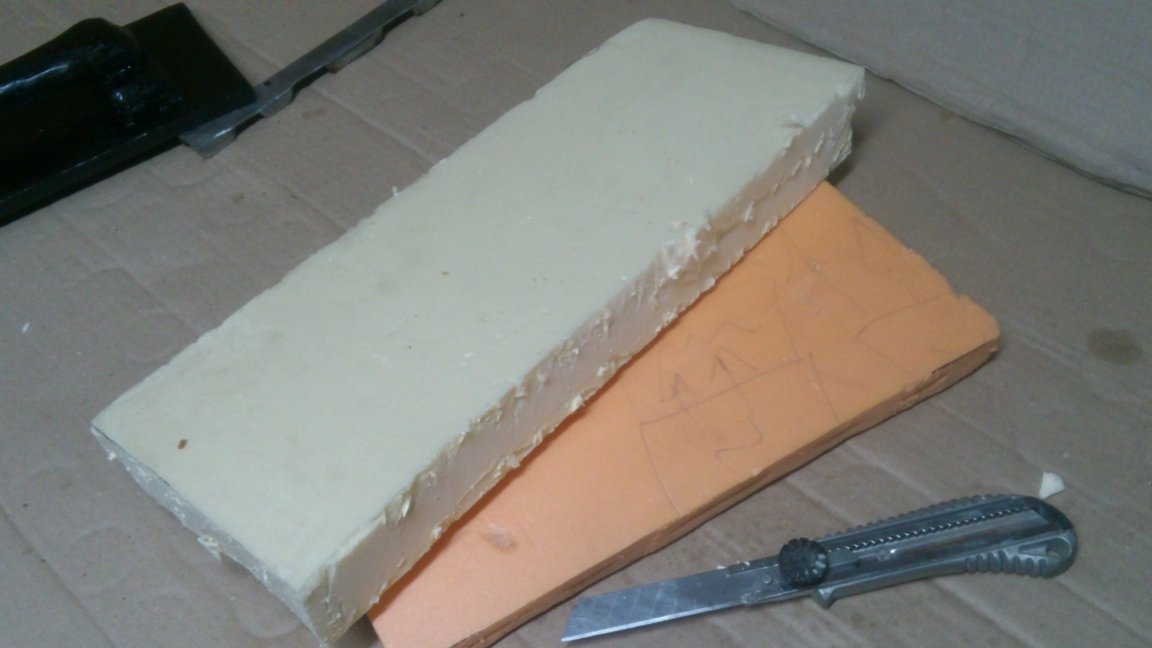
Now we need to make the working elements of our grater from extruded polystyrene foam.
I have a lot of scraps of twenty millimeter and fifty millimeter thickness left at my construction site. For the sake of interest, I made both of those and others ...
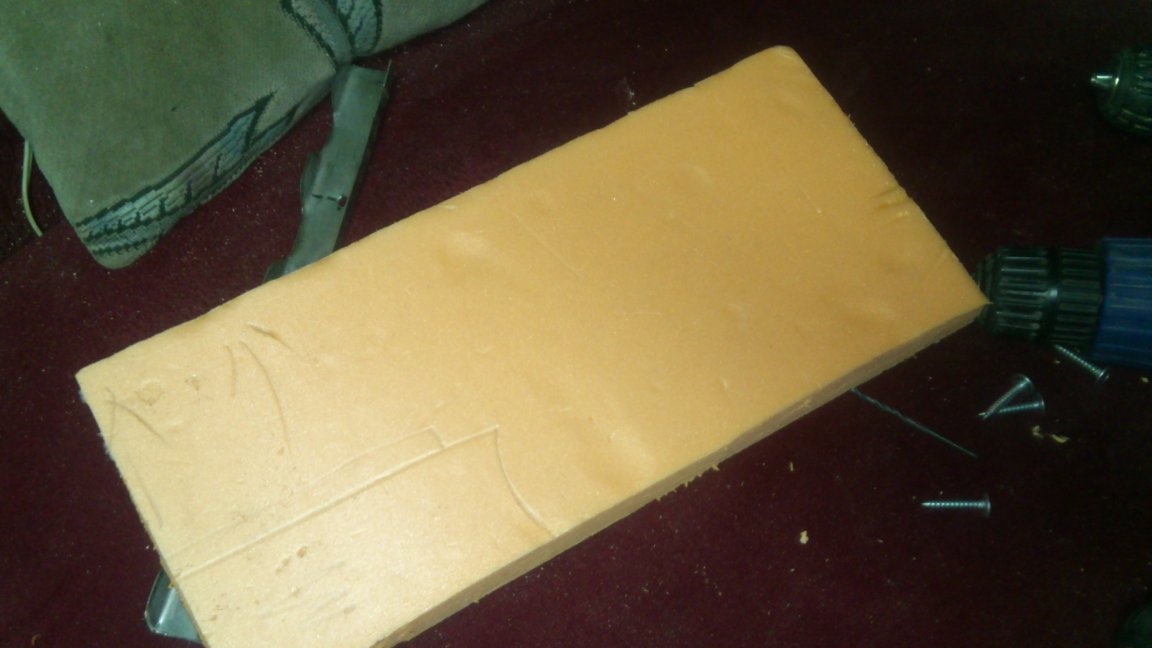
I simply attached the pad and cut it out, as in a pattern, with a technical knife:
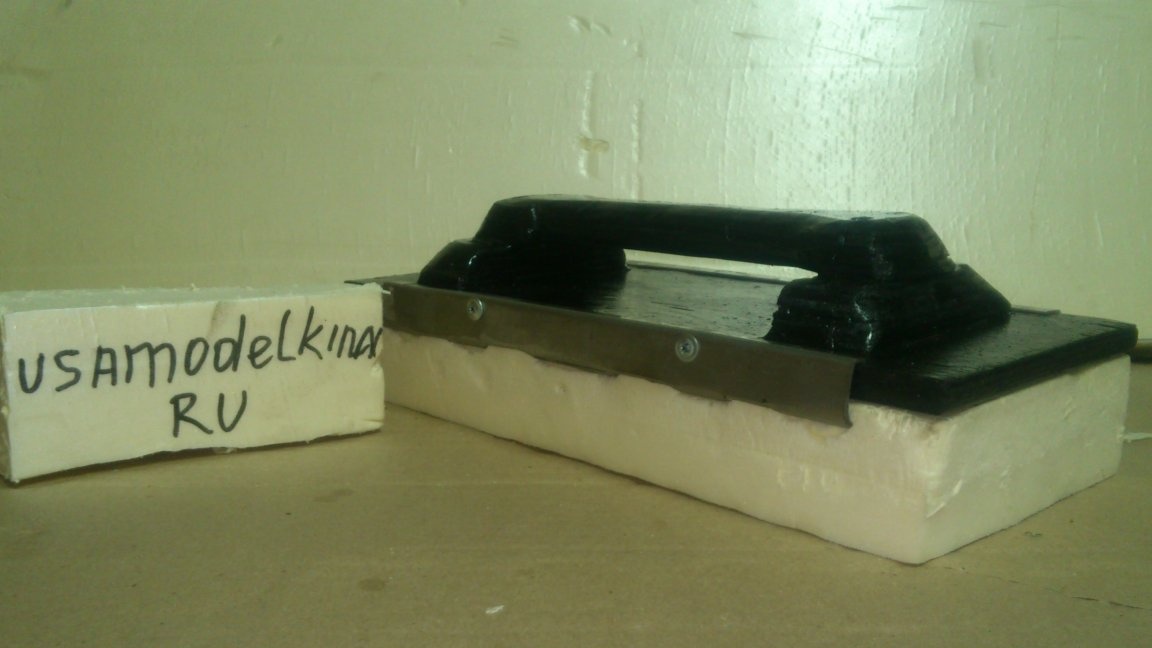
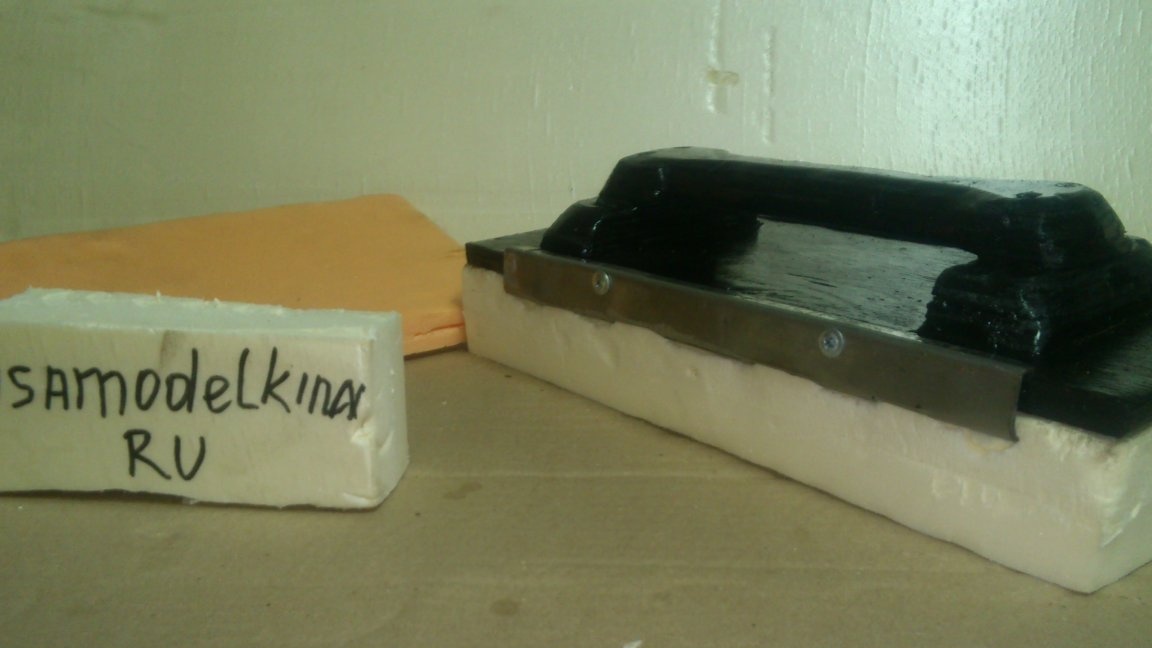
Now it remains to fix the metal brackets. Their teeth, which I previously sharpened with a petal circle, dig into the ends of the polystyrene and firmly hold it on the site:

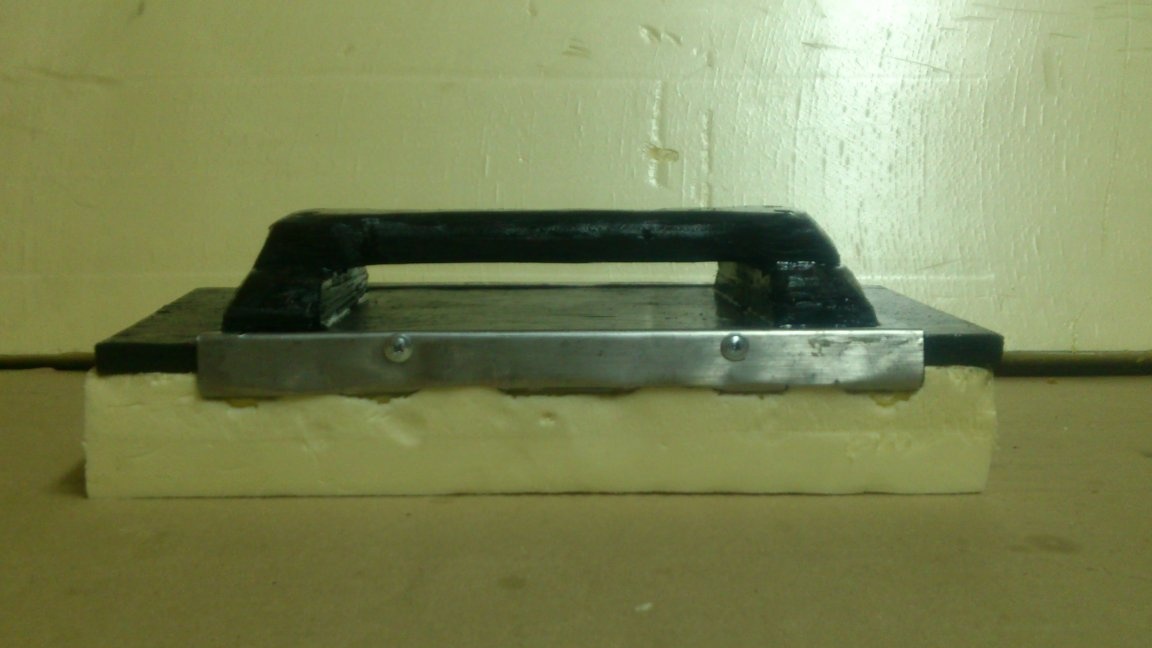

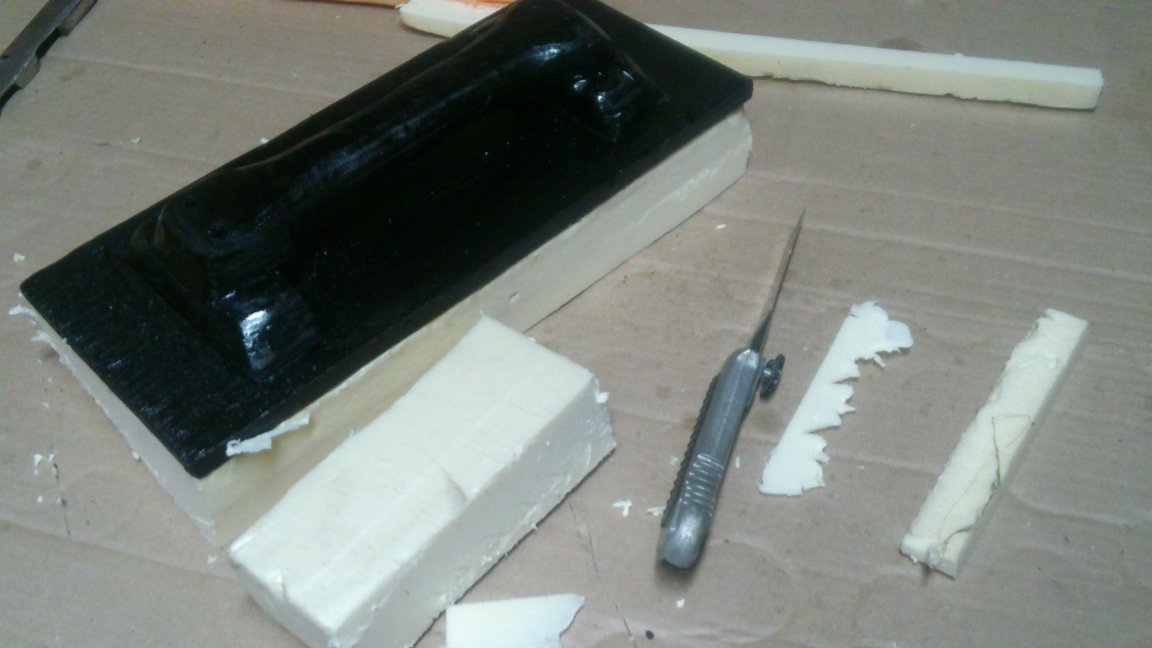
So my grater is ready:
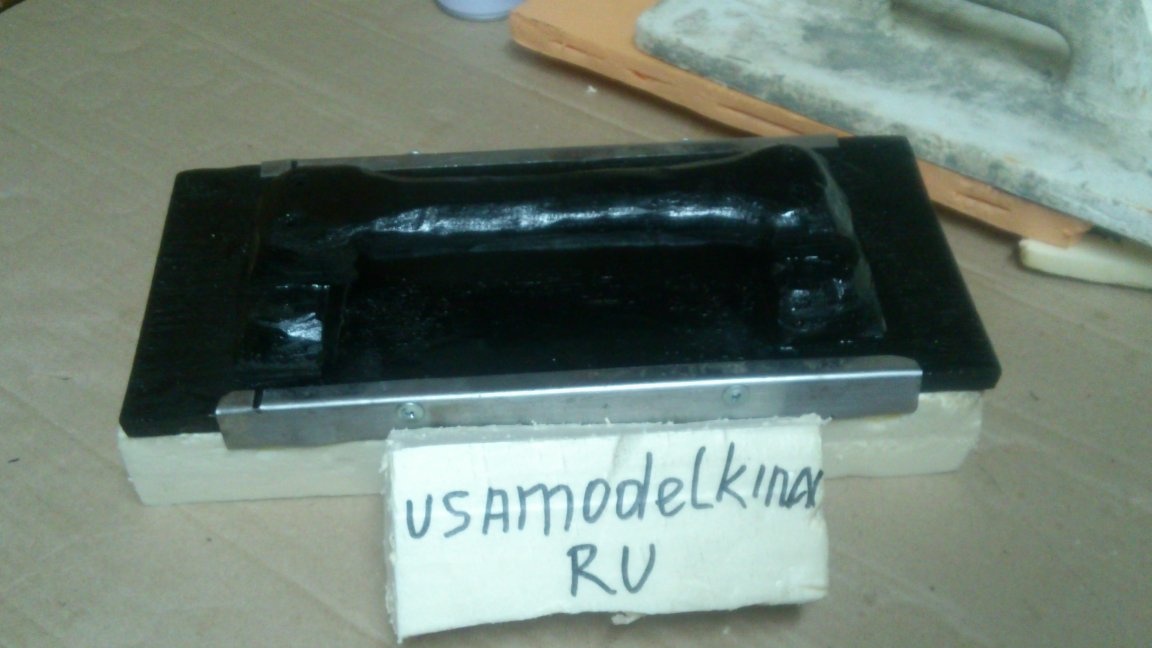
At the time of this writing, I have already tested it in my work. (He laid the screed). The tool proved to be better than purchased when compacting concrete, since it can be beaten and pressed with great effort. (So, this tool also matches the first paragraph in my "list of criteria for the justification of homemade work!)))))
And when mashing screeds - did not differ from the purchase.
So, if you are planning to build, or repair, making it is justified. Even if you do not have scraps of EPSP, like mine, a sheet of 20mm thickness is cheaper than a finished grater of this size! And it will turn out as many as sixteen pads!