
Greetings to all readers and lovers of tinkering do it yourself. A cutting board is an integral attribute of any kitchen. Since products are cut on it, it is desirable that such a thing be made of environmentally friendly material, such as wood. Of course, the board can be bought at any hardware store, but after all, those who are not used to running around the shops and love spending free time in the workshop have gathered here. Therefore, this article will discuss how to make an original cutting board with your own hands.
For the manufacture of the author used the following tools and materials:
• A circular saw;
• planing machine;
• Joiner's clamps;
• Ruler;
• Grinder;
• Hardwood timber;
• MDF (or any other plywood)
• Wood glue;
• Flaxseed oil;
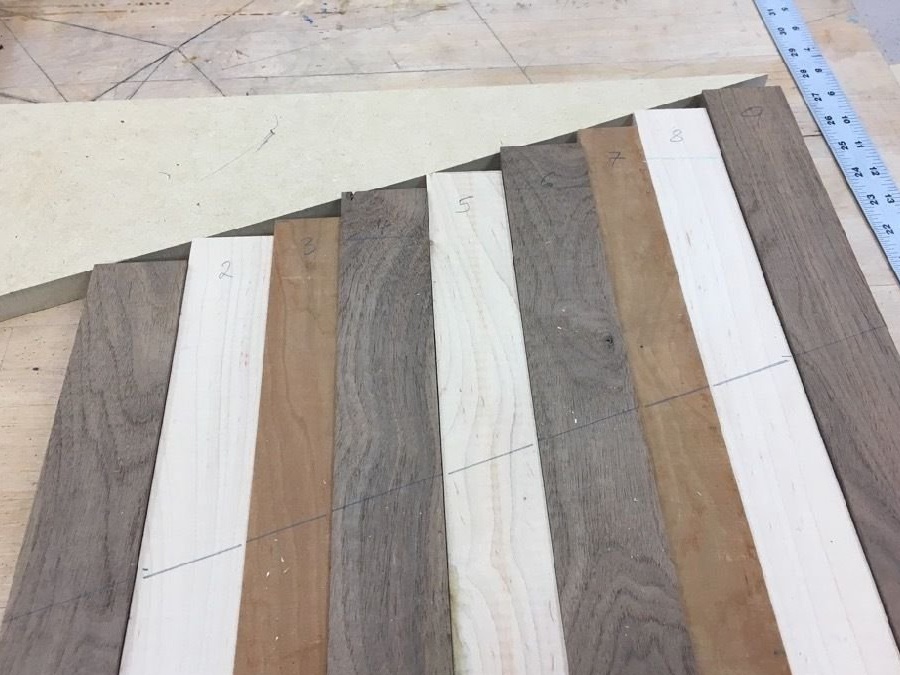
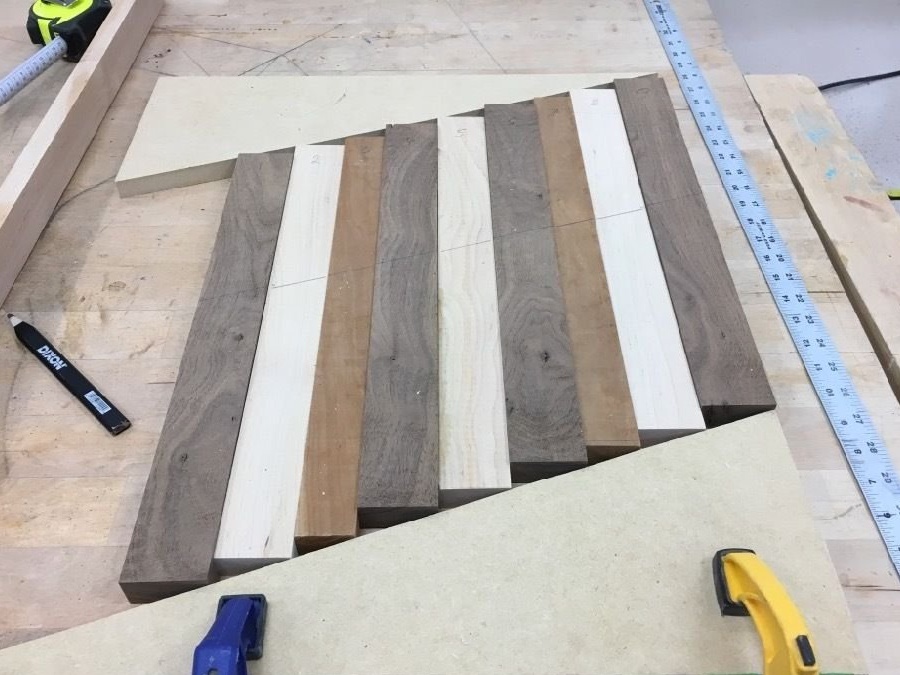
Step one: markup preparation
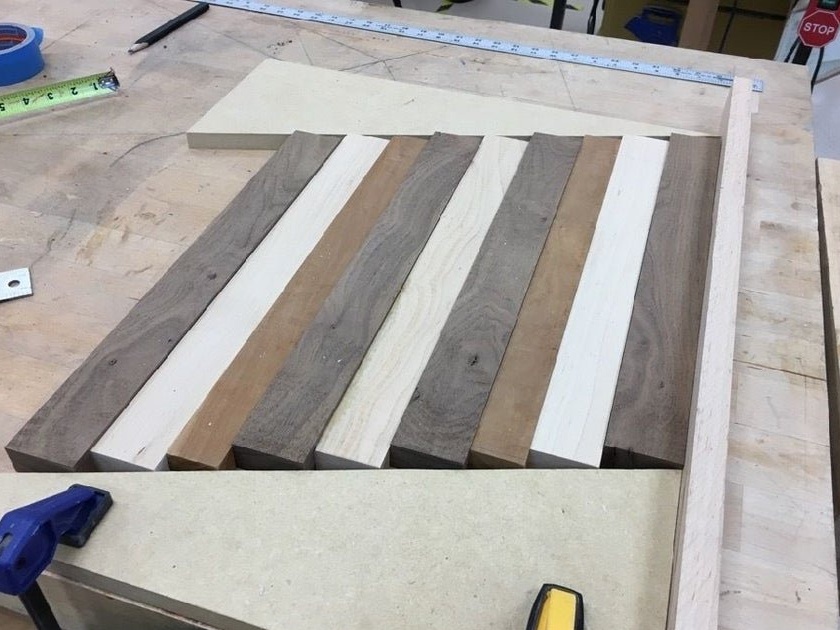
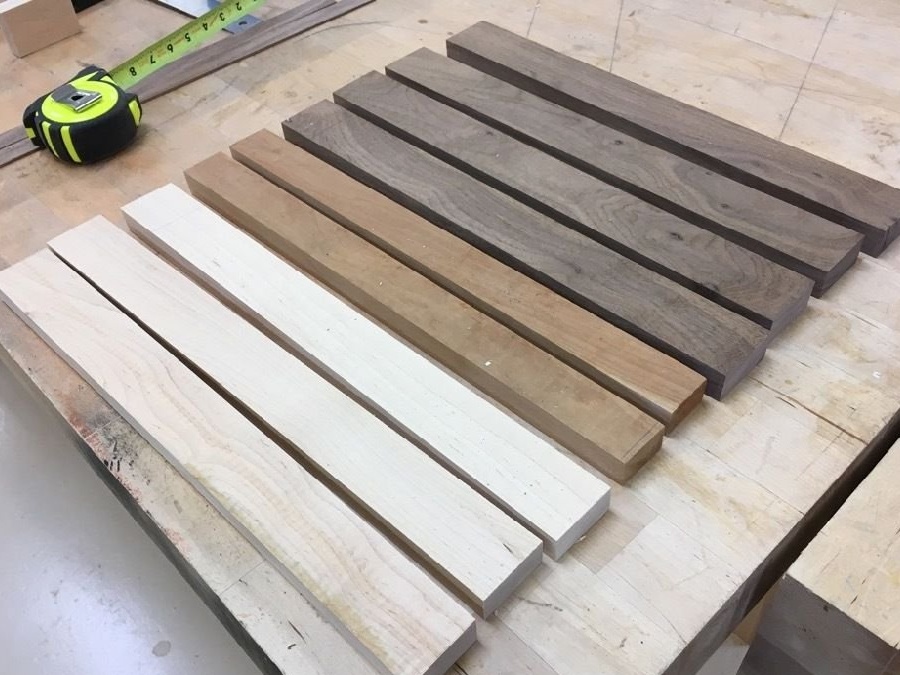
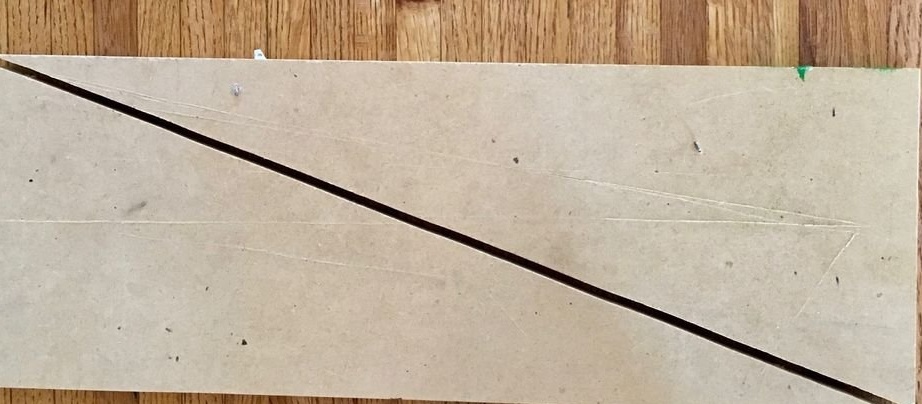
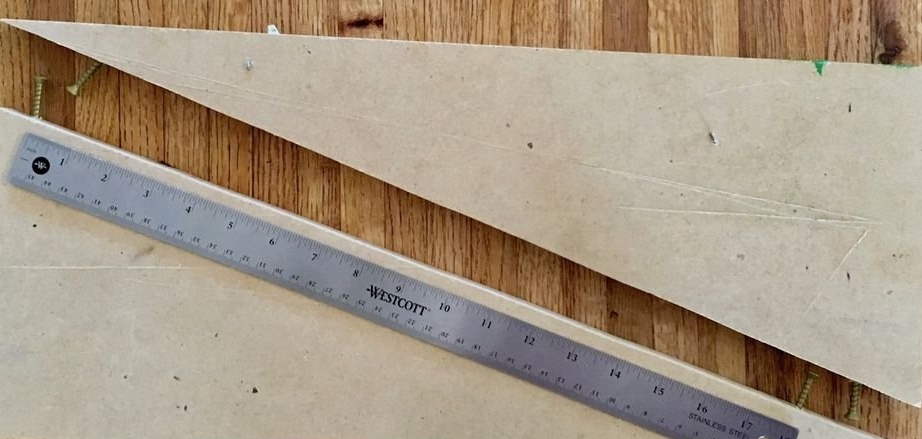
First, the author cut the bars of different textures into one size. Then, from the rectangle, MDF made two stops, for this the workpiece was cut into two parts diagonally.
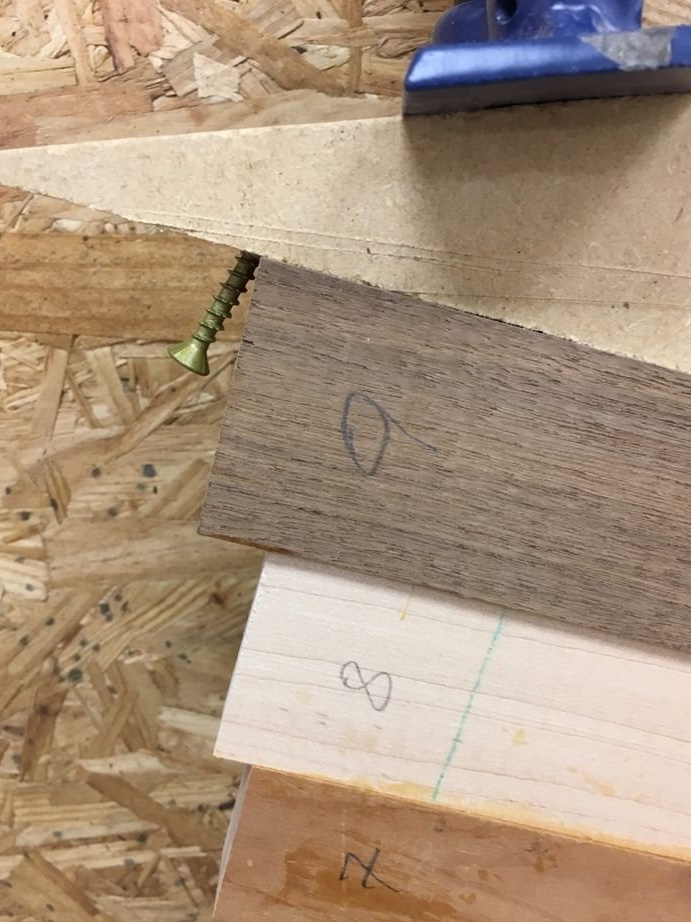
He fixed the stops on the workbench with clamps and placed the bars between them close to each other. Using a ruler, drew in the middle of the line and numbered every detail.
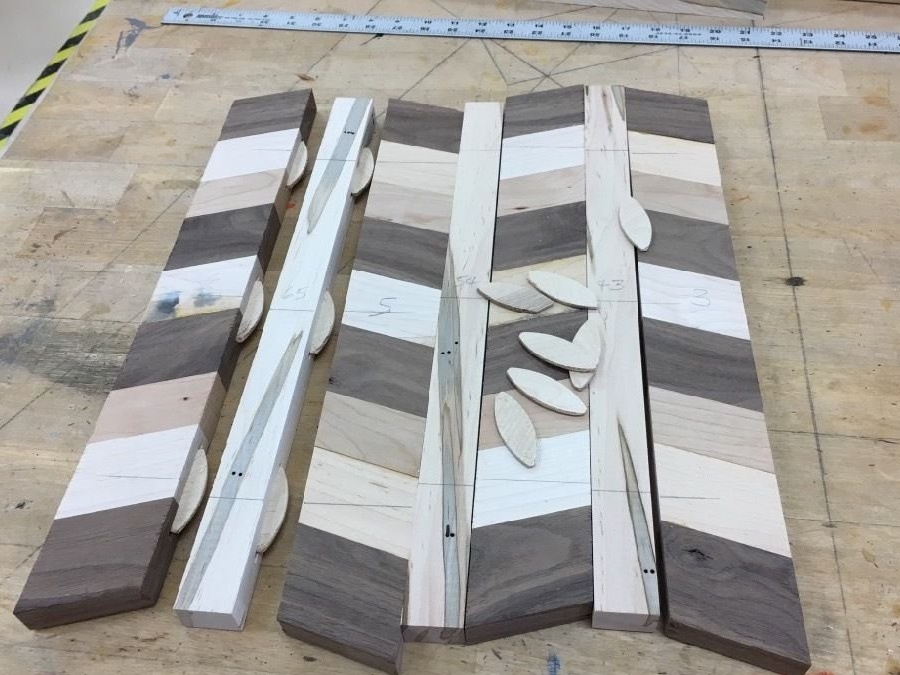
Step two: groove cutting
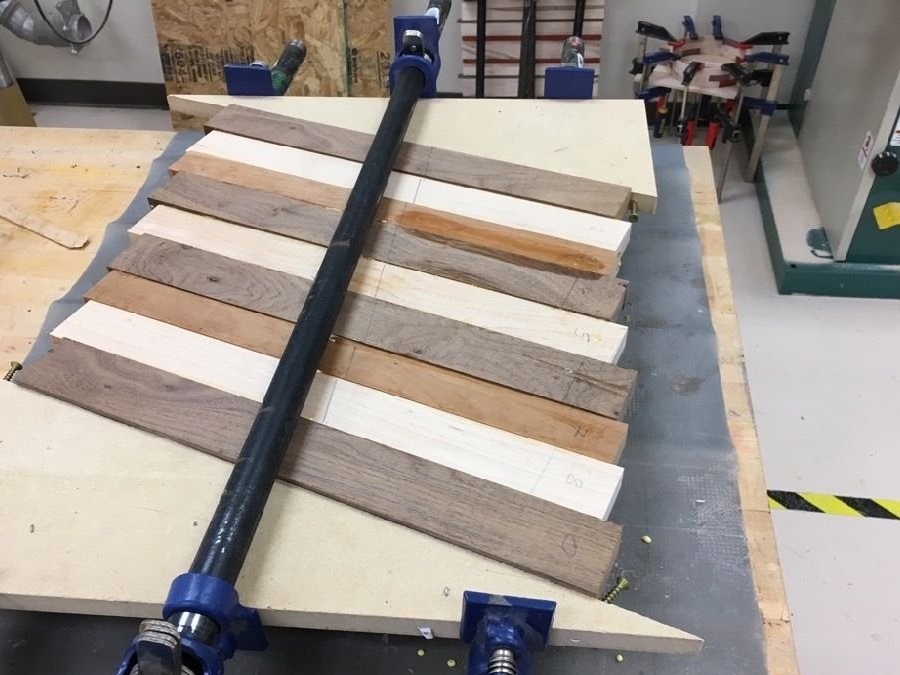
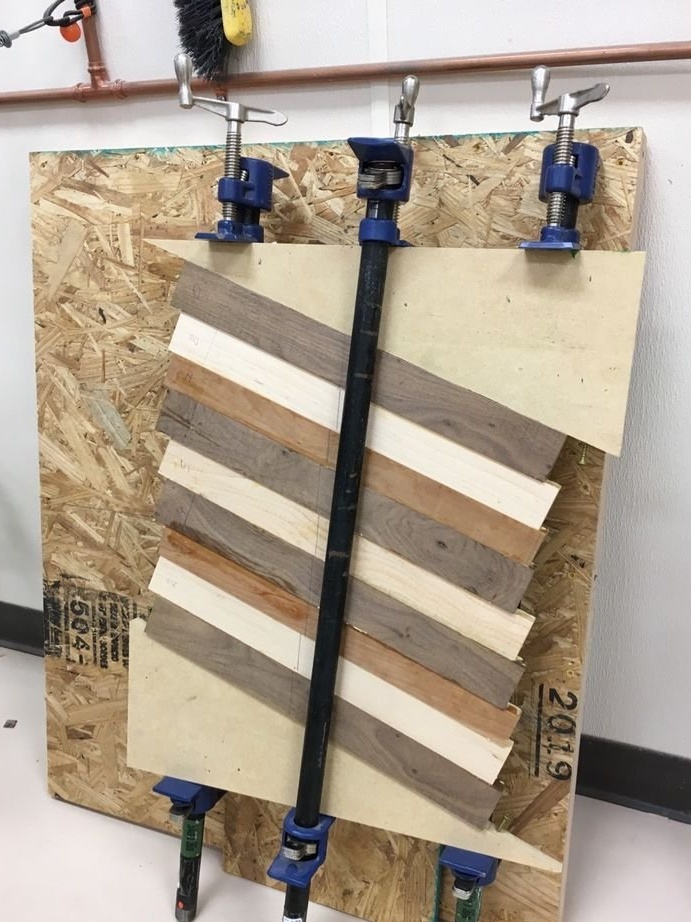
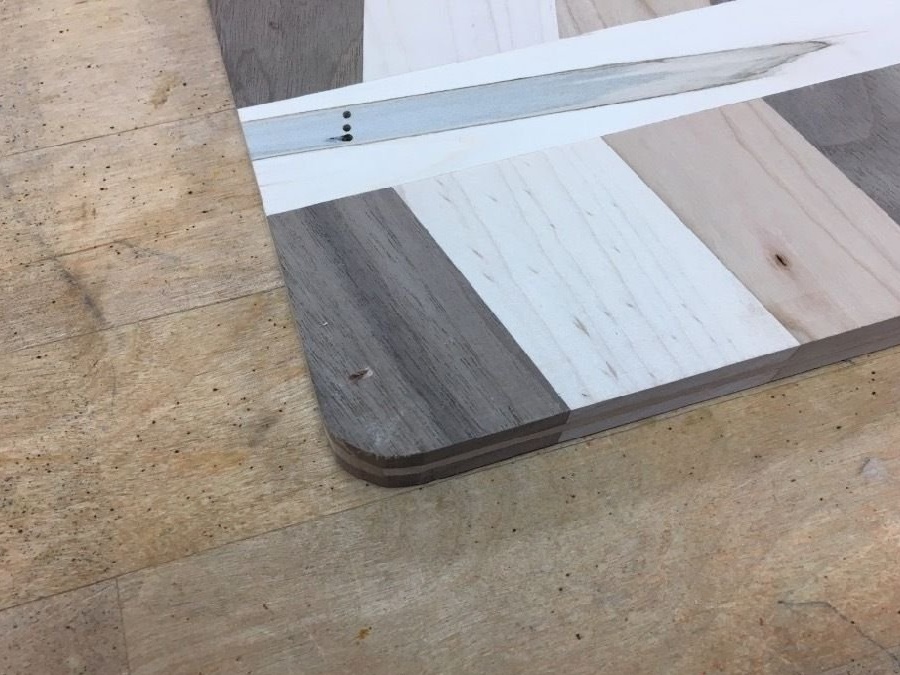
In each bar opposite the mark, the author saw out grooves in opposite faces. I fixed dowels in glue in them (you can just drill blind holes and use ordinary round dowels).

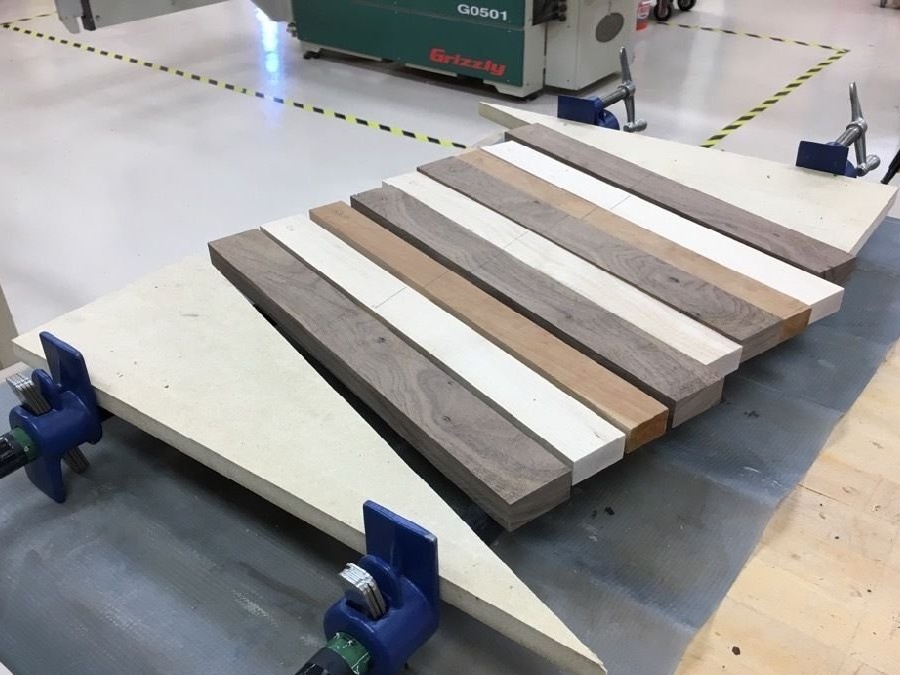
Step Three: Build the Shield
The author screwed the screws on the long edges of the stops. Once again, I fixed them on a workbench and place the bars with plates between them, having previously greased each piece with glue. Then I will pull everything together with clamps and leave it until the glue has completely set.


Fourth step: trimming and cutting
The author passed the finished board through the planer so that the surfaces along the planes were perfectly smooth.
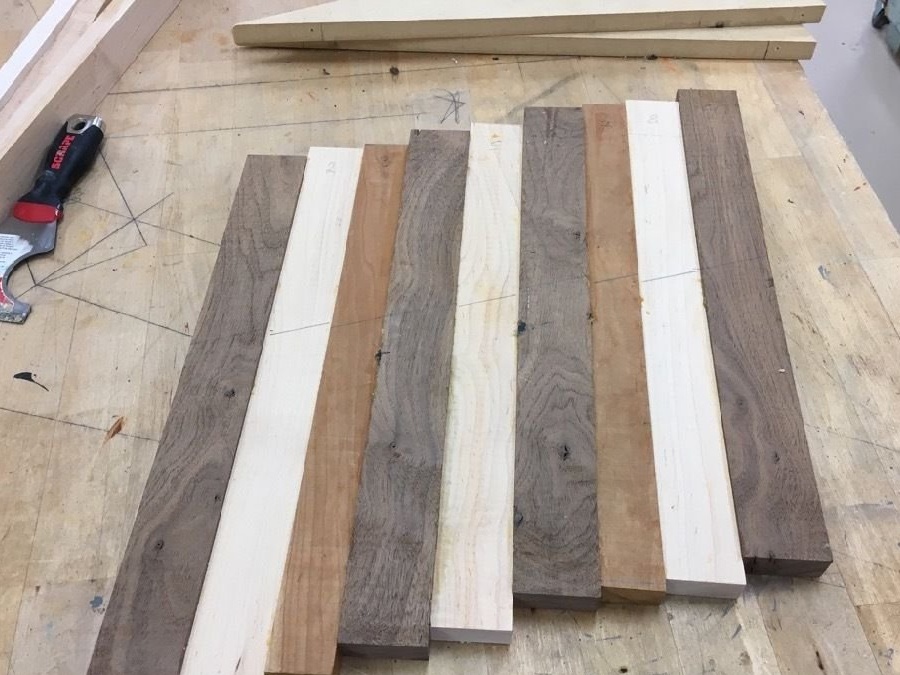
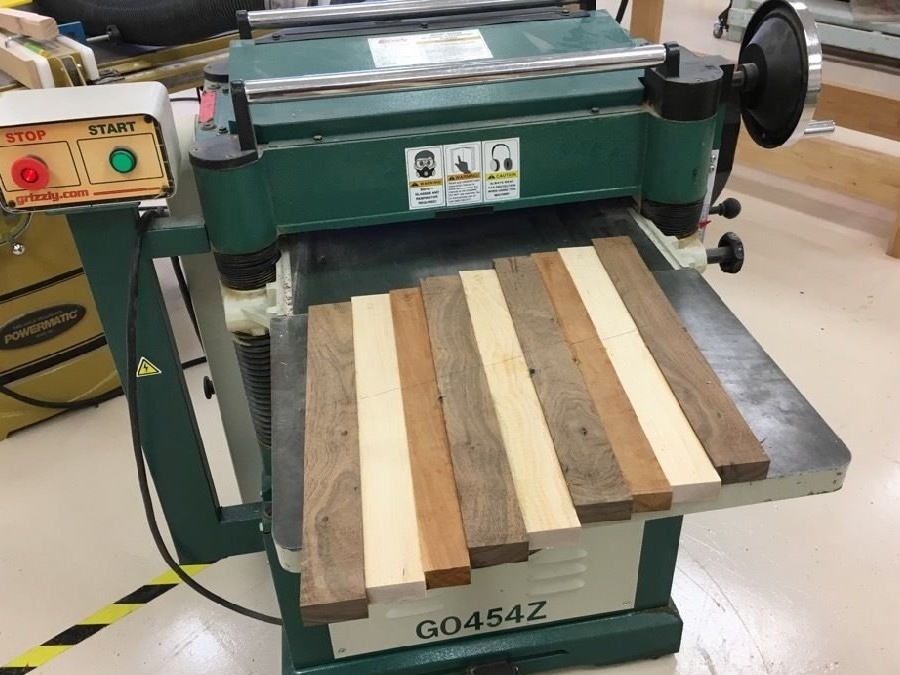
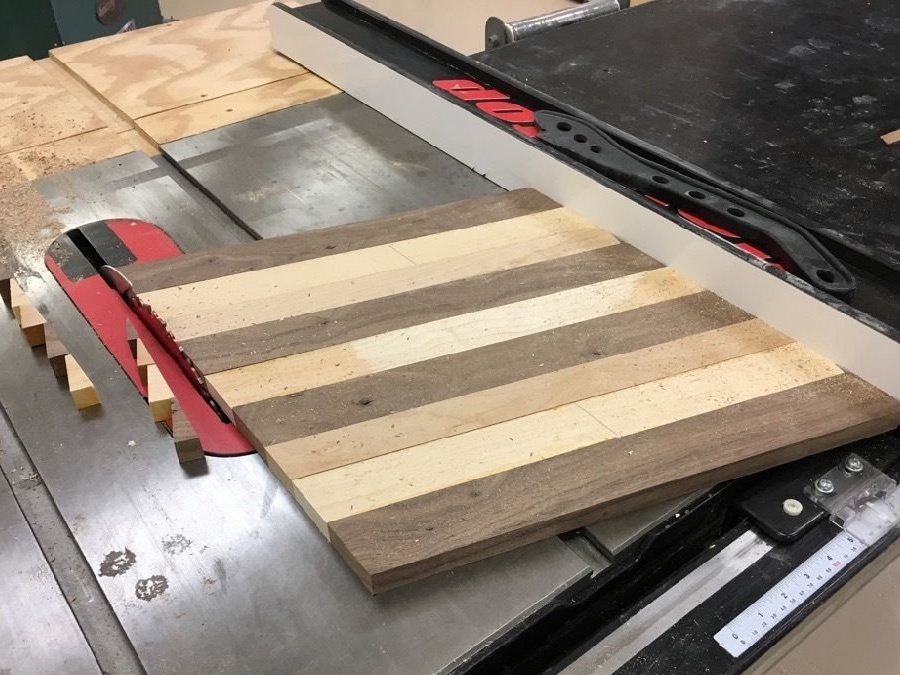
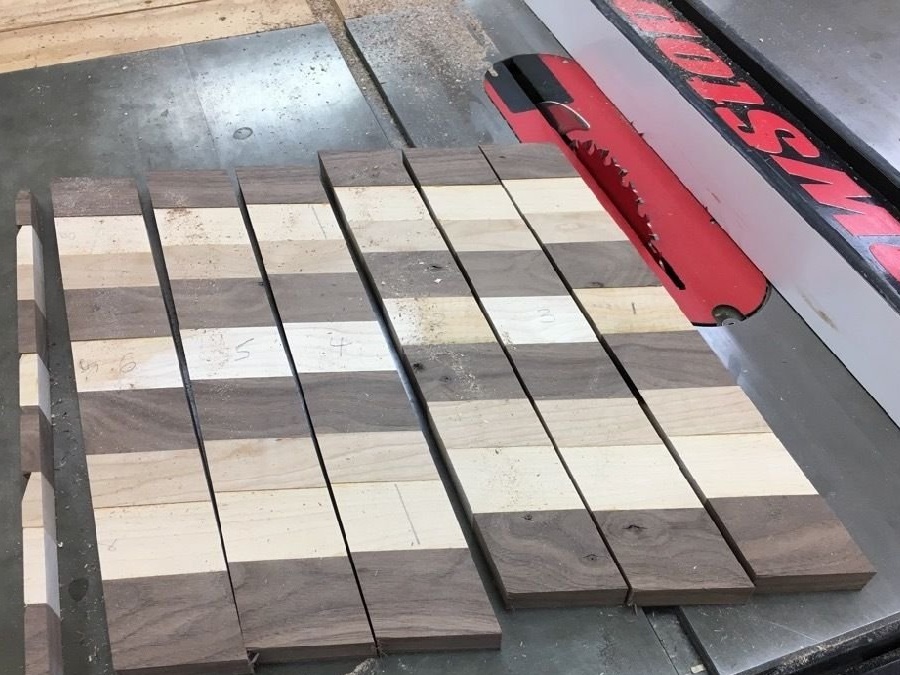
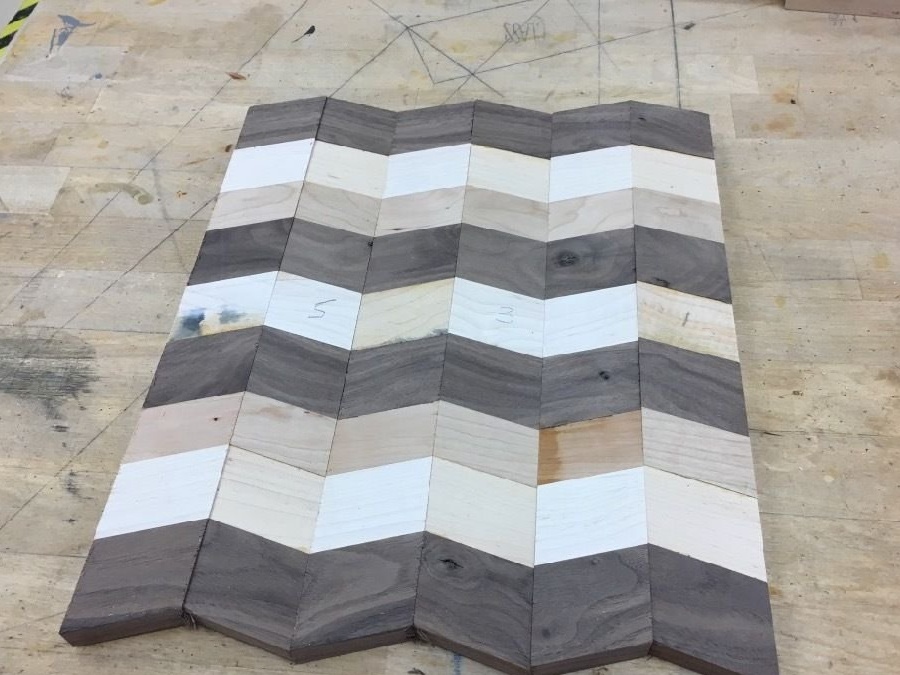
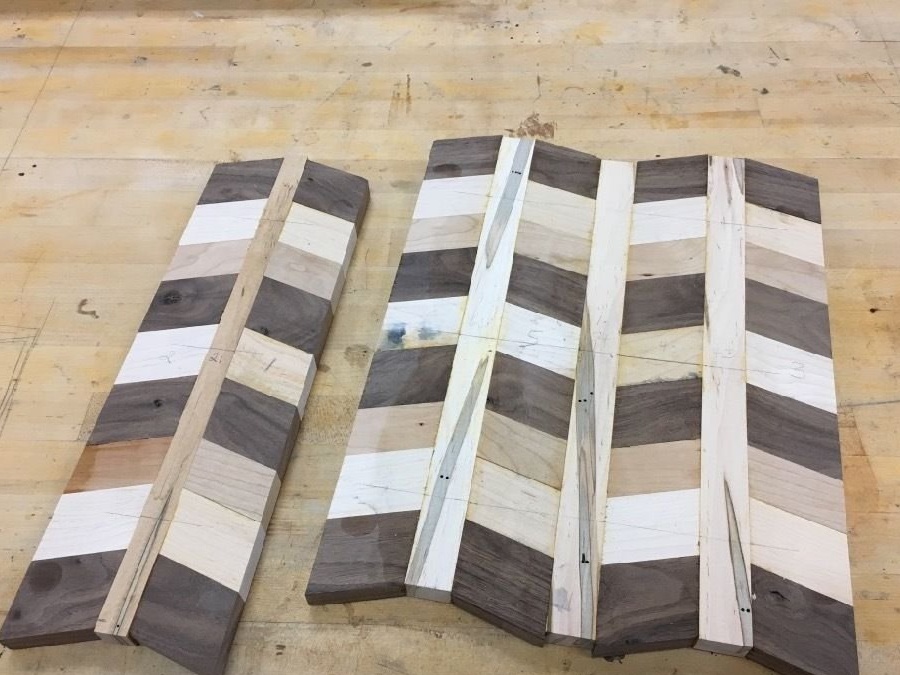
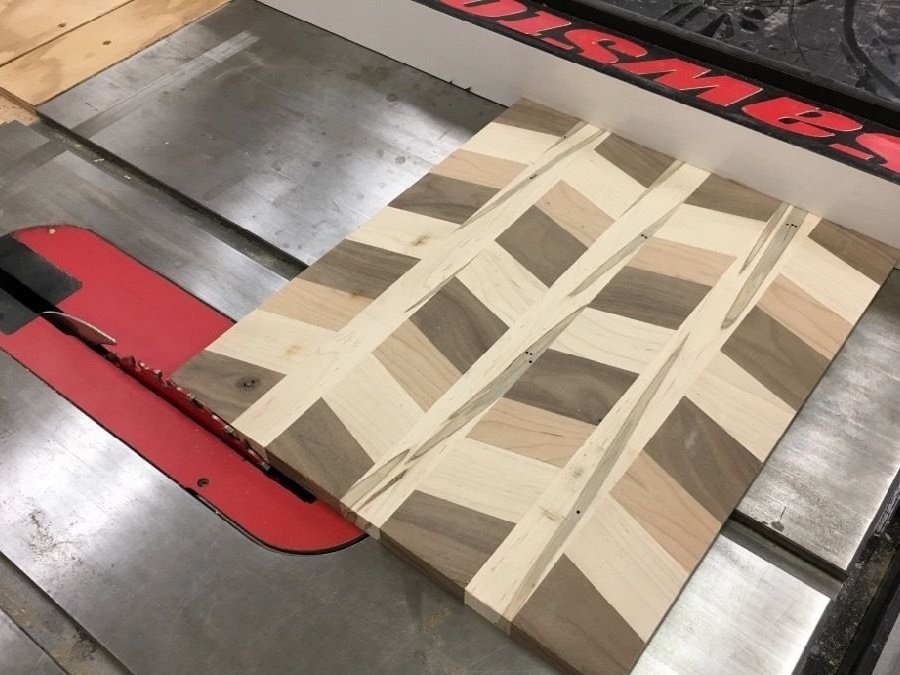
Then, on the circular saw, he aligned the ends. On the same machine sawed the shield on the slats.
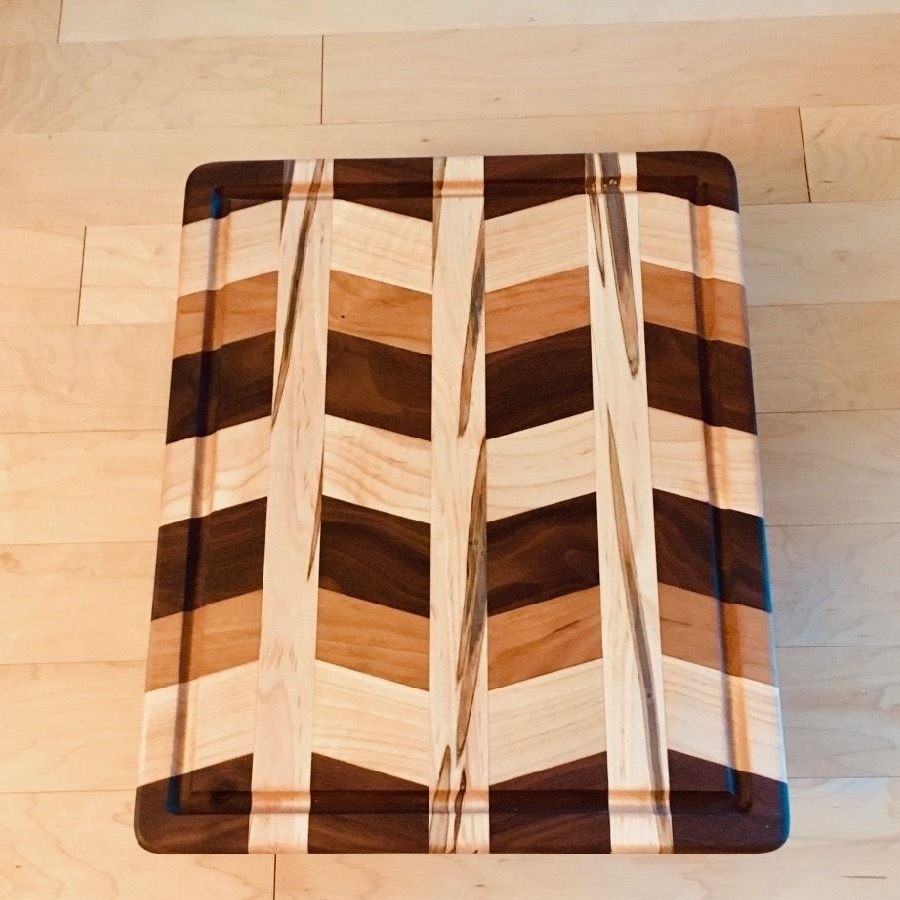
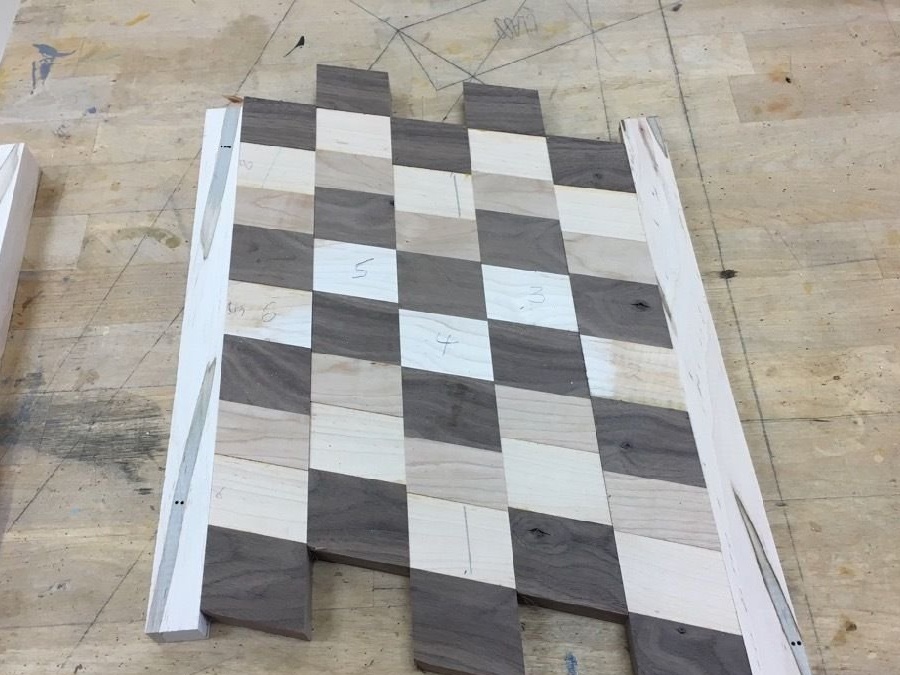
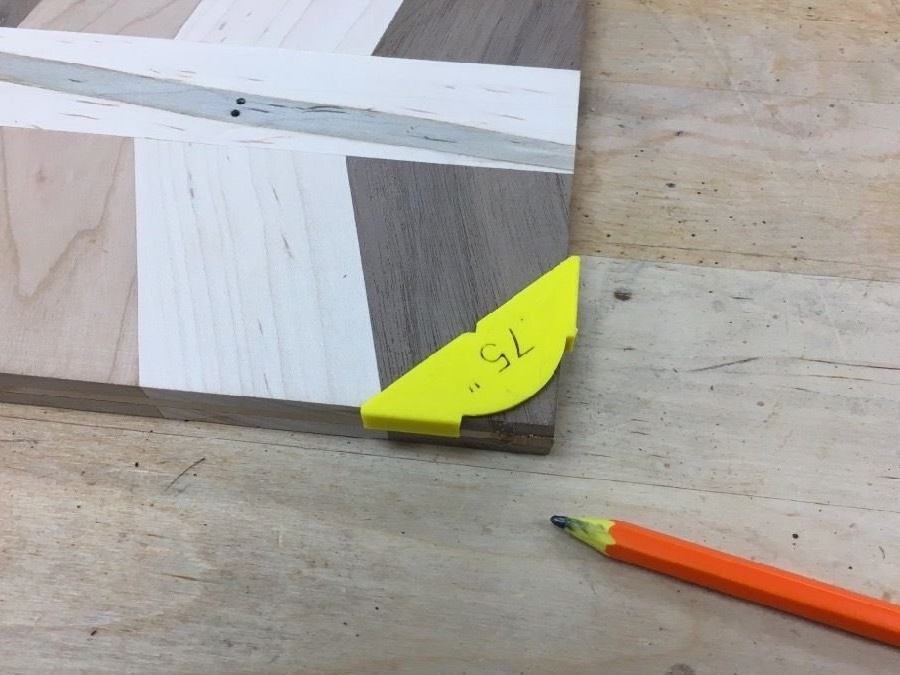
Step Five: Selecting a Pattern
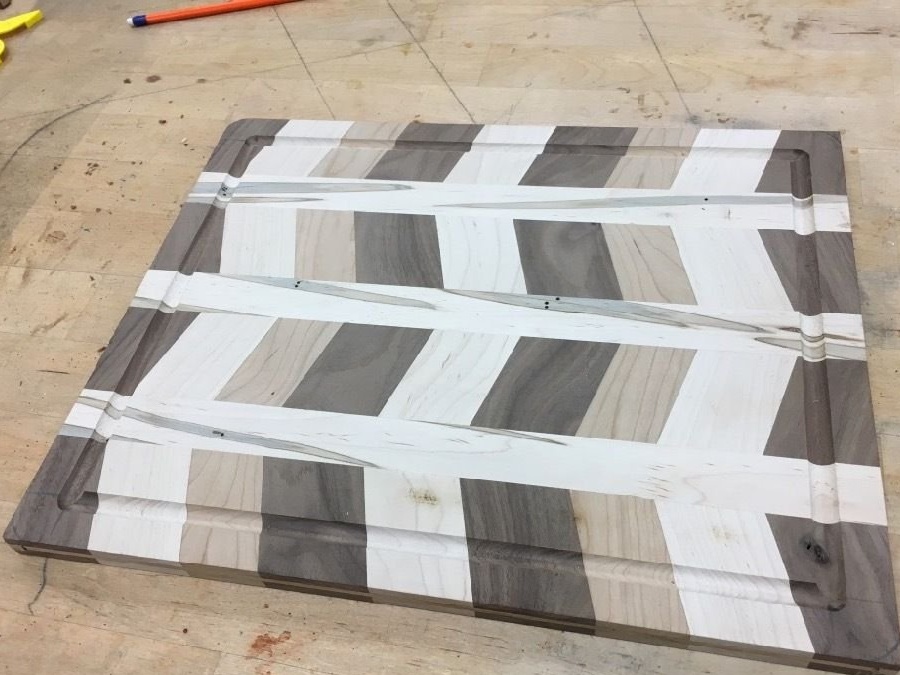
Arranging the rails in a different order, the author got three options for the picture: a herringbone, a herringbone with inserts, and a checker pattern. He decided to stop at the second.

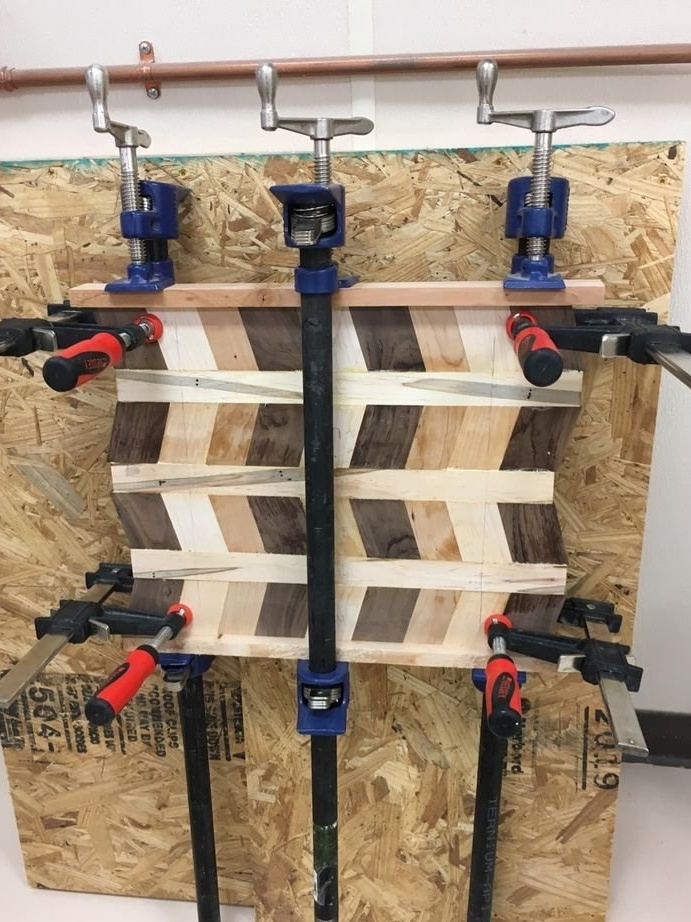
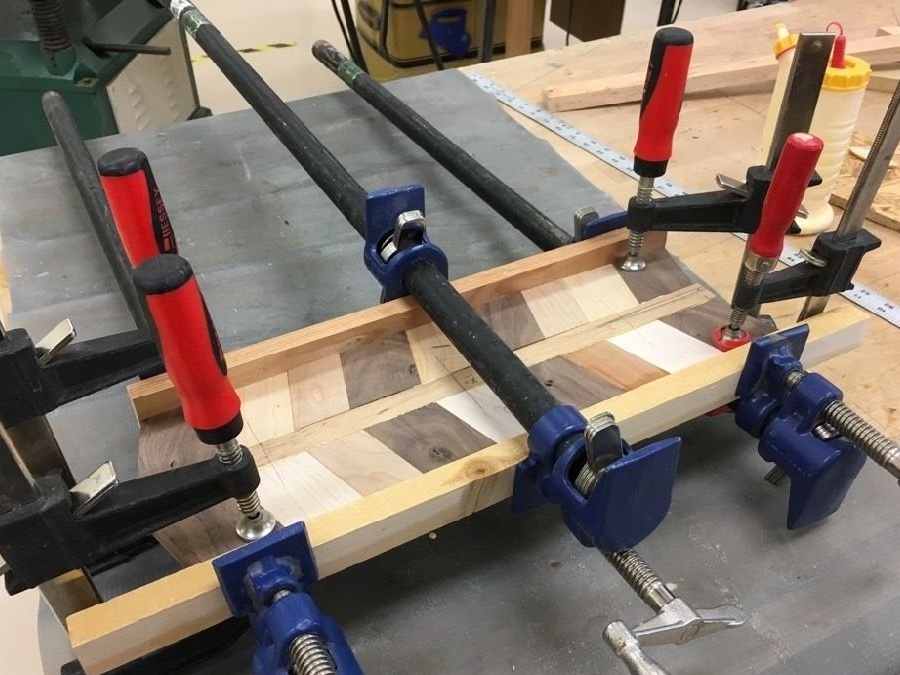
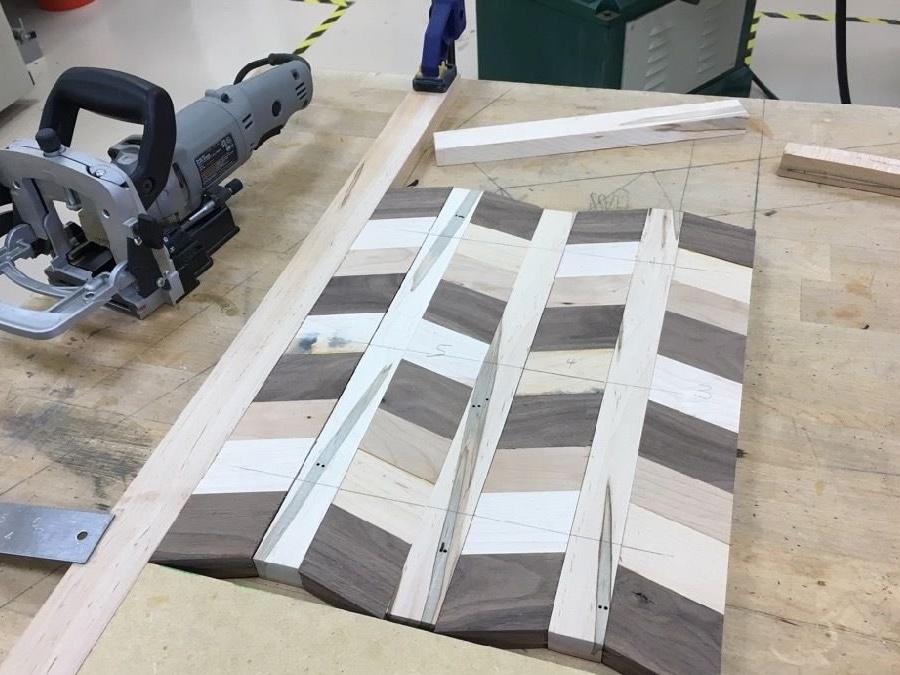
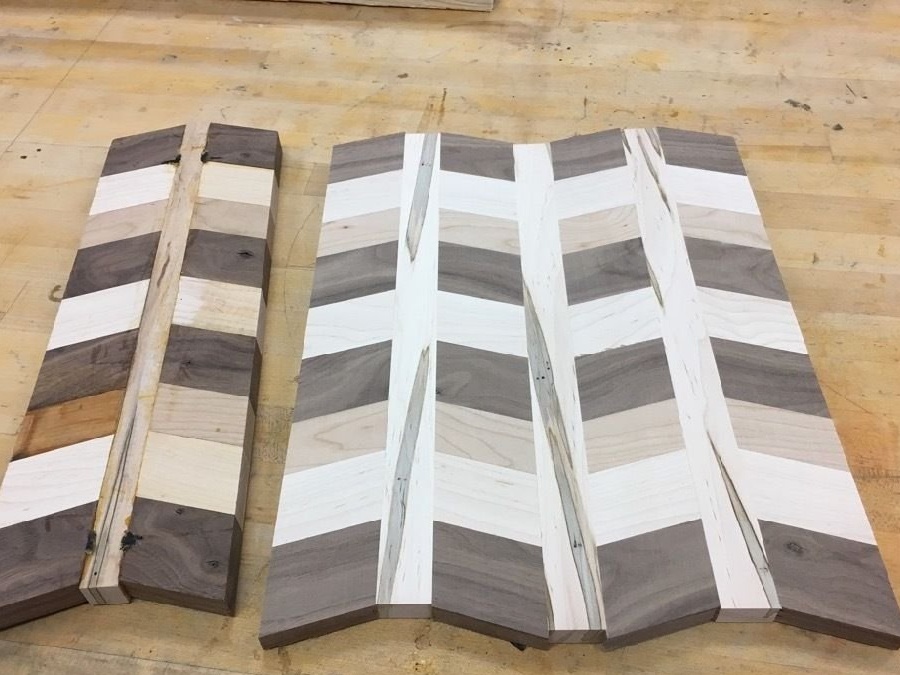
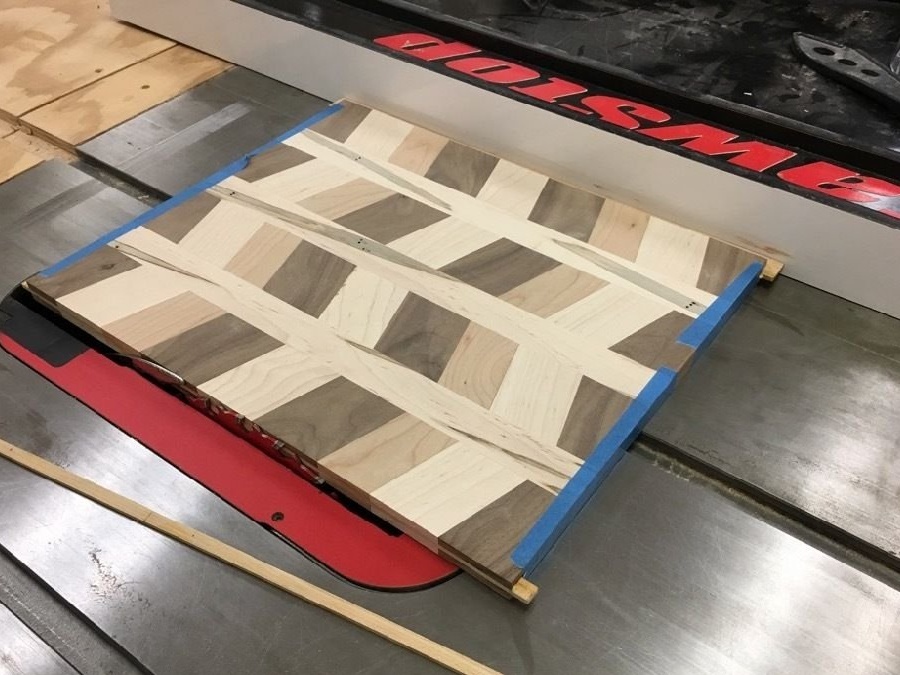
Step Six: Bonding
First, the author put the parts together using the angular emphasis. I marked them with grooves. Then, as described above, I sawed out the grooves in the details and fixed the plates in them. Glued the parts and fixed them with clamps, first in pairs, and then into the common canvas.
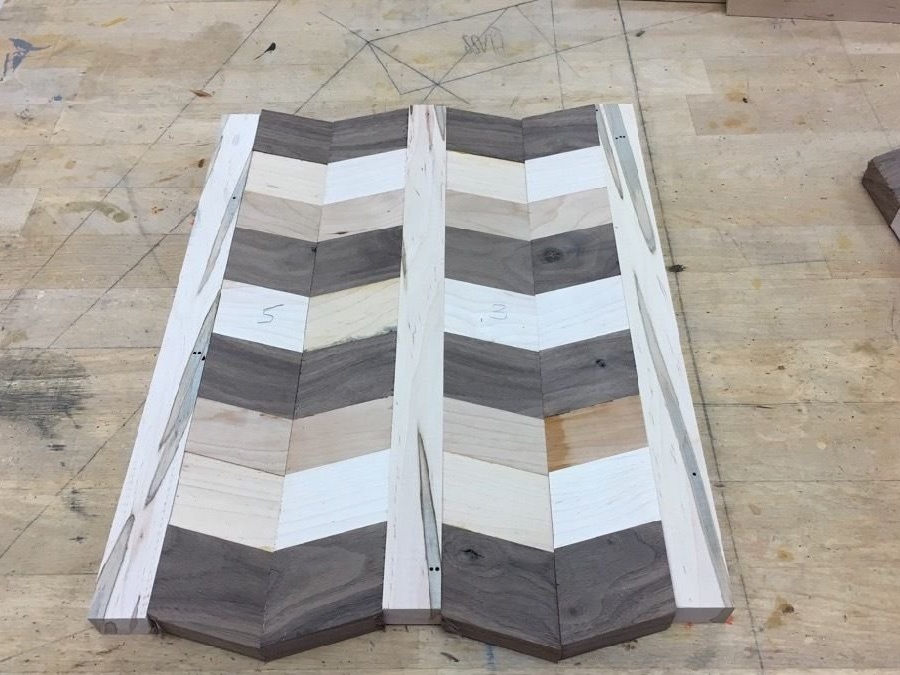
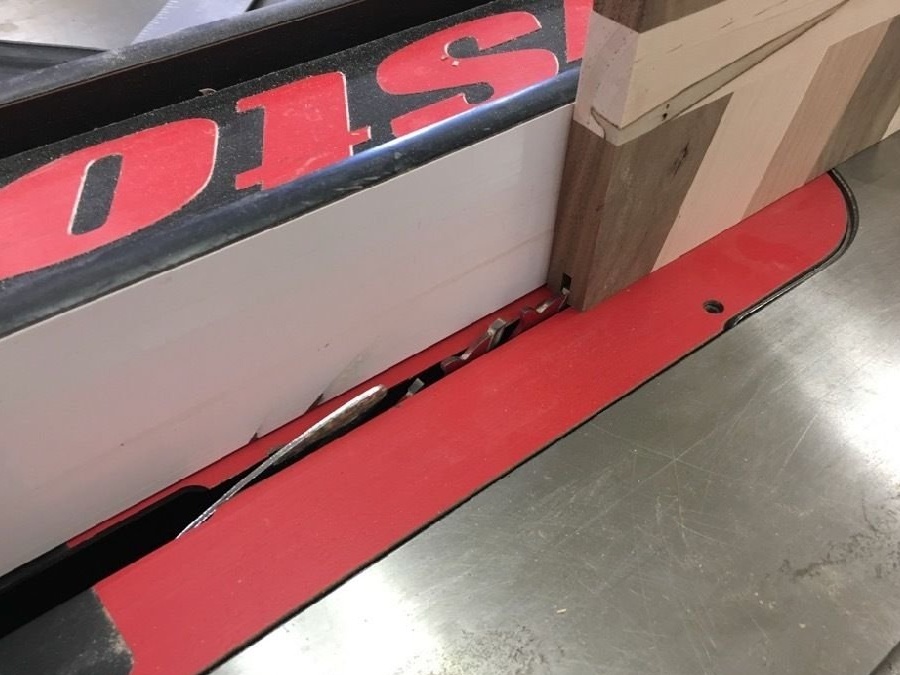
Seventh step: final trimming
The author cut the uneven ends of the finished canvas on a circular saw, thereby determining the dimensions of the future cutting board.
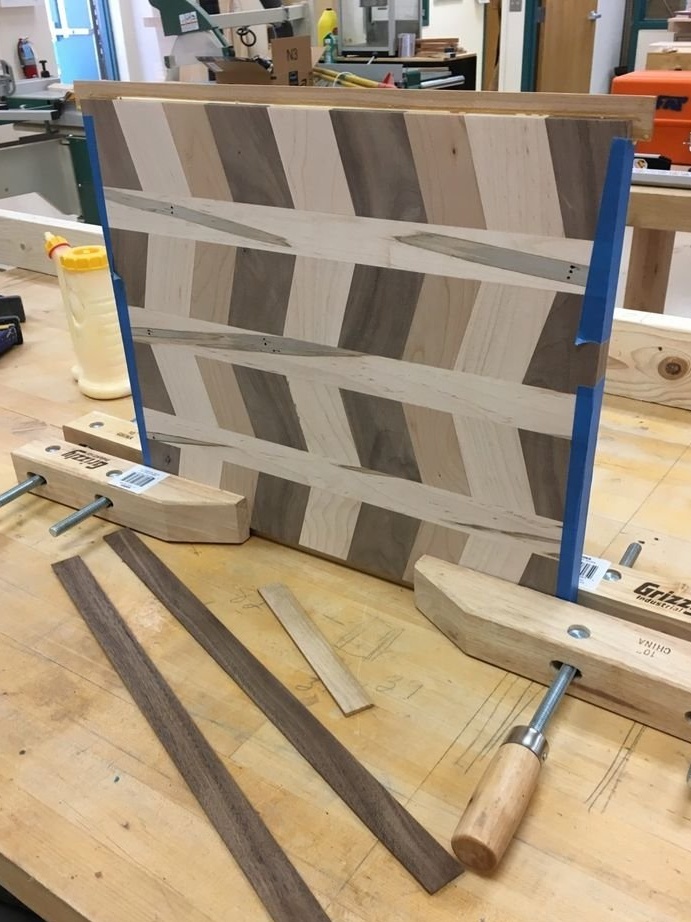
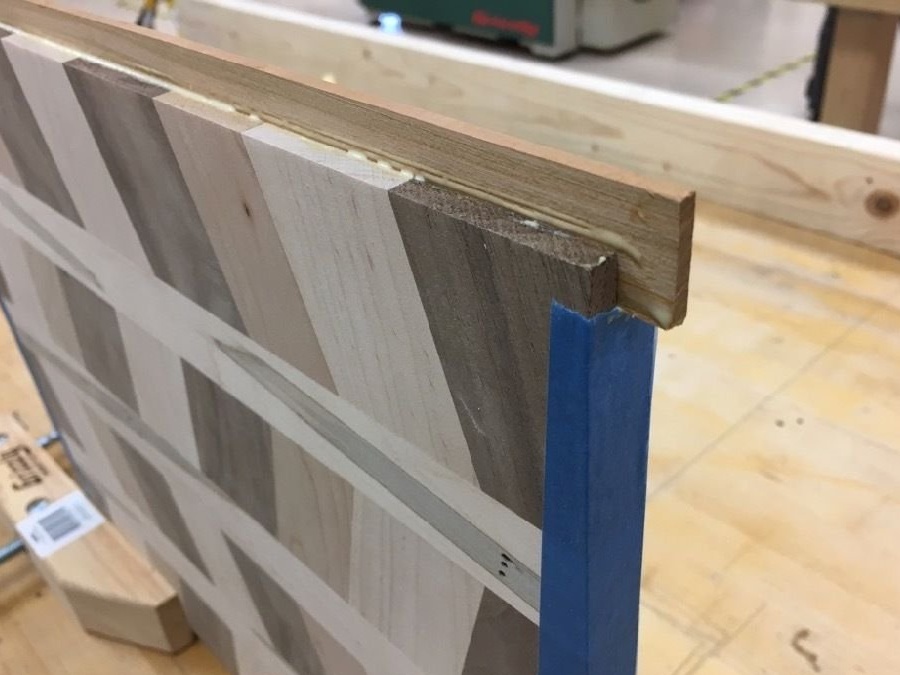
Step Eight: Stiffener
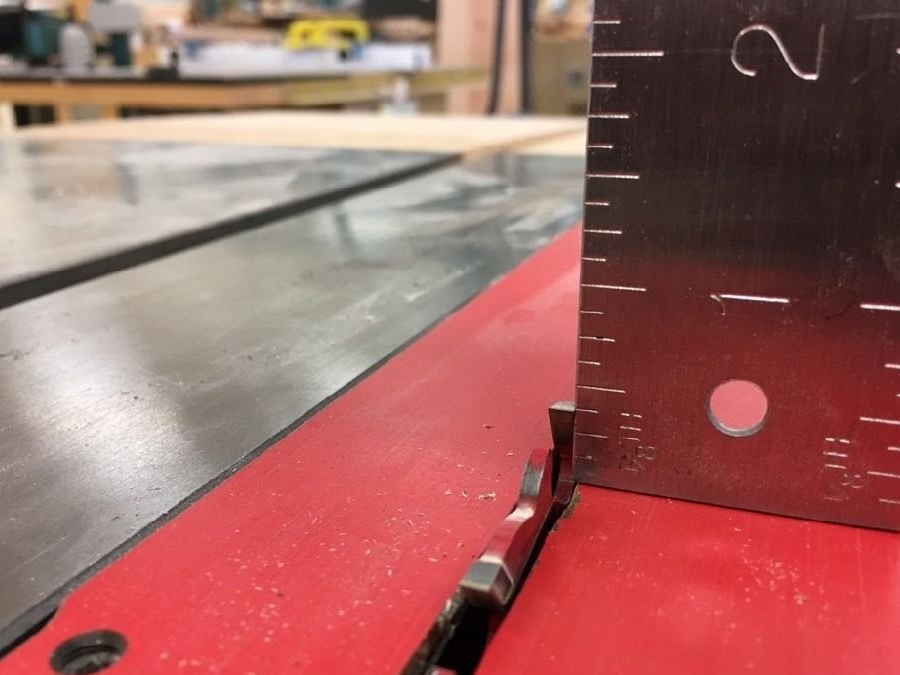
For greater strength of the product, the author decided to install on two long sides of the stiffness bar. To do this, he set the saw blade to a height of 3 mm and selected in the edges along the entire length of the grooves. They fixed the strips of the required thickness on glue. When the glue seized, he cut off the excess.
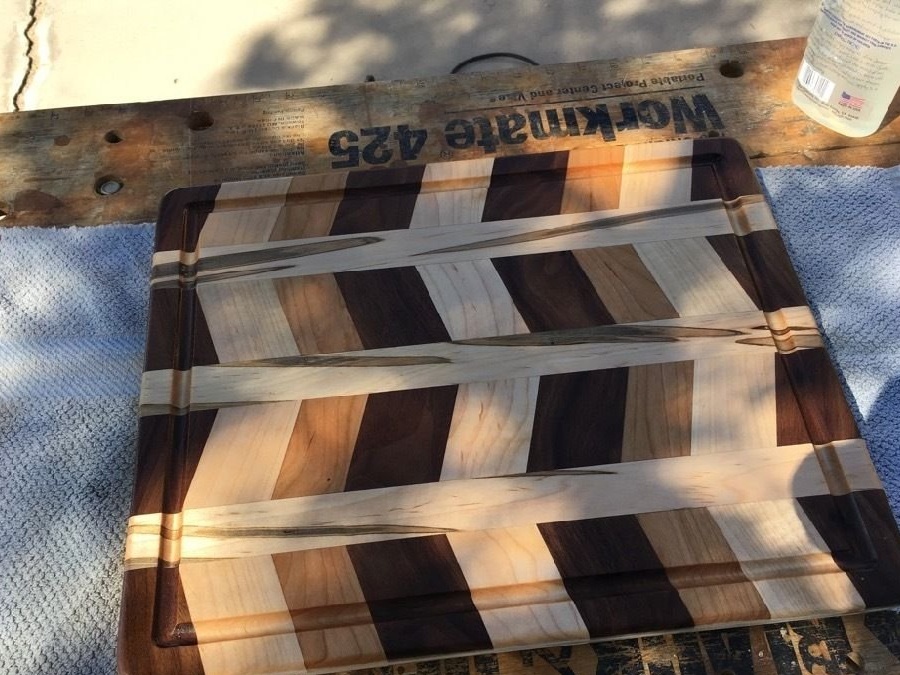
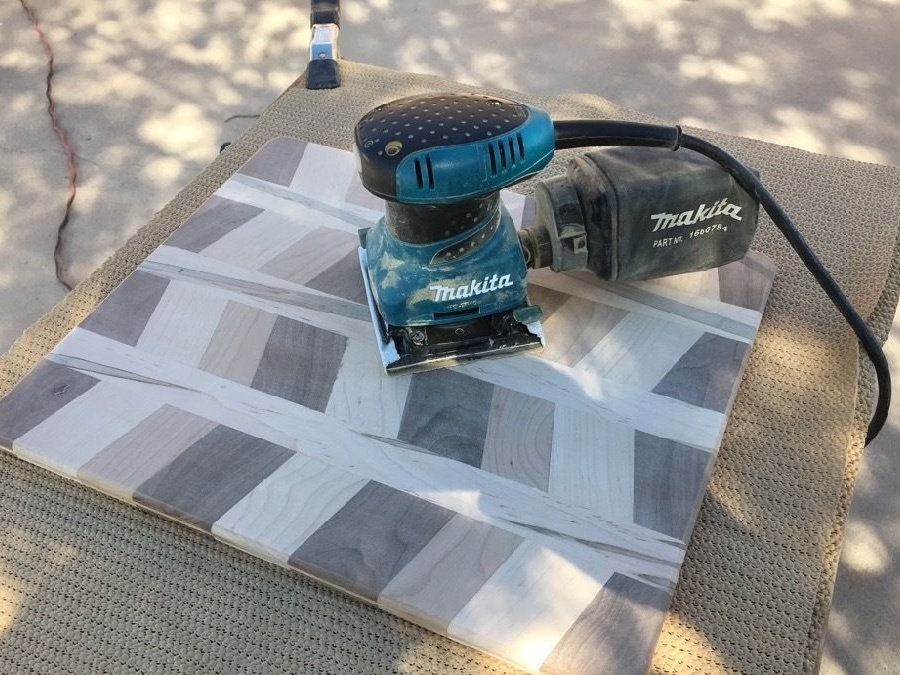
Step Nine: Finish
Using the template, the author rounded the corners and selected a groove around the perimeter of the upper plane on the milling machine. Then he finished the plank and carefully covered it with linseed oil.
Good luck to everyone and thank you for your attention!