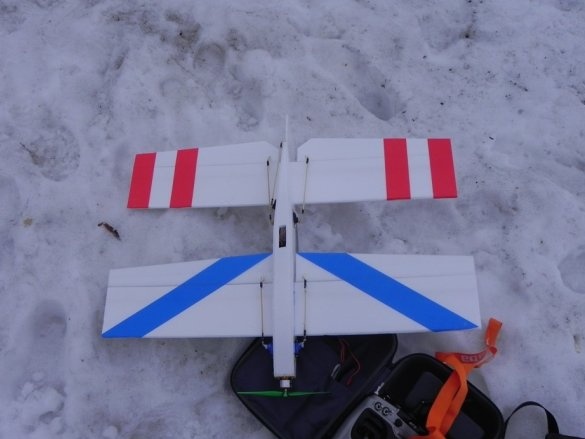
Personally, I’ve recently “hooked” on the model of this unusual, unconventional, experimental scheme.
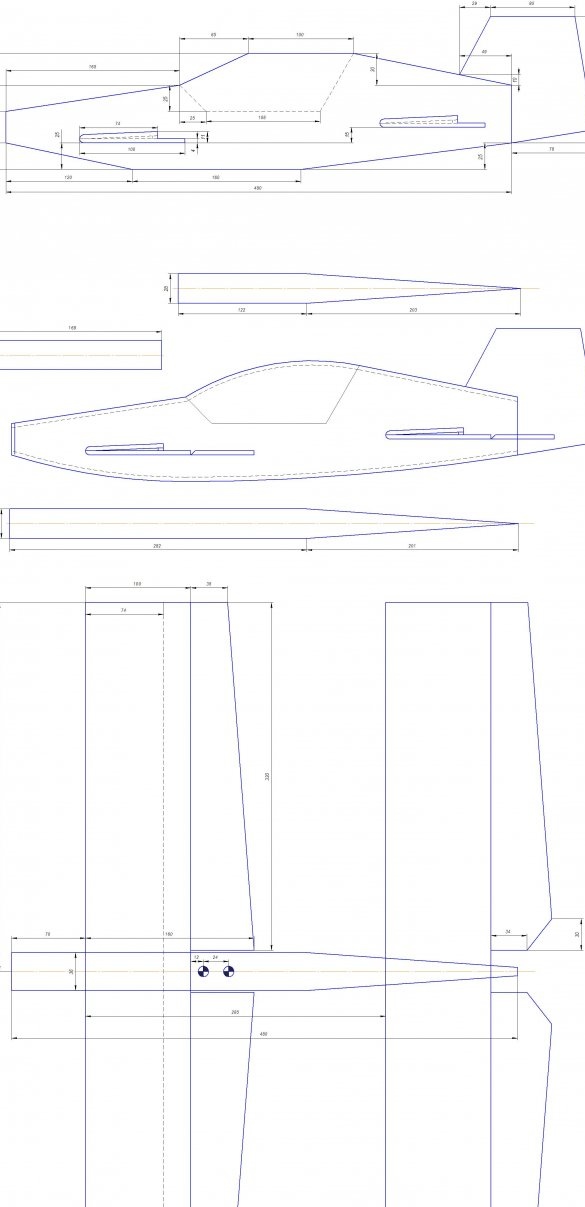
The author offers drawings with the following dimensions of an aircraft model:
Span - 750 mm.
Length - 590 mm.
And weighing up to 250 g.
To build this aircraft model, the author used ceiling tiles (ceiling), pieces of 3-4 mm plywood, wooden slats 3 X 3 X 700 mm. , thin plywood 1-1.5 mm (I think that you can use plywood from fruit boxes), bamboo skewers for the manufacture of rods that can be replaced with simple wooden or carbon rods or tubes. For the manufacture of tips for yours, the author uses a 1 mm wire. thick, and for mounting steering surfaces and covering the model simple and color tape.
Like this electronics offers the author of the project.
Motor - C 2226 1800.
Propeller - 7 X3.5.
The regulator is 10A.
Battery 3S 360-400 mAh.
Servos - 9 g (any).
The author offers here such a technology for the construction of this aircraft model.
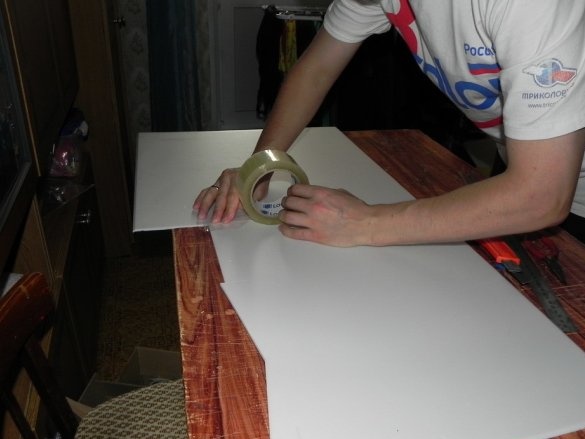
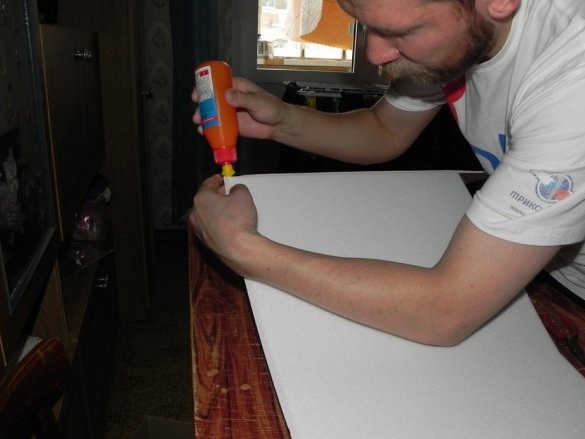
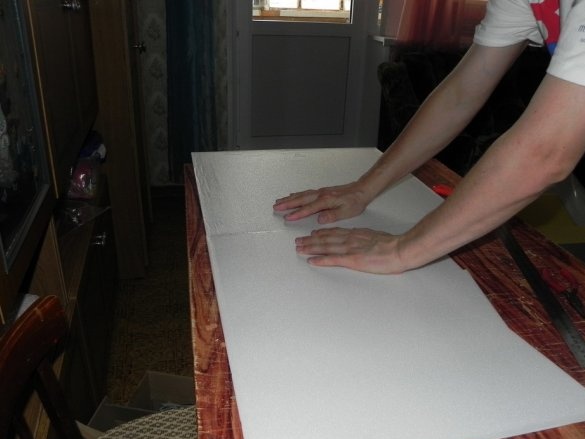
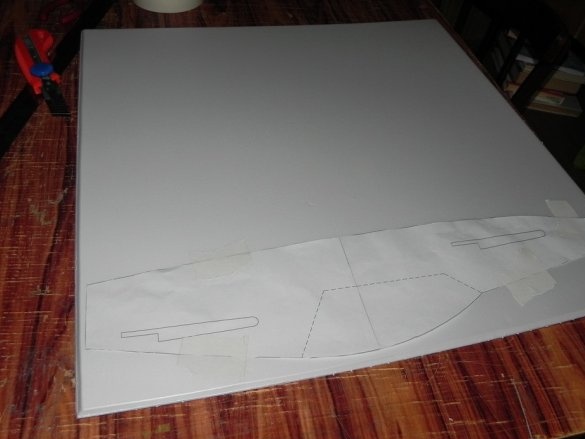
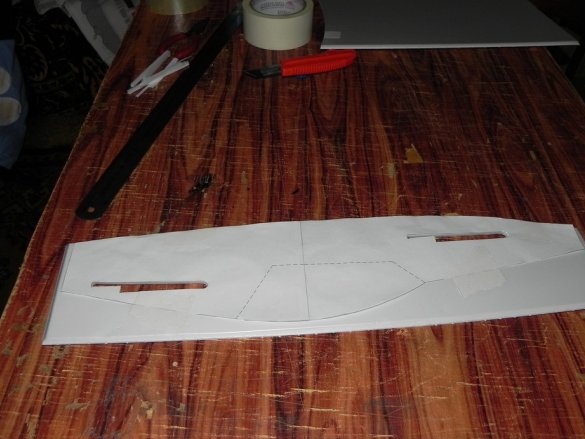
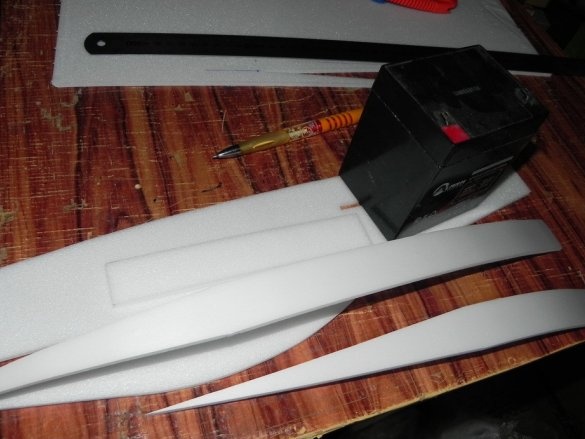
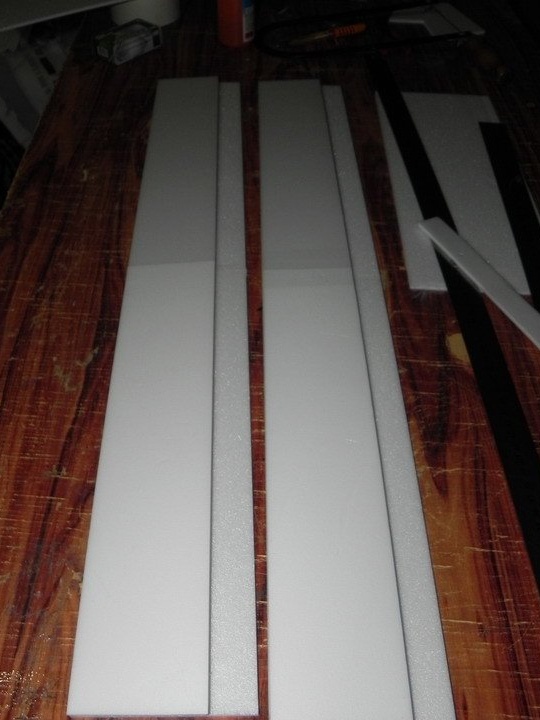
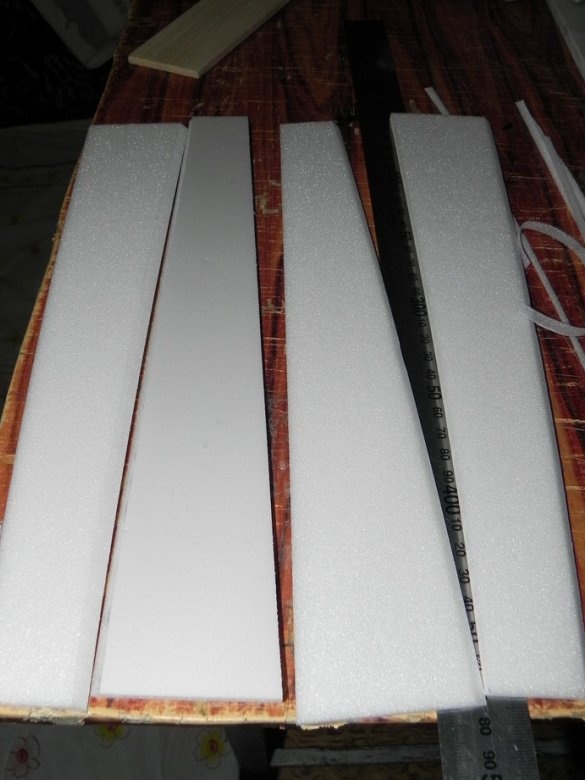
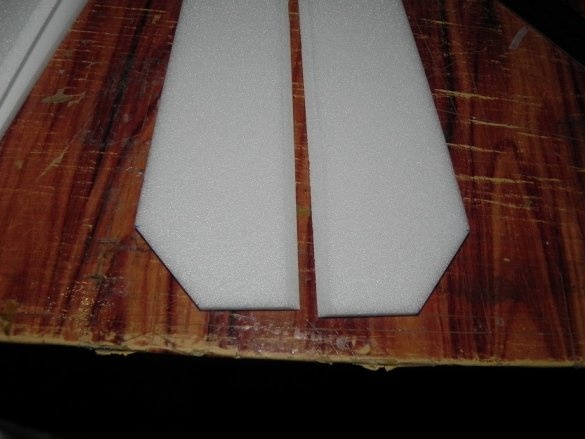
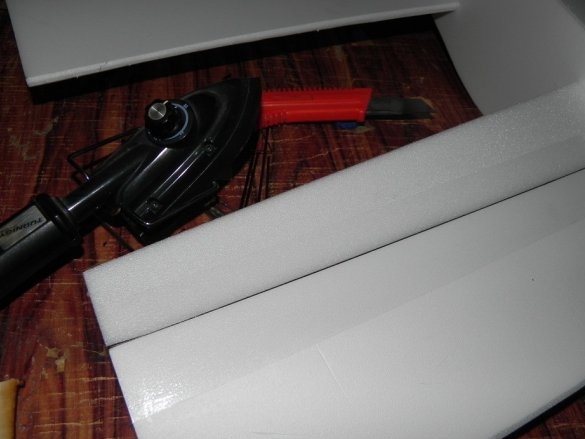
The manufacture of an aircraft model, the author begins with the manufacture of wings. Since the length of the wings is greater than the length of the ceiling tile, it has to be glued back to back, after trimming the edges of the tiles.
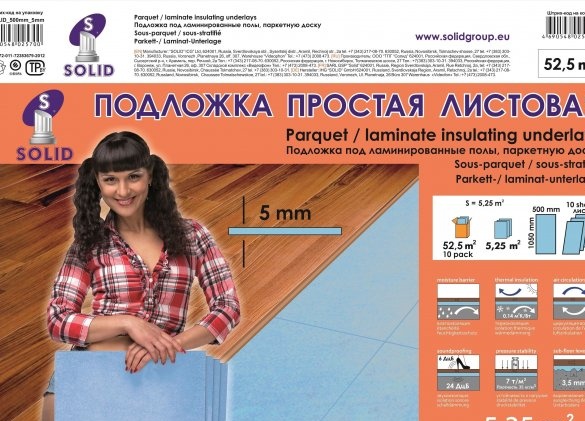
For this reason, I prefer to make models from a simple, sheet substrate under the laminate and the dimensions are comfortable and the thickness is good - 1000 X500 X 5 mm. Sometimes a different size comes up - 1200 X 500 X 5 mm - this size is even more convenient.
I think that any glue that is designed for gluing ceiling tiles can be used.
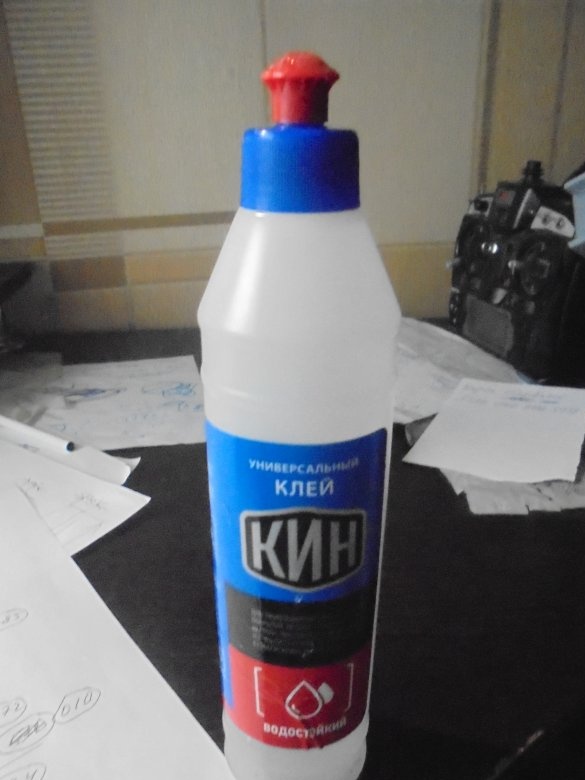
Personally, I use the universal, waterproof KIN glue - it does not have an unpleasant, strong smell.
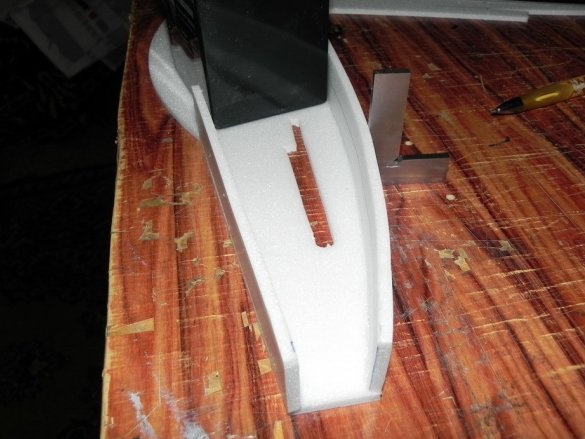
The next step in creating a model for the author is the procurement of parts for the fuselage and its assembly.
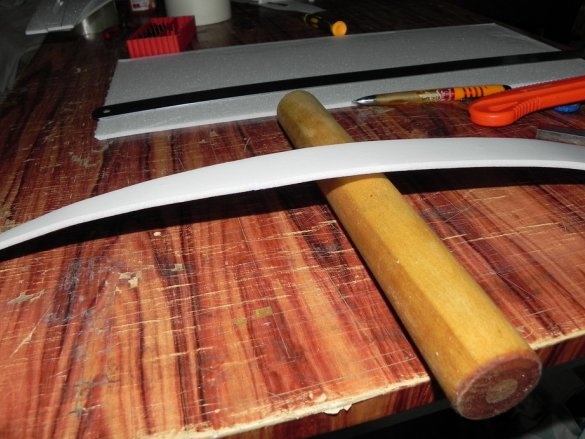
In the manufacture of curved fuselage parts, the author advises rolling them on a rolling pin, and possibly on a pipe. suitable diameter. Rolling a ceiling or substrate requires caution, so that it does not crack, you need to practice ...
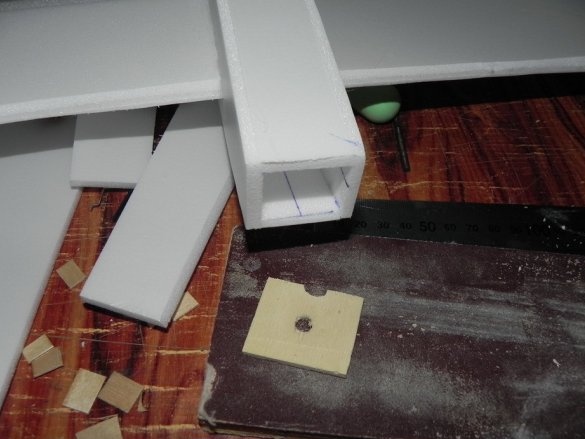
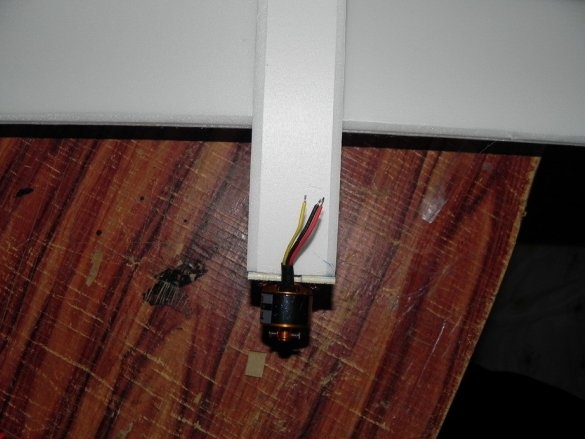
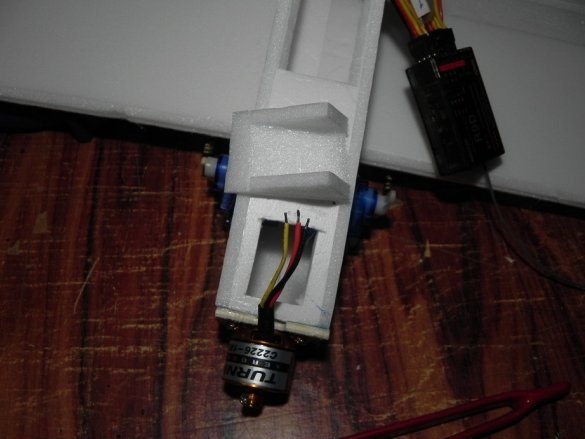
The author makes a motor mount out of plywood, having previously tried on a motor on it. An important condition - it is necessary to maintain a small angle, about 3 degrees down and to the right, when glued.
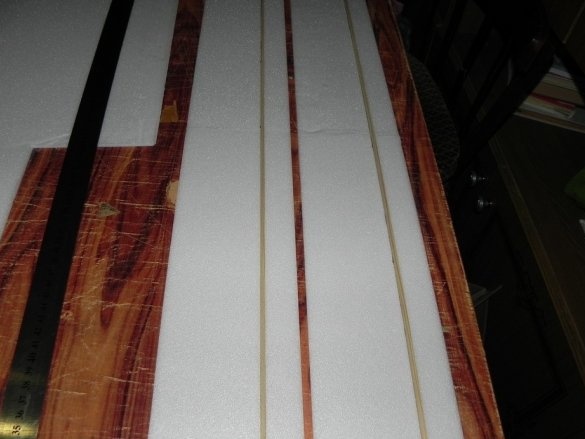
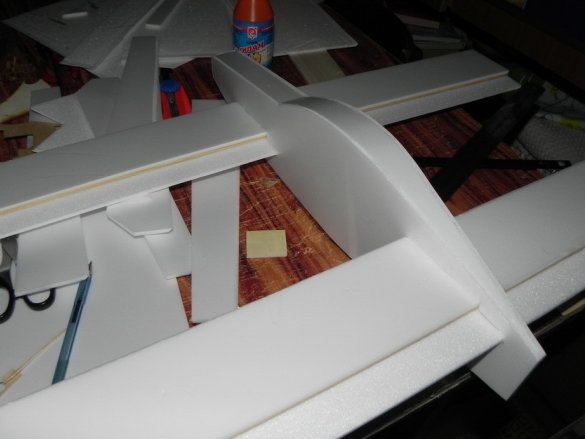
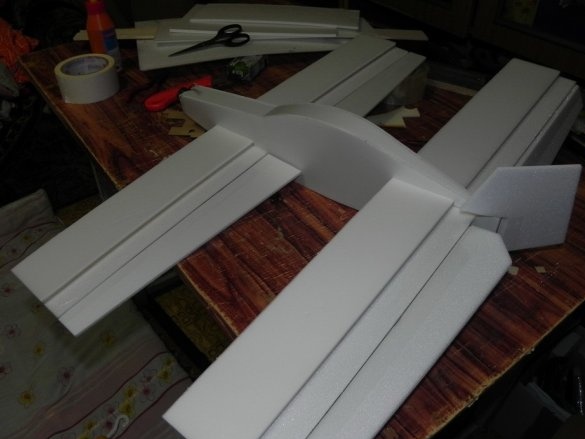
Further, the author proceeds to the manufacture of wings. The wings have a profile KFm-2.
For strength, a wooden rail is glued.
Do not forget to cut on the inside of the ailerons ...
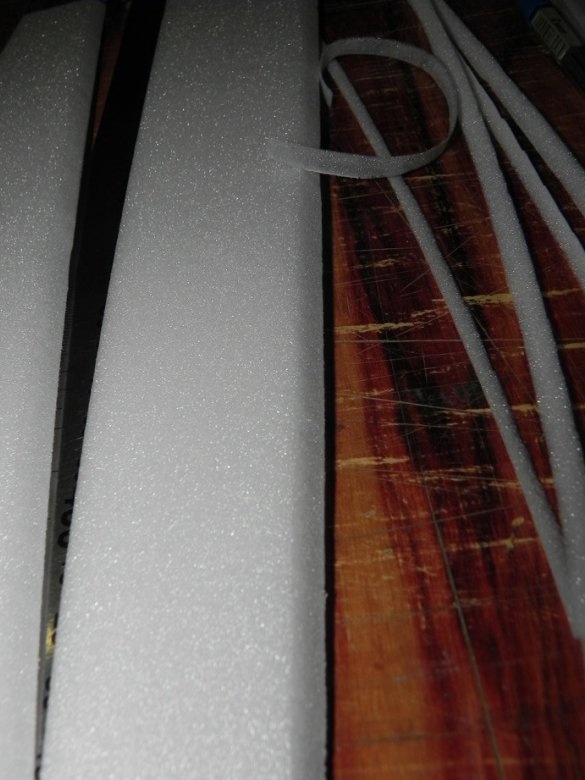
Before gluing the wings, the leading edges are rounded or chamfered 2-3 mm above and below.
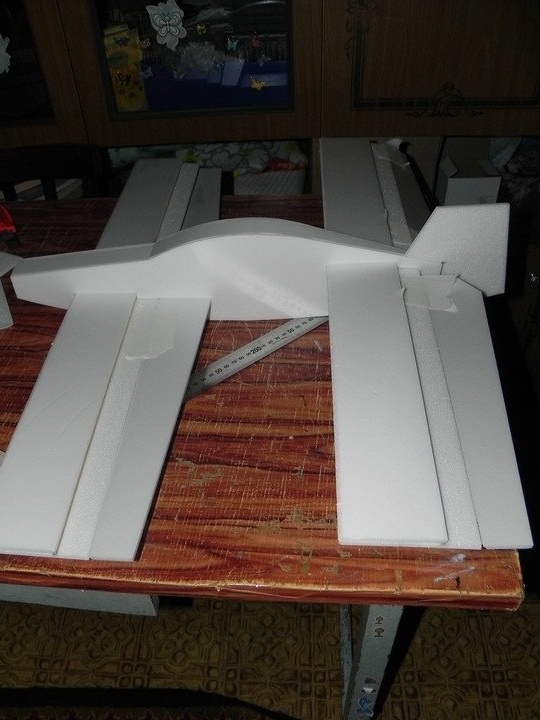
After gluing the wings onto a transparent tape, elevons are hung.
They are hung here on this principle.
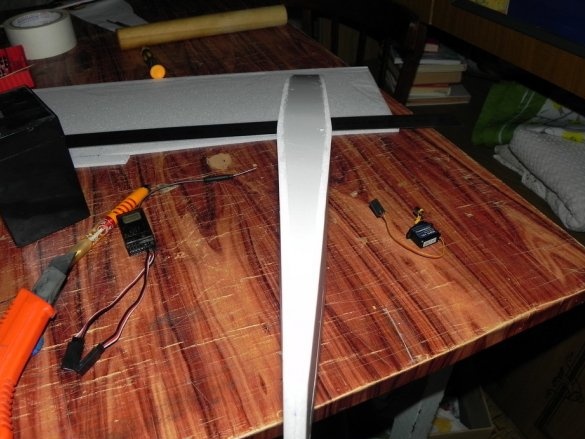
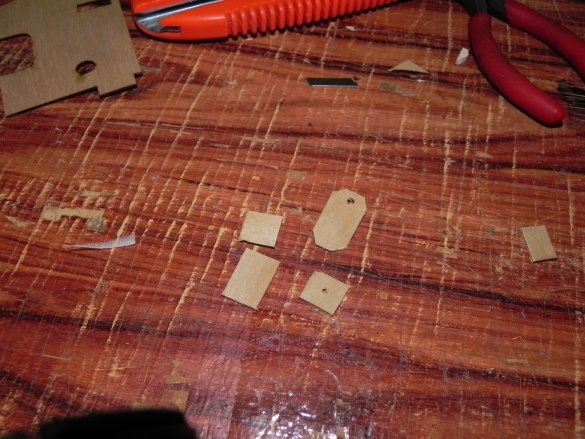
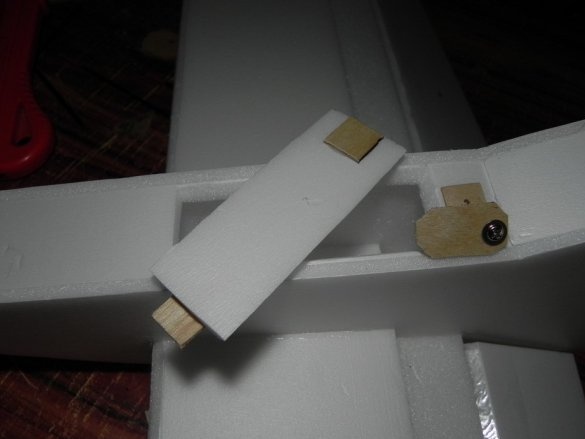
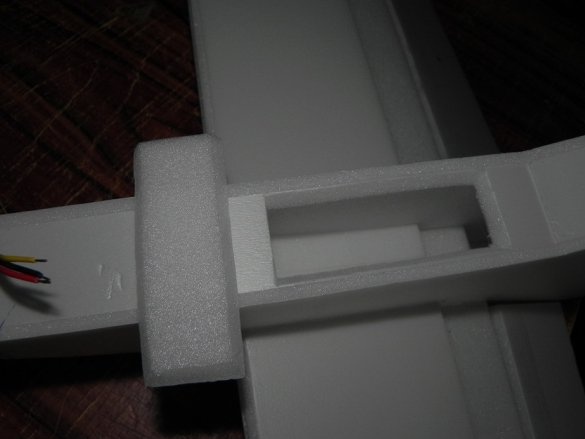
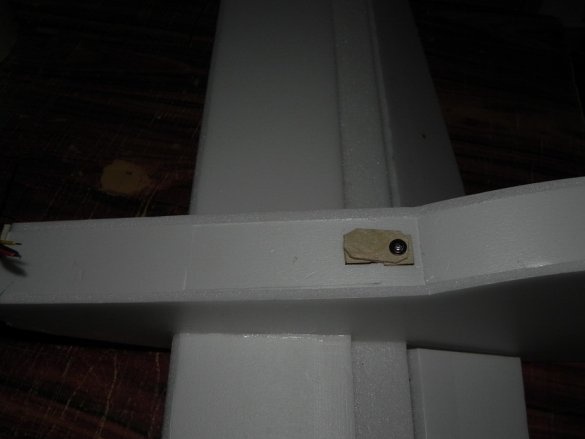
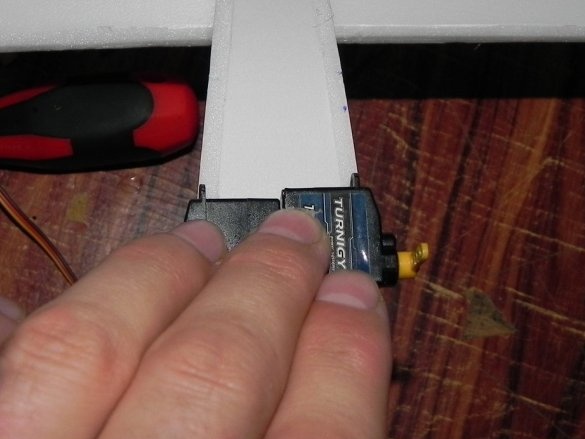
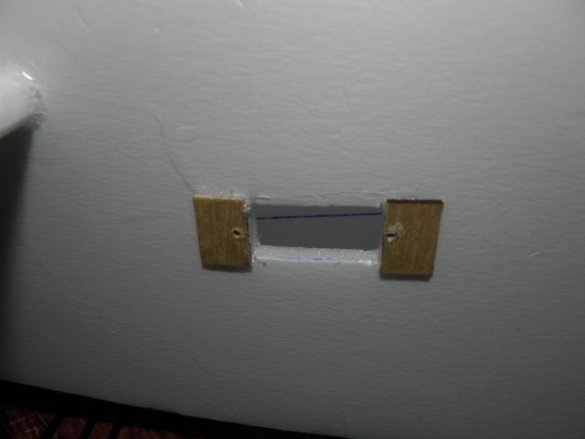
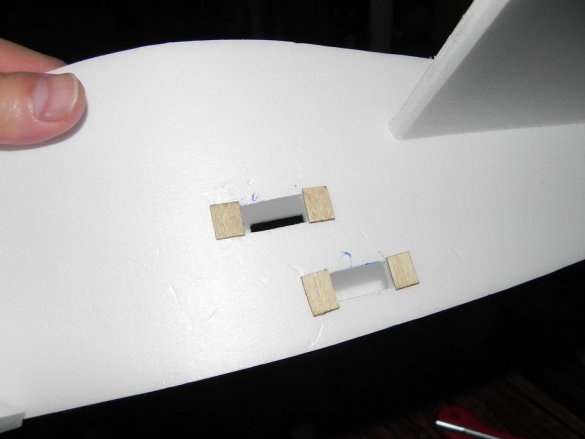
The necessary blanks are cut out of thin plywood for mounting the hatch under the electronics and for installing servos.
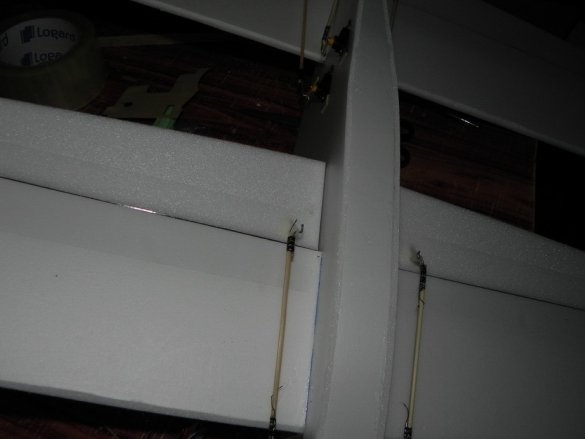
Traction on steering wheels is mounted.
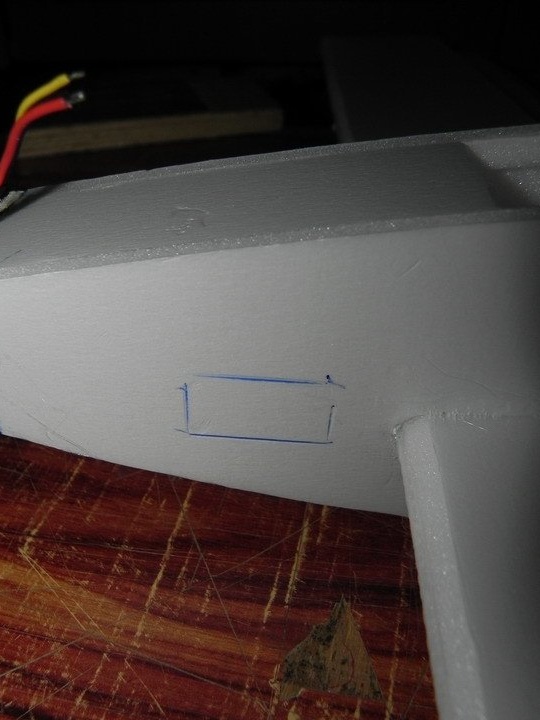
For better cooling of electronics. a small air intake is made and a hole in the bottom of the fuselage.
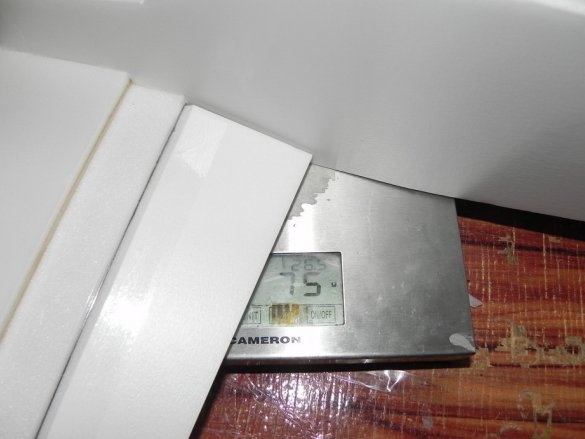
This completes the construction of the model. Check the location of the DH and you can take off!
Here is a short video of the author.
Friends, I built such an aircraft model and was delighted with its flights. I wish you a successful construction and happy flights!
See you, your Valerian.


