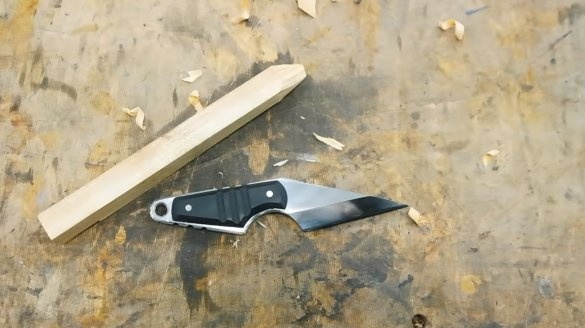
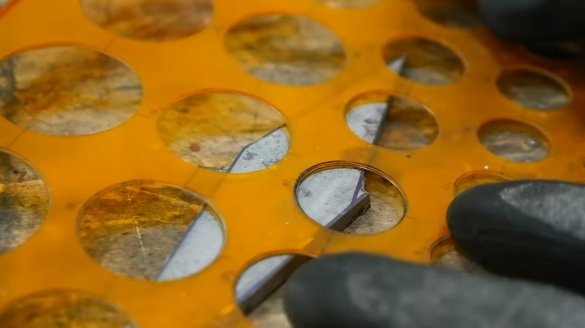
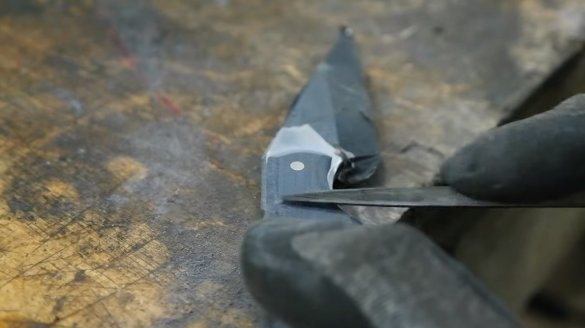
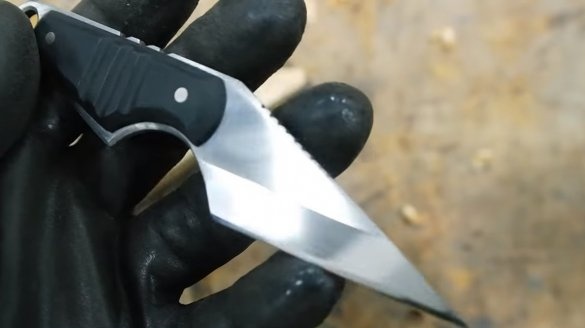
The knife is one of the most popular tools in human life. We cut bread for them, prepare food, it helps in hunting, life, defense and other matters. In this article we will look at how to make a knife in the Japanese spirit under the name "Kiridashi". Such a knife is somewhat reminiscent of a chisel, it is convenient for them to carve, work on wood and perform various other tasks. The author decided to make a knife from a piece of a saw blade, an affordable tool was used for making, the author hardened steel. Knife covers are made of G10, this material is durable, not afraid of water and looks great. If the project interests you, I propose to study it in more detail!
Materials and tools used by the author:
Material List:
- a piece of the saw blade;
- G10 or other material for linings;
- brass rods for pins;
- epoxy adhesive;
- oil or varnish.
Tool List:
- grinder;
- furnace or coals (for hardening);
- grinding stones;
- marker;
- files;
- drilling machine;
- sandpaper;
- belt sander (optional).
The process of making a knife:
Step one. Cut the knife profile
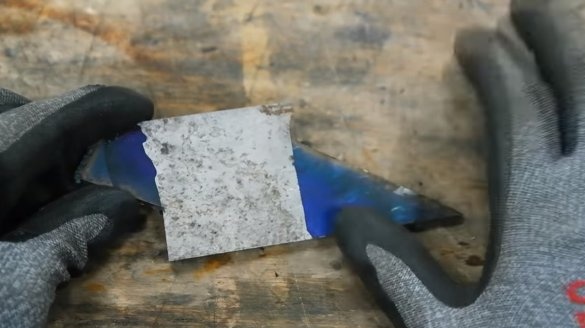
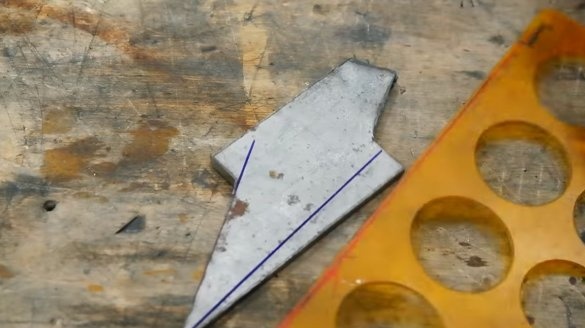
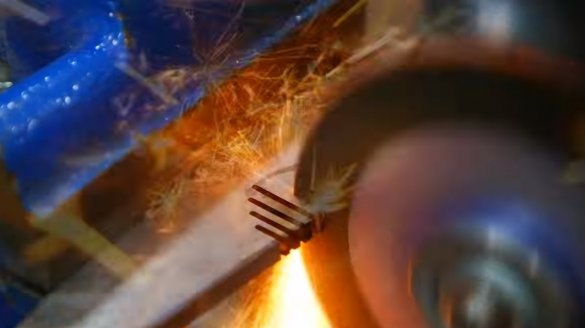
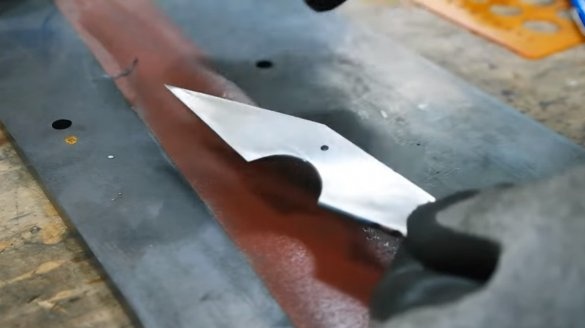
The author took a piece of the saw blade and, using a ruler, drew a marker for the profile of the future knife. The blade should be straight, and the descent we have will be only on one side, on which side you are left-handed or right-handed.
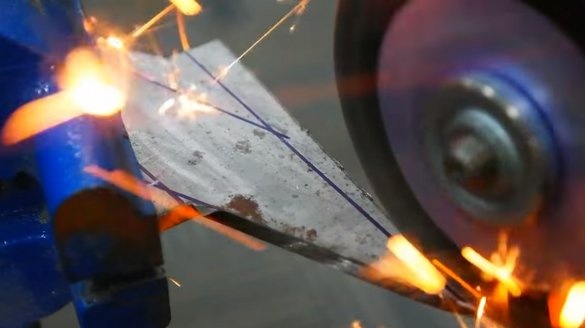
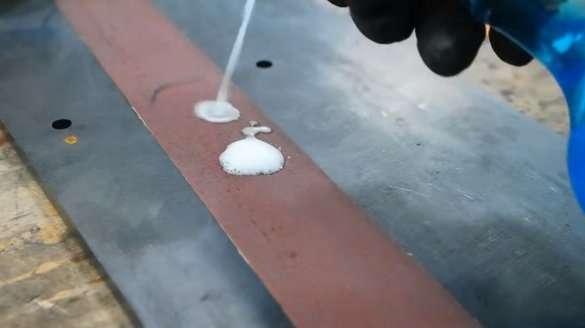
You can start cutting, the author uses a grinder. Problem areas can be cut into pieces. We pour water from time to time in order to prevent excessive overheating, especially in the area where the blade will be.
Step Two We work with a file
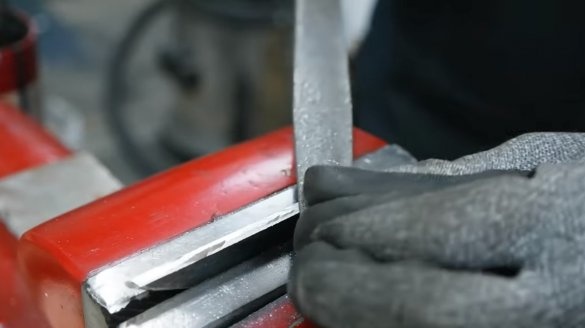
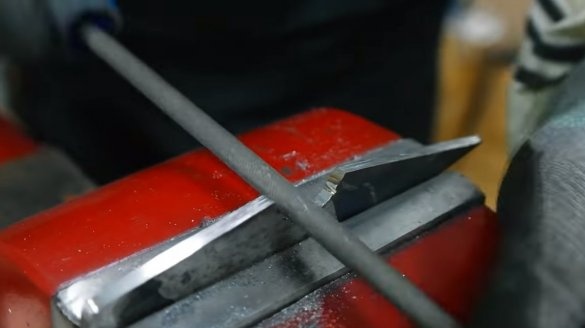
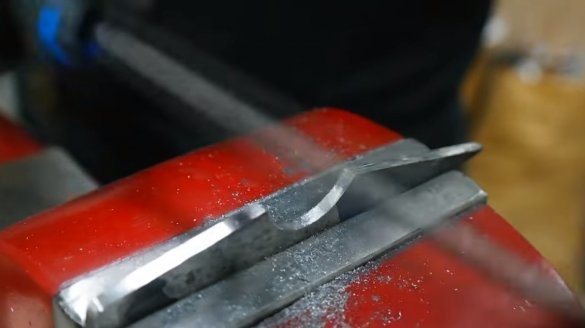
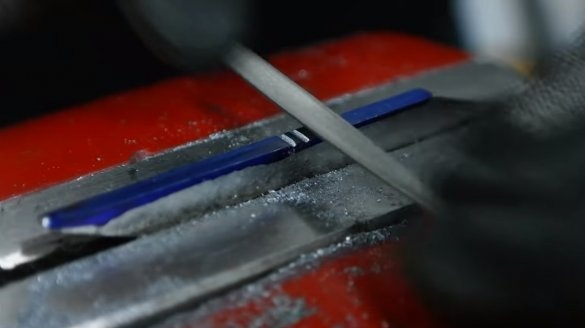
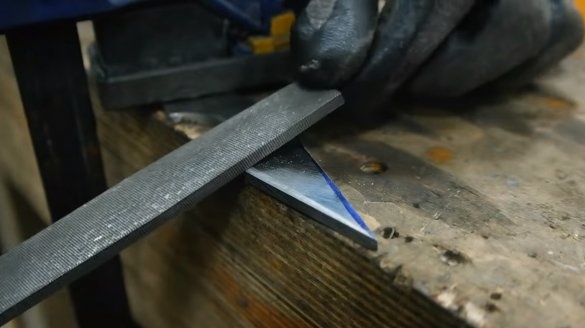
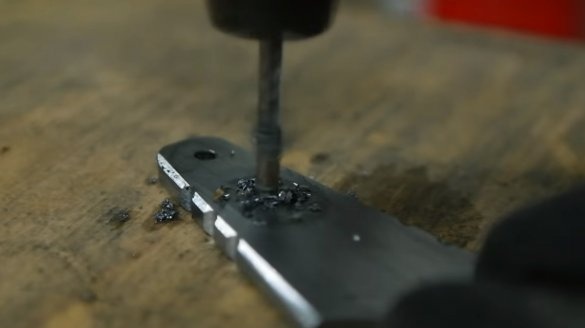
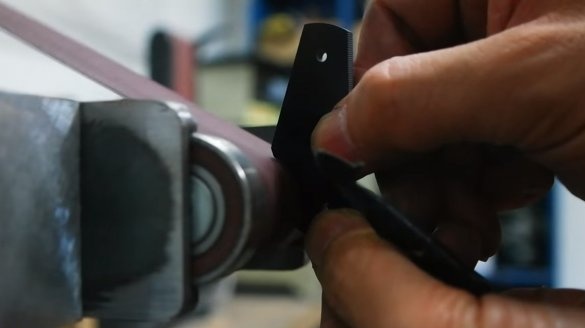
We are finalizing the knife profile with a metal file. Also, if desired, you can make grooves on the butt. The author also made the descent manually, using a flat file. We make the descent wider, and on one side, thanks to such sharpening, the knife will be perfectly planed. Finally, drill holes in the handle area.
Step Three Quenching
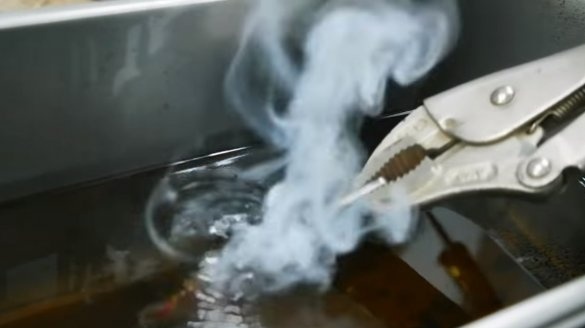
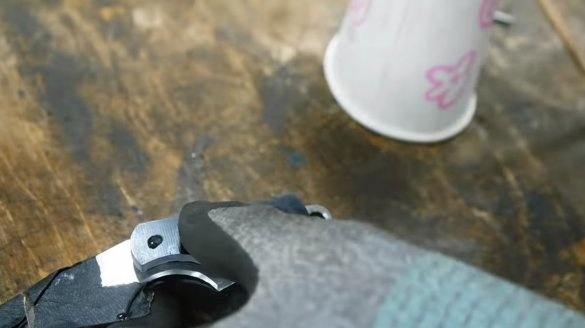
We temper the blade by heating to the desired temperature and immersed in oil.After hardening, the steel should begin to ring, it will be very strong. To understand to what temperature the steel is heated, we bring a permanent magnet to it, it should not be attracted. Usually, after hardening, the steel is released in the oven so that it is not brittle.
After heat treatment, we grind the blade wet with fine sandpaper. If desired, the blade can be polished to a mirror shine, but do not forget that the selected steel rusts.
Step Four Lining
We cut two overlays for the knife, the author used G10 as a material. You can use wood in the old way, but do not forget to saturate the wood well with varnish or oil to protect it from water.
We glue the pads on the handle, do not forget to also install, and glue the pins well with glue. We use epoxy as a glue, quick-drying glue can be used in syringes
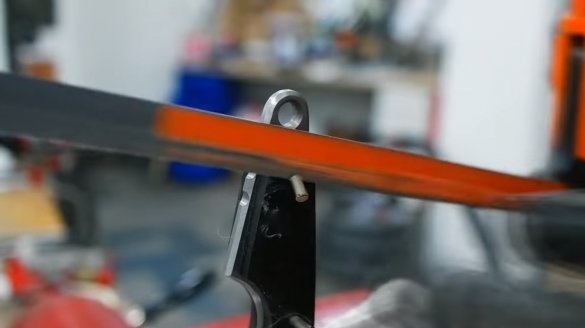
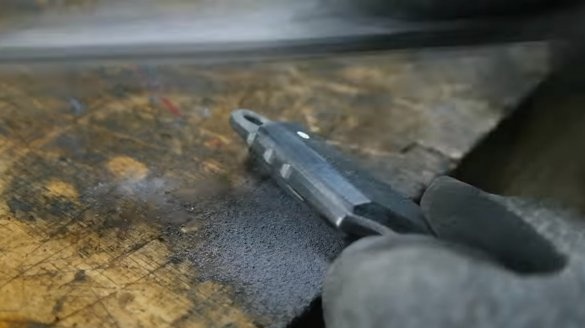
When the glue dries, we cut off the excess parts of the pins with a hacksaw for metal and proceed to grinding. We grind the excess with a file, and then we grind the handle well with sandpaper. We make the lining perfectly smooth, the knife will be nice to hold in your hand, and it will look beautiful.
Step Five Sharpening and testing
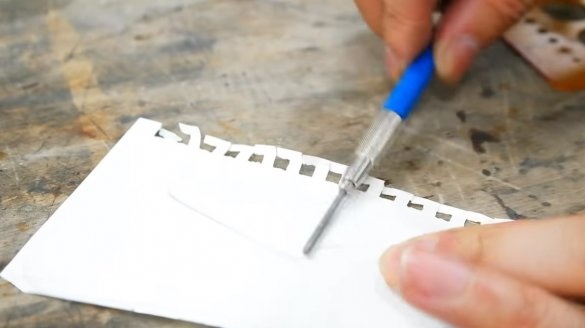
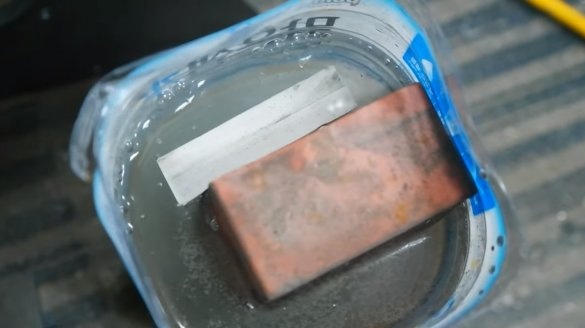
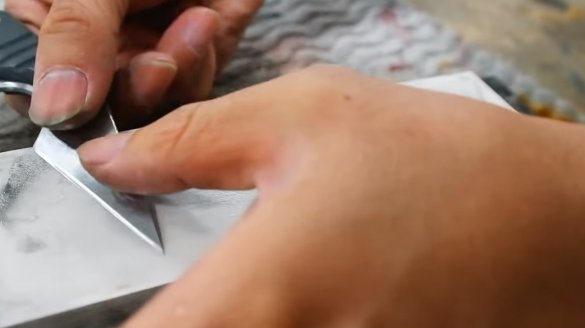
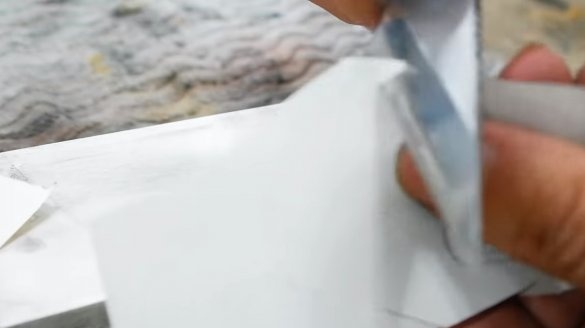
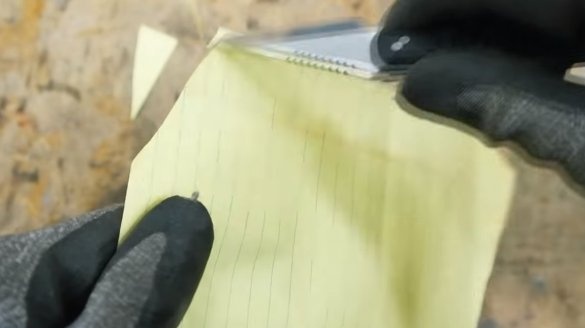
We sharpen a knife, the author used grinding water stones for this. In order for such a stone to sharpen well, it must be soaked in water and watered with water in the process. Thanks to water, the stone will be well cleaned of metal dust. The author sharpened the knife to a razor state; he easily cuts thin paper.
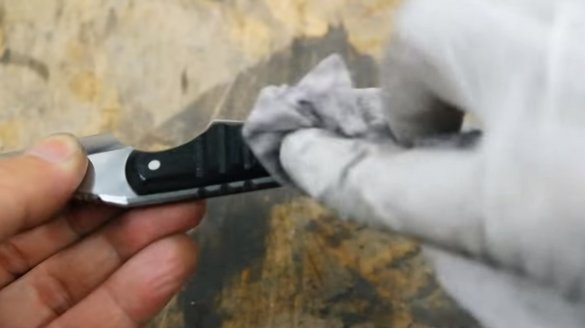
The knife is ready, we handle the handle and knife with oil so that it does not rust and serves for a long time. On this homemade ready, I hope you liked the project, and you found useful thoughts for yourself. Good luck and creative inspiration, if you decide to repeat this. Do not forget to share your ideas and homemade things with us!

