Greetings to all readers the inhabitants of our sites. Outside the window, golden autumn is in full swing and frosty winter is just around the corner. And this means that it is time to take care of our feathered neighbors, the inhabitants of gardens and parks, because at that time it will become more difficult for them to get their own food. The best option is to craft do it yourself feeder for them. Moreover, you can attract a child to the entertaining and exciting process of assembling it, as the author of this homemade product did.
Tools and materials:
• MDF and OSB
• Walnut stalk
• Ruberoid
• Self-tapping screws measuring 2.5x20 mm and 3.5x35 mm
• Drill
• Screwdriver
• Construction hair dryer
• Fine sandpaper.
Step 1
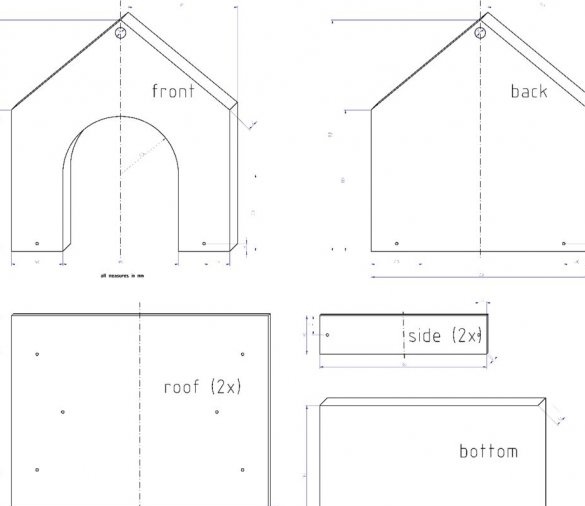
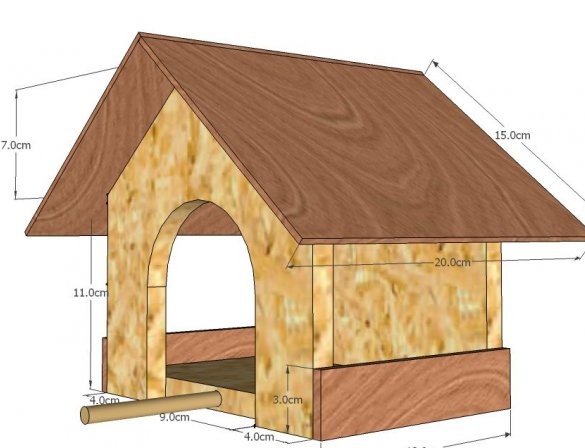
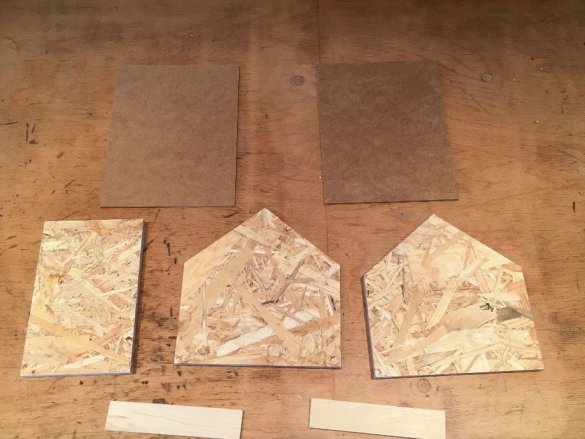
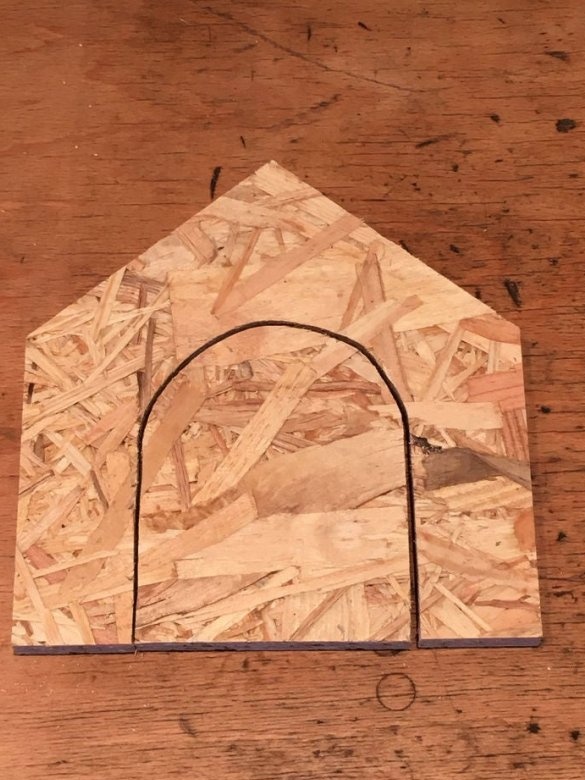
First, the author prepared a drawing and a project with the dimensions of the future feeding trough. Then from OSB and MDF I cut out the necessary parts of the right size.
Step 2
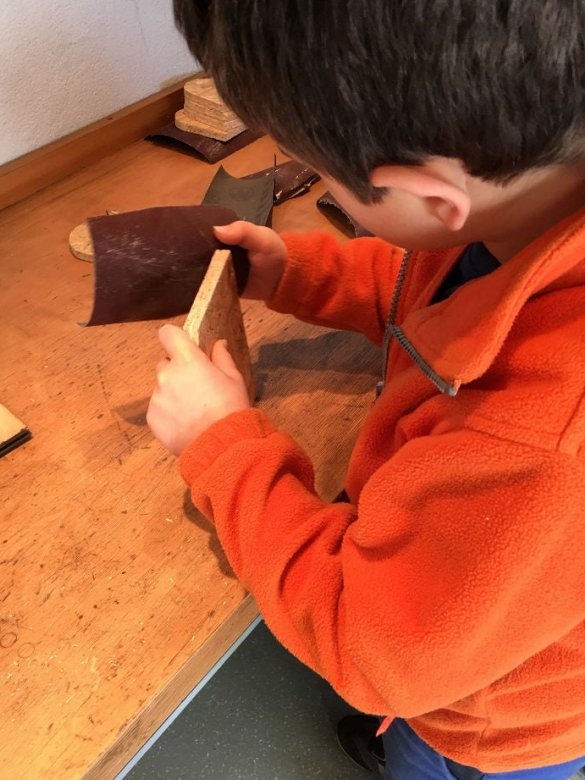
Further, his young assistant carefully processed the edges of each part with sandpaper.
Step 3
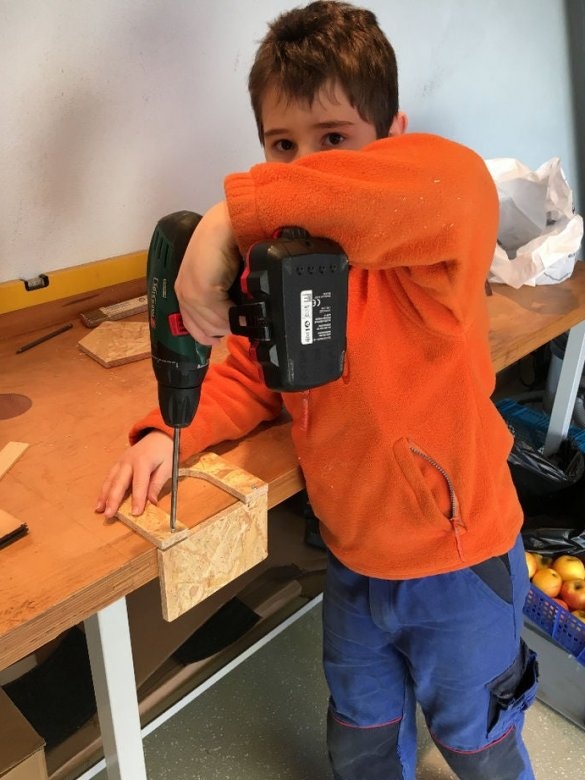
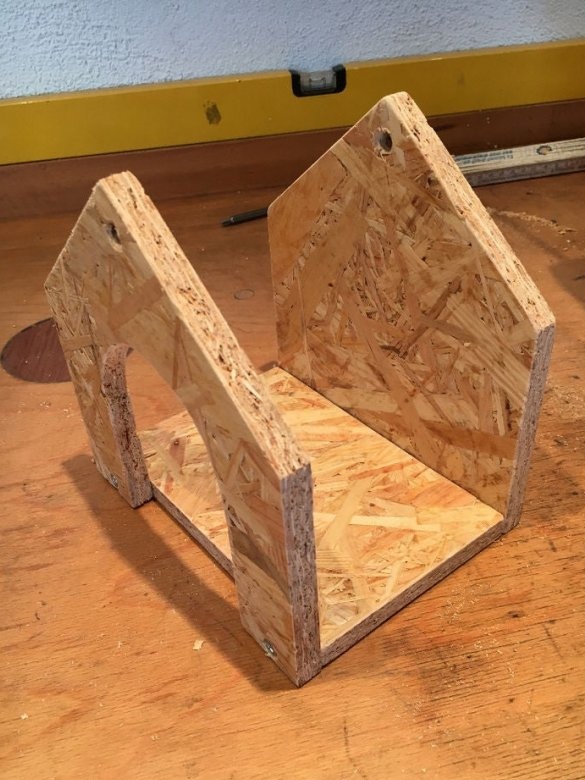
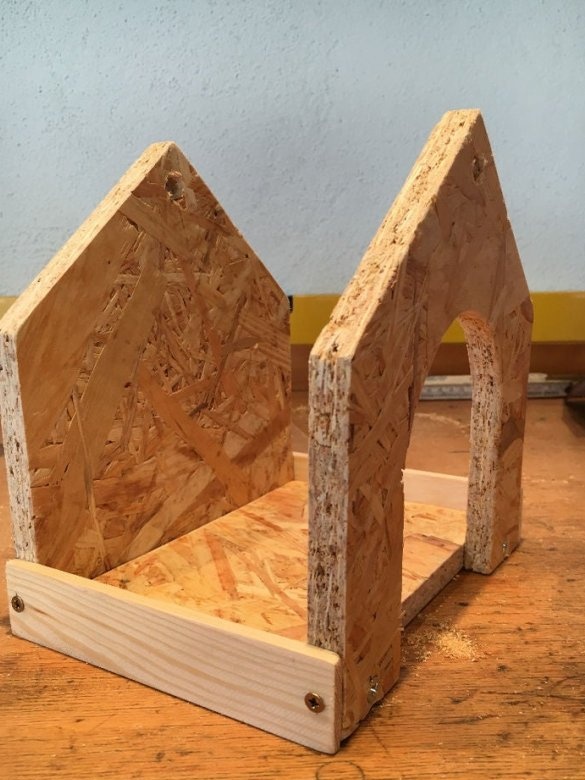
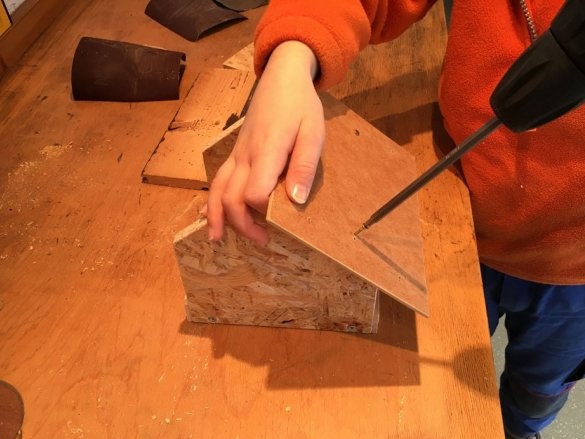
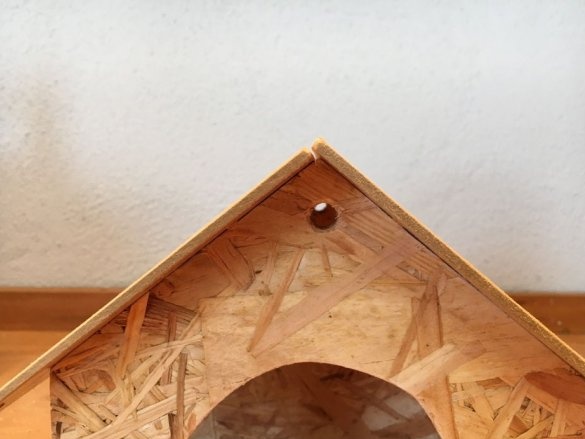
After grinding work, armed with a drill and then a screwdriver, the young carpenter began assembling the frame. Having drilled holes in the right places, I connected the front and back walls with the bottom to the screws and screwed the sides on the sides so that the feed did not crumble. From above fixed a roof from MDF.
Step 4
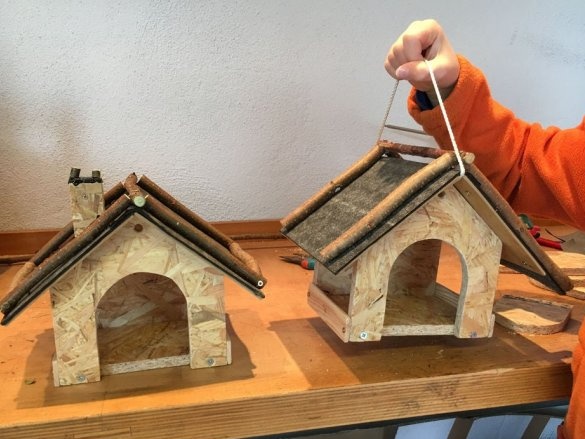
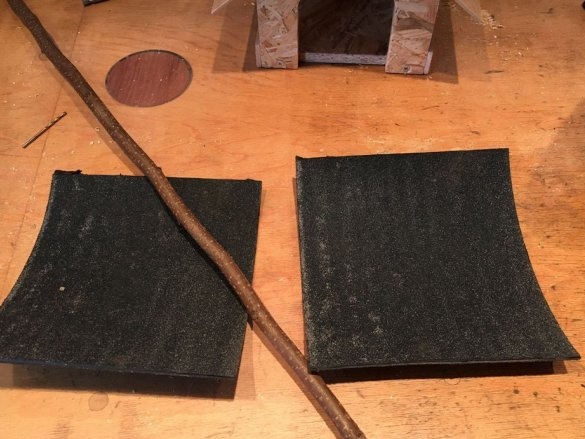
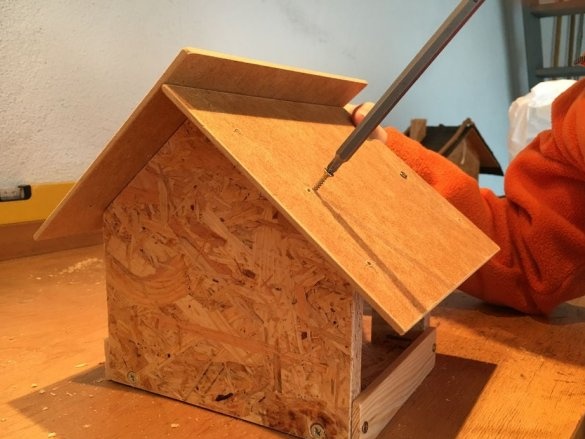
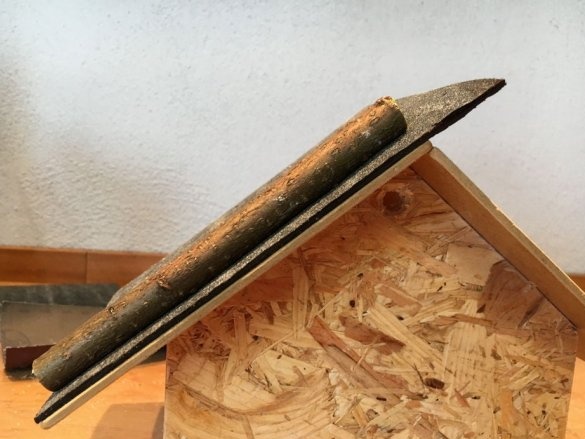
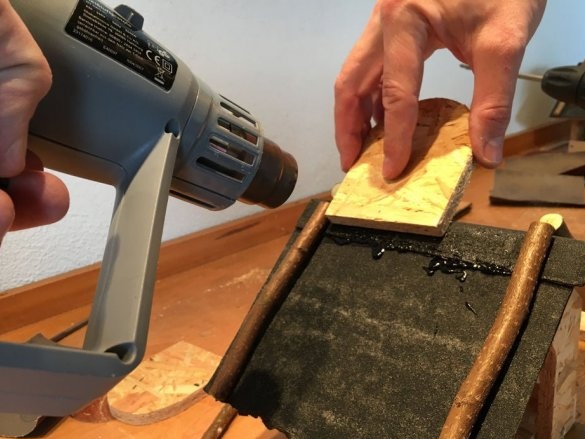
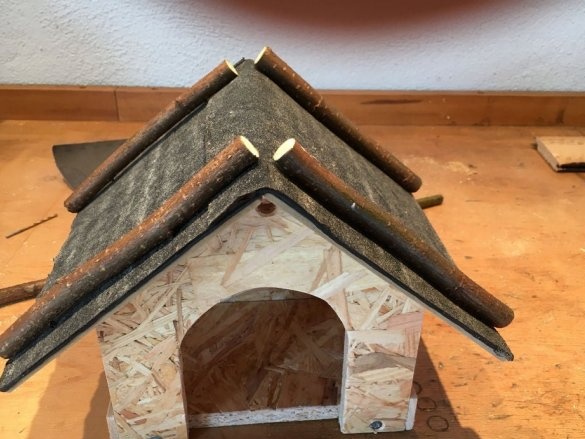
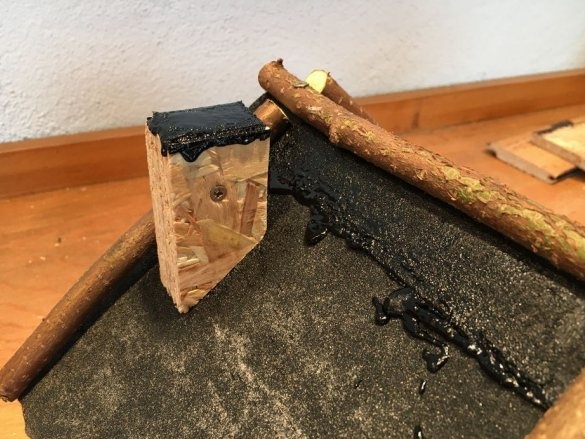
Gradually, we came to the final stage - finishing. On the roof, the author laid strips of roofing felt, and on top of them placed sticks on the edges and pulled them with screws on the back. The overlap was fixed using a building hair dryer. The finished feeding trough-house was decorated with a chimney.
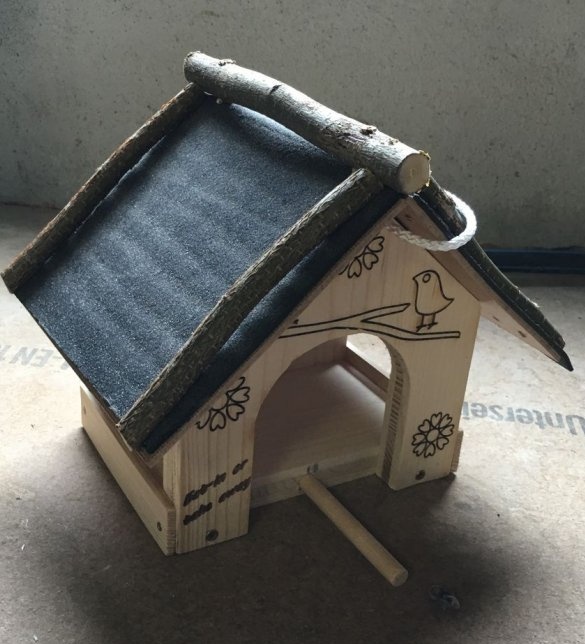
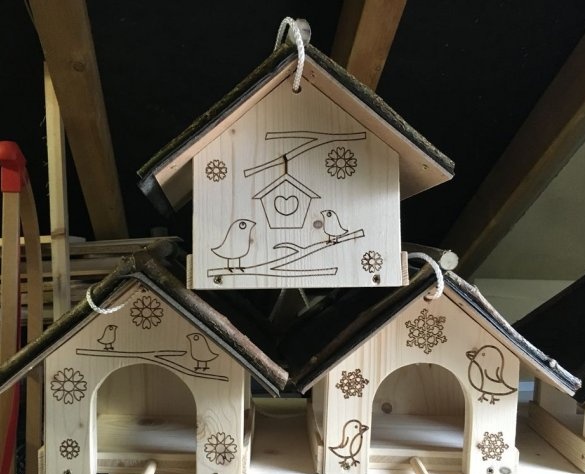
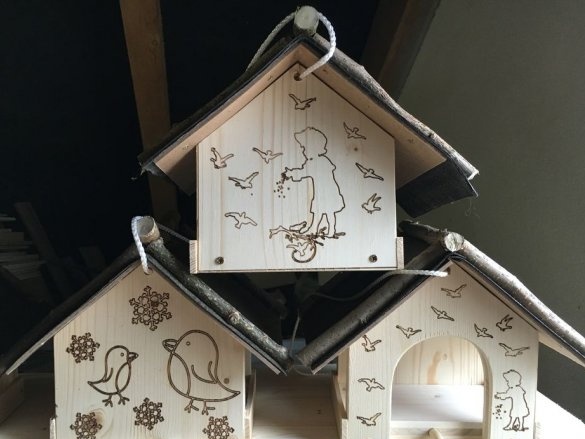
Here's a feeding trough. The manufacturing process was so fascinating that our authors did not stop at one copy and made a few more “dining rooms” for the birds.
Thank you all for your attention and see you soon bgm.imdmyself.com!

