

Hello dear modelers!
I could not resist and decided to tell you about the new aircraft model. Model It is interesting in that it is universal, all-weather, because it can take off from any surface, be it grass, or asphalt, and even more so water or snow.
Such a model was presented to my friend, and he sent me these pictures.
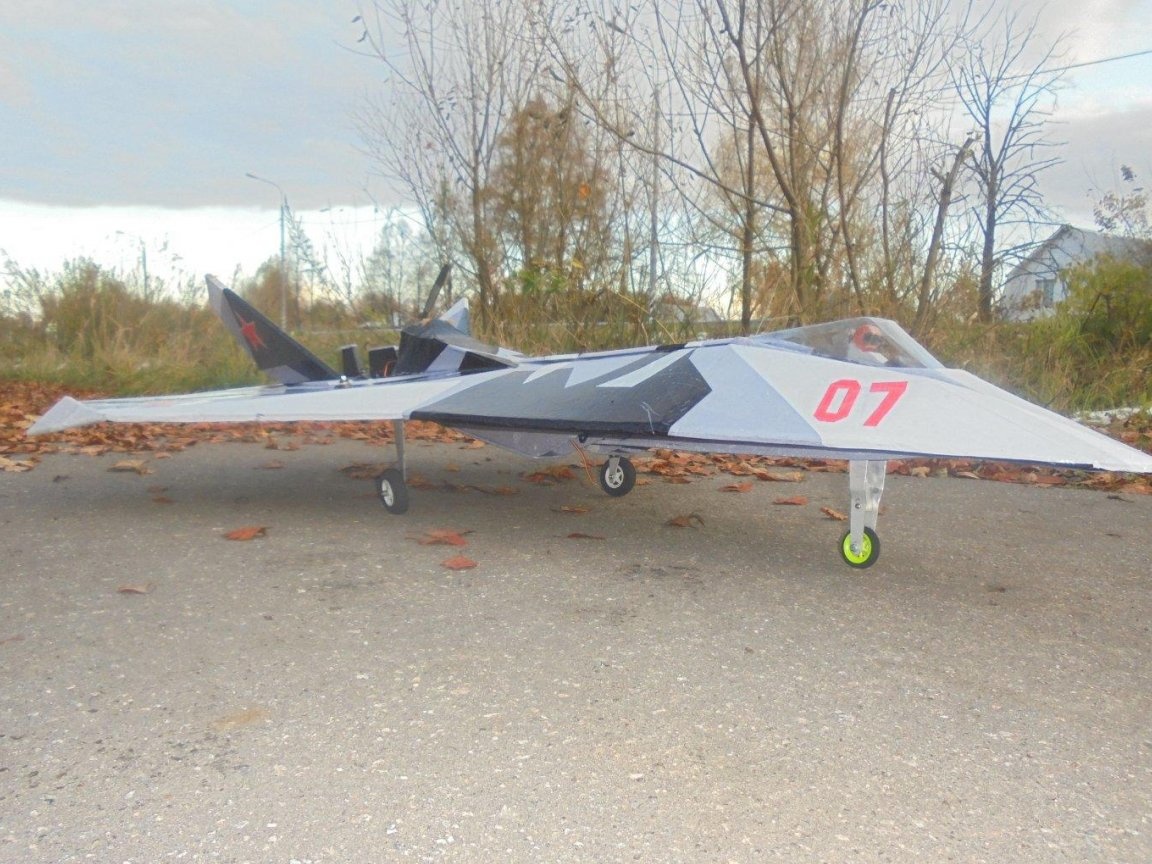
The outlines of this model seemed very familiar to me and I immediately remembered the Polaris aircraft model.

Upon closer examination, presented to a friend of the model, I noticed a big difference between her and Polaris.
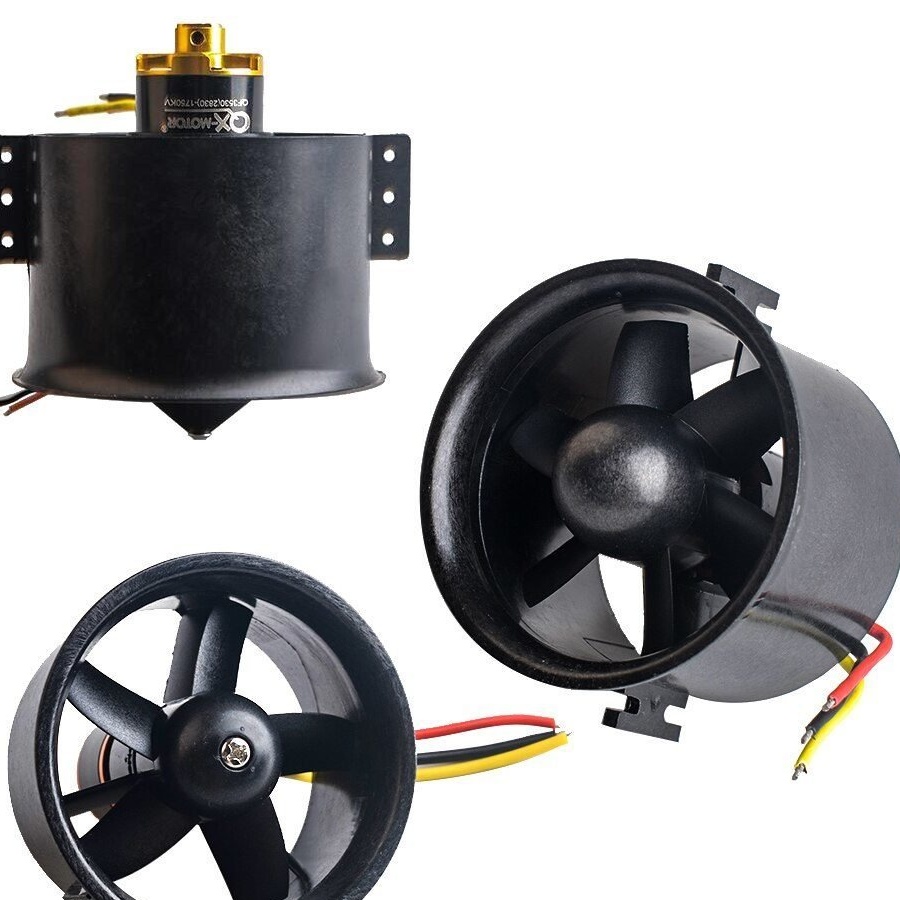
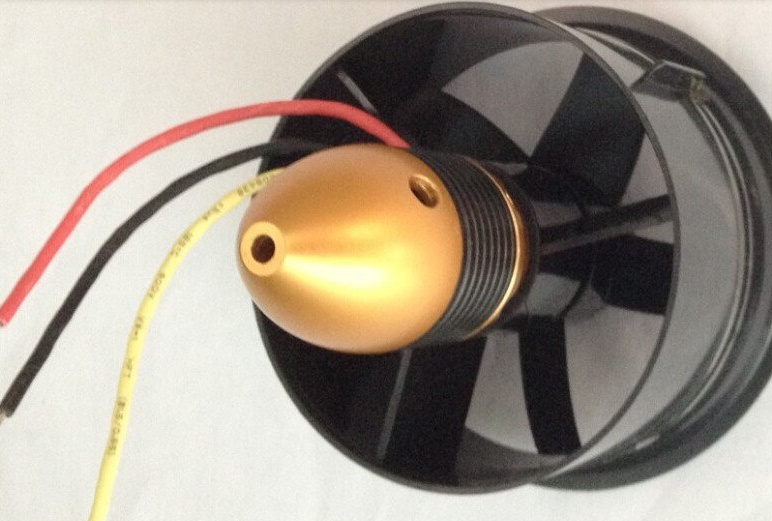
First of all, the model is distinguished by a propulsion system. Polaris is a pusher with a pushing motor and propeller, and here is an impeller.
Most recently, I finished my aircraft model with an impeller, I told you about it.
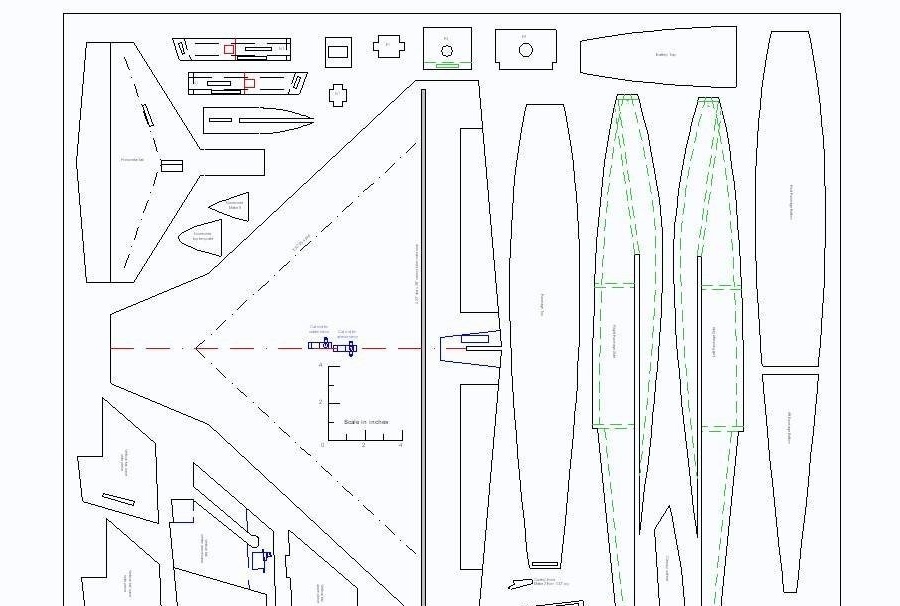
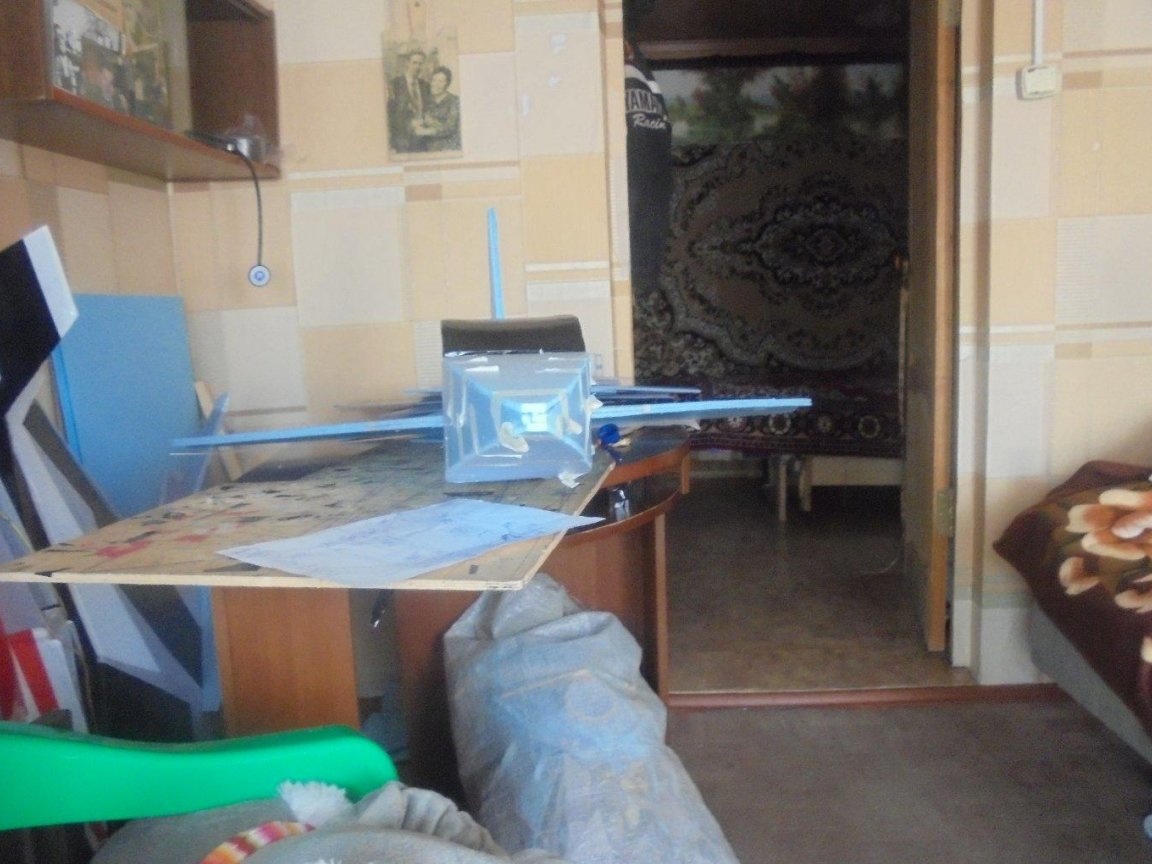
Looking at the photo, I made a small sketch of the future model, put down the dimensions to fit them to the characteristics of the impeller and started working.

A few words about the sizes, materials used and electronics.
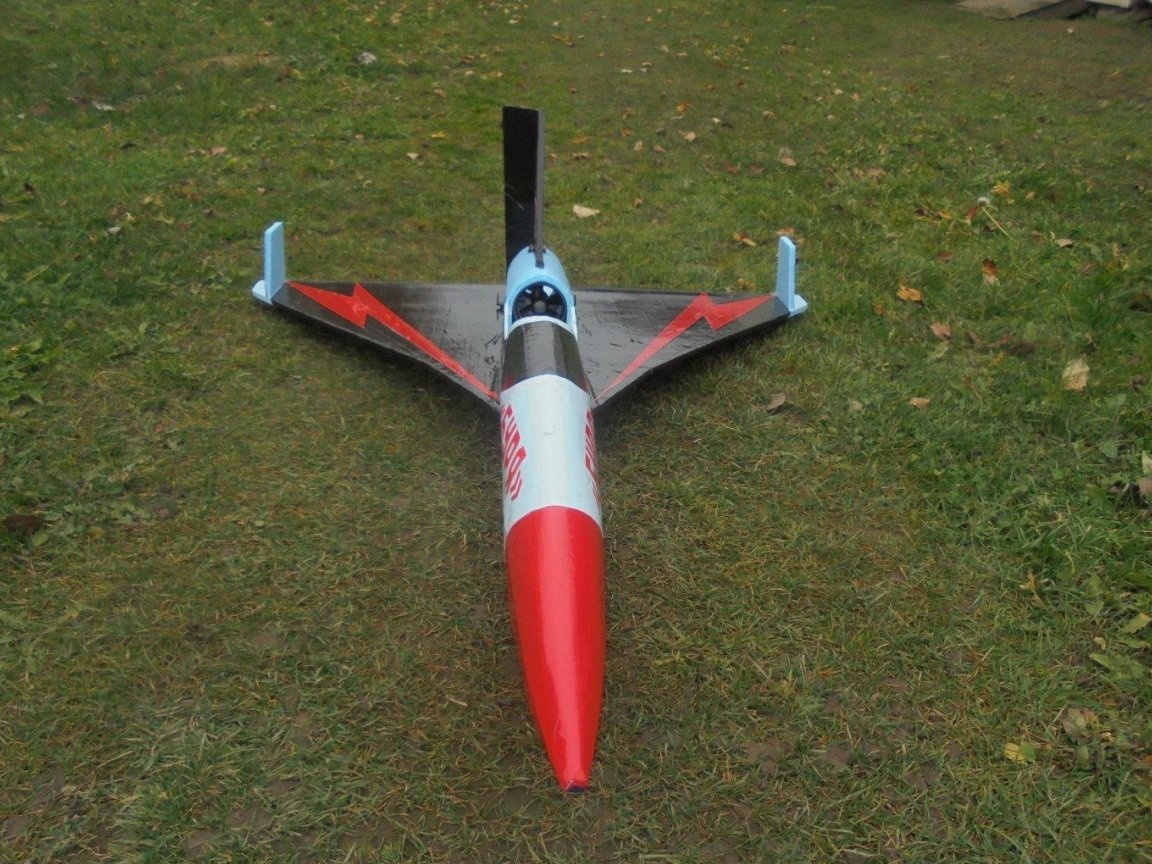
Span - 1000 mm.
Length - (initial) - 1200 mm. After reconstruction - 1400 mm.
Weight (without battery) - 600 g.
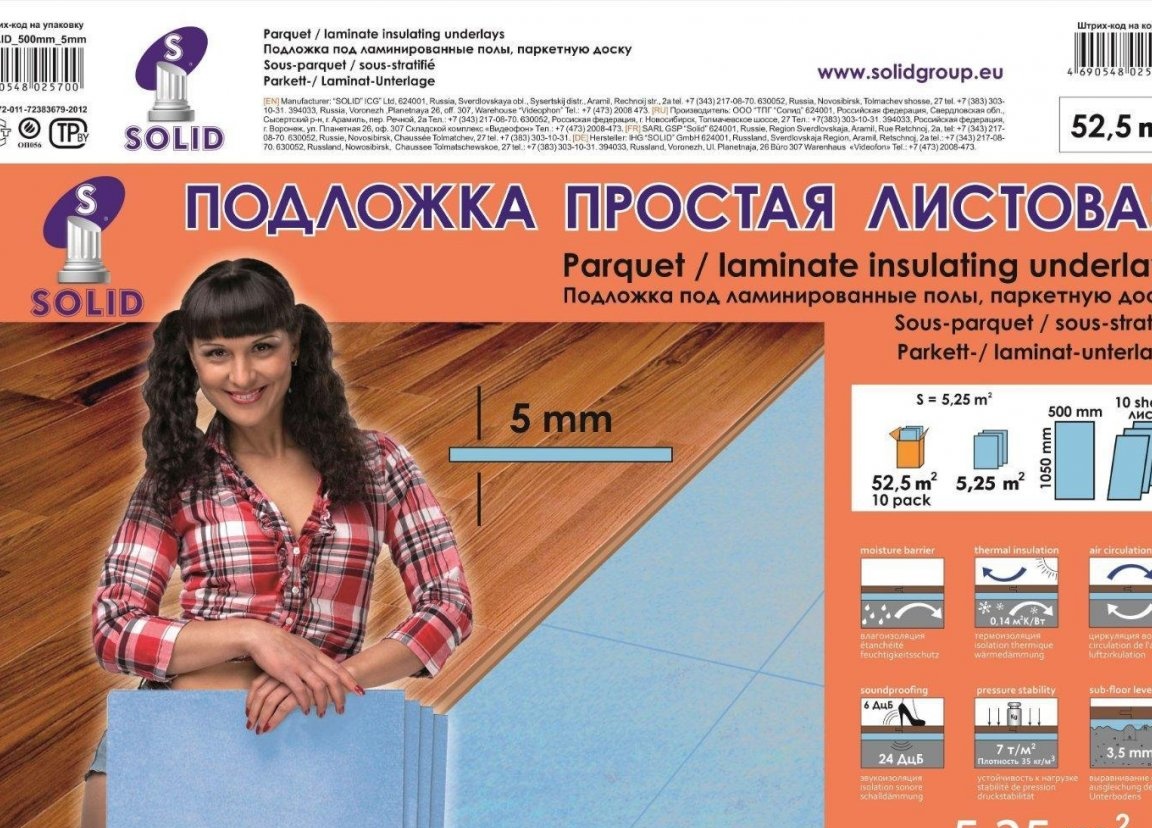
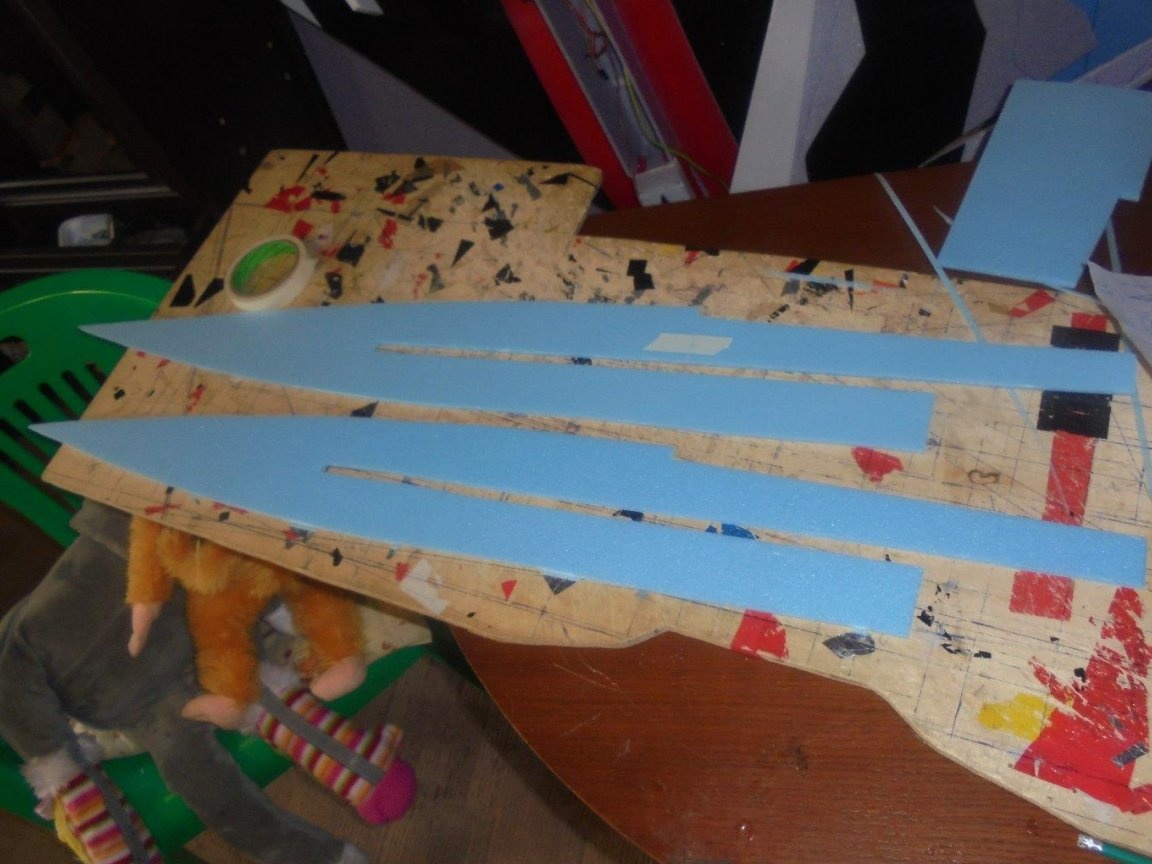
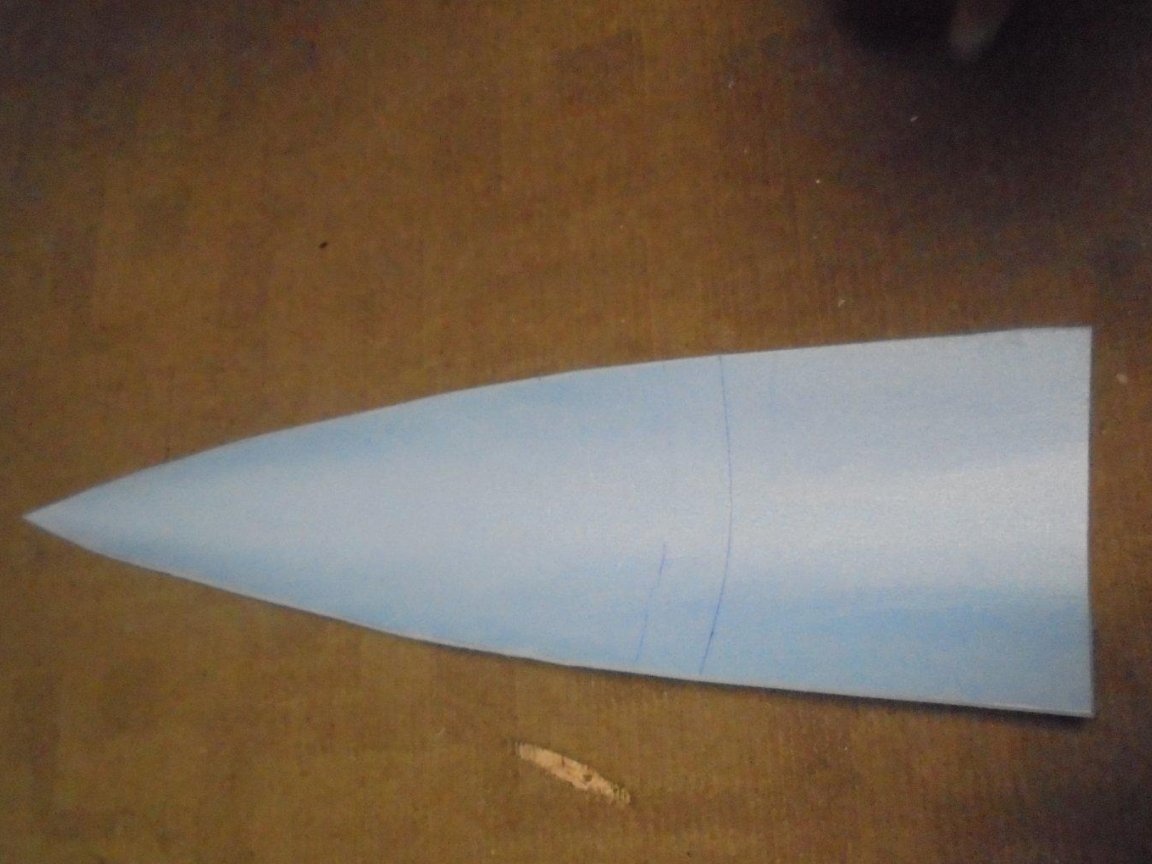
To create a model, I use a simple, sheet substrate for a laminate with a size of 1000 X 500 X 5 mm.
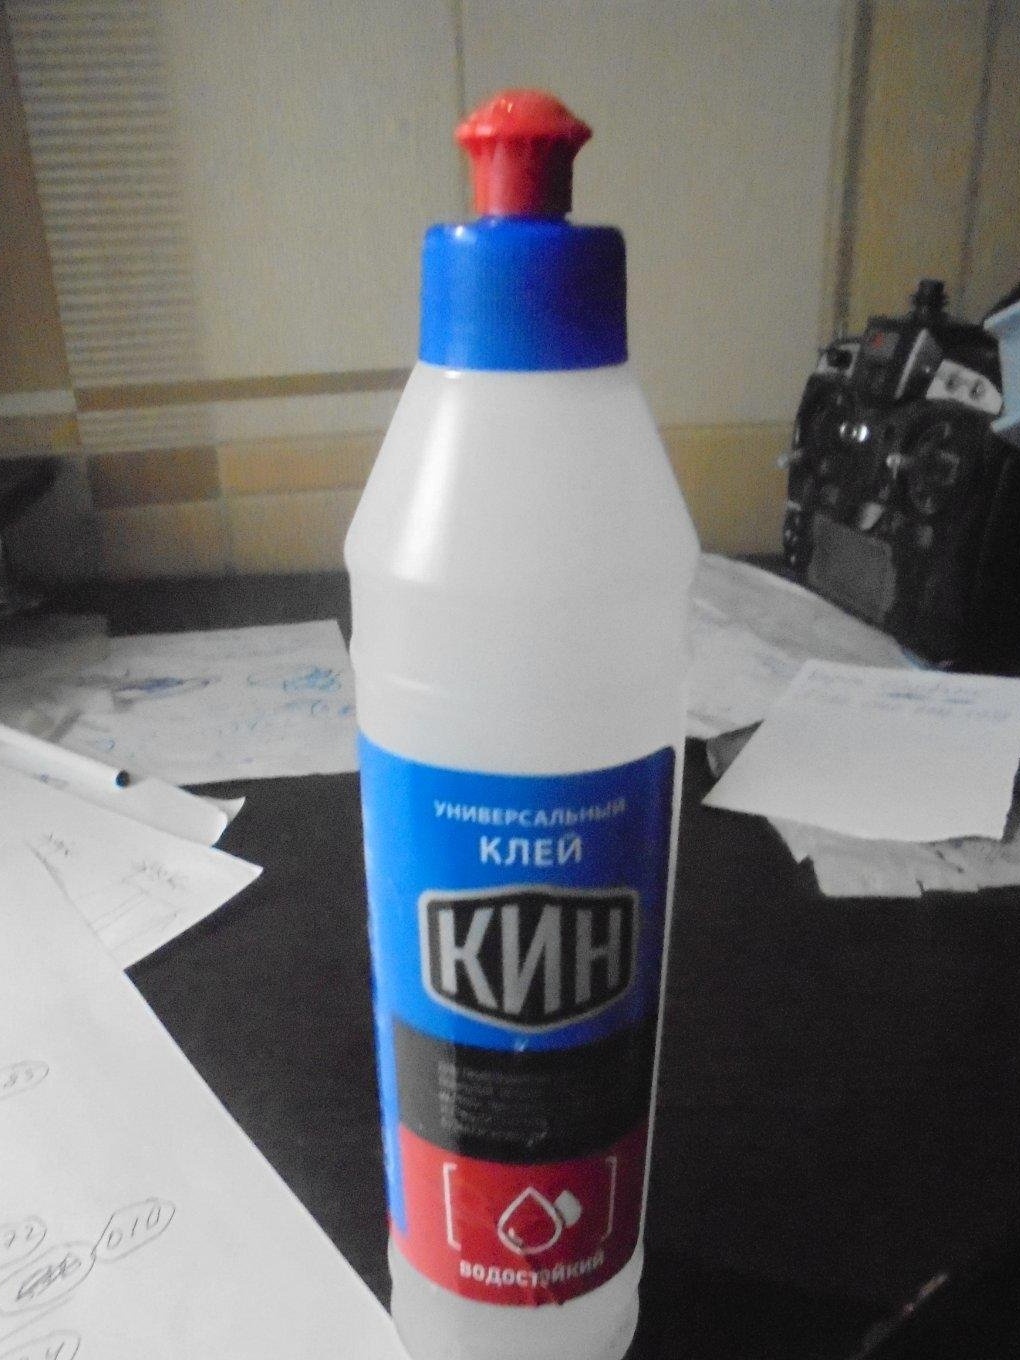
I use glue - "KIN" - waterproof, universal.
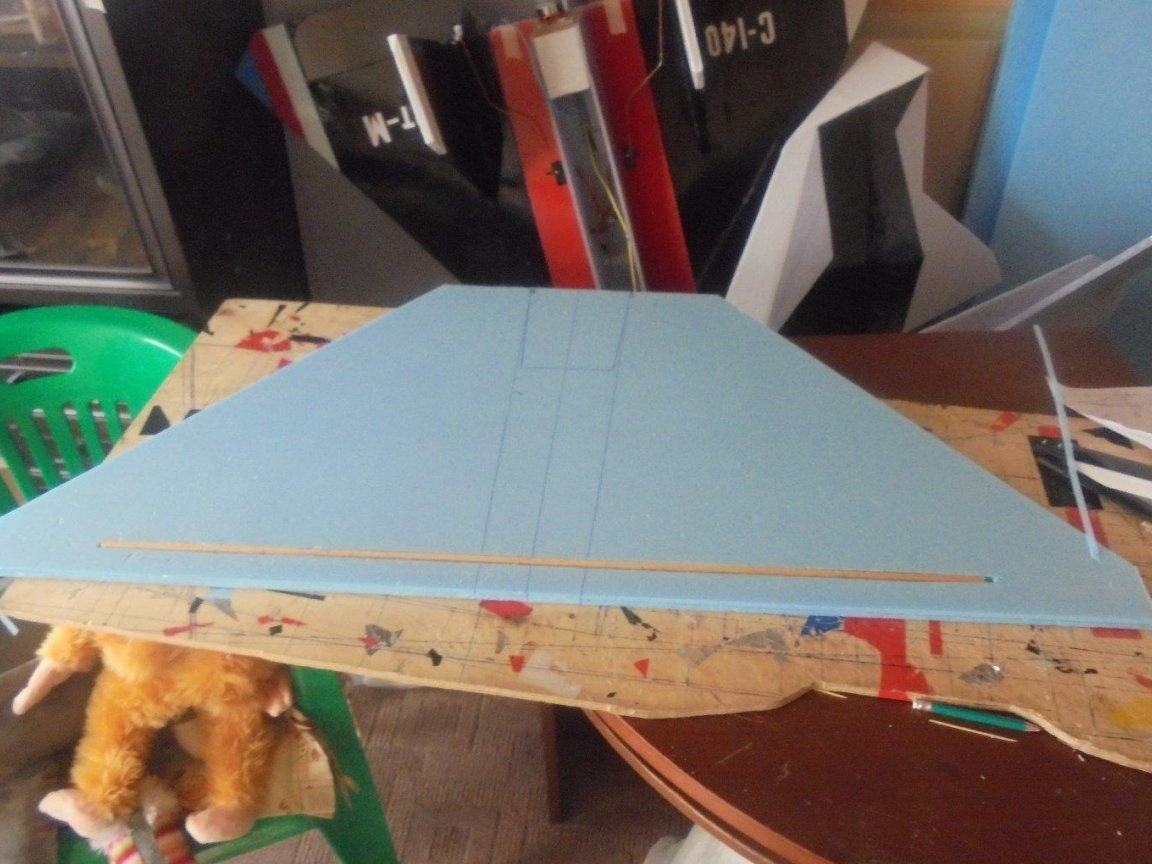
Wooden rail with a length of 950 mm and a cross section of 5 X 8 mm.
Paper masking tape.
Double-sided and color tape.
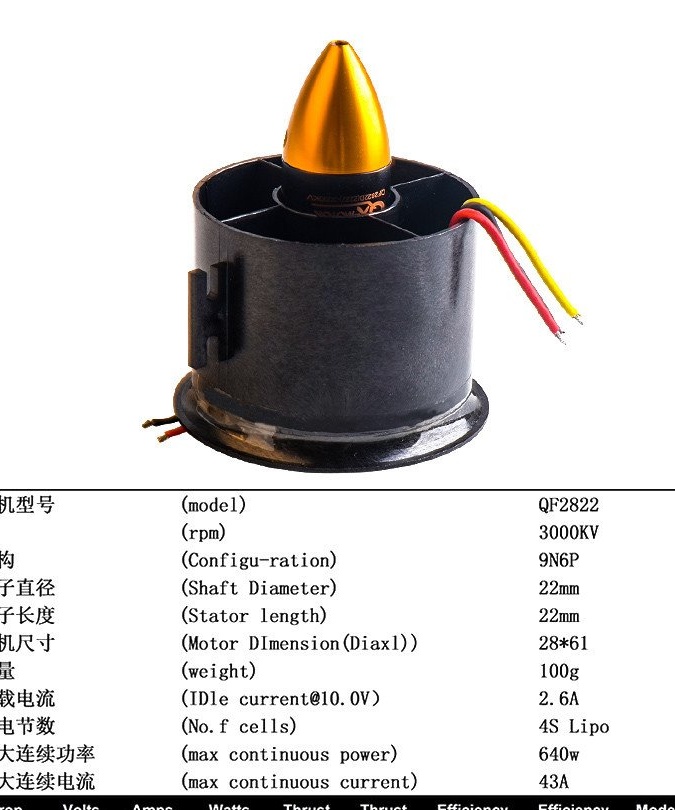
Impeller - 70 mm with a draft of 1500 g.
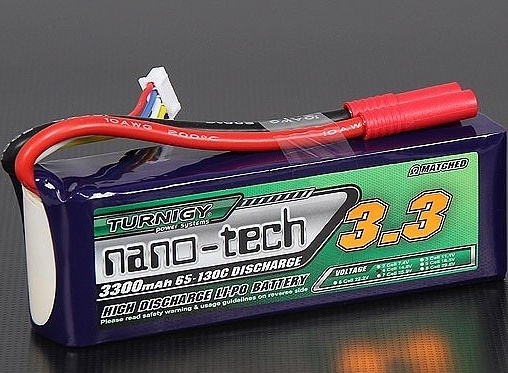
The battery is 4S. 3300 mAh.
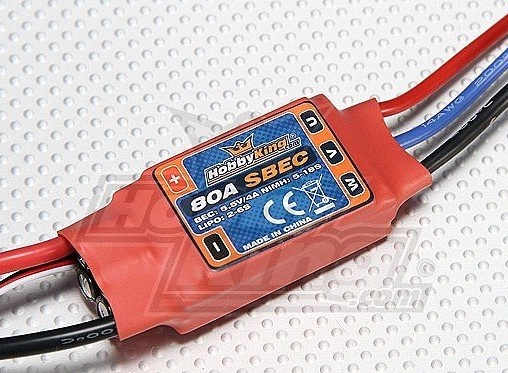
The regulator is 80A.
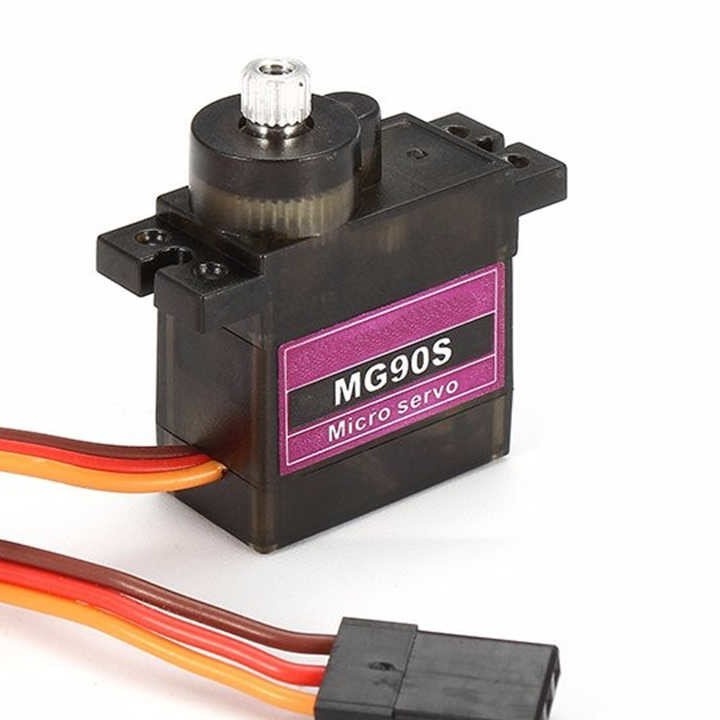
Servos - MG 90S.
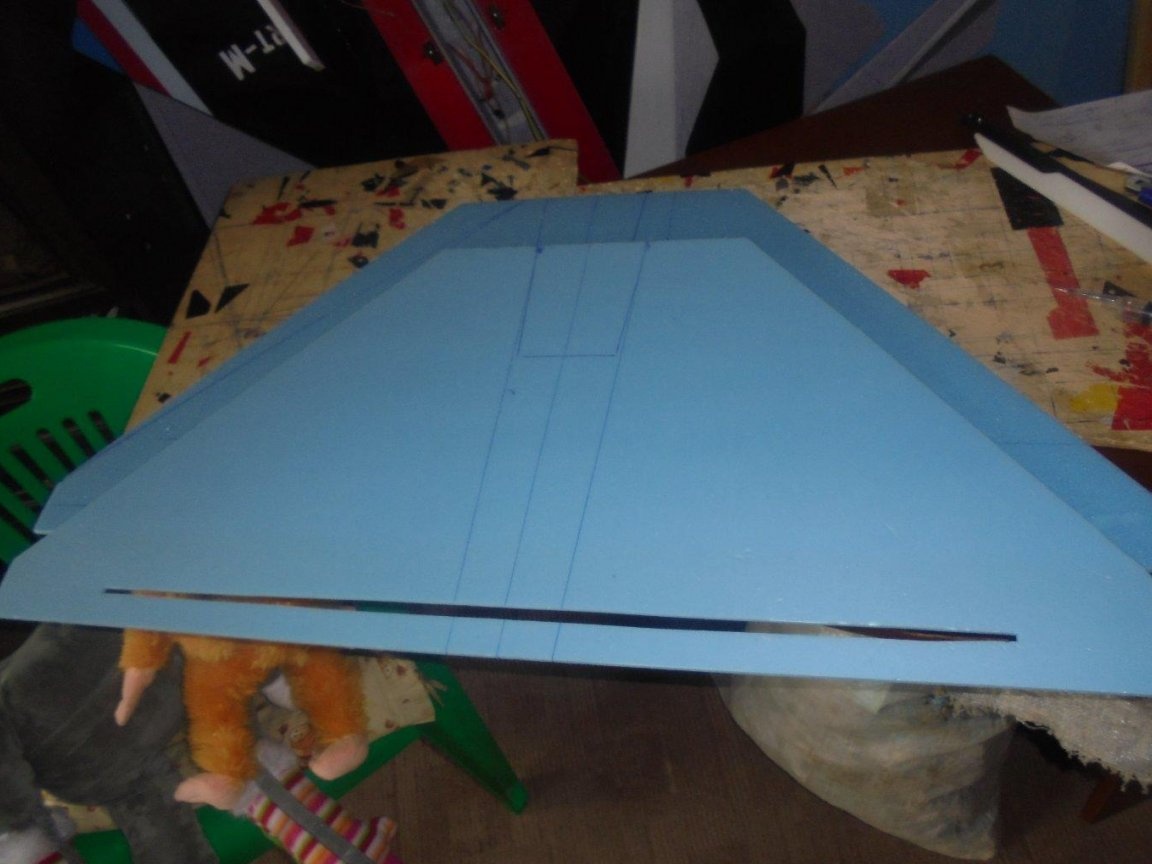
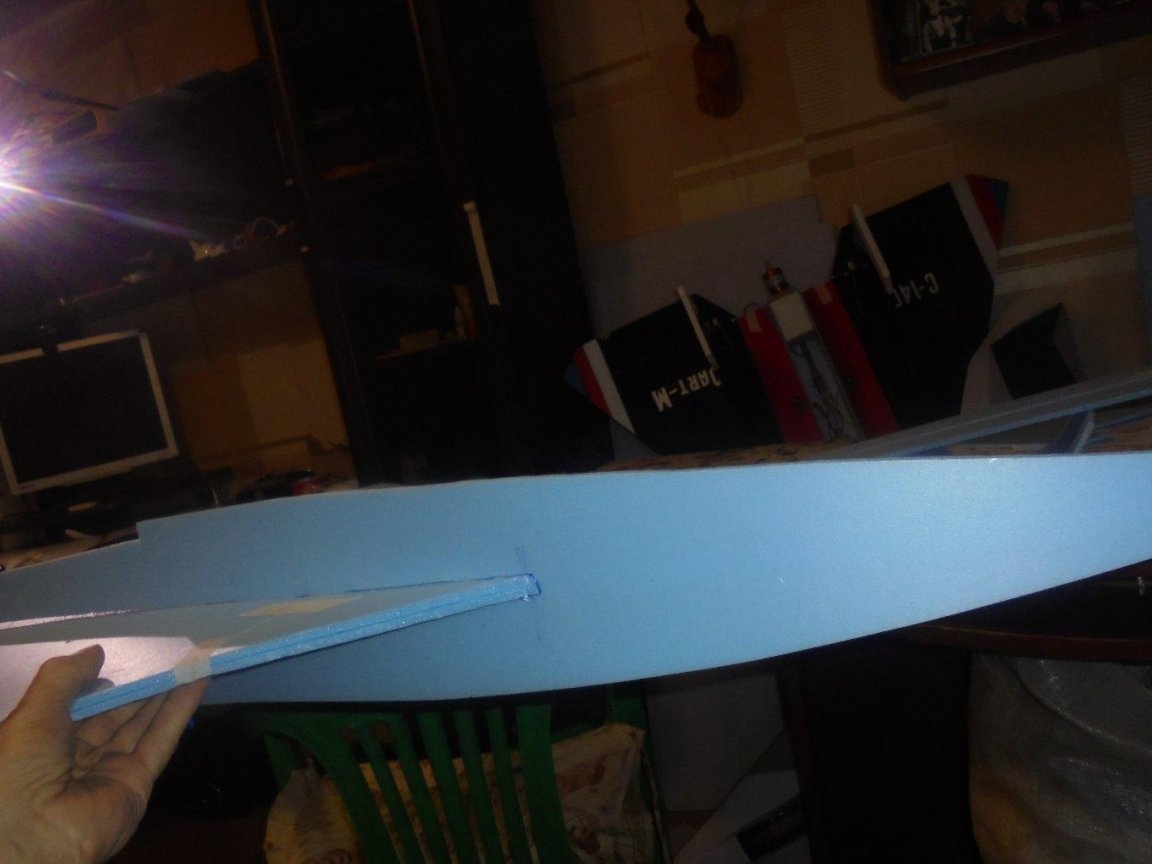
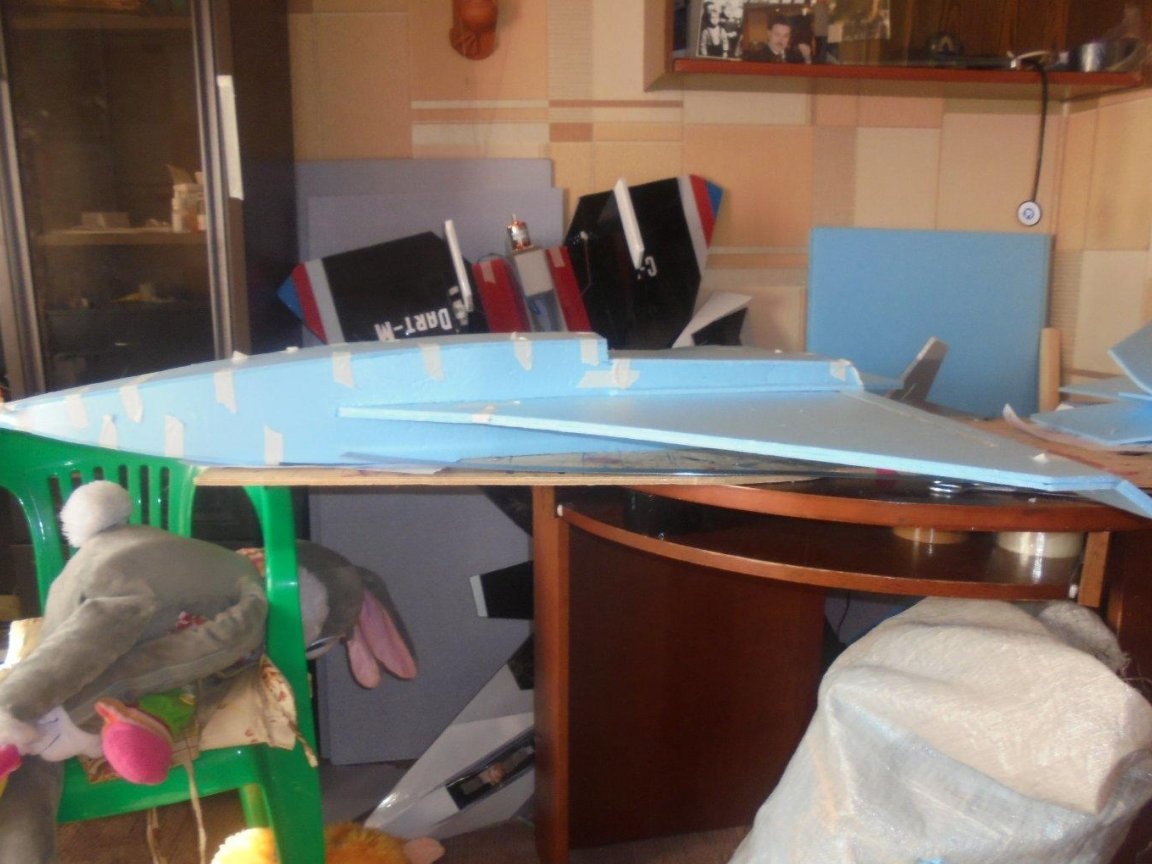
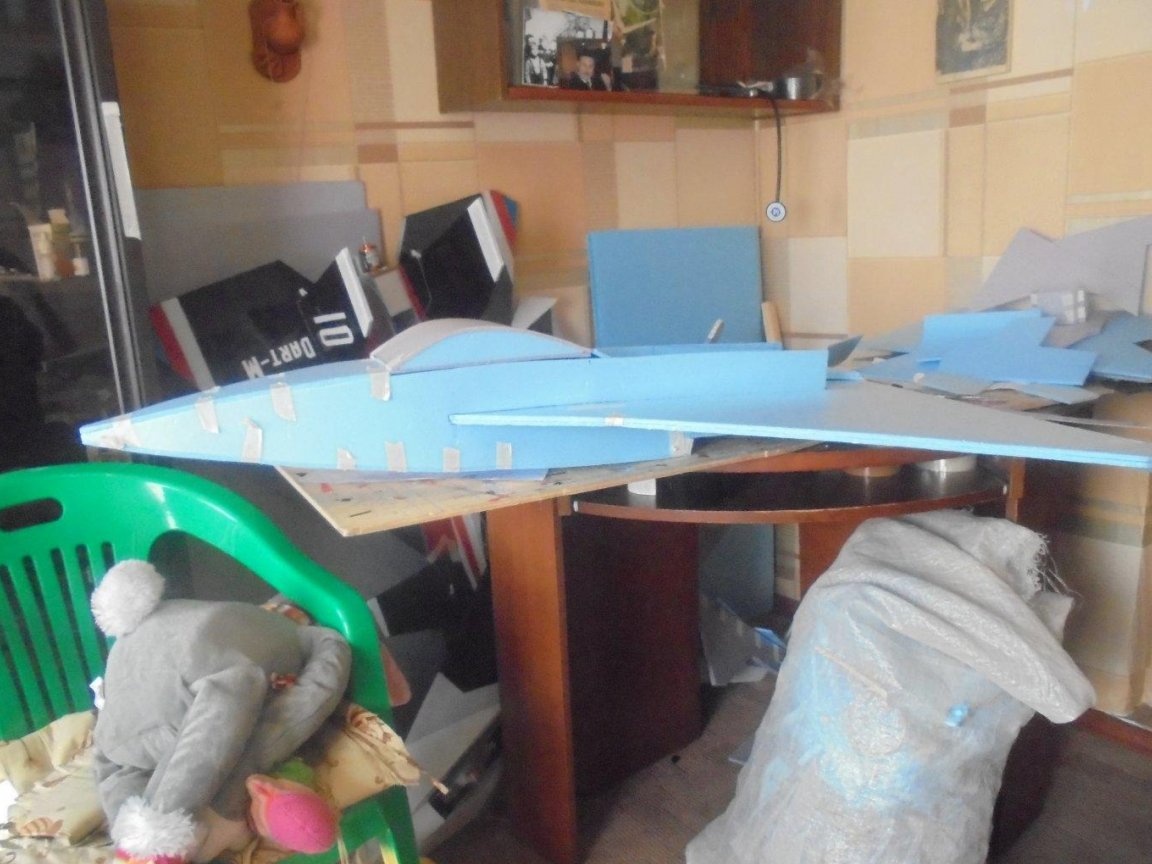
He began, as usual, with the supporting main platform, which is glued in two layers of the substrate. In total, 4 sheets were used per wing.
In the lower layer of the substrate, a groove is cut in width, 950 mm long. in which a wooden lath is glued. For durability.

Cut out all the blanks for various parts of the model.
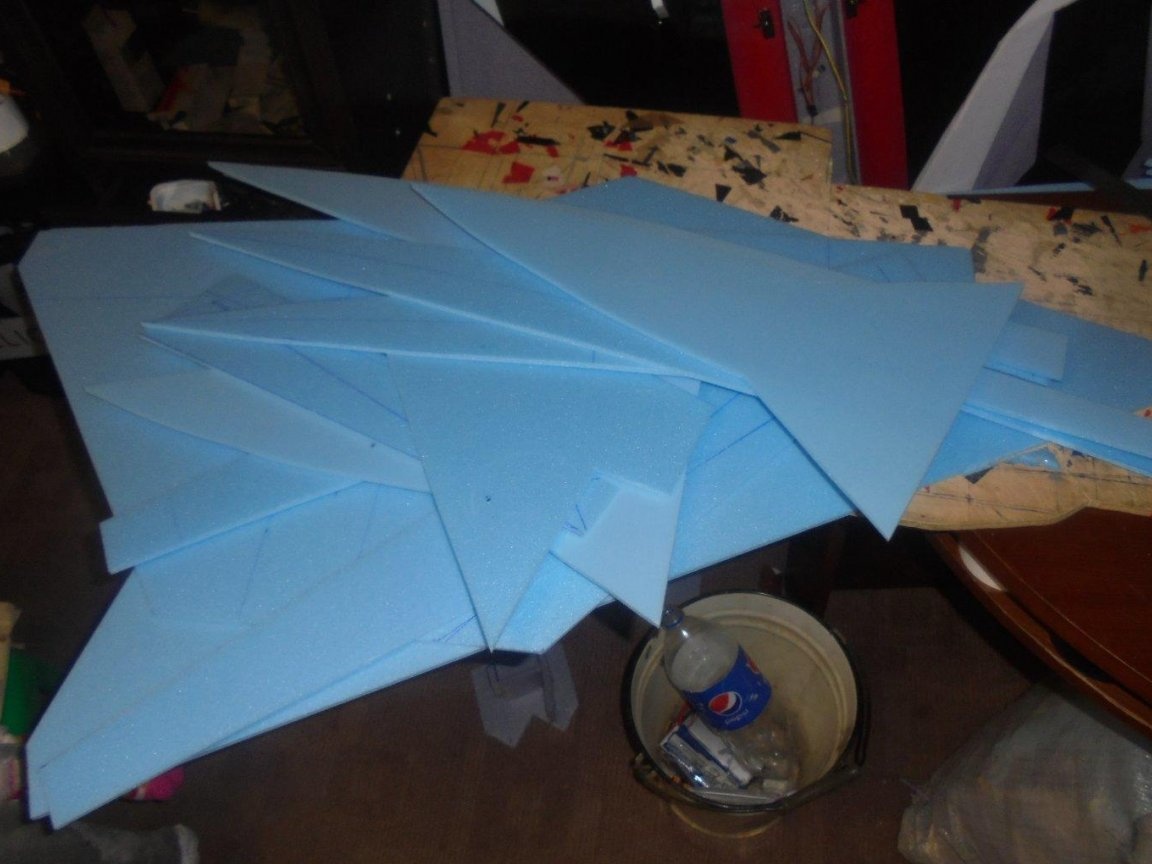
The side walls of the fuselage, keel, the upper and lower surfaces of the fuselage, the casing on the impeller are cut out.

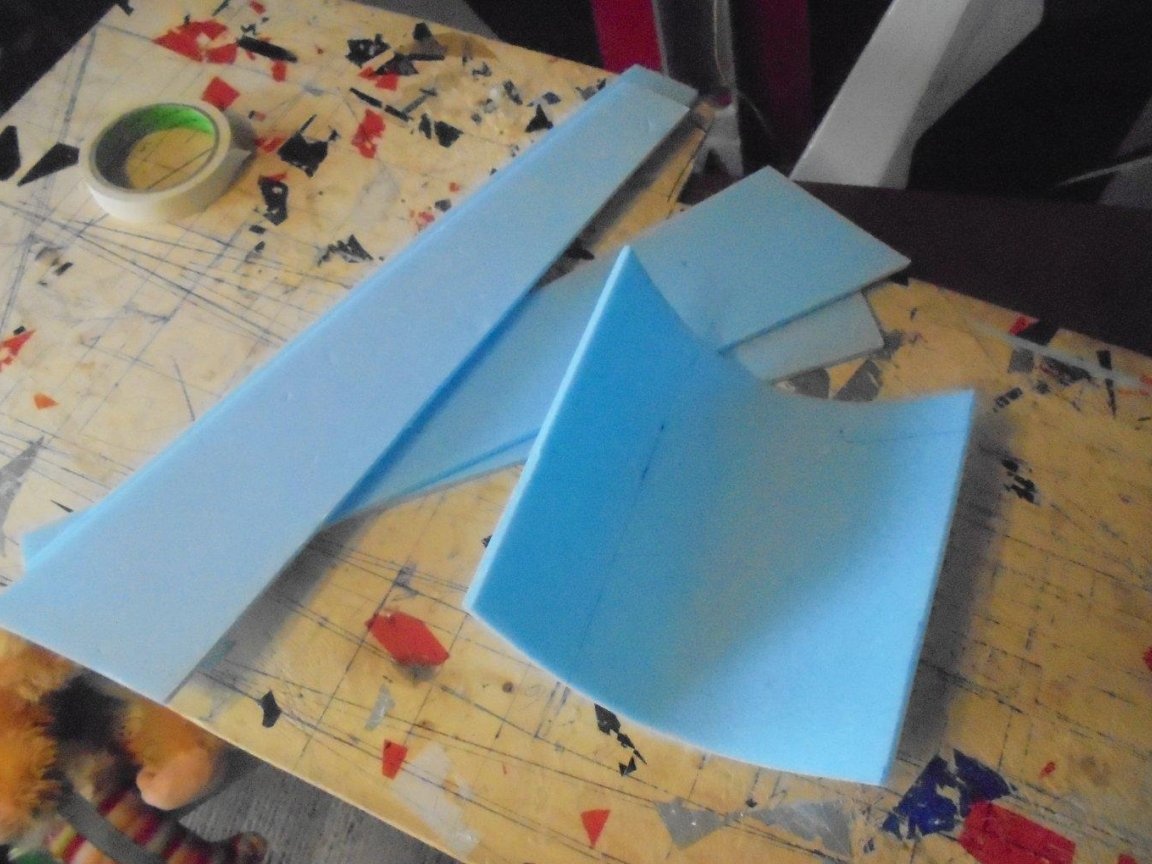

Installation of the side walls of the fuselage begins.
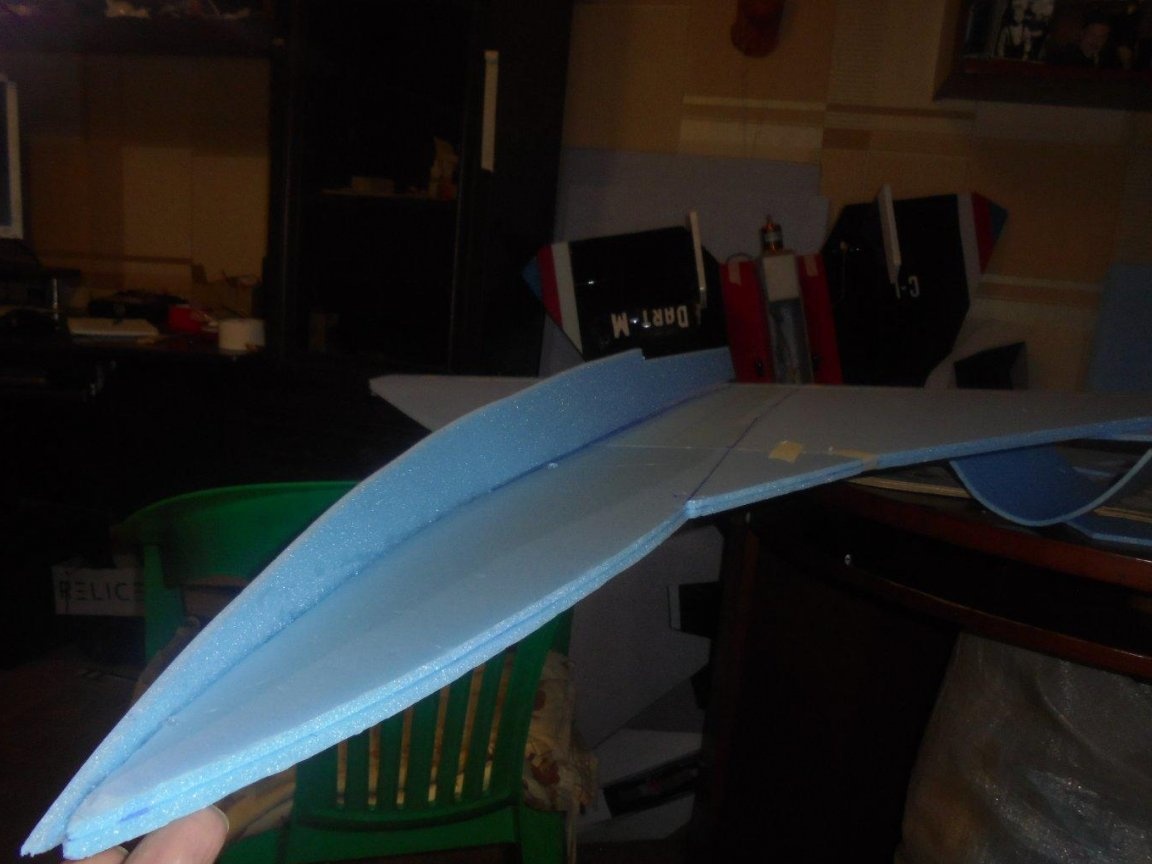

Between the side walls of the fuselage, for rigidity, partitions are glued.
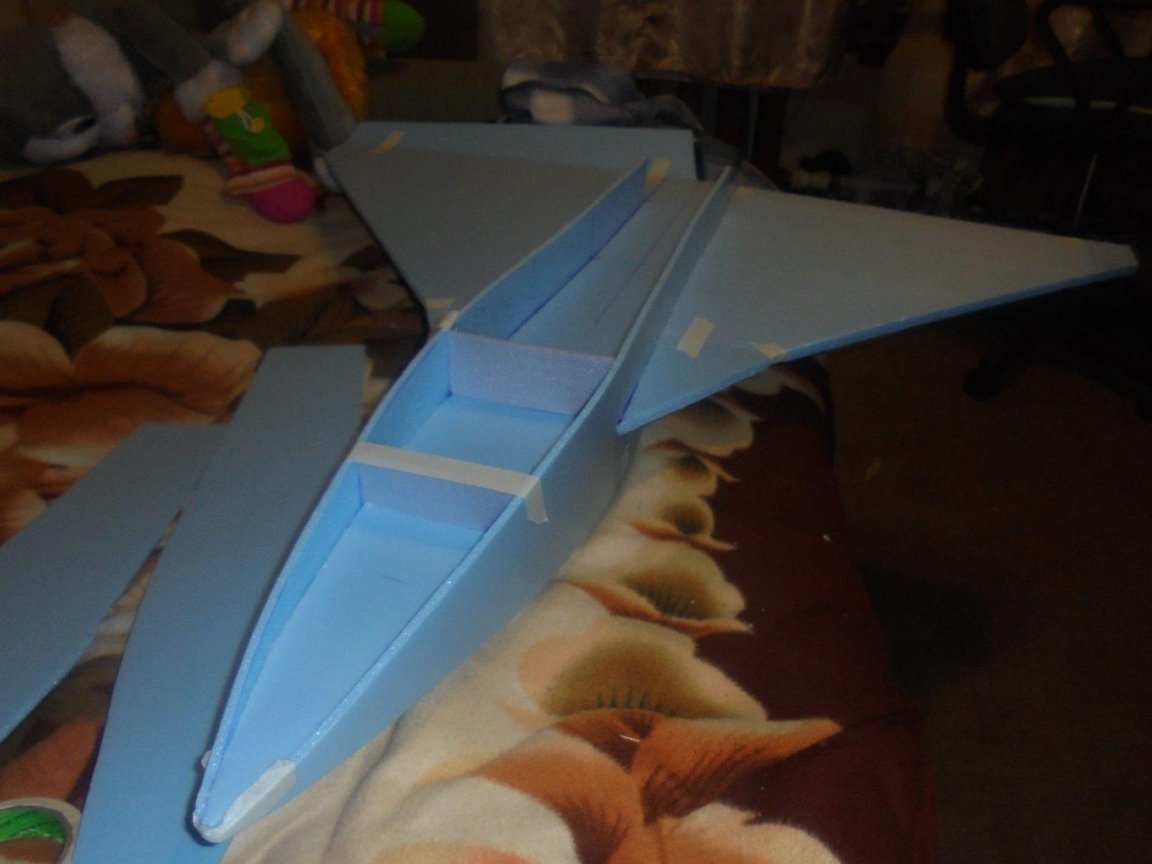

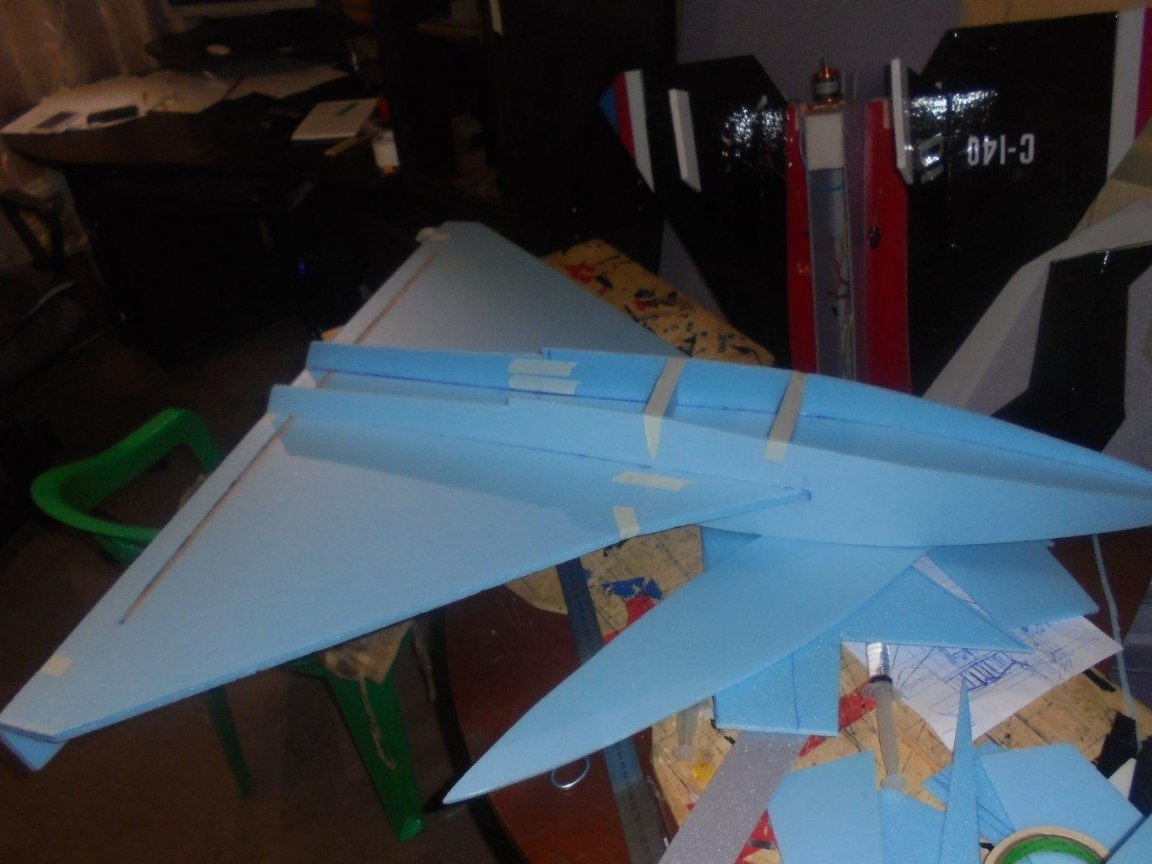
When gluing various parts, I use pieces of masking tape as technological stickers.

Trying on a cabin.
I fit the blank of the cabin with black tape.
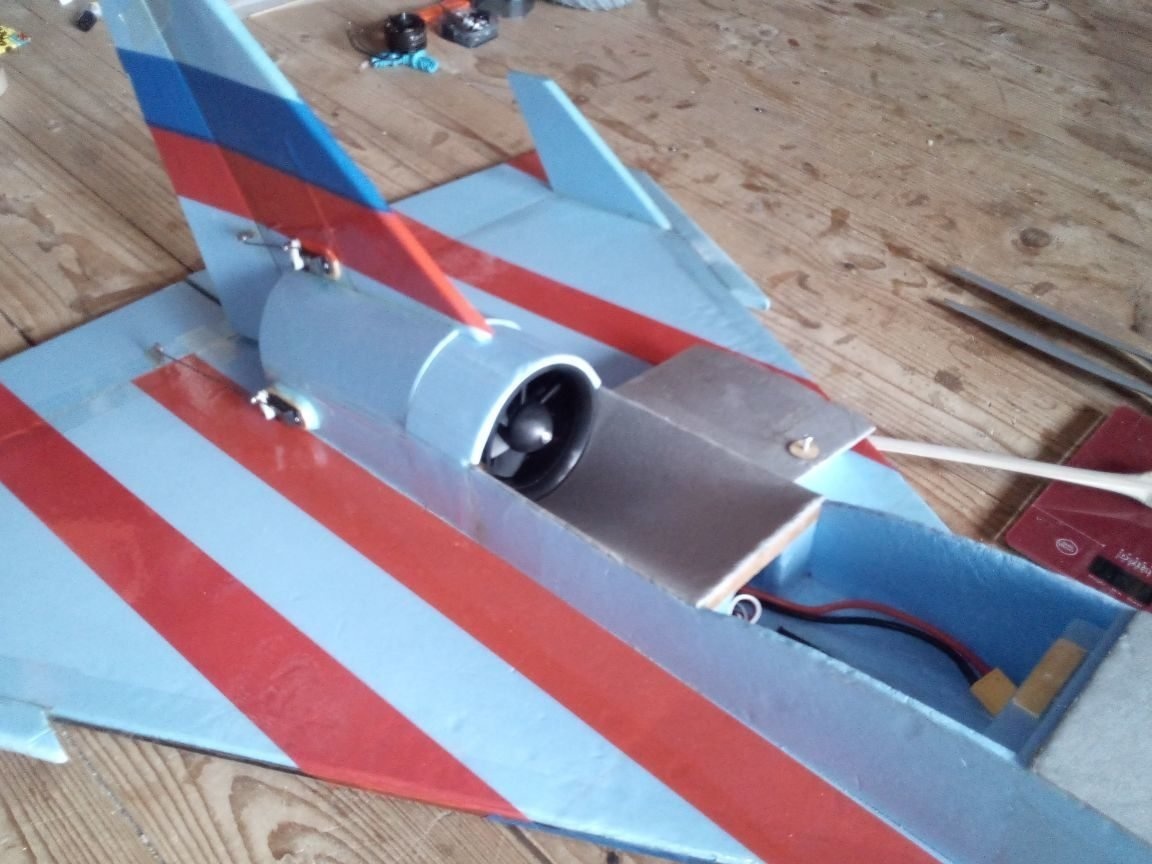
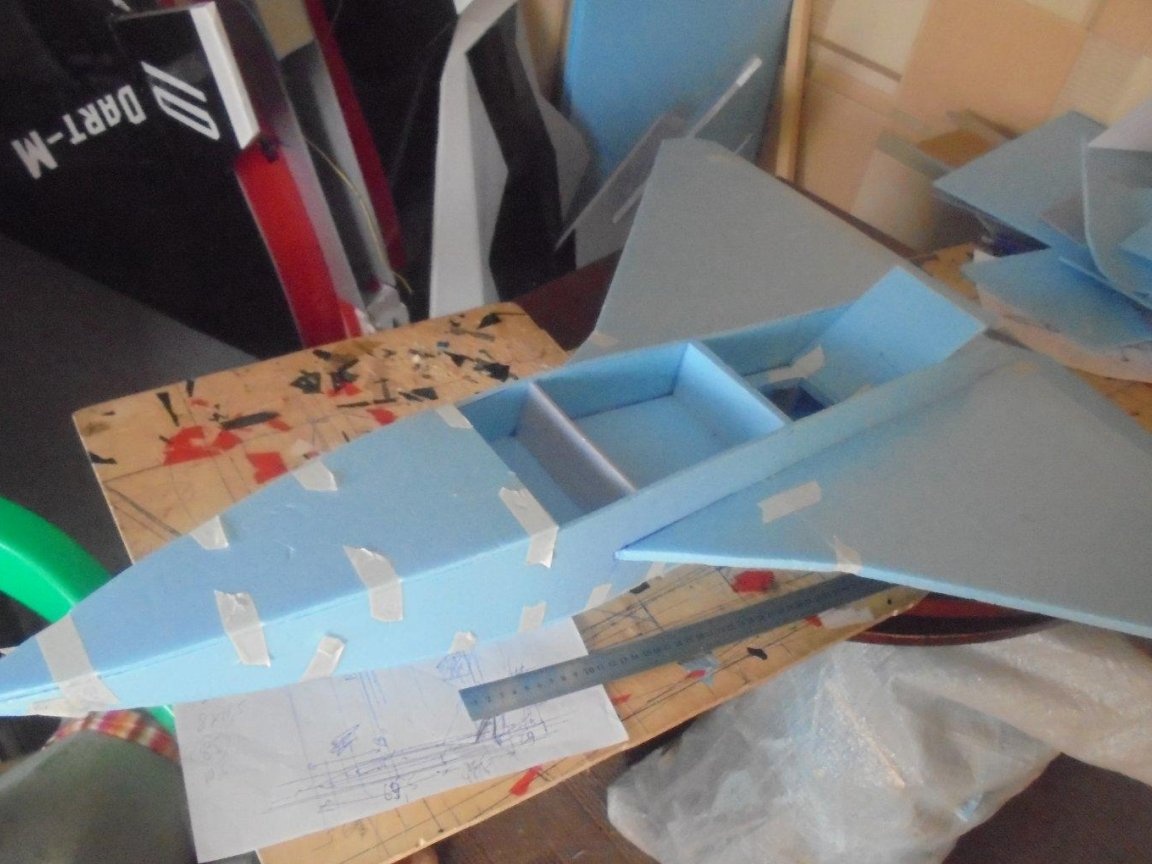
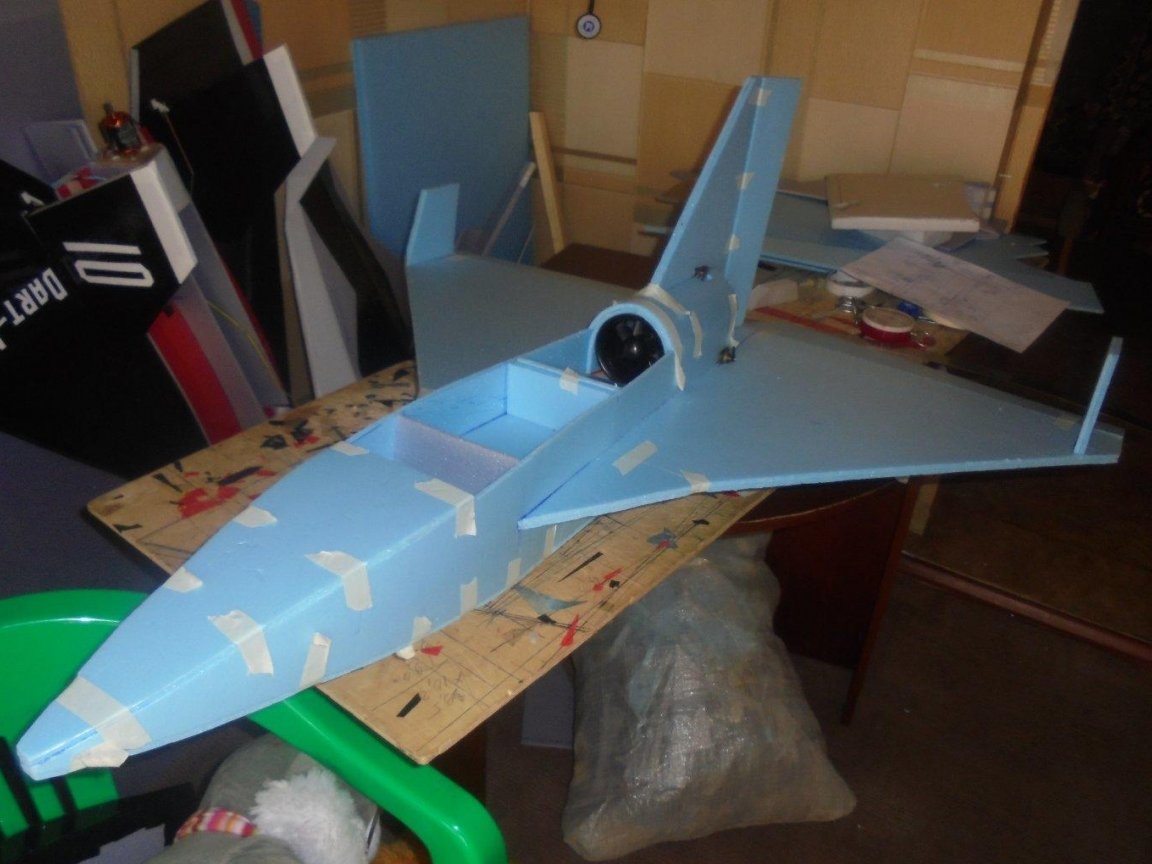
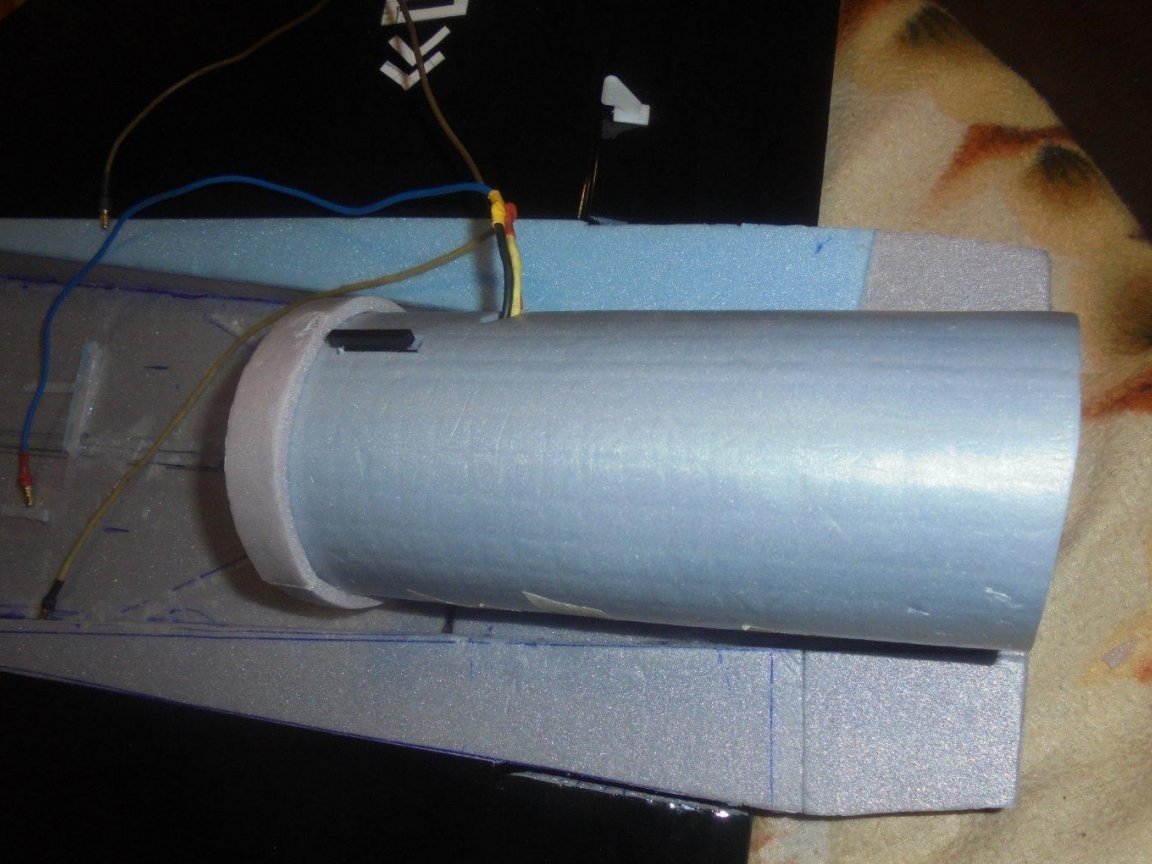
An impeller is mounted in the rear of the fuselage and is closed by a casing on top.
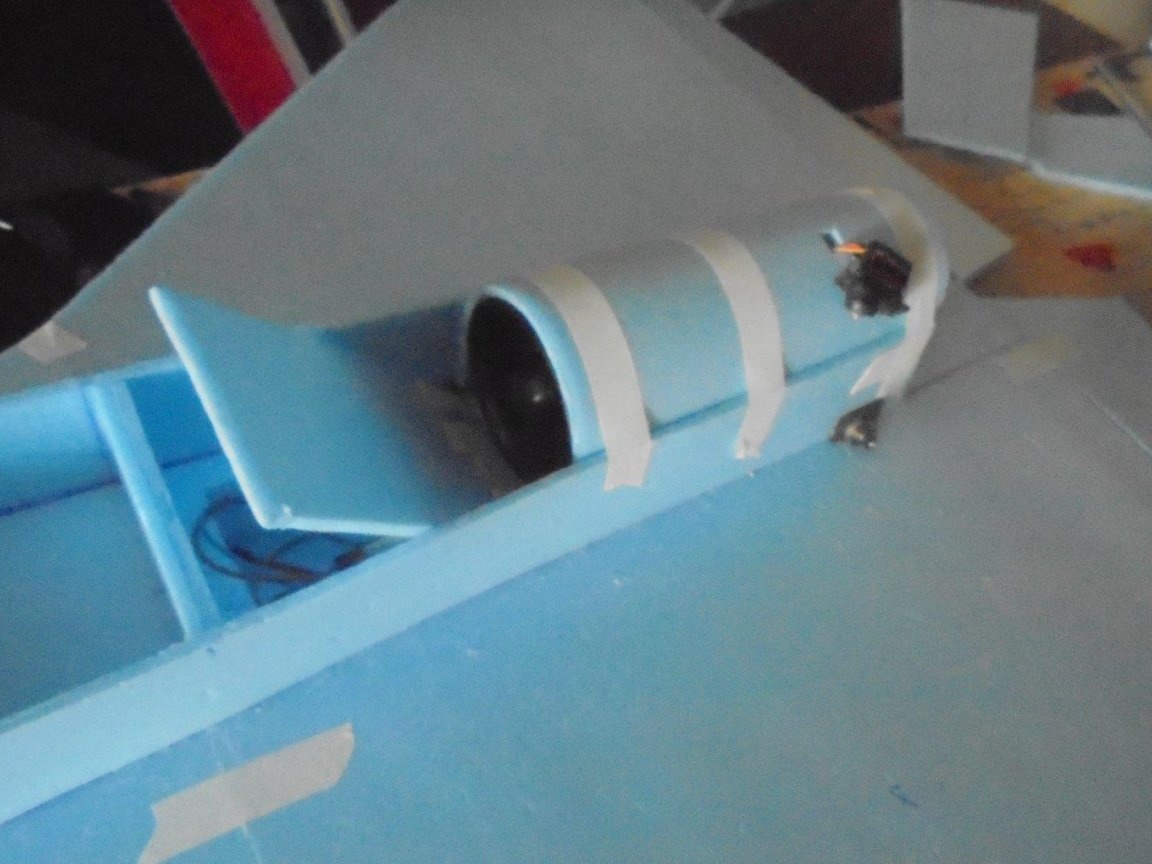
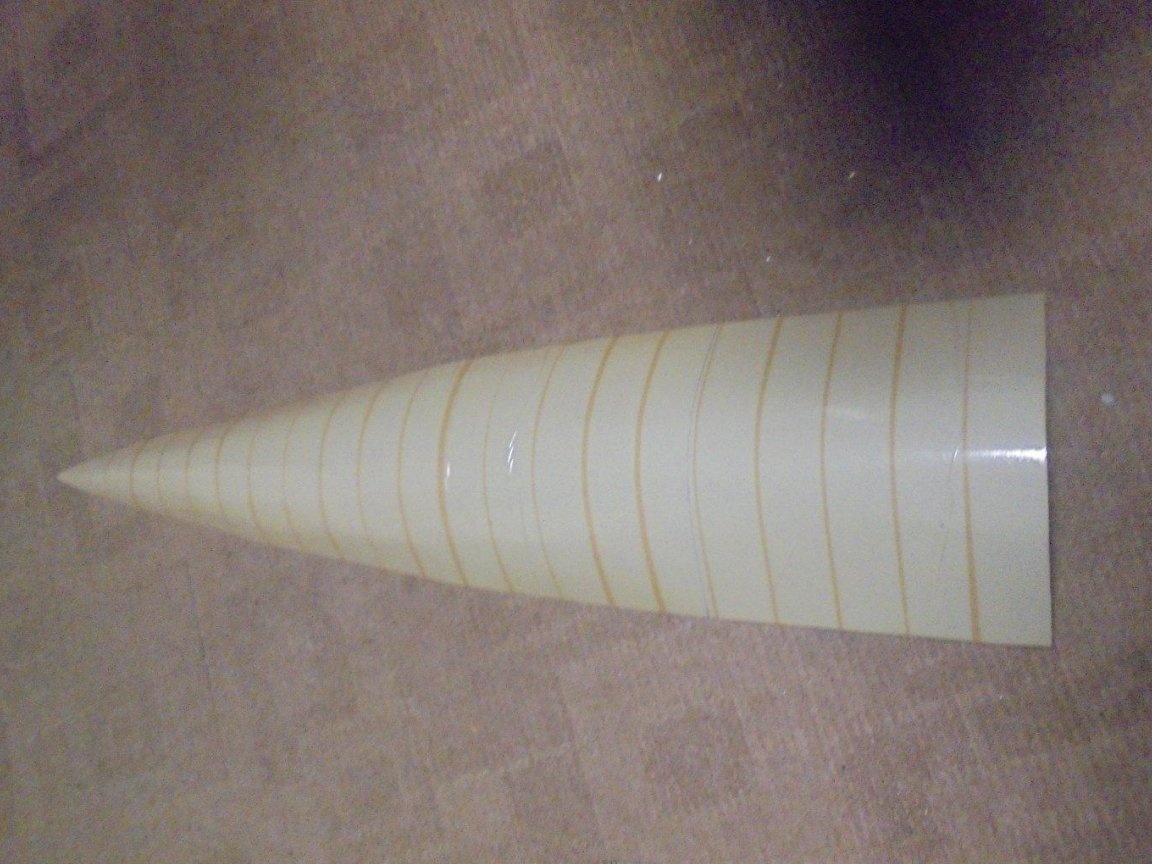
I make a tube from the substrate on the impeller, the length of which is 1.5 times the length of the impeller itself and the narrowing at the outlet is about 4-5 degrees.


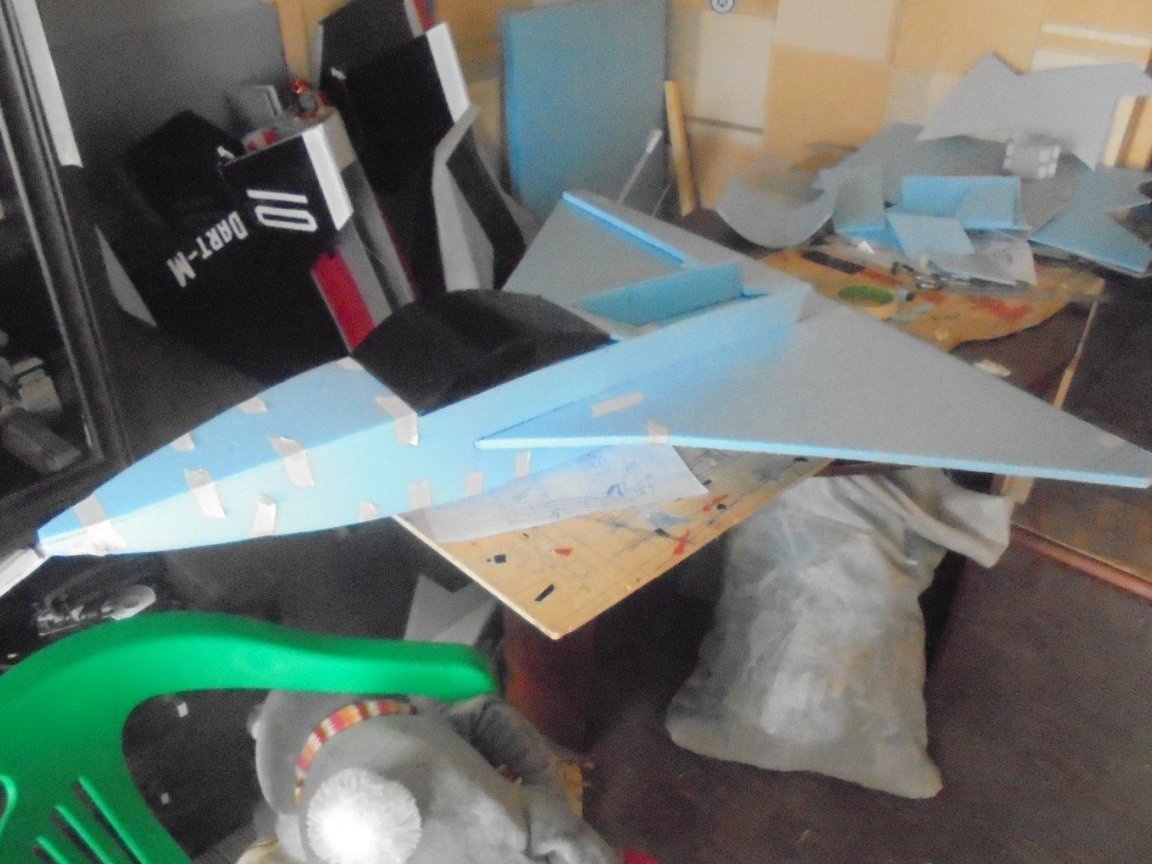
I finish gluing the nose of the fuselage.

Mounted keel and steering wheel.
Servos are installed.
Elevons are hung on double-sided tape.

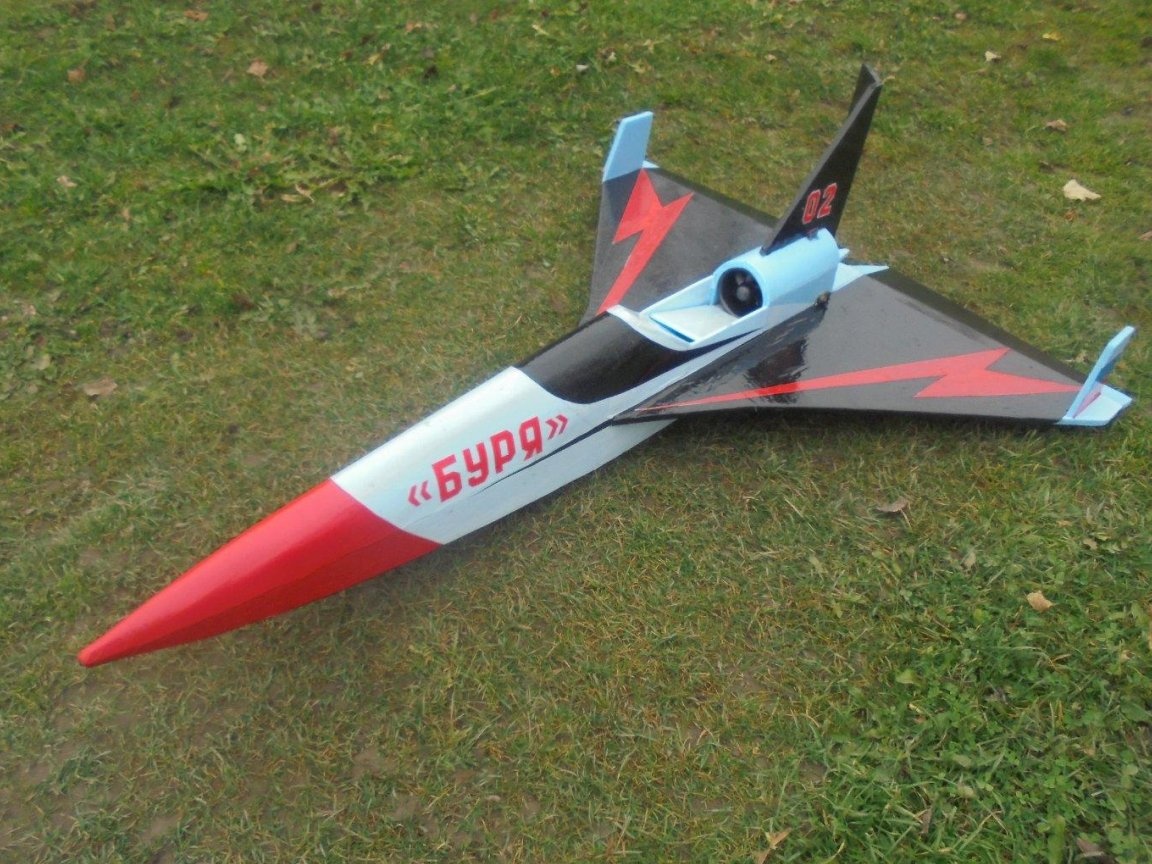
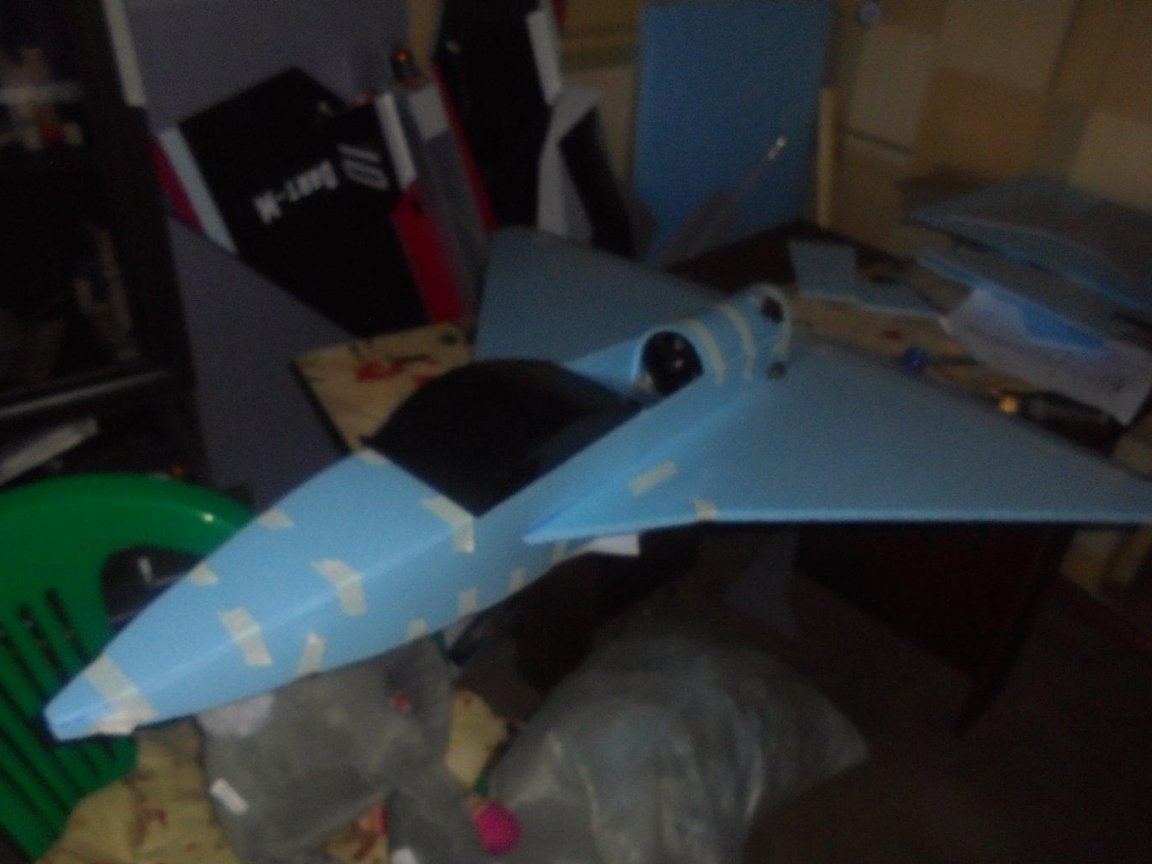
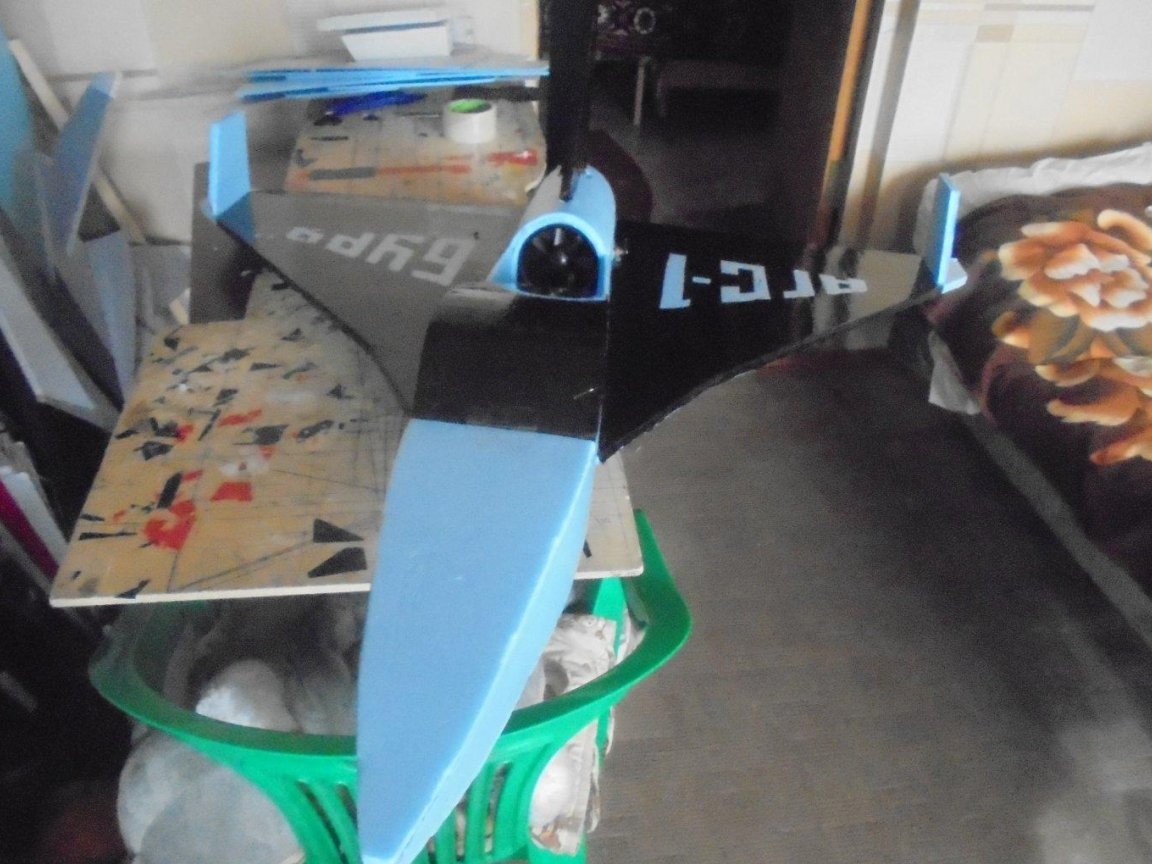
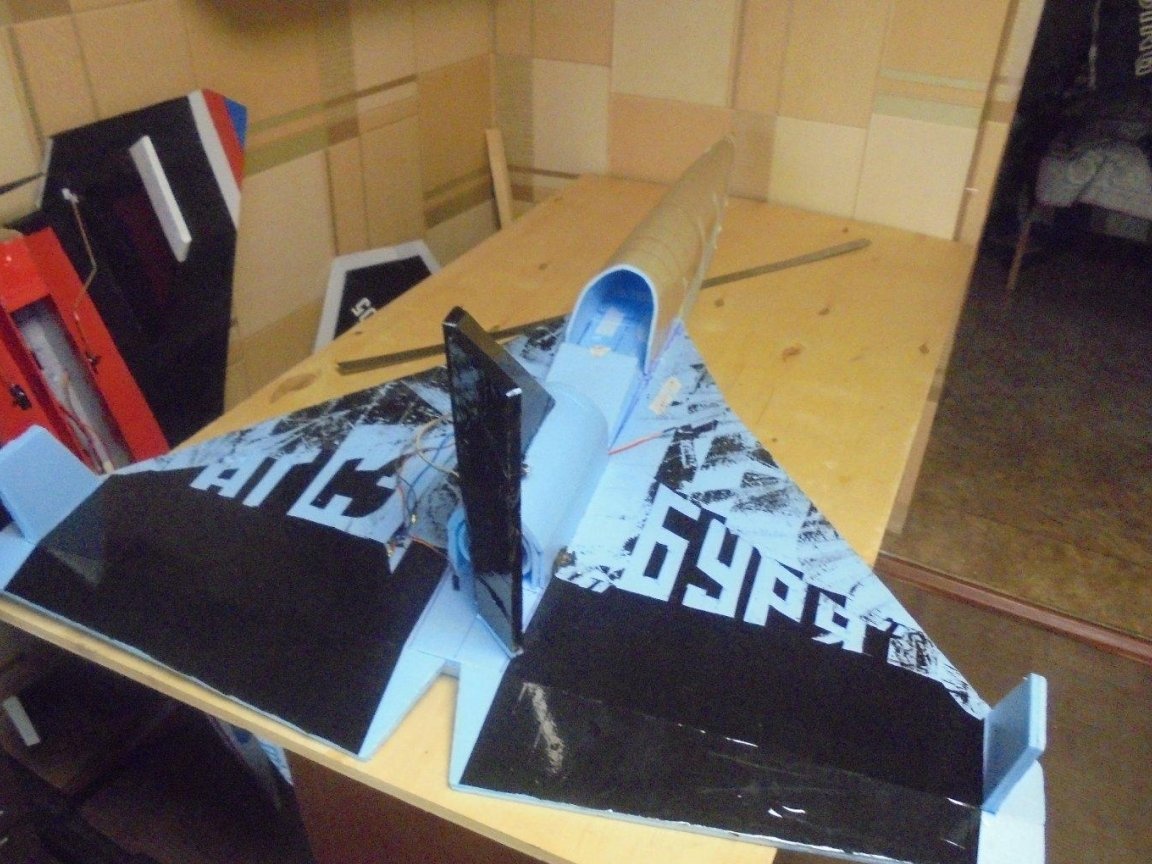
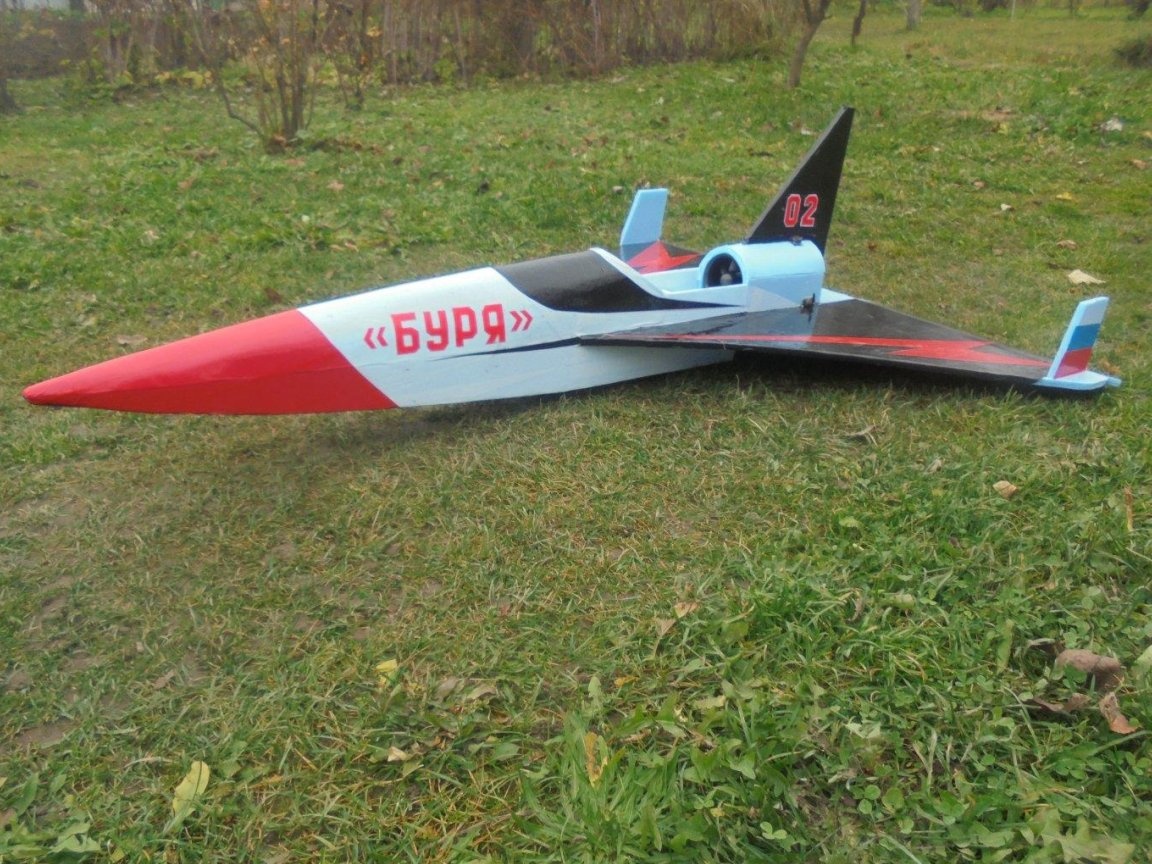
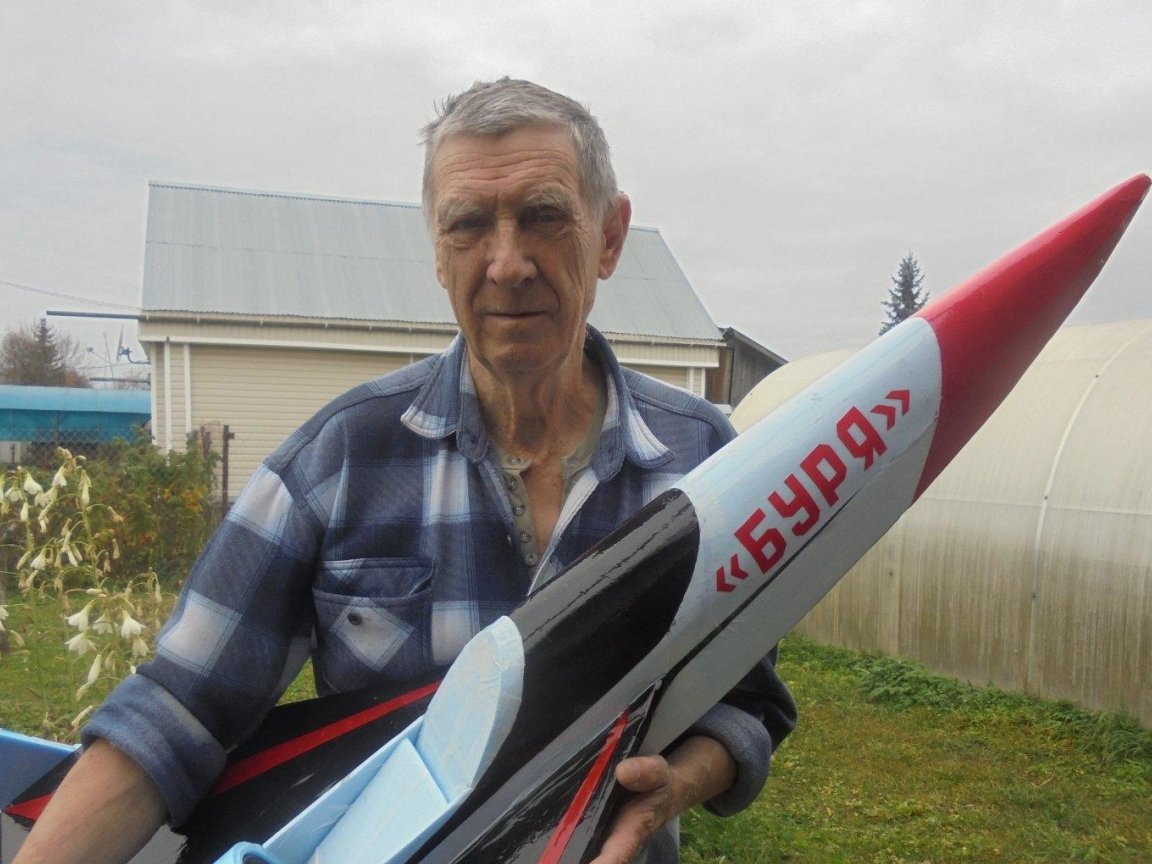
I thought for a long time what name to give the model. My friend’s name is Boris, Borya, then. I changed one letter, and it turned out - STORM. This is the name of the model.
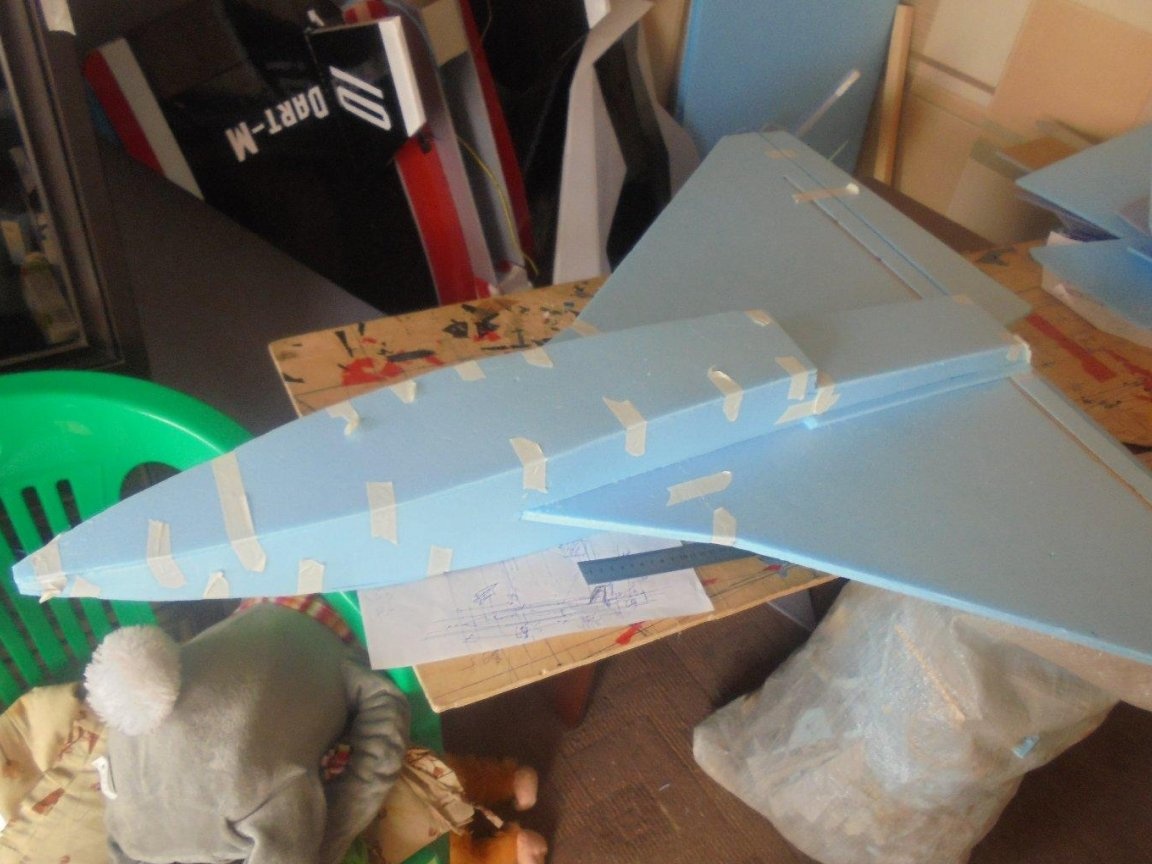
I span the model with colored tape.
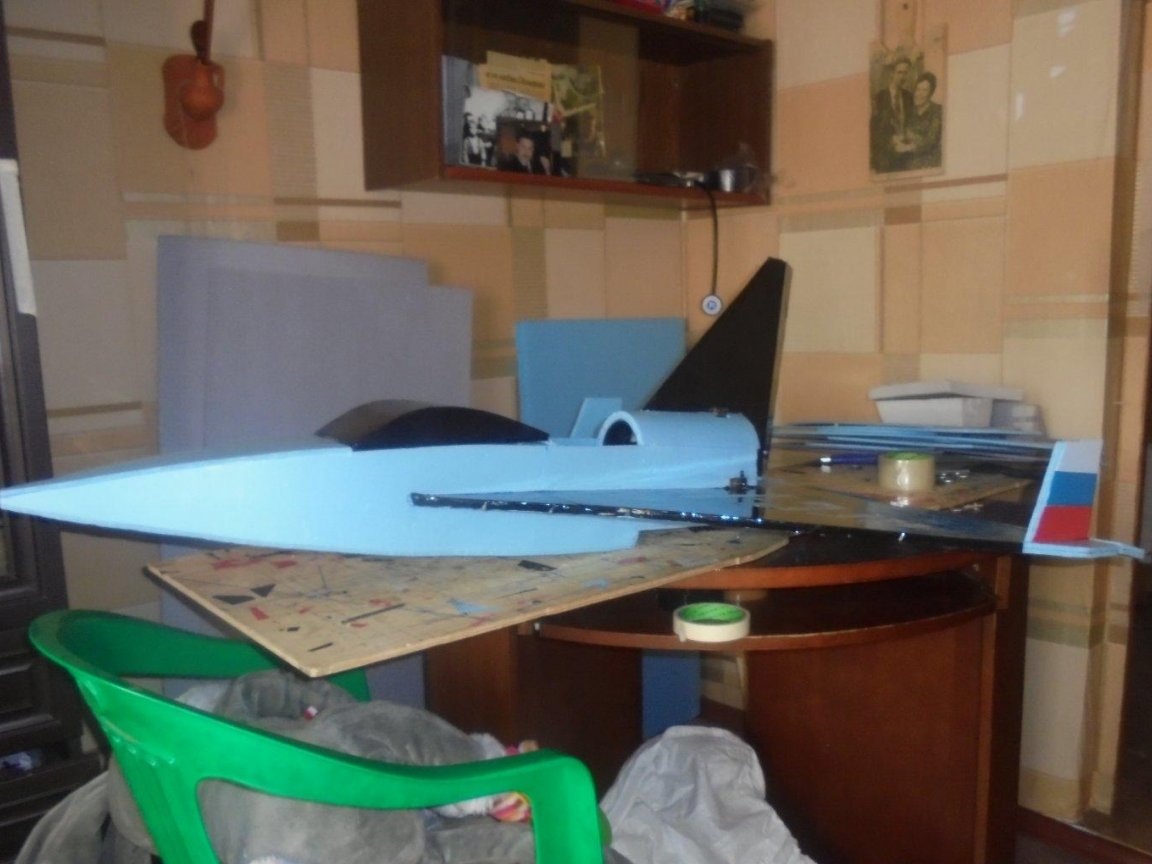
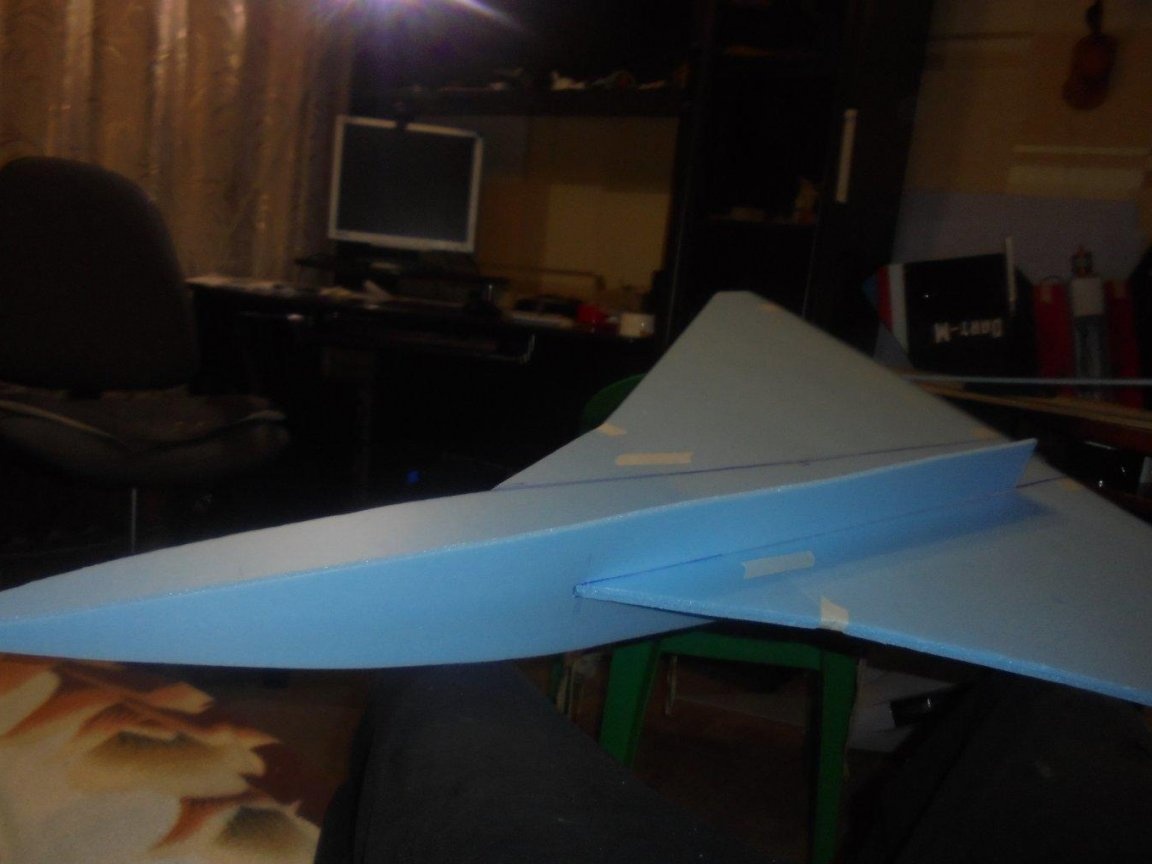
I wanted to conduct flight tests, but when considering the model on the ground, I did not like its shape, the fuselage was too heavy, very thick.
And in the design decision for the decoration of the model, I was disappointed.
Everything seemed very rude - clumsy.
I decided to reconstruct the model a bit, change the extension on the impeller - the tube., And at the same time improve the coloring of the aircraft model.
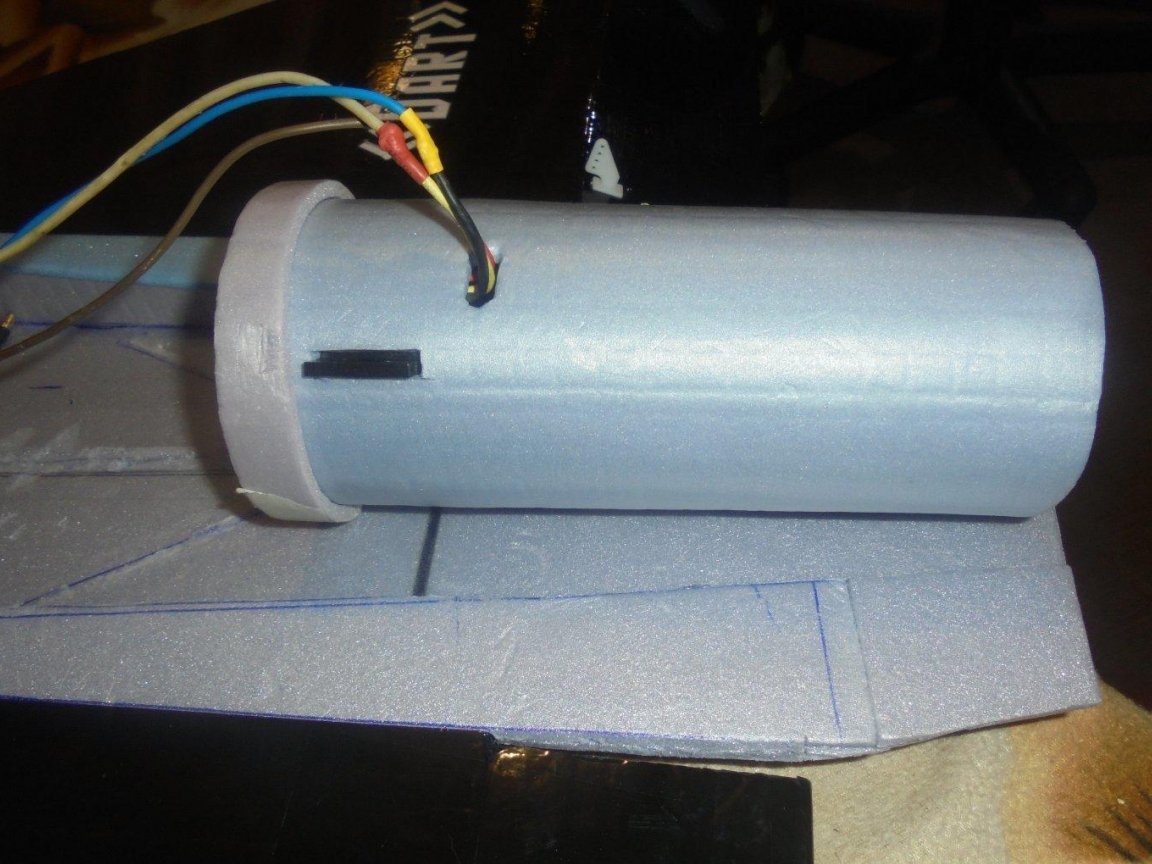
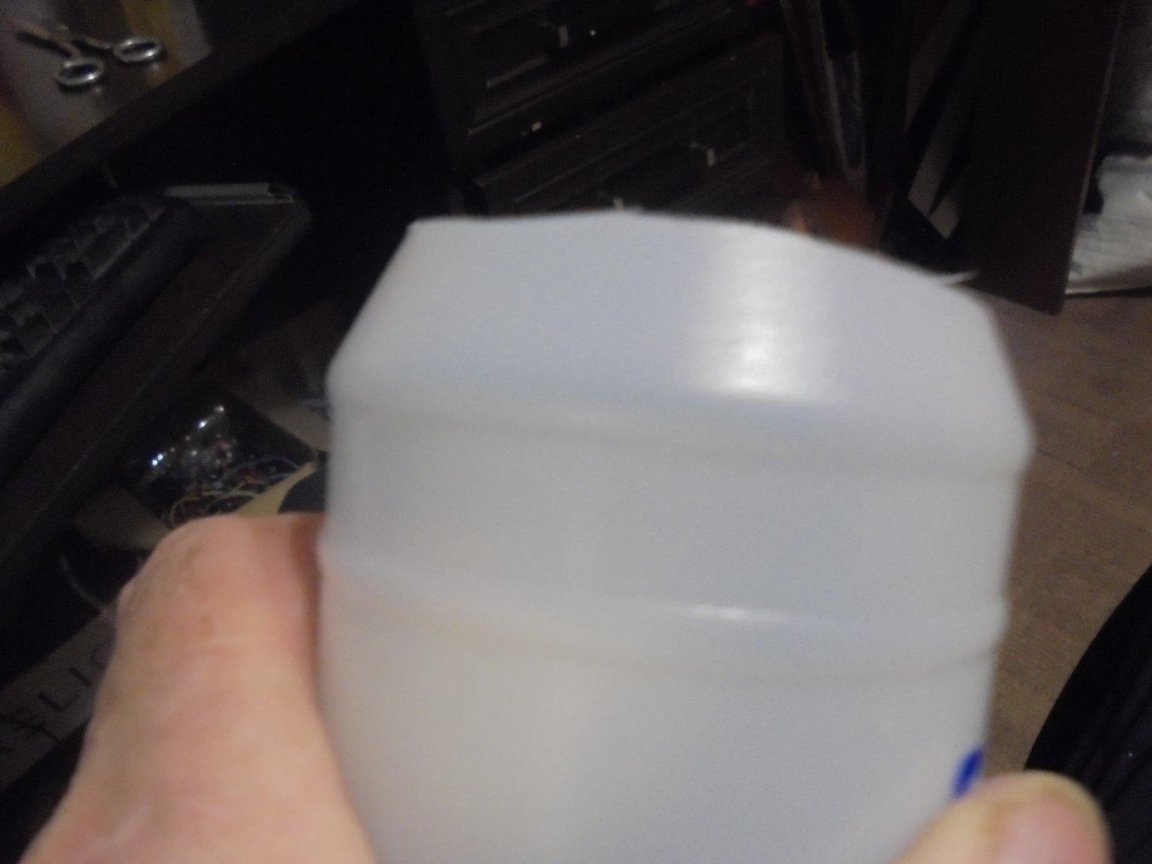
I cut a plastic bottle from under the KIN glue, the diameter very well coincided with the diameter of the impeller and the tube fit tightly on it. Fixed with glue. At the output nozzle, a sufficient narrowing was obtained.
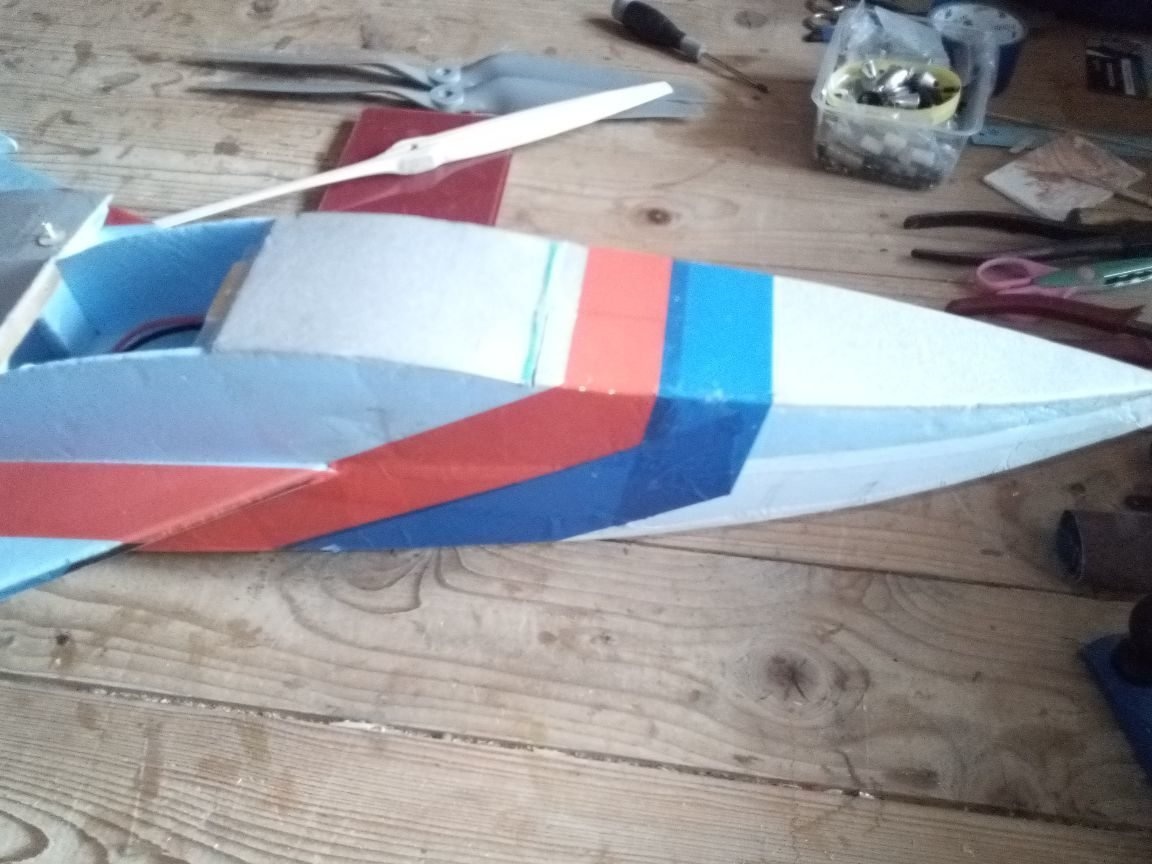
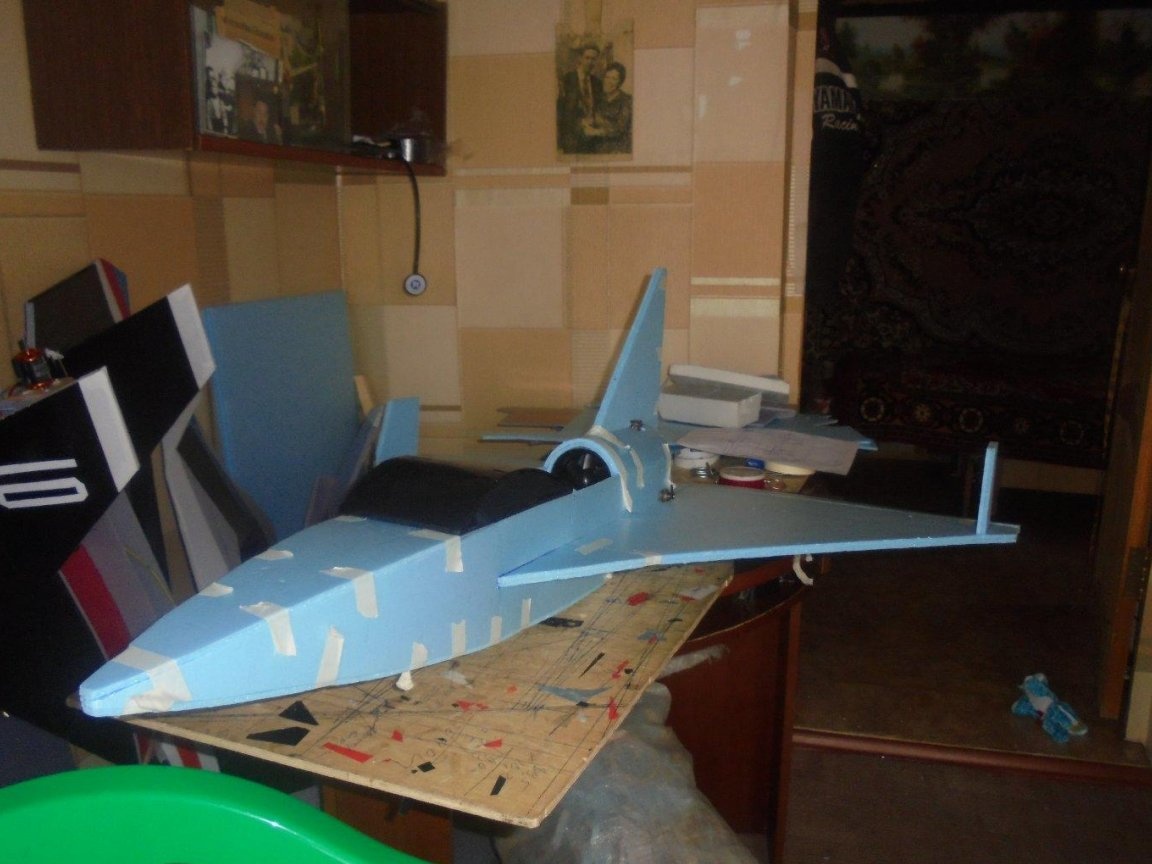
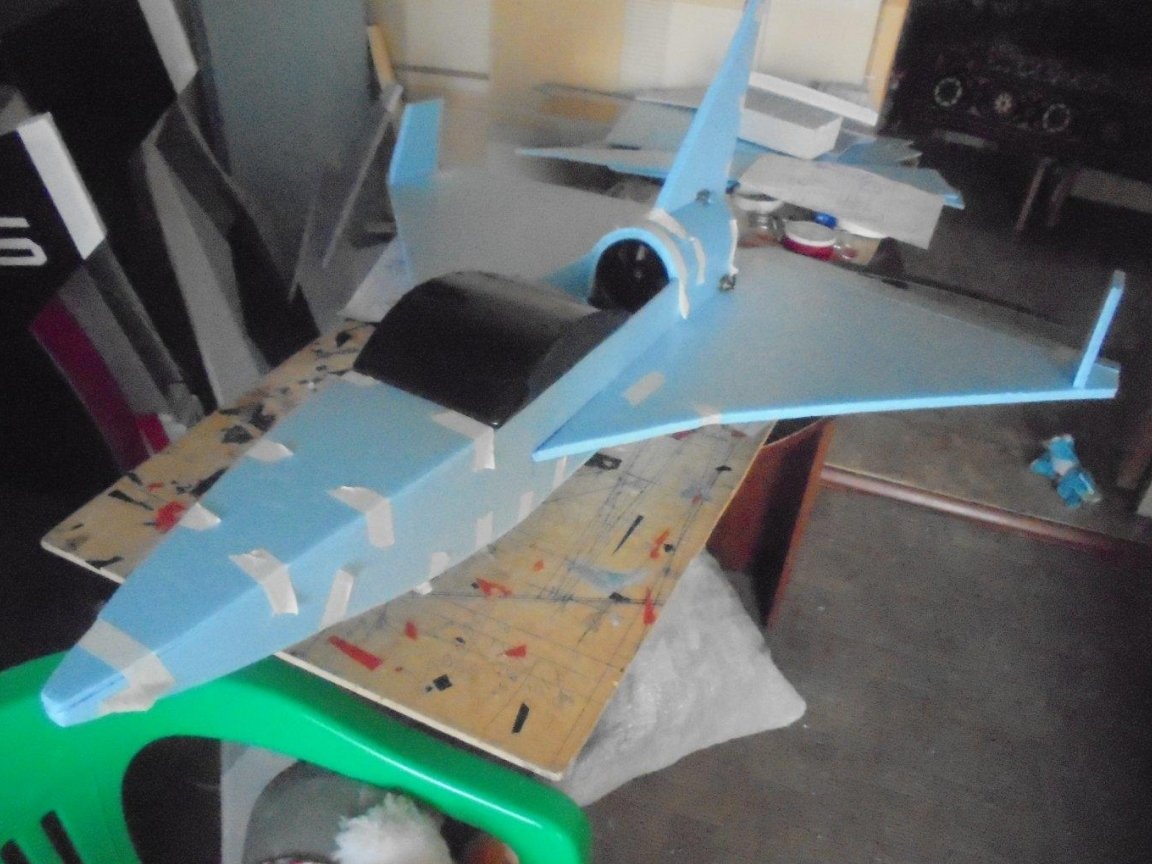
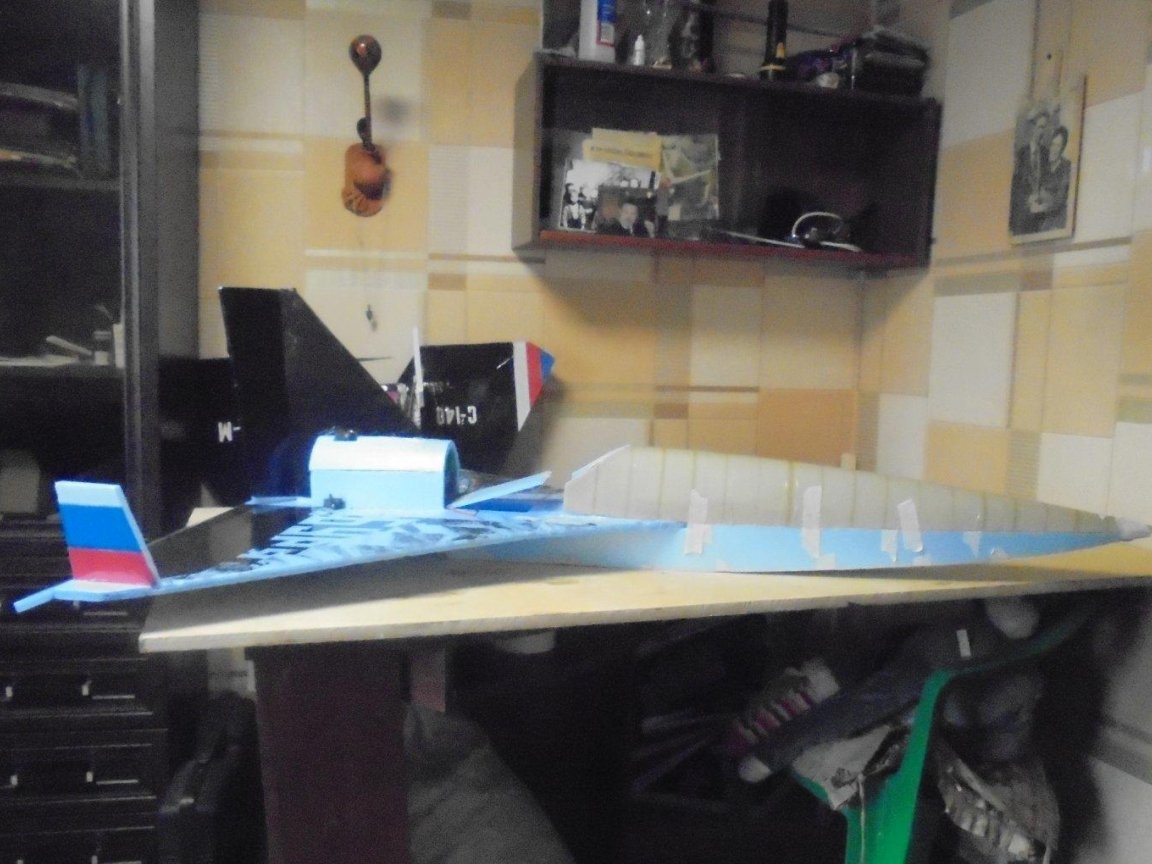
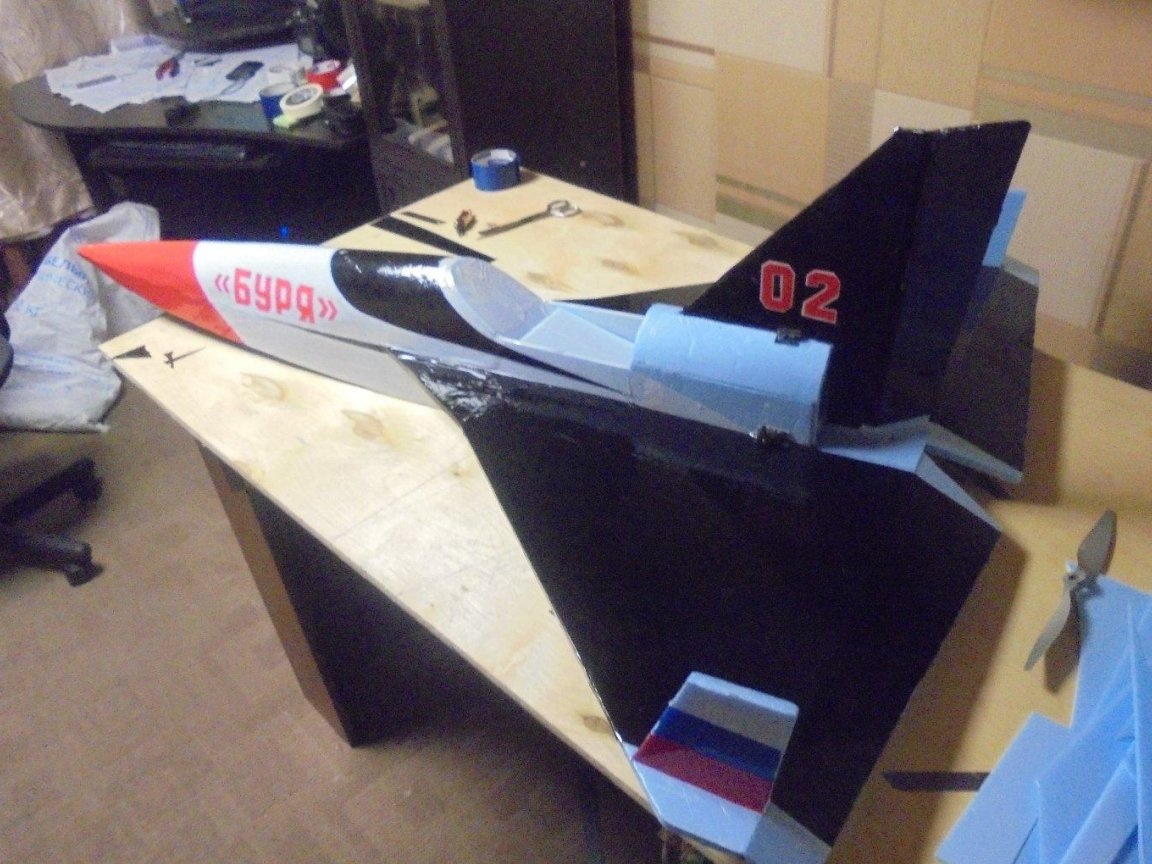
The entire fuselage underwent reconstruction.

The upper, nasal part received a cylindrical shape, at the end of which, in front of the impeller, put a plug.
The prefabricated cut-out, the upper part of the fuselage, is pre-tightened with tape so that the substrate does not burst during bending.
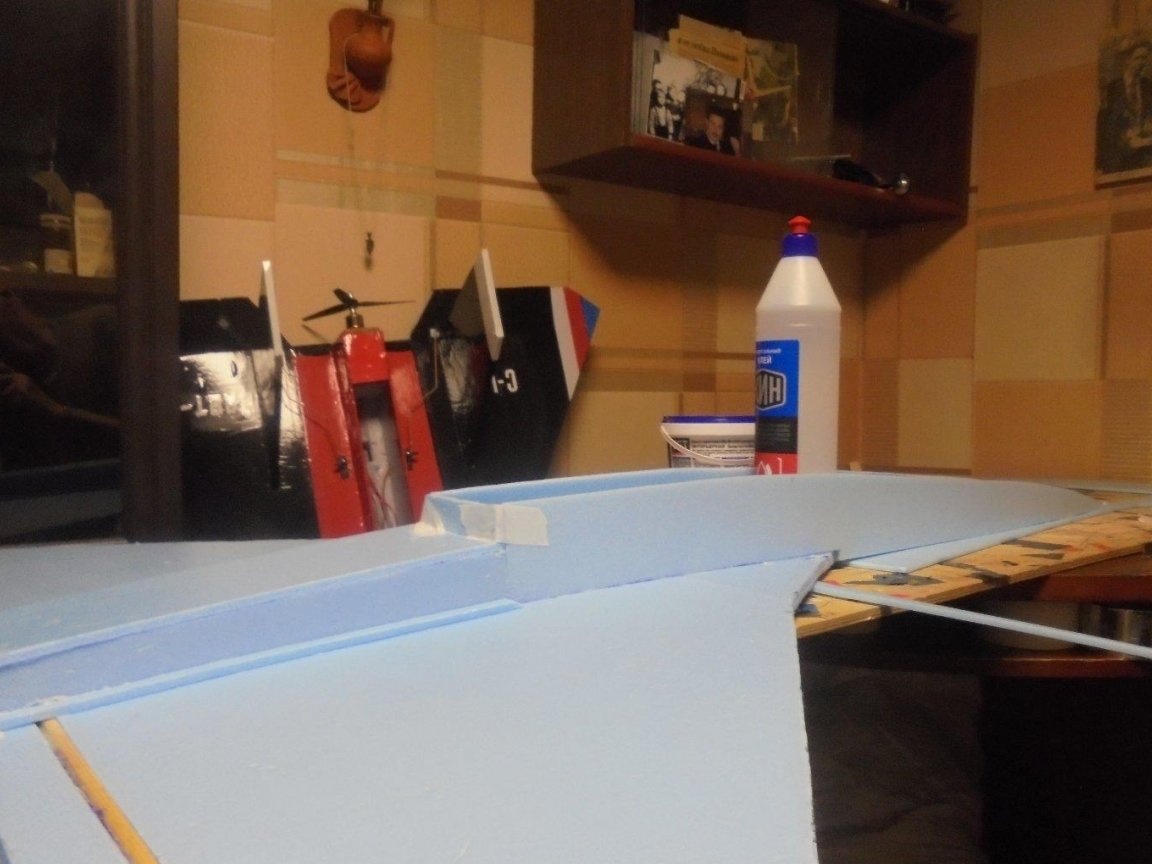
Mounted side walls of the lower part of the fuselage.

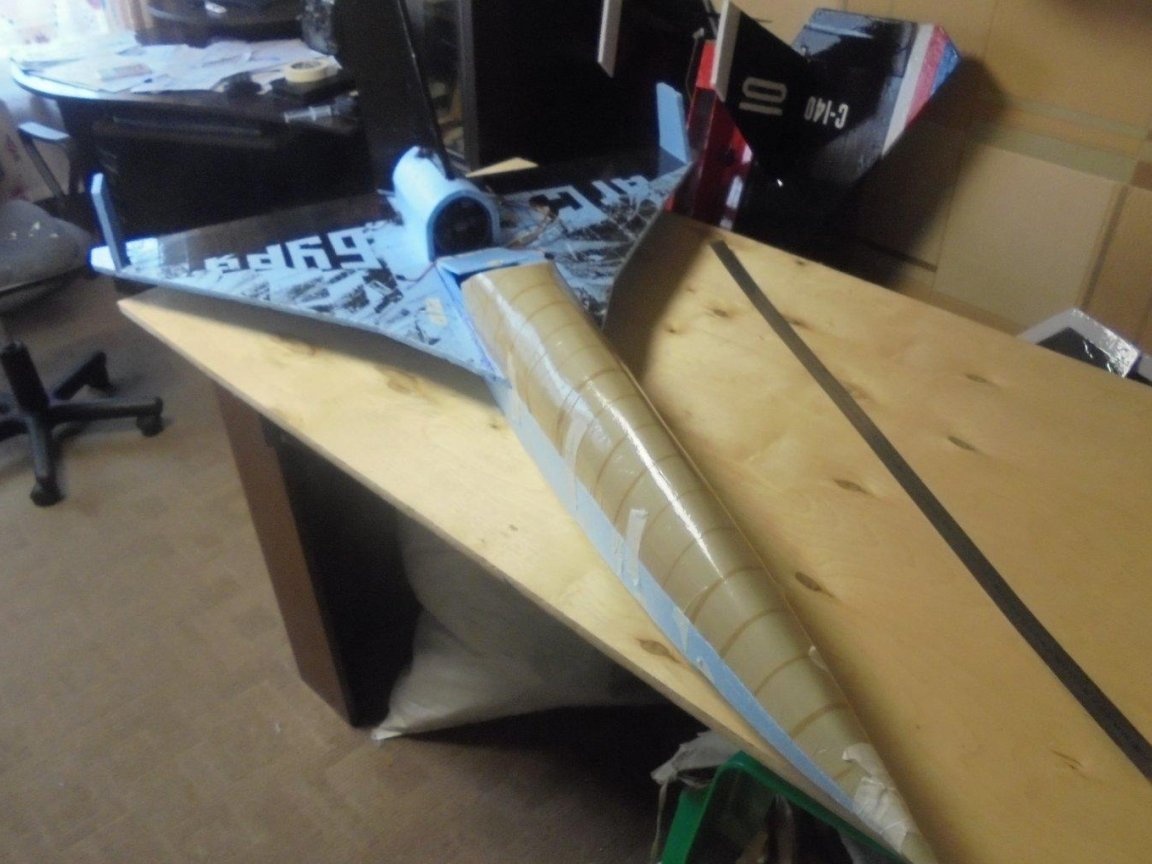
The upper fuselage skin is mounted.
The adhesive tape is removed from the upper fuselage skin.
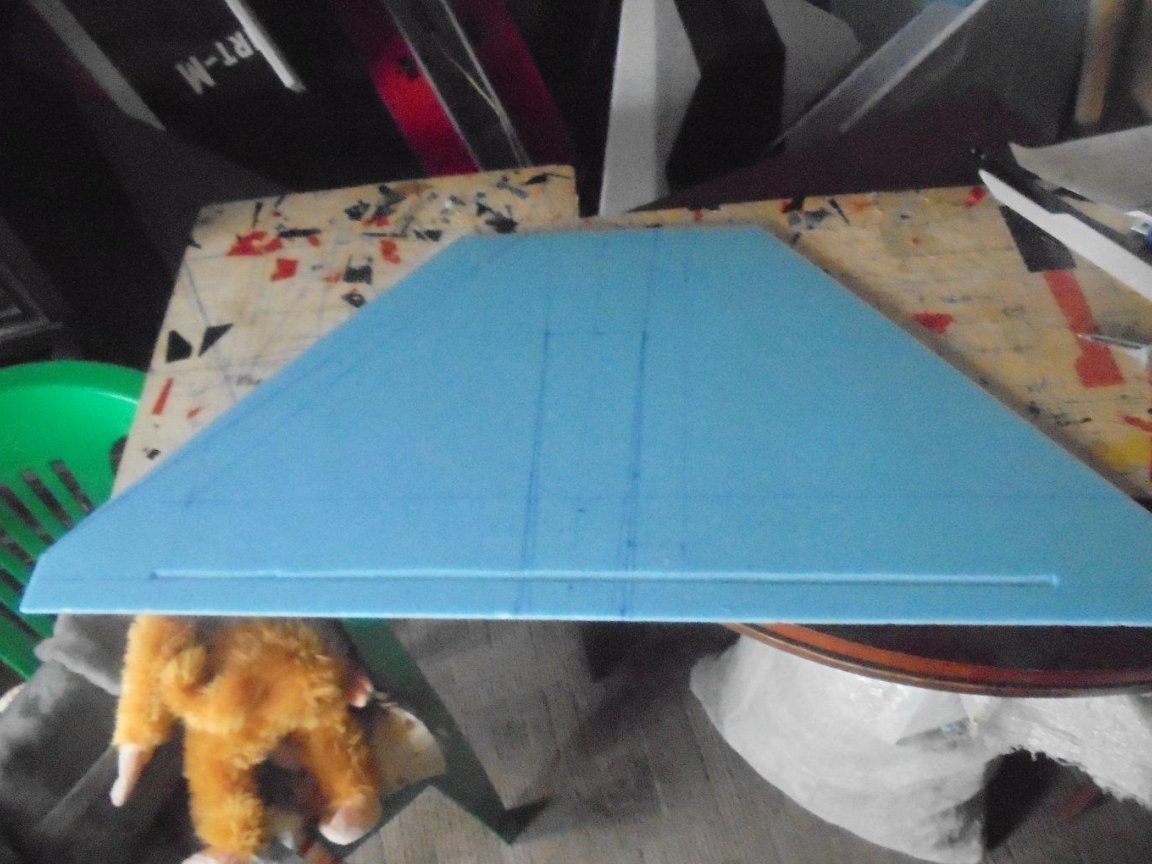
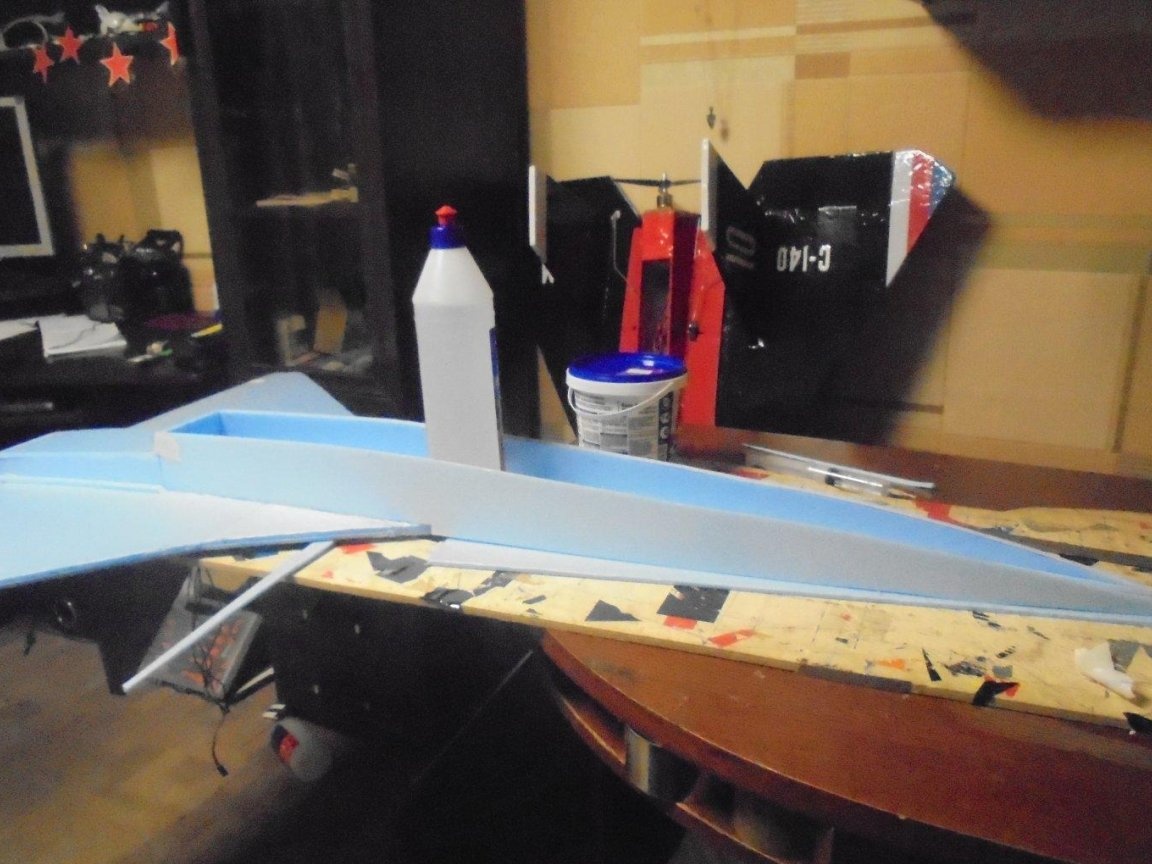
The lower part is narrowed along the entire length to the size of the impeller inlet. The bottom of the redan is glued.
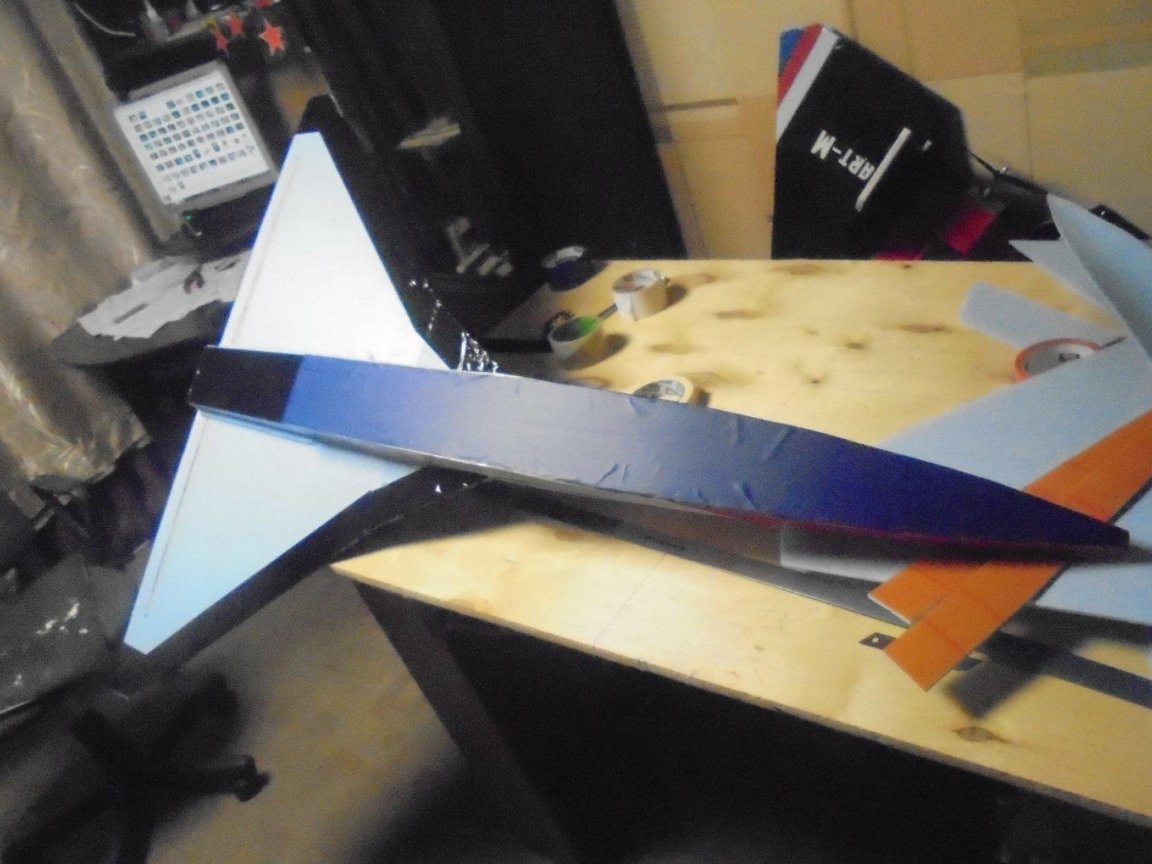
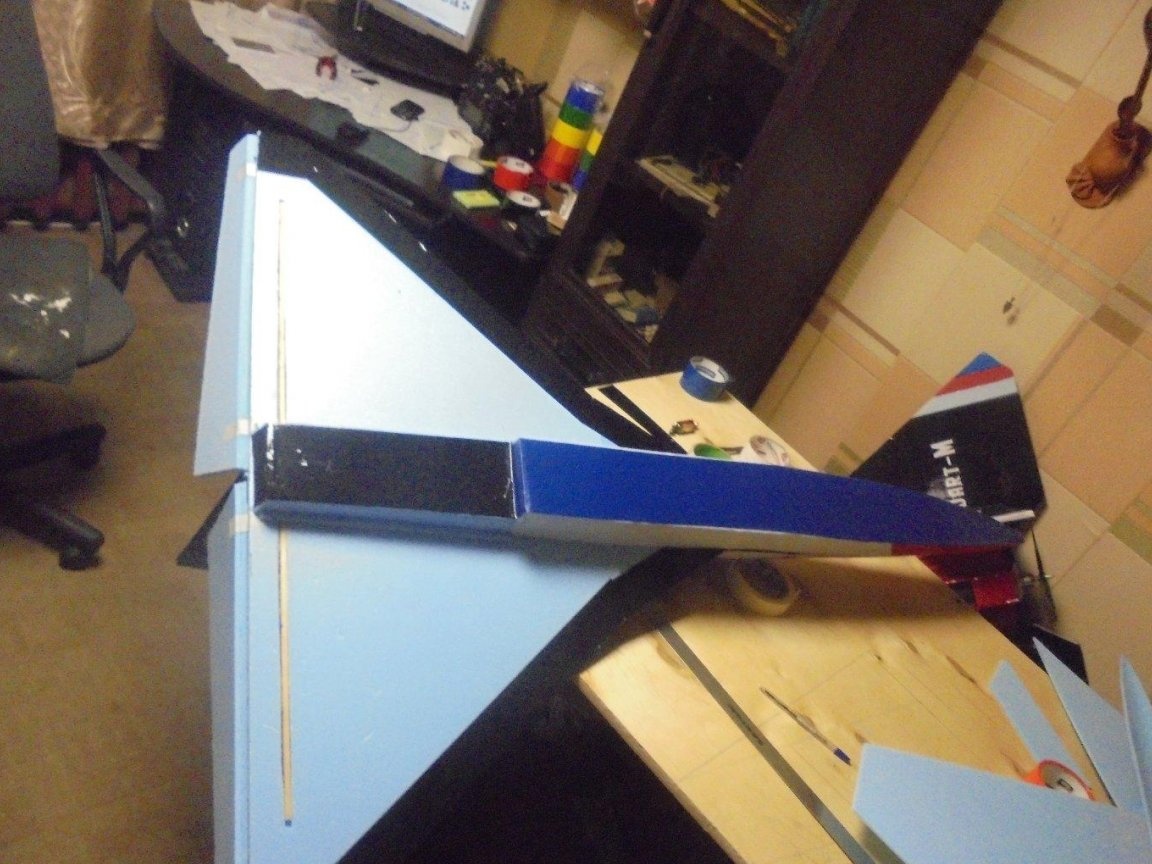
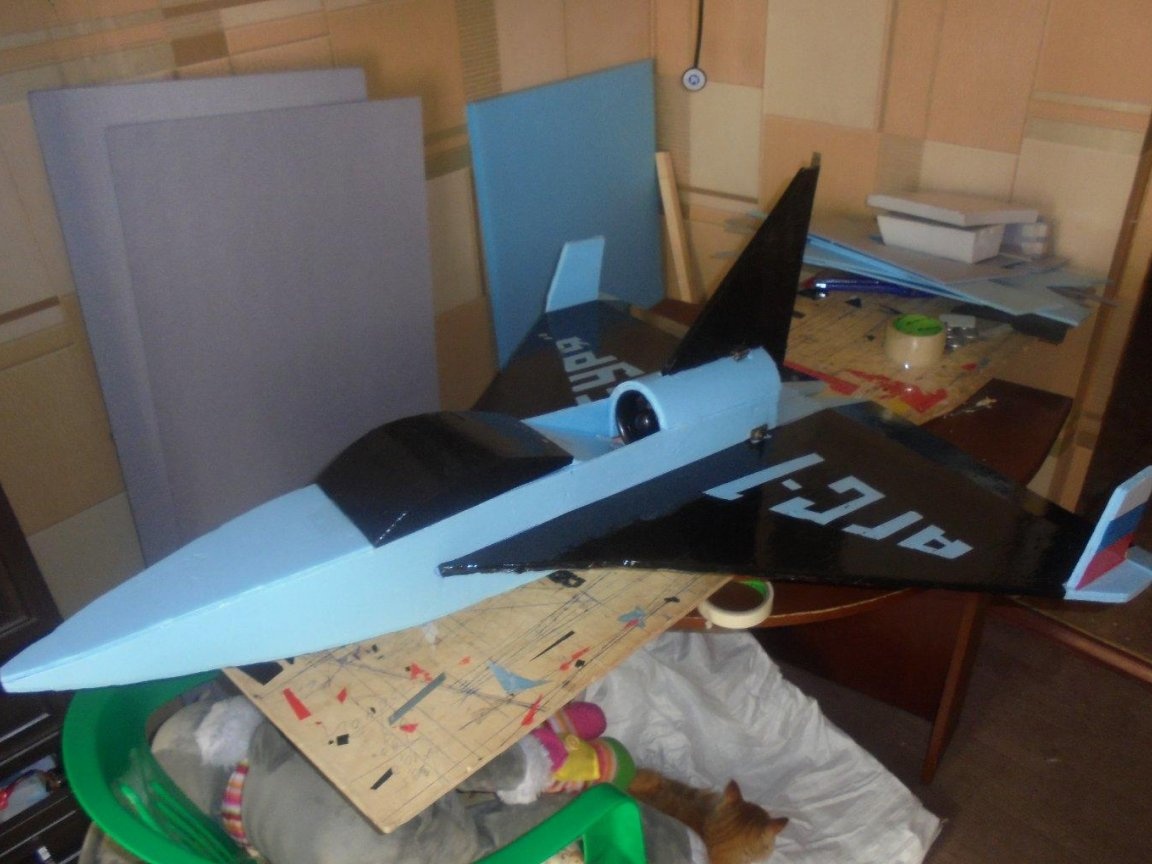
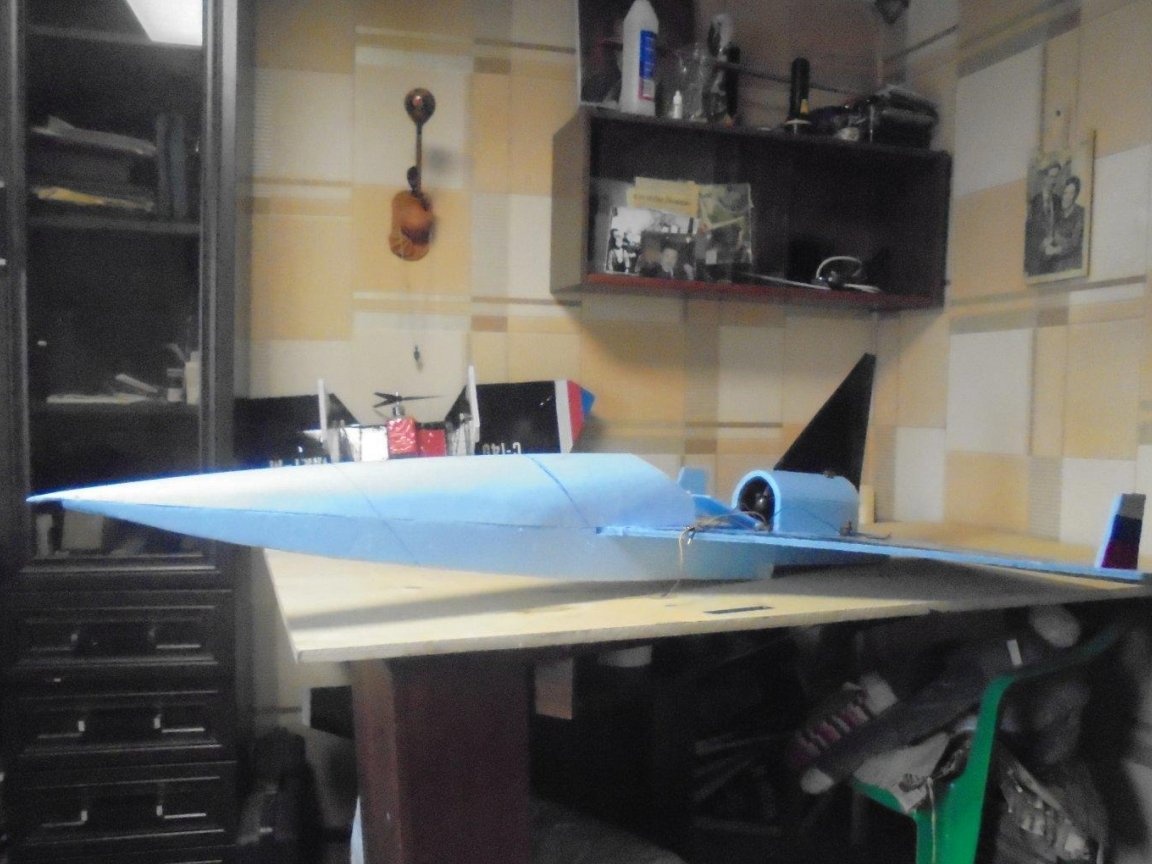
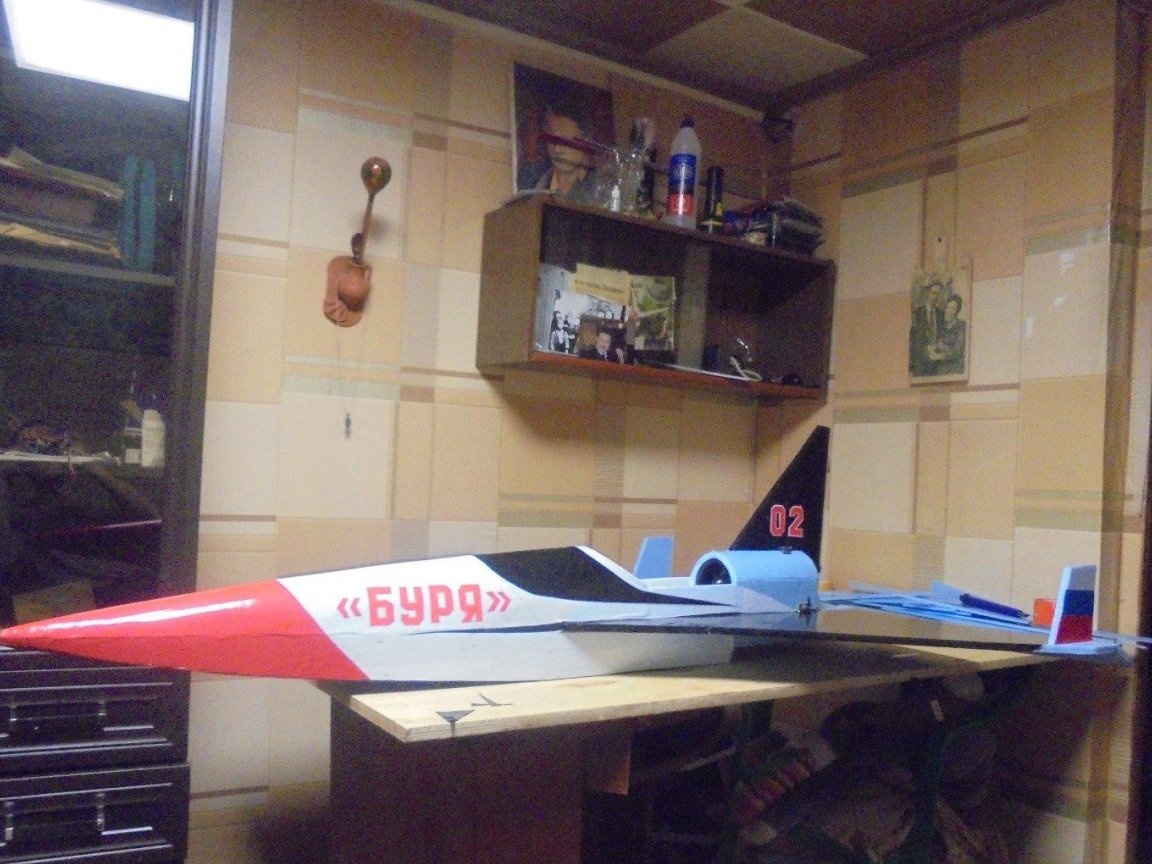
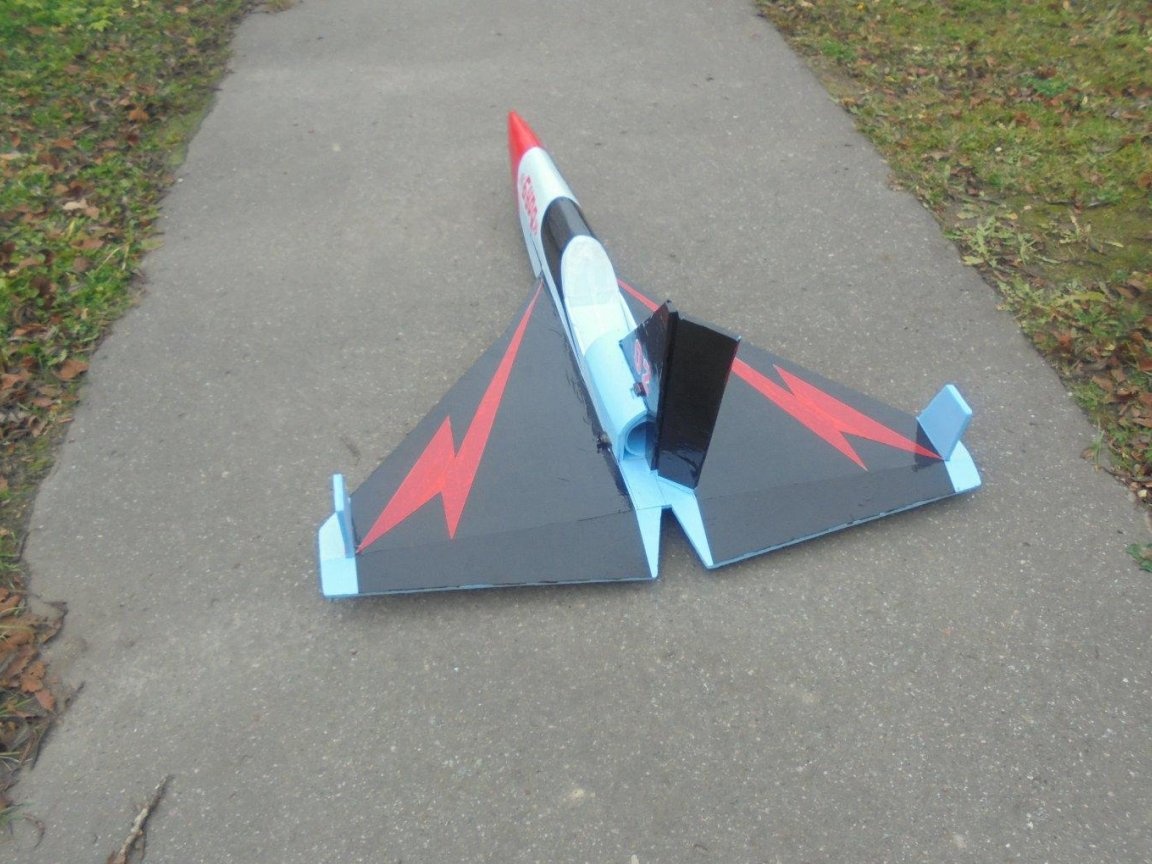
After complete gluing, the lower part was covered with a moisture-proof, sticky tape of blue color.
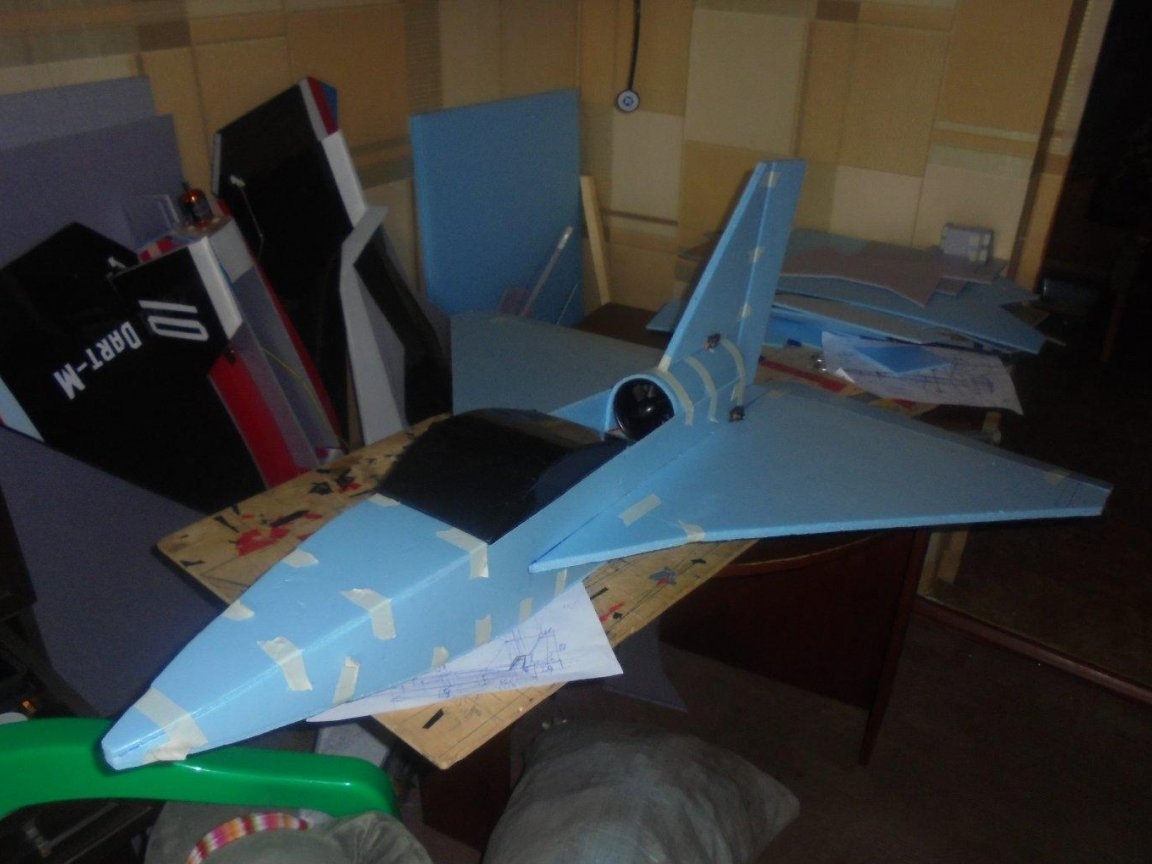
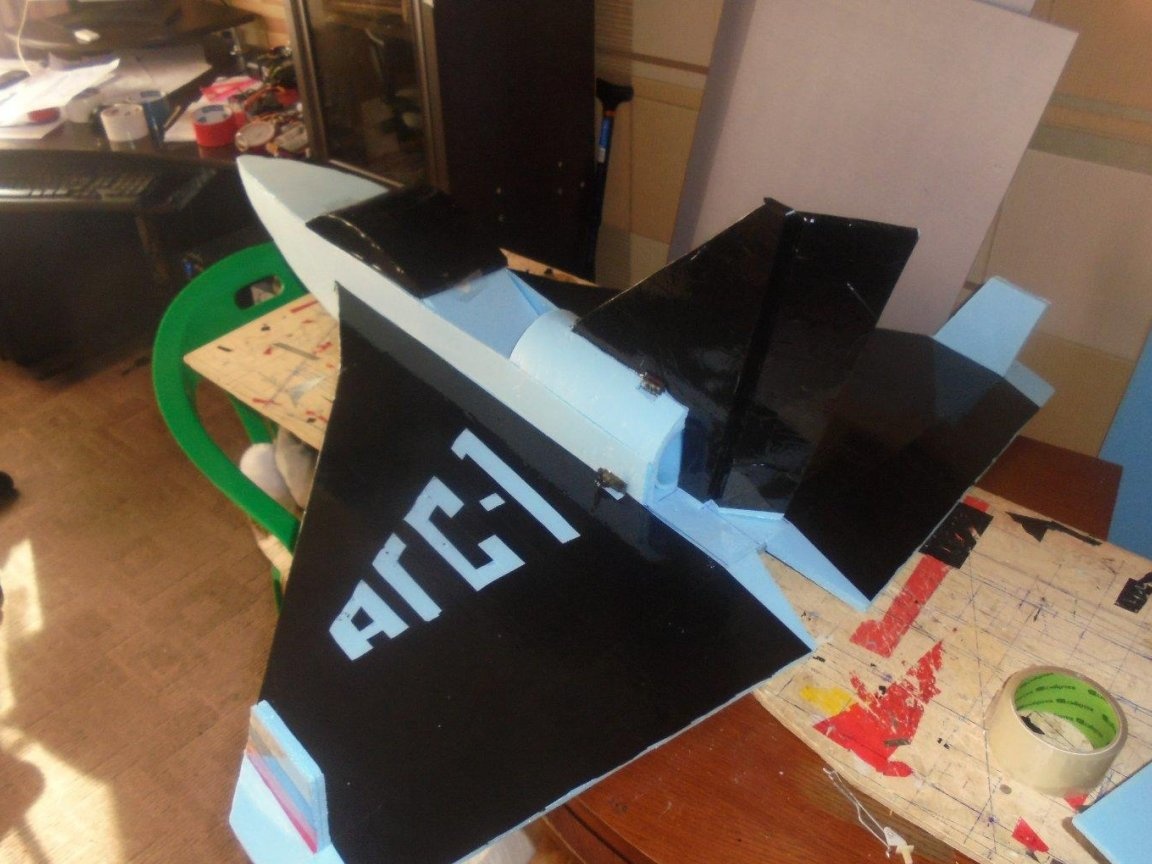
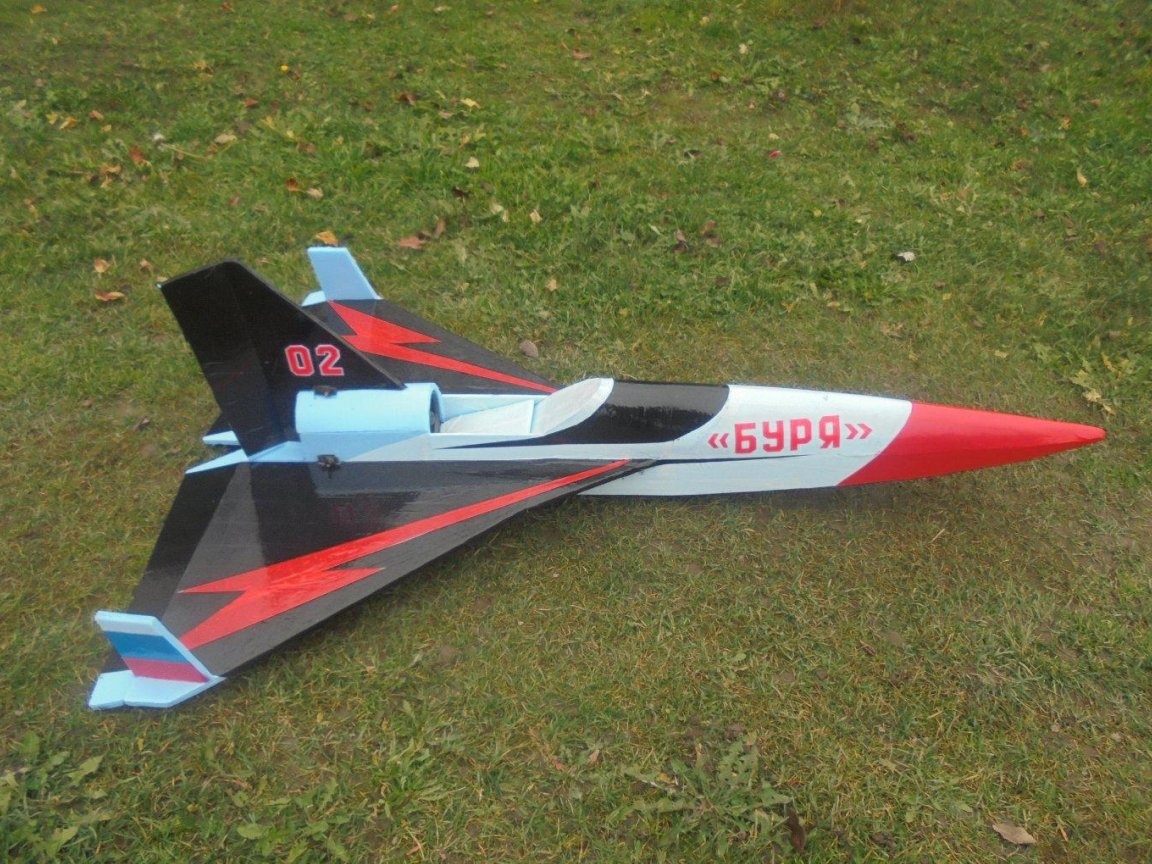
The design design of the model has changed.
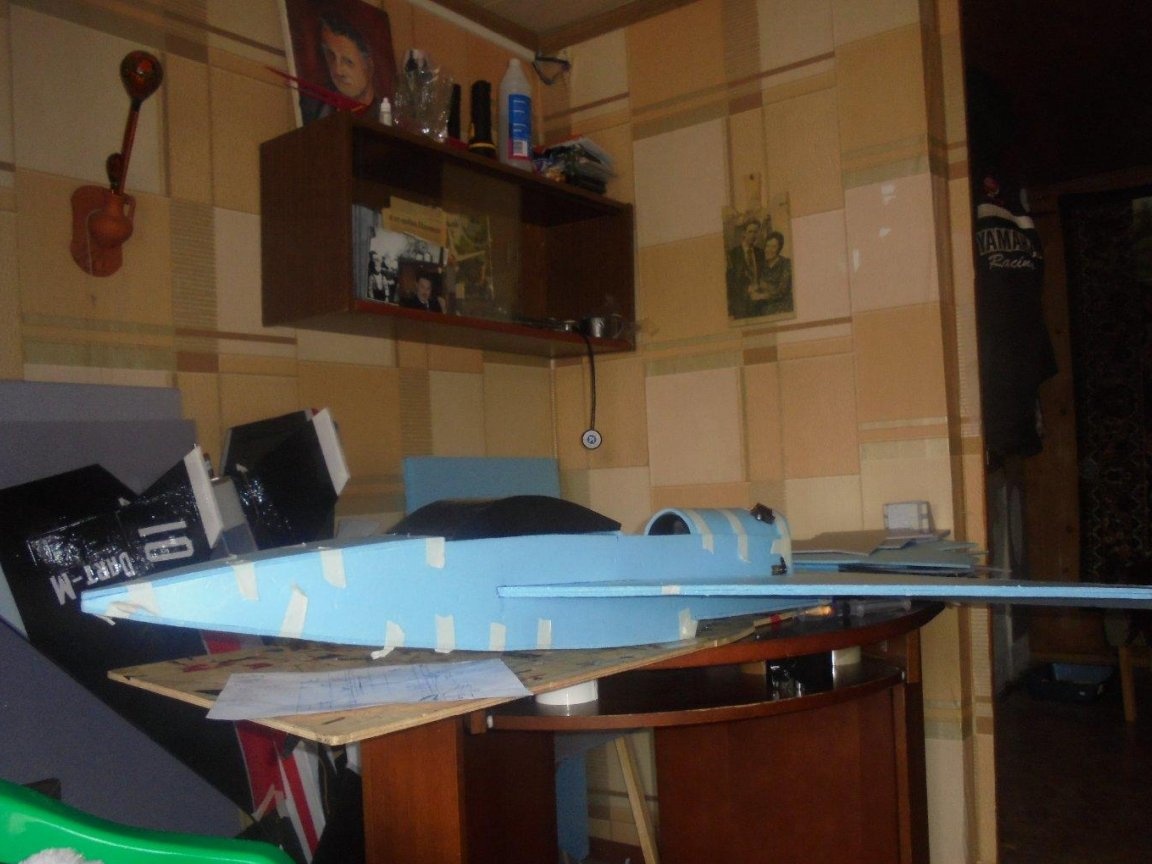
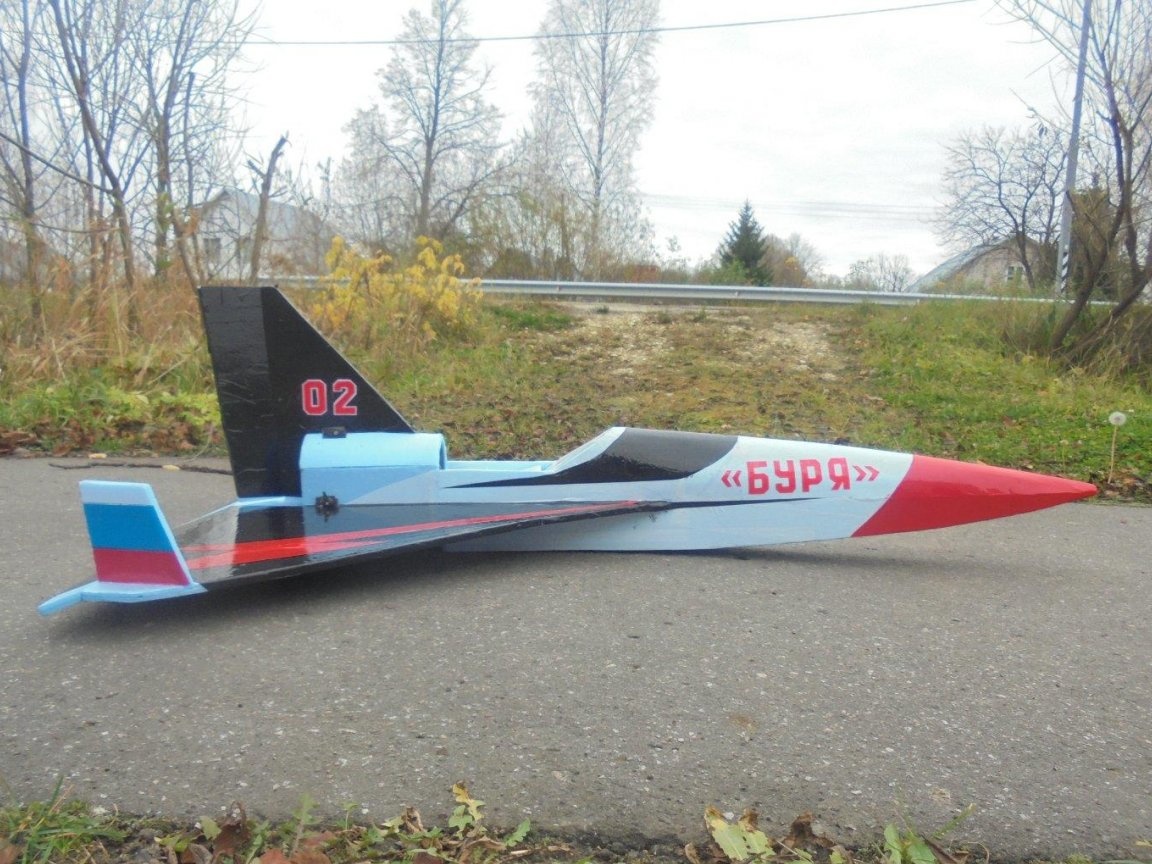
Added number and name. The model got a more attractive look.
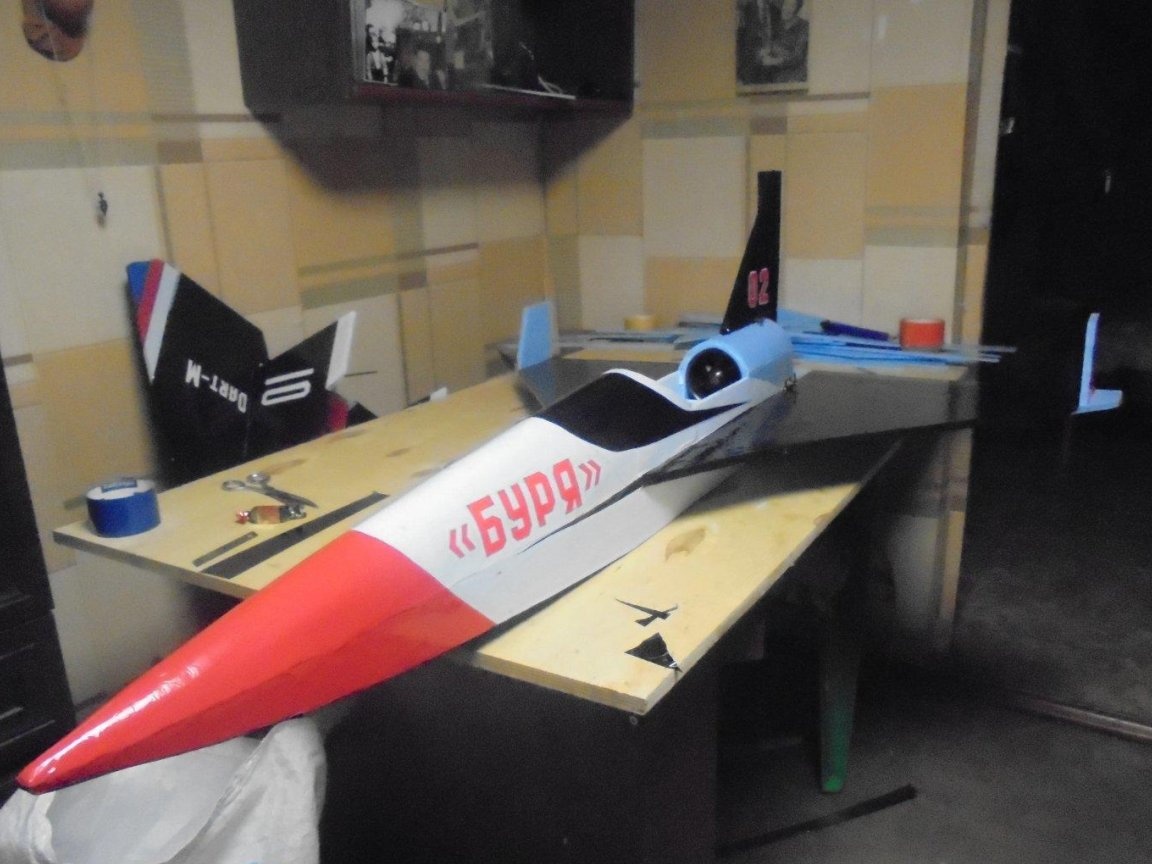


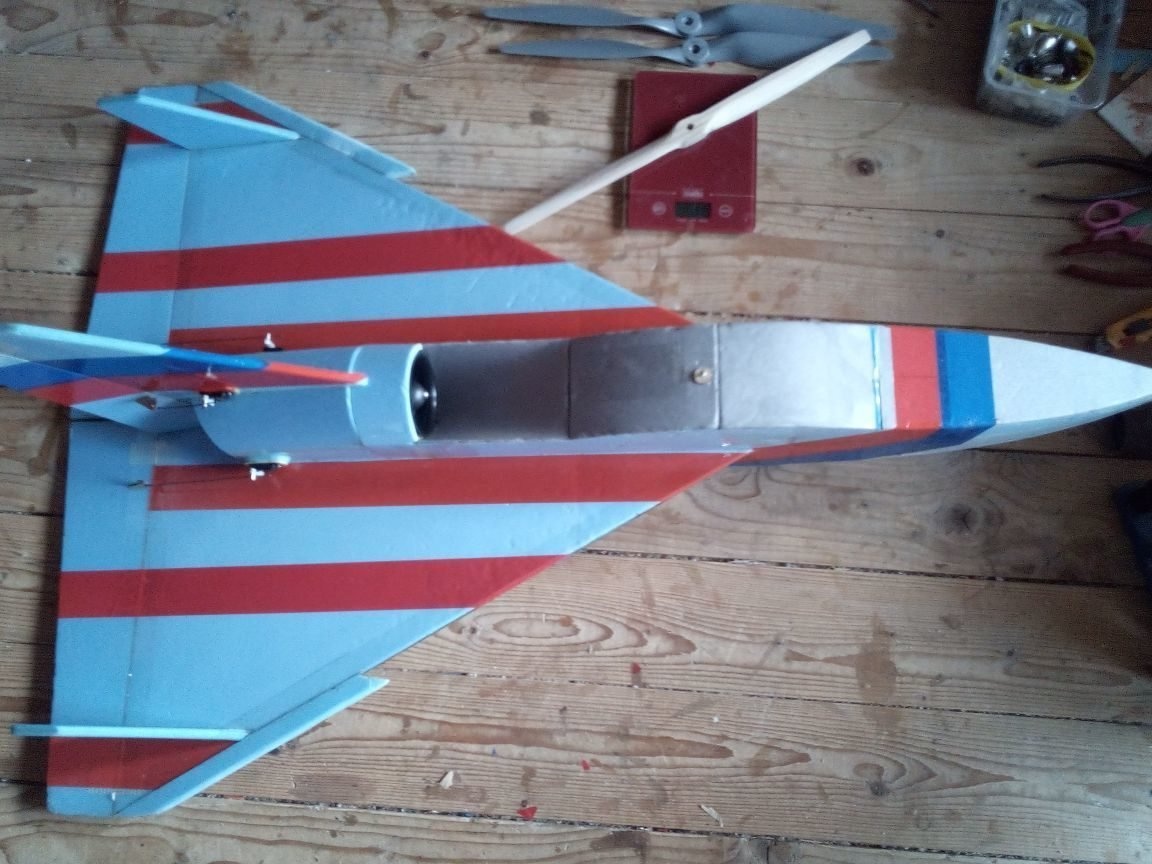
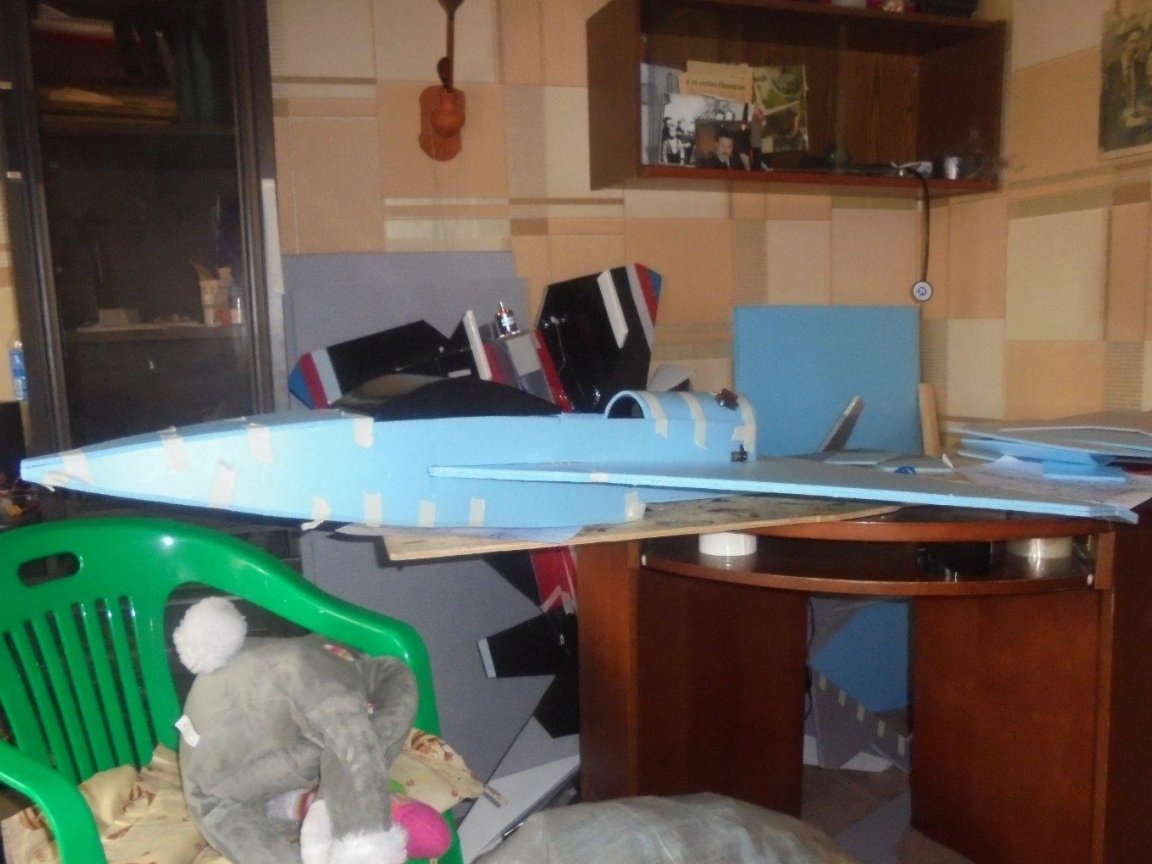
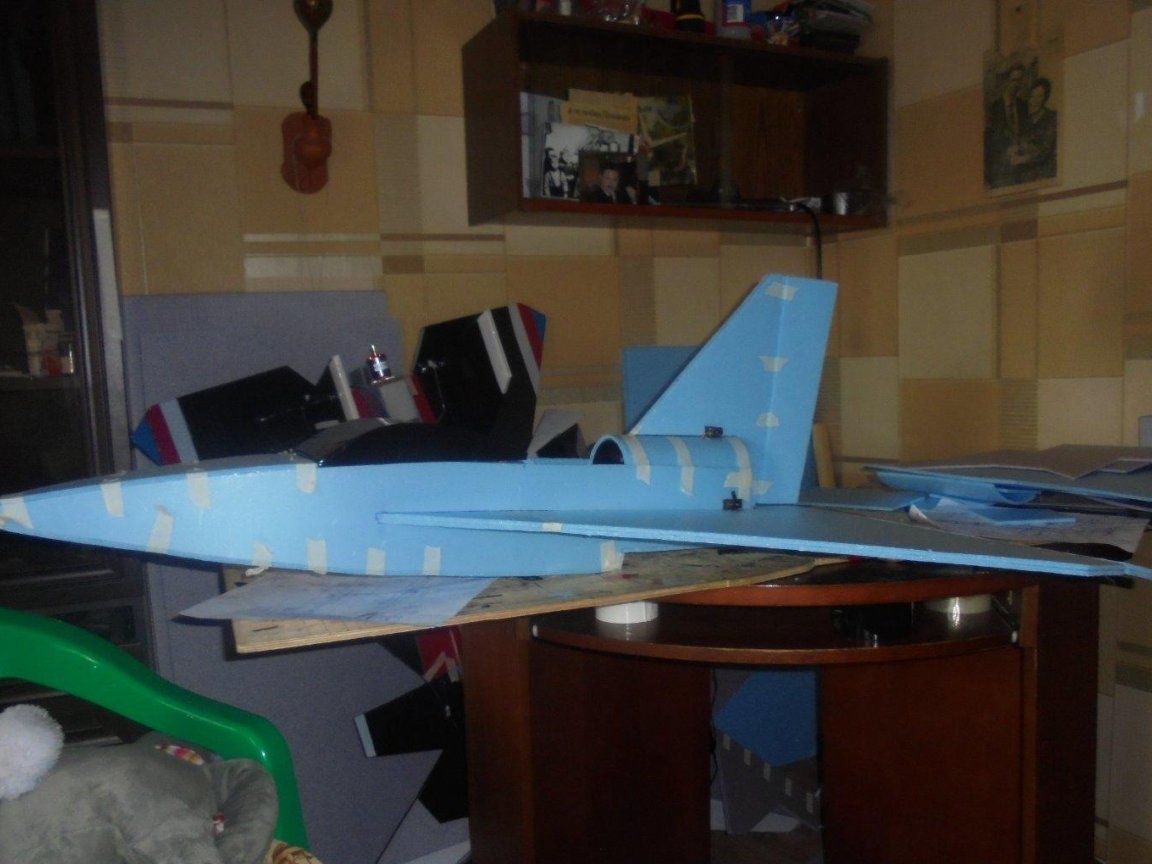
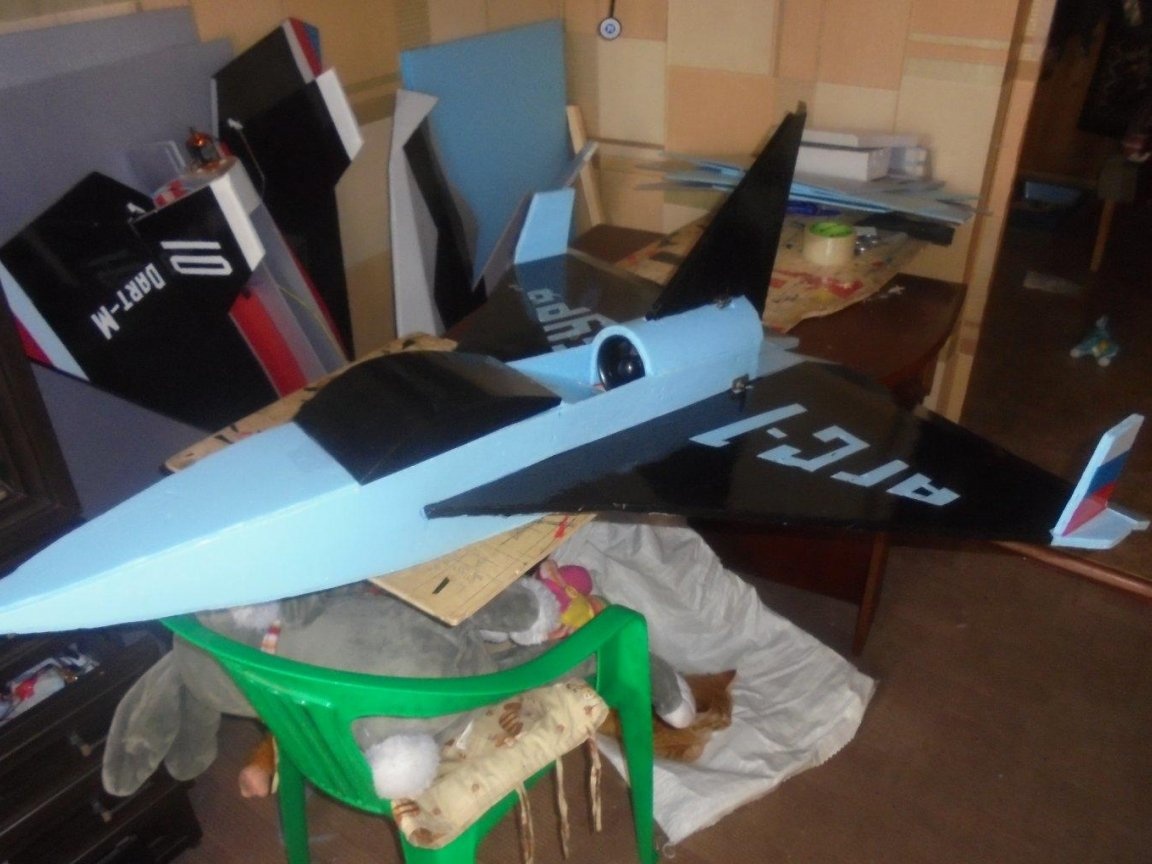
This is how the model looks on the runway.

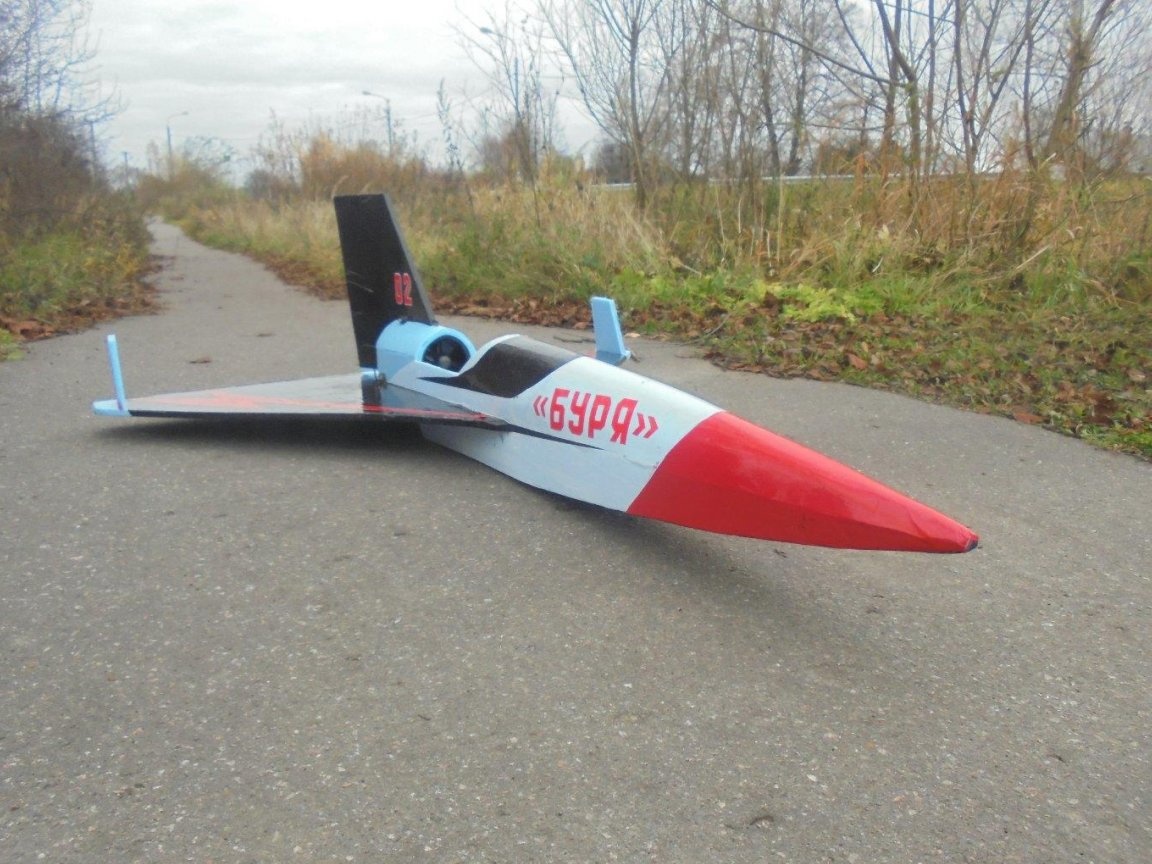

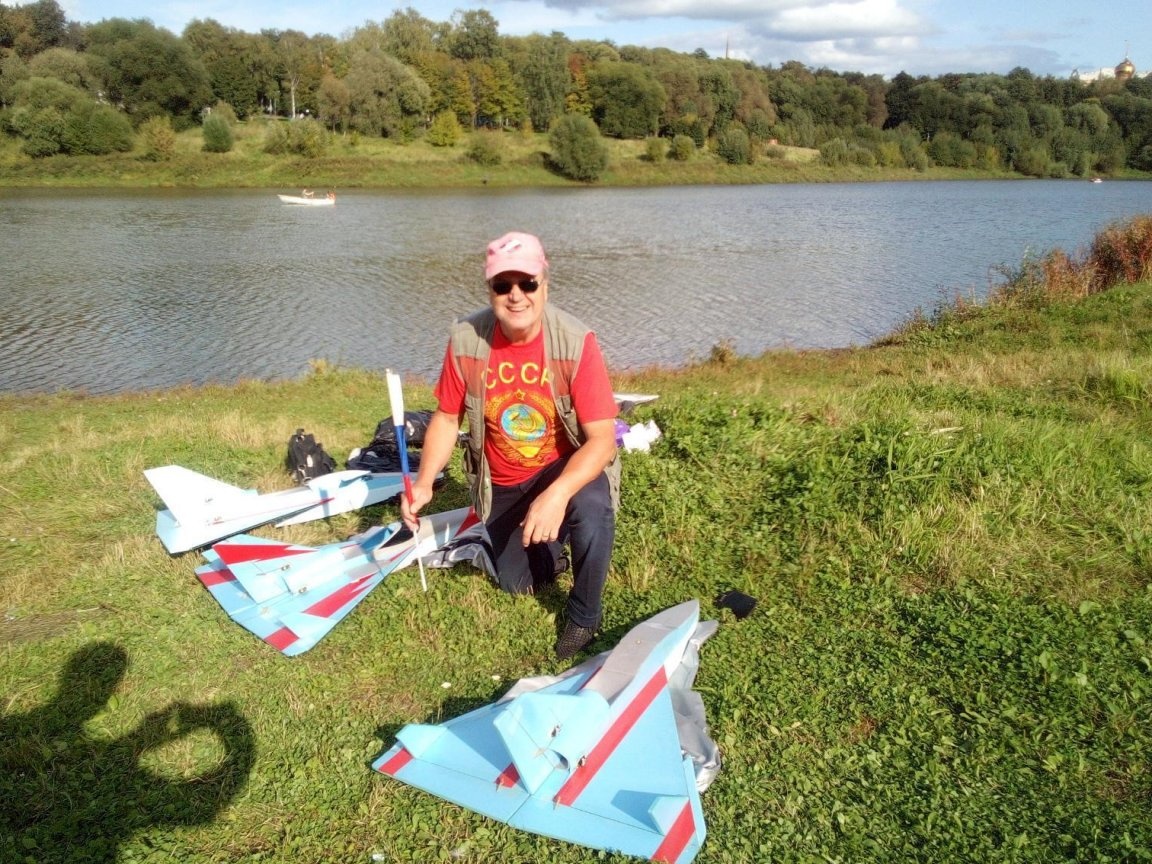
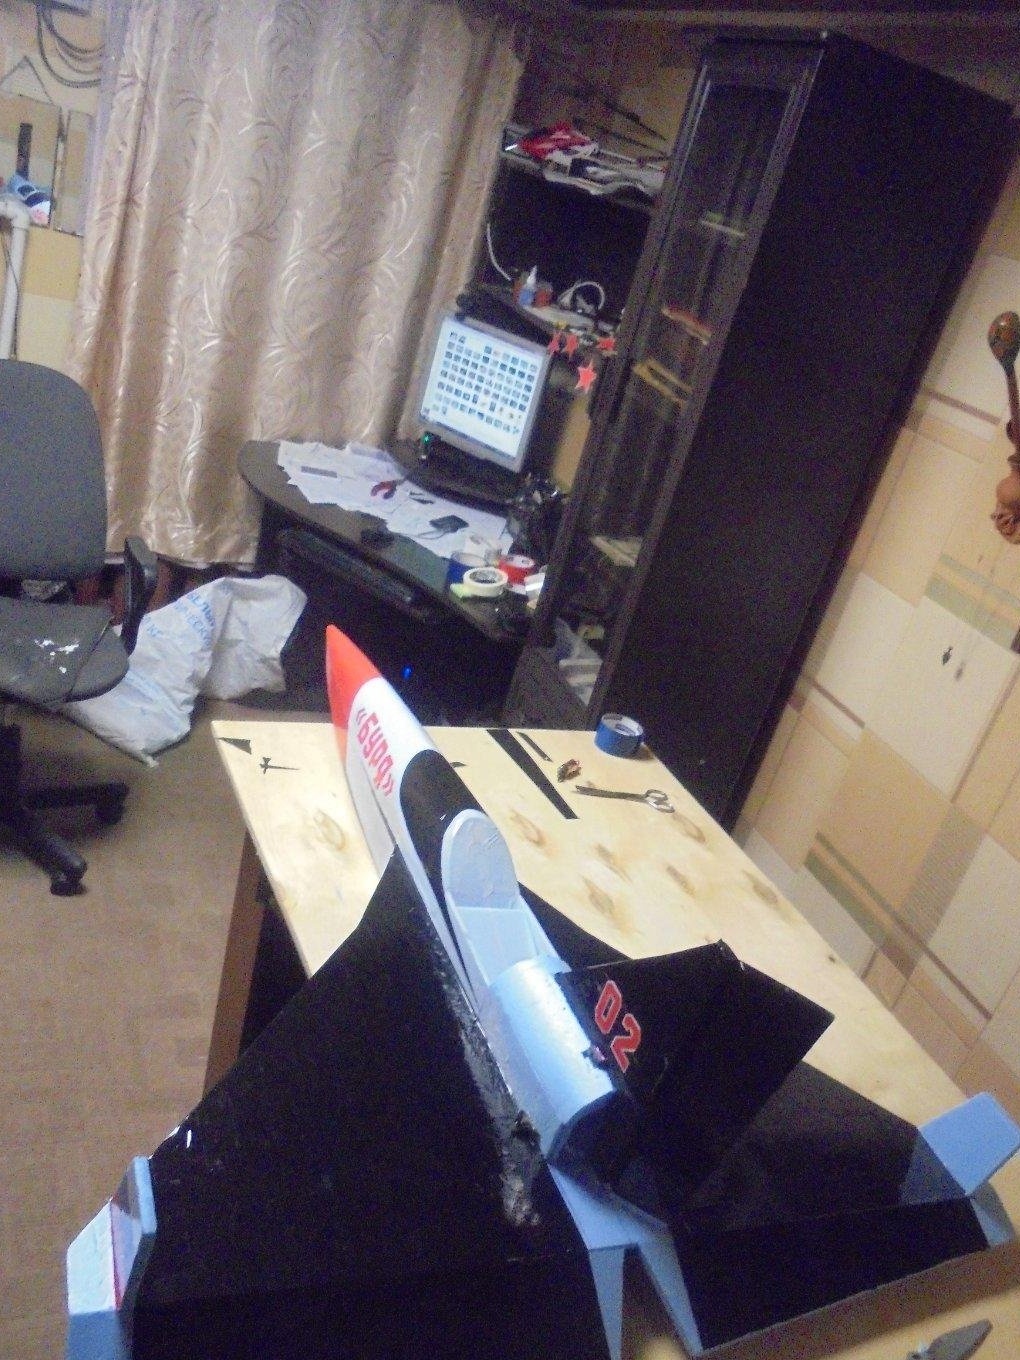
And this is the model before the first flight.

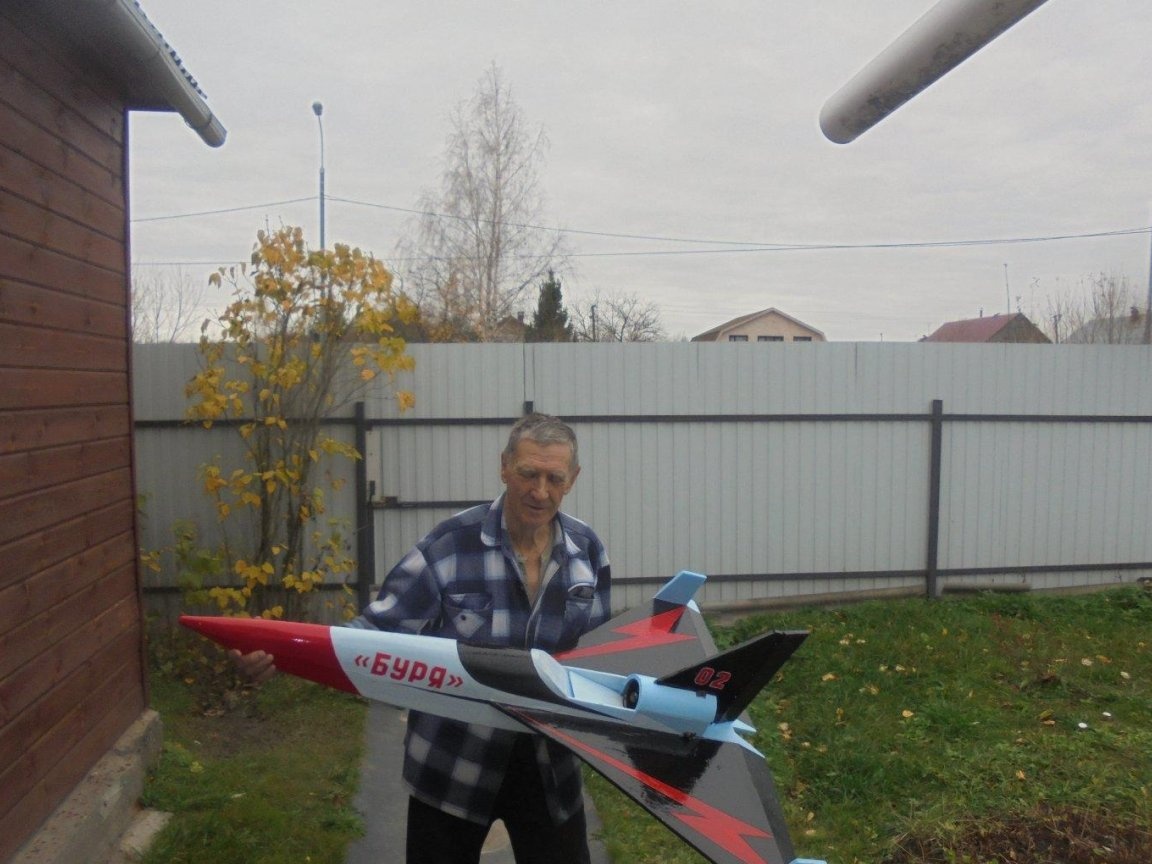
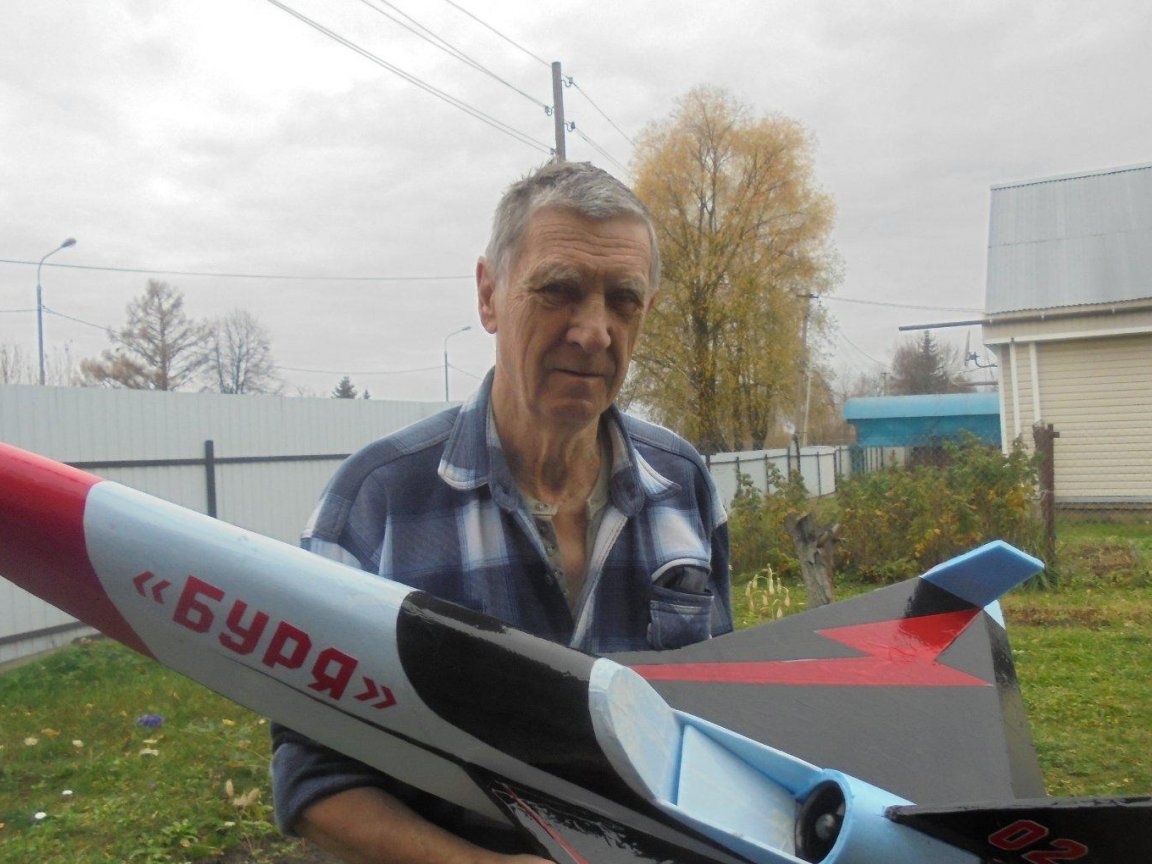
Well, this is your humble servant with a new aircraft model.
On this let me finish my story. What is not clear - ask questions, I will explain.
Goodbye, your Valerian.