Good day to all the masters!
In this article I want to share the experience of repairing the fastening of the belt for welding and installing an additional handle so that you can transfer the welding as a suitcase or the same tool box.
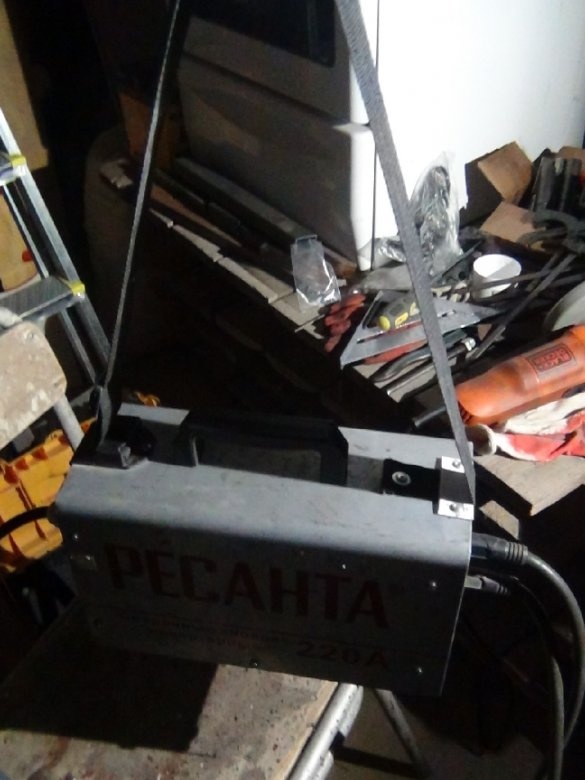
On my Resanta 220A welding machine, the belt mount broke. It was not convenient at height when welding the gates, and even when I was cooking a temporary shed for storing building materials, clamping it between my knees or putting it on a chair or stepladder, it was terribly inconvenient to work with.
And while the weather was "not flying" (it was cloudy and periodically raining), I could not do welding the gates at the entrance to the courtyard. I decided to repair the belt fastening.
Sometimes it was not convenient for me to carry the welder by the belt, it was before the mount broke off, and grabbing it with my hand was also not convenient.
Tools and material:
- Angle grinder (grinder)
- cutting wheels for metal or grinding wheel
- riveter
- 4x10 rivets
- metal scissors
- drill or screwdriver
- metal drill bit 4 and 7 mm
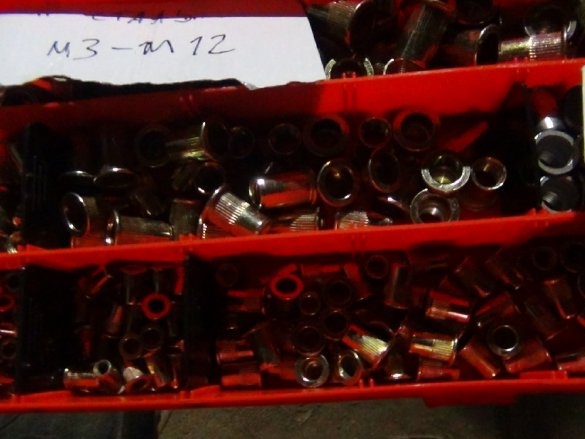
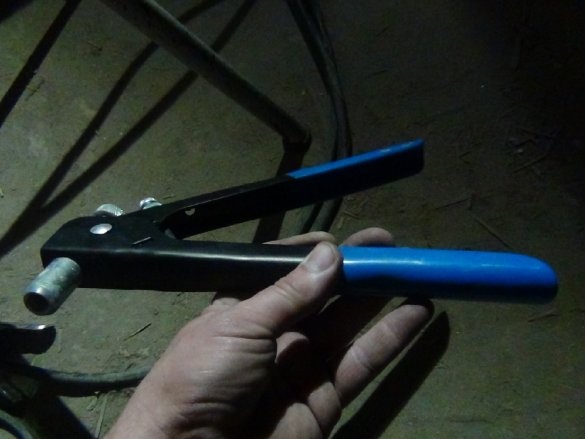
- riveter for threaded rivets
- threaded rivets m5
- galvanized reinforced washers 4 mm
- pencil or marker
- PH2 Phillips screwdriver
- tin corner or profile for drywall
- M5x10 hexagon socket head screws
I have already welded one gate, and alone, as I did, I will write an article later.
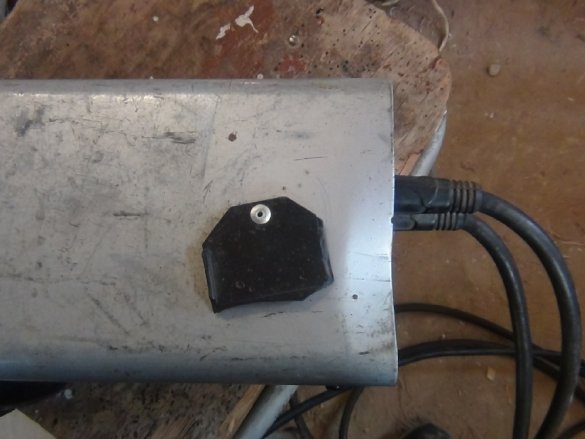
In order to be able to climb the ladder and not feel discomfort during work, I decided to wrap the welding in the place of the broken mount with my old belt from my pants and tie the welding belt to it.
But it was still not comfortable, the belt slid to the back (see photo above) and the welding belt pulled the shoulder.
Step 1: Remove the broken.
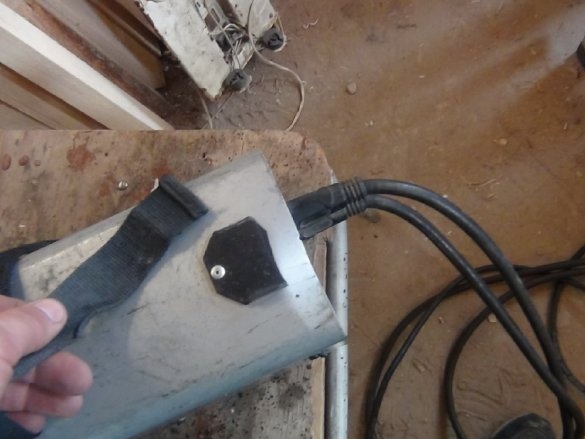
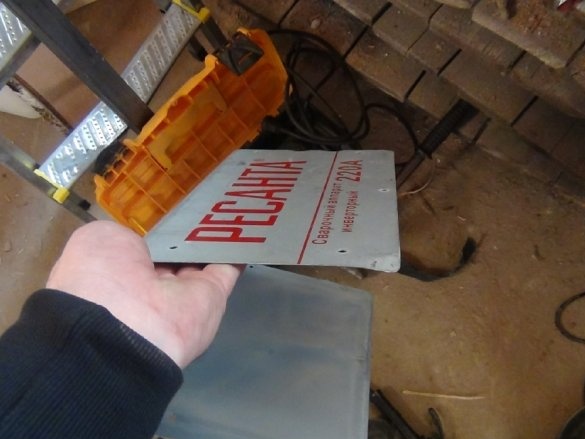
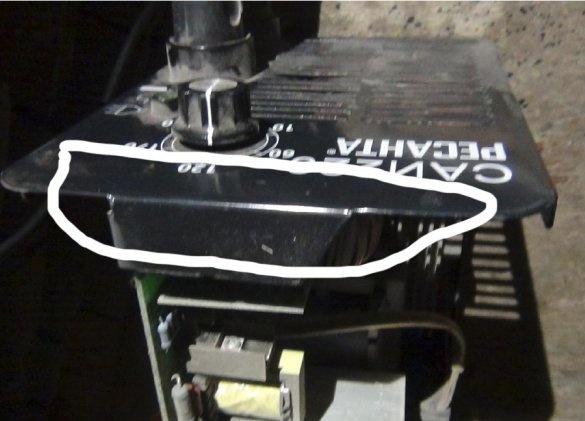
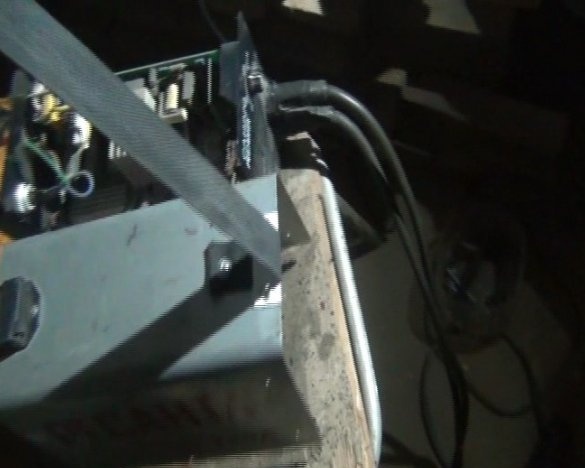
Before proceeding to cut the rivets on a broken plastic plate, which was a mount, you must remove the casing. So that the shavings and a piece of rivets do not get on the circuit nodes and wire contacts.
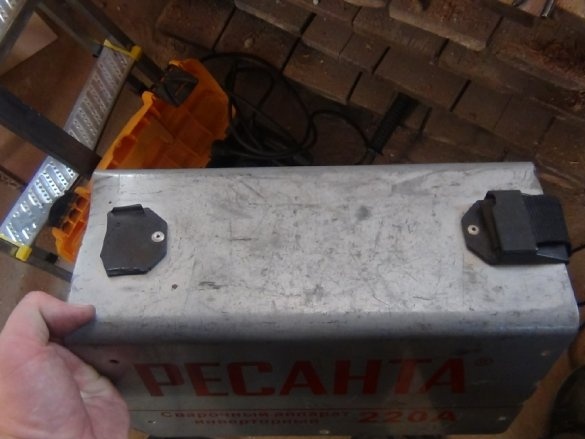
I cut the rivet. Threw out the record, it is no good.
Step 2: securing the belt.
Once the mount is broken, and another mount could also break, I decided to attach the belt immediately to the casing of the welder.
In fact, I restore the belt as it was originally only without the participation of plastic.
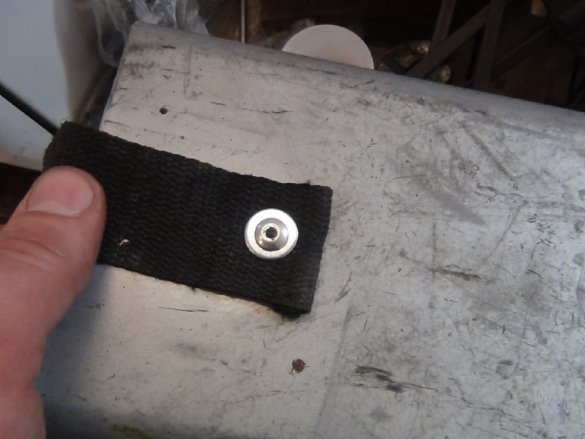
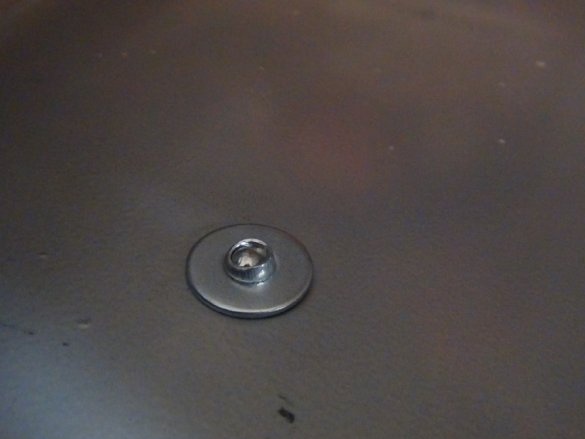
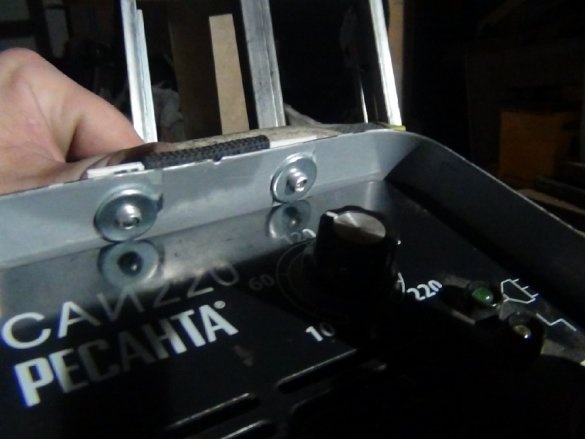
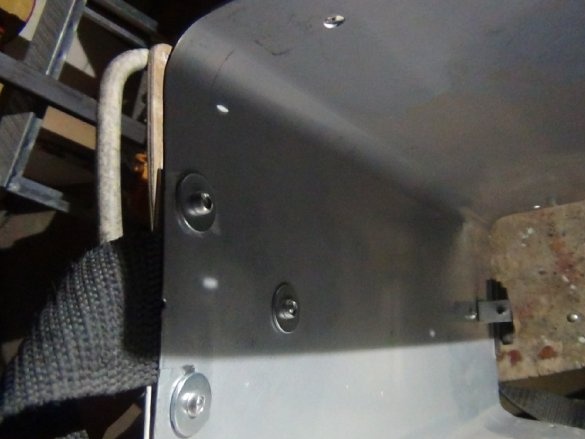
I use the hole that remains after the cut rivet for fastening through the same rivet, but at the same time I use a reinforced washer both under the rivet and on the inside of the casing, the device has a small weight, but it weighs normally.
I already had moments when the rivets were pulled out of the holes despite the fact that it was drilled with a drill of the desired diameter, apparently the rivets were of poor quality. After completing this work, it turned out that everything was fine.
The belt should not be drilled or punched with a punch for belts or eyelets. This will weaken him and begin to tear in this place.
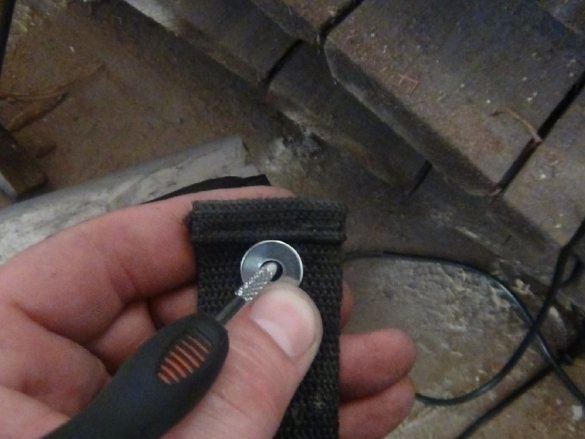
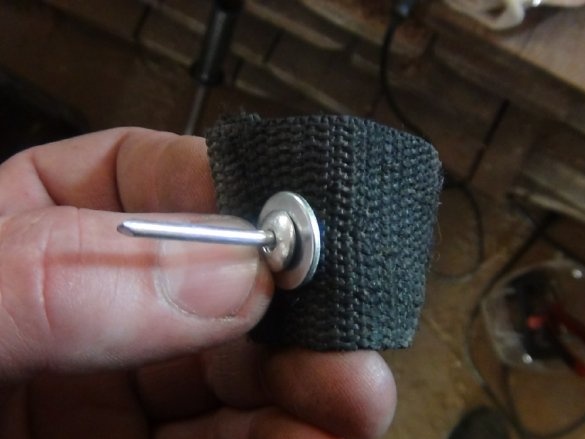
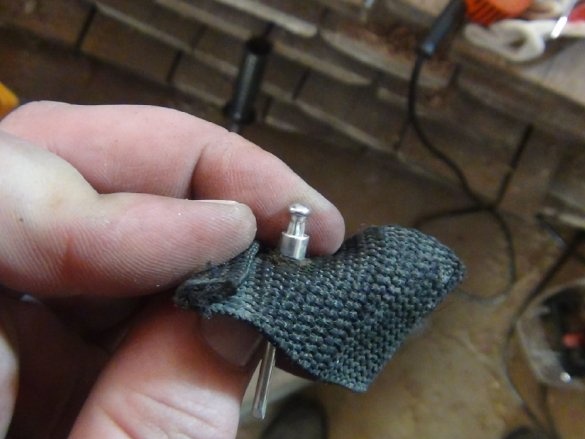
It is better to use an awl or nail of the same diameter as the rivet. Sticking with an awl, the fibers move apart and at the same time remain intact.
If the rivet does not pull through the fibers, then it must be disassembled.
It is necessary to pierce the belt from the side where the rivet will come from, i.e. on the wrong side.
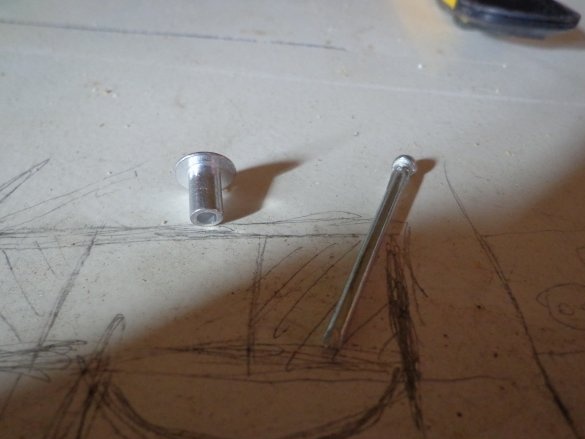
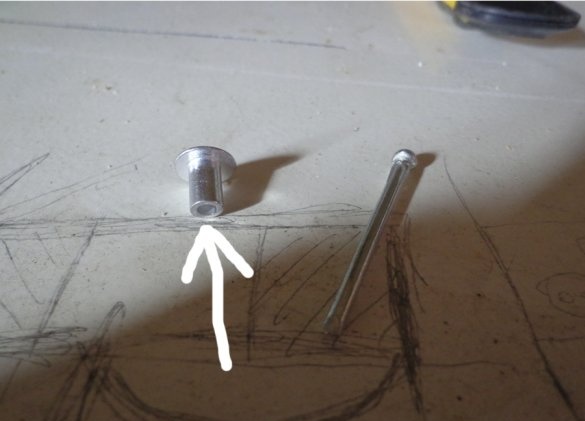
As the awl appeared, the tip must be inserted into the rivets hole.
Slowly pulling the awl pushed the rivet. I inserted the pin back, installed the rivet in the hole on the casing and pulled it out with a riveter, pre-installed reinforced washers.
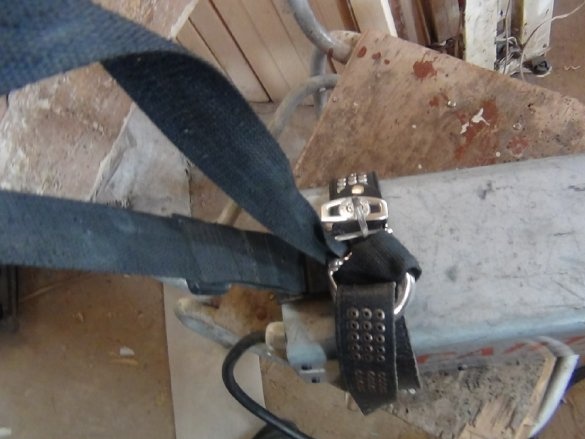
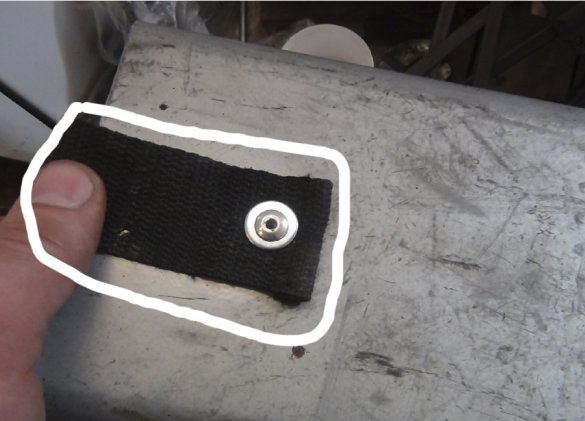
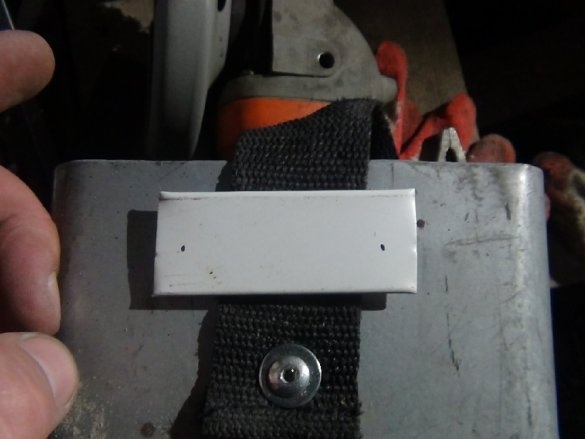
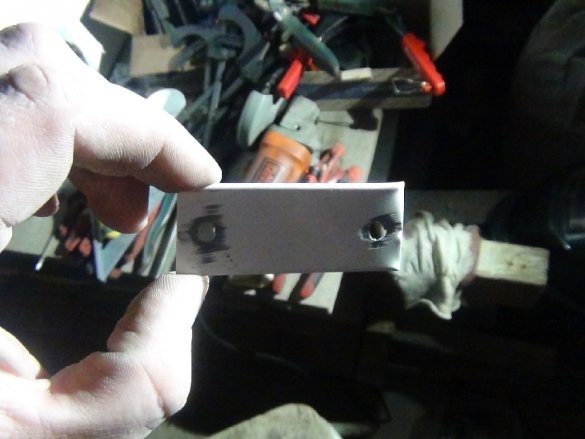
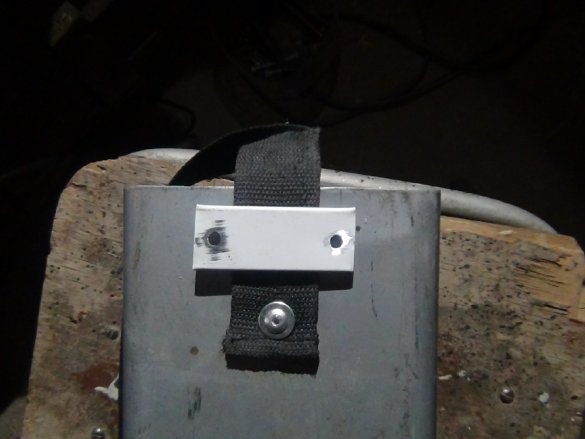
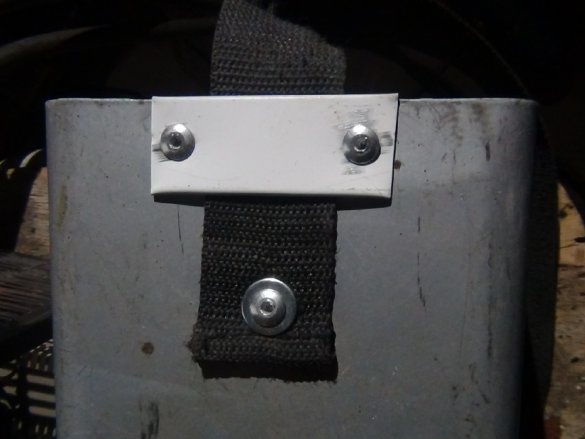
When the belt is pulled up, the material will rub against the edge of the washer and the fibers will begin to fray. So that he does not begin to tear in a place near the washer, it is necessary to stretch the belt to the edge of the casing and outline where the additional strap from the tin corner will be installed.
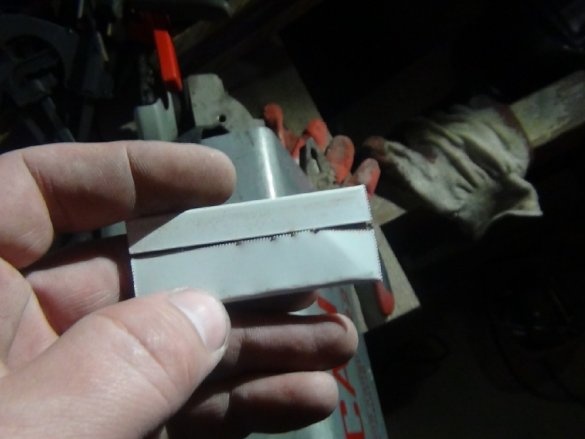
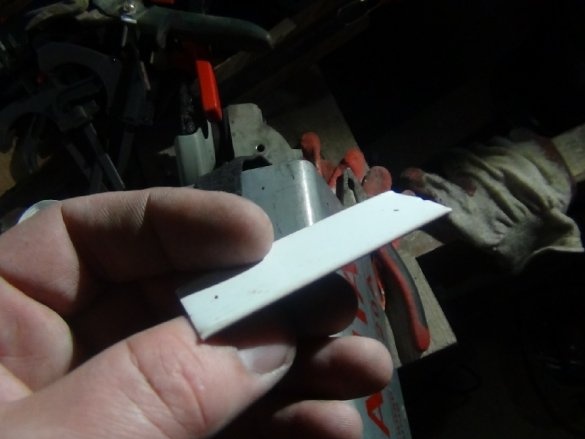
I decided to make the bar out of the tin corner. He has already been bent from one edge on a listogib, and from the other a rough cut from scissors for metal. The plate is not large, so I managed to gently bend the rough edge like paper, and the belt will not rub against the edge. The joints of the corner sections sent down to the belt.
The main thing is not to forget how the front welding panel is located under the body. If you retreat from the edge of 1-2 cm, you can get on the corner of the front panel and because of the rivet, the case will not fall into place.
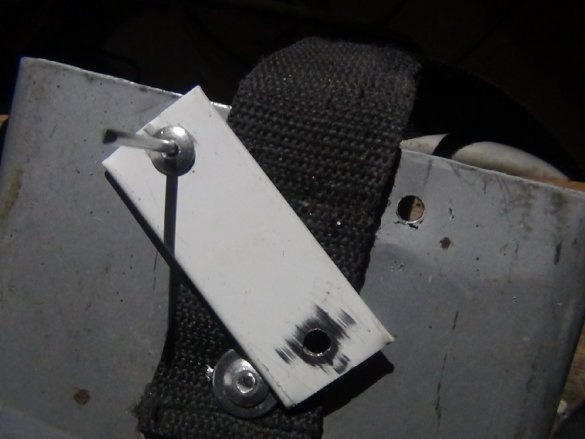
Moved the bar to the edge and everything was successful.
As determined by its place on the casing. Mark the places of drilling on the sides of the belt.
So I decided to do this for the reason that the belt can break (it already has melted holes from welding drops), and when replacing the entire belt completely, it will be easier to install one rivet than to remodel everything. Actually, he was in that position.
In marked places, drill a drill for metal 4 mm.
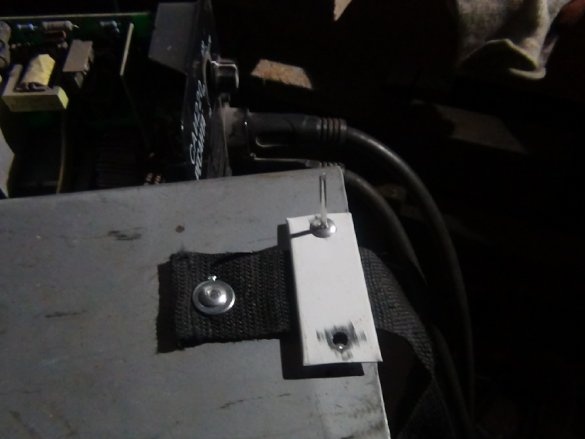
We remove the belt and drill on the casing into the already prepared holes through the bar. This saves working time, no need to mark on the casing itself. We install rivets and the repair is completed.
Now you can throw it on your shoulder and go to work.
Step 3: Extra pen:
There were times that it was not convenient to rearrange the welding by the belt or wrap your hand around the top of the case.
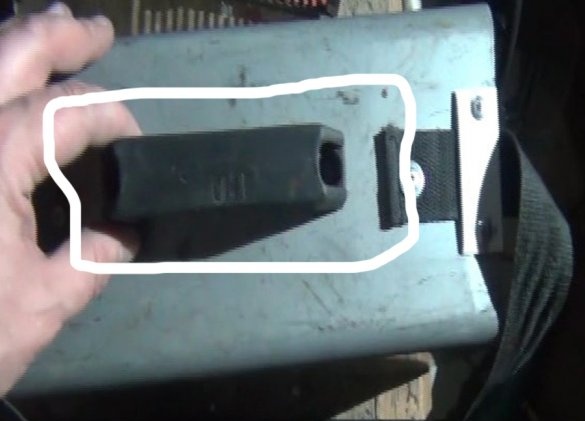
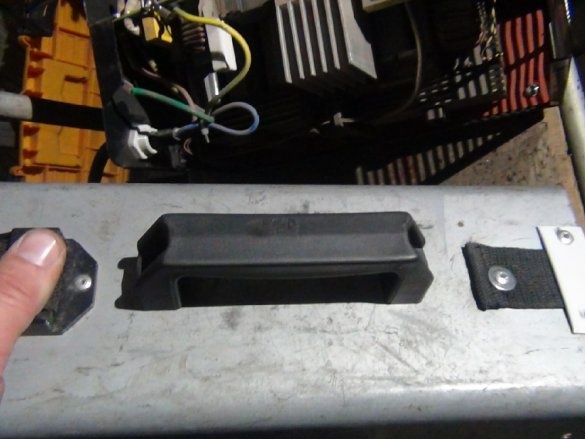
For example: you squat something, you cook (if there are no welded goats and you do everything on the floor), you need to rearrange the welding, you won’t pull the wires, and if you pull it, the welding will definitely stop and you have to get up and rearrange. I decided to attach a pen on top. In the midst of useful rubbish, I was lying with a pen from some technique, lying around for a long time and in plain sight, I was about to throw it away.
It was here that she came in handy. In size, what you need, do not add, do not decrease.
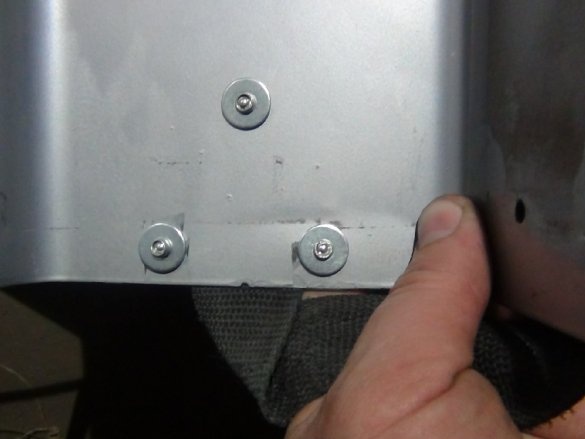
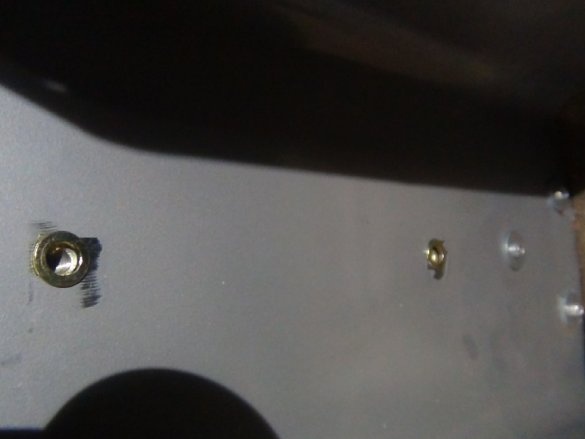
She decided to install it through threaded rivets. In the old fashion, I didn’t do any bolts and nuts, the reason is that they can become loose and the nuts can get onto the circuits and wire contacts (I don’t need a short circuit in welding).
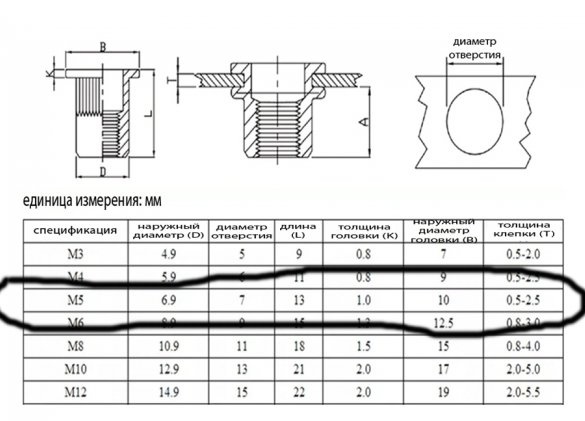
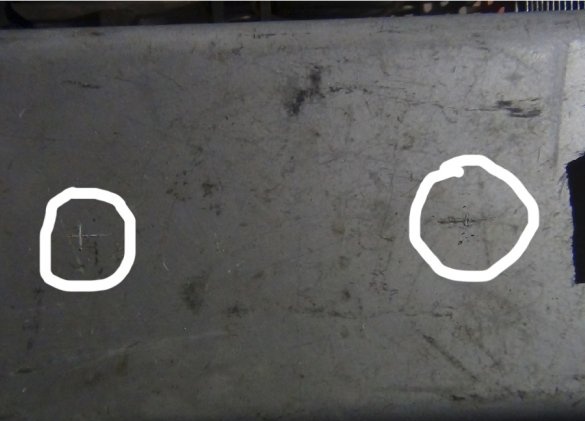
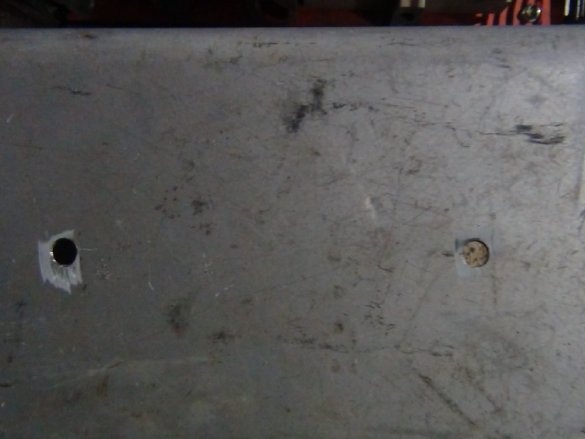
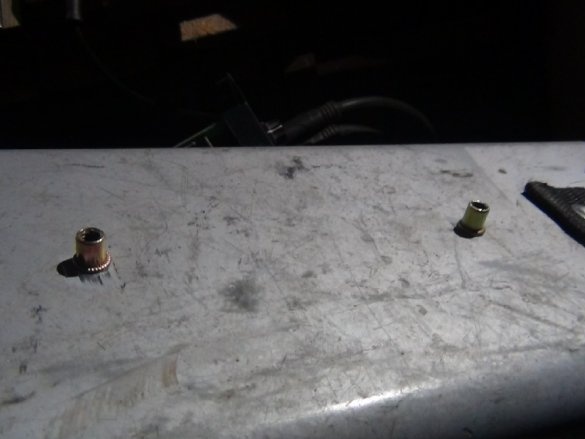
I marked it approximately along the body in a longitudinal position and marked the center in the transverse position for drilling for threaded rivets. Drilled with a drill 7 mm according to the table.
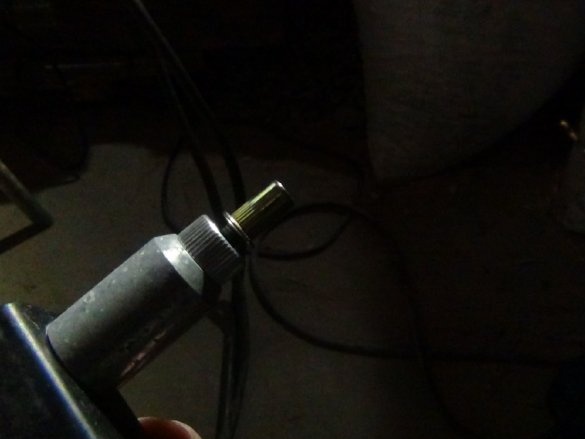
He pulled out threaded rivets with a rivet for them.
I chose the m5 rivet due to the fact that the hexagon screws were only of this size, there was no desire to go to the store.Burning gas from behind two screws? I found in the jar with such screws only two of the same.
Threaded rivets are installed as well as exhaust rivets.
The holes in the handle were screw M6. The wrong ends of the rivets set out the casing. But the cuff, which will be under the handle, did not allow it to snuggle tightly against the case, so I had to drill 10 mm holes with a 10 mm metal drill, and a hole height of 10 mm allowed this to be done. The screws were longer than I expected, I had to cut them with a grinder.
After that, the pen pressed tightly.
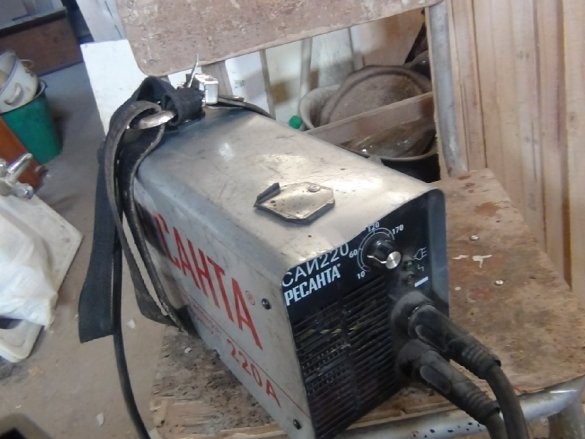
Now welding can be carried as a suitcase.
Now it’s more convenient to transfer and rearrange.
Thank you for reading! Good luck to all!

