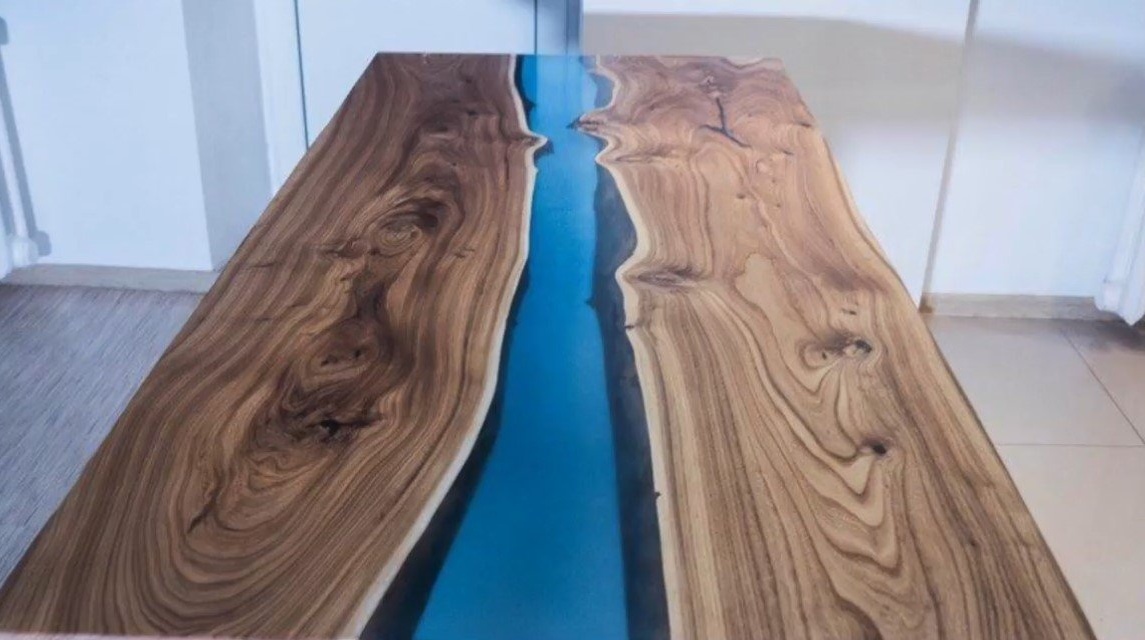
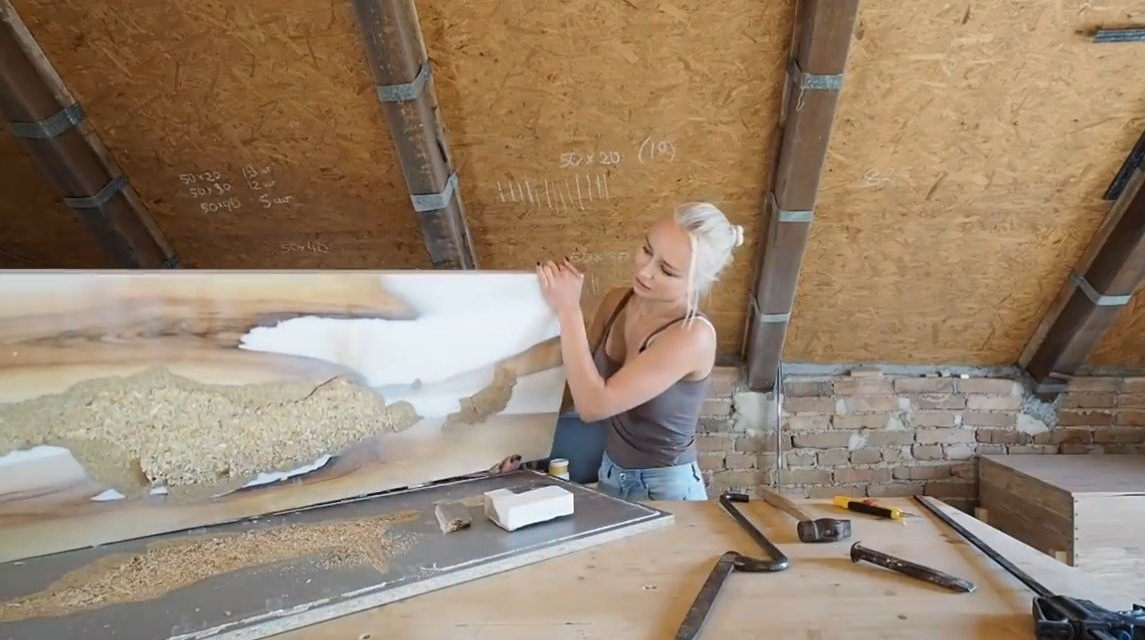
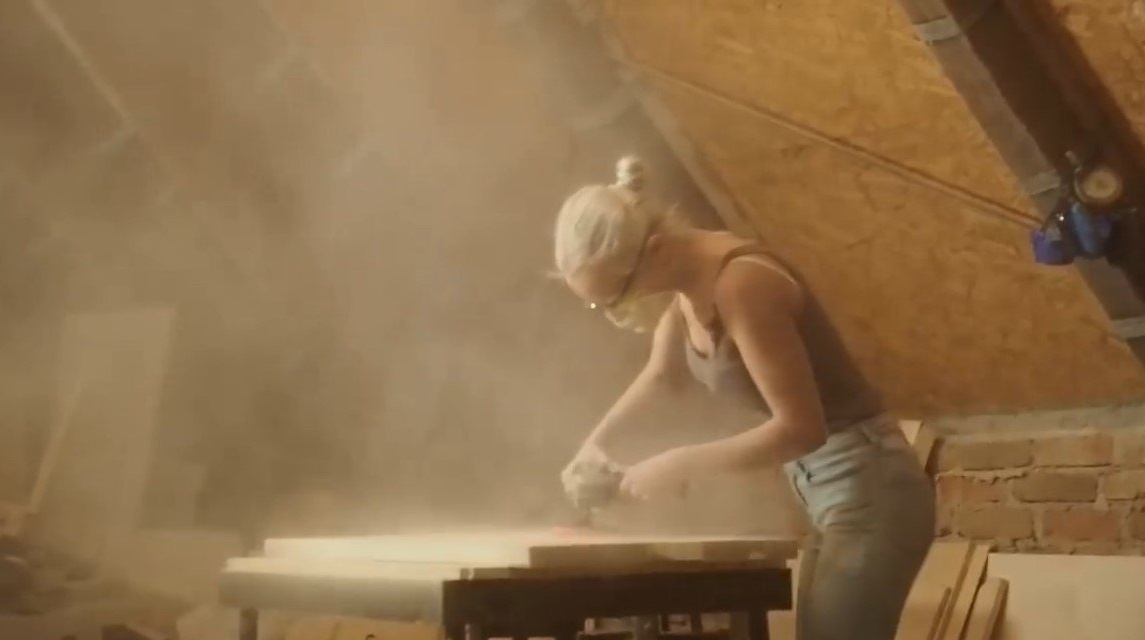
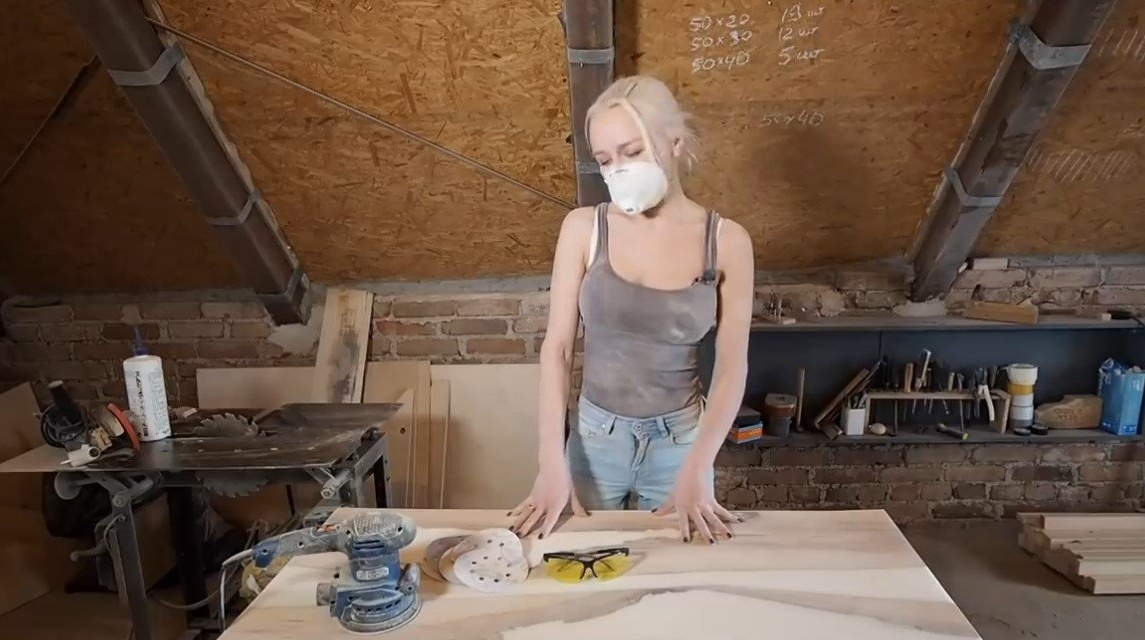
I welcome the lovers to work with wood, I propose to consider an interesting table that you can make do it yourself. As a basis, the author used a saw cut of a tree with an interesting natural niche inside, which was flooded with epoxy resin. The table looks great, it is quite strong and durable. At such a table it will be nice to drink coffee, read magazines and so on. Even a master girl coped with the project, so if you have the skills to work with wood and epoxy, do not be afraid to take on the project. If the project interests you, I propose to study it in more detail!
Materials and tools used by the author:
Material List:
- special resin for pouring large volumes;
- sawed wood with a suitable texture;
- bars for the frame and legs;
- wood stain.
Tool List:
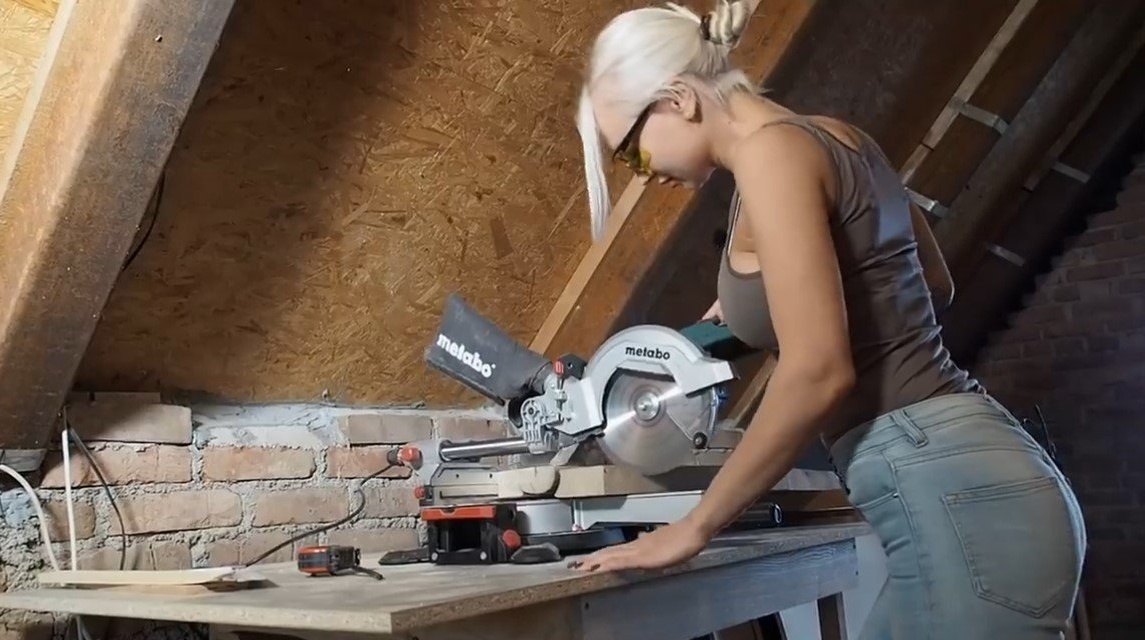
- Miter saw;
- glue gun;
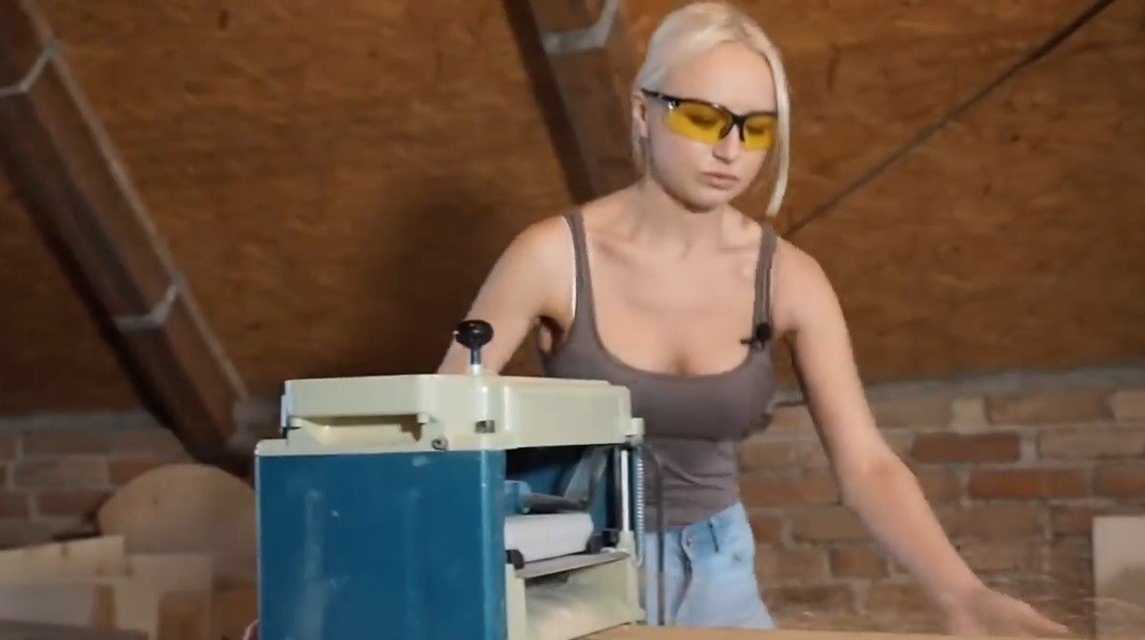
- Thicknessing machine;
- silicone;
- drill;
- separating wax;
- clamps;
- gas burner or building hair dryer.
The process of making a table:
Step one. Source material preparation
First of all, we will prepare the source material, for this we need a tree saw cut. Well, if the tree is old and it has niches of natural formation, we will fill them all with resin. The saw will need two pieces, or maybe more, it all depends on your needs, the width of the countertop.

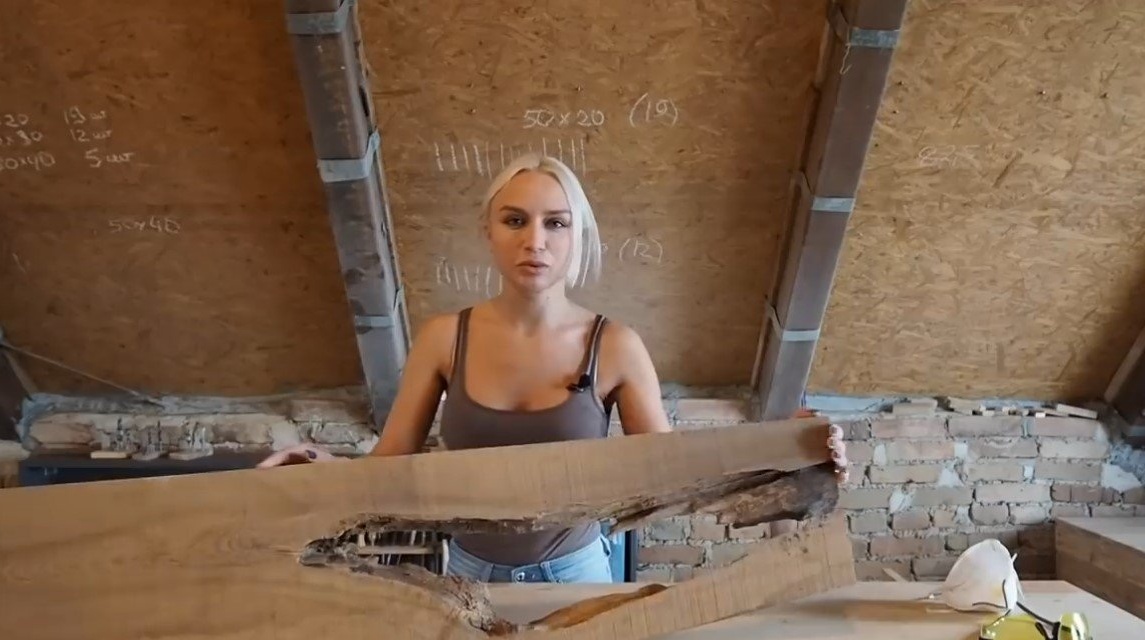
Of course, the wood must be well dried in advance, since during the drying process the tree is strongly deformed and cracked, any layer of resin will crack together with the tree.
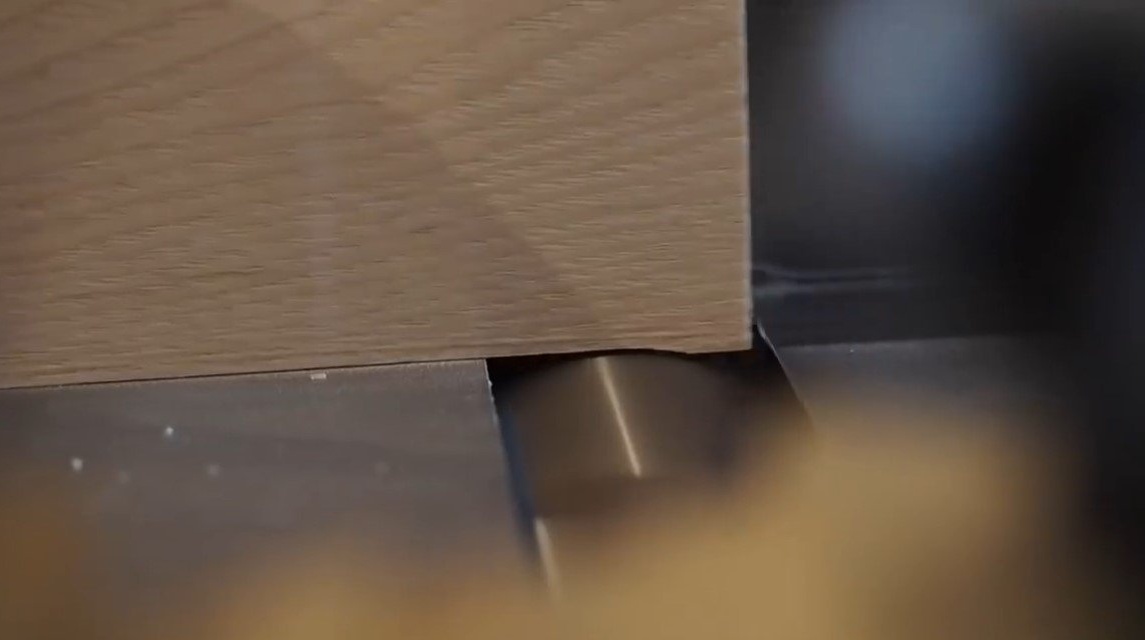
The author drove the saws through the thicknesser to get the same thickness.
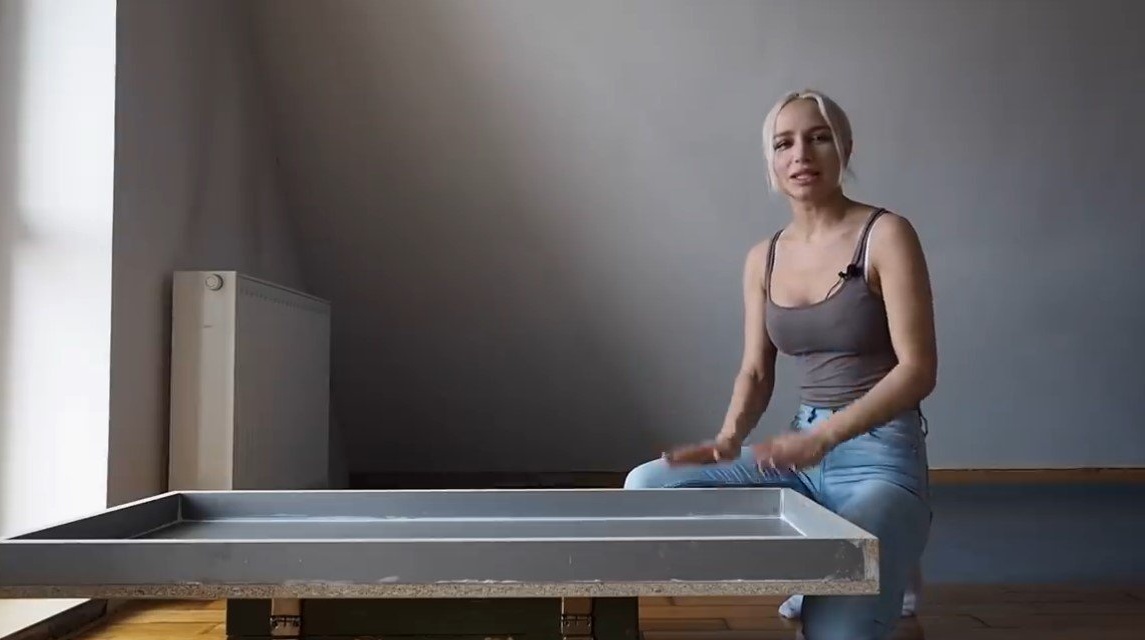
Step Two Formwork
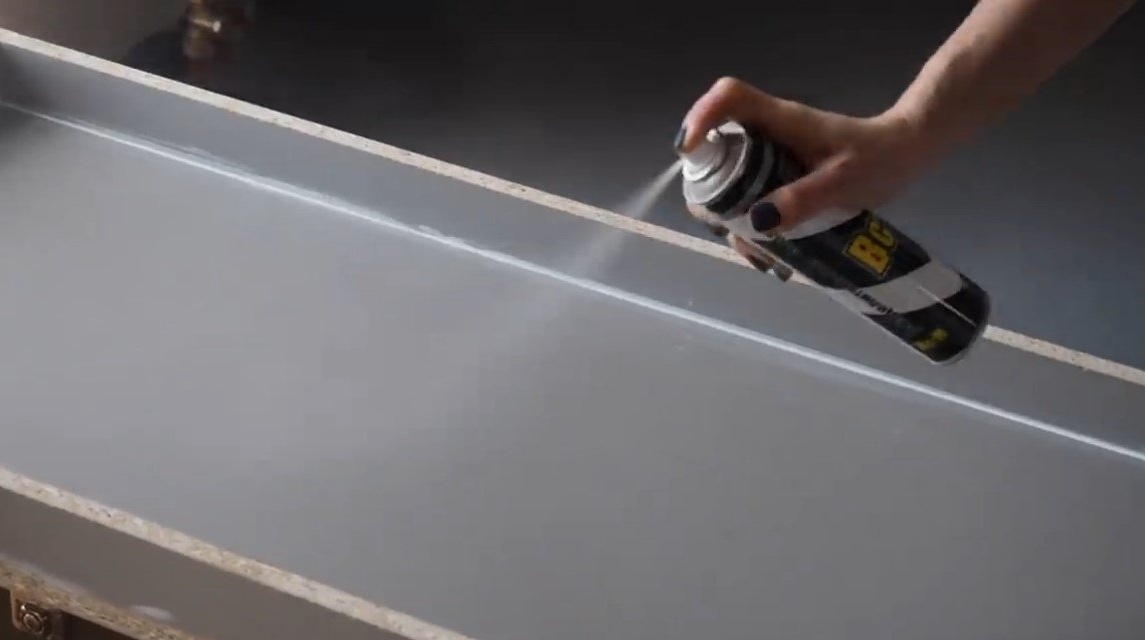
We assemble the formwork for pouring resin, as the material we use the cheapest chipboard. We twist the formwork with self-tapping screws and seal everything well with building silicone. The presence of cracks at the joints is unacceptable, the resin flows out of the formwork quite quickly.
When the formwork is ready, it would be nice to process it with a separating wax, which will not allow the resin to stick to the tree.

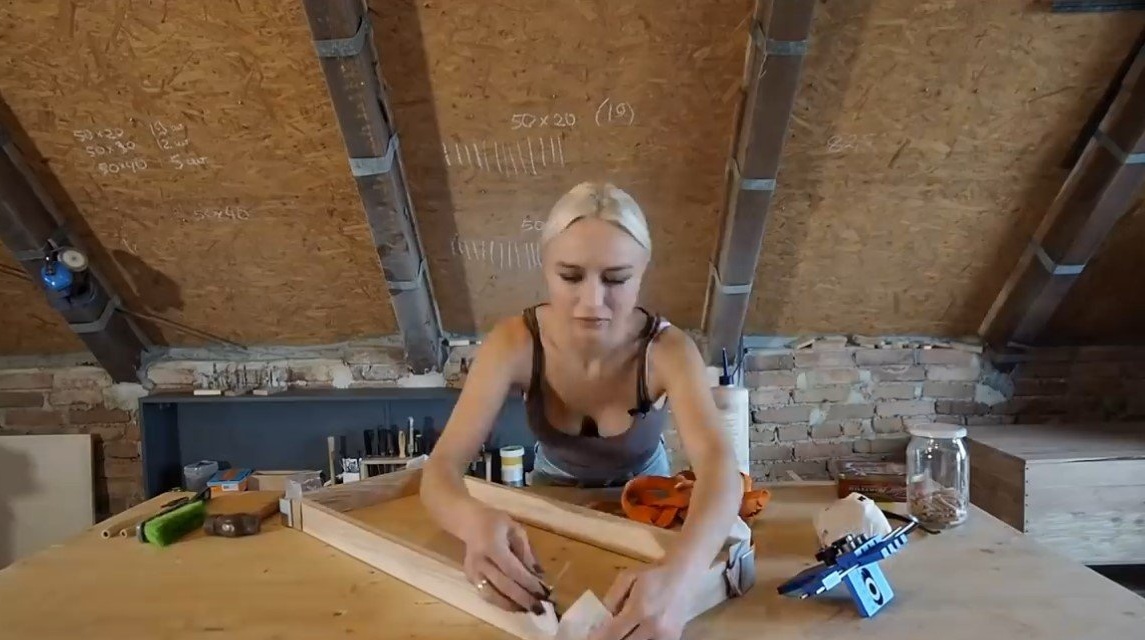
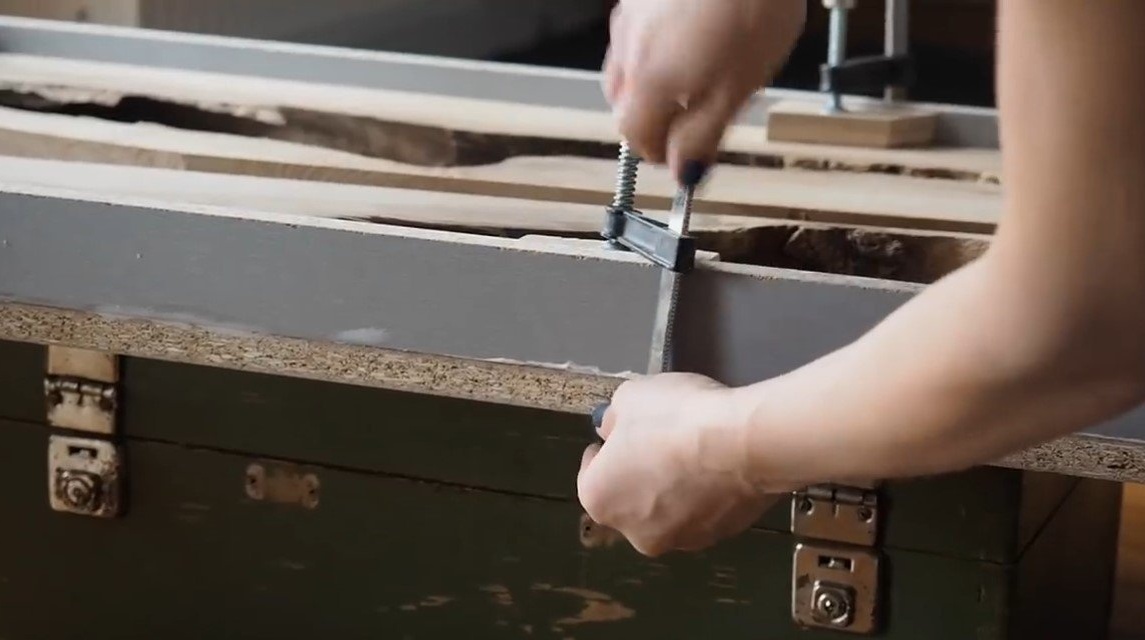
Step Three Frame
Let's assemble the frame under the table, let the glue dry for now. Here you will need bars or similar material. We collect everything on dowels or spike connection to your taste. The frame we get is classic, rectangular.

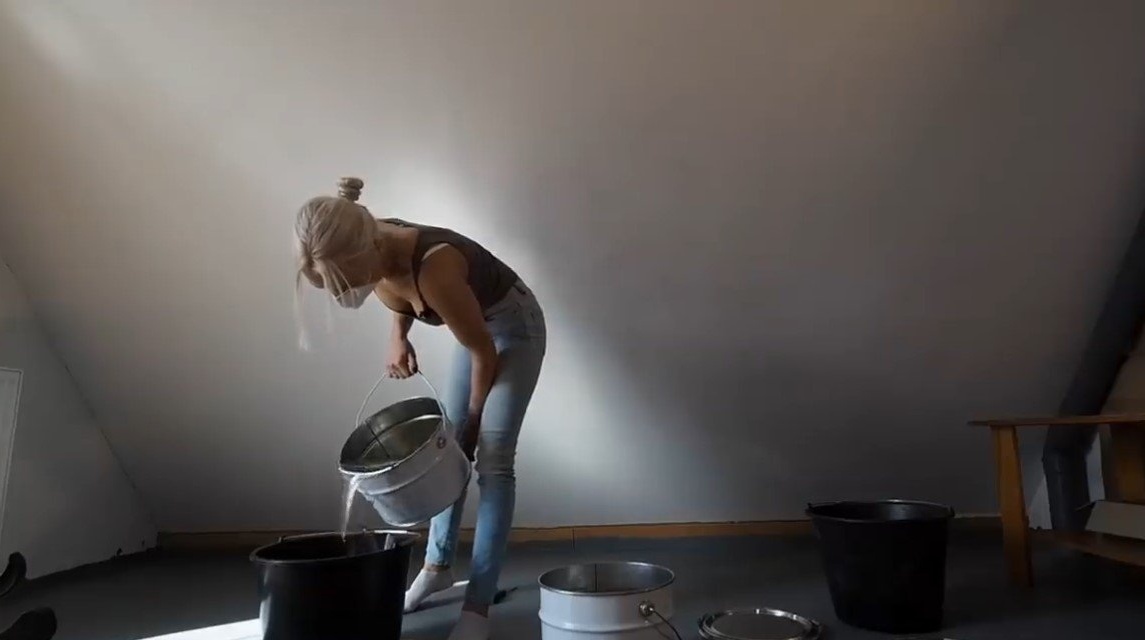
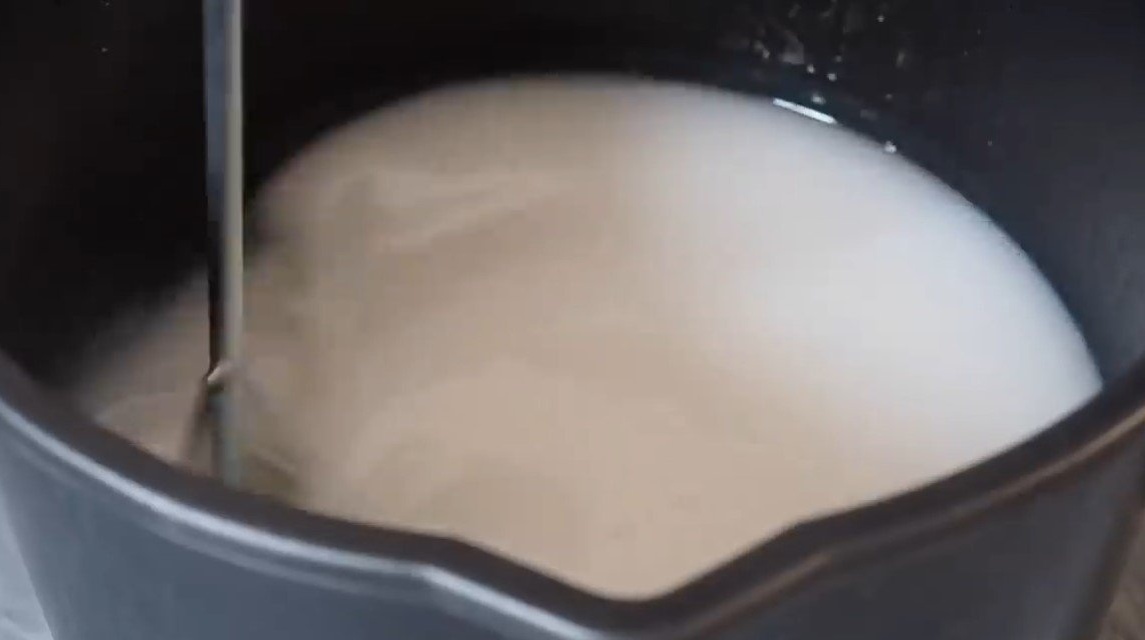
Step Four Resin filling
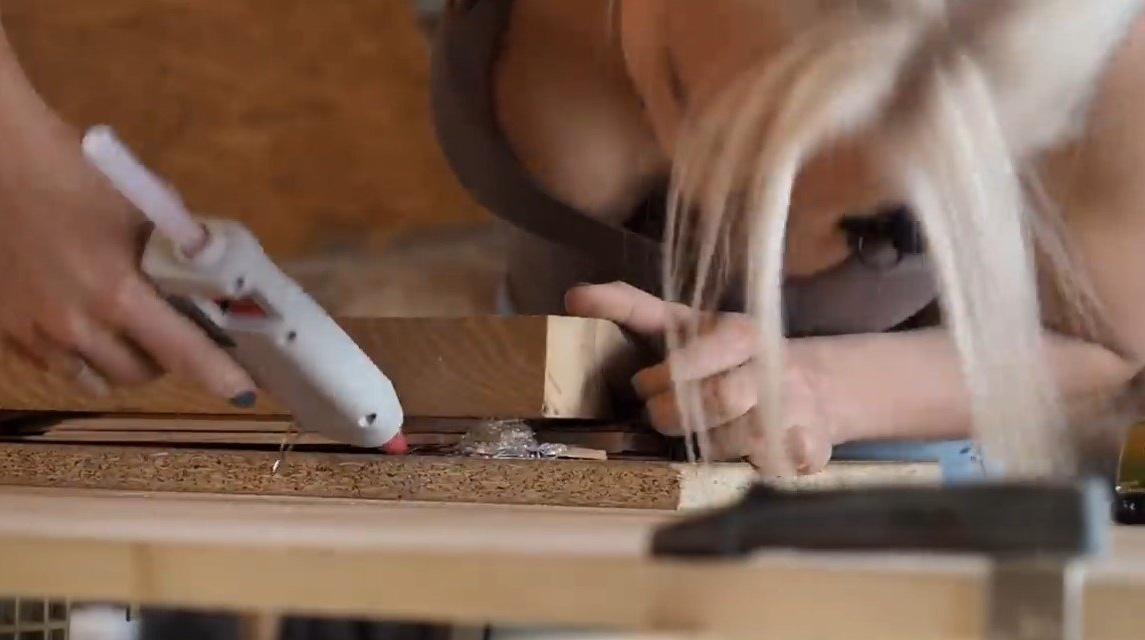
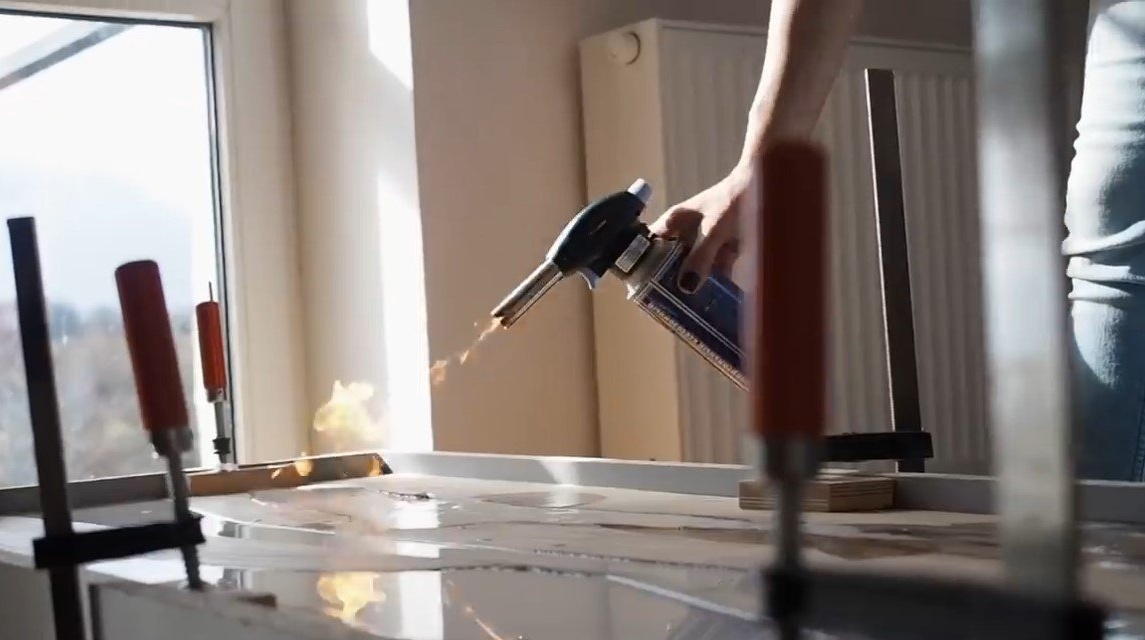
We put saws into the formwork, keep in mind that they will pop up, so that they need to be somehow glued to the formwork, double-sided tape or something similar is suitable. The author’s resin is special for pouring large volumes. Stir the resin with the hardener in a plastic bucket and add the dye. As planned, the table is a “coffee with milk” picture, where the epoxy is milk, so we add a white dye to it. The author drove out the bubbles from the resin using a gas burner, and a construction hair dryer is also suitable.
Such a volume of resin hardens within 5 days so that nothing falls into the resin during this time, it will not be superfluous to cover it with a film.
Step Five Legs
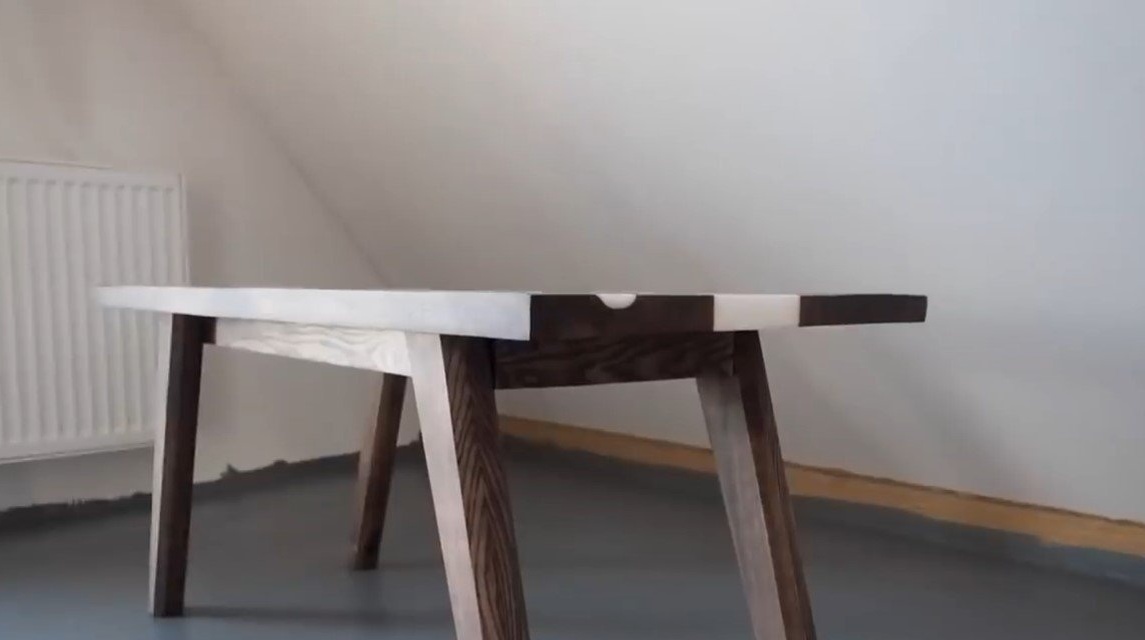
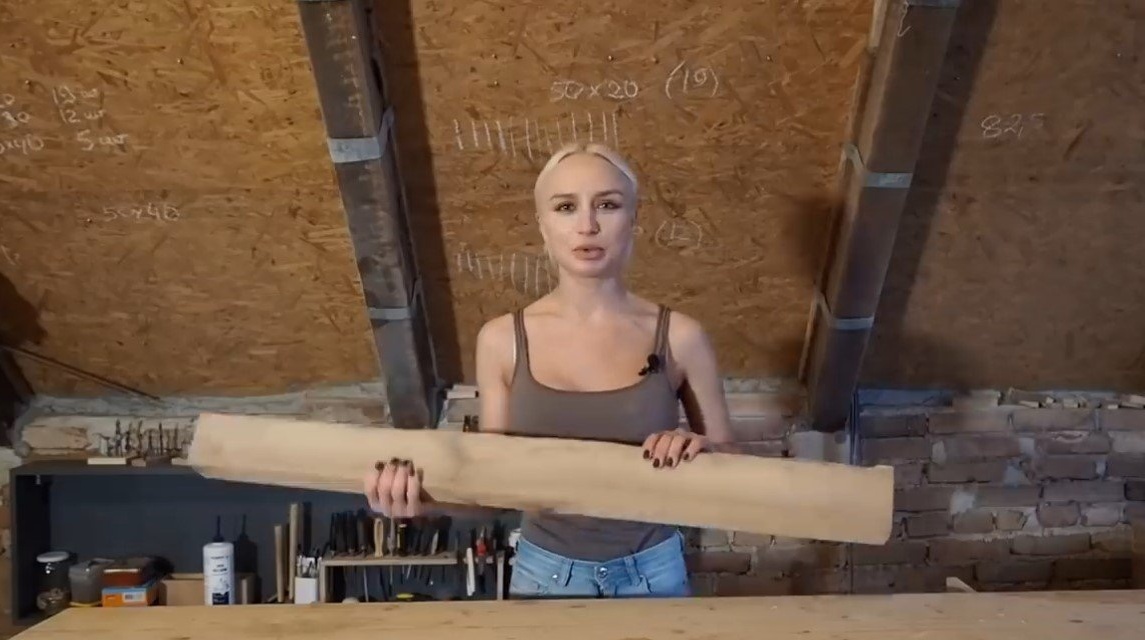
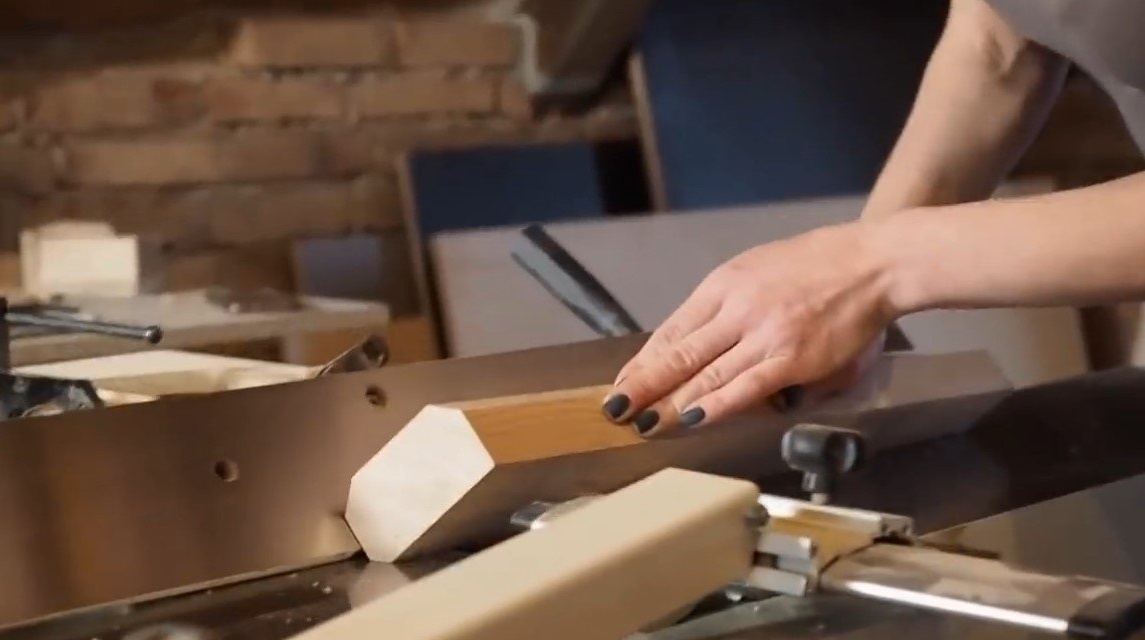
While the resin hardens, you can make the legs for the table. We use the bars, remove the sharp edges, grind, to obtain the desired shape. The legs are not mounted at right angles, they diverge in different directions, everything looks interesting, in a modern way.
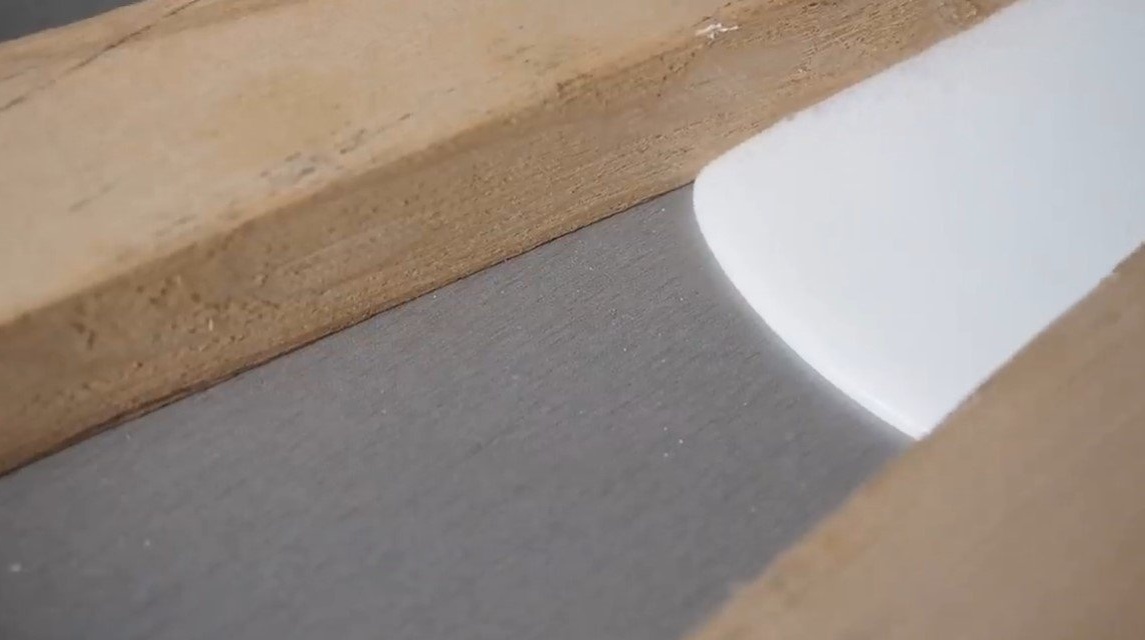
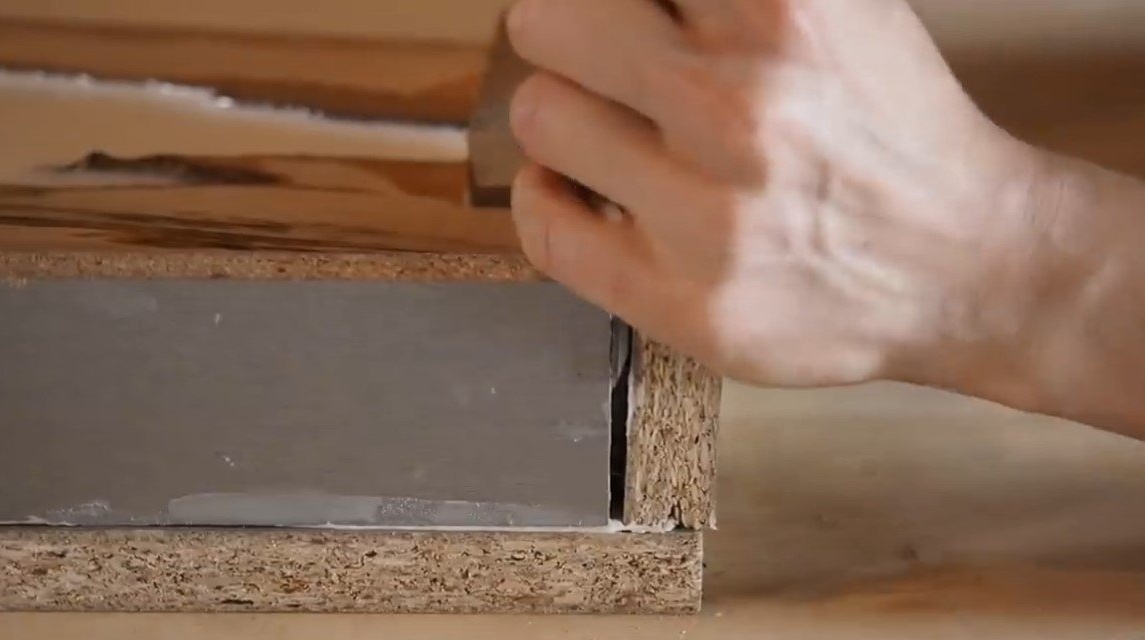
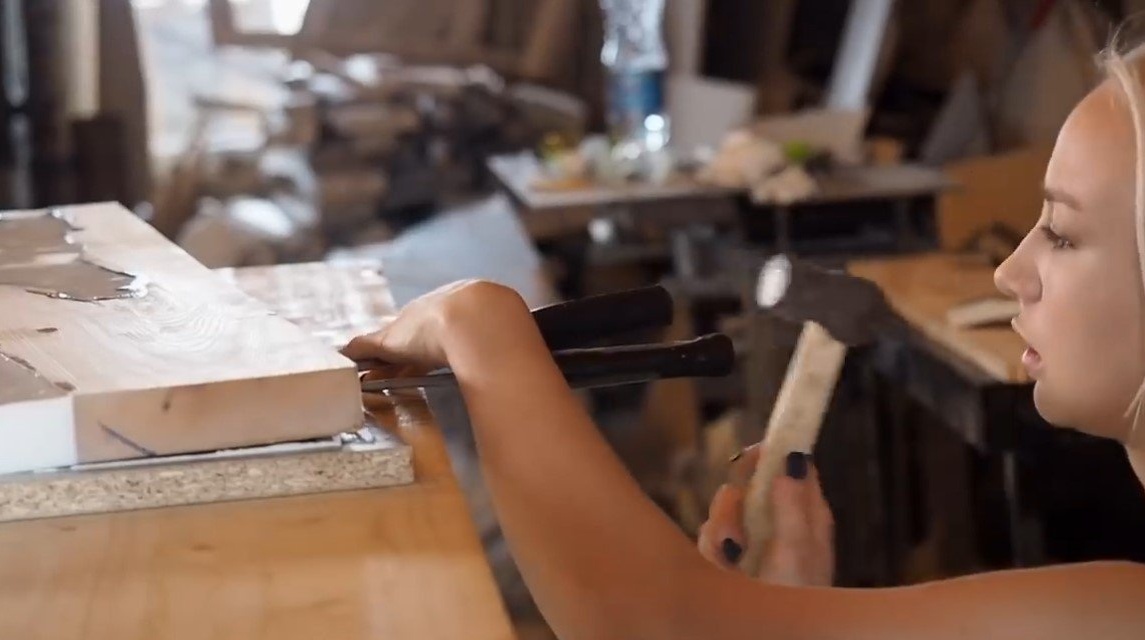
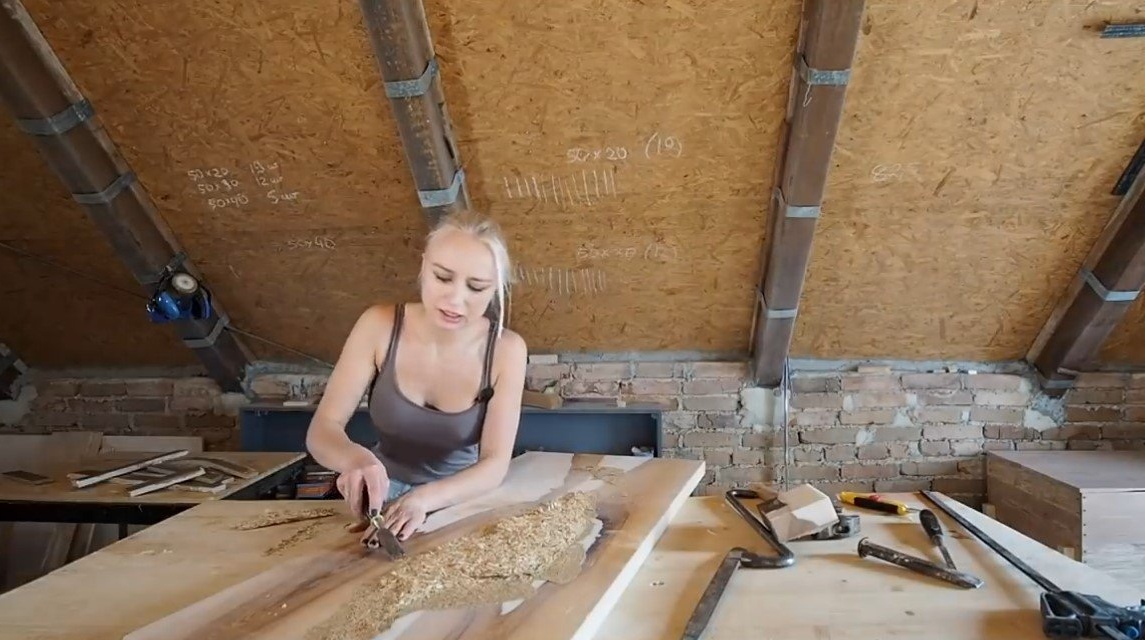
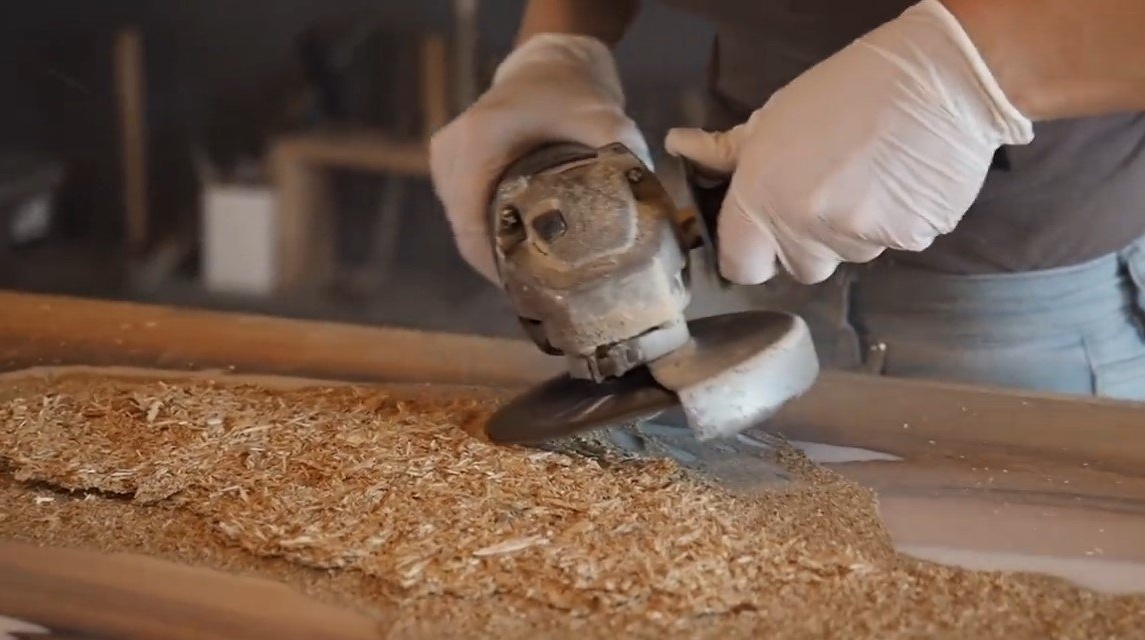
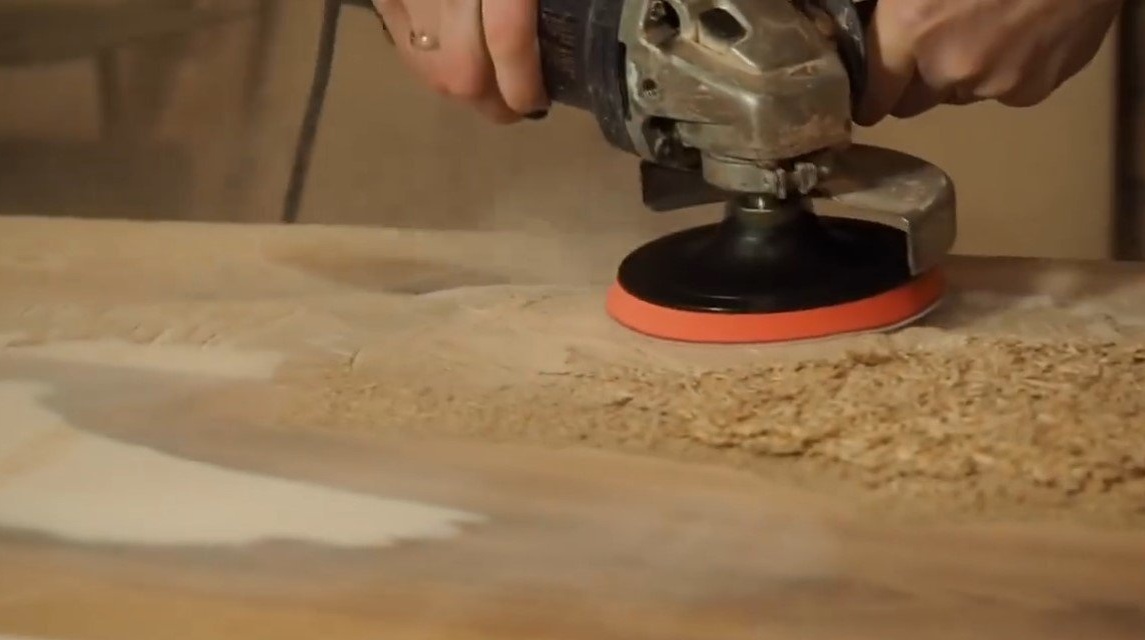
Step Six Countertop processing
5 days passed, and the resin froze, you can disassemble the formwork. The author had problems, the countertop stuck so tightly to the formwork that a piece of chipboard broke off. We clean the excess with the help of a grinder and a special disk for a tree (not circular !!!). Well, then we will have a long and tiring grinding, we need to make the plane perfectly smooth. We use a suitable grinder and always work in a respirator, there will be a lot of dust and it is very harmful to inhale it.

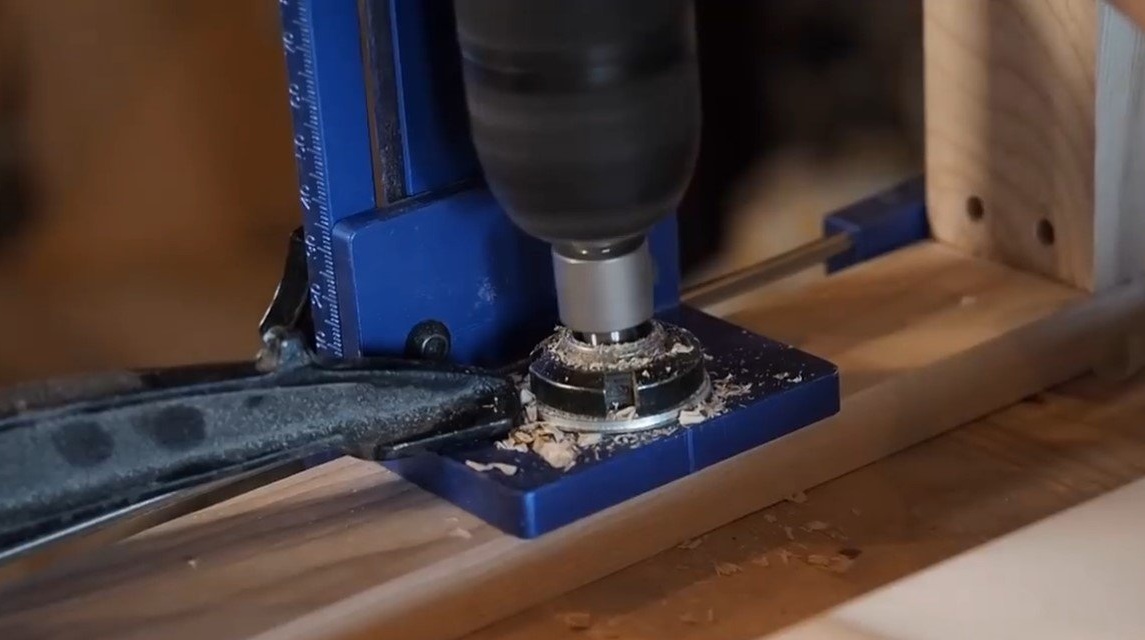
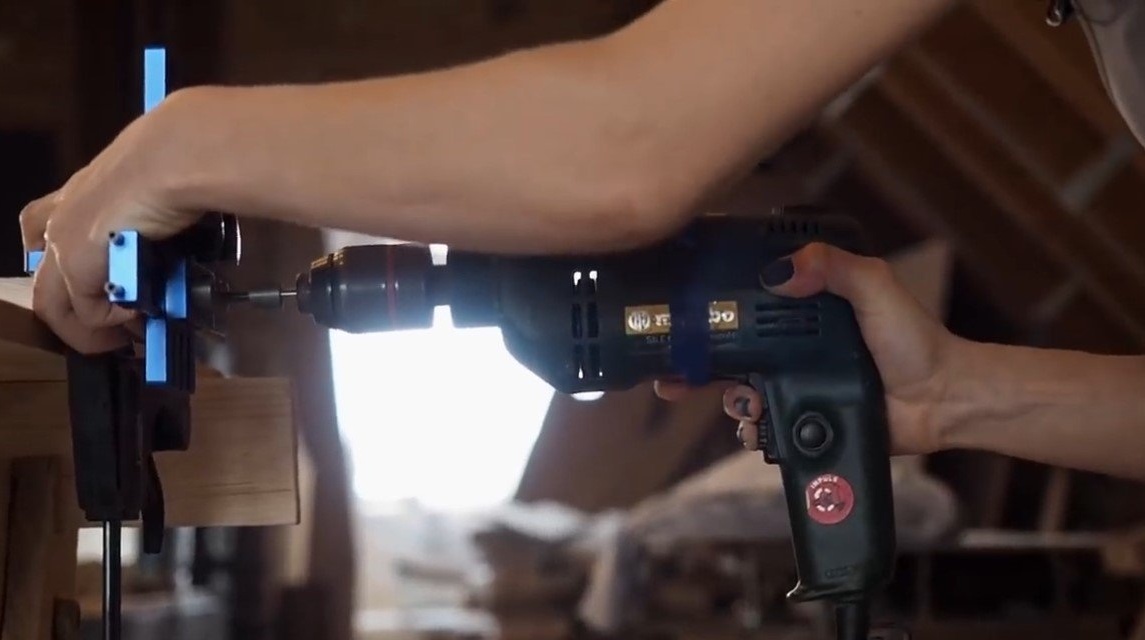
Seventh step. Impregnation and assembly
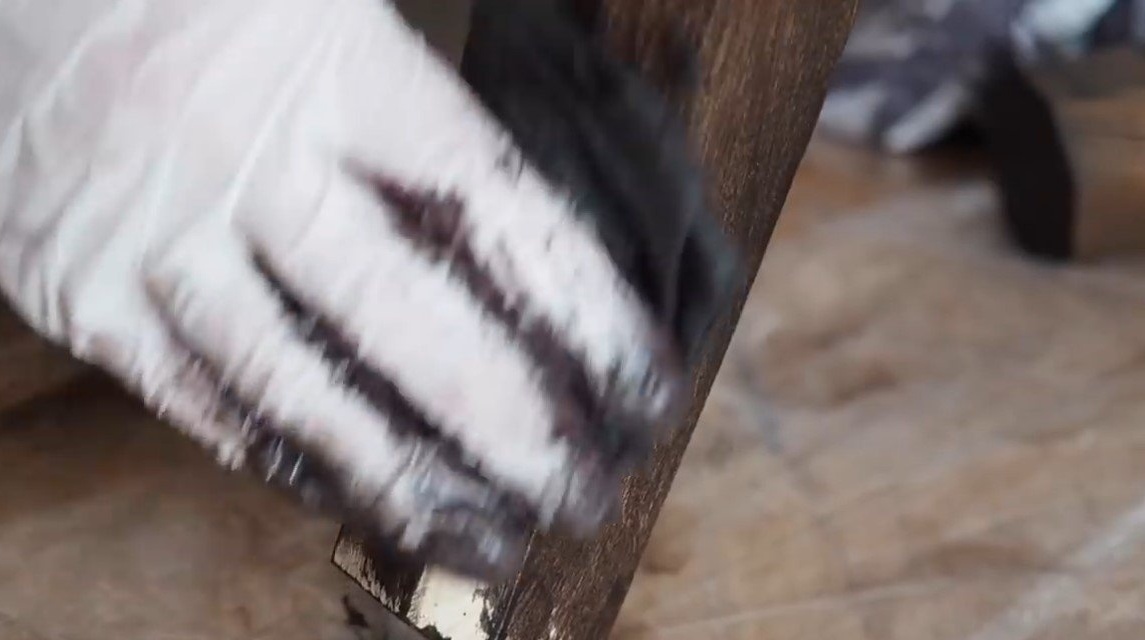
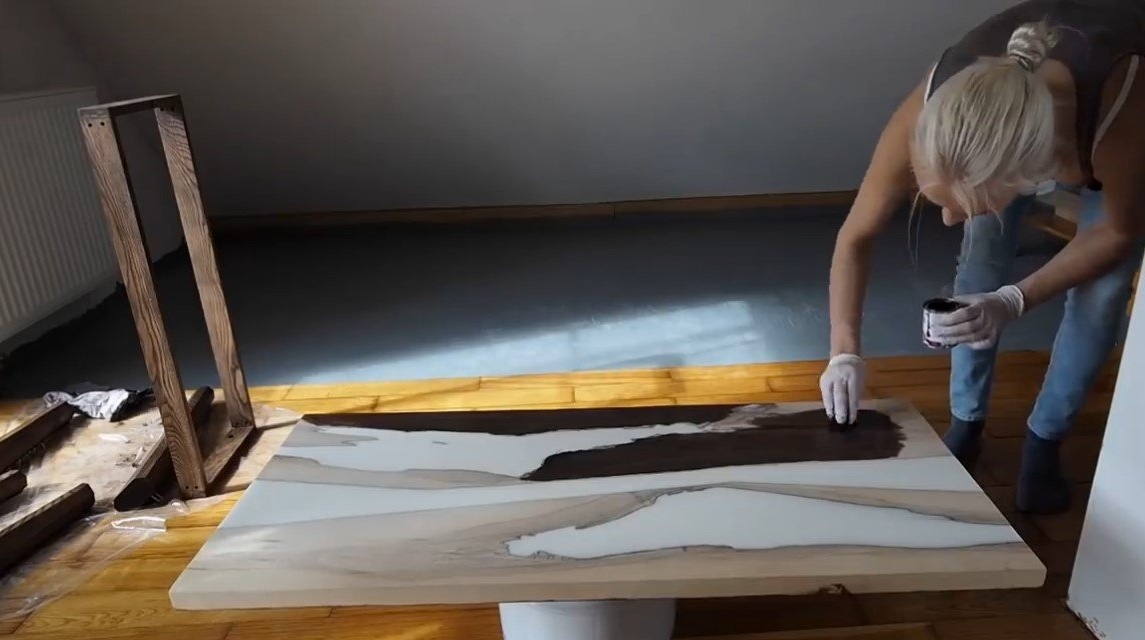
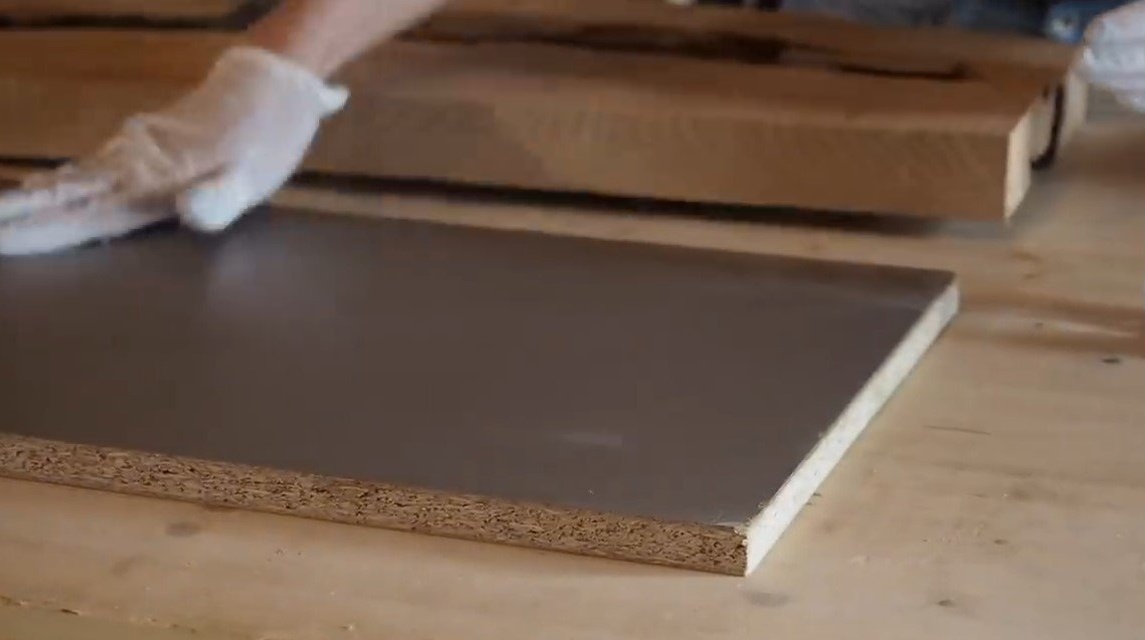
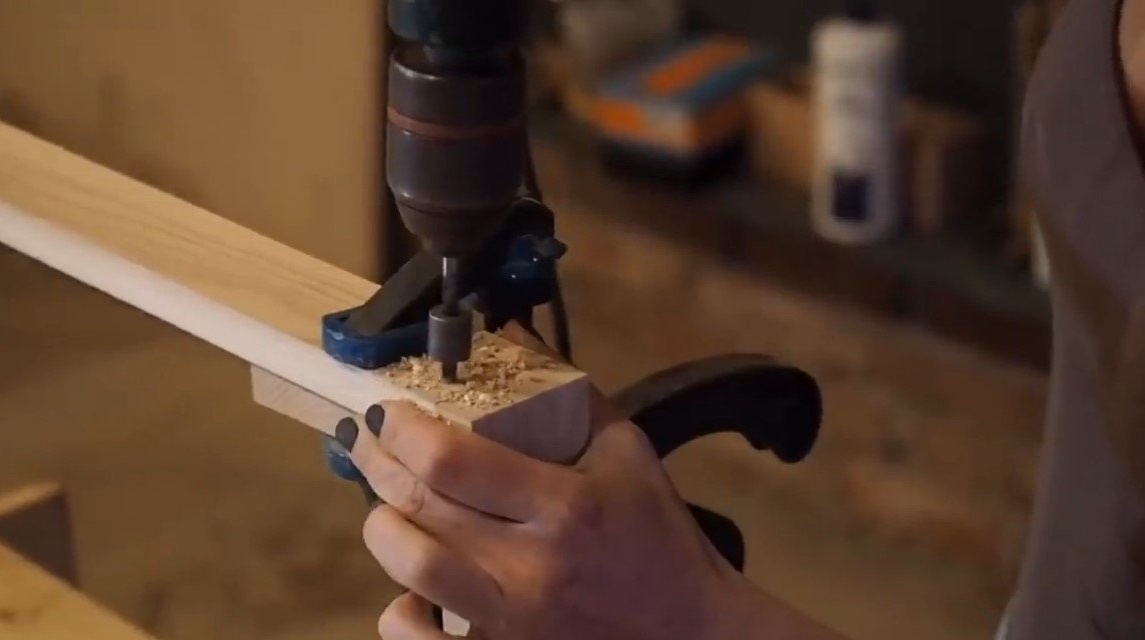
We impregnate the legs with a dark stain to the color of coffee or chocolate, we also paint the frame. The legs are attached to the frame at a certain angle, everything is pre-marked and drilled holes. We fix the legs with good wood glue and furniture dowels.
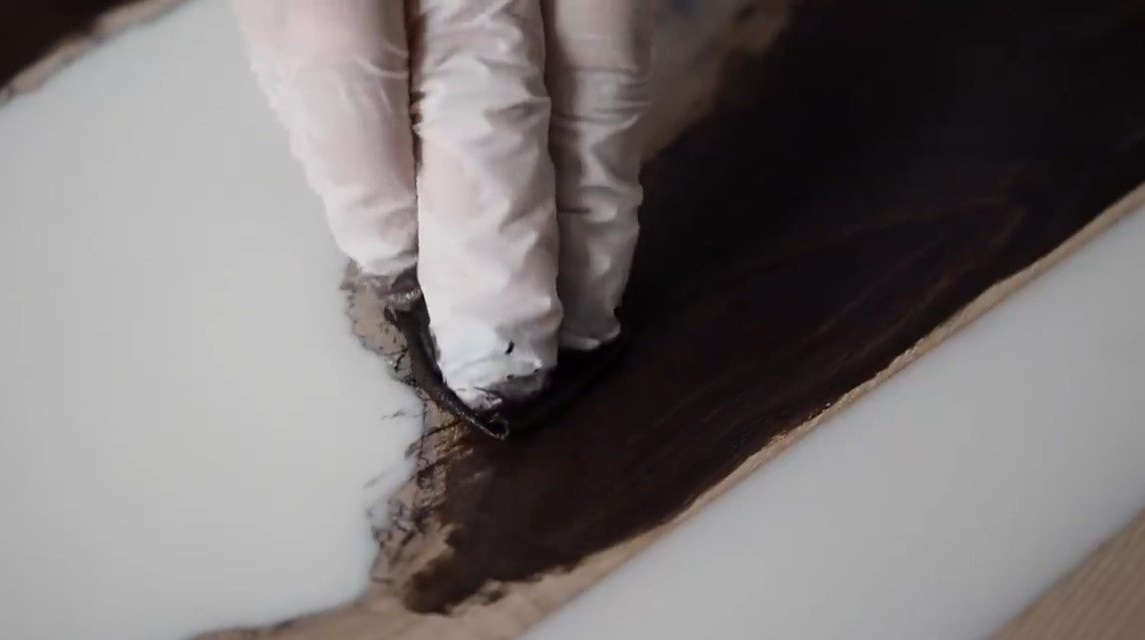
Also, we impregnate the dark color with wood stain and wooden parts of the countertop, as a result, an excellent contrast appears. The table is ready, everything looks fine, after drying the impregnation, you can cover everything with oil. On this project is completed, I hope you homemade I liked it, and you found useful thoughts for yourself. Good luck and creative inspiration, if you decide to repeat this, do not forget to share your ideas and homemade things with us!