
An epic battle for every loop ...
I will not embarrass you with my meager knitting skills, but maybe some of the readers will lend me a helping hand and demonstrate their talent?
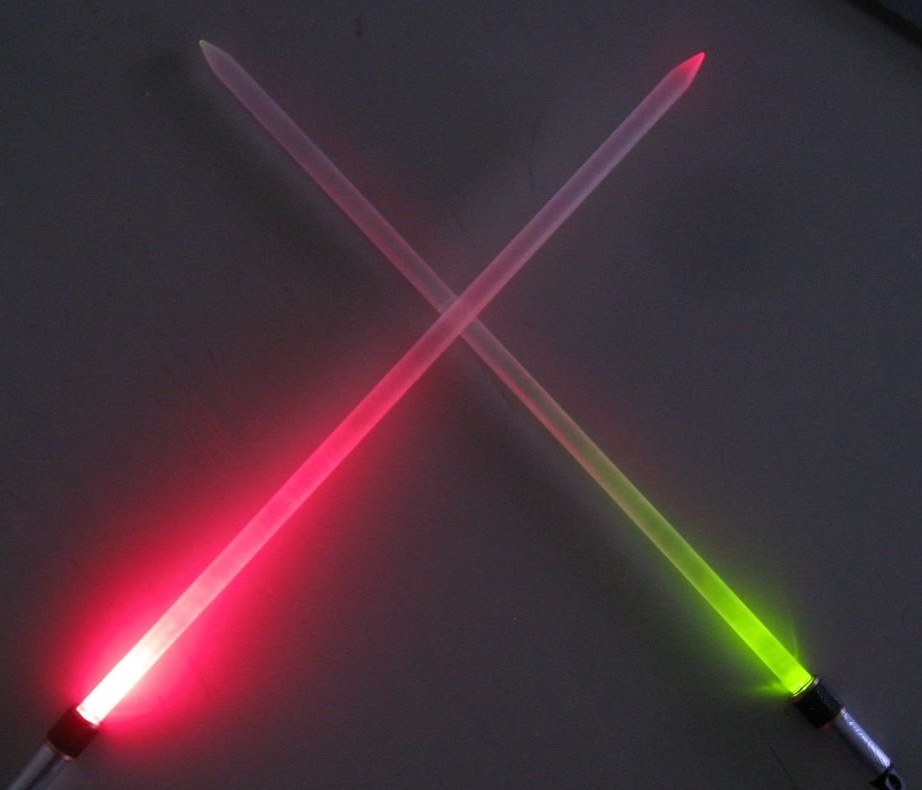
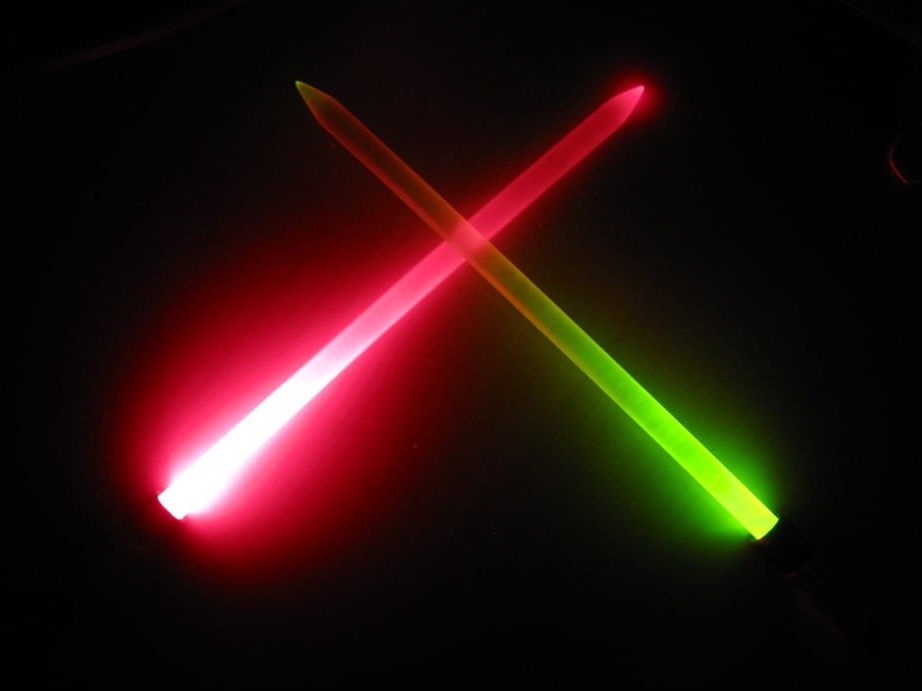
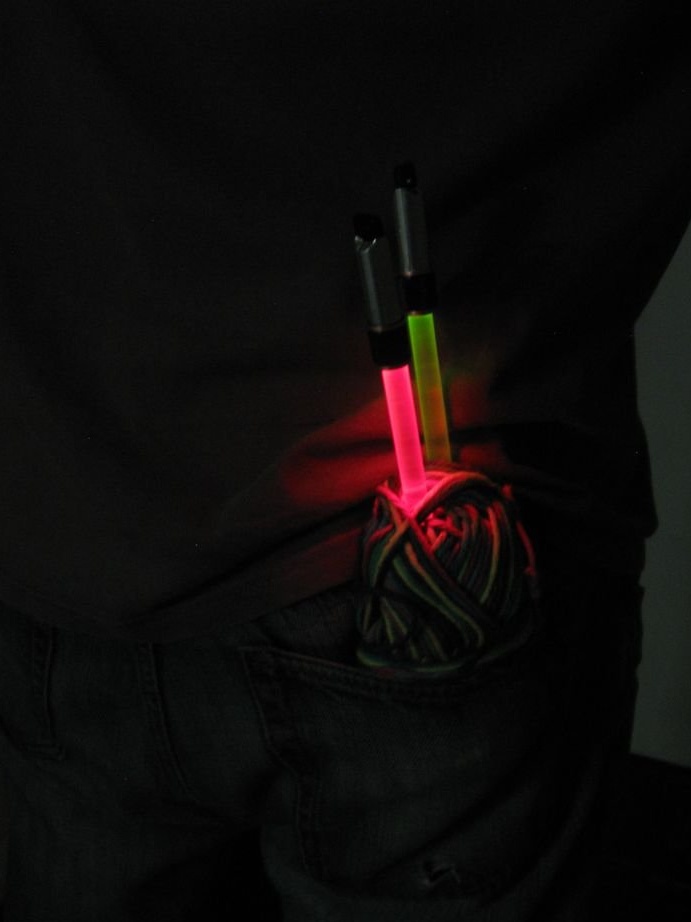
I still show a set of loops in the evening in a shaded room, with the lights off!
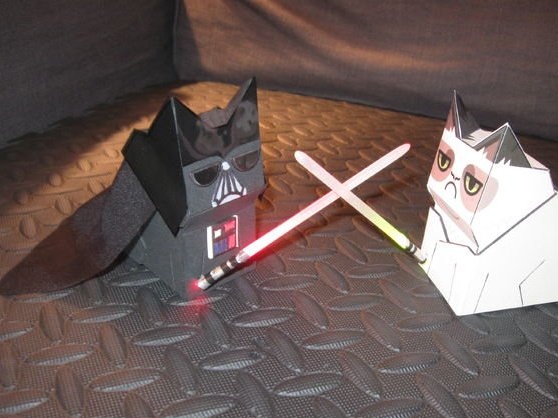
I also made small “swords” 20 cm long as a pocket option.
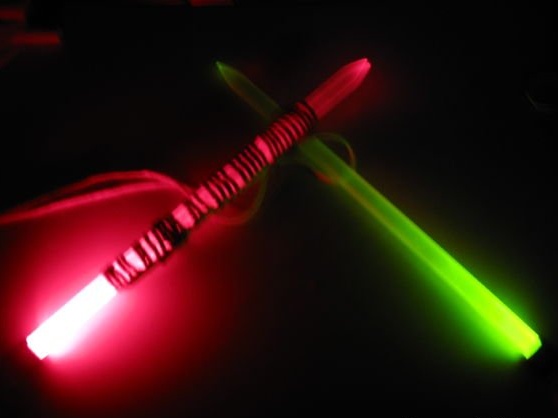
And even the third pair, with a smaller diameter of the rod for a denser knitting !!!!
These pieces have 1000 and 1 uses ... can you guess them all?
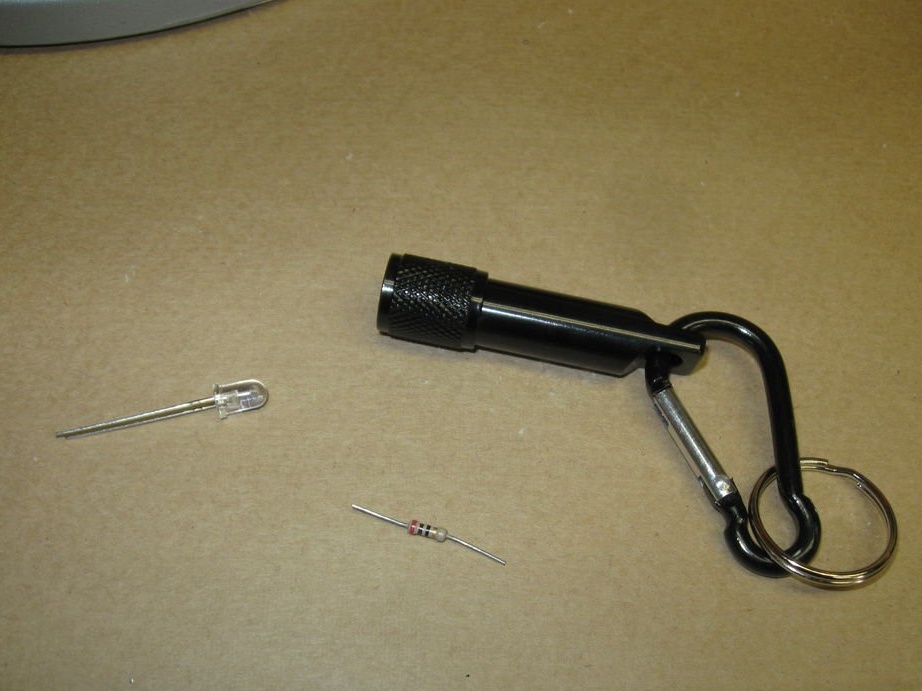
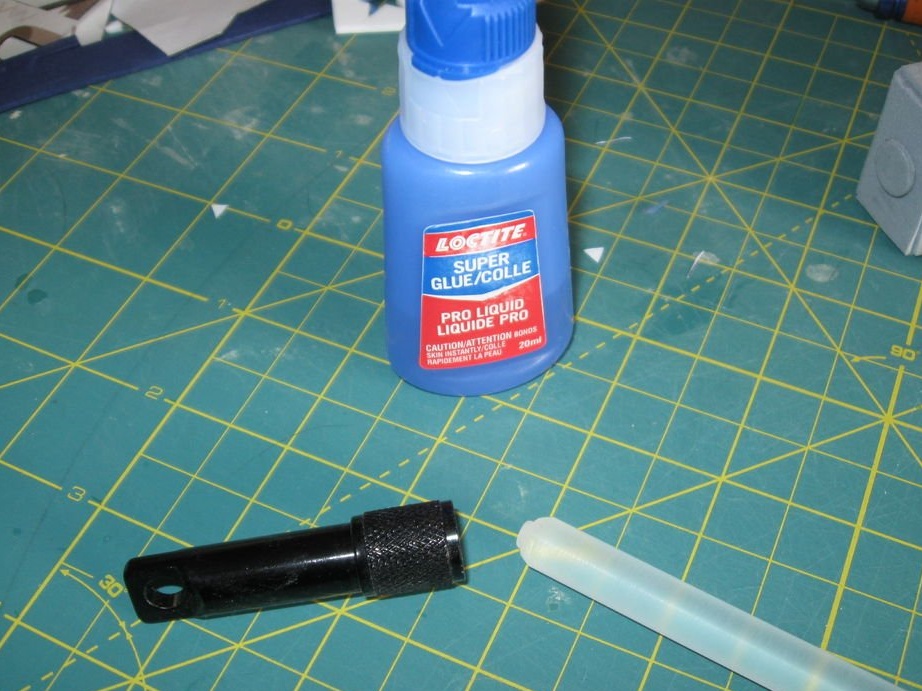
Step 1: Required Parts
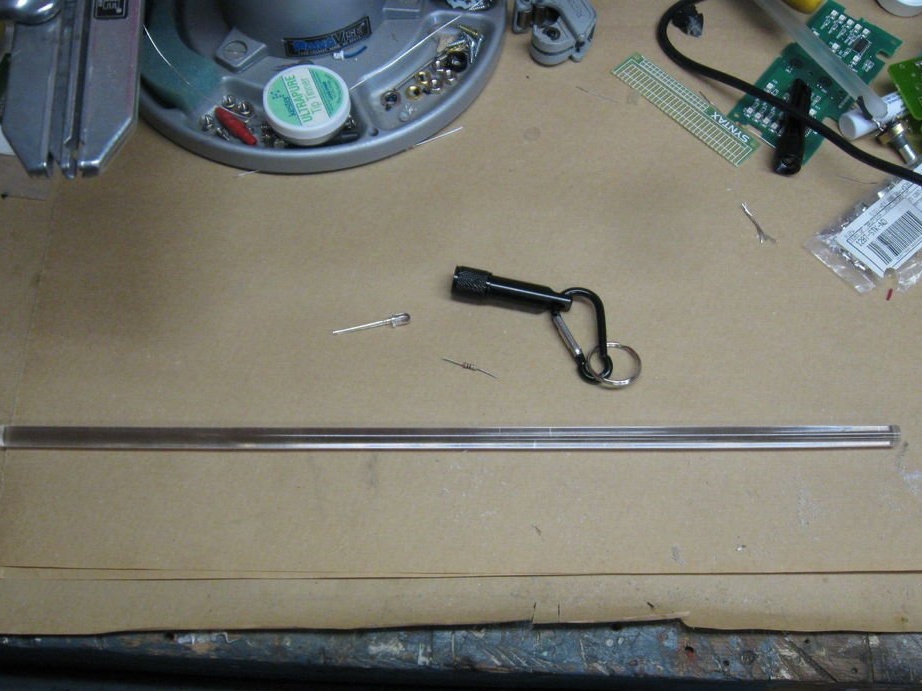
лю inch lucite rod
- several diode flashlights trinkets
- red diode
- Green diode
- 2 resistors per 10 ohms
- heat shrink tubes
- 120 caliber sandpaper
- abrasive sponge for stripping
- 10 ohm resistor
INSTRUMENTS
- soldering iron
- dremel
- flashlight
- drill
- file
Step 2: Wrong World !!!
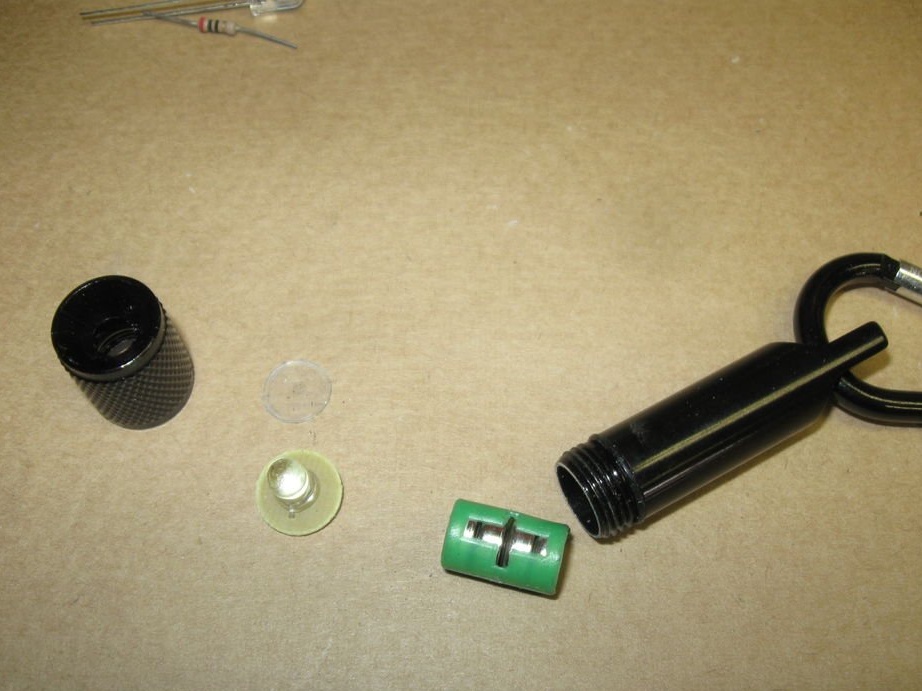
There is no resistor in this flashlight, and it shines from a white diode!
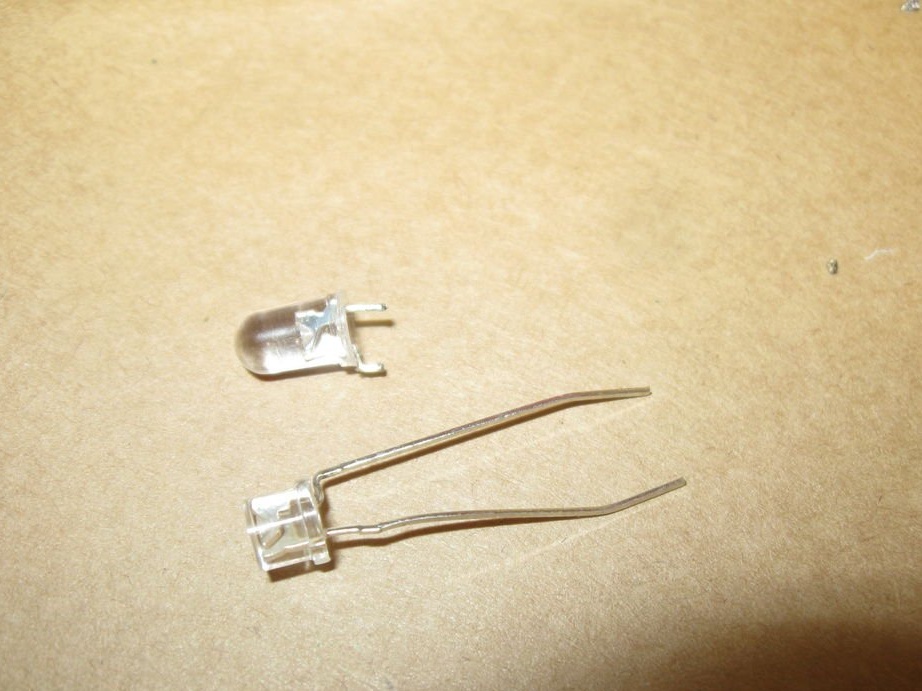
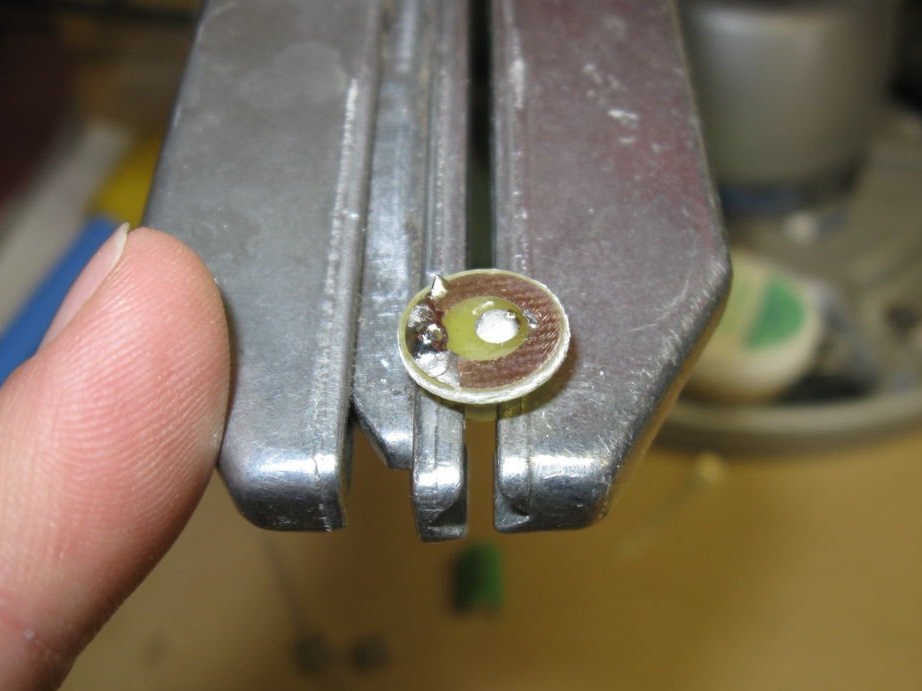
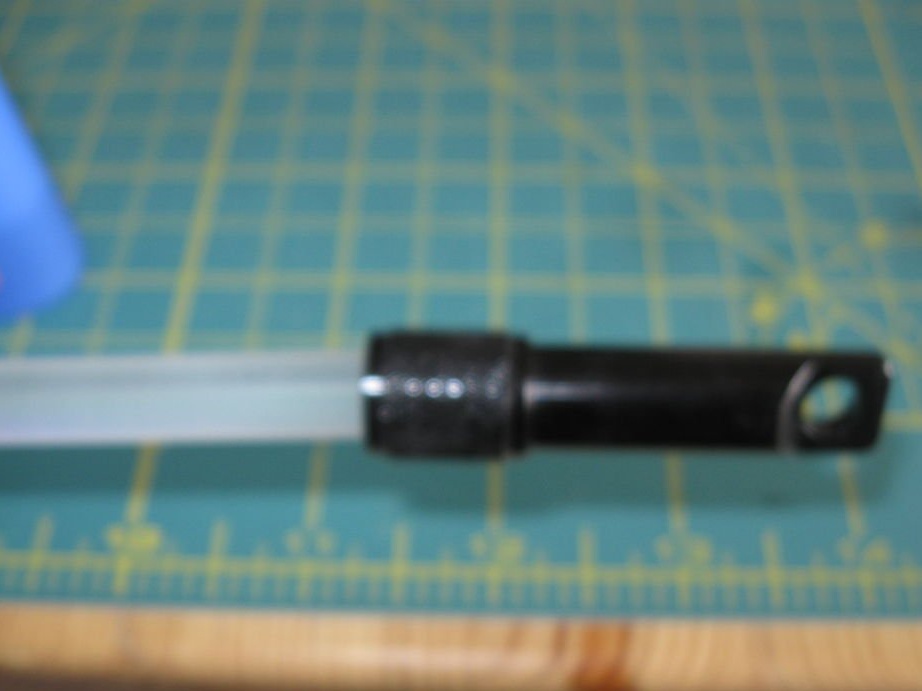
This flashlight has a small board with a diode. You need to pull out the white diode to insert the color.
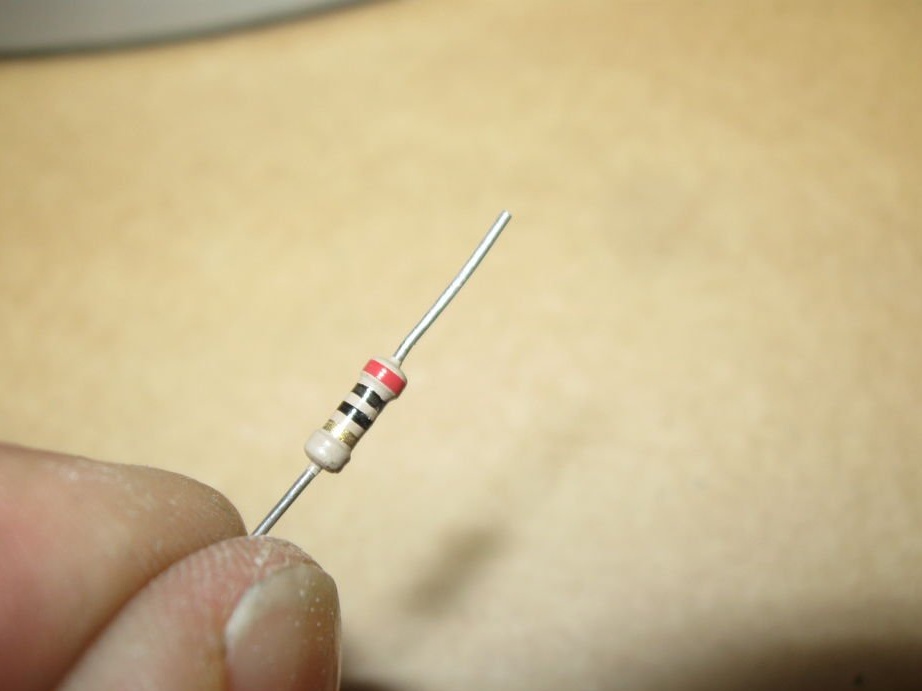
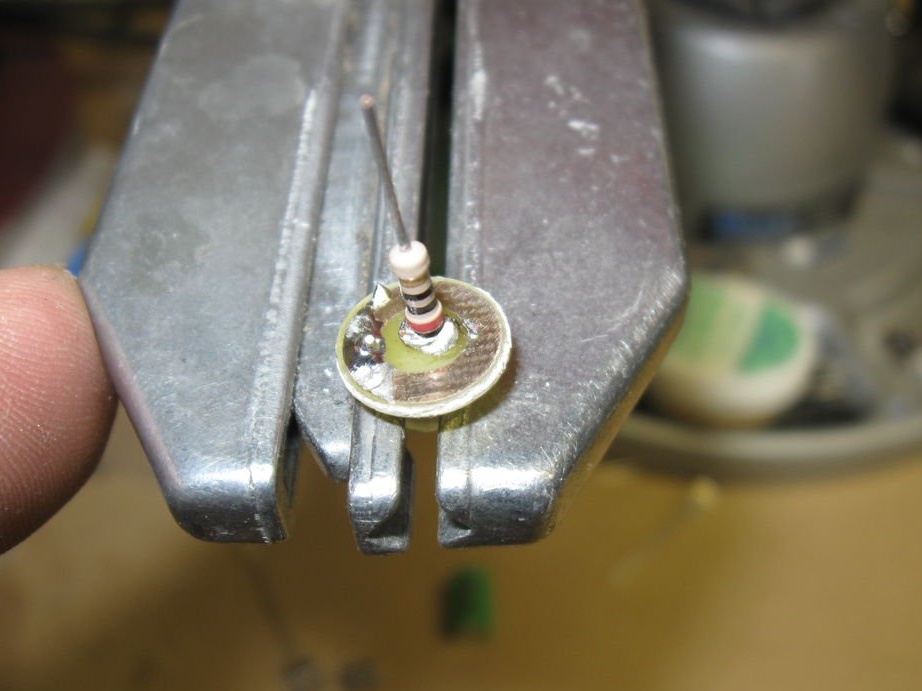
Take a bright red or green diode, replace it with white, as shown in the photographs, and attach a resistor.
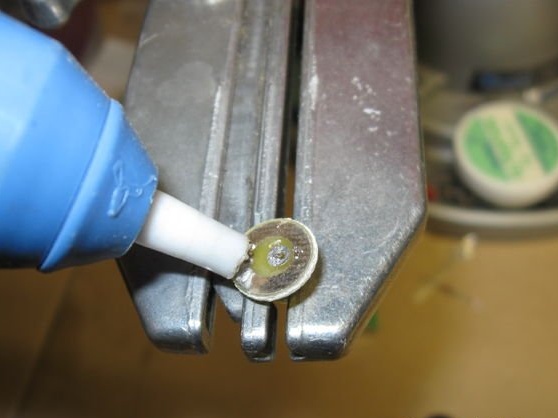
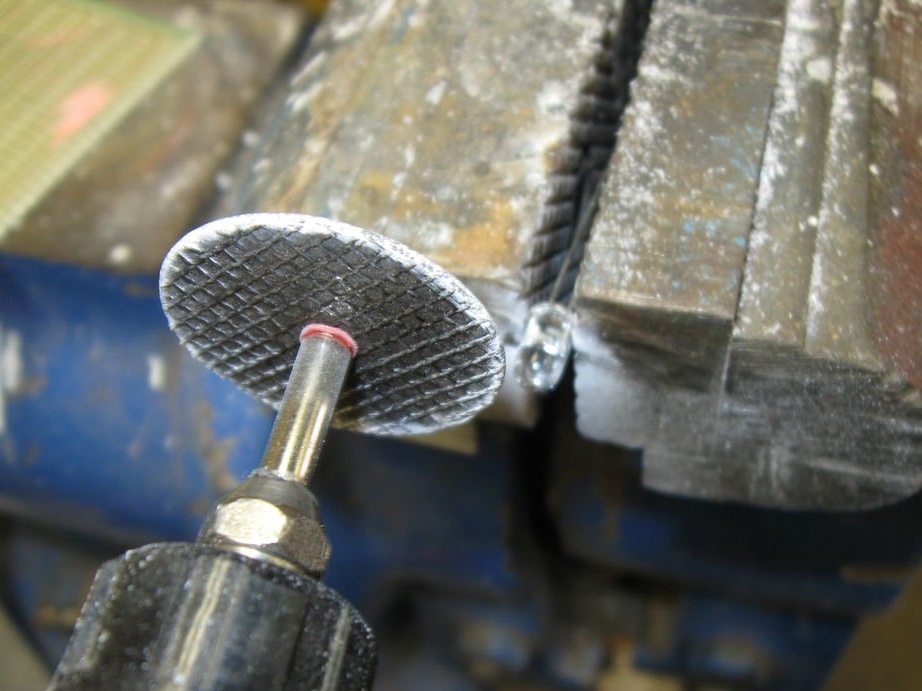
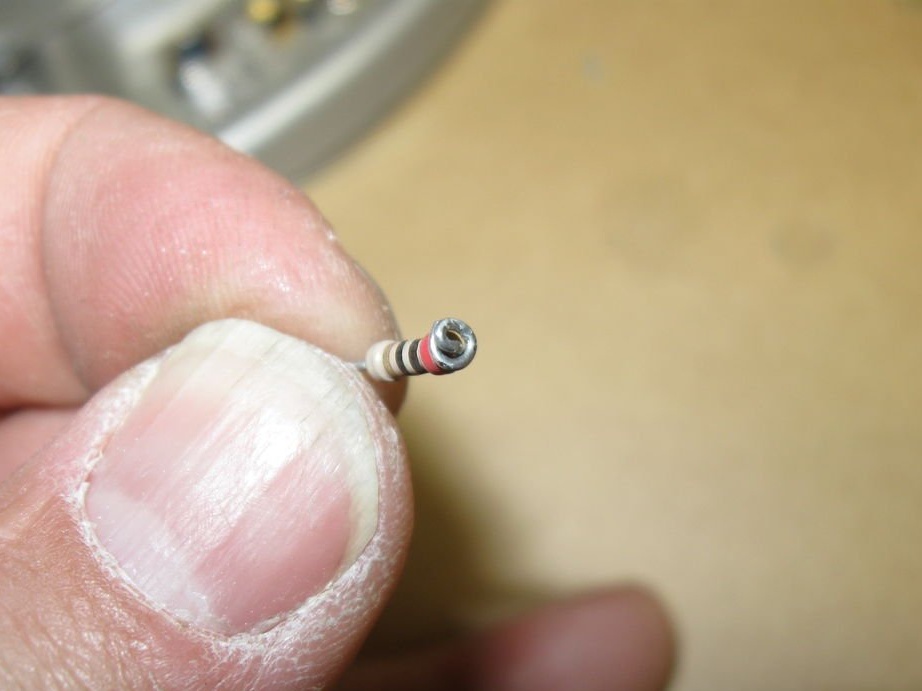
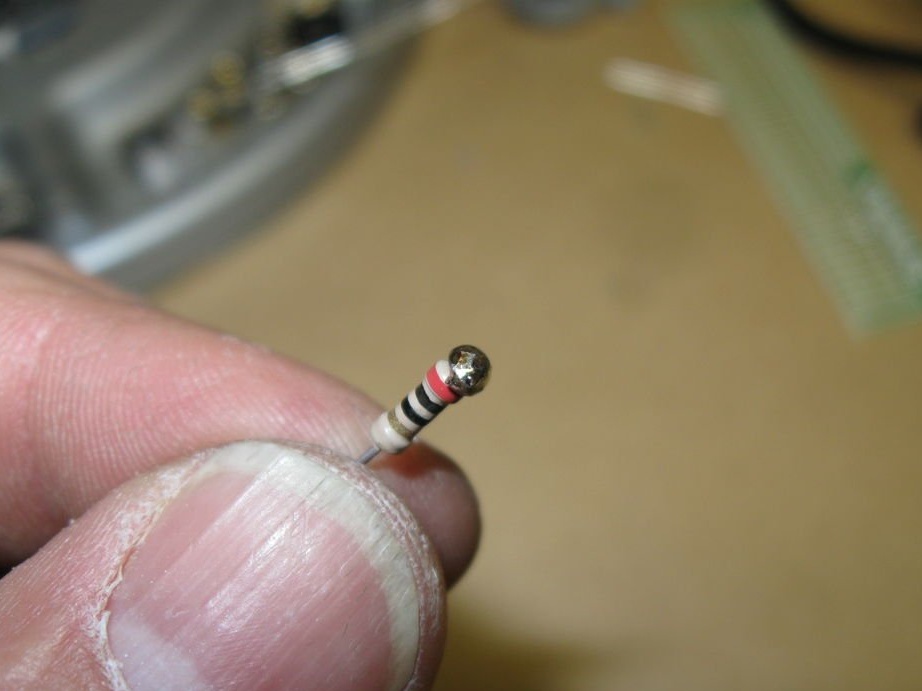
Before assembly, cut off the top of the new diode with a cutting wheel and do not grind it, leave the cut matte.
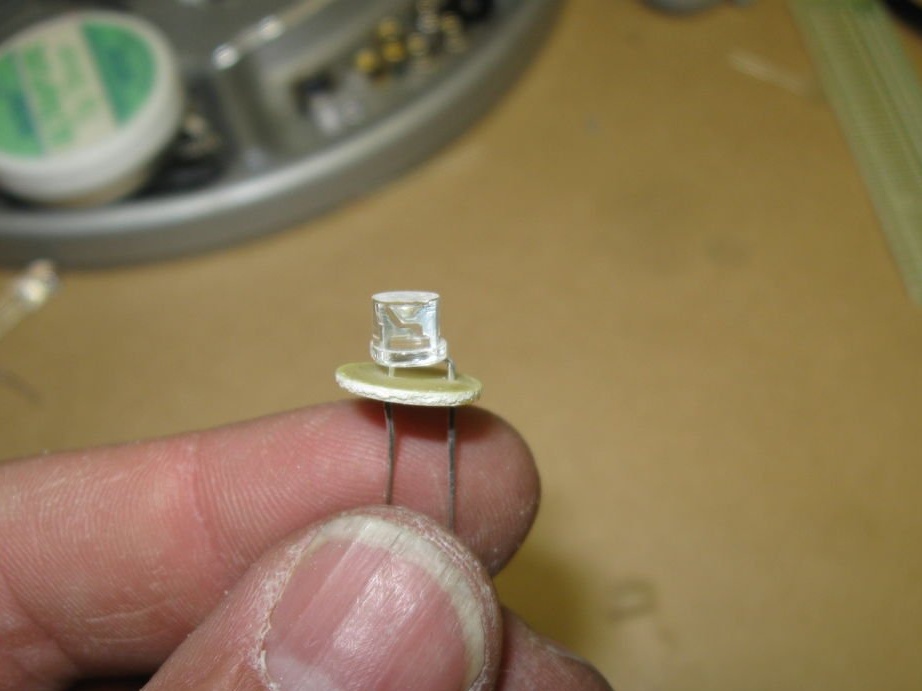
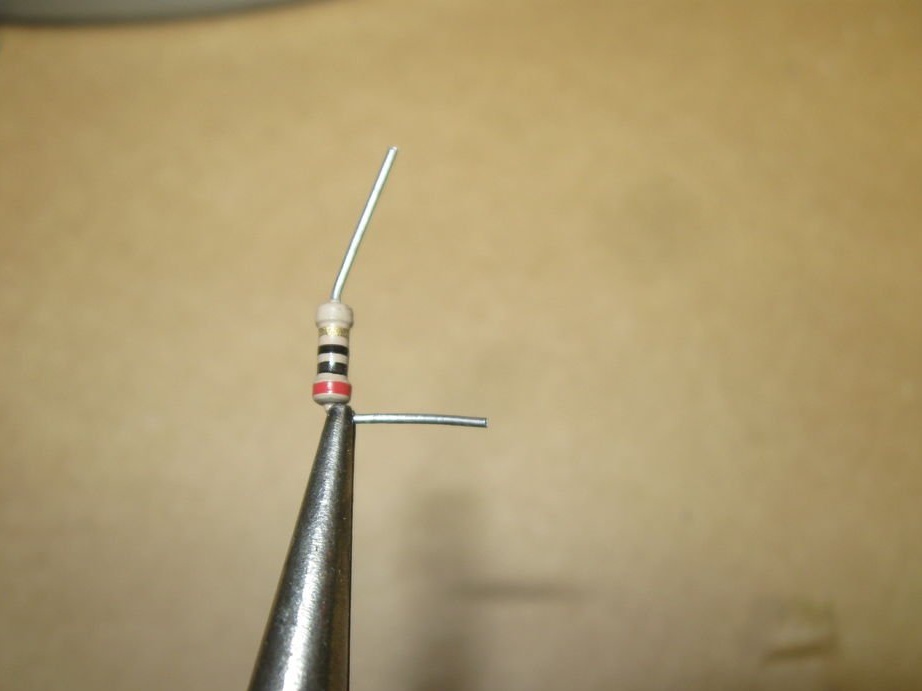
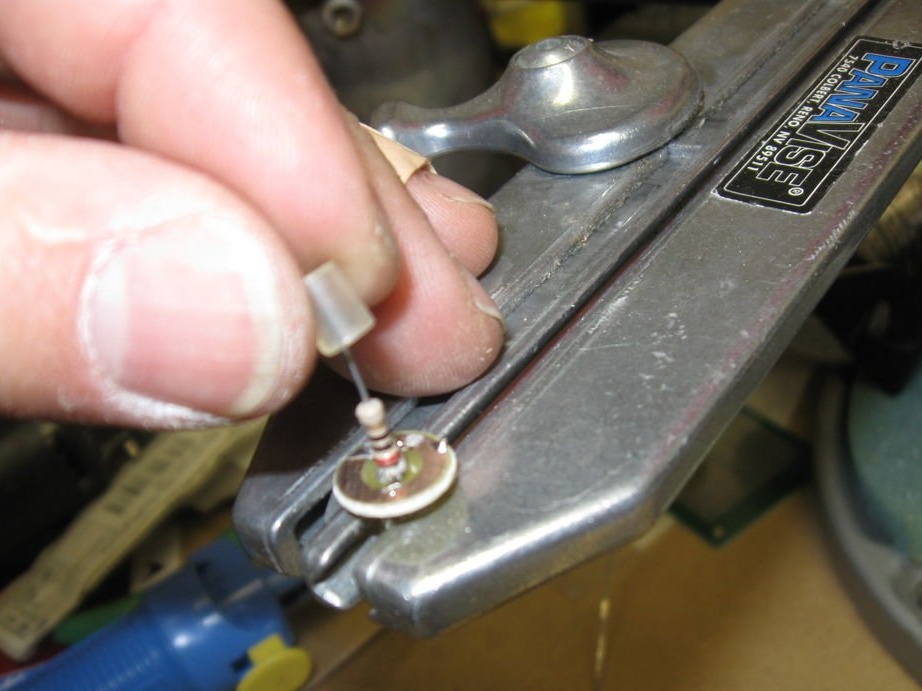
A hard base and resistor must be added to limit the current. Connect the resistor as shown in the photo.
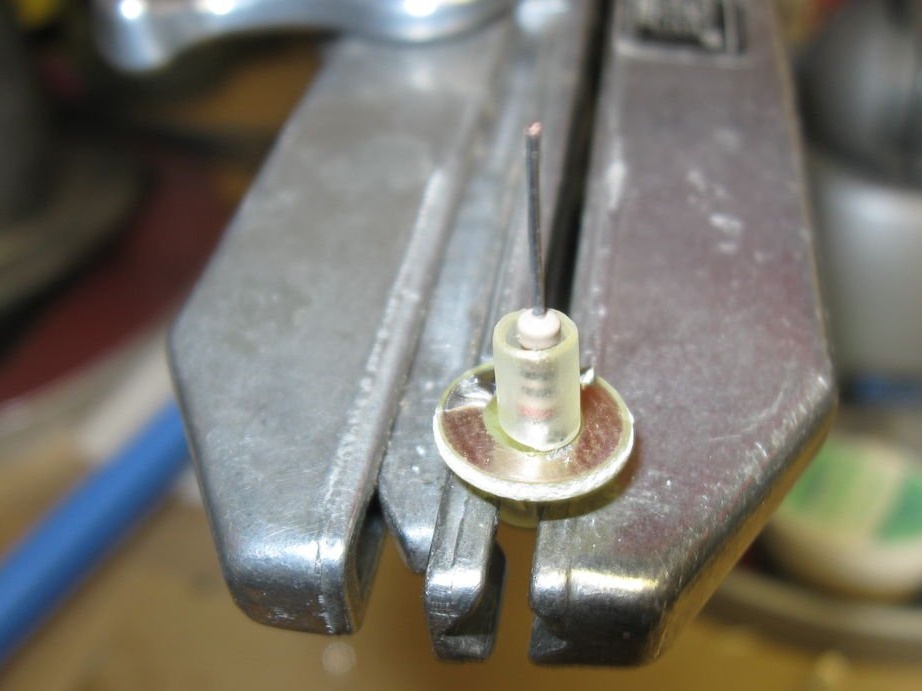
To support the resistor, put a piece of heat-shrink tubing over it, as I showed in the photo. This small detail add sustainability to all circuitry.
Step 3: make a lightsaber!

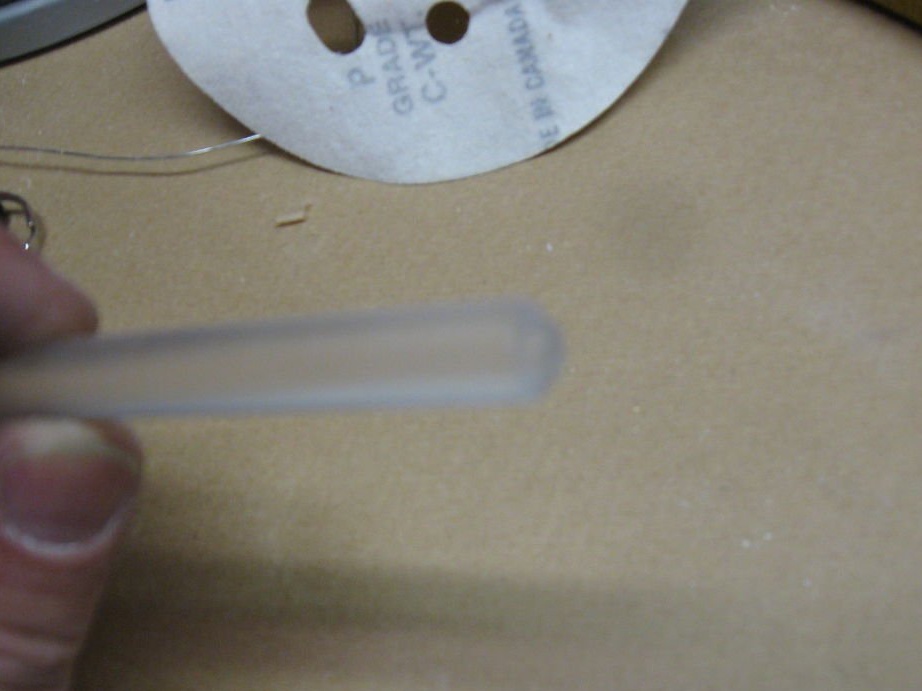
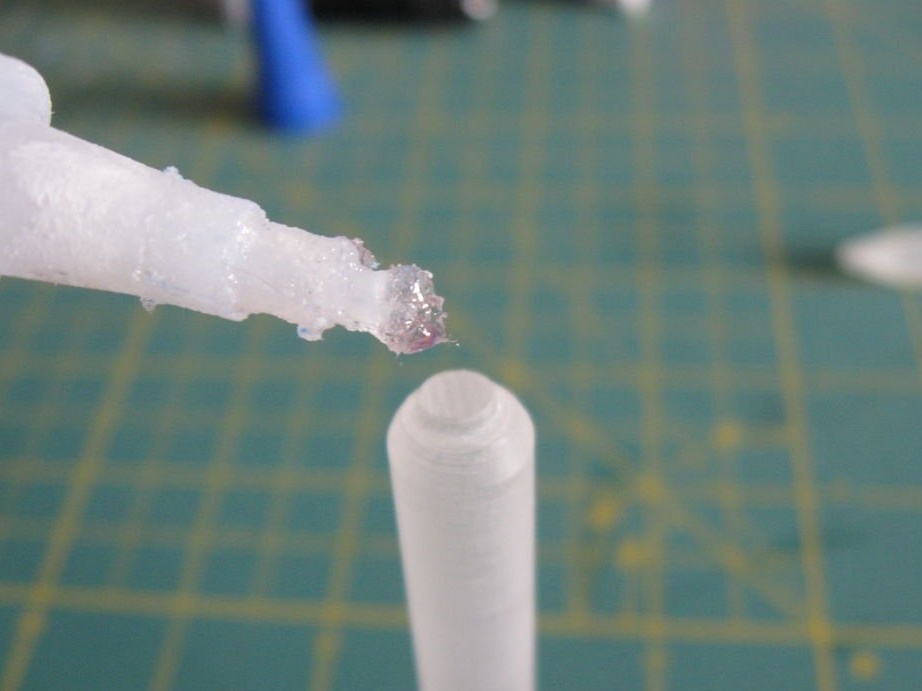
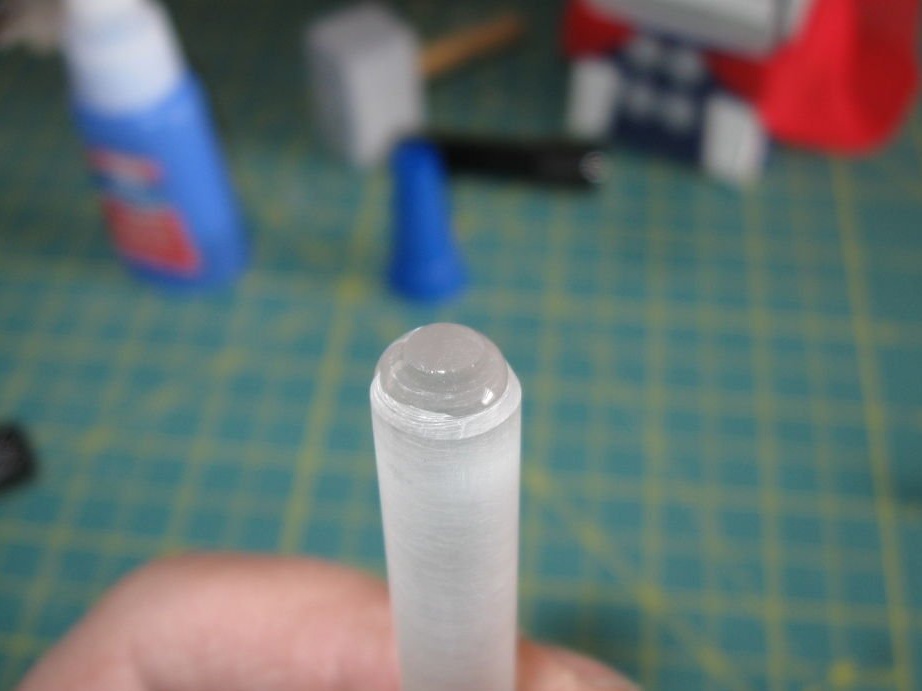
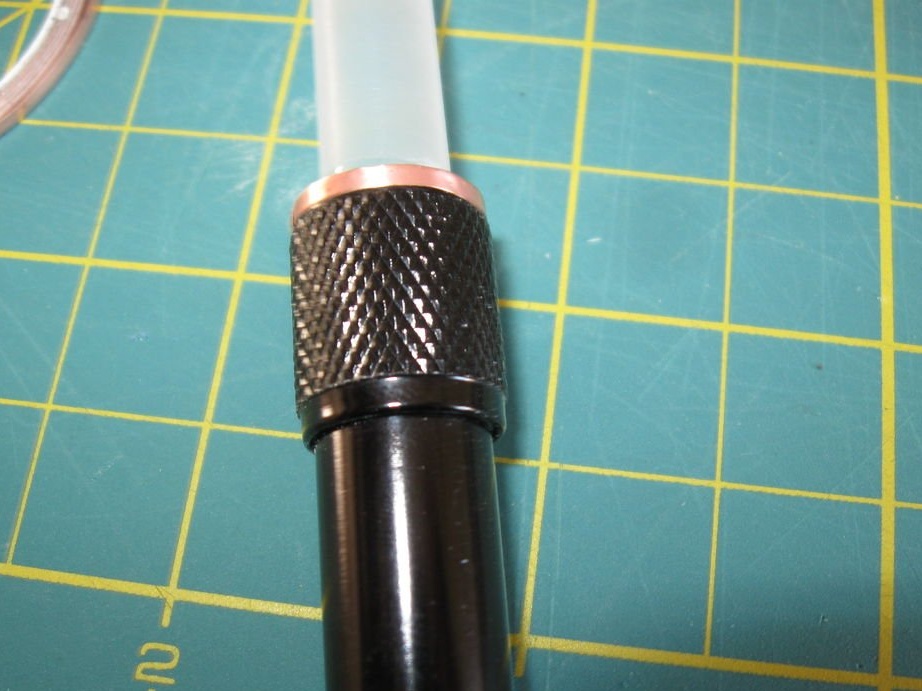
Take a piece of lucite rod of the desired length.
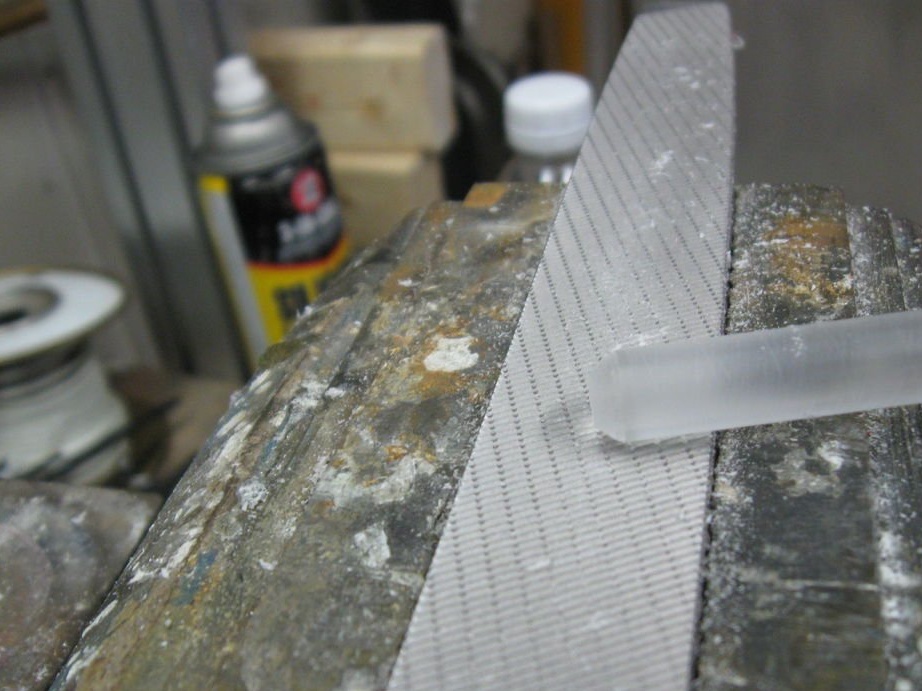
First, the ends of the lucite rod must be filed, then with sandpaper and an abrasive sponge to remove all the nicks.
You can cut a piece of the rod with an ordinary hacksaw, but it makes an uneven incision, which then will have to be ground for a long time.
You can also use a file or a knife, but the pipe cutter that makes a clean, even cut is most convenient for me.
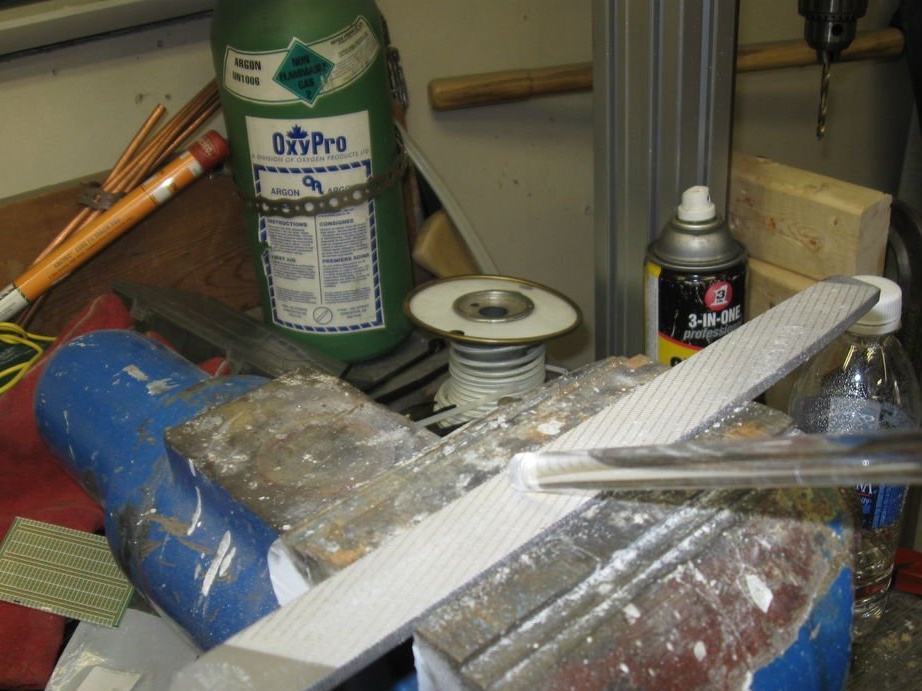
Then you need to fix the rod in the drill.
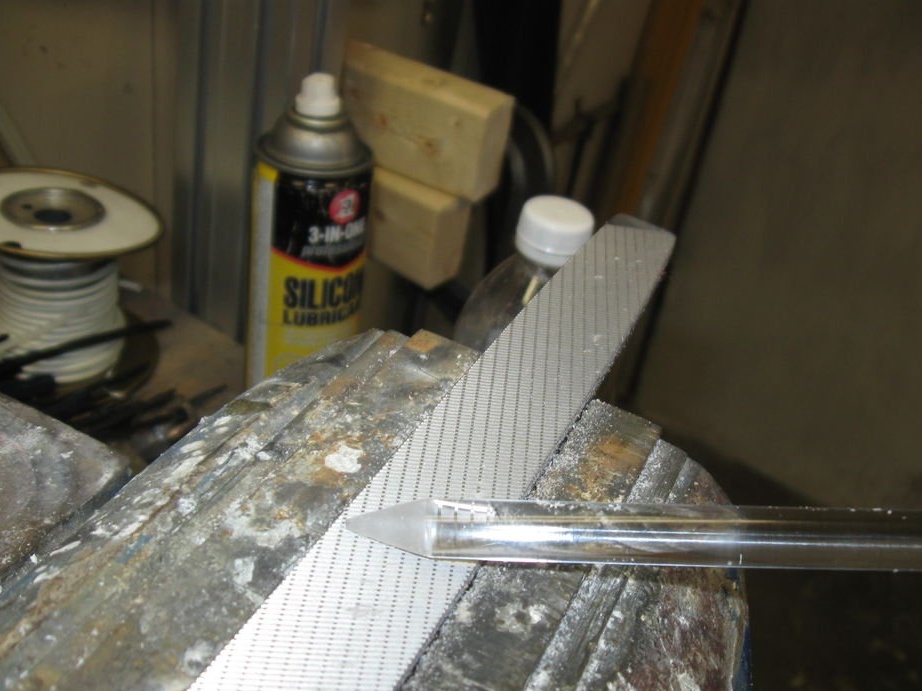
Rotating it at a slow speed (so that friction does not provoke a fire), bring it to the file and comb out all the bumps ...
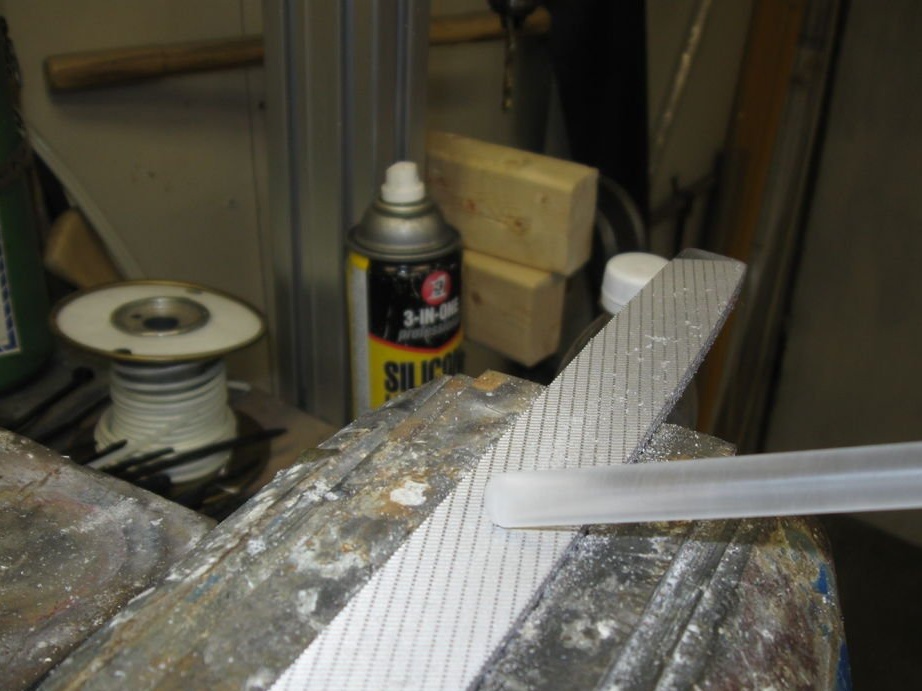
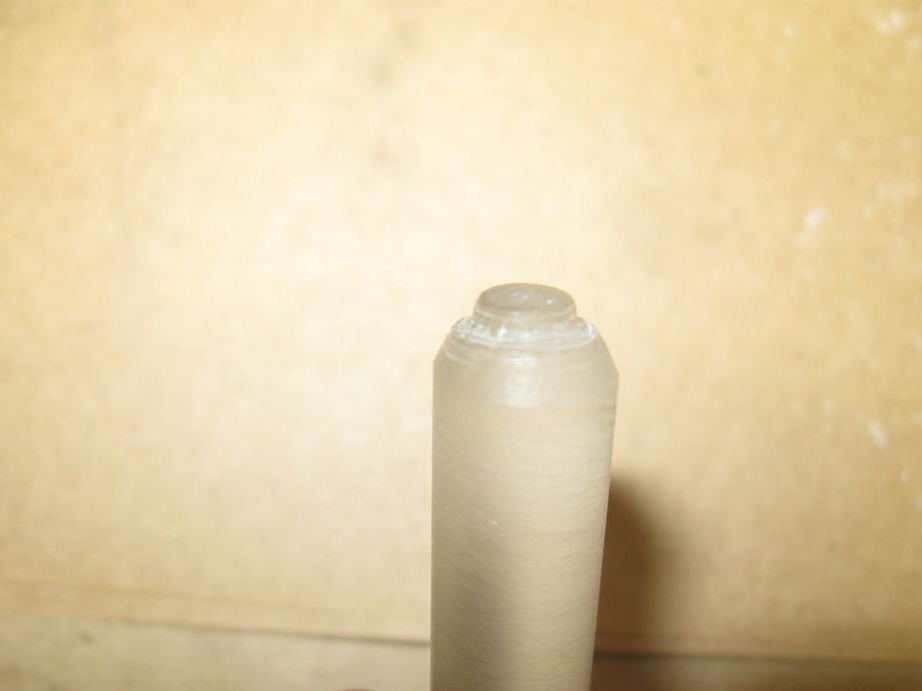
Continue sawing until you have the desired shape of the shaft. In our case, the edge should be pointed.
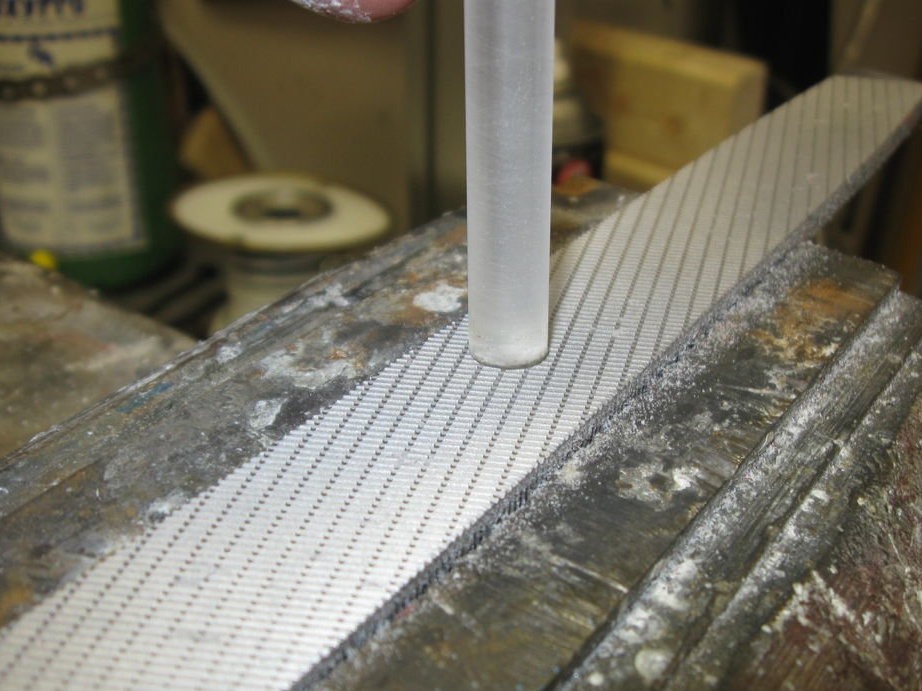
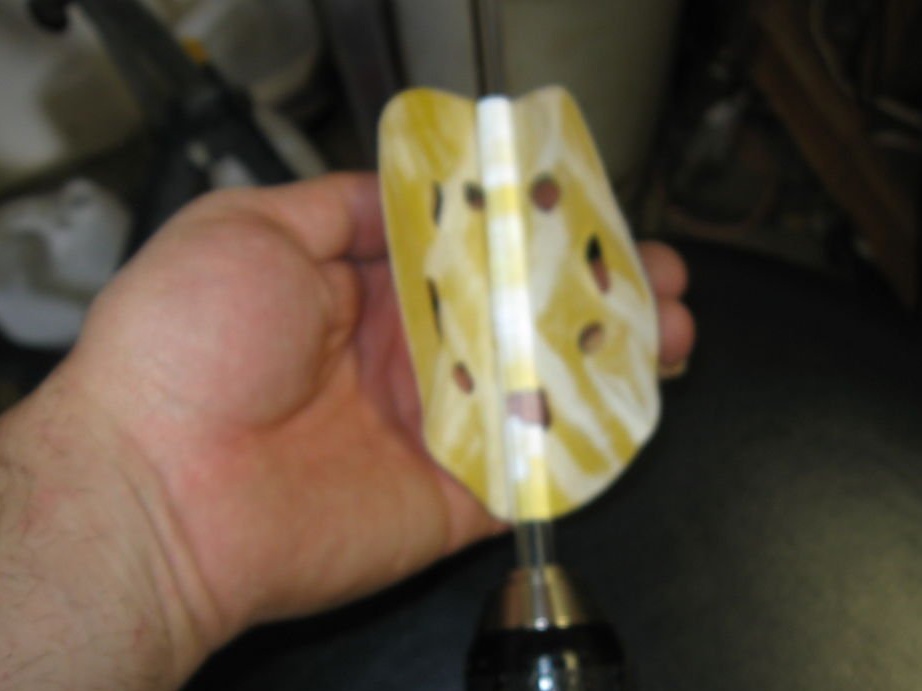
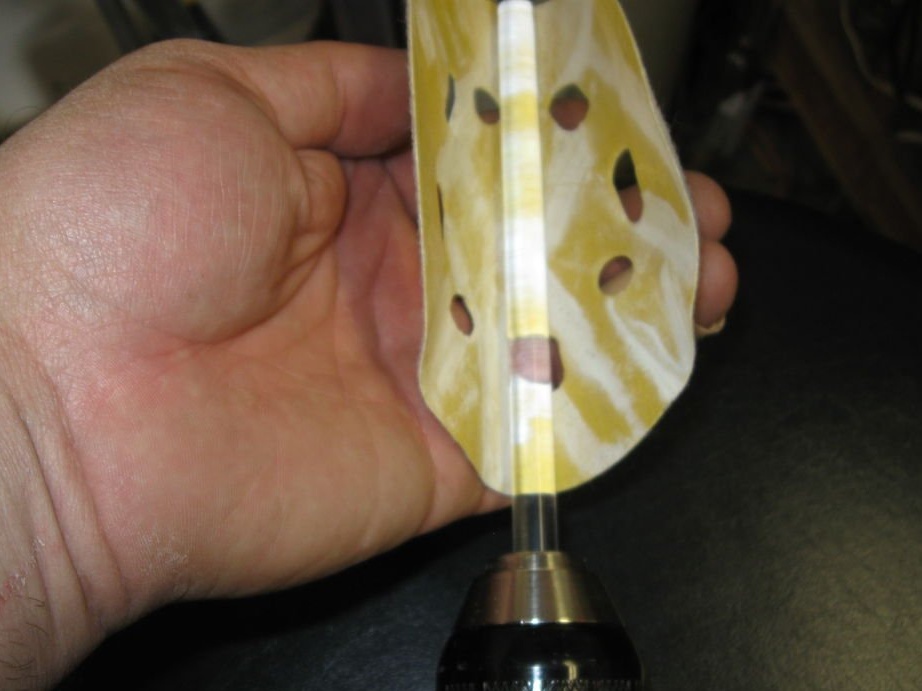
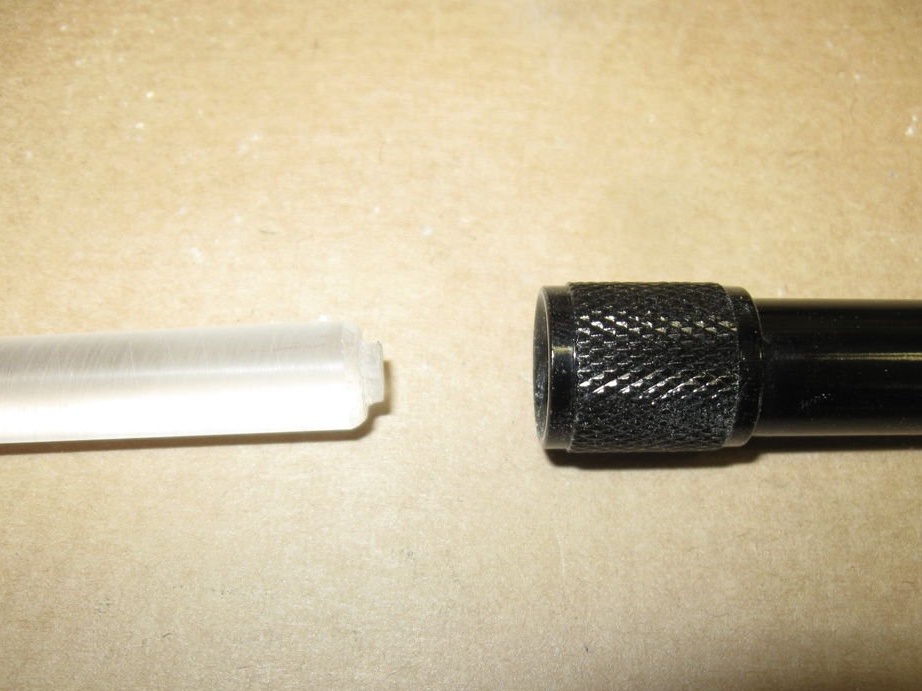
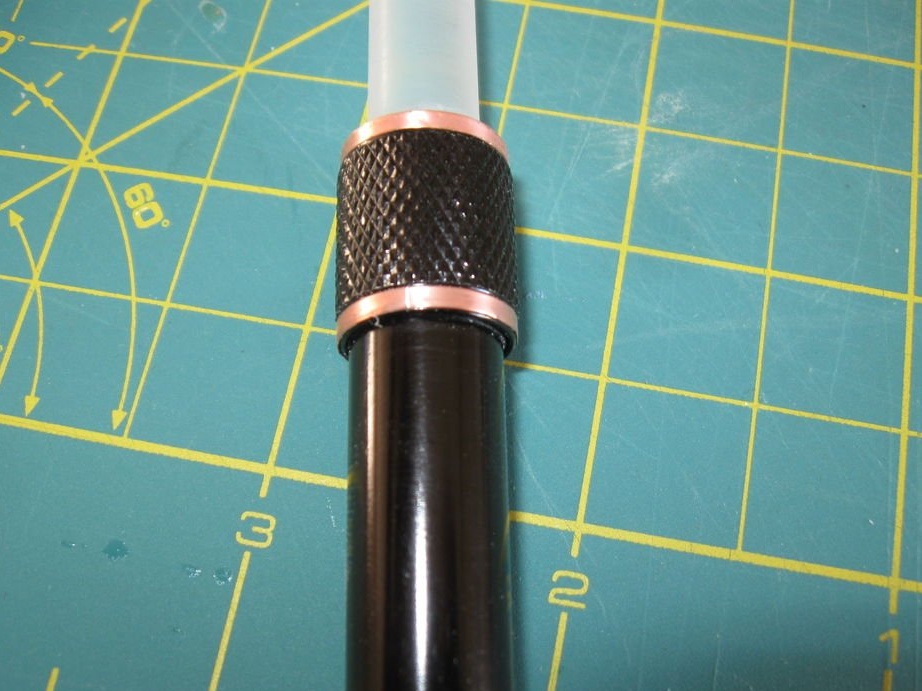
You will need to fasten the other end of the shaft in the drill to process the base. The base should take the form to be fixed in the flashlight body, on top of the clipped diode.
In general, we need a pair of flashlight circuits, modified as described in step 2, and a pair of rods. Since I am already old, I have enough green and red options!
Step 4: CUSTOMIZE!
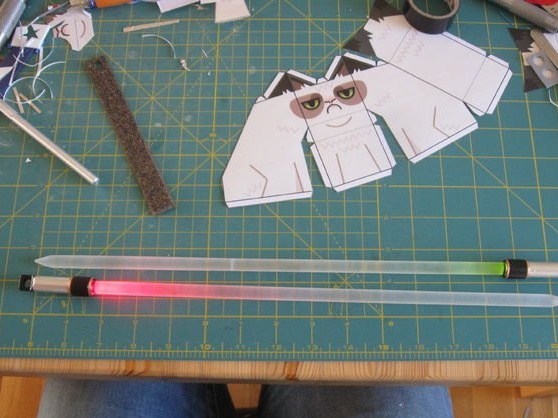
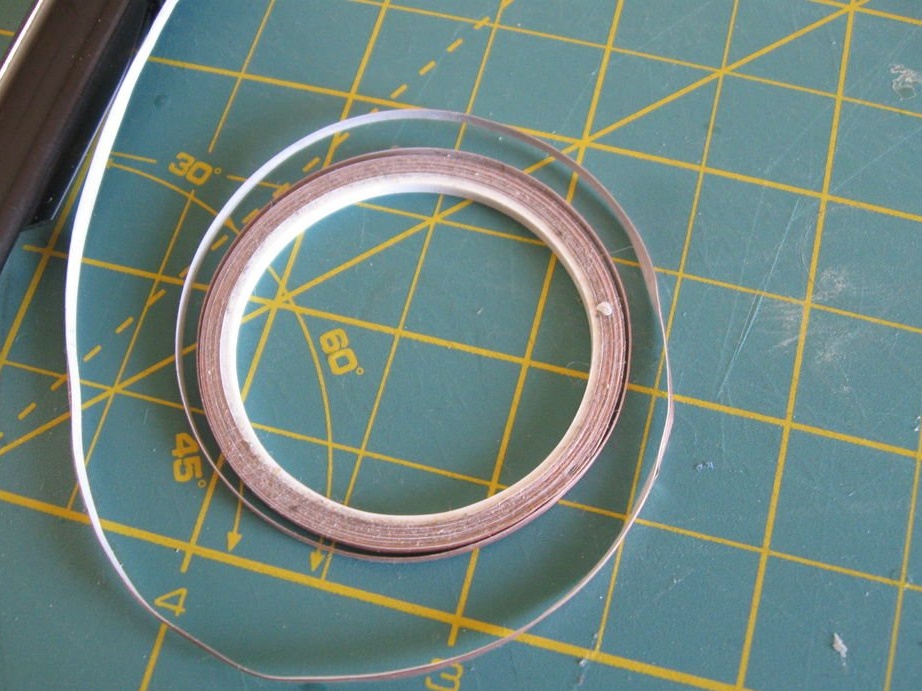
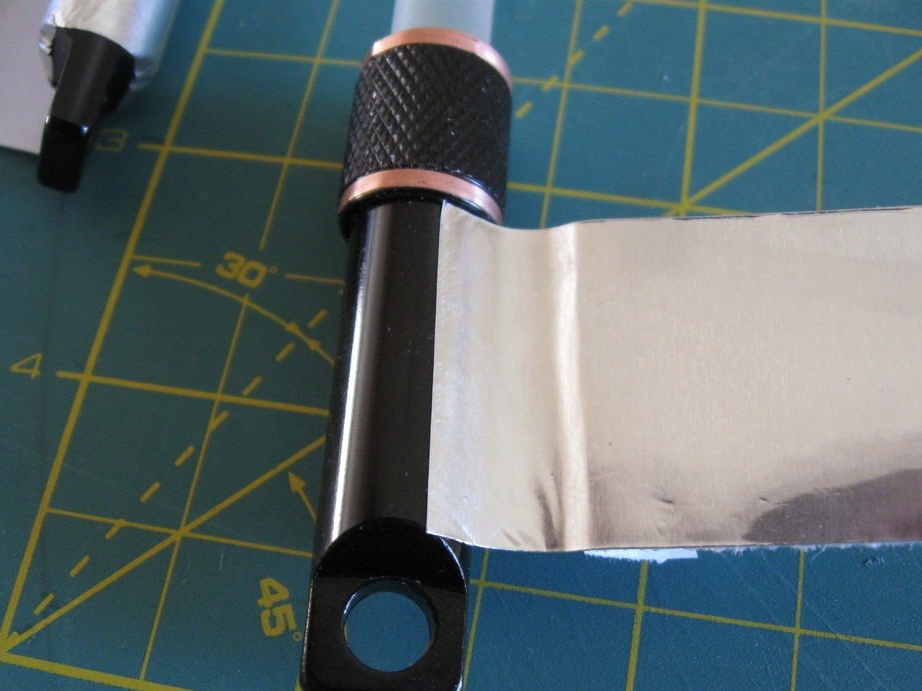
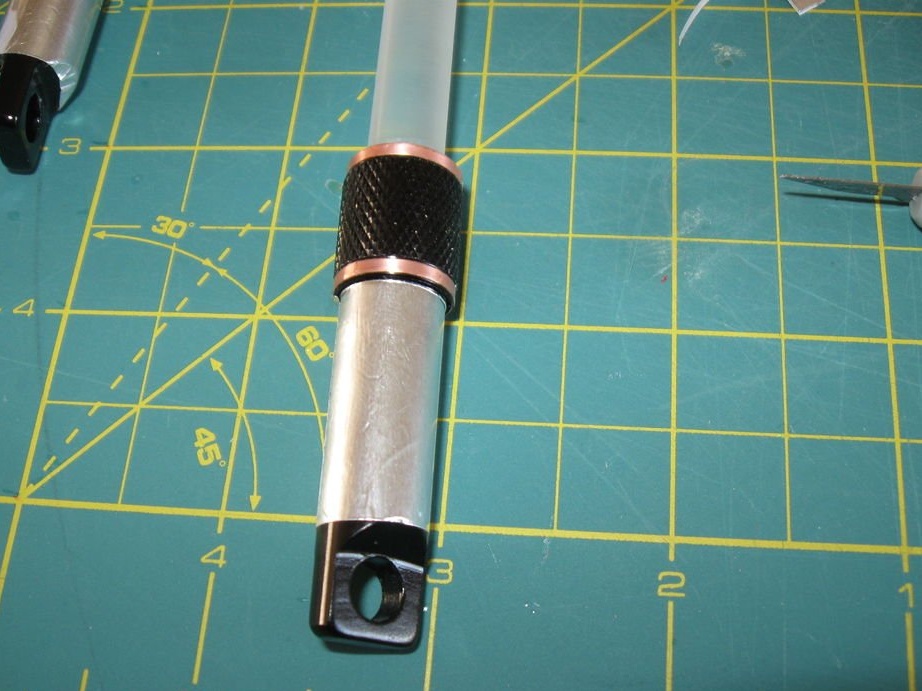
As with any other weapons, your “swords” need to be styled to your taste. I used copper and aluminum foil for a minimalistic decoration of my swords.
Do not forget to make smaller versions for knitting! Enjoy your work!