
I welcome all fans to craft, I propose to consider instructions for the manufacture of a snowmobile for a child do it yourself. Of course, on such homemade You can ride on a regular road, setting the front wheel instead of skiing. The machine is powered by a powerful cordless screwdriver. In the assembly, homemade is not complicated, almost everything is made of plywood, your child will be happy with such homemade. If the project interests you, I propose to study it in more detail!
Materials and tools used by the author:
Material List:
- a powerful screwdriver;
- plywood;
- bearings;
- steel pipe or axle (for the rear axle);
- bolts and nuts;
- bicycle sprockets and chain;
- corner;
- carpentry glue;
- Sheet steel;
- a hand brake from the bicycle;
- wheels from a children's bike.
Tool List:
- drill;
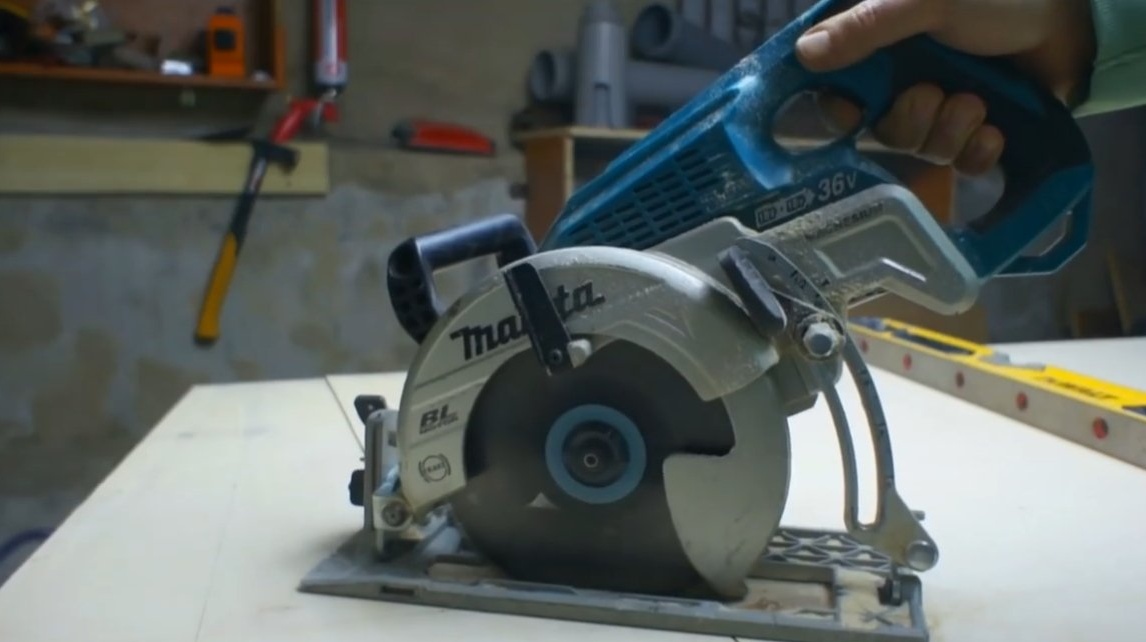
- manual circular;
- electric jigsaw;
- welding machine;
- Sander.
Homemade manufacturing process:
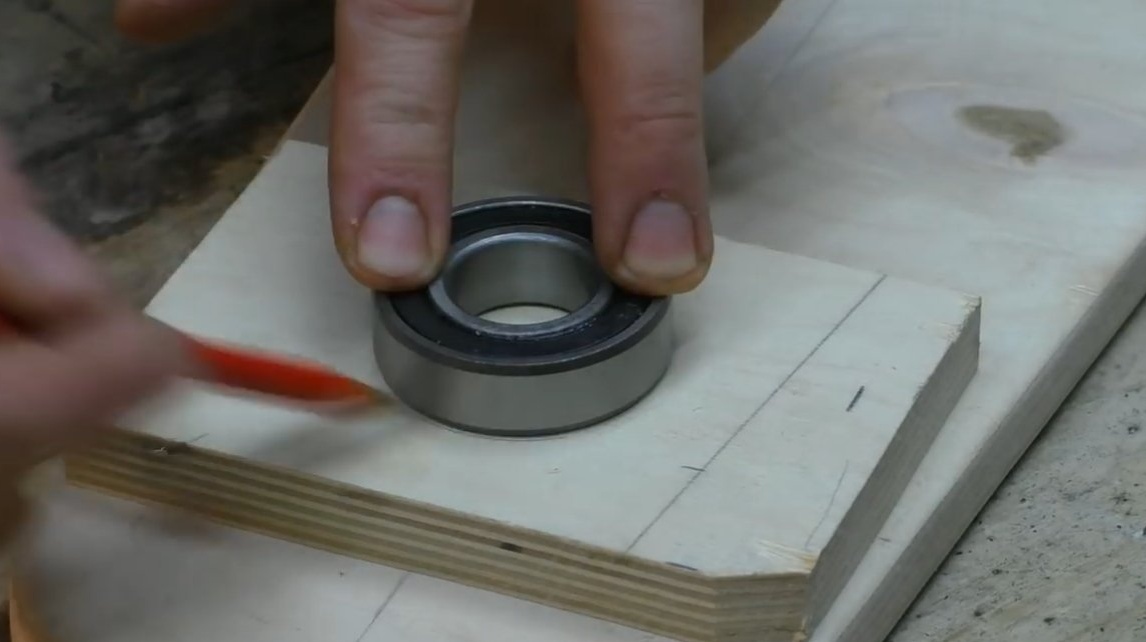
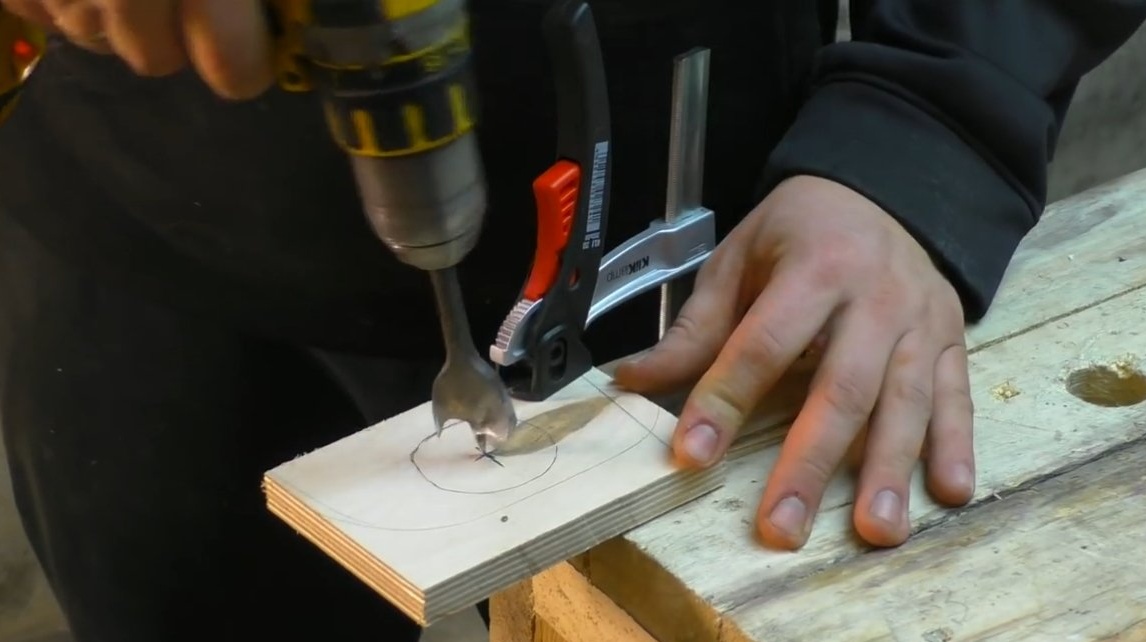
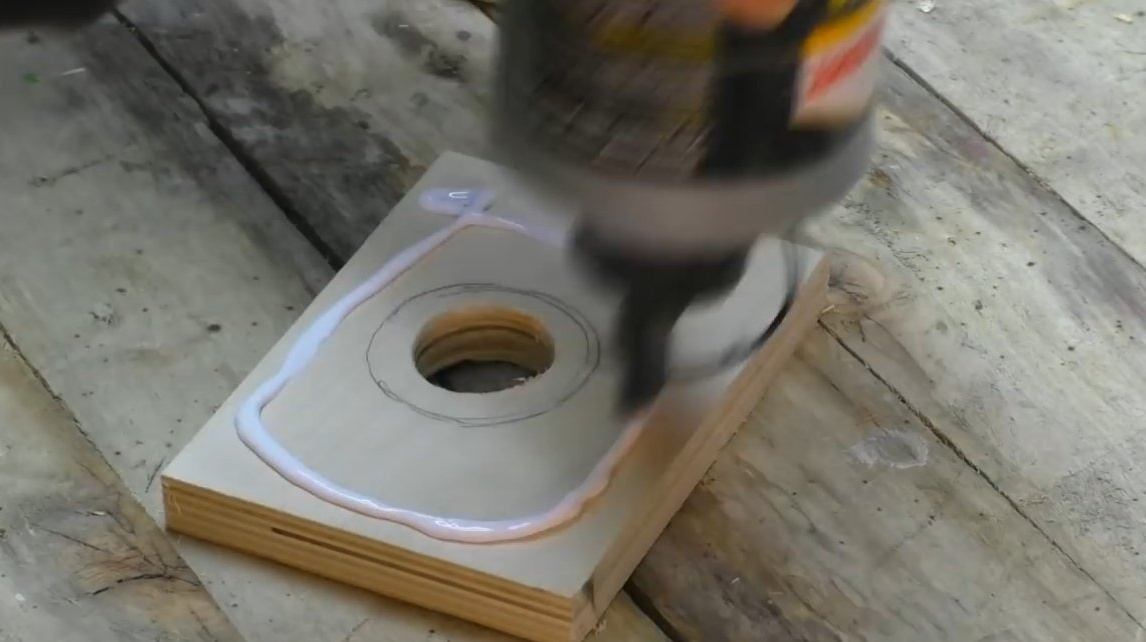
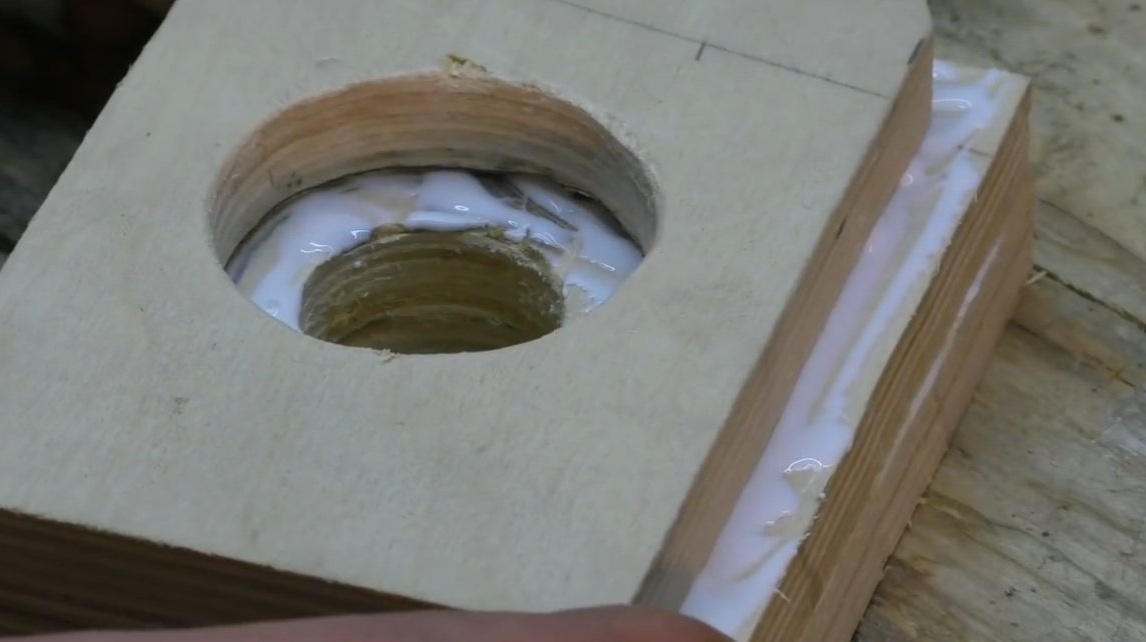
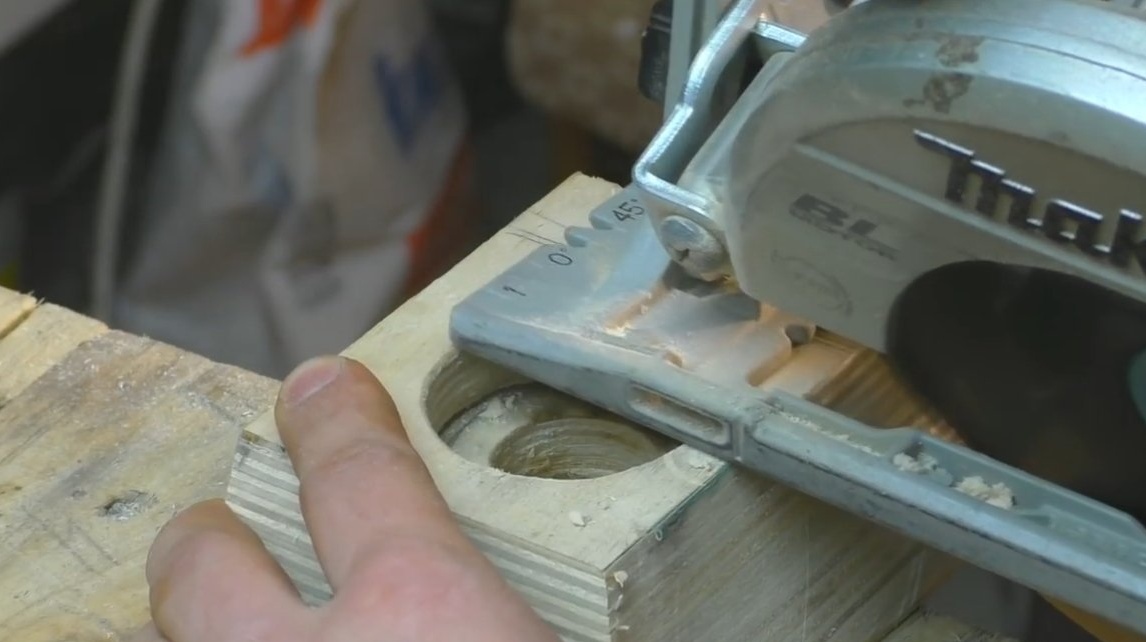
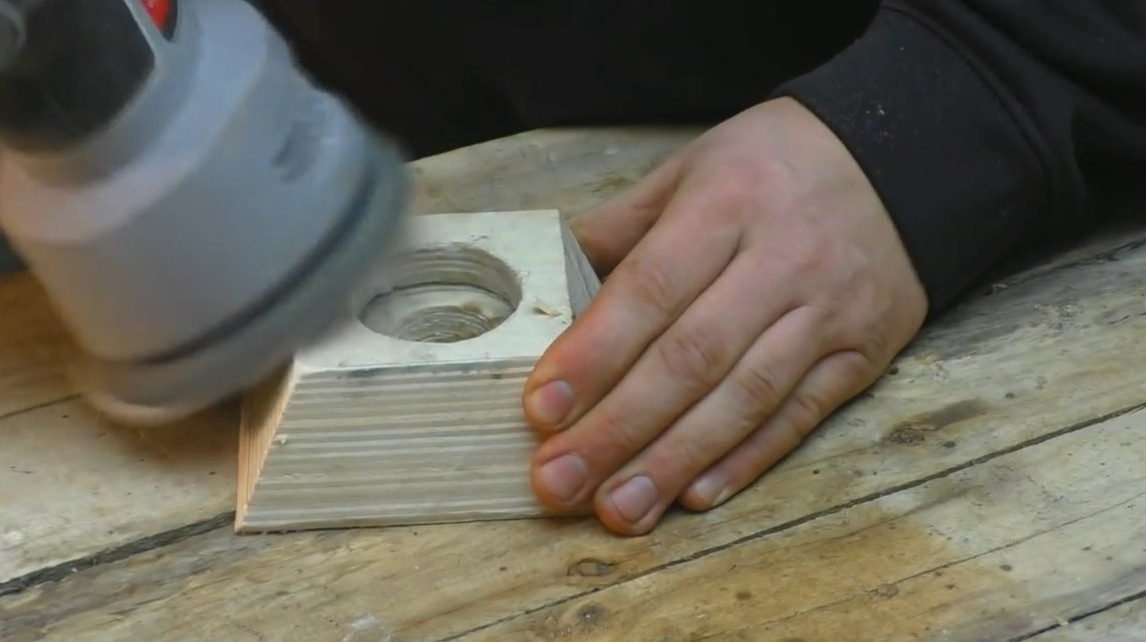
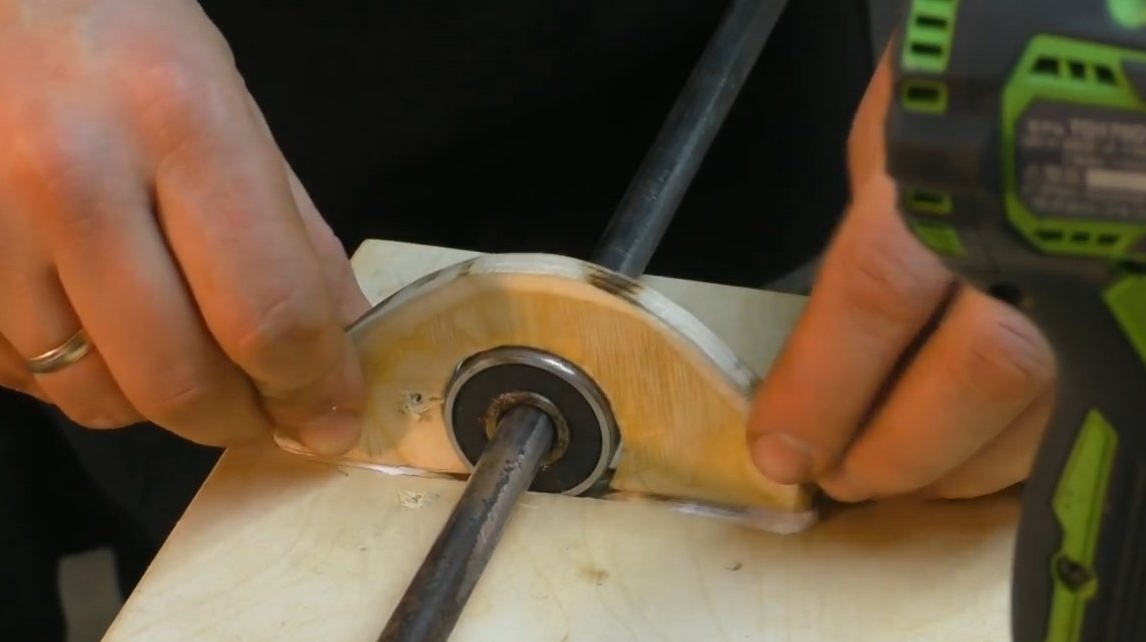
Step one. Steering bearing
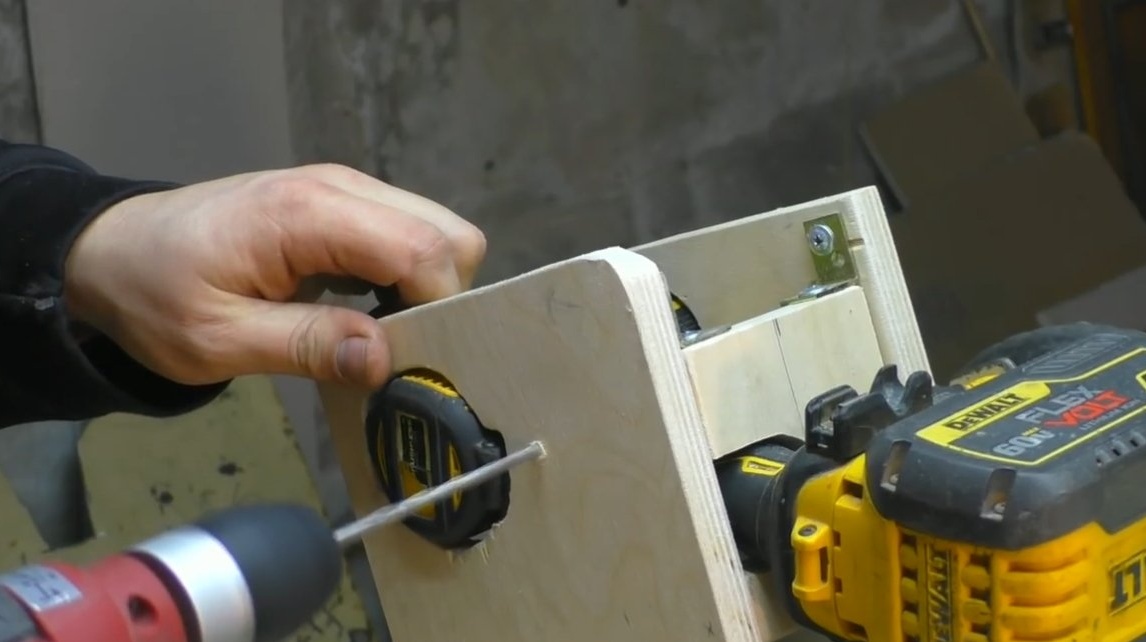
First of all, we will manufacture a housing for the steering bearing. The author used a bearing radial, we select a bearing for the diameter of the steering shaft. The author cut out two blanks from plywood, drilled holes and then glued the blanks with carpentry glue.
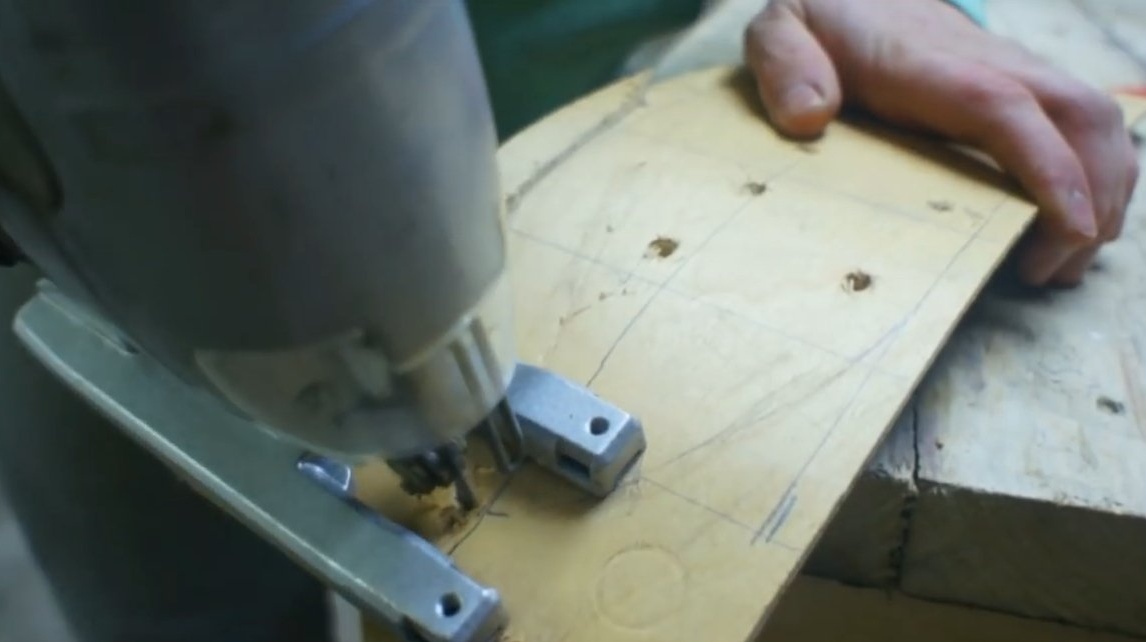
Step Two Frame and rear axle
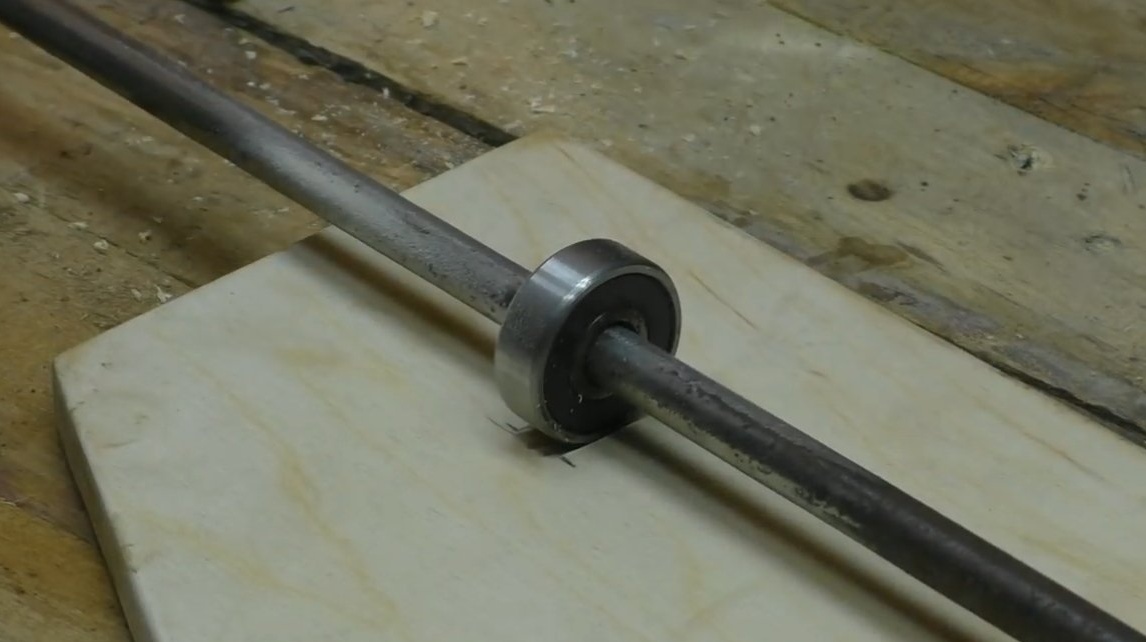
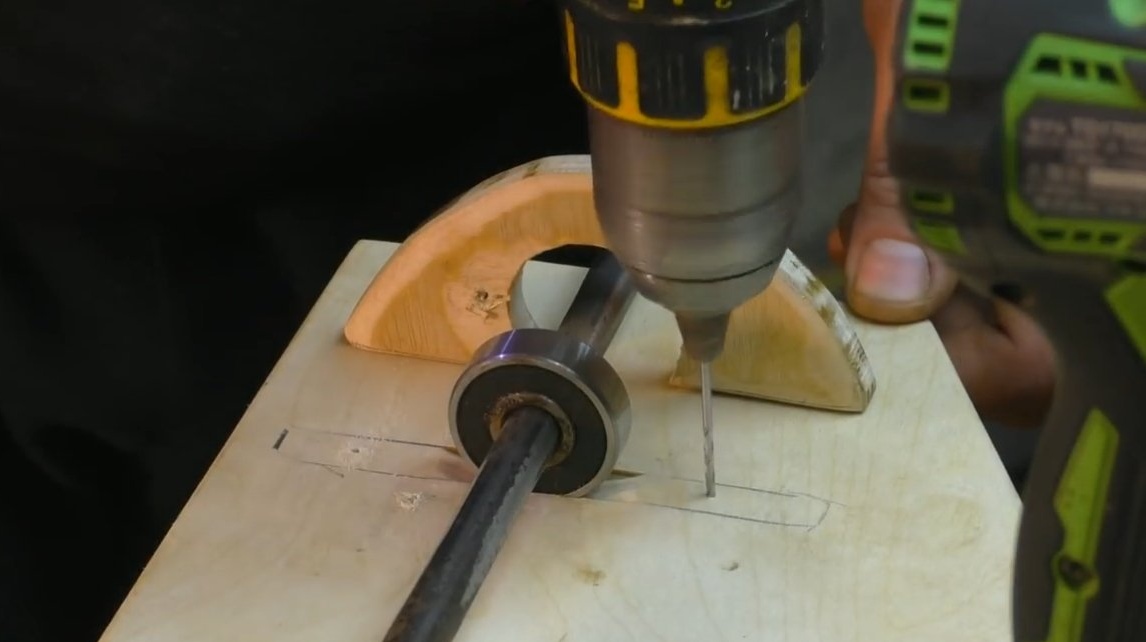
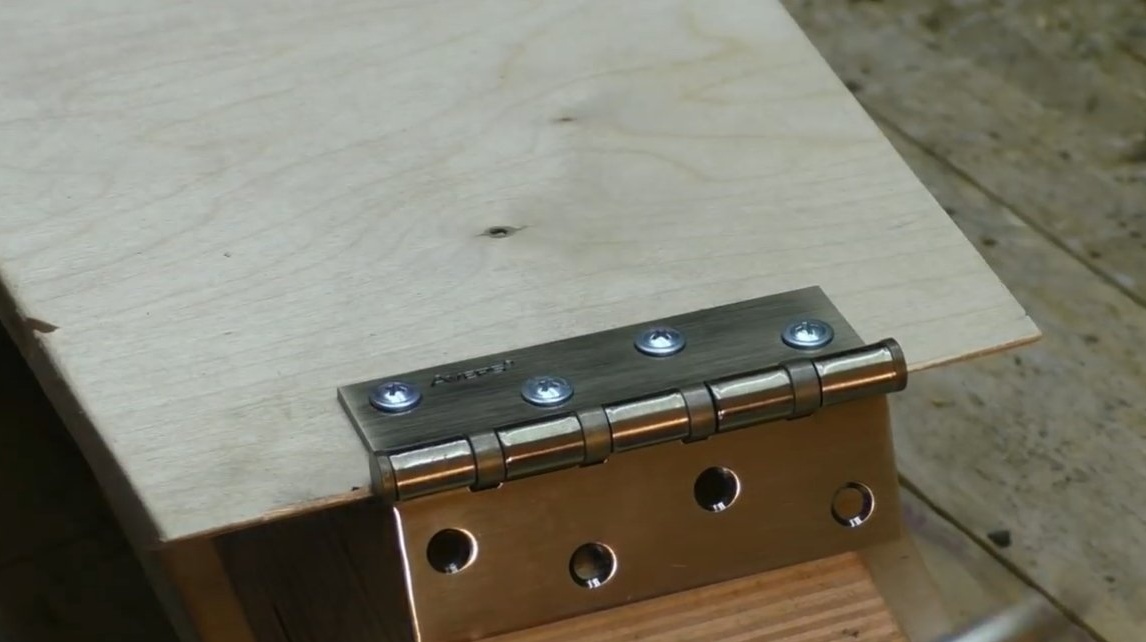
We cut a simple frame from plywood, the rear axle will rotate on two radial bearings. To fix the bearings, the author made deepenings in them under plywood, and from above the bearings are pressed also by plywood fasteners. To further strengthen the mounting of bearings, the author made fasteners from a corner, fasten them with screws, and preferably bolts with nuts.
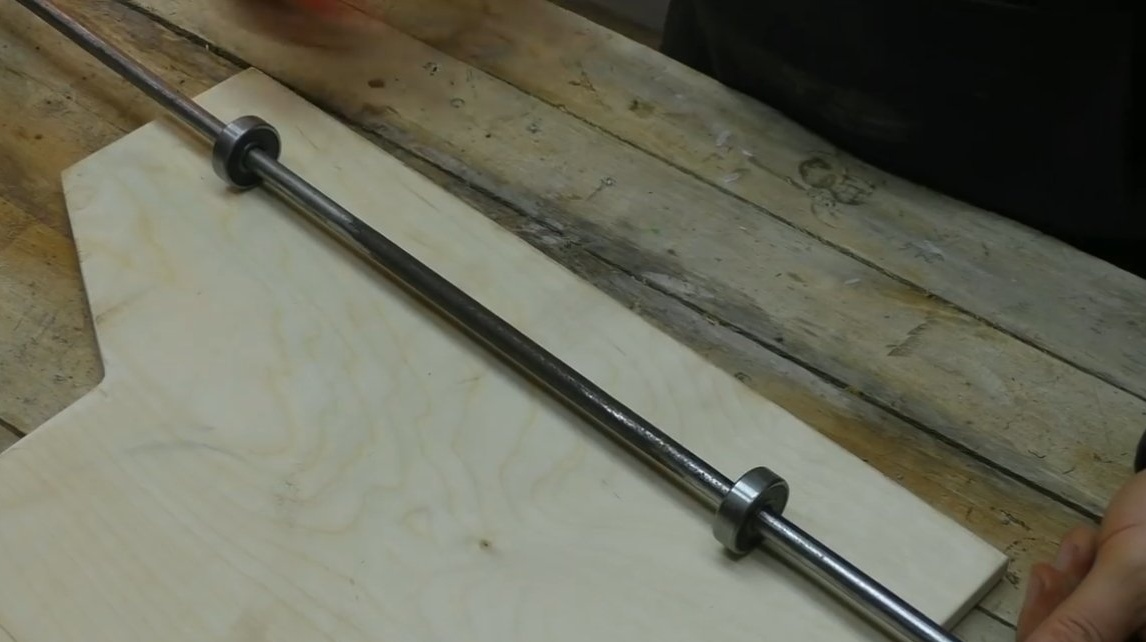


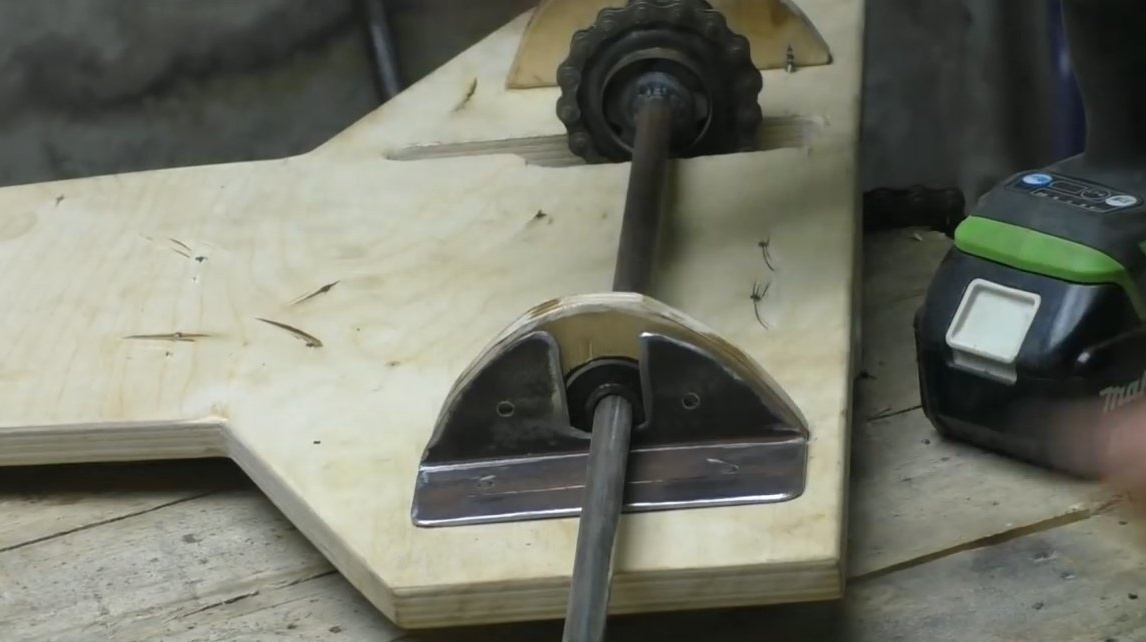

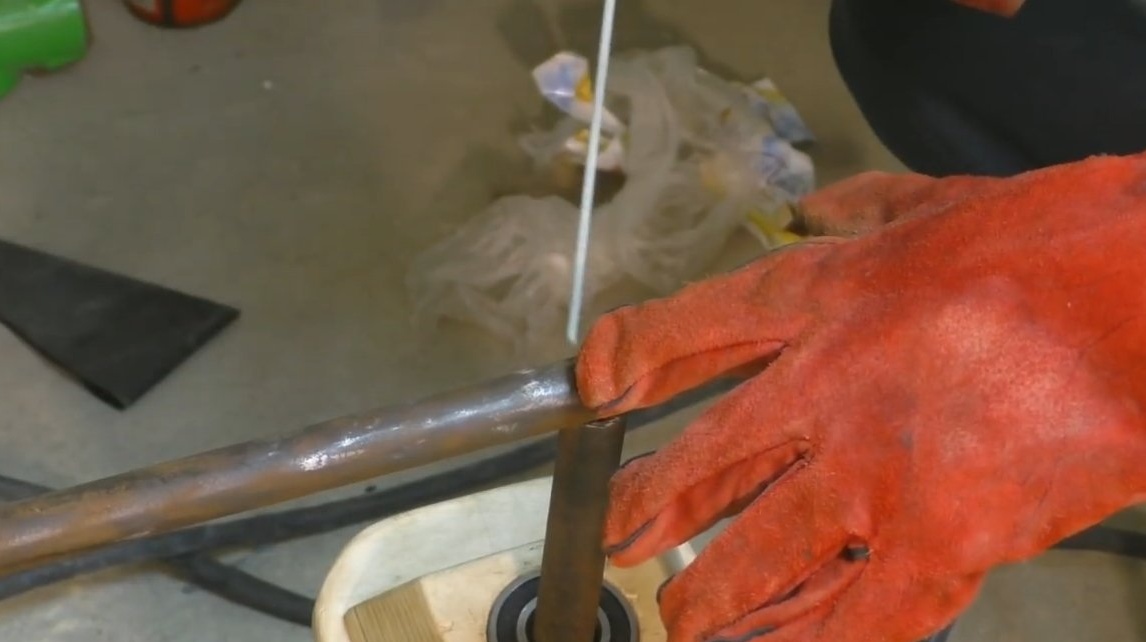
As an axis, a piece of pipe or a round is suitable. We weld an asterisk from a bicycle to the axis, here we will transmit torque from a screwdriver. It is possible that the gear ratio will have to be chosen experimentally, if you can’t calculate everything.
For the second sprocket leading, we make an axis that can be clamped in the chuck of a screwdriver.
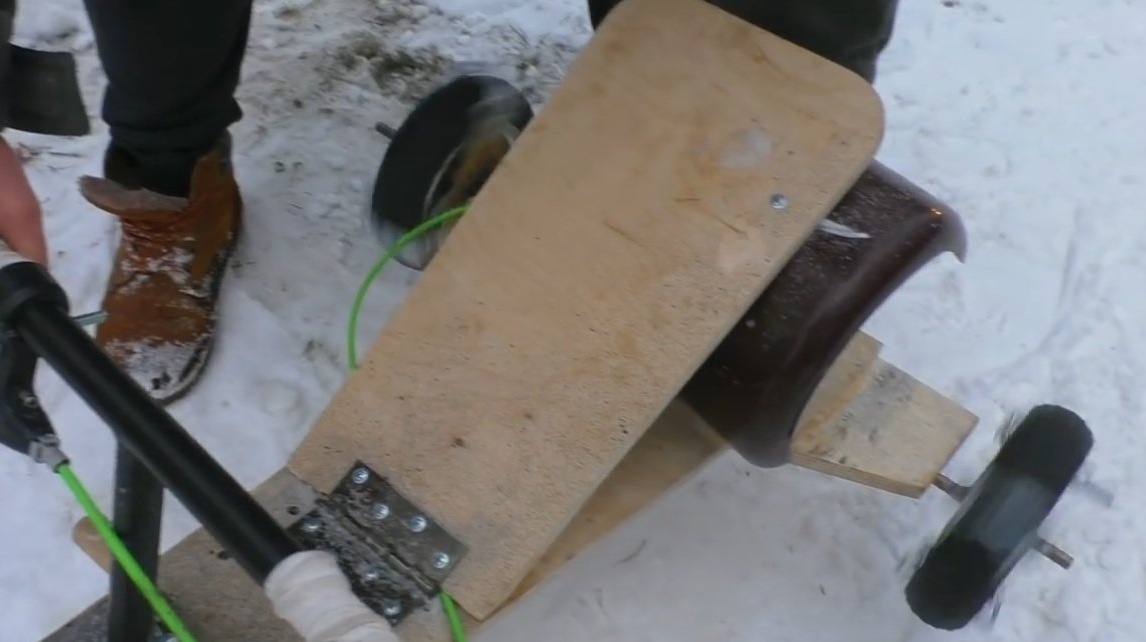
Step Three Fastening wheels to the rear axle
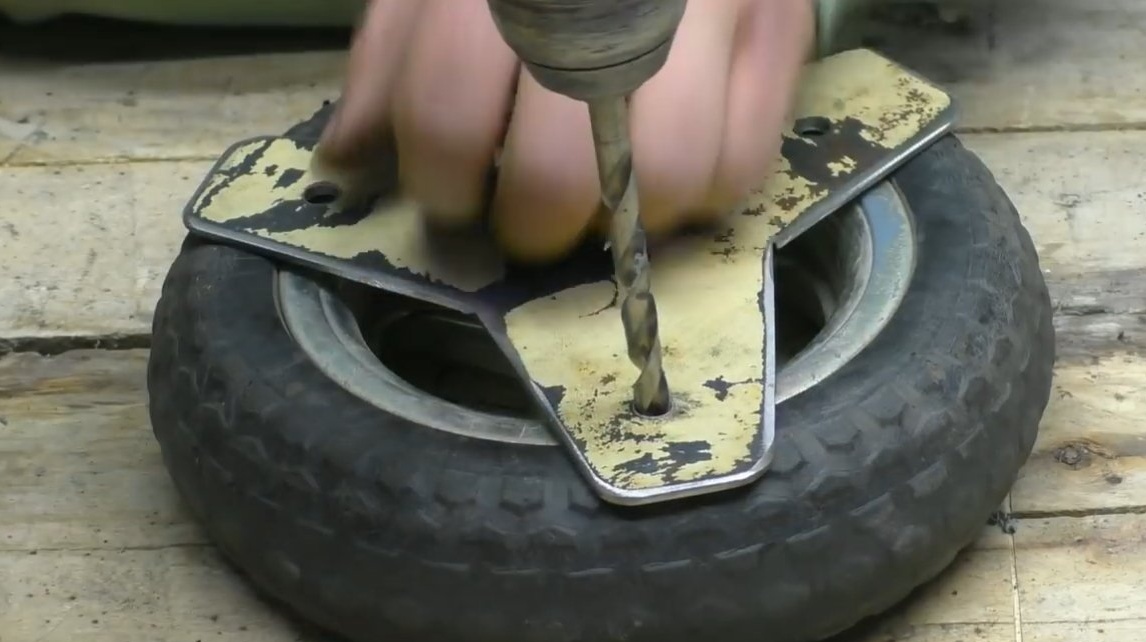
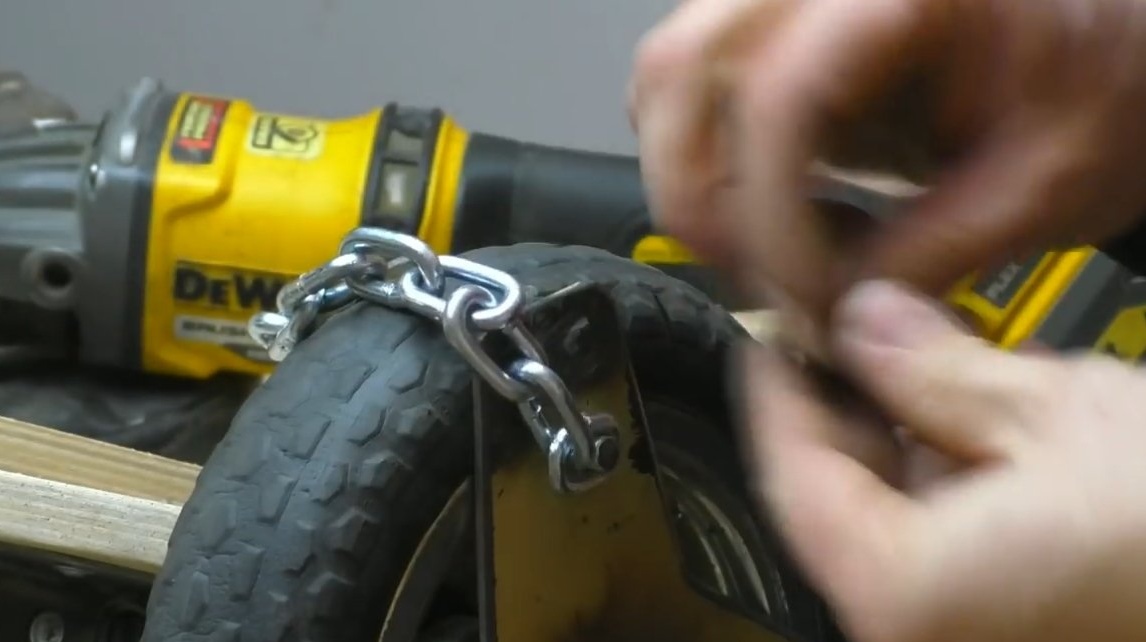
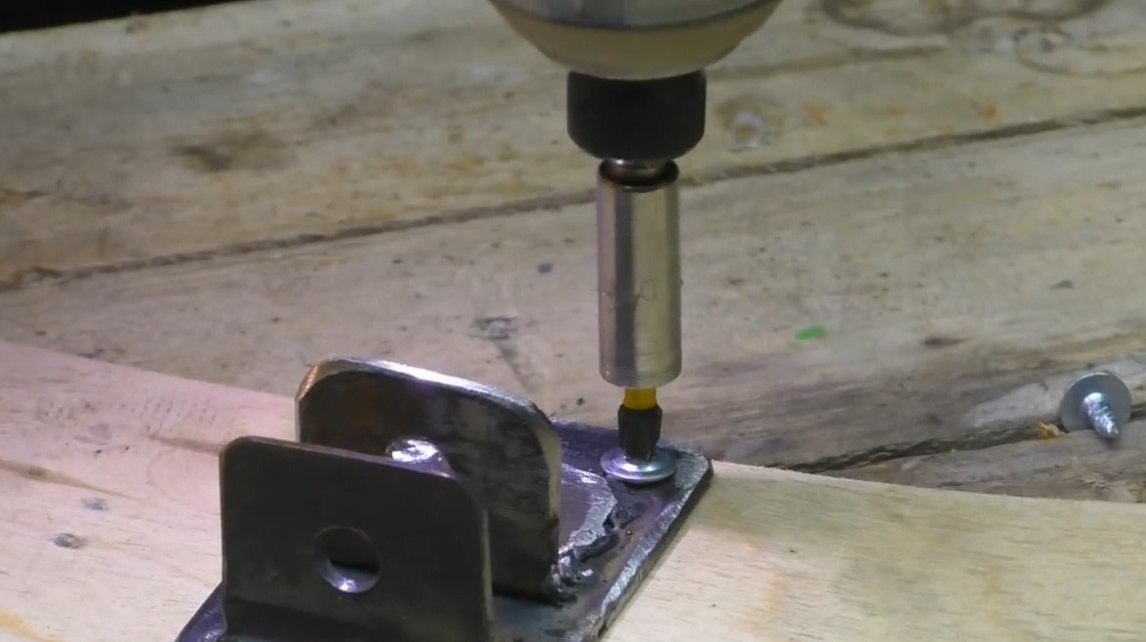
We make fastenings for bicycle wheels, the wheels are suitable for a children's bicycle or the like. The wheels need to be rigidly fixed on the axle; to solve the problem, the author made steel plates that are attached to the wheels. Well, then, already on these overlays we weld the axis. In addition, for driving on ice and snow, we put chains on wheels.


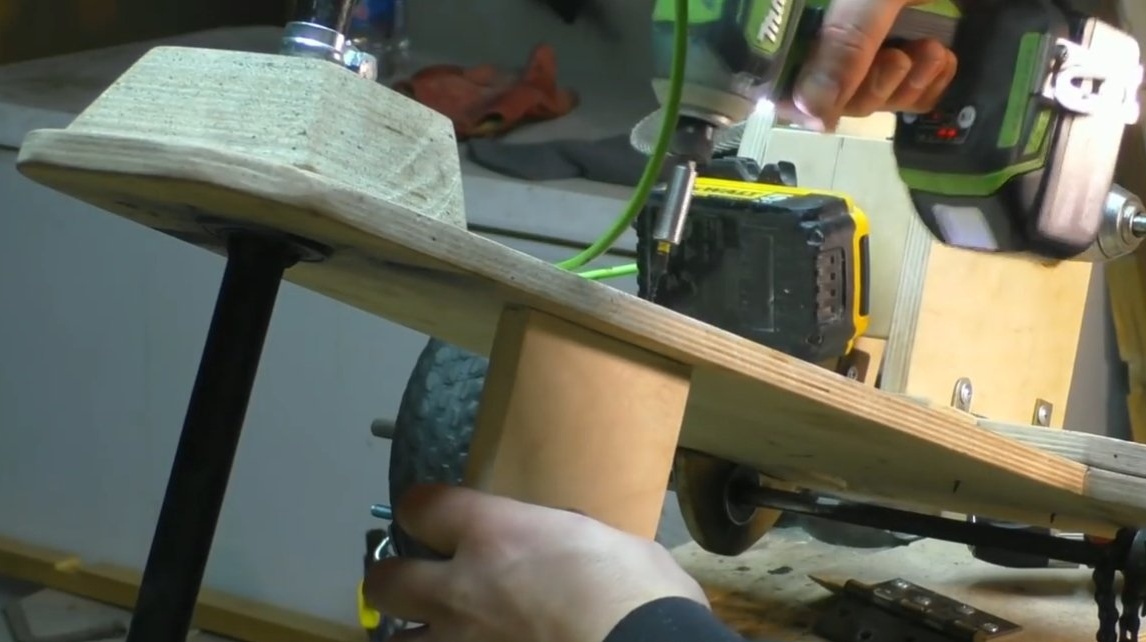
Step Four Steering wheel and footrests
We make a steering wheel for homemade, it can be welded from a pipe. We put a bearing on the frame, there should be an emphasis on the steering shaft, which will abut the bearing.
We also make steps, fasten pieces of plywood and insert a piece of pipe.
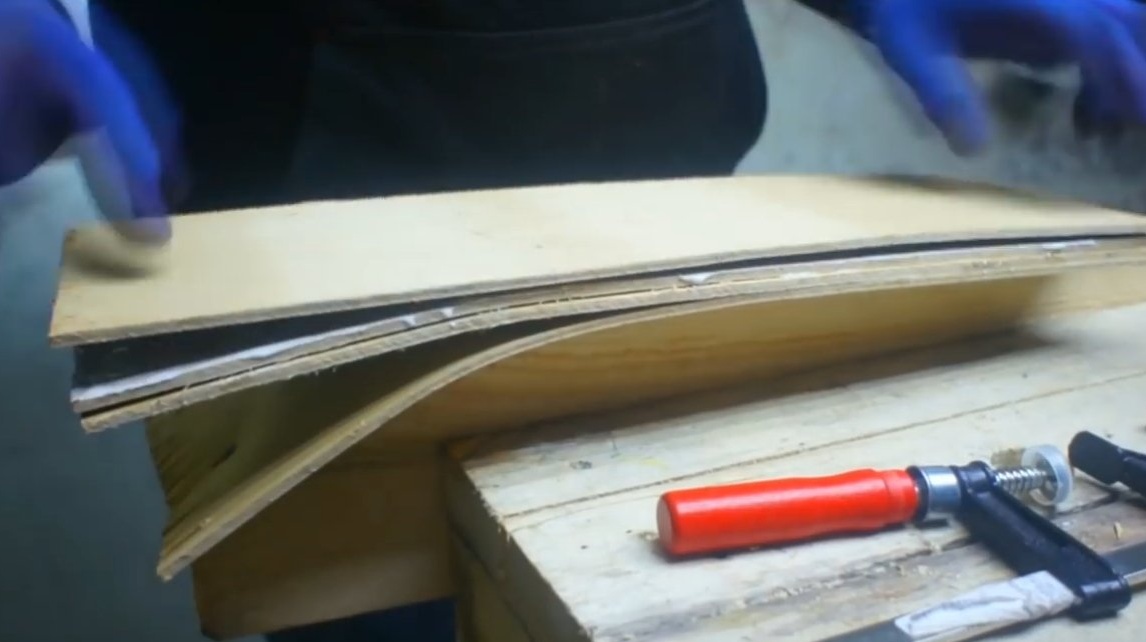
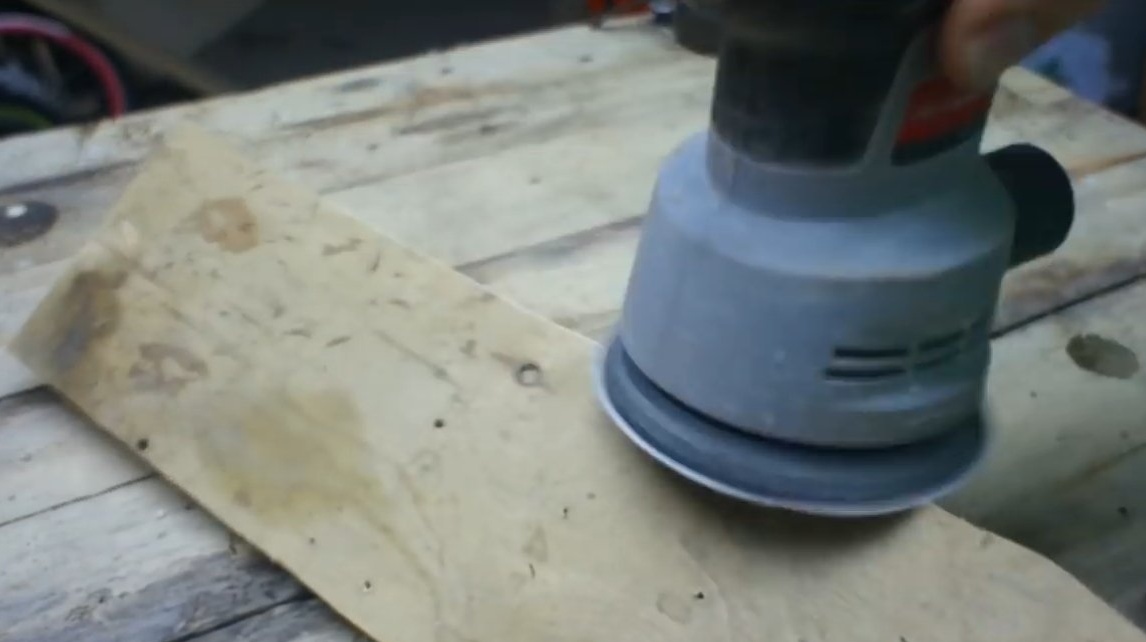
Step Five Ski
We make a ski that stands instead of the front wheel, the ski has a curved shape, to solve the problem, the author cuts out several parts, and then bends them and glues them in a curved state, fixing them with clamps.
For skiing we make fasteners from a steel plate and two pieces of a corner. We attach the ski articulated to the steering shaft.

Step Six Final touches
At the end, we install the hand brake from the bicycle on the handlebar, connect the cable to the screwdriver button, when you press the handle, the screwdriver will turn on.
For a screwdriver, we mount from plywood, put an asterisk in the cartridge and install a chain. Be sure to put a guard over the chain so that clothes are not jammed and so on.
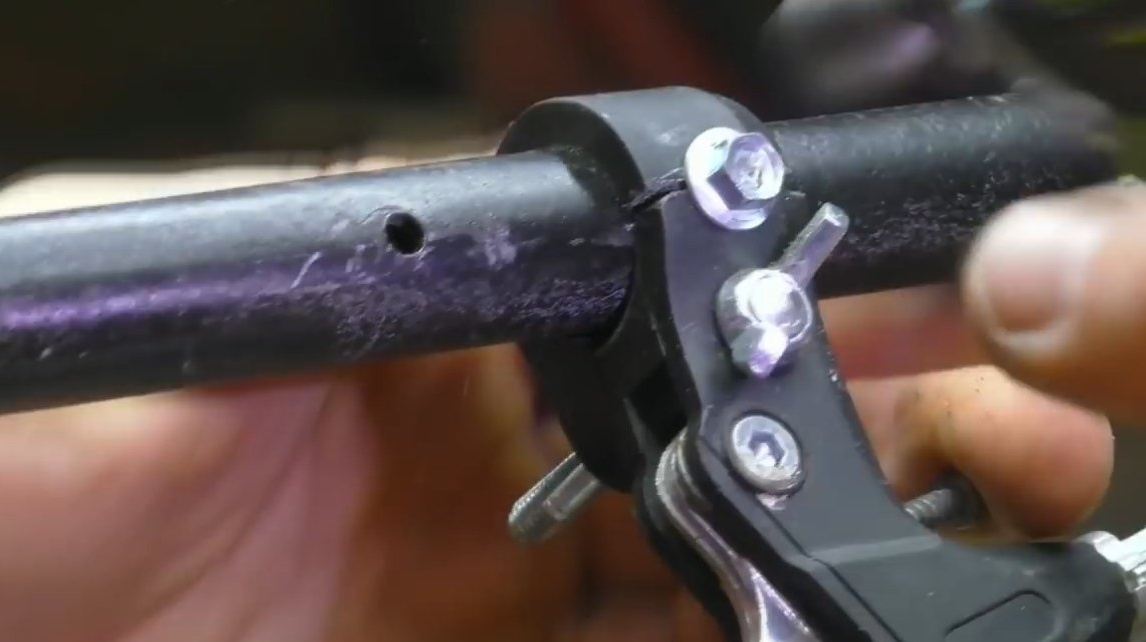
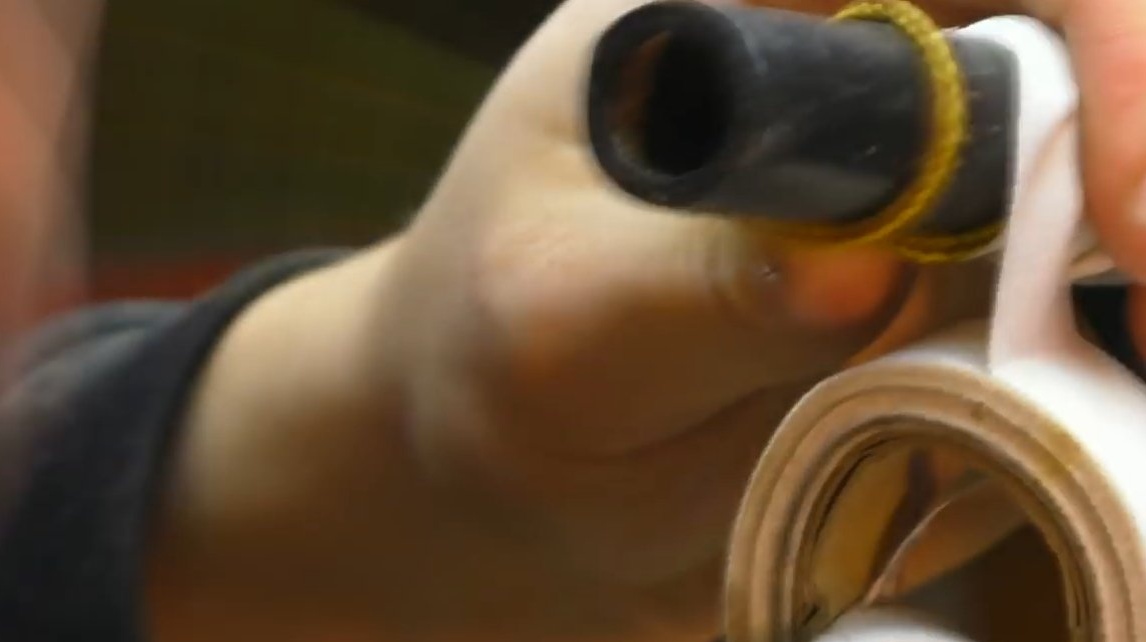
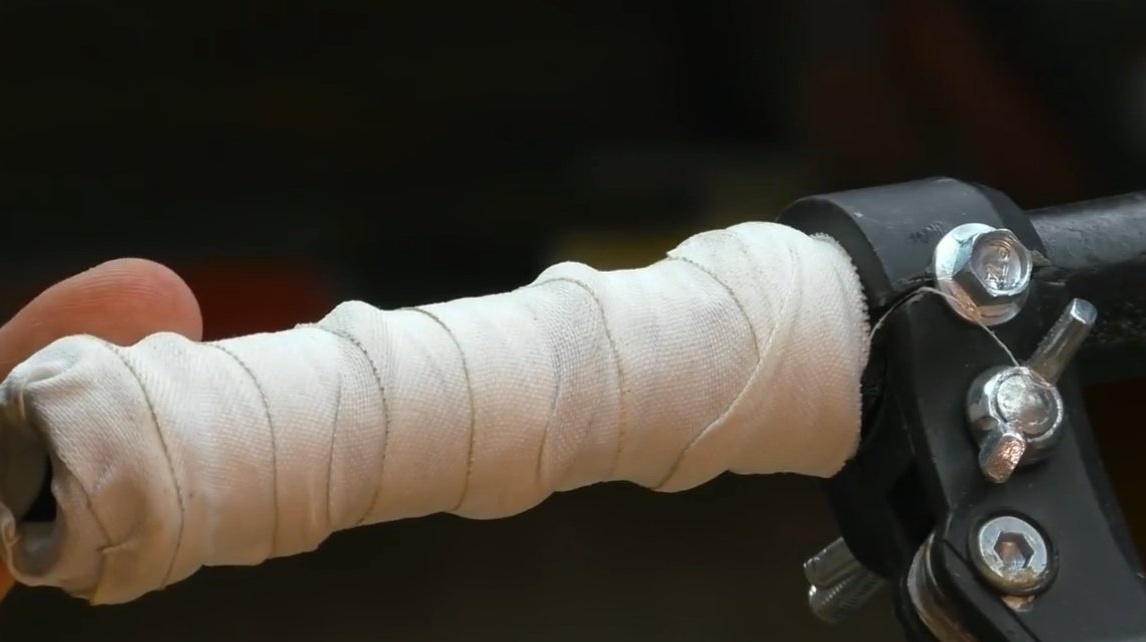
Do not forget to make a seat out of plywood, as well as trim the steering knobs, it is desirable that they be warm.
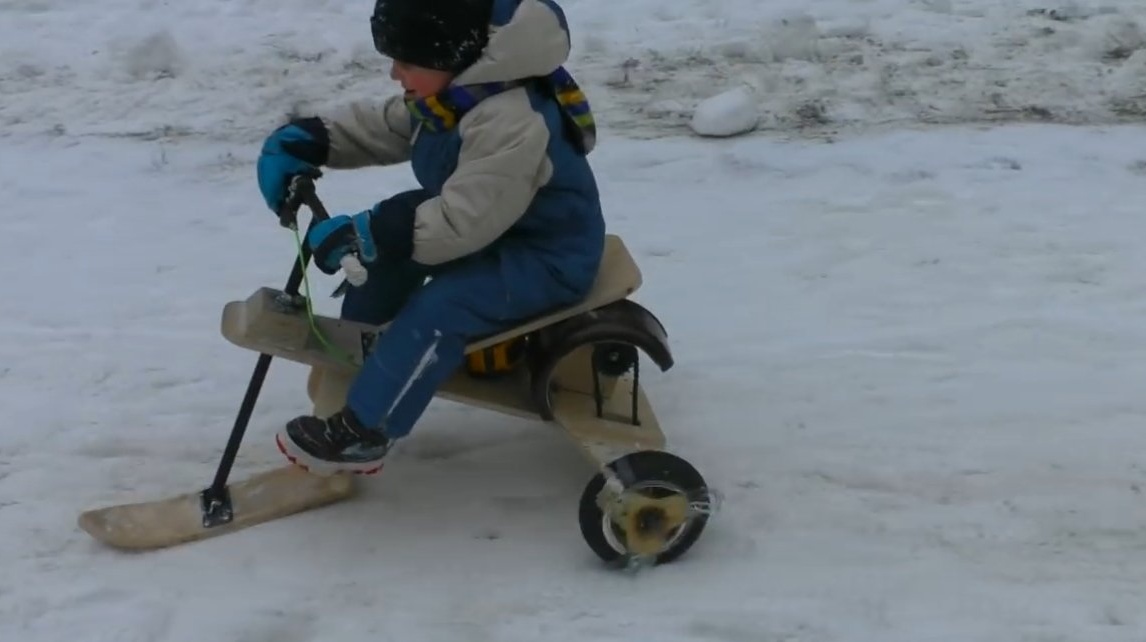
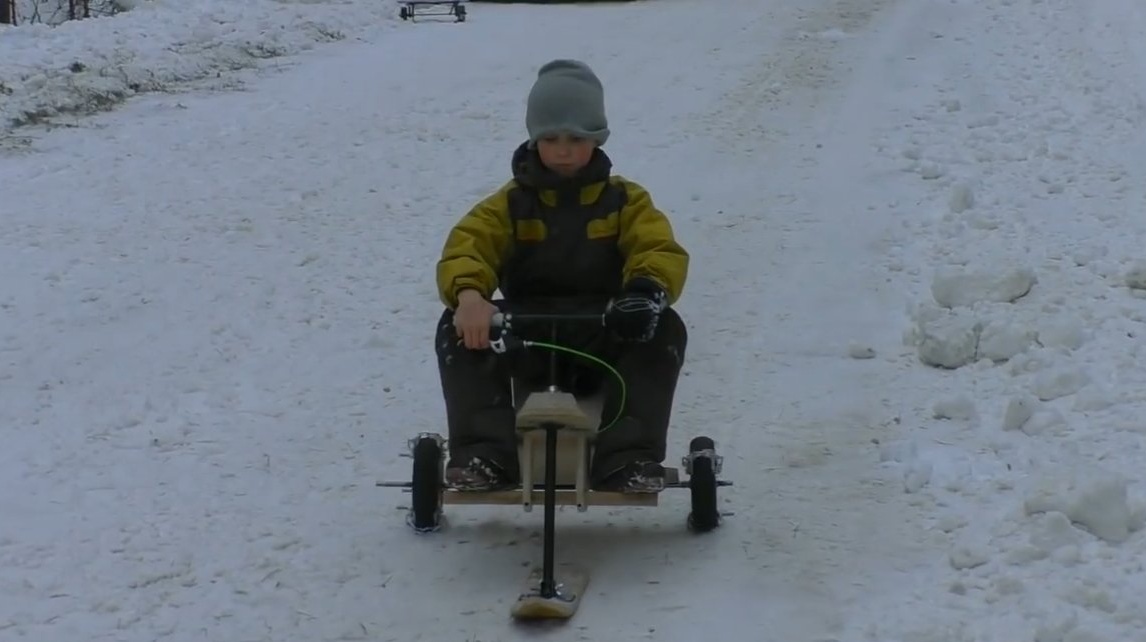
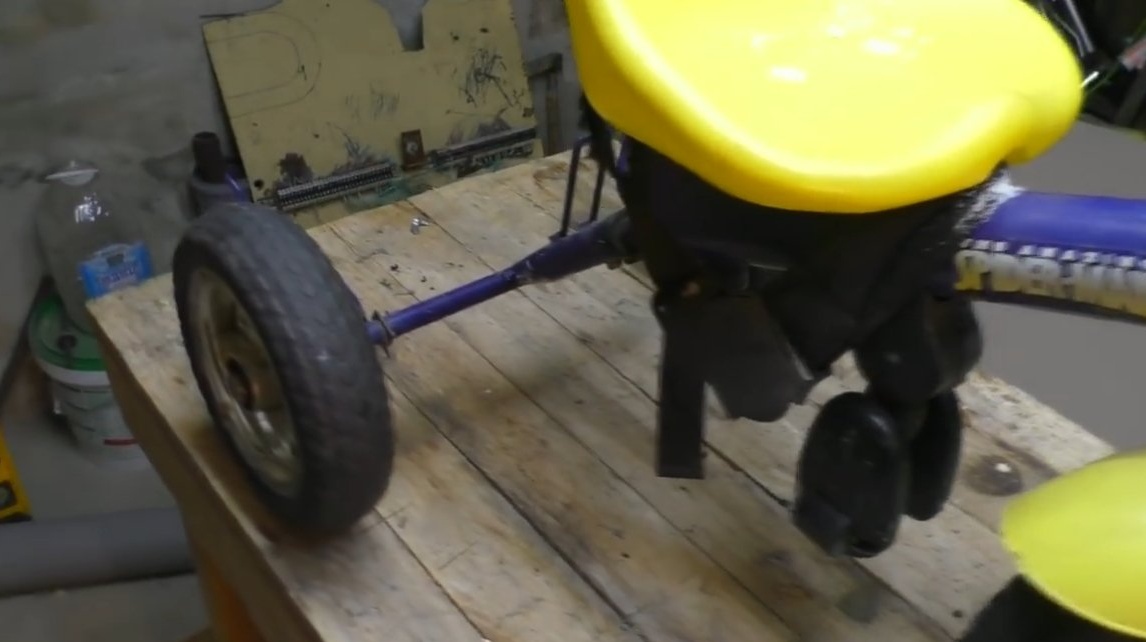
Now the homemade product is ready, you can seat the experimental child and send on the road. Homemade ride perfectly, the child is happy. The battery charge is enough for a while driving around the yard. It is advisable to have several batteries or make a separate power source with a suitable capacity.
The project is completed on this, I hope you liked the homemade work, and you found useful thoughts for yourself. Good luck and creative inspiration, if you decide to repeat this. Do not forget to share your ideas and homemade things with us!