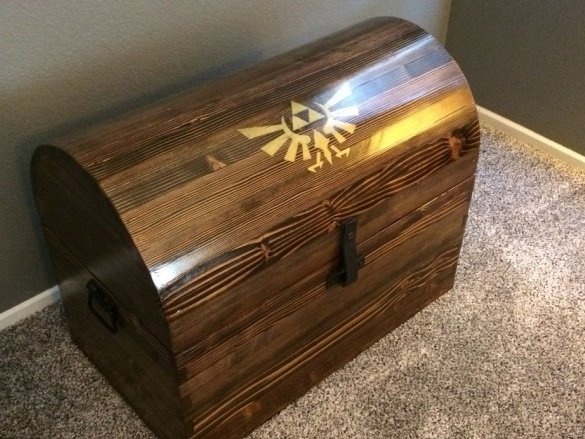
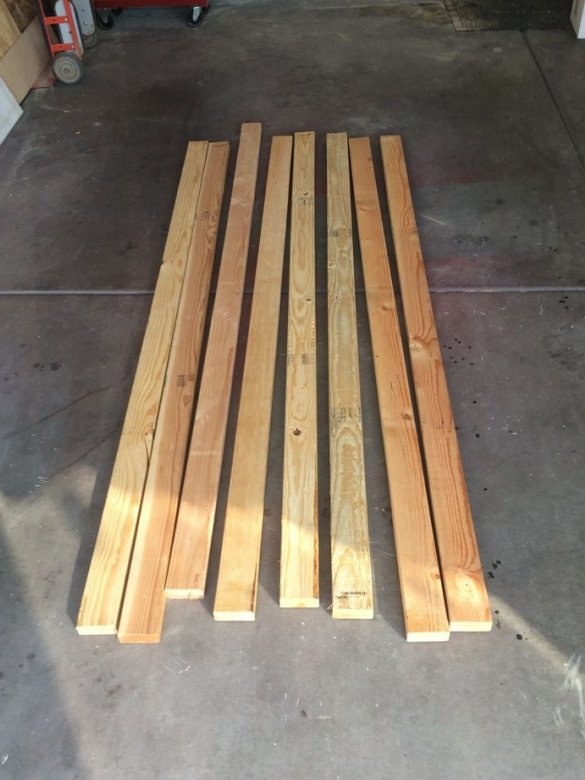
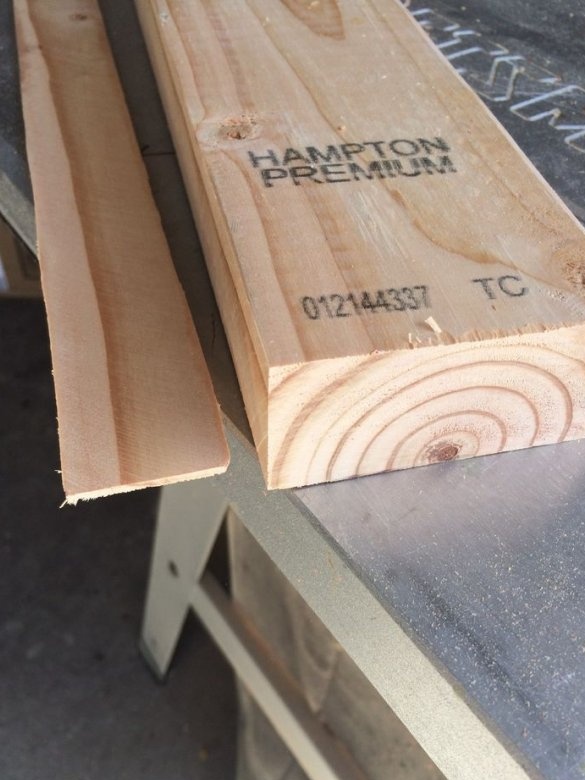
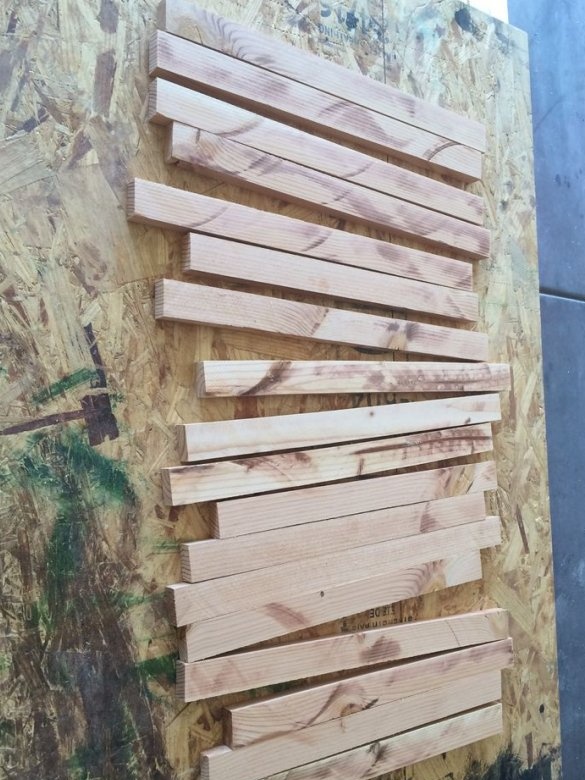
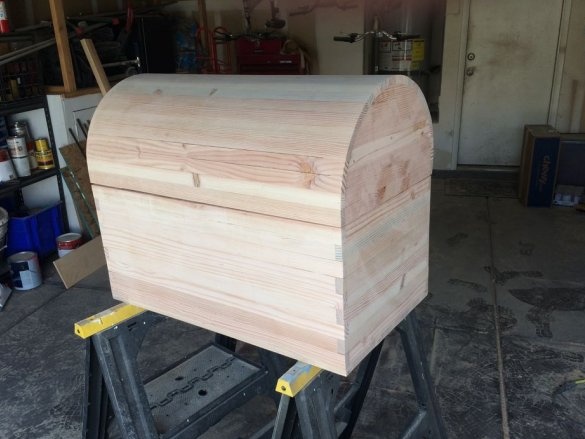
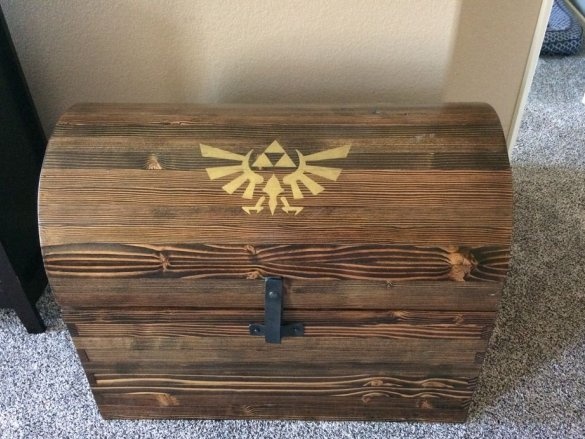
In this article, the Master will share with us his experience in manufacturing a wooden chest. The material for the chest was the slats and boards that he removed from the garbage container at work.
Tools and materials:
-Lumber;
-Hammer;
-Nails;
- Stain;
- Joiner's glue;
-Acrylic paint;
-Polyurethane varnish;
- Loops;
-Leather belt;
-Metal pens;
-Insulation tape;
- Putty;
-Black paint;
Step One: Cover
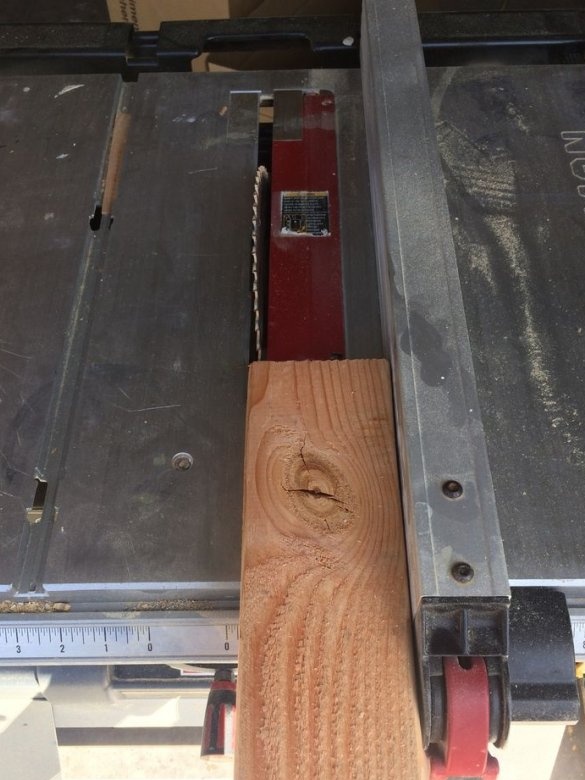
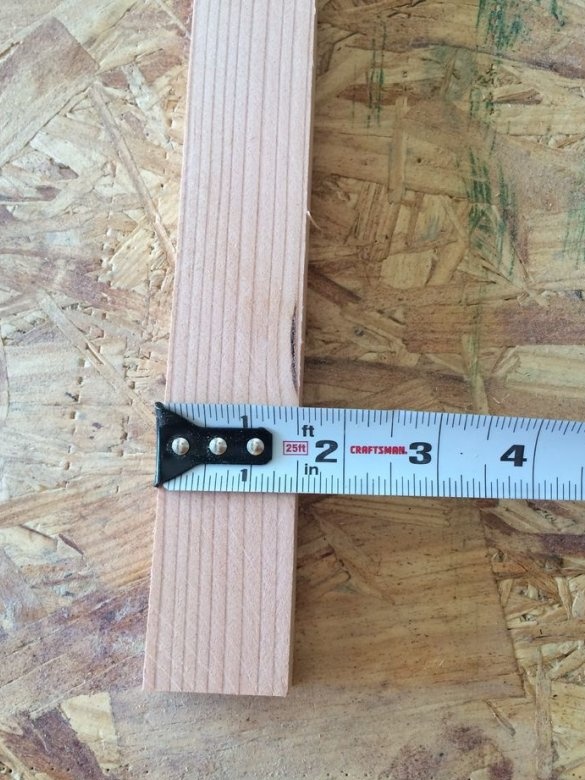
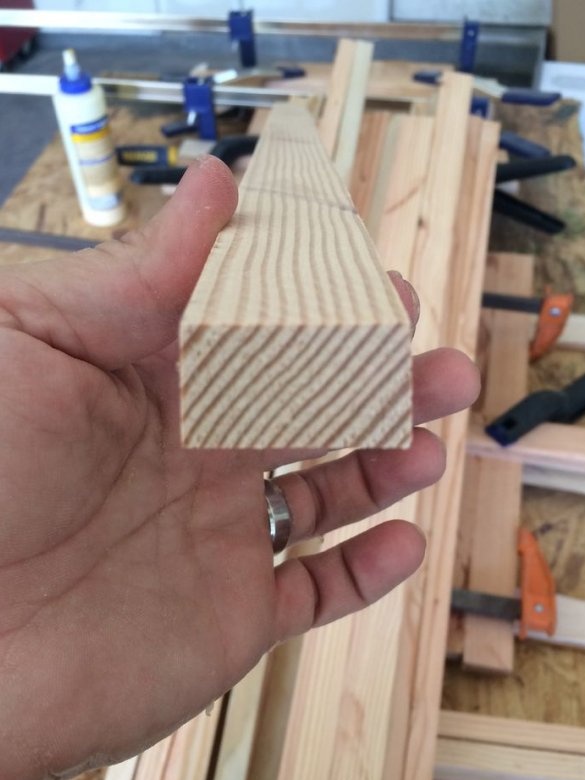
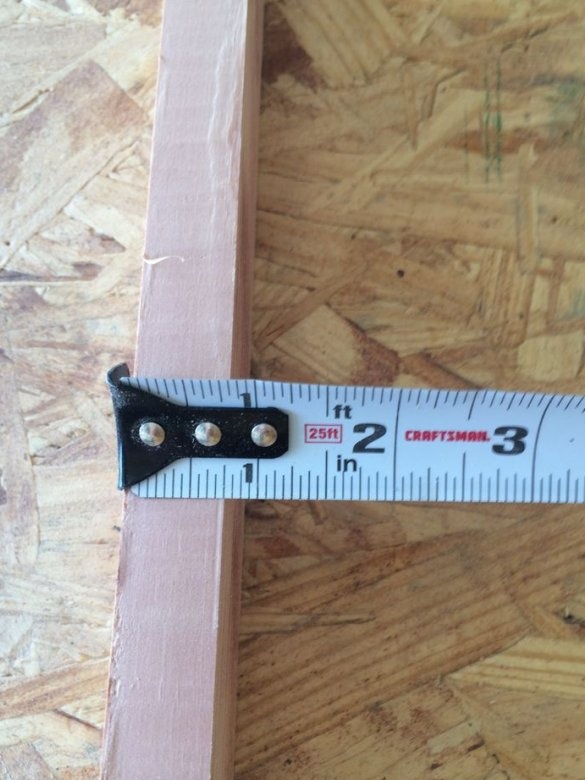
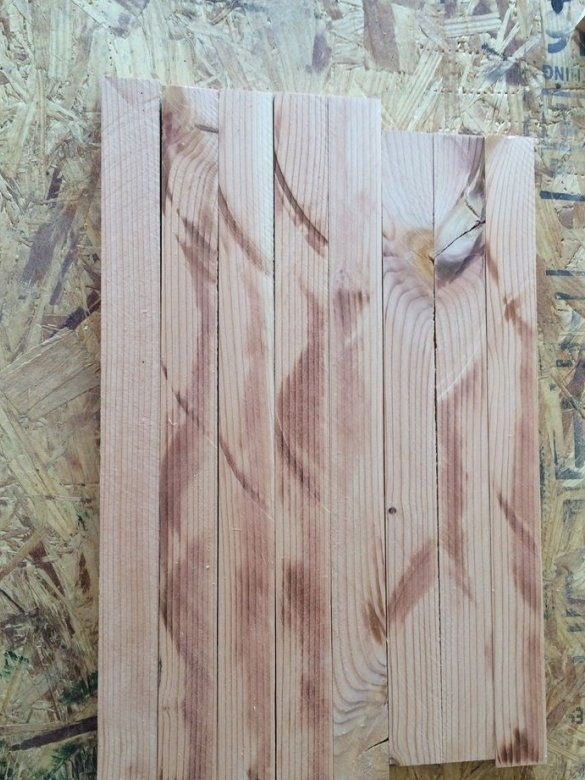
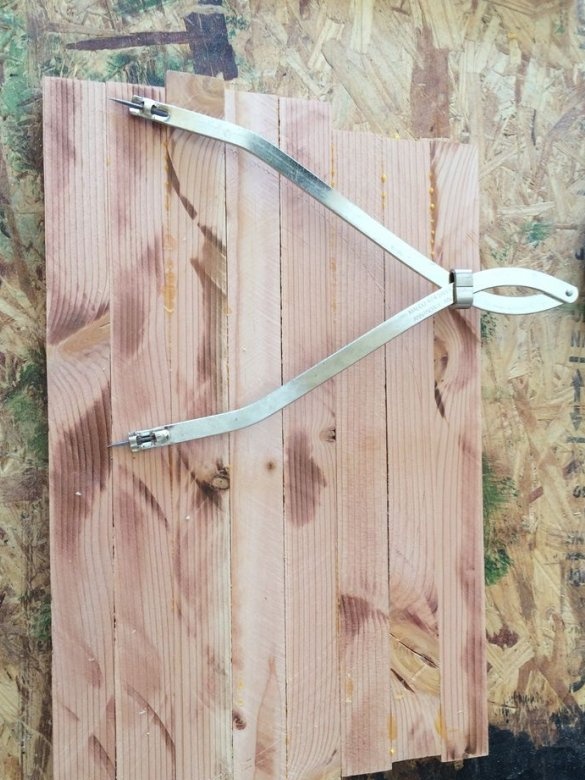
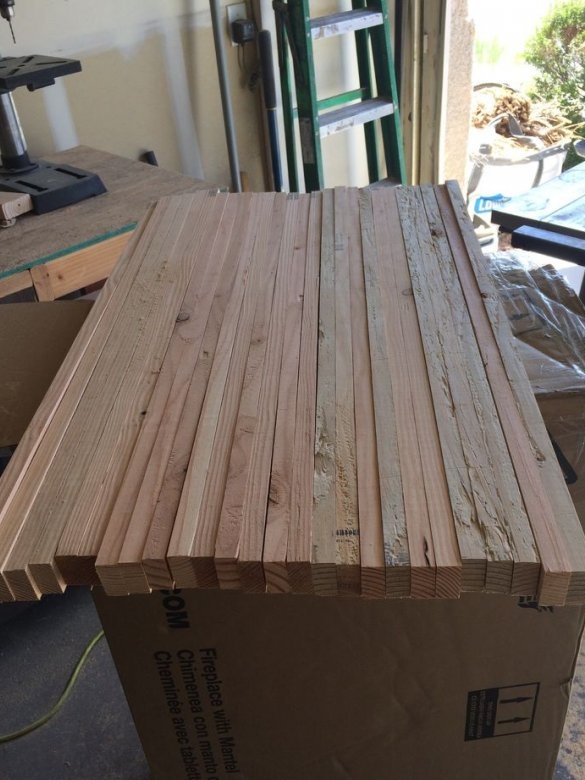
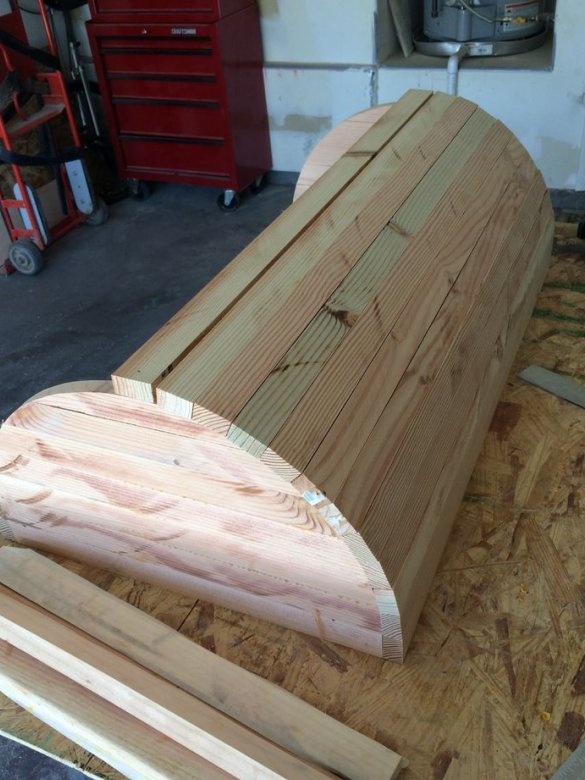
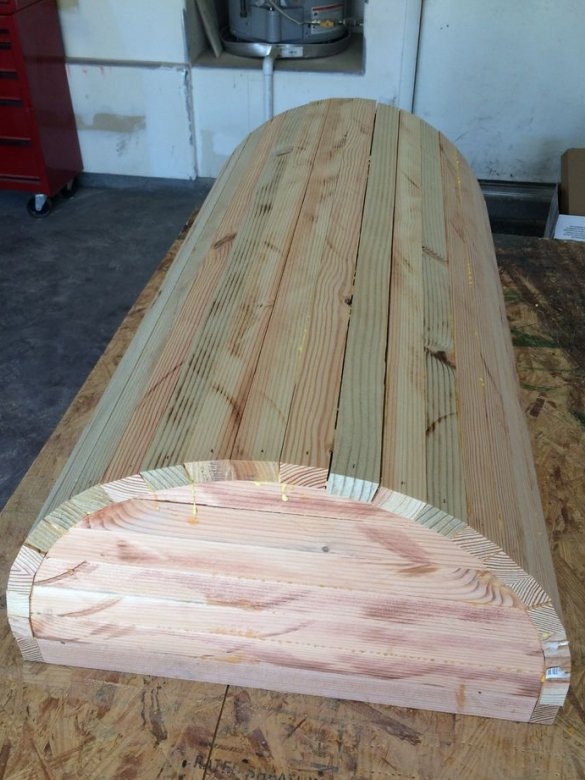
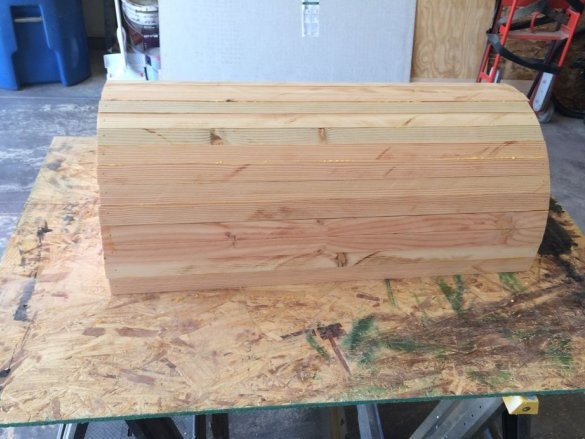
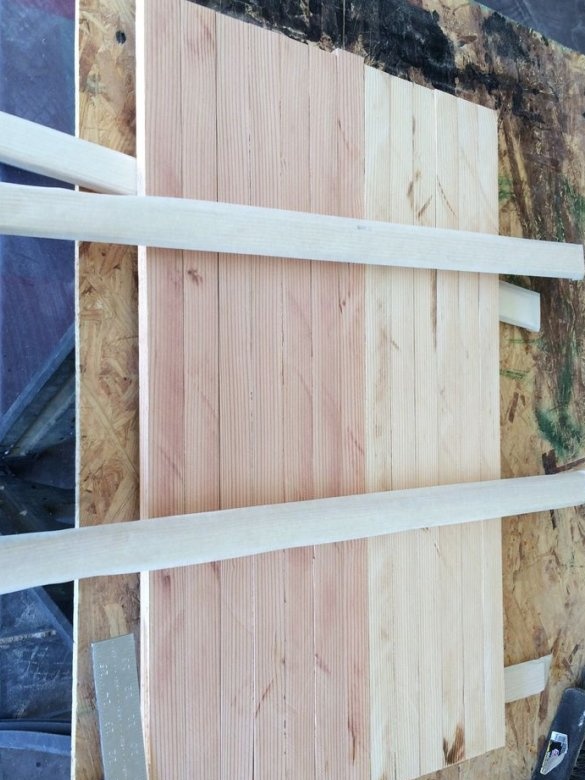
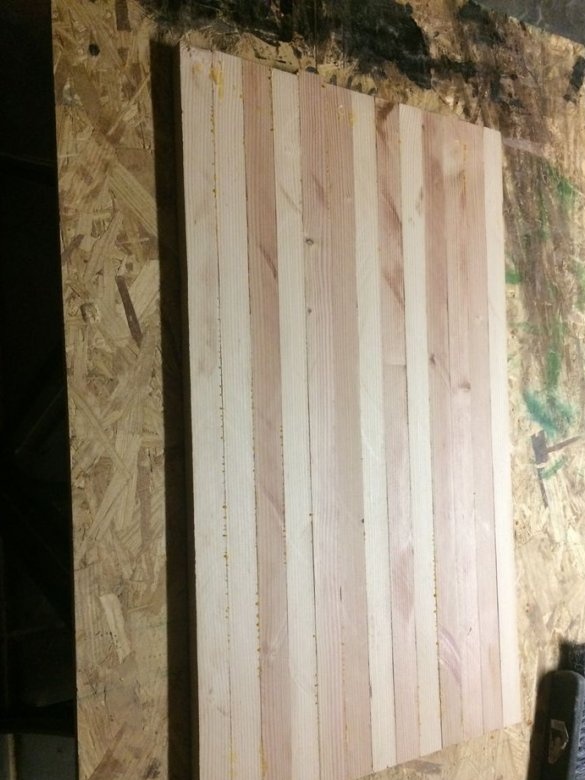
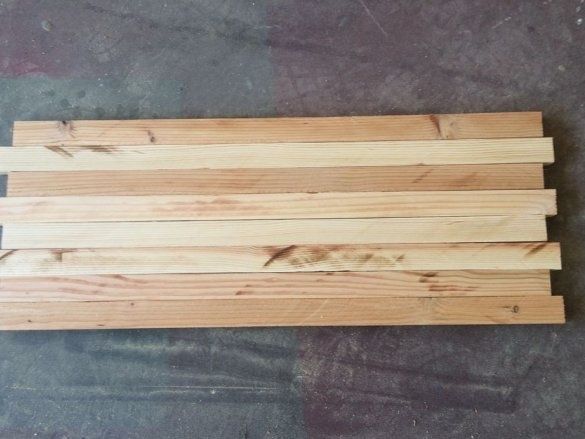
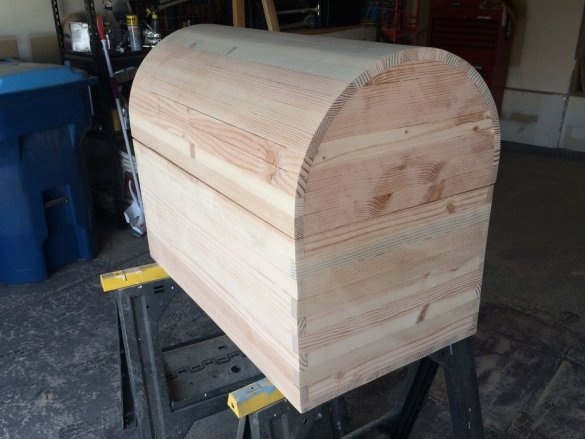
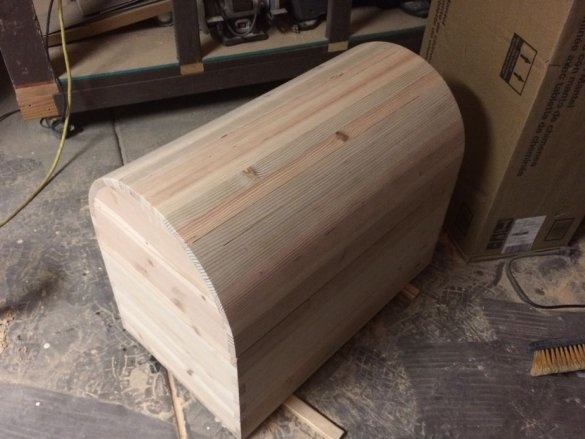
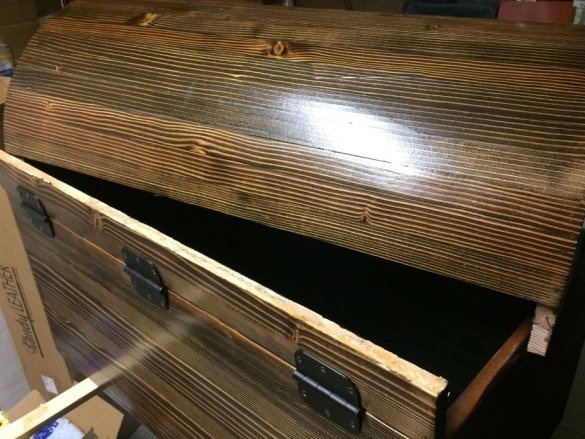
According to the plan, the master lid on the chest will be semicircular. There will be 23 bars on the cover. The master cuts 23 blocks to calculate the radius of the circle.
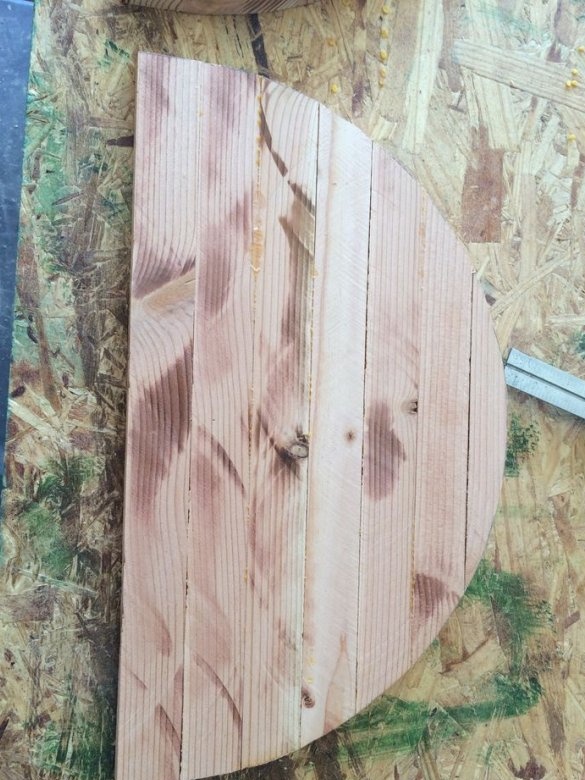
The sizes are known and the master makes two side walls of the lid. First, he makes a rectangular blank from the board, then cuts it into a semicircle.
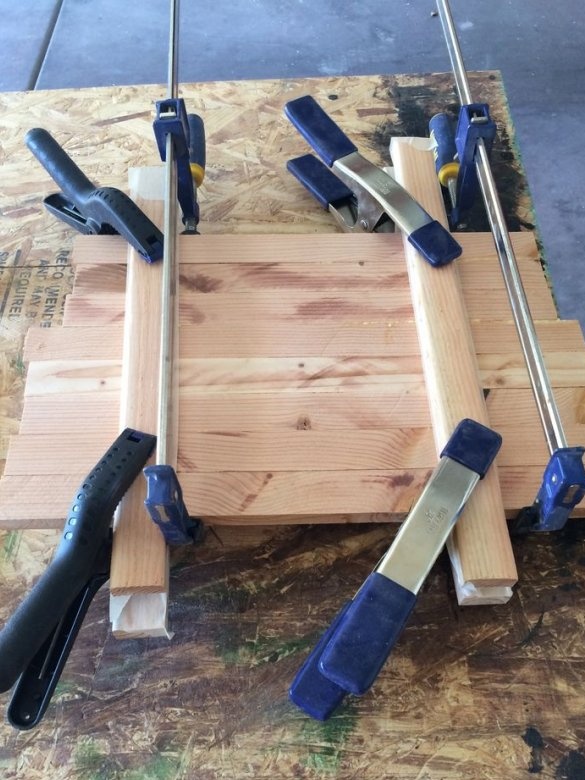
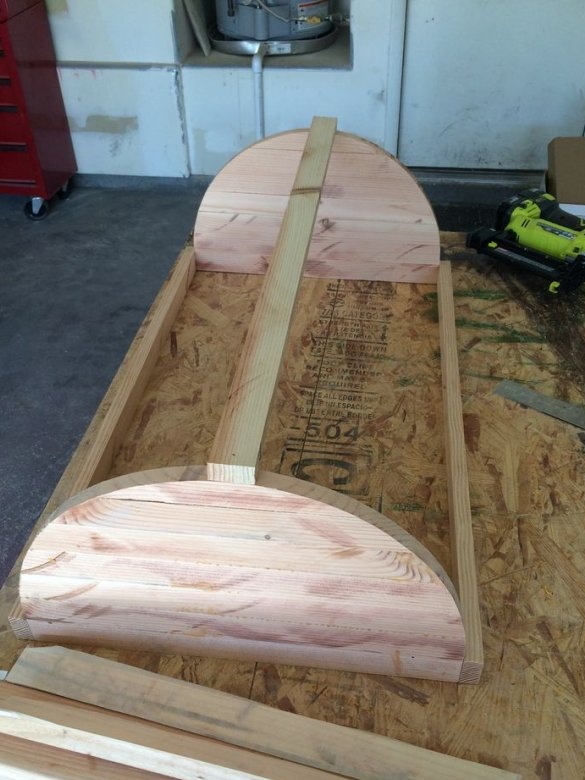
Connects two semicircles with trims. Coat slots with putty.
Step Two: Drawer
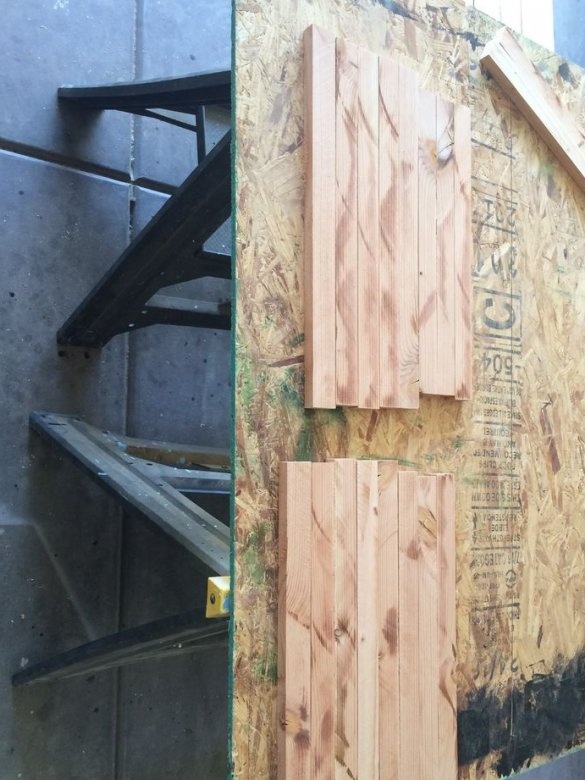
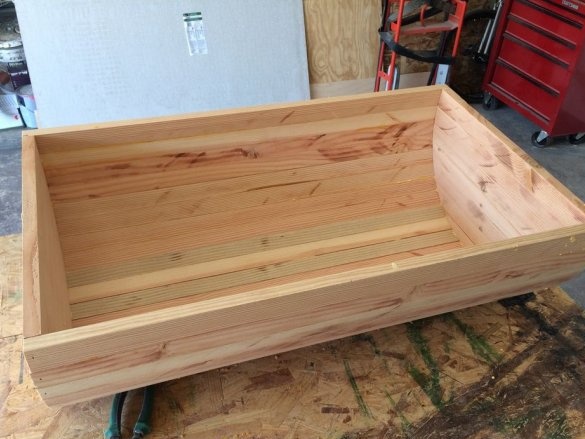
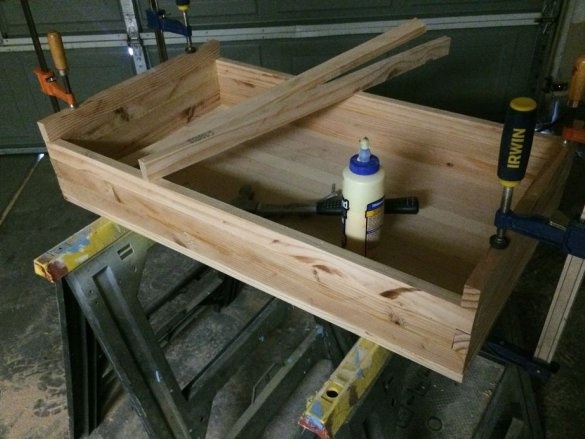
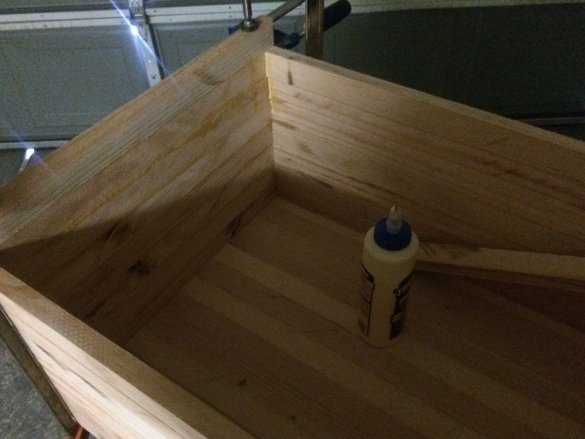
Collects the bottom of the box.
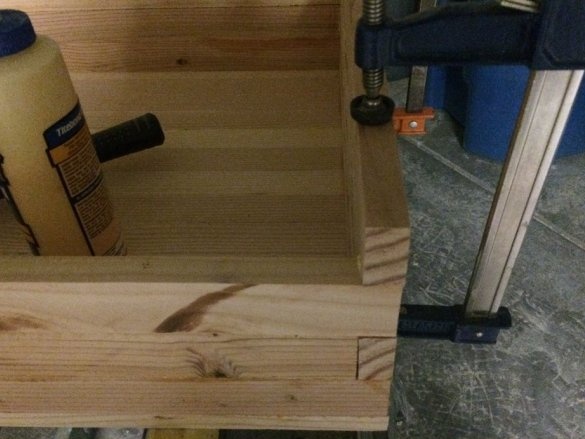
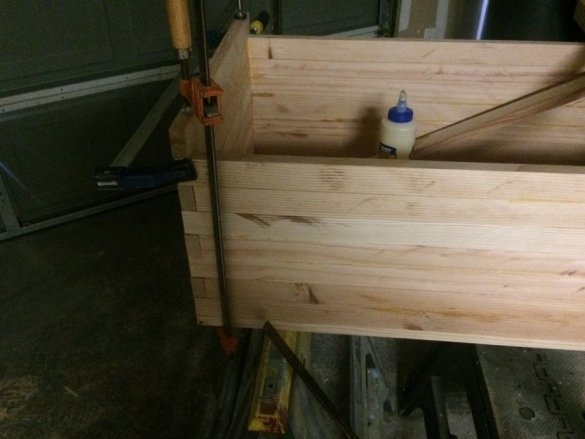
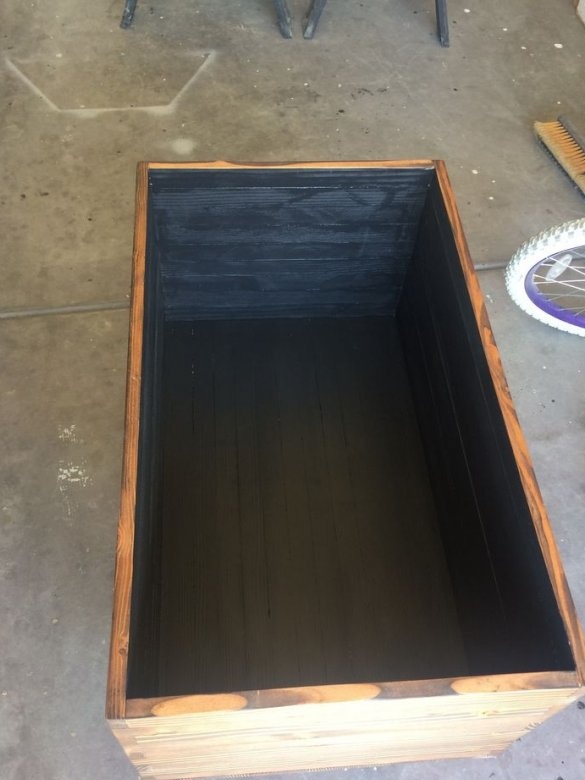
Collects walls.
Step Three: Grinding
Next, the master polishes the lid and chest drawer.
Step Four: Finish
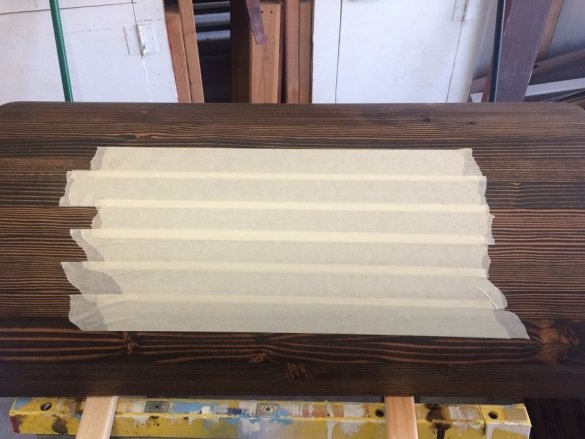
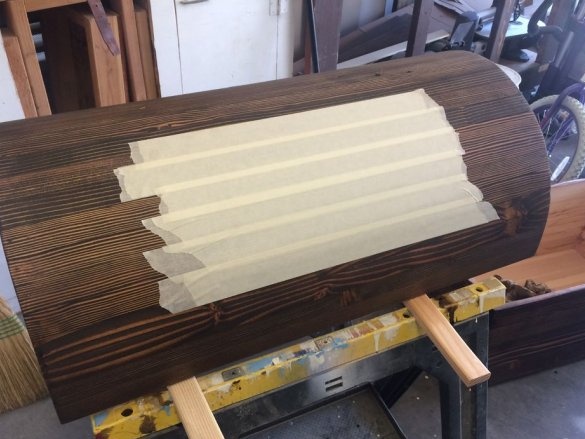
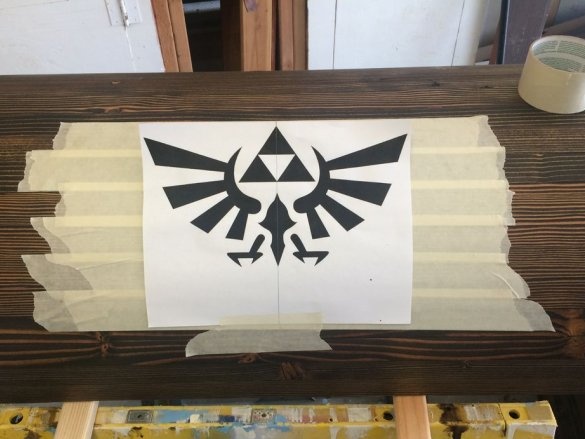
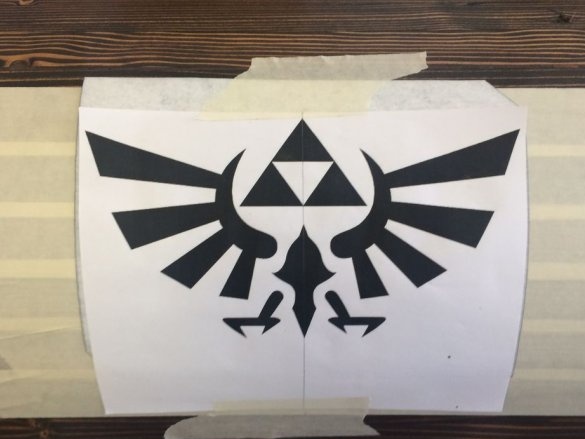
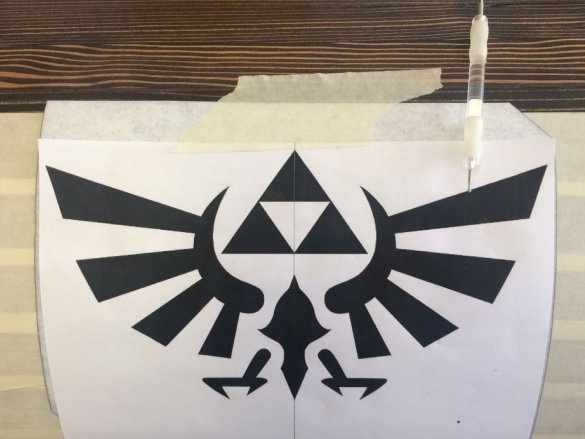
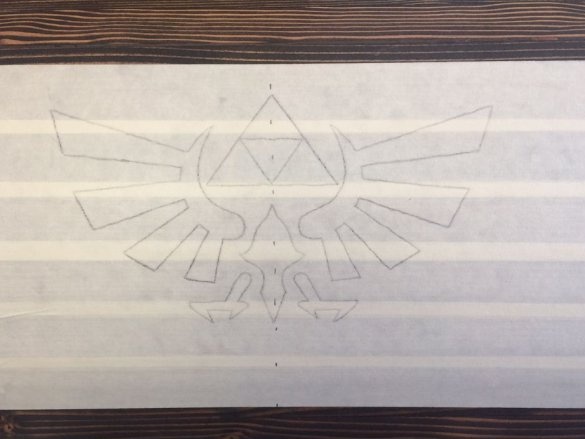
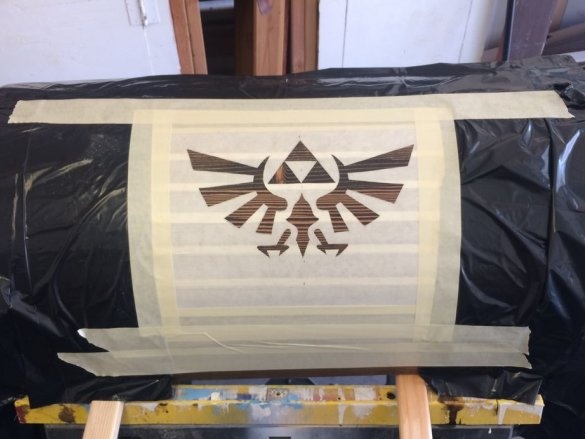
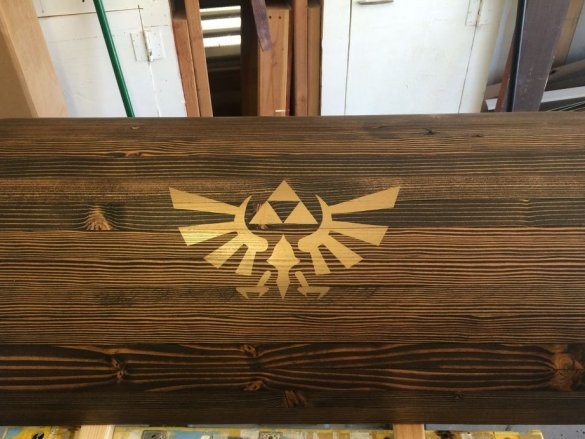
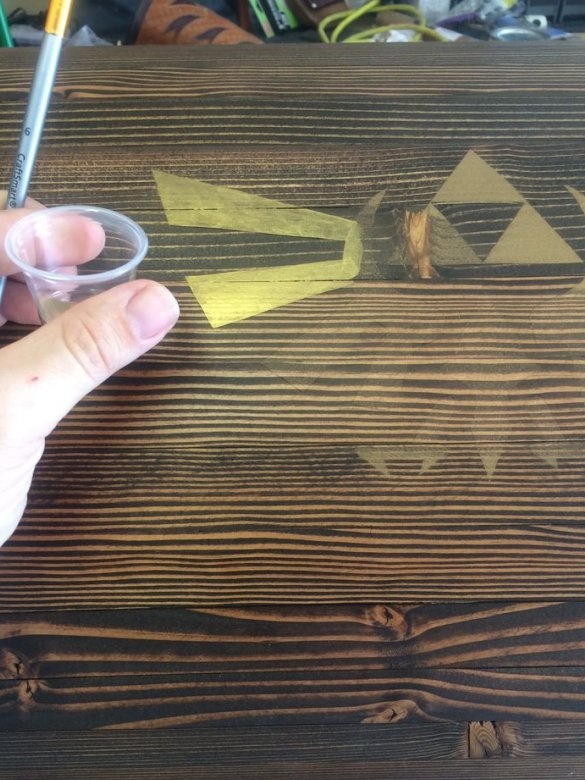
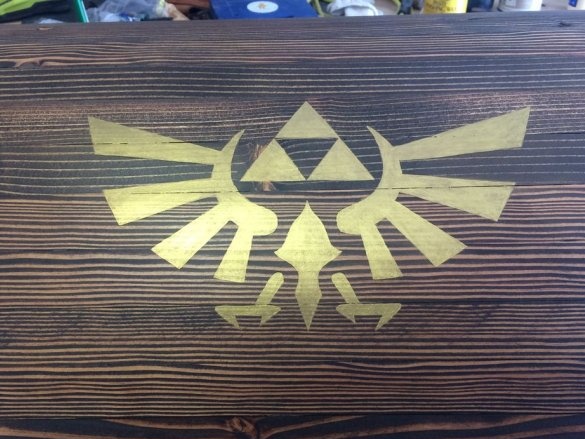
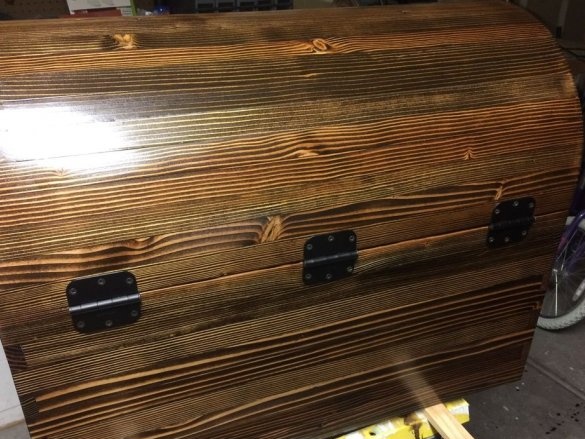
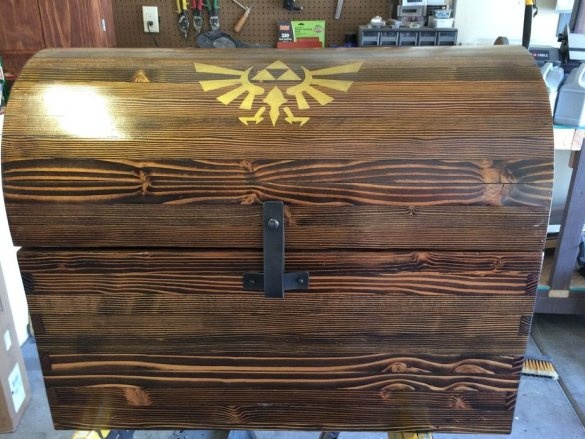
Covers a chest stain. Then he puts a drawing on the lid.
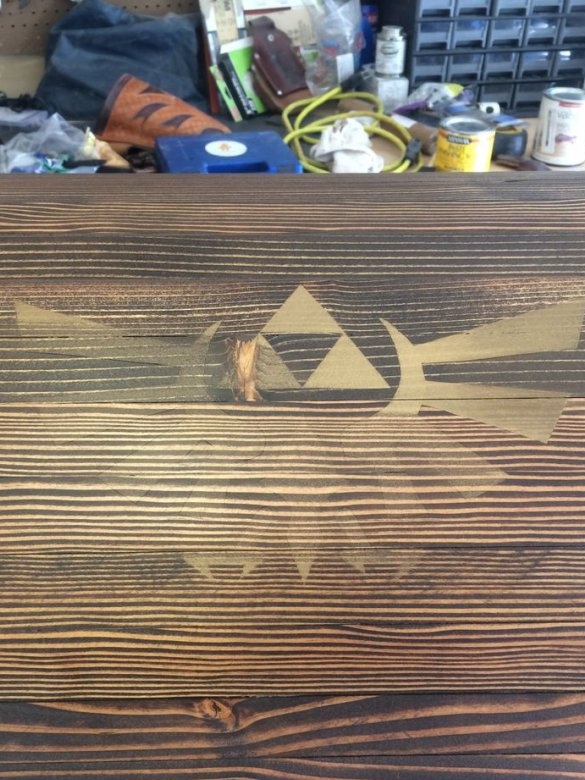
Then the master tried to cover the chest with polishing paste, but she erased part of the picture.
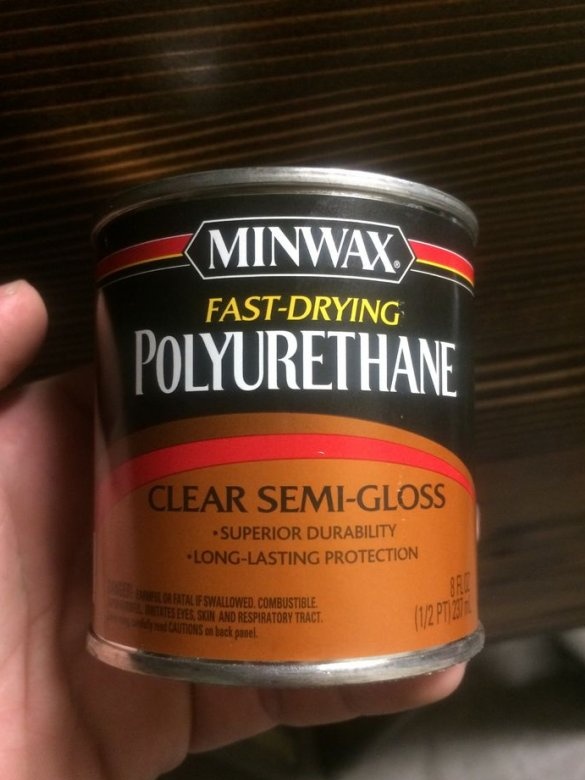
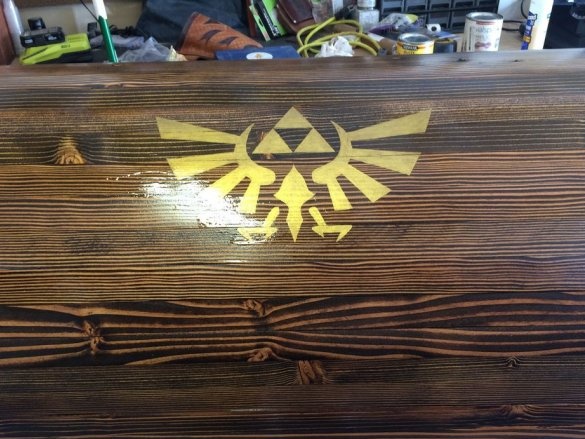
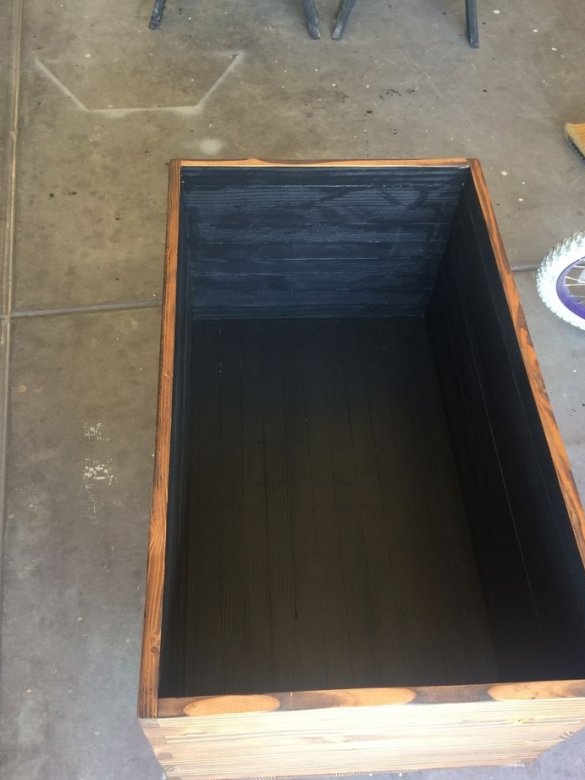
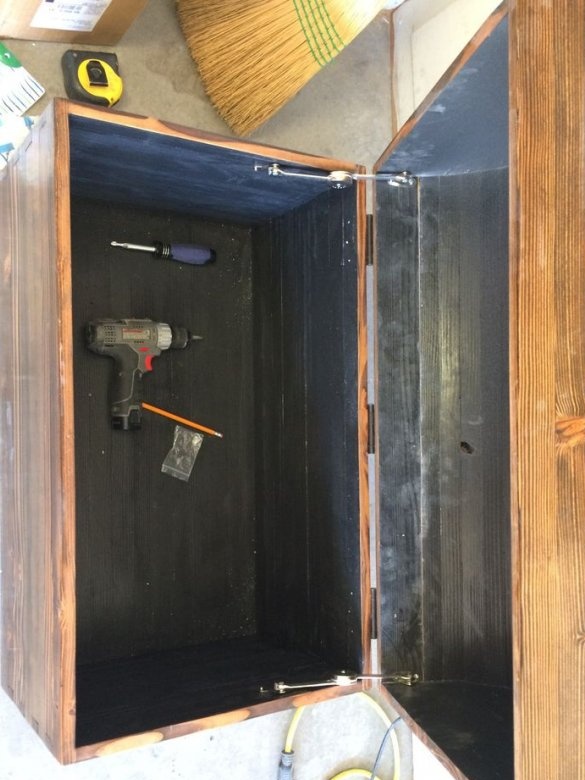
Then the master restored the drawing and varnished the chest. The inside was painted black.
Step Five: Hinges, Handles, Locks
The wizard installed the hinges and after opening the lid completely, the lid broke.
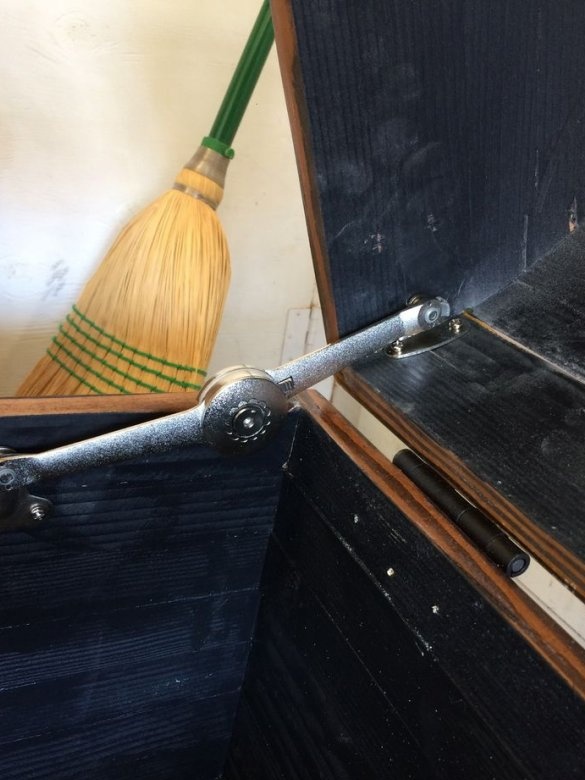
Then the master repaired the lid and installed a stopper.
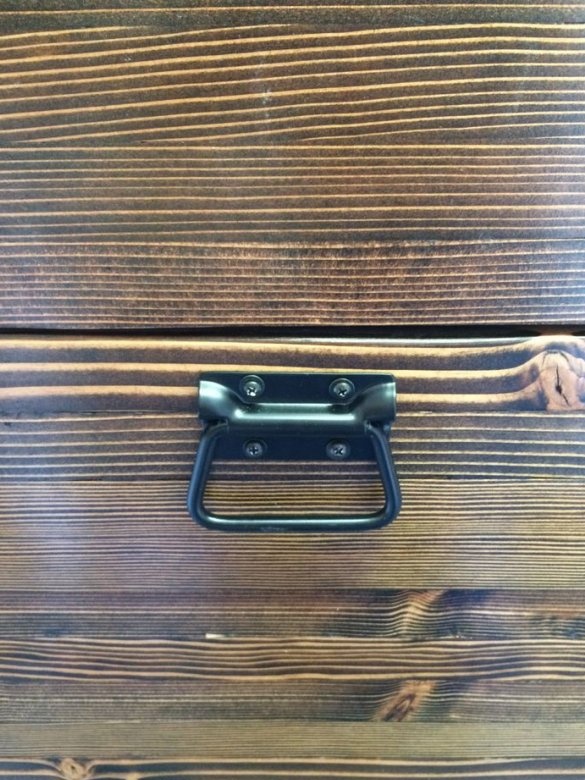
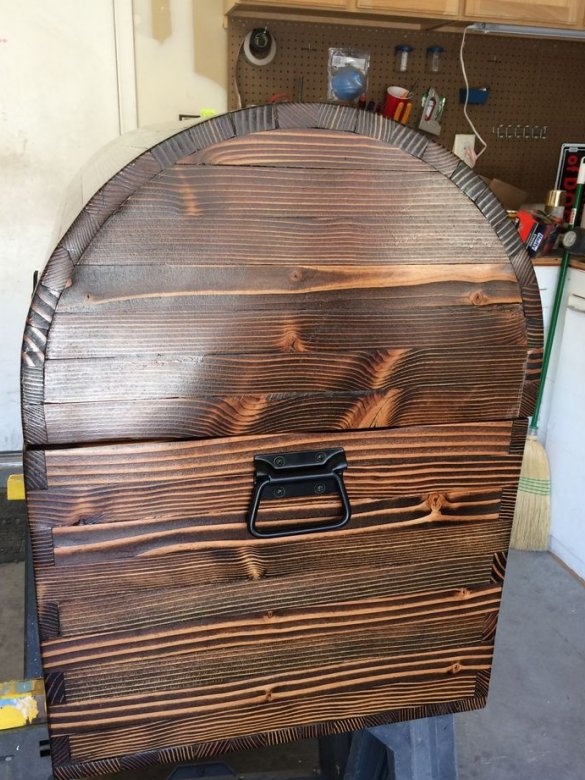
Then he fixed the handles on the sides, and a leather loop in front.
All is ready. As you can see, making such a chest is not a very difficult job, and the result is quite decent.

