

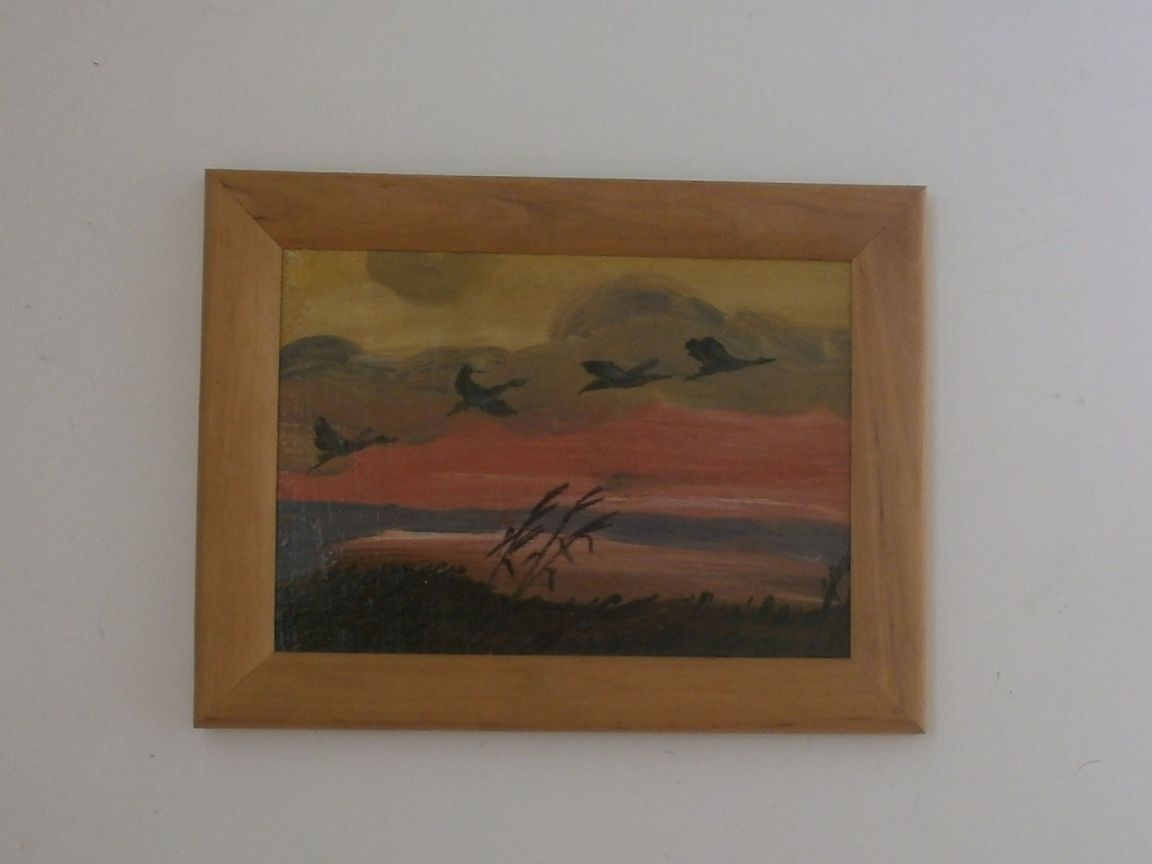
I don’t know how much this “daub” is dear to her, but I liked the idea. Moreover, the picture itself in the frame can be absolutely any. So the dimensions, and even more so the depth (as a consequence, the volume and capacity of the cabinet), not to mention the purpose, can be absolutely anything.
Therefore - open. I did it under a standard photo frame 13x18 cm, but, I repeat, you are free in size.
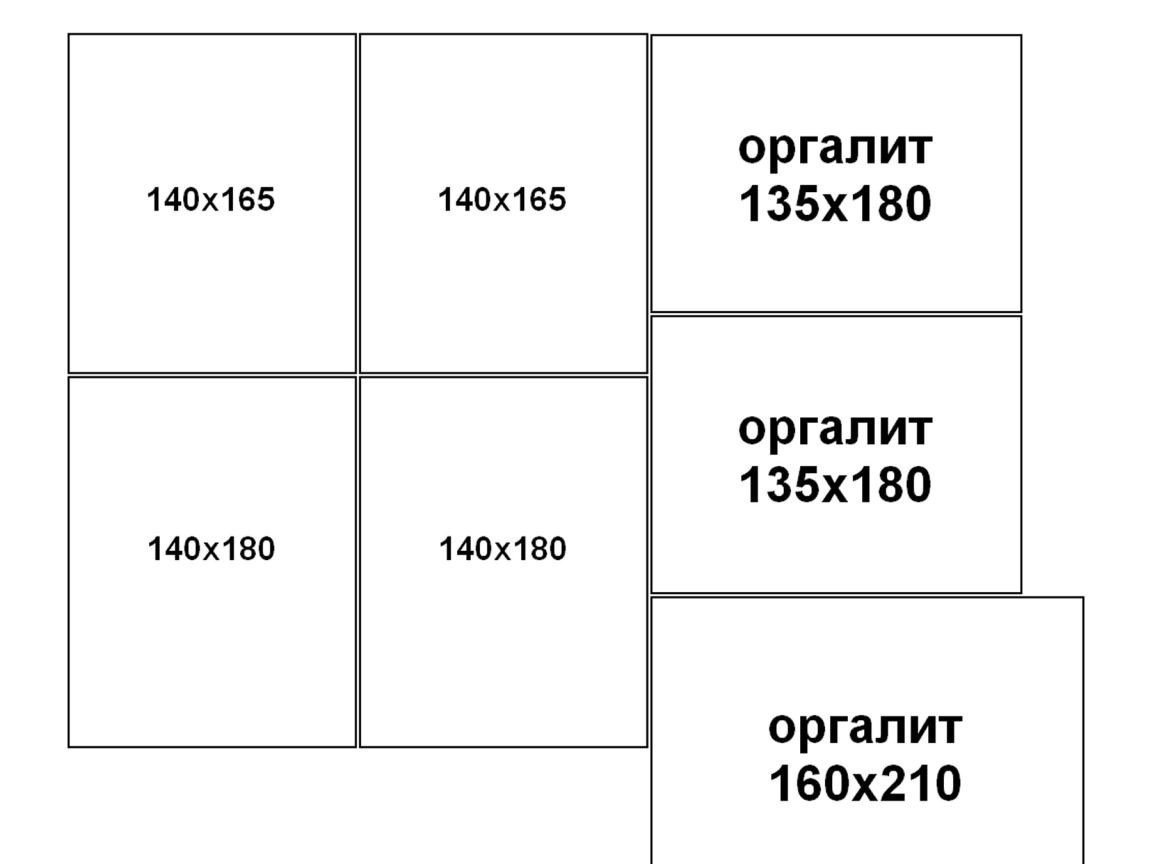
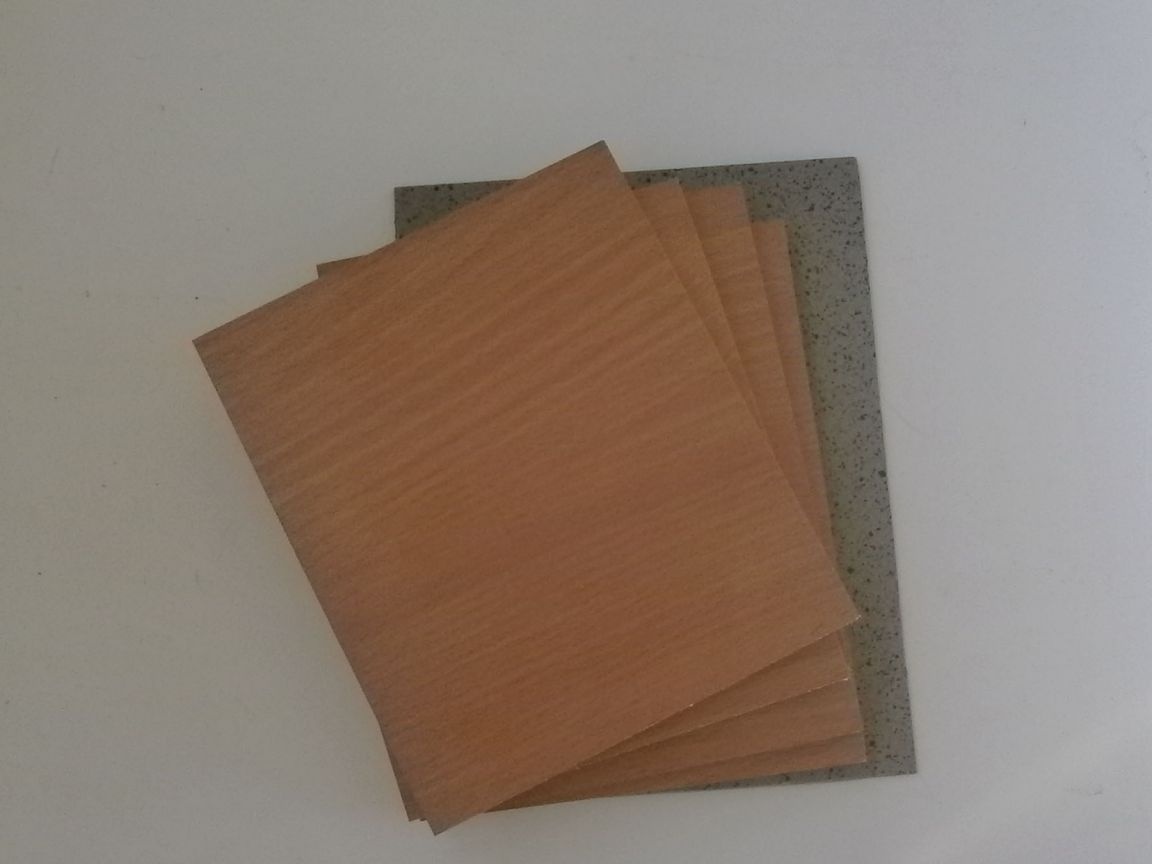
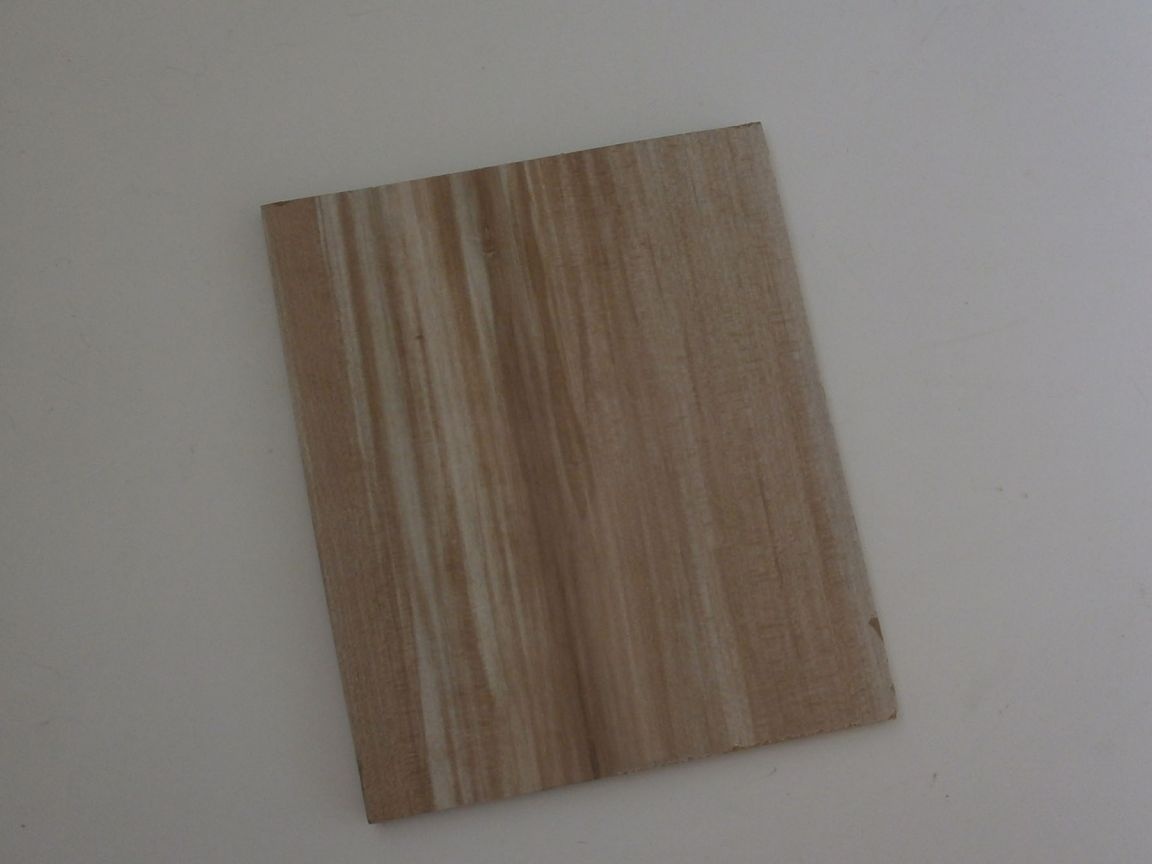
I ordered it at a chipboard sawing company, and there they performed (I felt completely lazy) pasting with paper edge.
Where I bought a wooden pen-stump, eight confirmations,
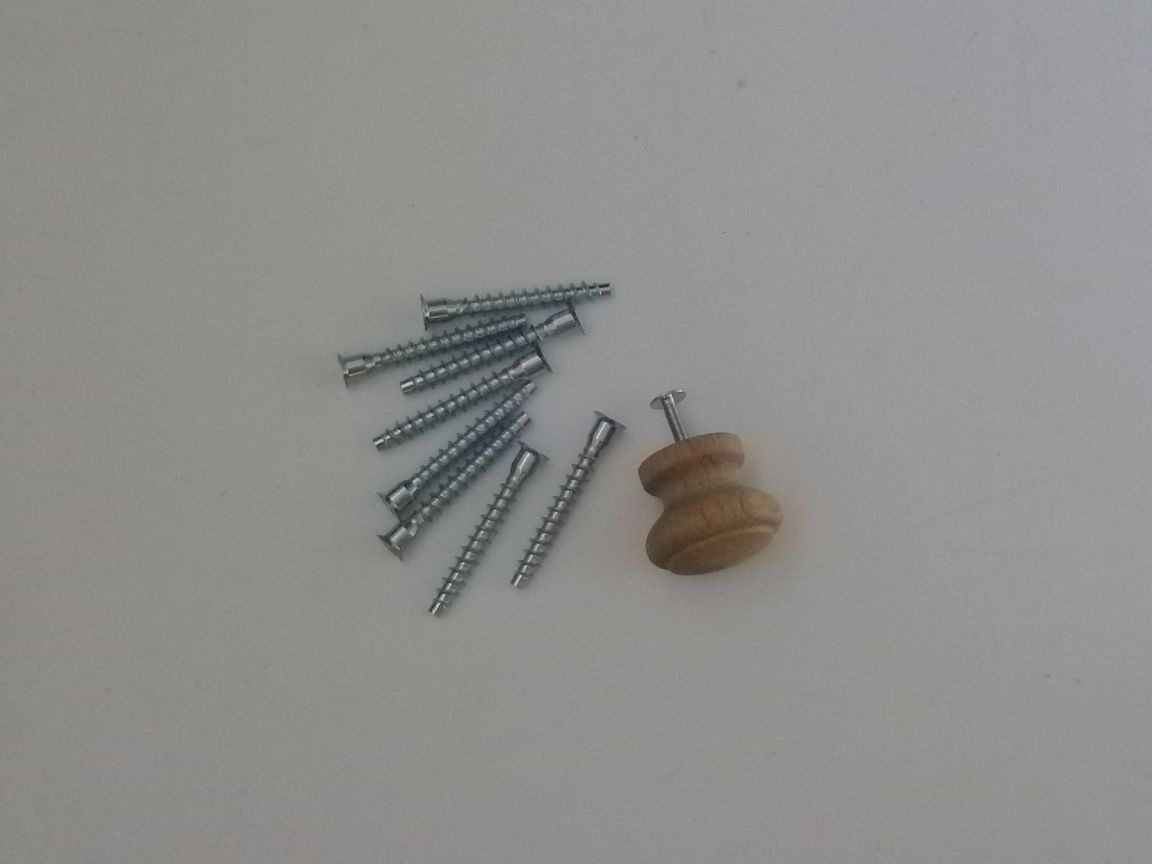
two canopies, a magnet for of furniture, a pair of decorative loops and 16 mm screws (it took only 20 pieces).
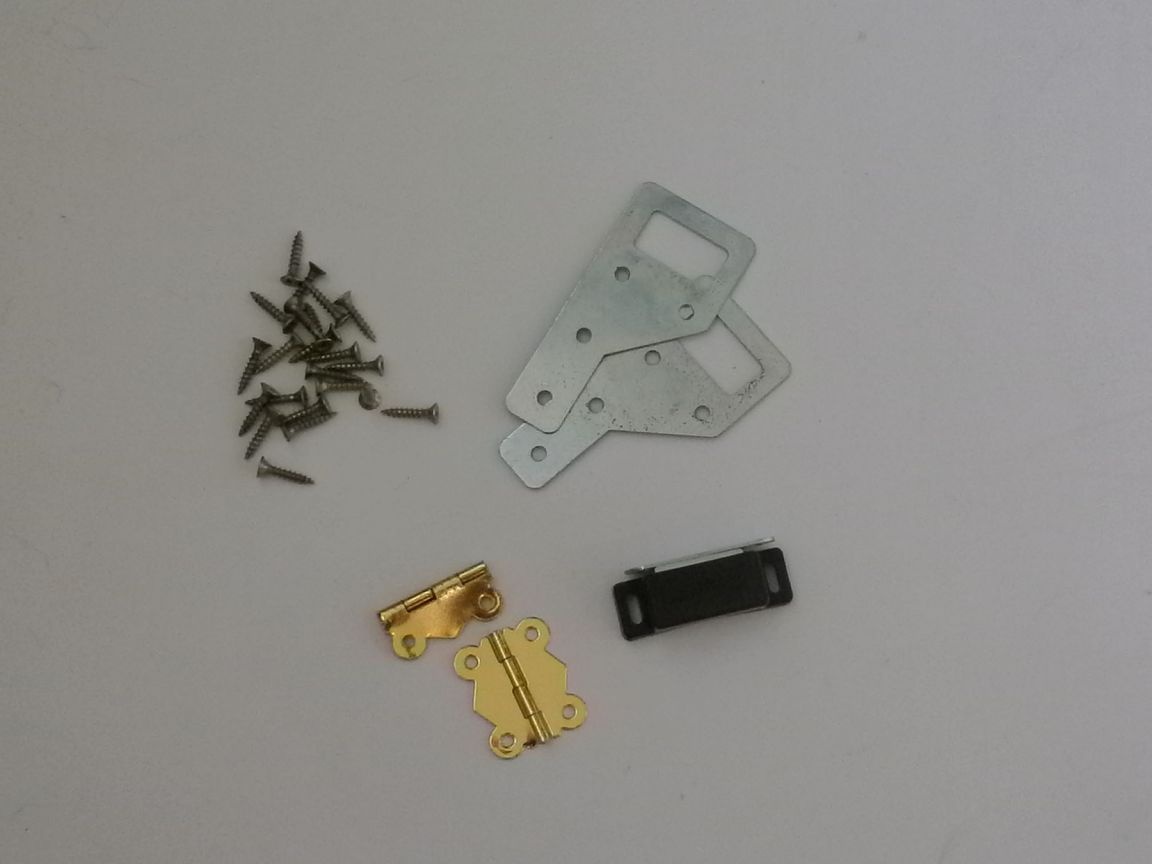
In addition, we need:
• drill / driver;
• a furniture stapler with staples (you can successfully replace it with furniture studs and a hammer);
• confirmation drill (it alone was enough for everything);
• magnetic bit with cross and hex head;
• stationery knife;
• awl;
• pencil;
• ruler;
• and epoxy glue. Although “Liquid Nails” will suit instead: you will definitely not notice the difference.
All this turned out to be at my place.
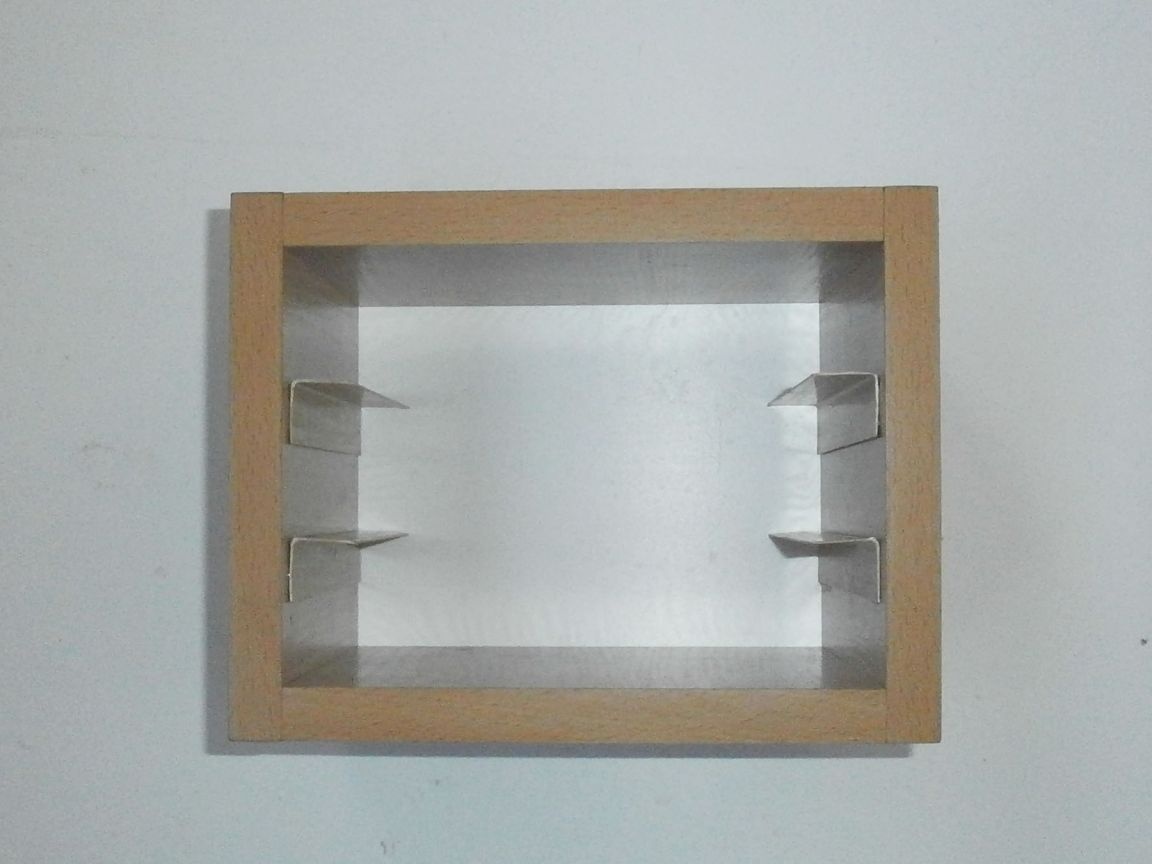
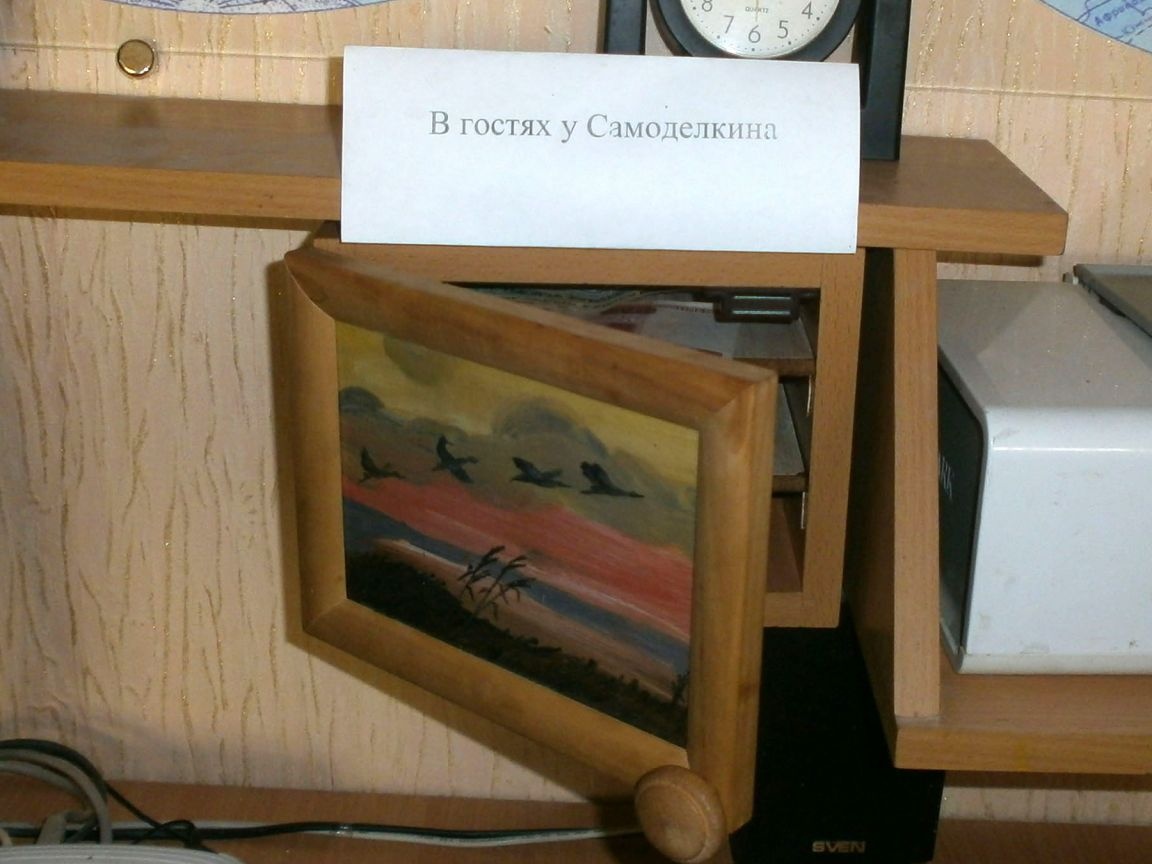
But already in the process it turned out that coins would lie on the shelves (rather heavy weight comes out), so I decided to make the cross-members from the scraps of the laminate, and not from hardboard. So to say, "with a margin." Although I will mount them on plastic corners, which, although they are cut with a simple knife, have proved to be quite a good support.
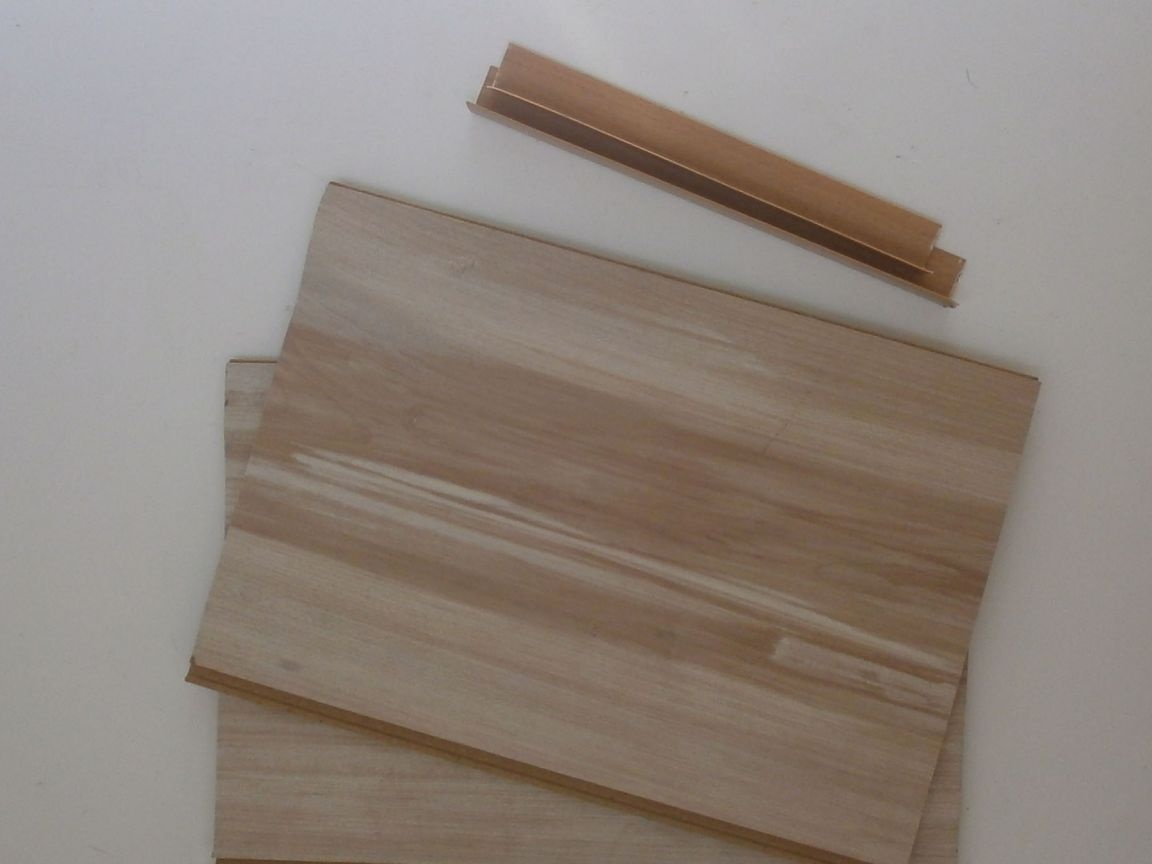
And if so, then an electric jigsaw was also needed to cut them to size.
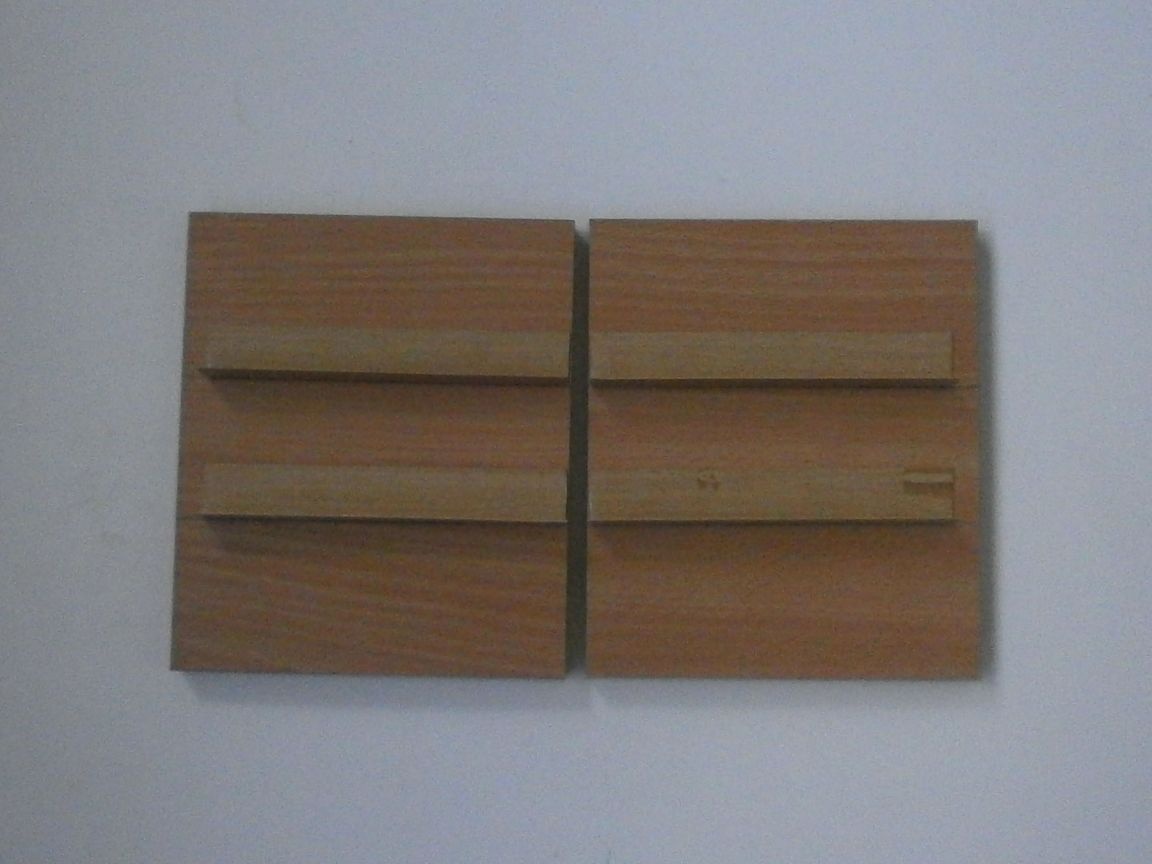
Glue the cut corners and leave to dry.
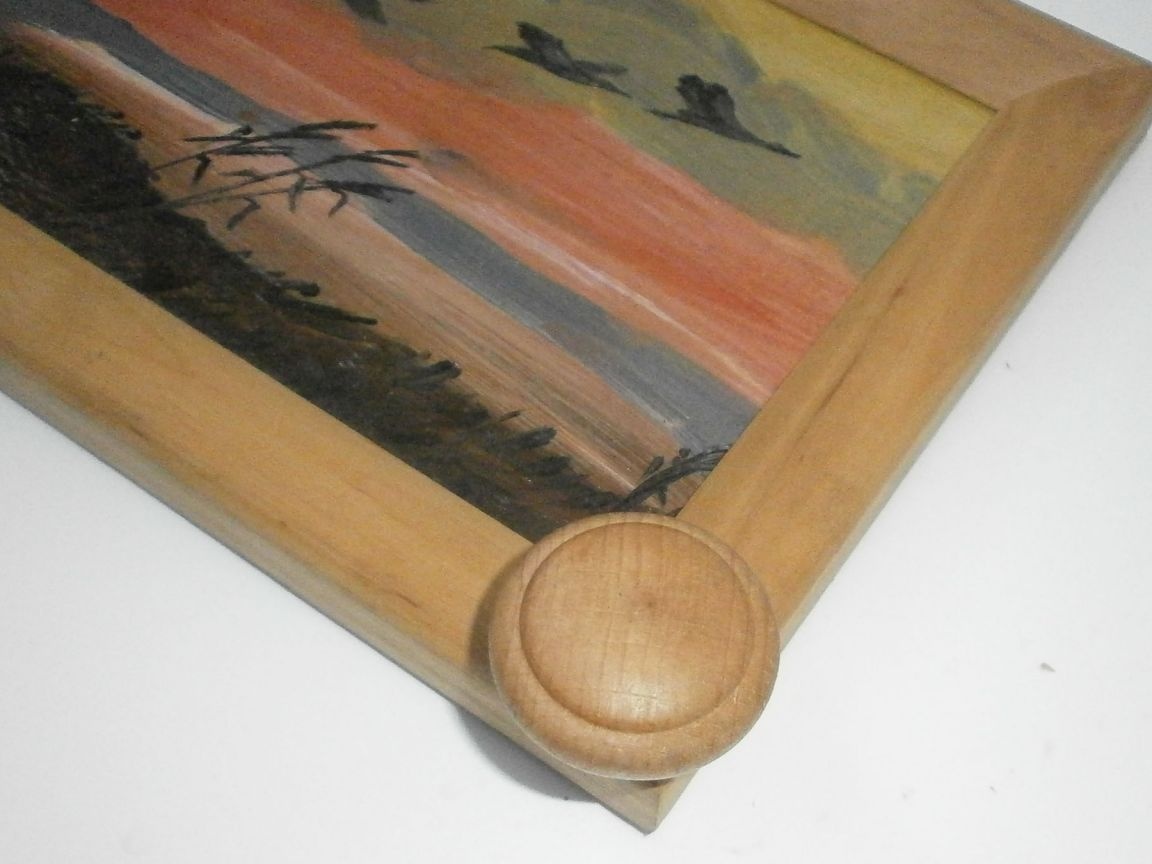
In the frame, drill a hole and fasten the handle. I know that it was necessary to take less, but only such were on sale. It doesn’t matter, then I’ll change it.
The glue is dry. Using confirmations (two per side), we make L-shaped parts,
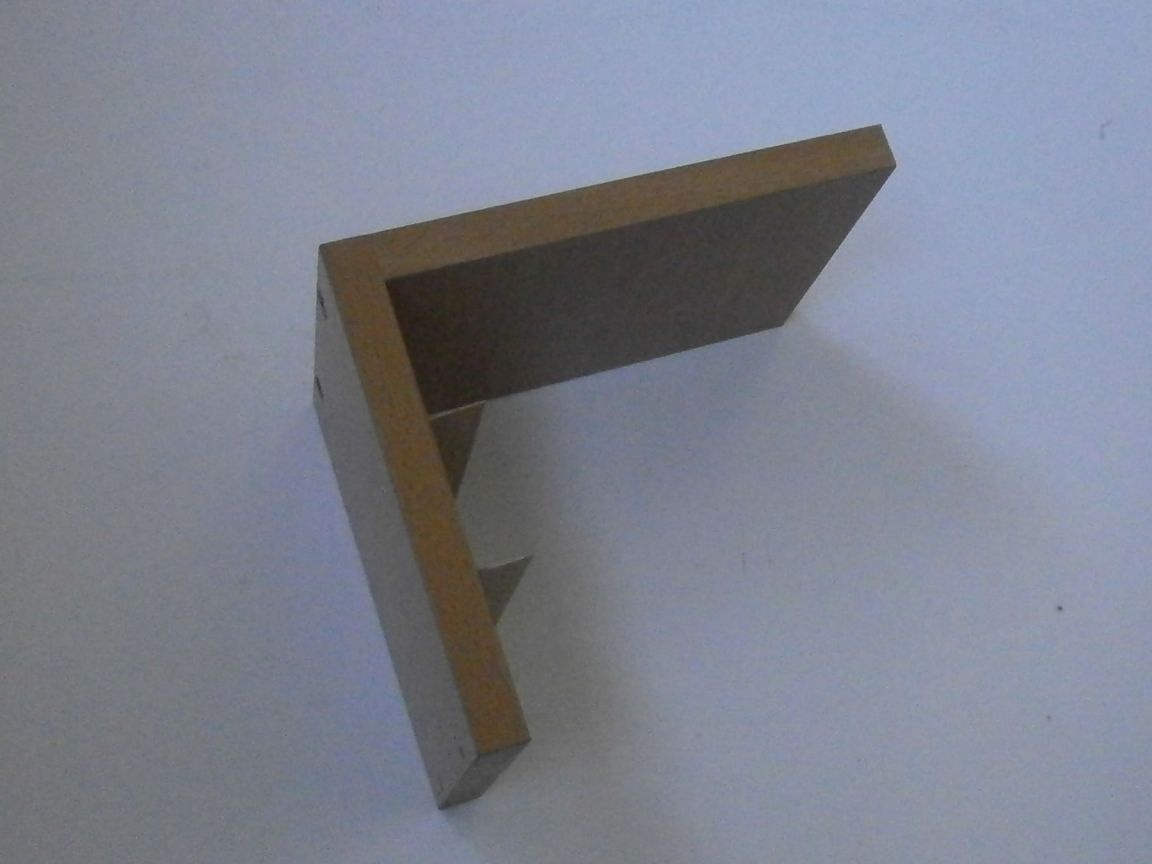
which we then collect in a single box.
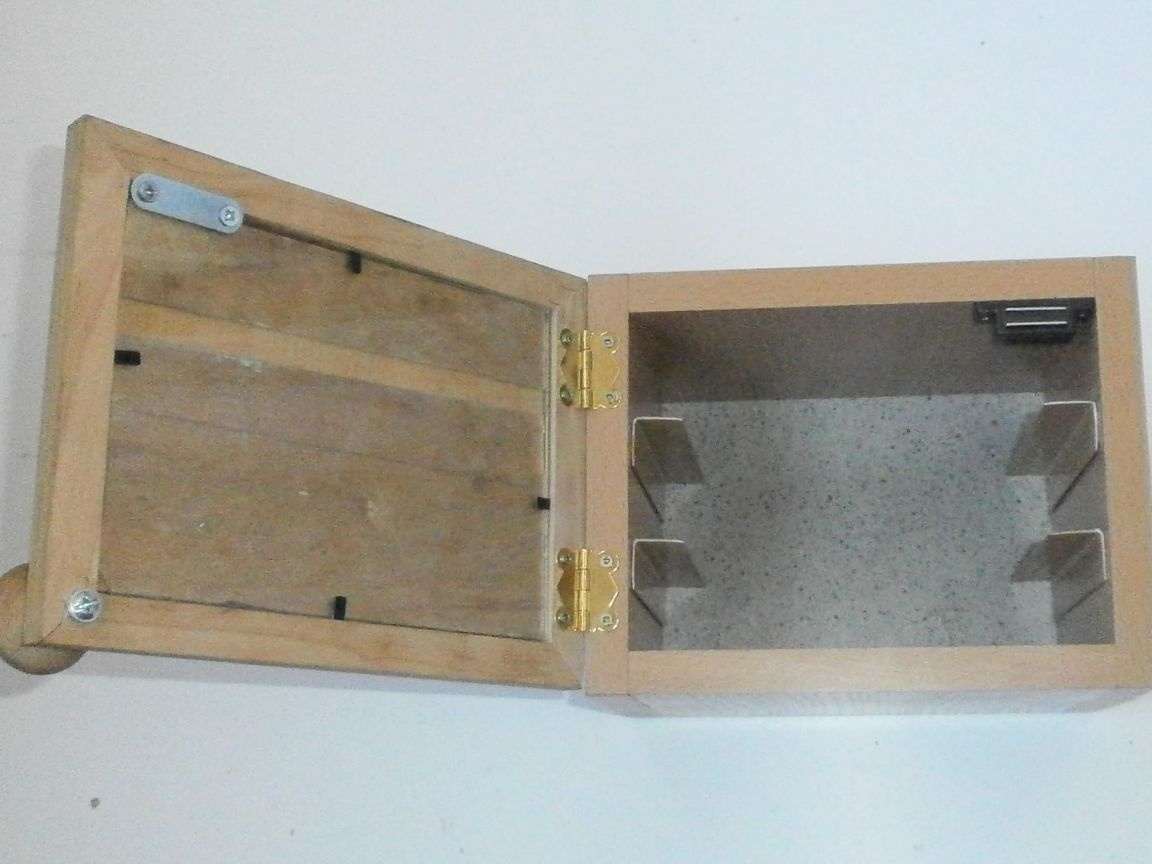
We nail the back hardboard wall and fasten two canopies.
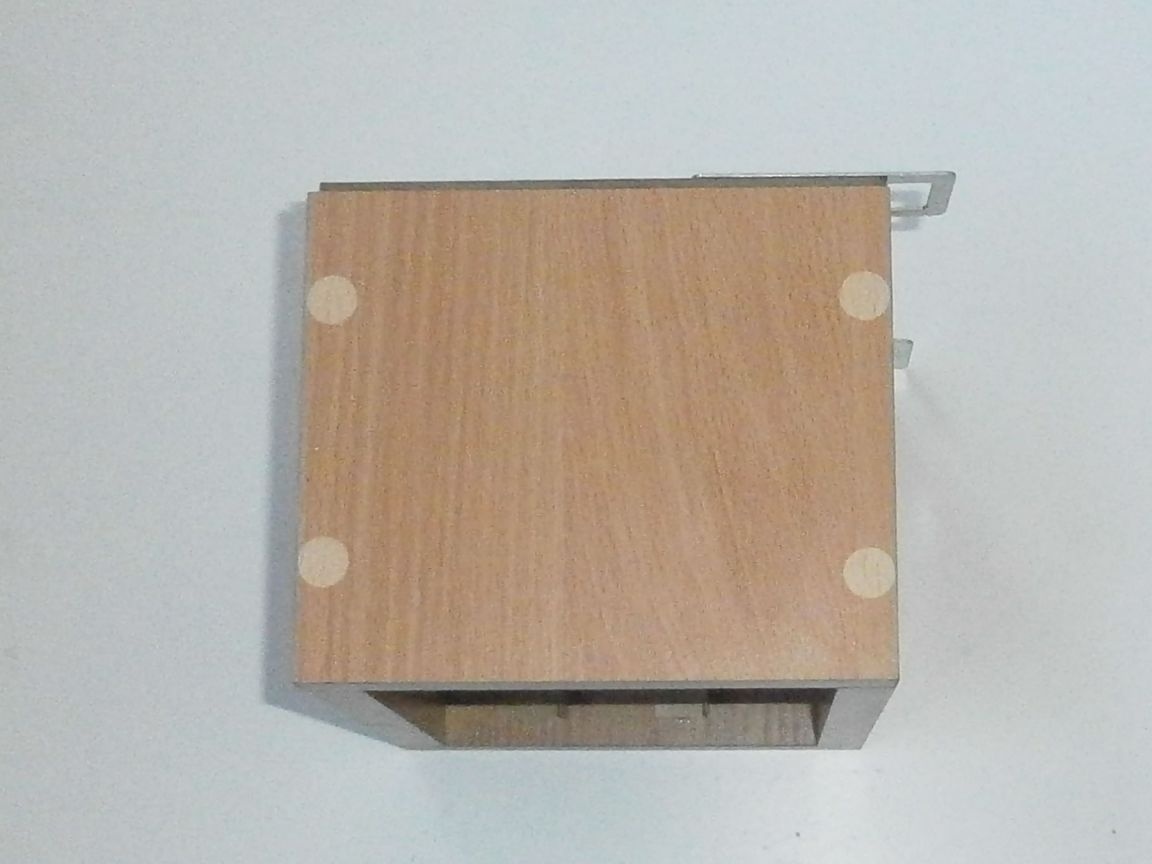
We seal the heads of confirmations with self-adhesive mugs.
We fasten the hinges to the door and the shelf itself, as well as fasten the furniture magnet with the counterpart. The wrong side of the picture came out “not comme il faut,” so you have to come up with something.
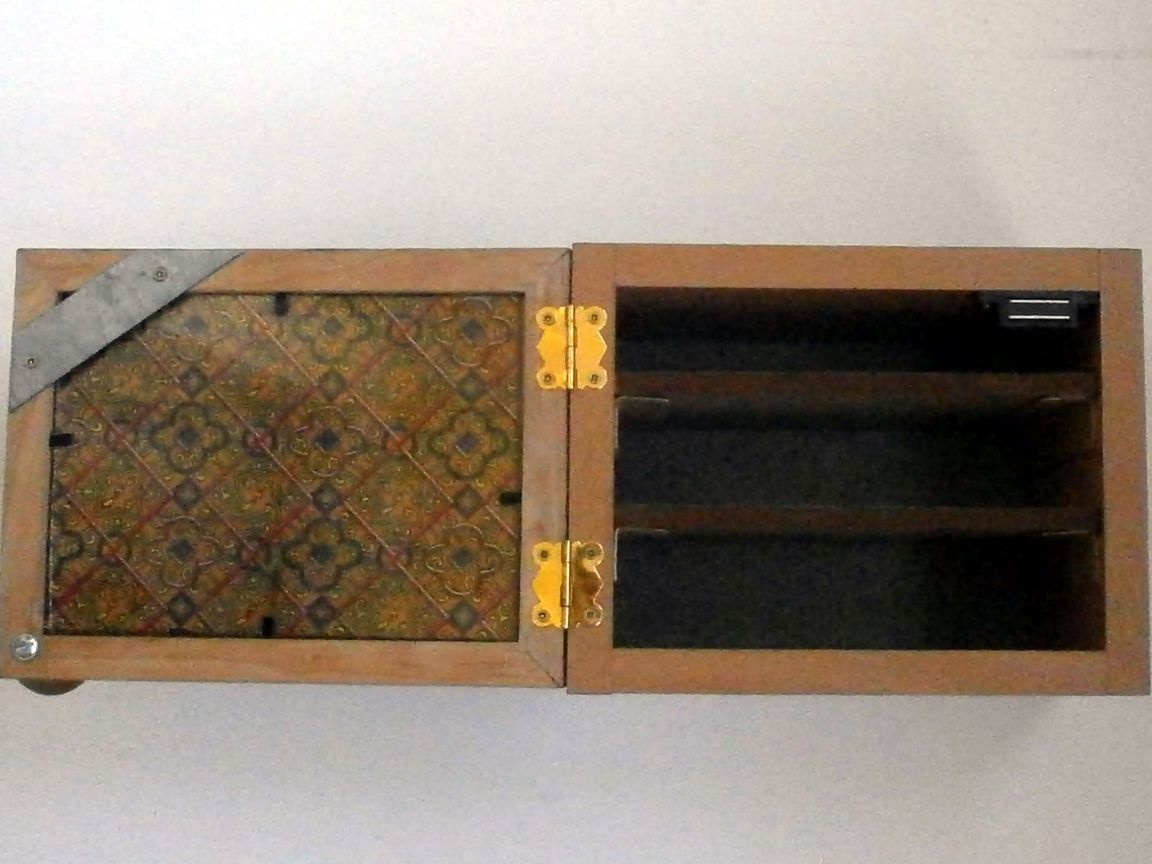
We glue the shelves. Again leave to dry.
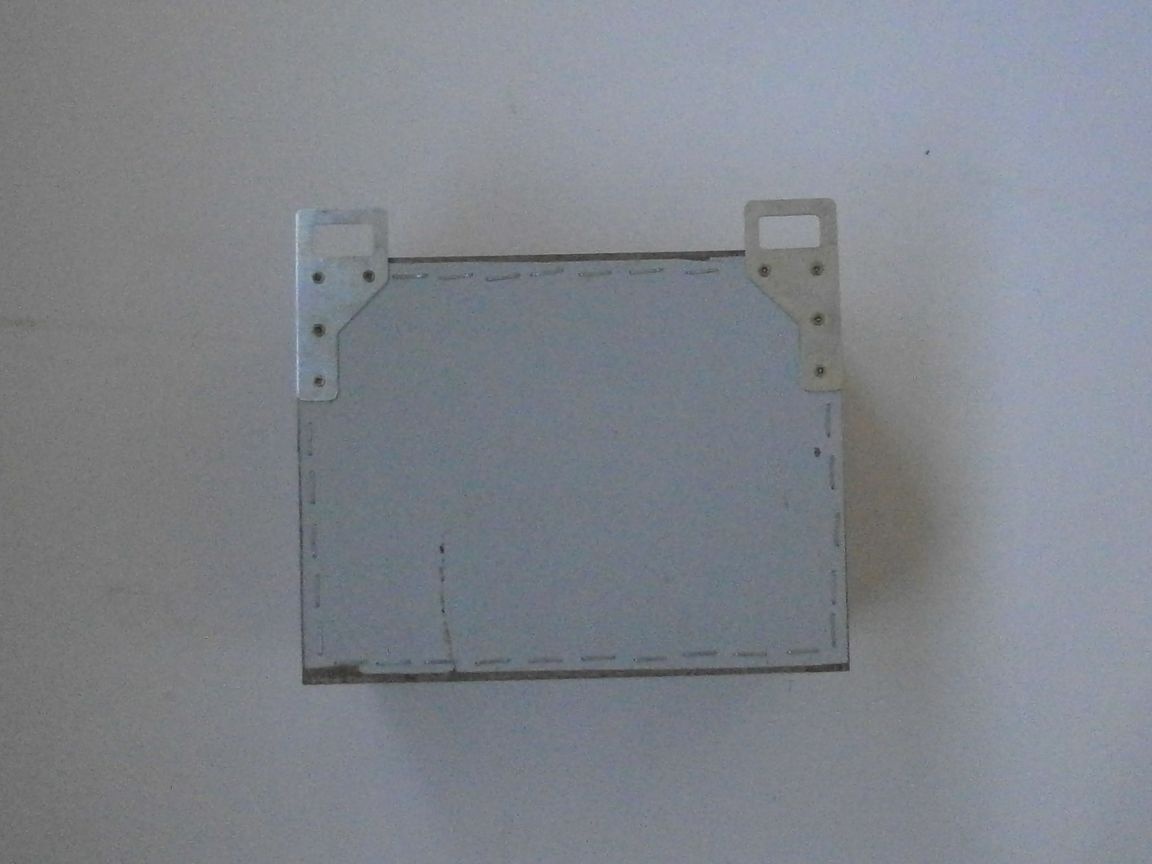
So it is: the morning of the evening is trickier, so I closed the back of the picture with a self-adhesive film, and instead of the flimsy mating part of the magnet, I cut out a new strip from tin. Therefore - still needed scissors for metal and core.
Now for sure, our frame shelf is ready.
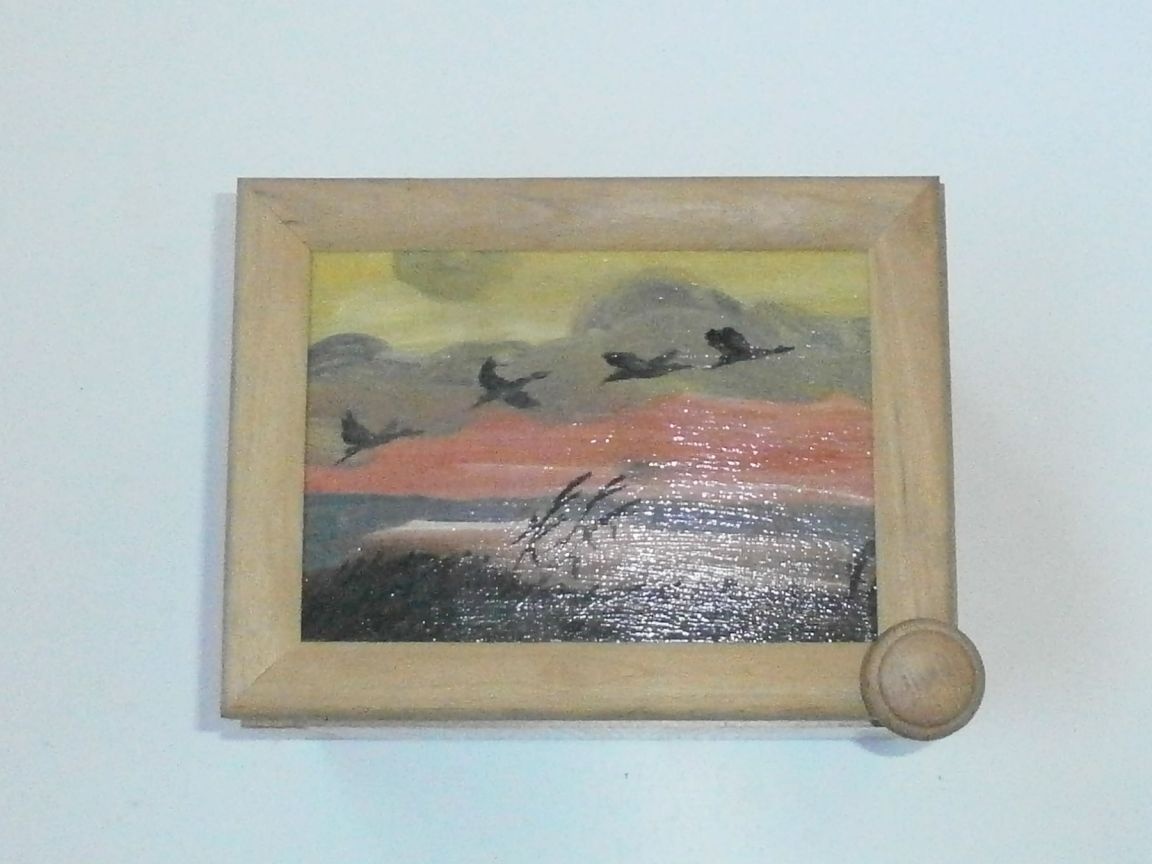
We hang it in its rightful place.
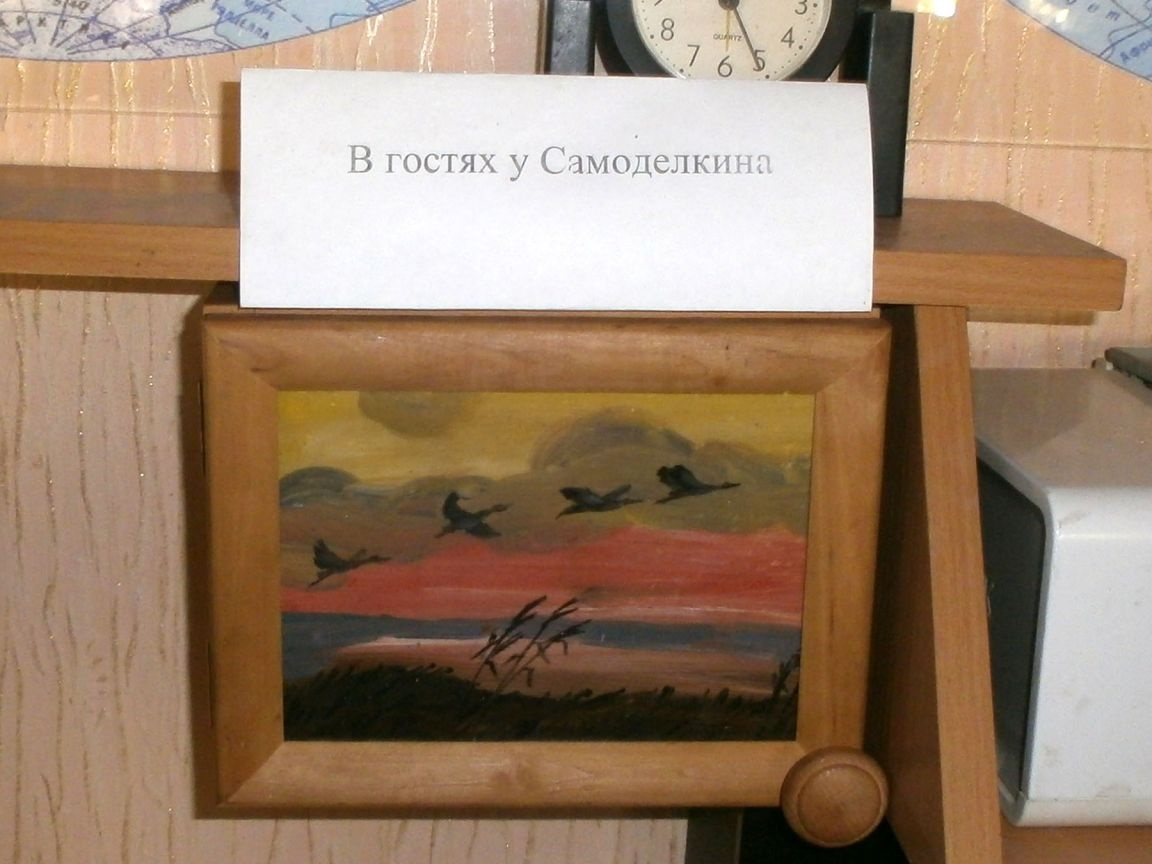
Done.
That's all the wisdom, neat, interesting, and most importantly - a functional shelf-frame, not just ready, but already hanging on the wall. It remains only to fill it with contents.