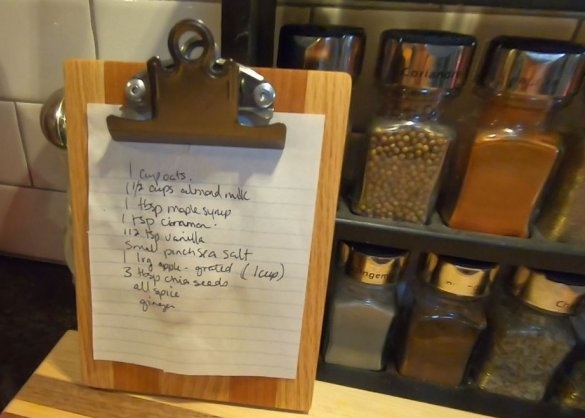
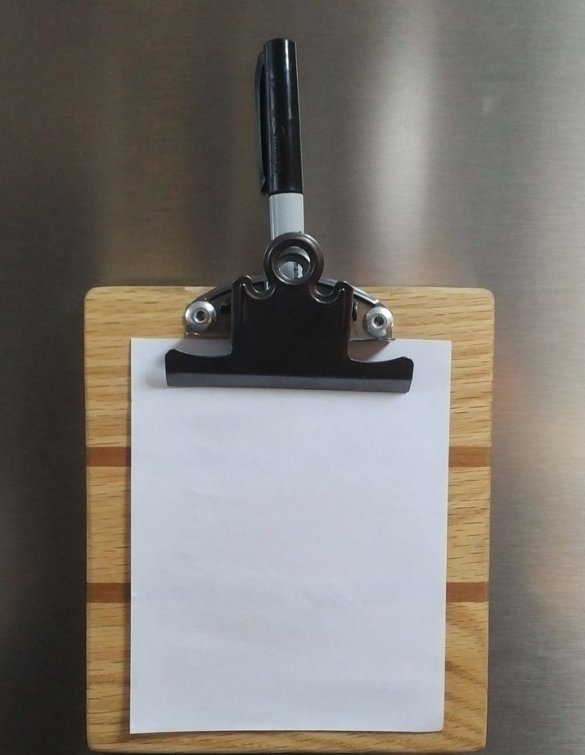
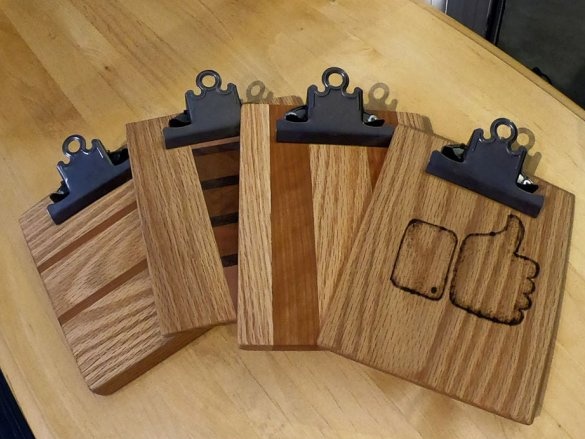
These small wooden folders with clip can be used for various purposes. Notebook holder, for photos, drawing board, etc.
Tools and materials:
-Board;
- Reysmus;
-Sander;
-A circular saw;
-Drilling machine;
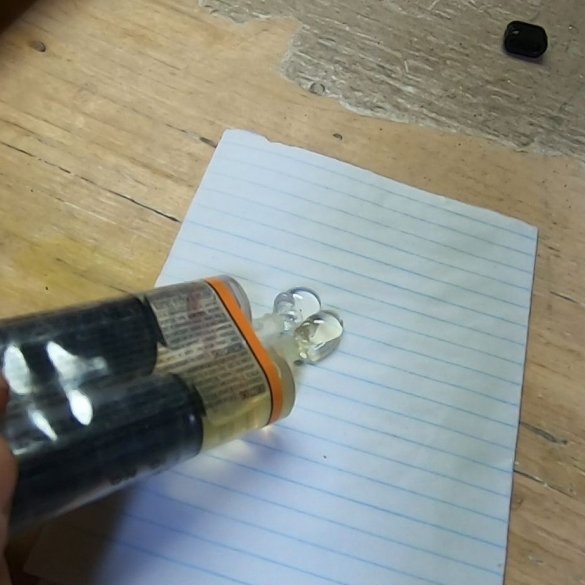
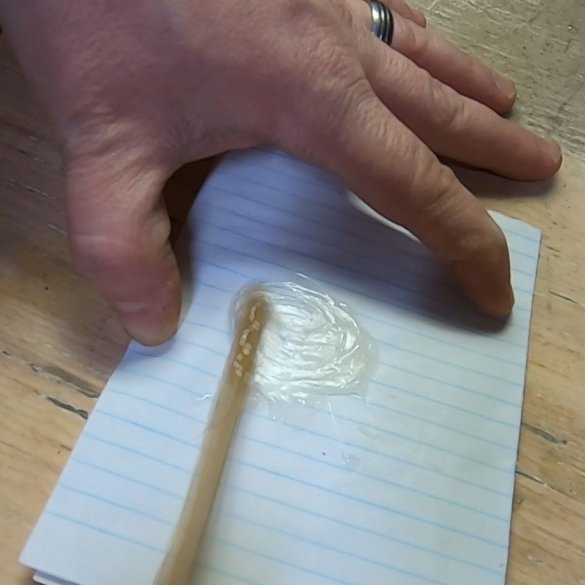
- Joiner's glue;
- Clamps;
-Rivets;
-Rivet gun;
-Clamp;
- teak oil;
-Neodymium magnets;
Step One: Thicknessing Gauge
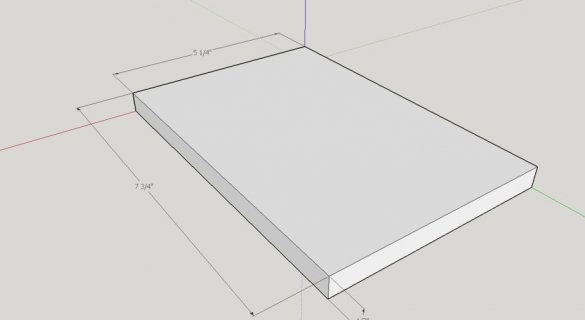
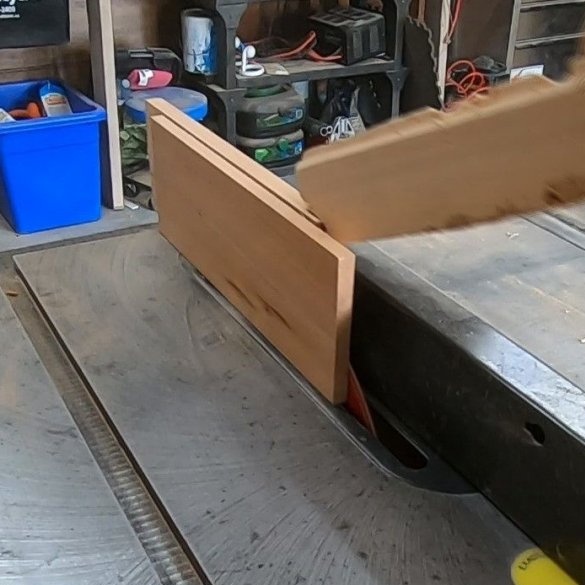
The thickness of the tablet is slightly more than 1 cm. The master drives the workpiece on the thicknesser. In the absence of a surface gage it is possible to make sawing on a circular saw.
Step Two: Strips
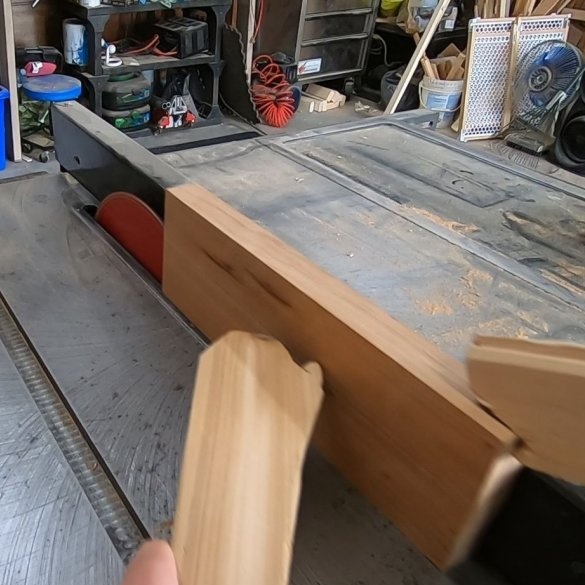
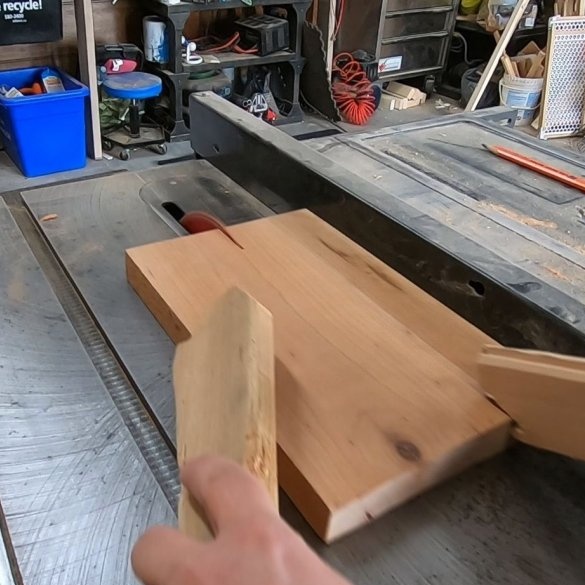
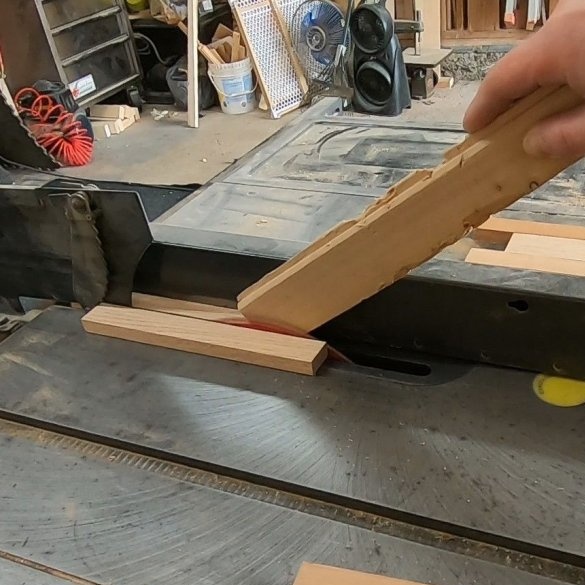
Slices the workpiece into strips. The master uses wood of different species. The combination of different types of wood will give the finished product a beautiful look.
Step Three: Gluing
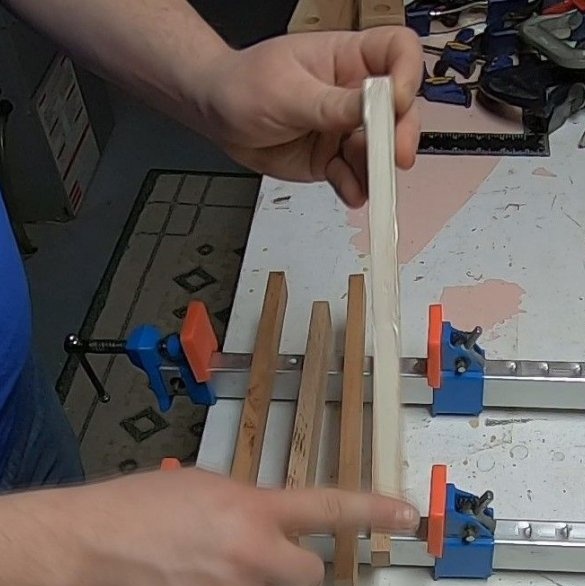
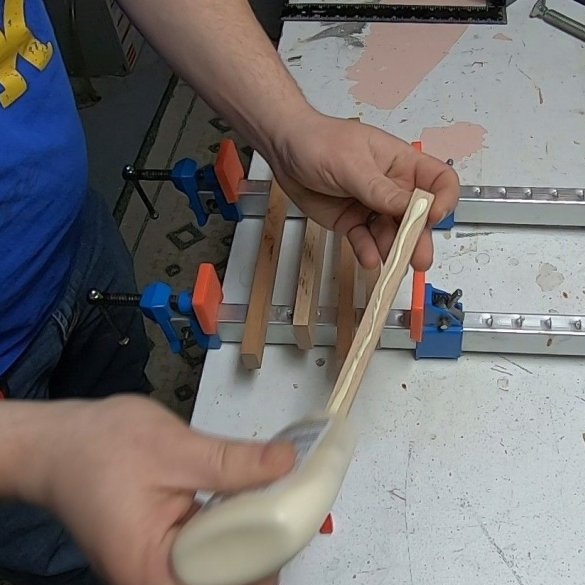
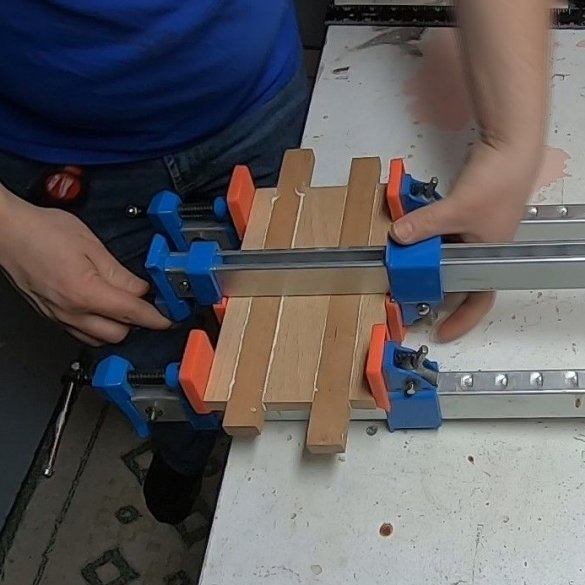
Glues strips alternating different wood.
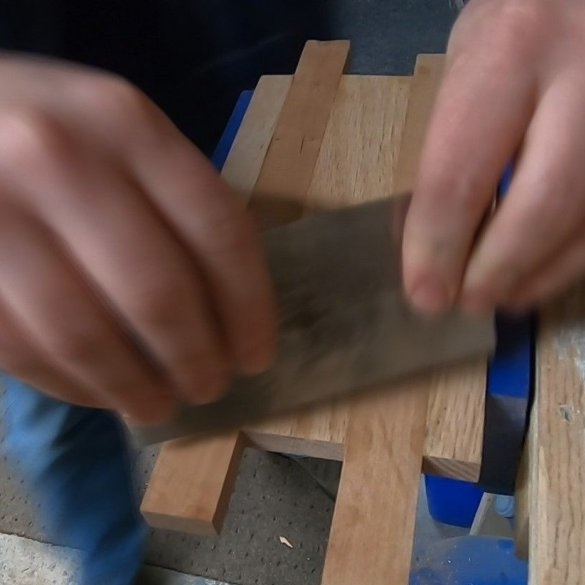
After gluing, removes glue residue with a scraper, grinds.
Step Four: Trimming
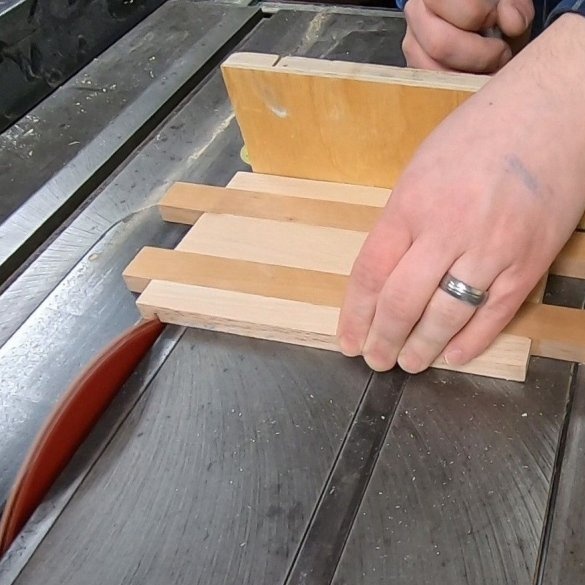
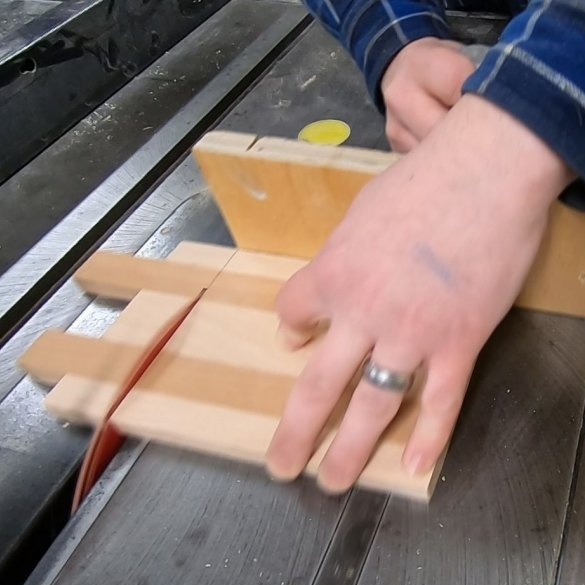
Cuts the ends of the workpiece.
Step Five: Grinding
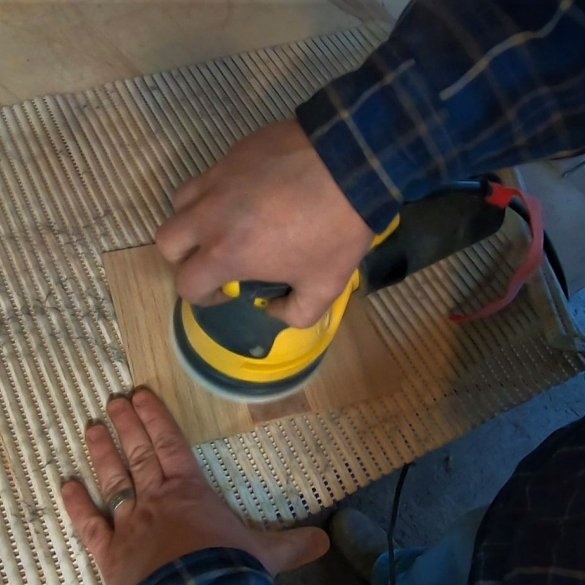
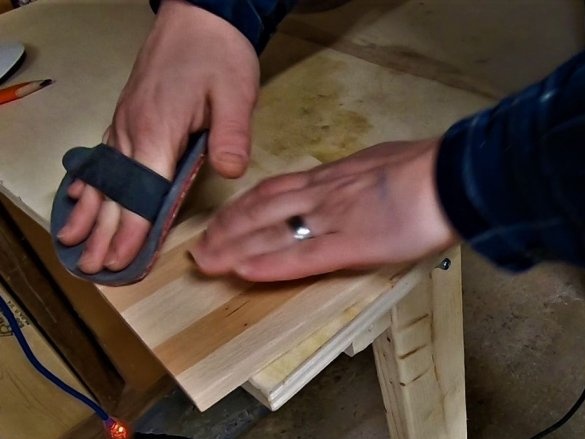
Grinds the workpiece. When grinding uses sandpaper from 80 to 240 grit. Before the last grinding, the master moistens the workpiece with water and, after drying, grinds.
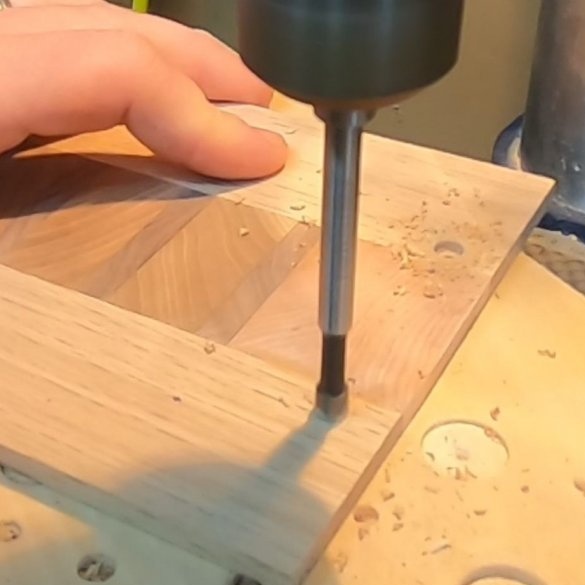
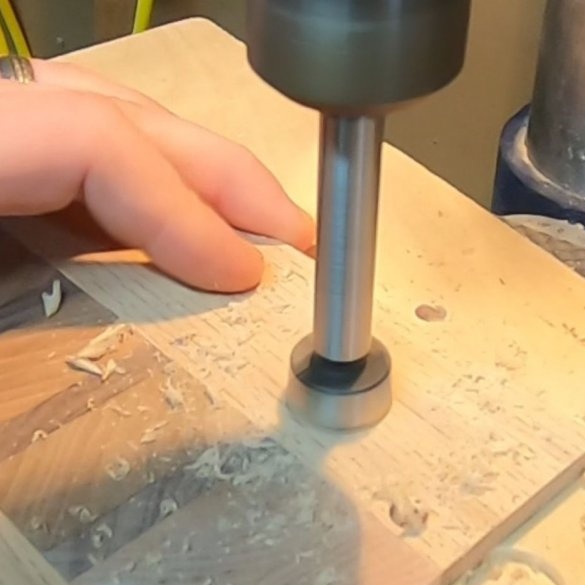
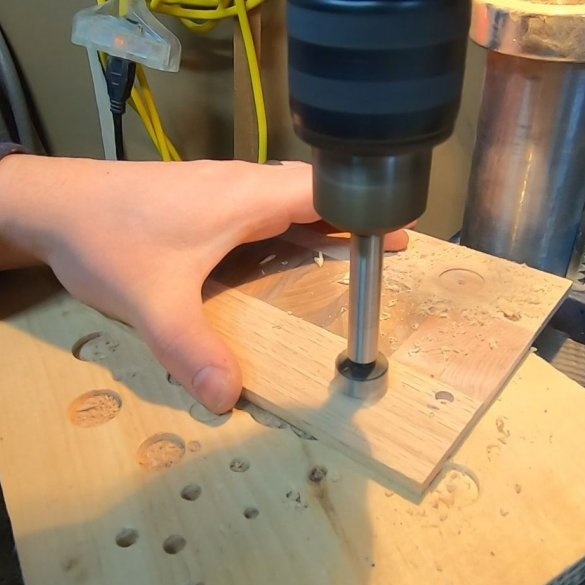
Step Six: Holes
Drill holes. Deaf, inside out, for magnets, pass-through, for clamp fastening.
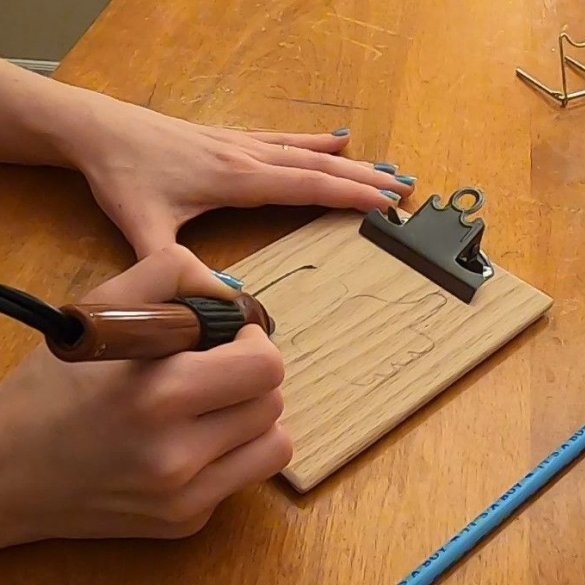
Seventh step: finish
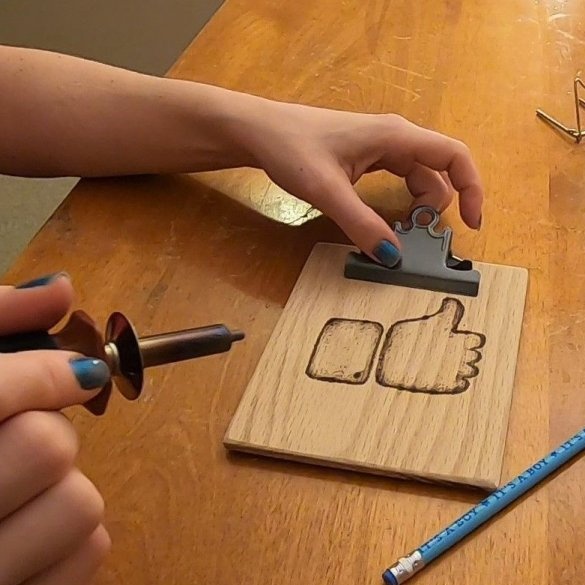
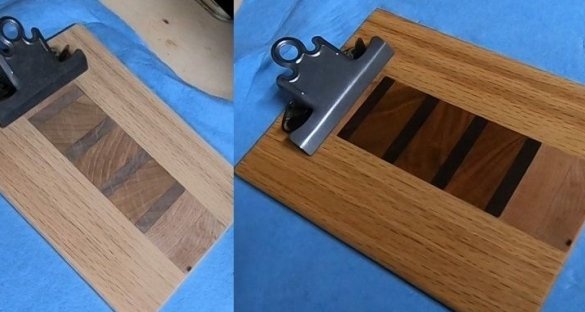
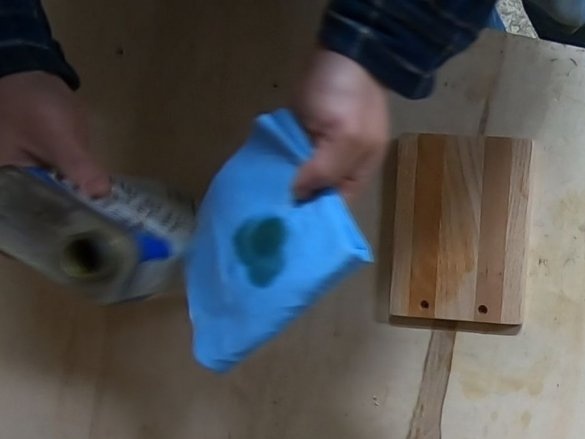
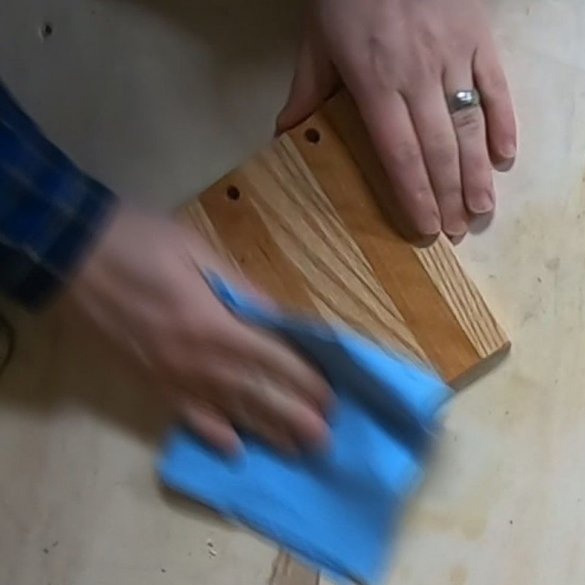
Draws a drawing on the tablet. Covers it with oil.
Step Eight: Clamp and Magnets
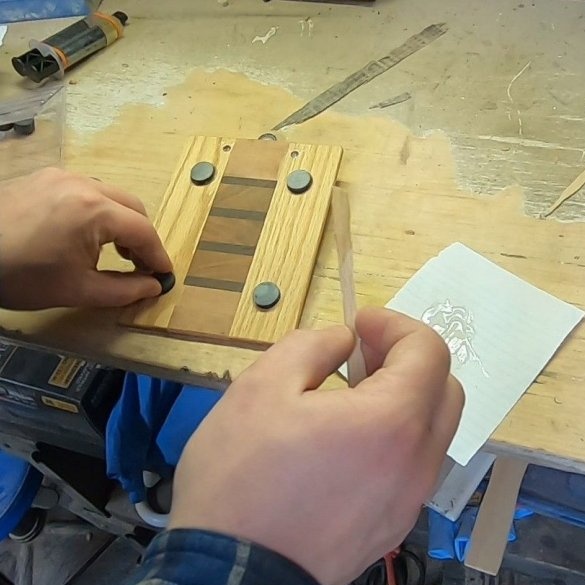
Magnets stick to the seats.
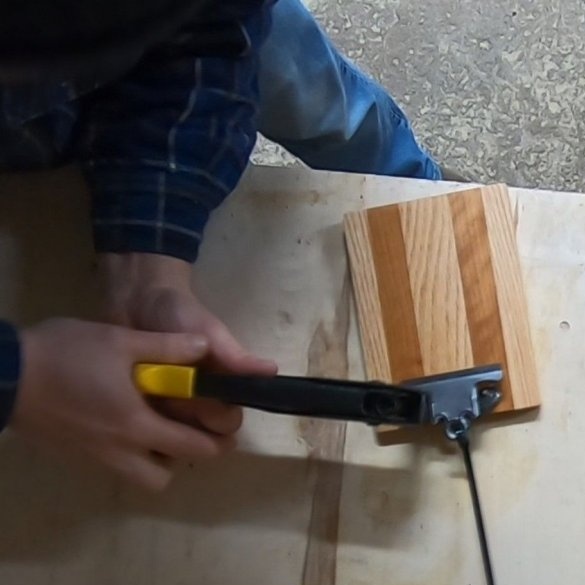
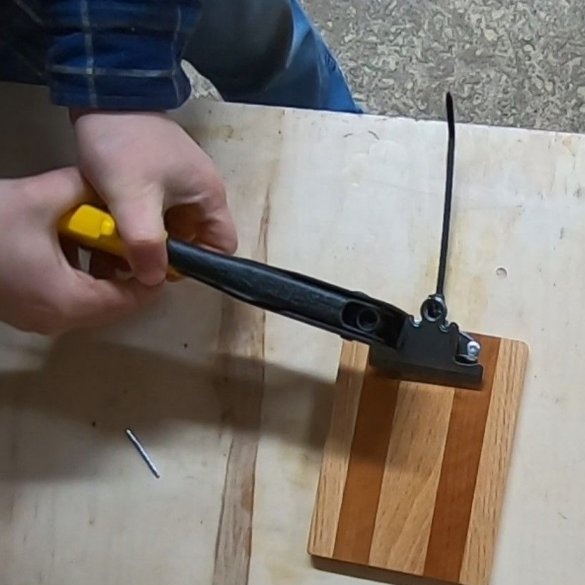
Clips fastens to the tablet with rivets.
All is ready.

