
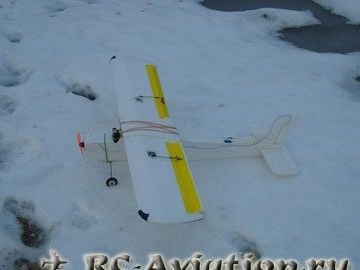
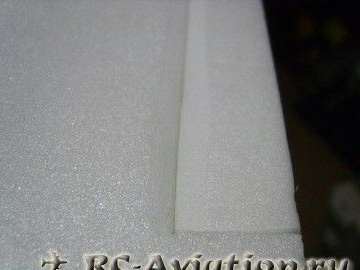
The article will consider an example of creating a flying model of the upper hand. Verkhoplan is called such aircraft, in which the wing is located on top. As the main material for construction, a publicly available ceiling tile is used, it is durable and lightweight, which makes it possible to make excellent homemade. Self-assembly is assembled quite quickly, all the necessary drawings are printed on the printer, and then cut and glued.

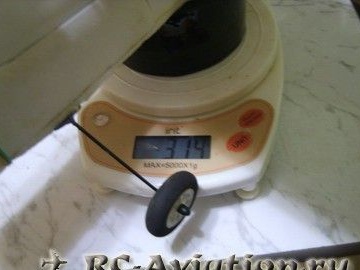
The maximum flight load of the homemade product is 670 grams.
Materials and tools for manufacturing:
- four sheets of ceiling tiles;
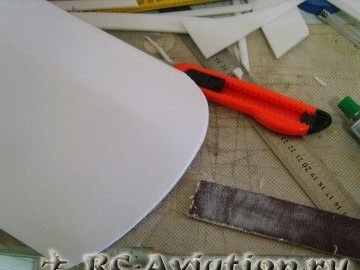
- stationery knife;
- ruler;
- ordinary and double-sided tape;
- hot glue;
- electric motor (2205C 1400Kv Brushless motor);
- Three servomotors (HXT500 5g or similar);
- one servomotor (HXT900 9g or similar);
- regulator 18A ESC;
- ZIPPY Flightmax 1000mAh 2S1P 20C battery;
- propeller type GWS 8x6 or 9x4.7;
- electronics to control radio commands.
Model manufacturing process:
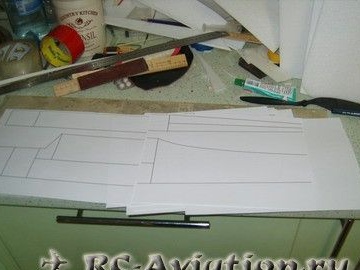
Step one. Homemade drawings
First you need to download the drawings of the model, and then print on the printer. After that, the drawings are cut out and glued to the ceiling tile, subsequently cut out.
Download drawings by following the links:
Step Two Making the rudder and elevator
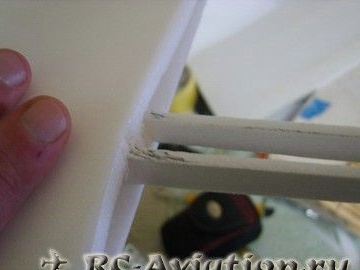
The author makes both steering planes of two layers of ceiling tiles. Steering wheels are fastened using double-sided tape on the edge of the keel / stabilizer and the steering wheel, which will be in contact, must be sharpened at an angle of 45 degrees. To make the loops strong enough, you need to stick three layers of double-sided tape.
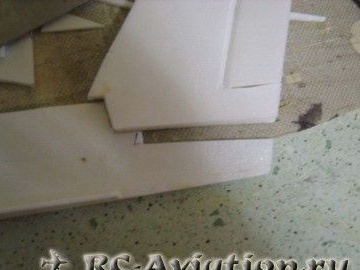
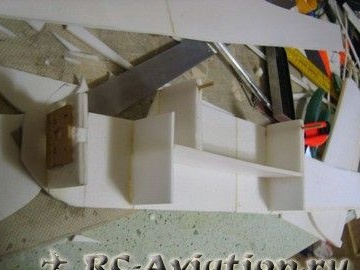
Step Three Make the fuselage
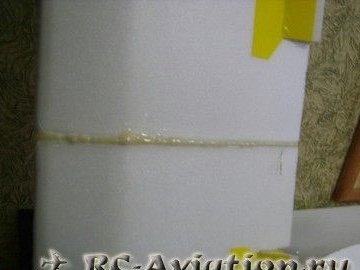
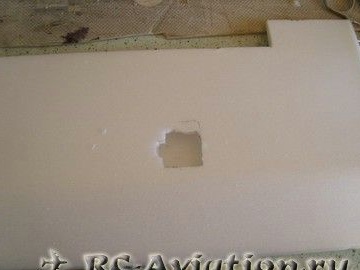
The sides of the fuselage need to be glued, since they do not fit on one ceiling tile. Also at this stage, you need to mark future stiffeners. On the outside of the fuselage sides, you need to glue the amplifiers, as well as make holes for the wing holders.

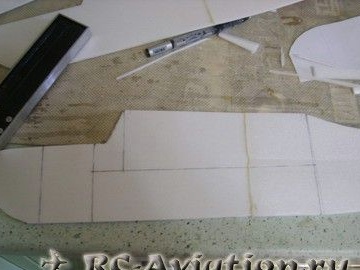
Now you can paste stiffeners, they are also called the frame. It is important to note that the gear rack is installed so that the engine attached to it only slightly extends beyond the front of the fuselage. It is made of two layers of the ceiling, it is necessary to make slots in it so that air passes into the battery compartment.
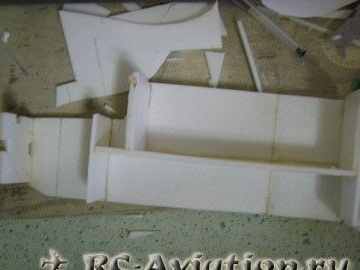
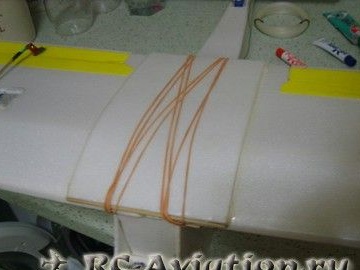
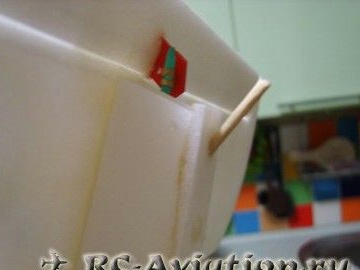
In the twine under the wing, you need to glue the wooden sticks, with the help of them and rubber bands the wing will be held. Among other things, at the same stage, the keel and elevator are glued.

Step Four We make a wing for the model
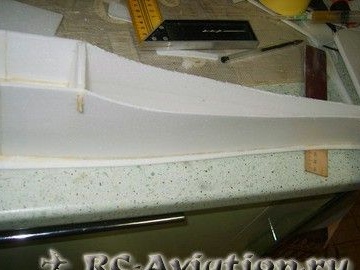
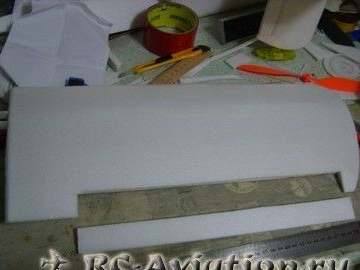
There are 10 triangles in the drawing, they need to be cut, 5 of these triangles go to each wing. Three of them need to be glued together, this will be the wing spar. One needs to be glued from the front of the wing, as a result, a forehead will be formed. The latter is mounted on the back to create bulk ailerons.
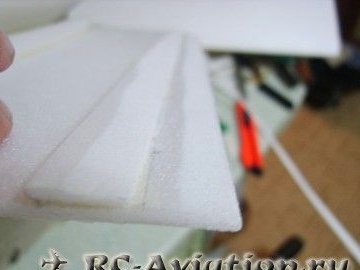
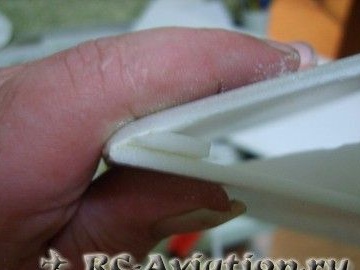
To form the nose, you need to cut at an angle of 45 degrees from the bottom of the wing to the lining, and then to remove the burrs, this place needs to be treated with a sandpaper. The back part also needs to be cut and processed with a sandpaper.
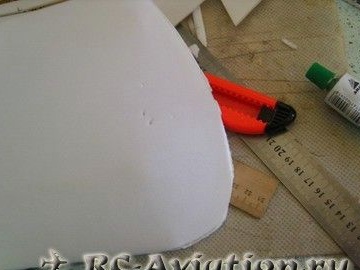


Then you can stick the spar, the line in the drawing indicates its front edge. The spar is glued to the upper part of the wing.
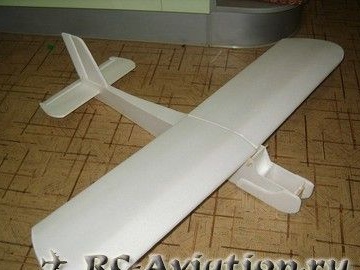
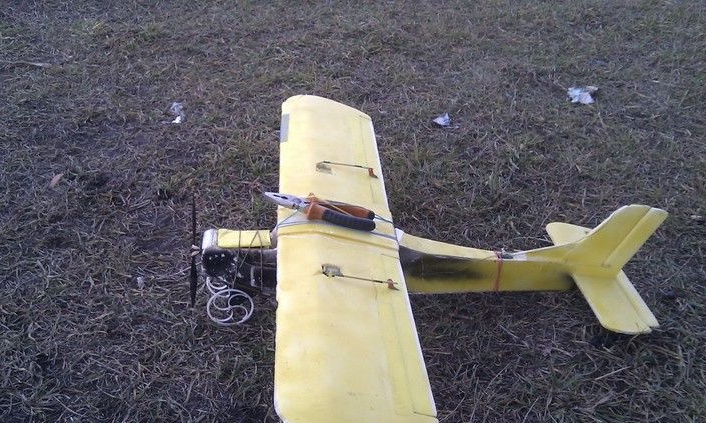
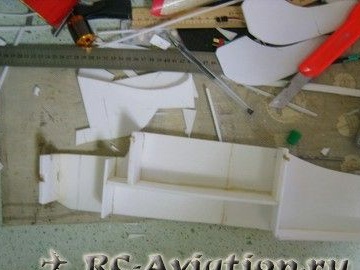
At the same stage, the case of the model is almost completely assembled and you can see the main features of the homemade product.

Step Five Ailerons
Ailerons must be carefully cut off along the lines indicated in the drawing. Mount ailerons classically - on tape.
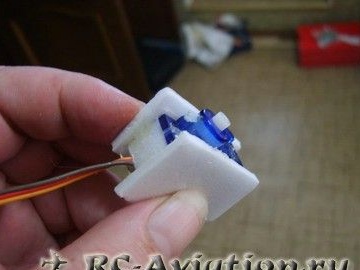
To install the servo, you need a double-sided tape, they need to wrap the servo, and then pieces of the ceiling are glued to the sides and bottom. Subsequently, these parts are glued together.

To install the servo in the upper part of the wing, you need to make a hole, the servo must touch the side member. Both cars should be positioned so that their rocking arms looked from the middle of the wing.

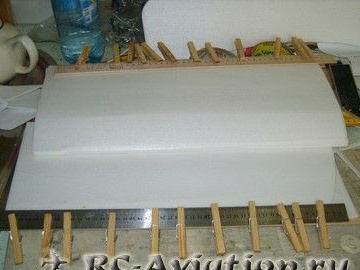
At the final stage, the author glues the wing consoles together. For these purposes, glue regent is perfect. The most important thing in this business is accuracy.
Step Six Installation of servos for elevator and rudder
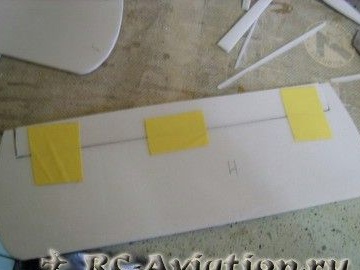
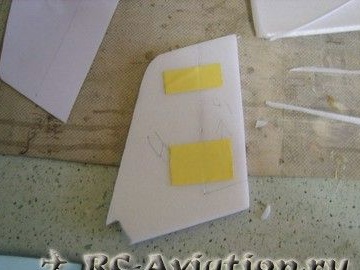
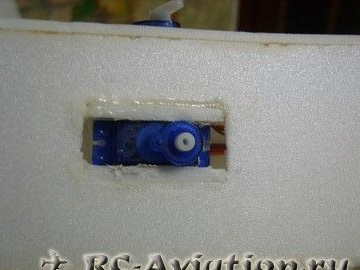
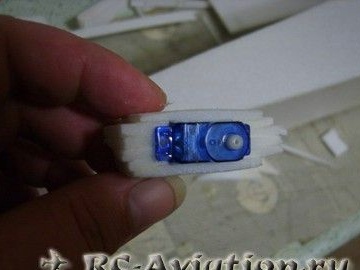
First, the servomotors are wrapped in double-sided tape, and then pieces of ceiling tiles are glued with it. How exactly this is done can be seen in the photo. For the steering wheel, a machine weighing 5 g is used, and for the steering wheel, 9 g. For cars, places in strategic places are cut out and then they are glued.
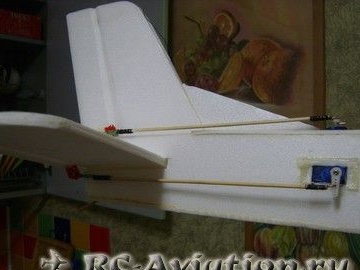

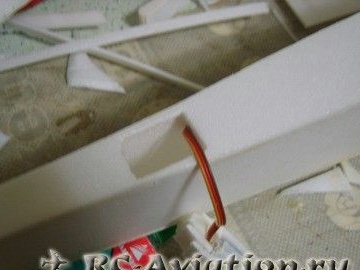
After installing the machines you need to make traction and connect them to the steering planes, as well as servomotors.
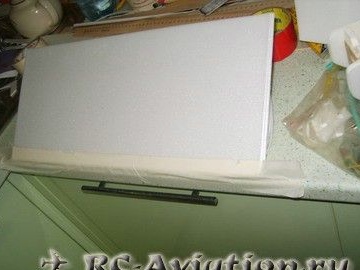
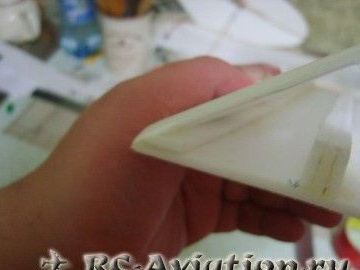
To make the wing stronger, you need to make a cover from the ceiling. The width of the plate should be 115 cm. The pad is glued to the glue, for this the installation site must first be sanded.
Seventh step. Final build phase
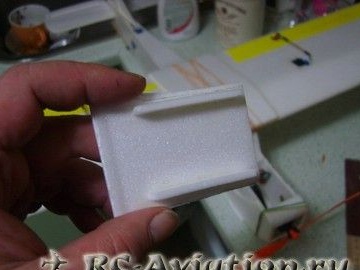
For homemade work, you need to make the battery cover, it is done quite simply. It is necessary to cut out the overlay, it is necessary to have a width, and stiffen ribs from the inside. The lid is fixed with rubber bands.

The author installed the model receiver in the wing.

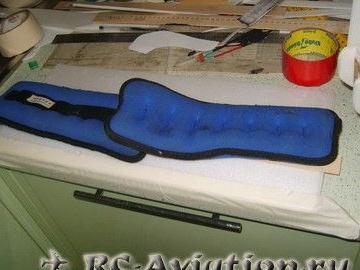
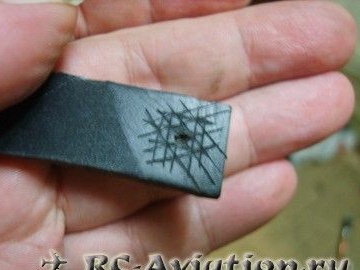
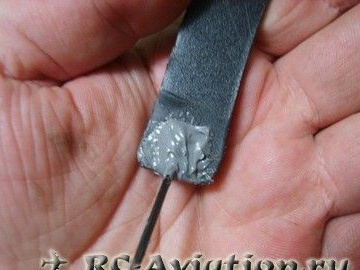
To make the chassis, you will need a piece of soft plastic with a length of 1.5 cm and a width as the size of the fuselage. In the center, you need to drill a hole and make notches so that the glue holds better.
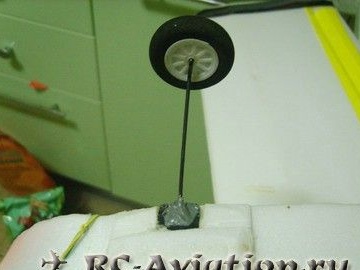
Even in the tail of the homemade product there is such a thing as a crutch. It is made from a piece of bamboo sticks for barbecue, the stick is glued at an angle. That's all, you can proceed to testing homemade.
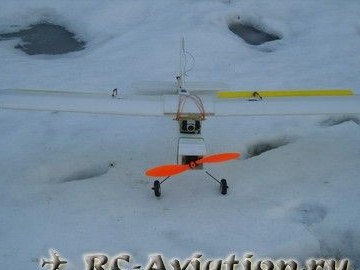
According to the author, model It behaves perfectly both when the engine is idle and when it is turned off. Also pleased with the maneuverability of homemade. To increase the strength of homemade to shock loads, as well as to make it more noticeable, the body must be glued with colored tape.