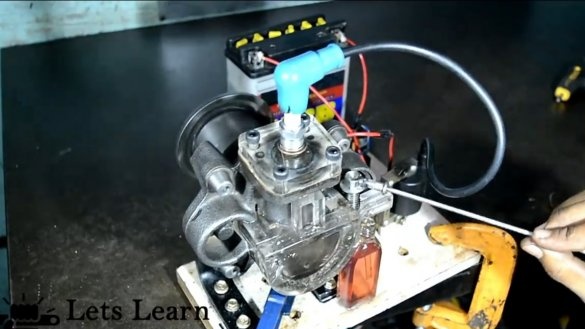
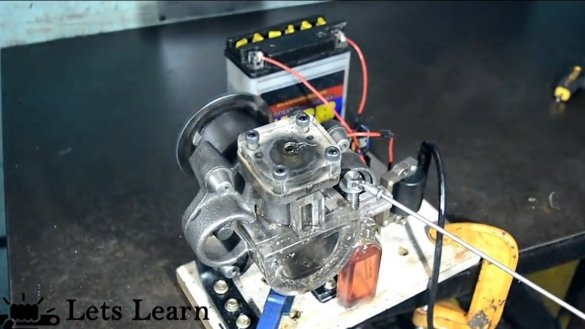
I welcome all fans to craft, I propose to consider instructions for making a homemade internal combustion engine from a compressor from a refrigerator. The refrigerator compressor is equipped with a piston system, the author decided to remake such a scheme in the internal combustion engine. Of course, such a motor will not work for a long time, nor for demonstration work homemade quite enough. To demonstrate all the processes of work, the author made the cylinder head of acrylic, also made of crankcase crankcase and even a carburetor. The author managed to start and accelerate the engine on gasoline to almost 3800 rpm. If the project interests you, I propose to study it in more detail!
Materials and tools used by the author:
Material List:
- compressor from the refrigerator;
- thick sheet plexiglass;
- ignition coil from a moped or the like;
- spark plug;
- magnetic switch;
- a bolt, a spring, a needle for a pump (for a carburetor);
- Sheet steel;
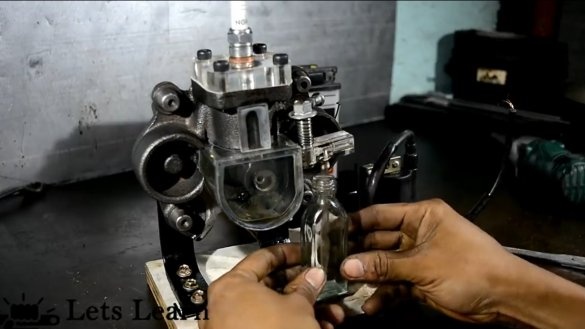
- a small bottle (for a gas tank);
- a battery or other power source for ignition.
Tool List:
- grinder;
- vernier caliper;
- drill;
- drill;
- jigsaw;
- manual belt sander;
- drilling machine.
Homemade manufacturing process:
Step one. Compressor disassembly
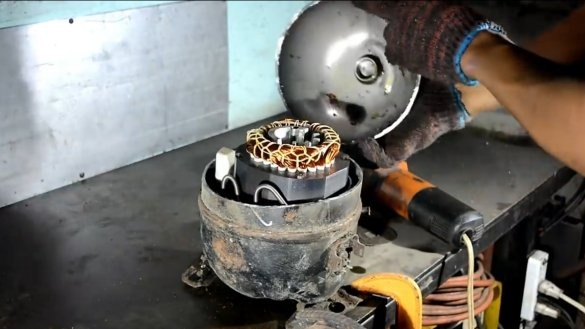
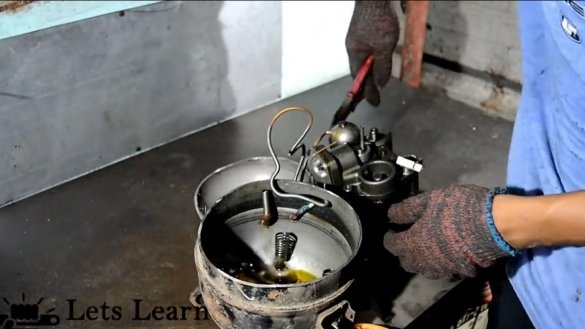
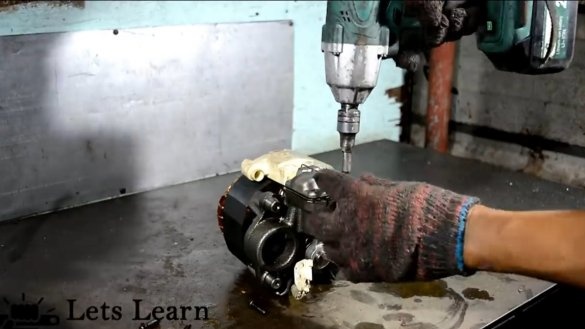
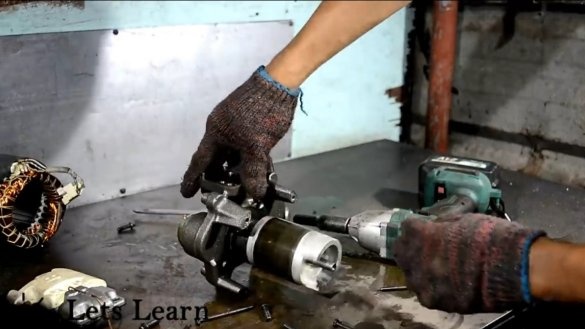
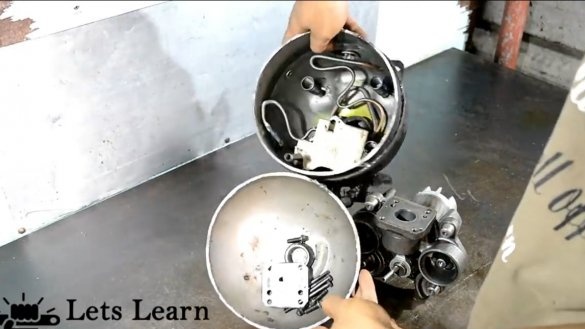
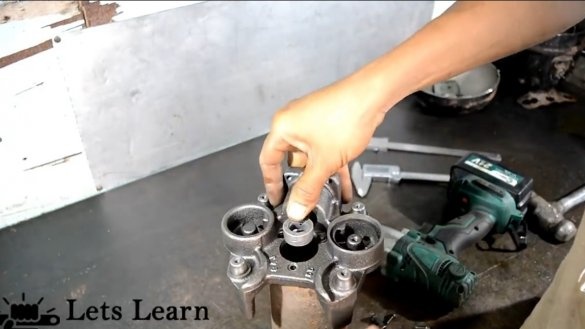
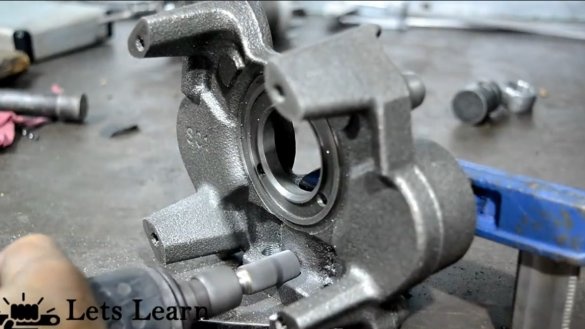
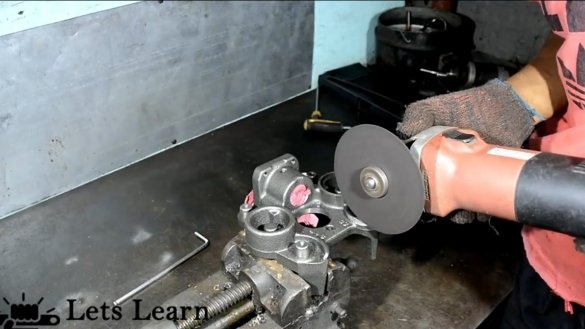
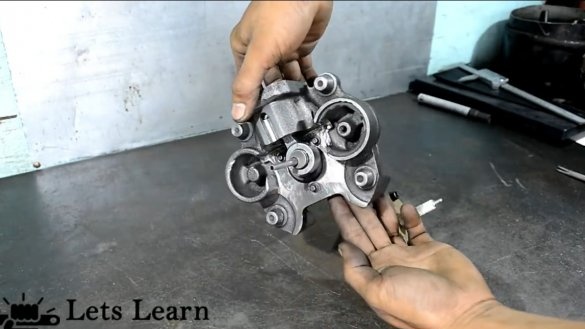
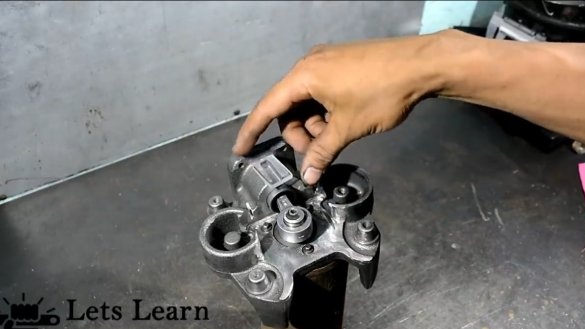
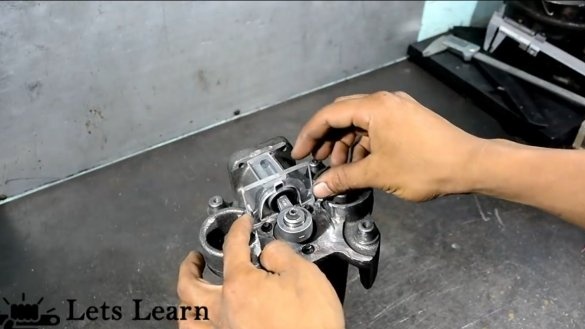
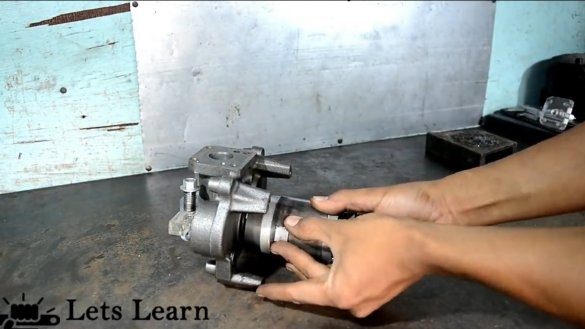
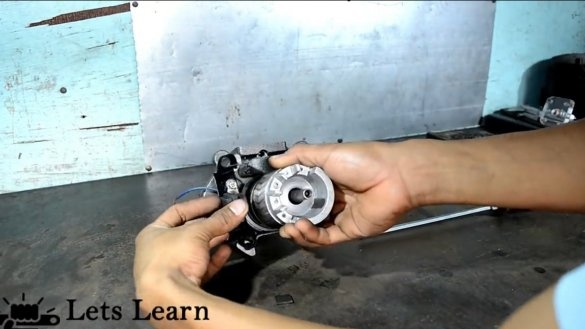
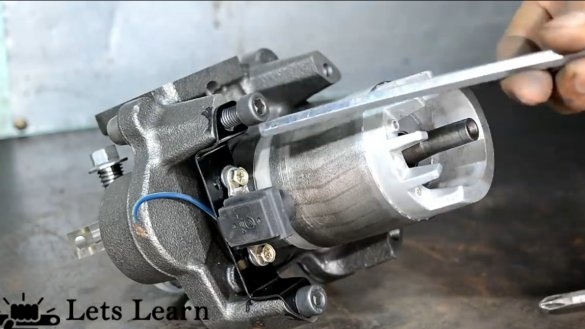
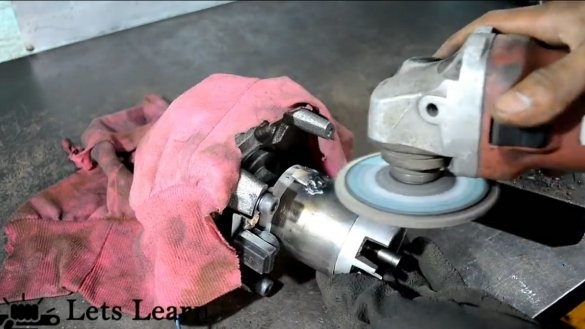
First of all, we disassemble the compressor from the refrigerator, carefully cut the case with a grinder. Note that there is oil inside the case, it will need to be carefully drained. We disassemble the motor, we do not need a winding, only the piston assembly and the motor armature should remain. We disassemble the compressor itself, pull out the piston with the connecting rod.
Step Two Window
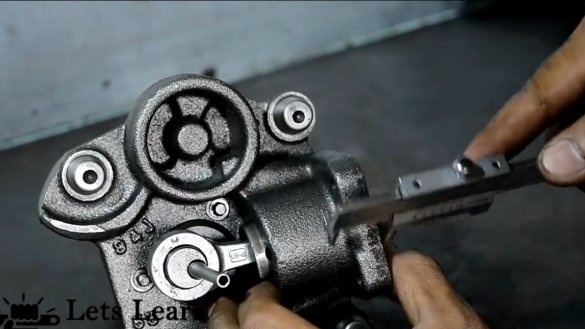
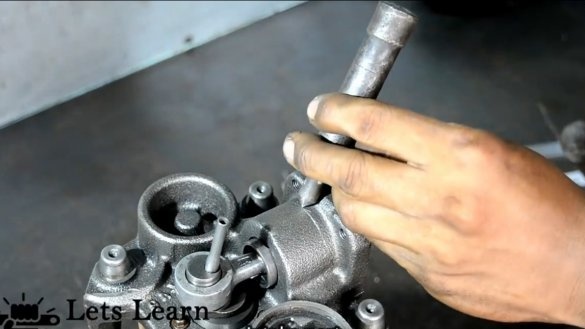
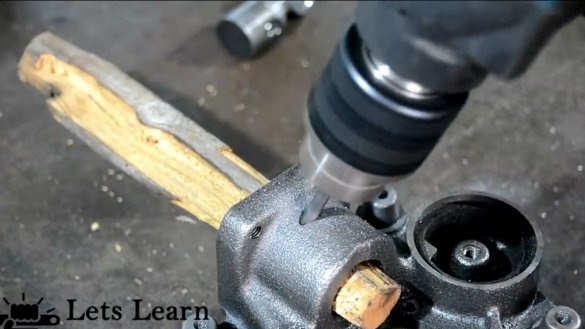
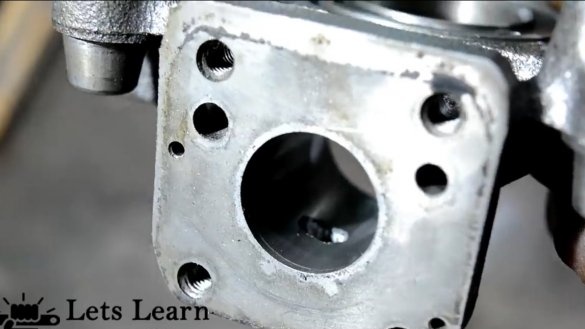
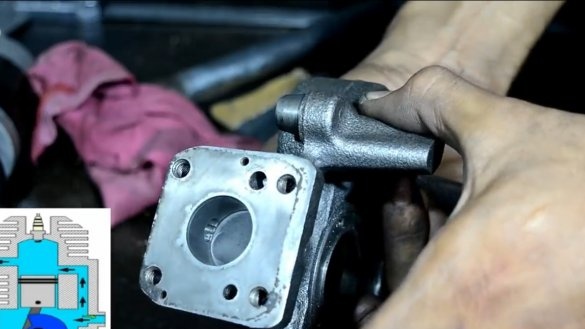
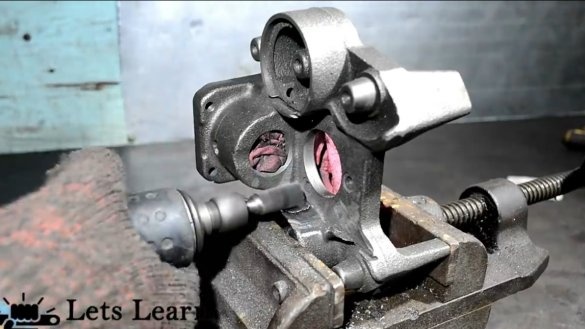
Two windows need to be made in the cylinder, the fuel-air mixture will be sucked in through one, and combustion products will exit through the other window.
The inlet window should be in that place of the cylinder where the piston is at the lowest point. That is, when the piston goes down, the inlet window opens and the fuel-air mixture flows into the cylinder from the crankcase.
As for the exhaust window, it should be above the entrance, but not too close to the head. Where the fire will occur. By this principle, a two-stroke engine works.
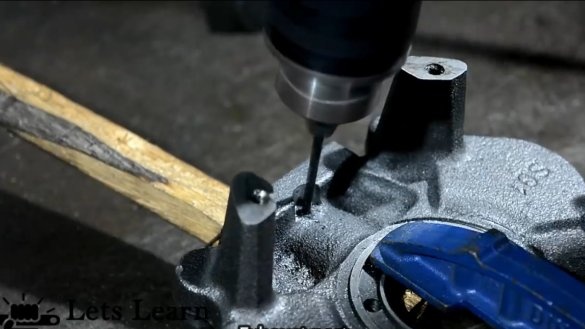
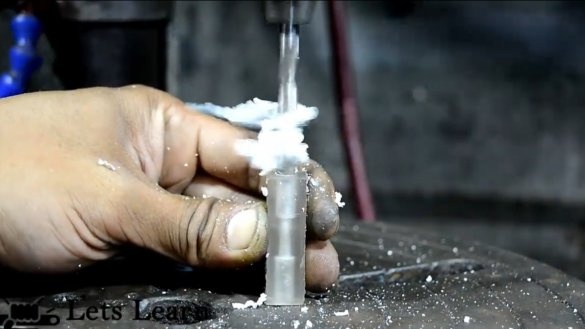
We make a larger exhaust window, it can be drilled with a drill, and then bored with a drill. Make sure that there are no burrs inside the cylinder that the piston will cling to.
Step Three Head
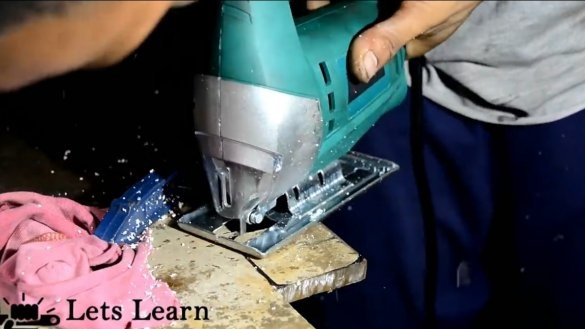
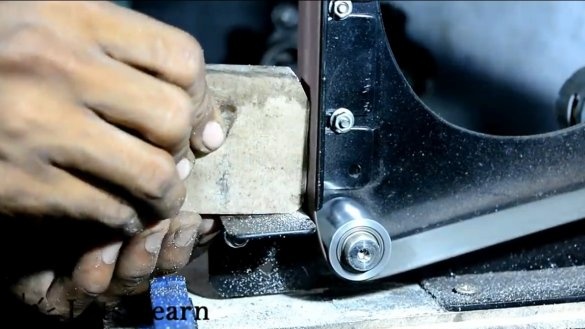
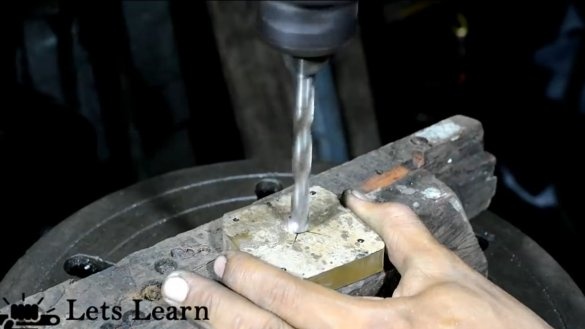
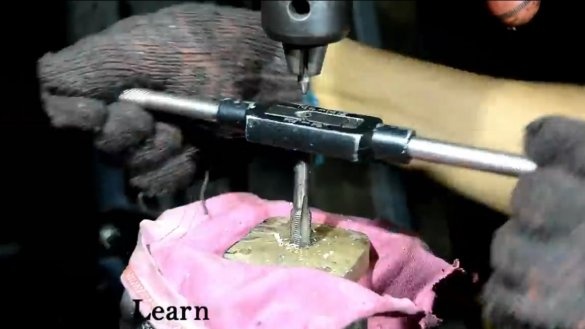
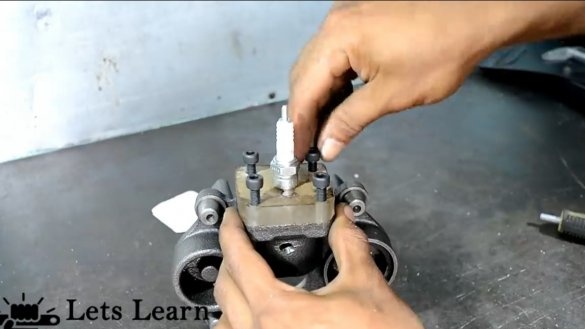
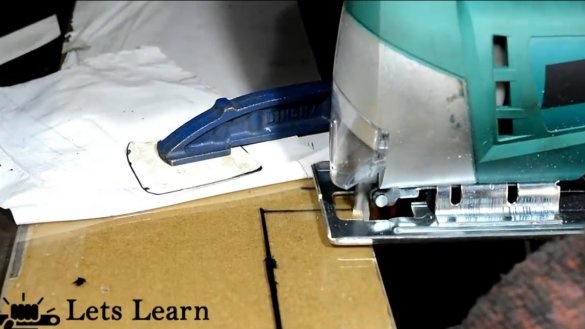
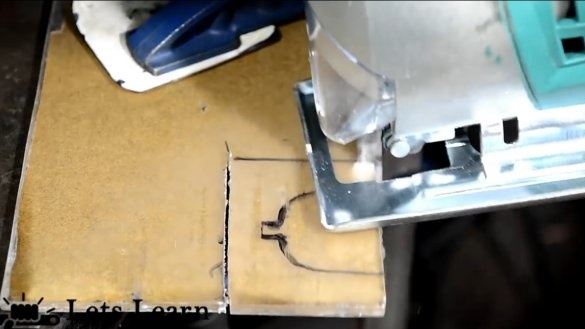
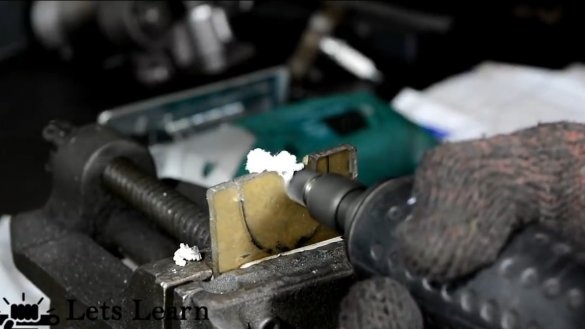
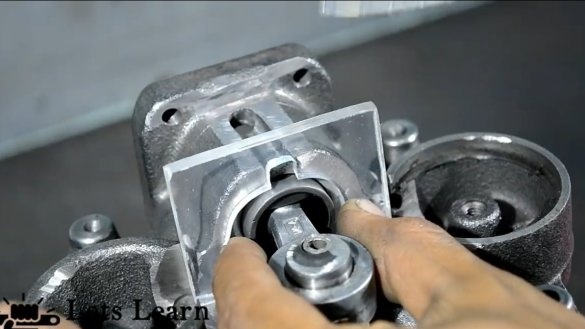
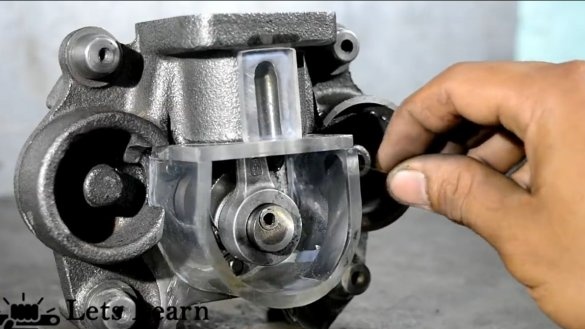
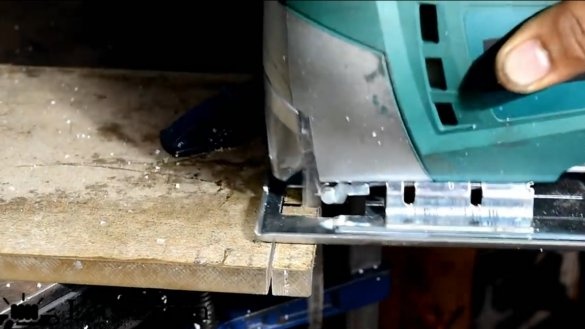
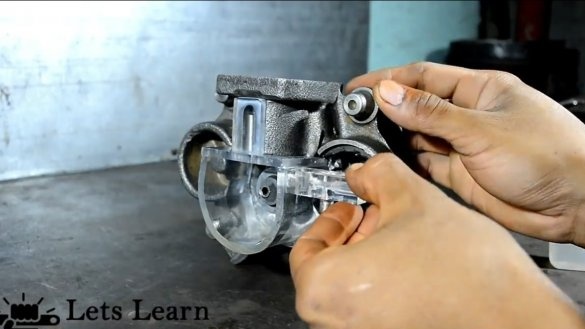
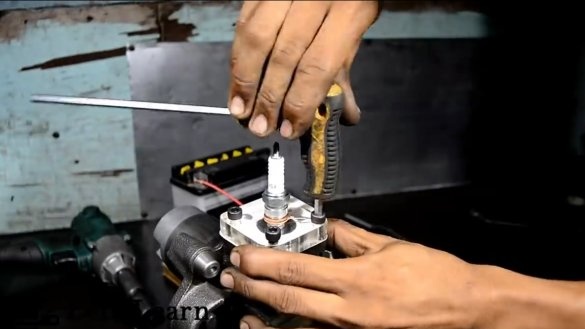
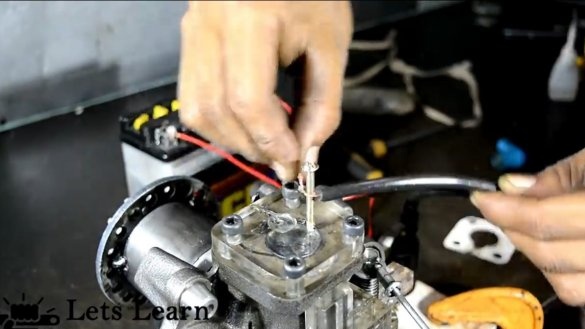
We make a head for the engine, its author decided to make thick acrylic so that you can see how gasoline vapors explode inside. We cut out the part of the required size, drill holes for the mounting screws. In addition, we drill a hole for the candle in the center of the head and cut the thread.
Step Four Refinement of the case and manufacturing of the crankcase
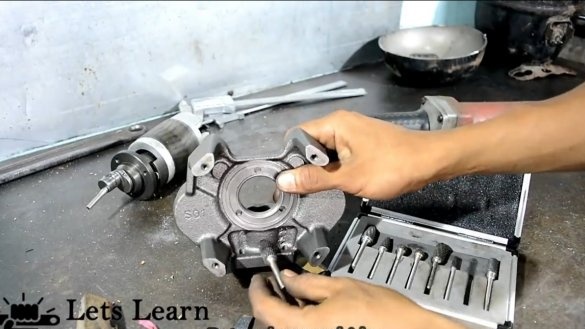
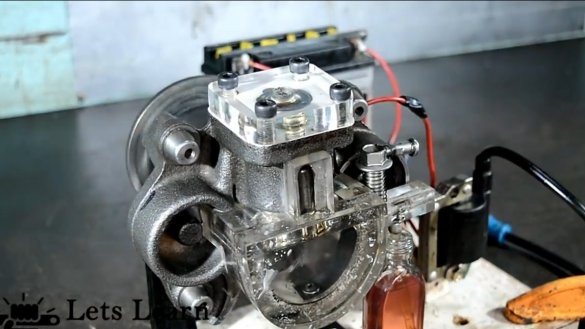
We are finalizing the body, cutting off all that is superfluous so that it is possible to assemble the crankcase. As a material for the crankcase, the author also decided to use acrylic to demonstrate the processes inside the motor.
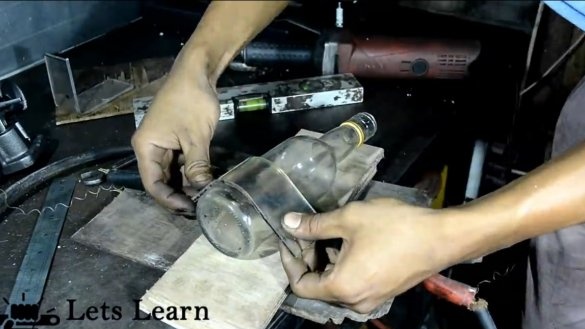
To bend a piece of acrylic, the author heated the material over a red-hot spiral.
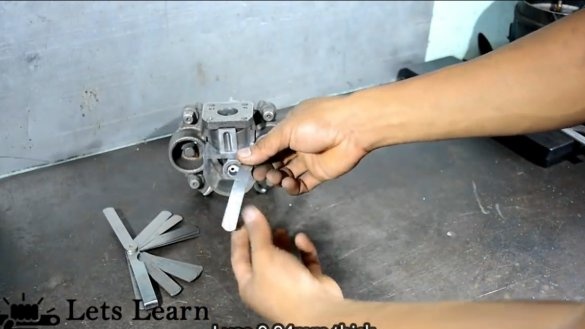
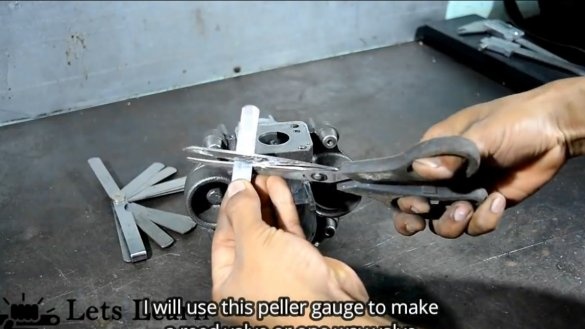
In the crankcase, the author made a valve that will not allow the fuel mixture to be squeezed out, the author simplified the design, therefore, there is no way without a valve. To make the valve, drill an inlet and install a flexible steel plate that will block the hole. We also make an acrylic cover for the channel through which the fuel mixture will rise into the cylinder. Everything needs to be glued together well, the crankcase must be airtight.
Step Five Carburetor fabrication and testing
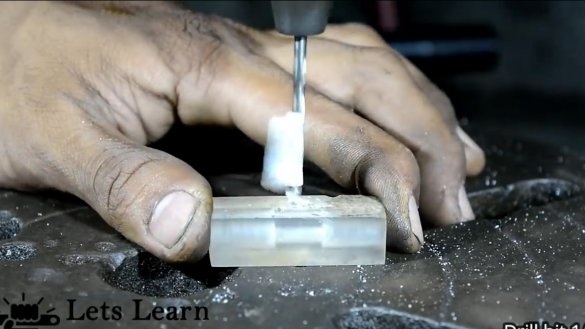
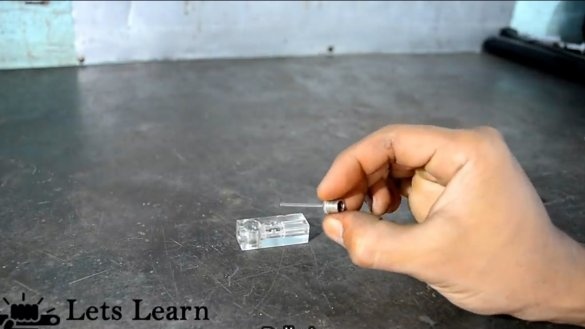
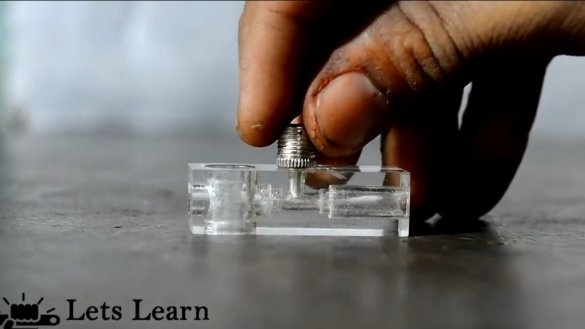
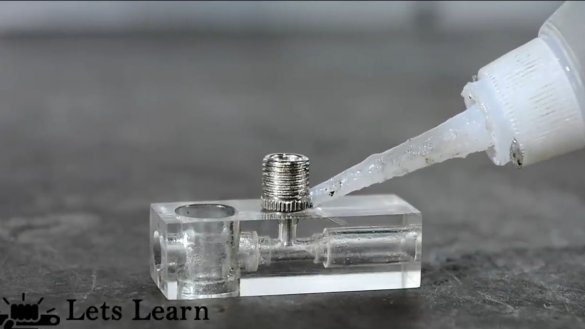
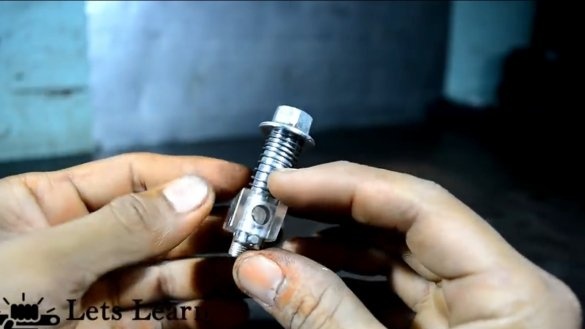
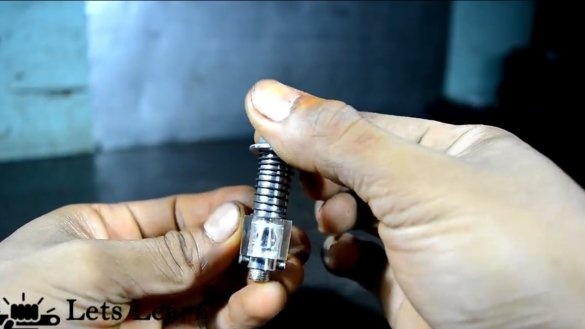
The author also made a carburetor from a piece of acrylic. We drill a small diameter hole through the tetrahedron, and then from both ends we pass a drill with a larger diameter, without reaching the center. As a result, in the central part there will be a narrowed section, here, when the air stream passes at high speed, the pressure decreases, and gasoline is sucked into this area. To supply gasoline, the author installed a needle from a pump for pumping up balls.
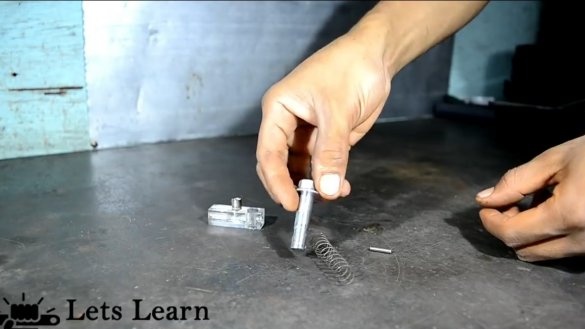
As for the throttle, you will need a steel axis with a hole and a spring. Depending on the angle of rotation of the axis, the hole opens or closes.
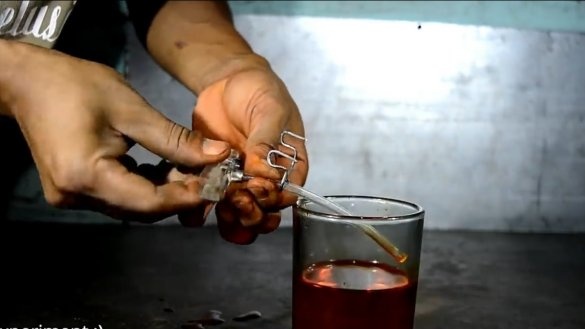
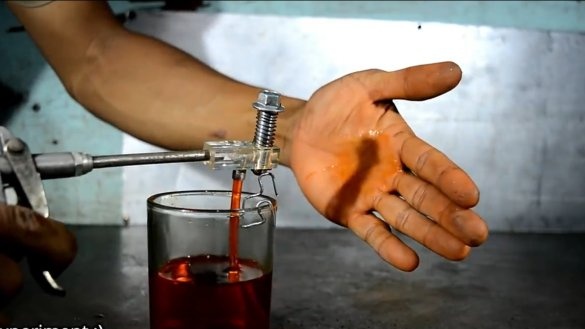
The carburetor is ready, you can test, to simulate a suction, the author blows into the carburetor from the compressor, tinted water is used as fuel. The carburetor works, it sucks in water from a glass and sprays it well.
Glue the finished carburetor to the inlet, which is located in the crankcase.
Step Six Ignition
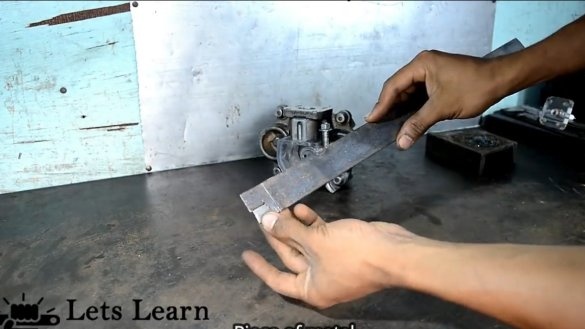
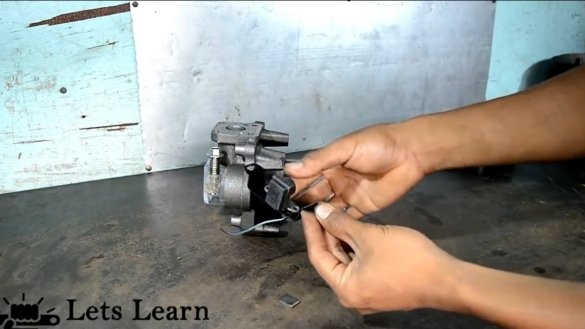
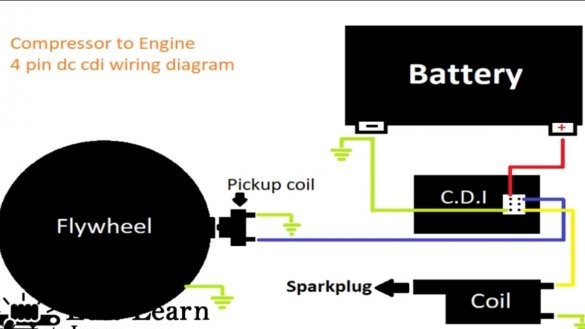
We make the ignition, the spark should appear when the piston is at top dead center or even does not reach it a little. The author welded a steel plate to the anchor, and used a magnetic switch as a contact group, which turns on the ignition coil when needed.
Seventh step. Assembly and testing
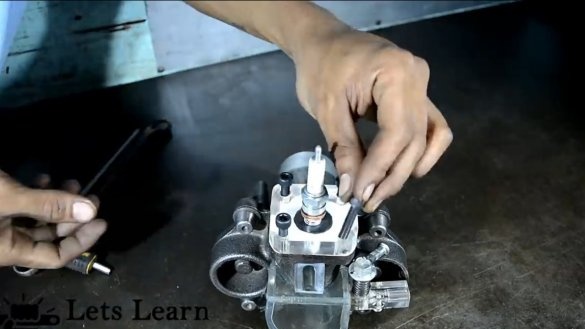
We assemble the motor, put the head and wrap the spark plug. It would be nice to install a gasket between the head and the cylinder, it can also be made of paper, or you can put your head on a sealant.
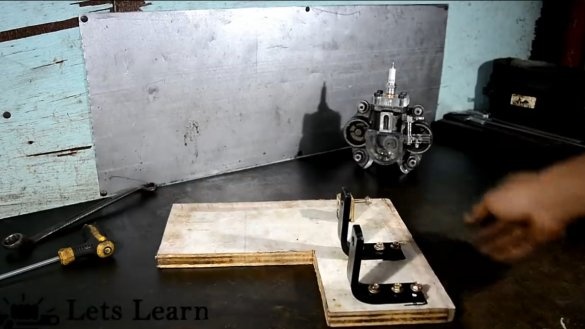
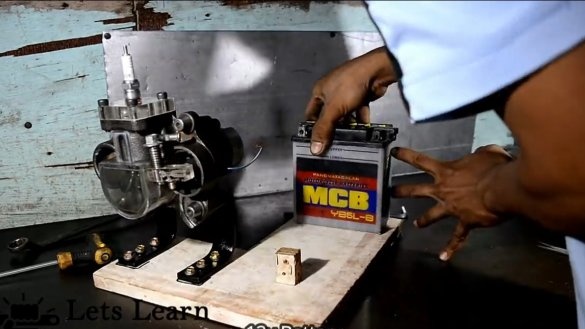
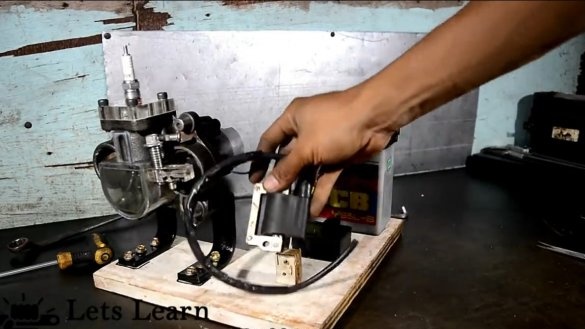
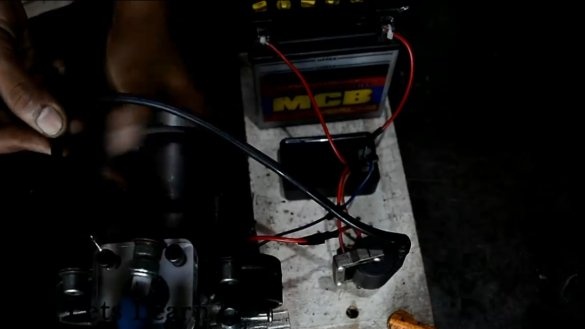
We attach the motor to the base of plywood, here is the battery, ignition coil, as well as CDI. We feed the mass to the motor housing, and also do not forget to feed the mass with a separate wire to the spark plug.
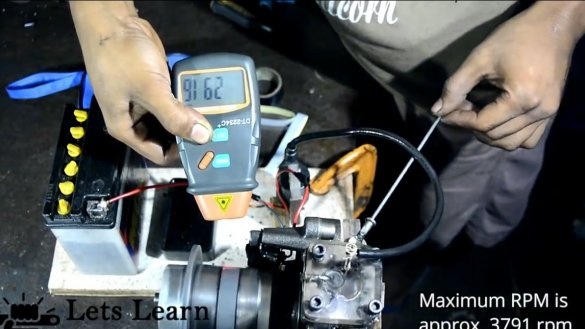
The motor is ready, pour a mixture of gasoline with oil, start, the author spins the motor by hand. Finally, the engine started, but a little the author increased speed, and immediately tore out the spark plug, which is predictable. The author plugged the opening of the candle and wrapped a screw in the head, a spark now arises between the end of the screw and the piston. The motor works, the author managed to accelerate it to almost 3800 rpm, the experience was a success.
The project is completed on this, I hope you liked the homemade work, and you found useful thoughts. Good luck and creative inspiration, if you decide to repeat this. Do not forget to share your ideas and homemade things with us!

