
Many of you may have old wooden furniture, the design of which is in good condition, but the appearance has deteriorated over a long time. It makes sense to restore such furniture.
In this article, the author of the YouTube channel “Dashner Design & Restoration”, will tell you about his experience in the restoration of a table made of Norwegian teak wood.
Such work is easy enough to repeat yourself, no complicated equipment is required.
Materials
- Old table
- Paint wash
- White Spirit
- Polyurethane
- Oxalic acid
- Sandpaper
- Rags.
Instruments, used by the author.
— Orbital sander
- Brush, spatula, knife blade, brush
- scraper
- Workbench, vise.
Manufacturing process.
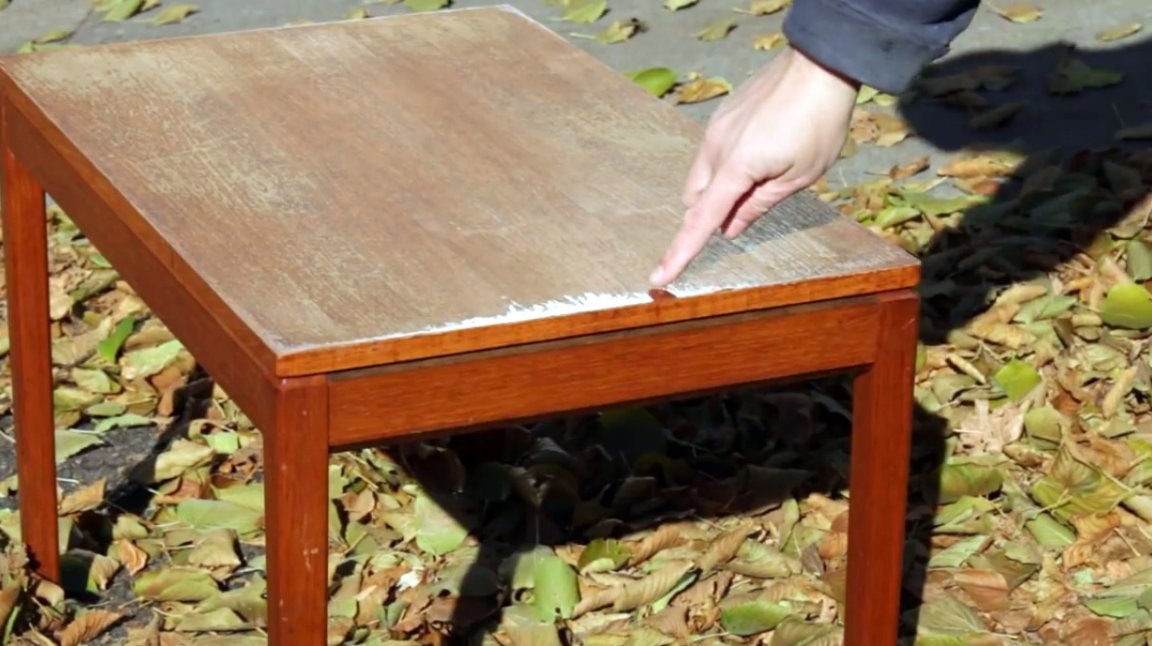
The author bought this table in a thrift store for mere pennies.
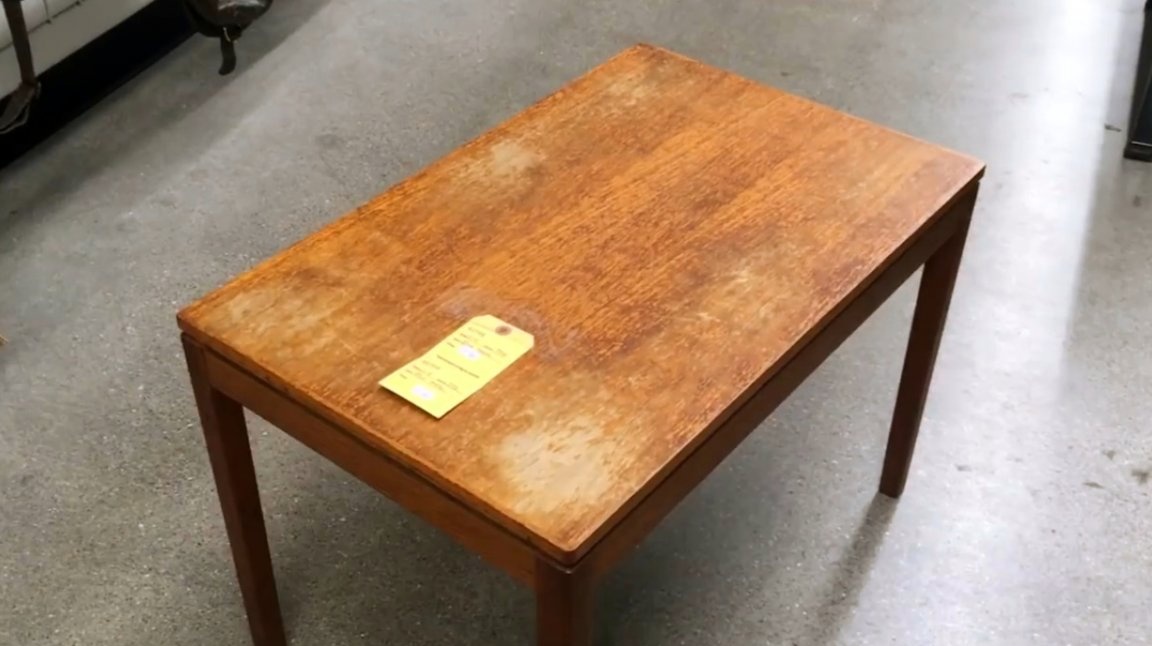
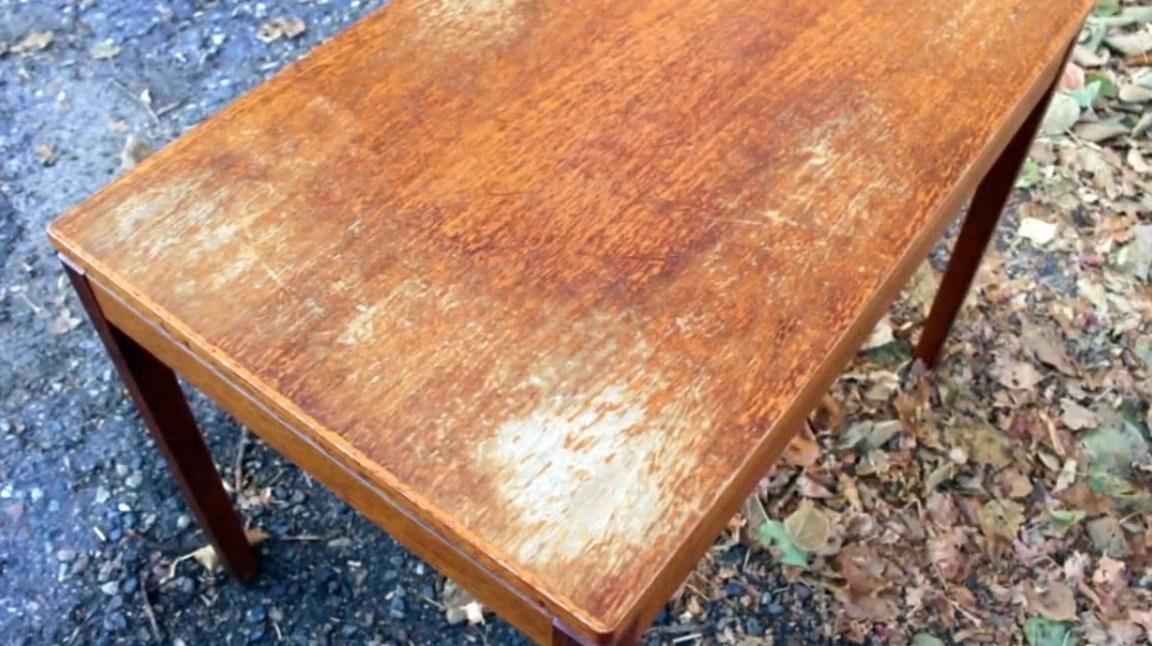
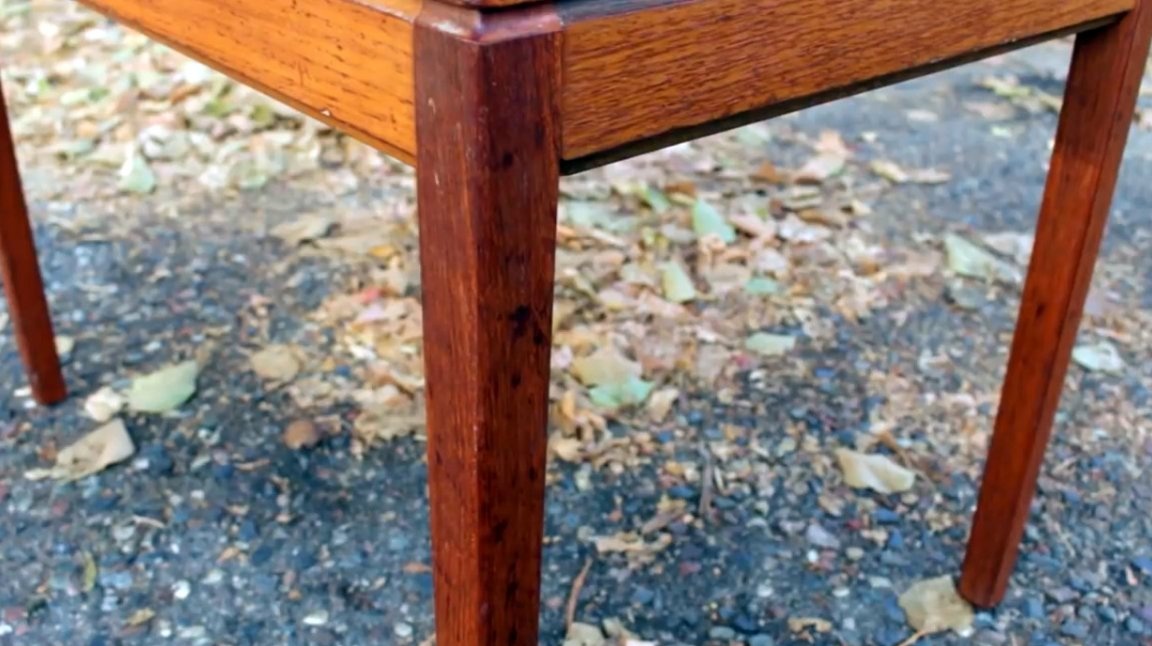
The most serious injuries were on the table top, while the rest of its parts, legs, drawers and braces, were preserved in fairly good shape.
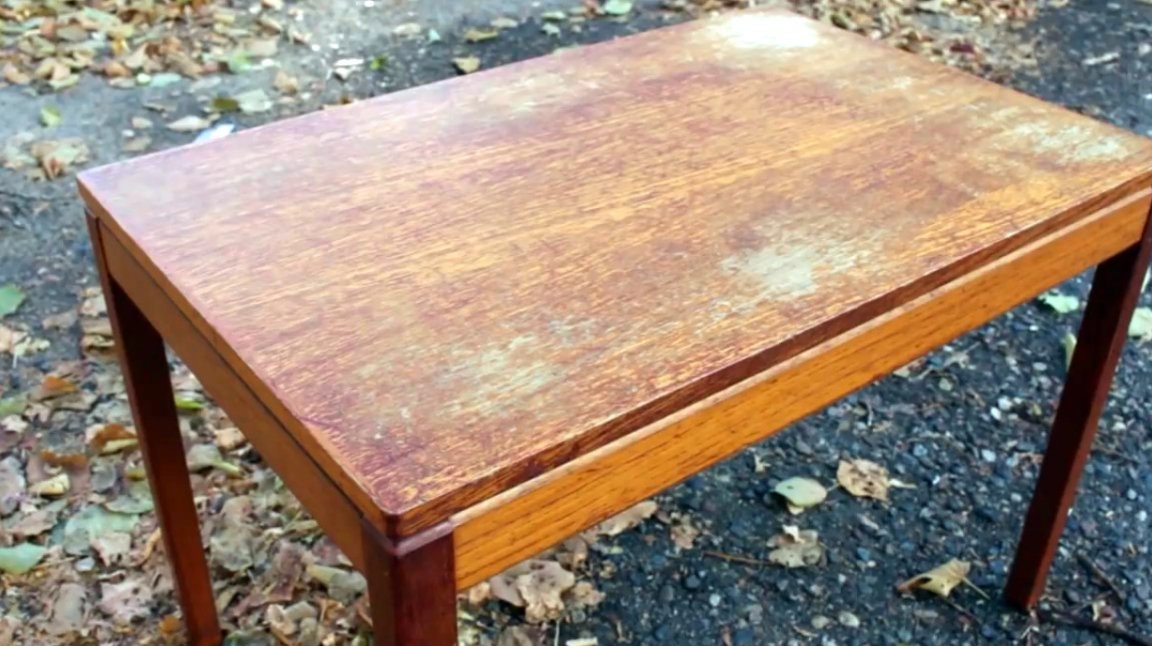
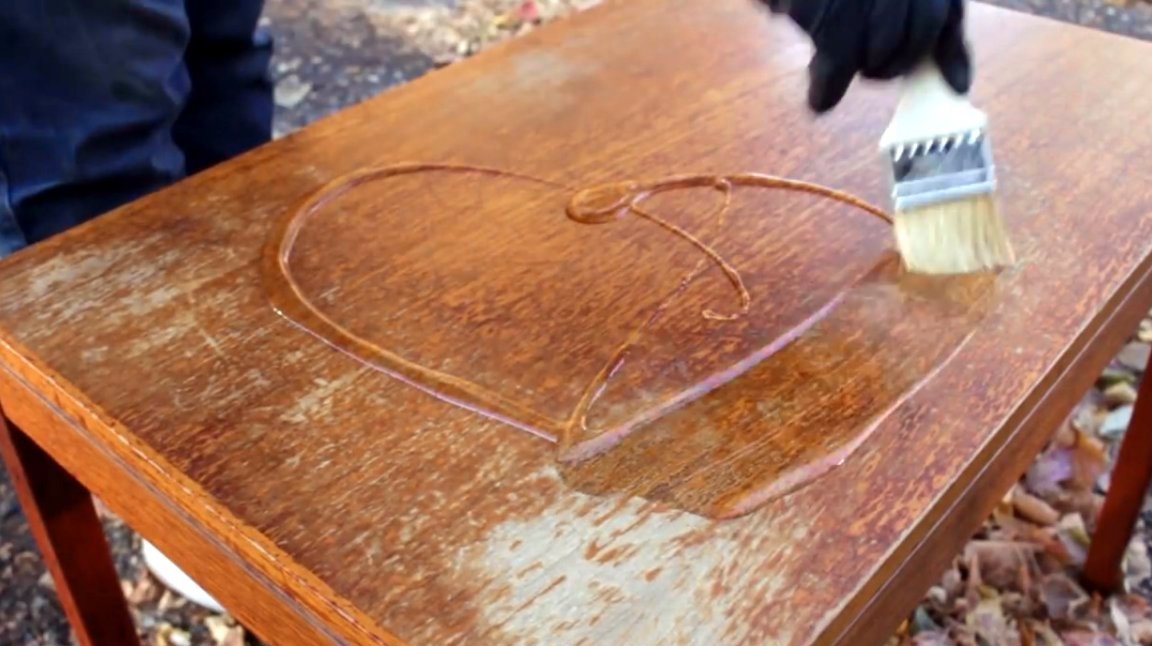
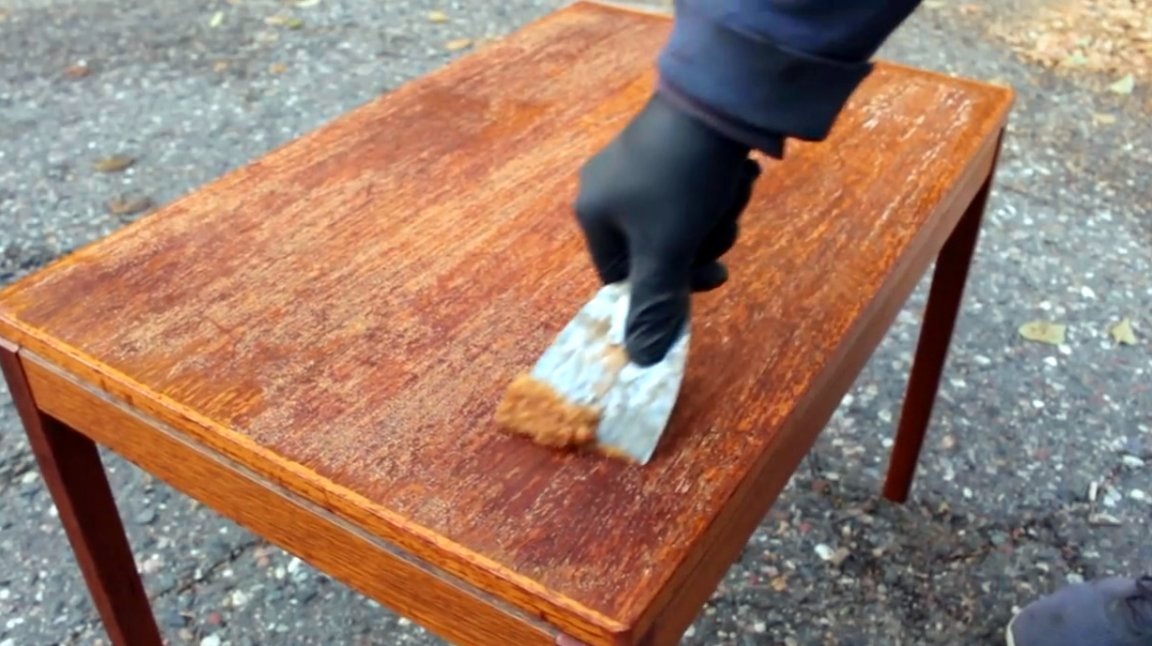
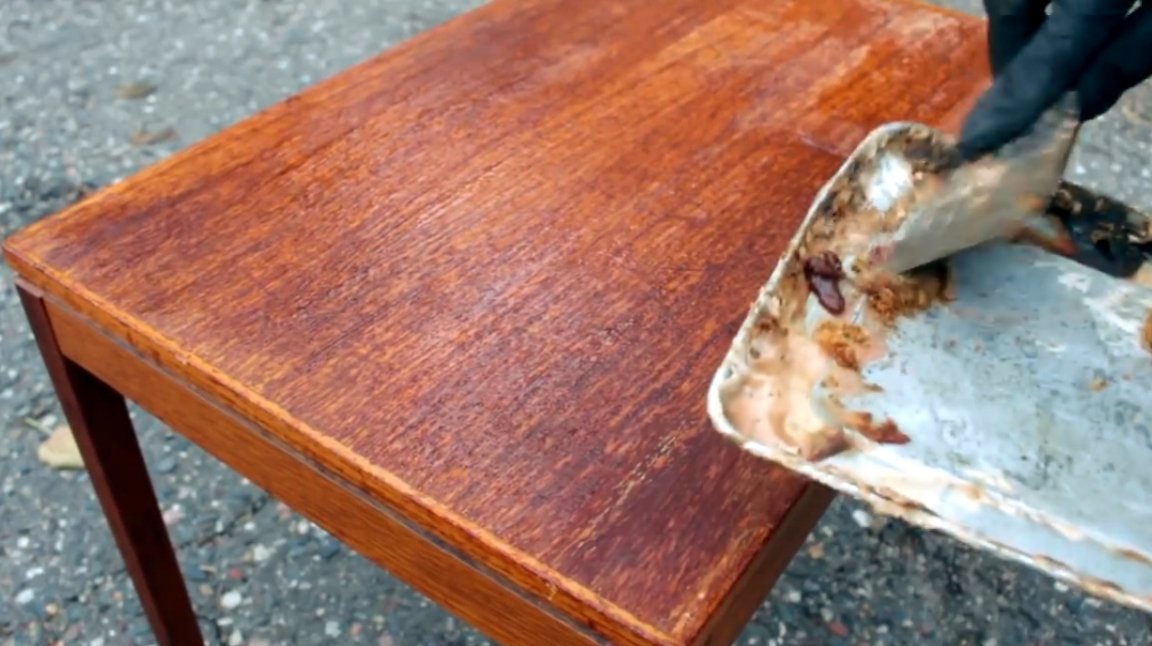
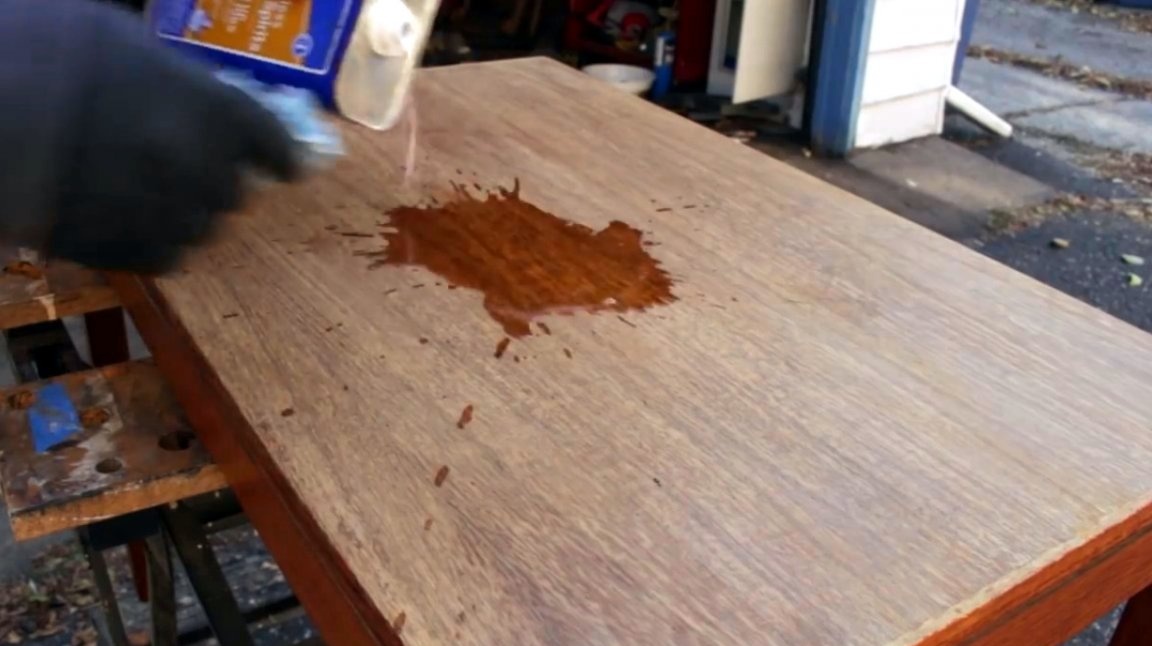
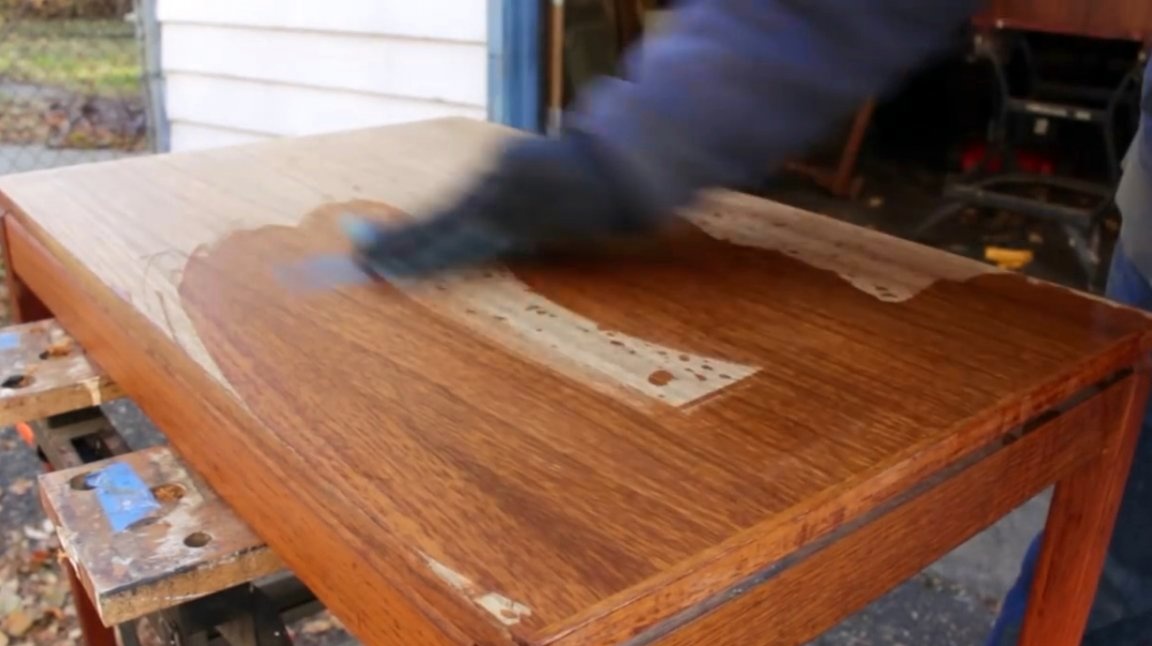
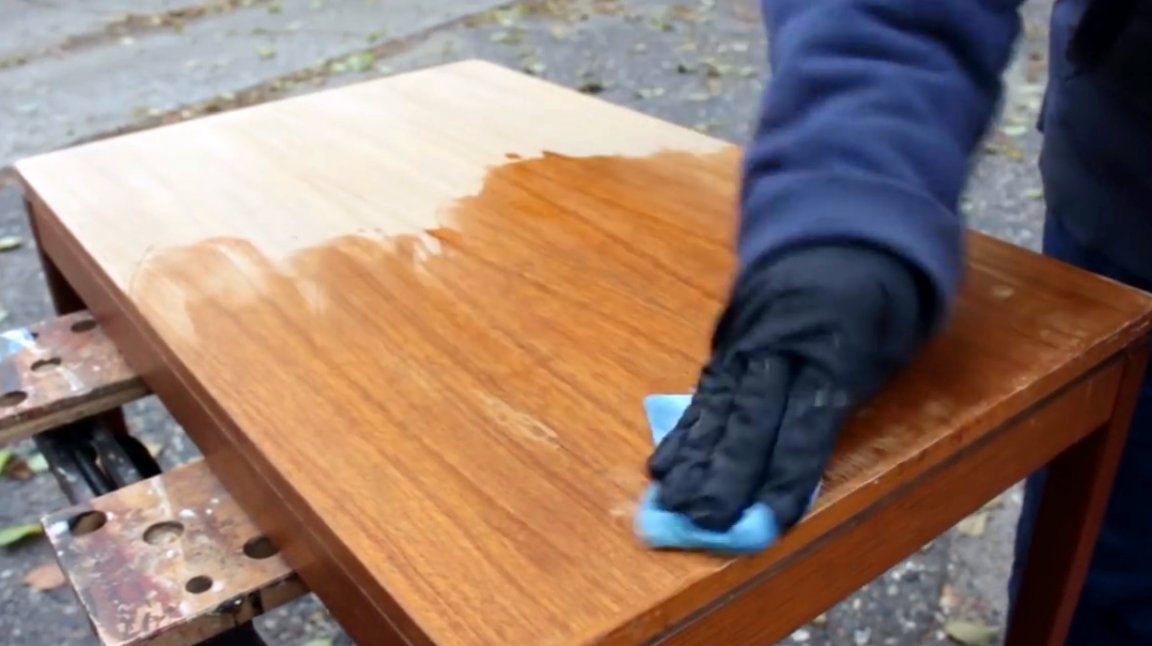
So, the countertop is primarily subject to restoration. The author begins the process by applying liquid to the surface of the lid to remove paint in order to remove the old finish. “Do not spare money, apply it in a thick layer and leave for 15-20 minutes,” recommends the master.
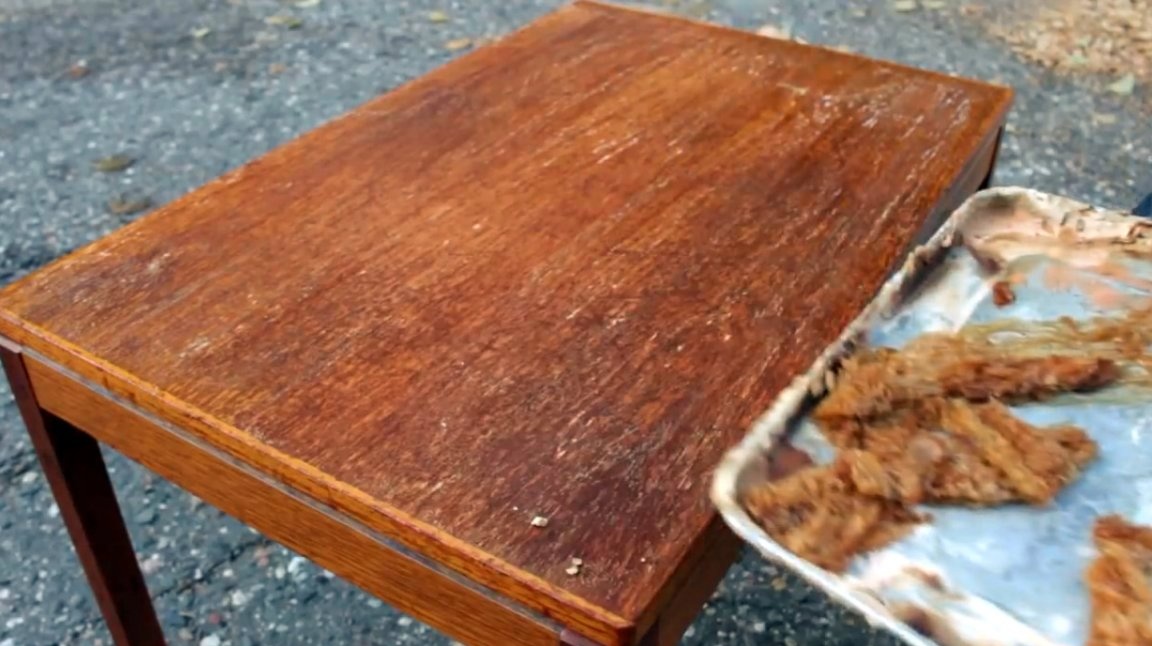
After the allotted time, he removes the remnants of the softened varnish with an ordinary spatula. See how much waste you get!
Attention! All further movements, both when removing material, and when applying intermediate and finish coatings, are performed only along the wood fibers!
The thickness of the varnish was very large, and the master again repeats the operation.
When all the old varnish is removed, you need to go over the entire surface with white spirit and a metal washcloth of fine chips, which will clean off all remaining paint fragments.

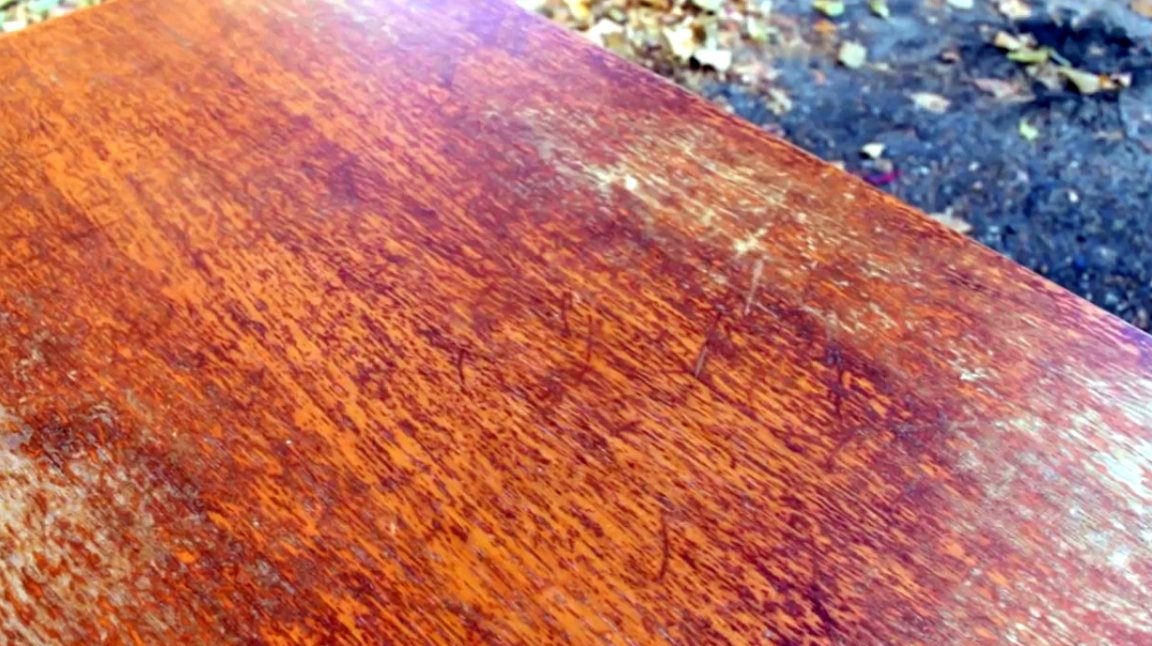
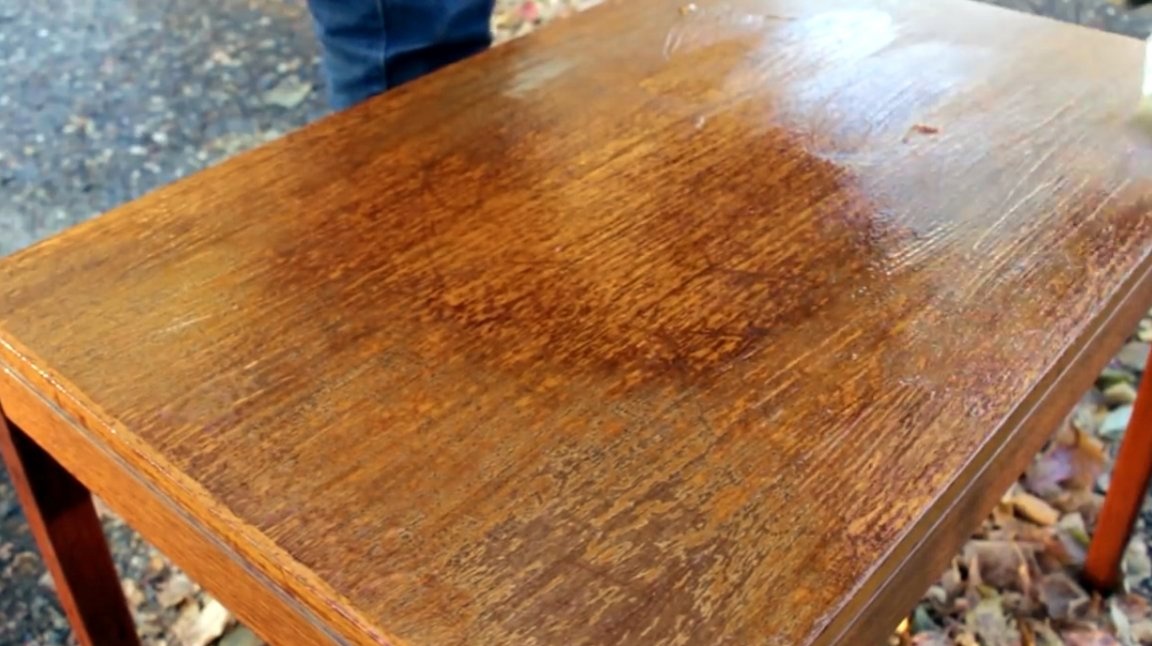
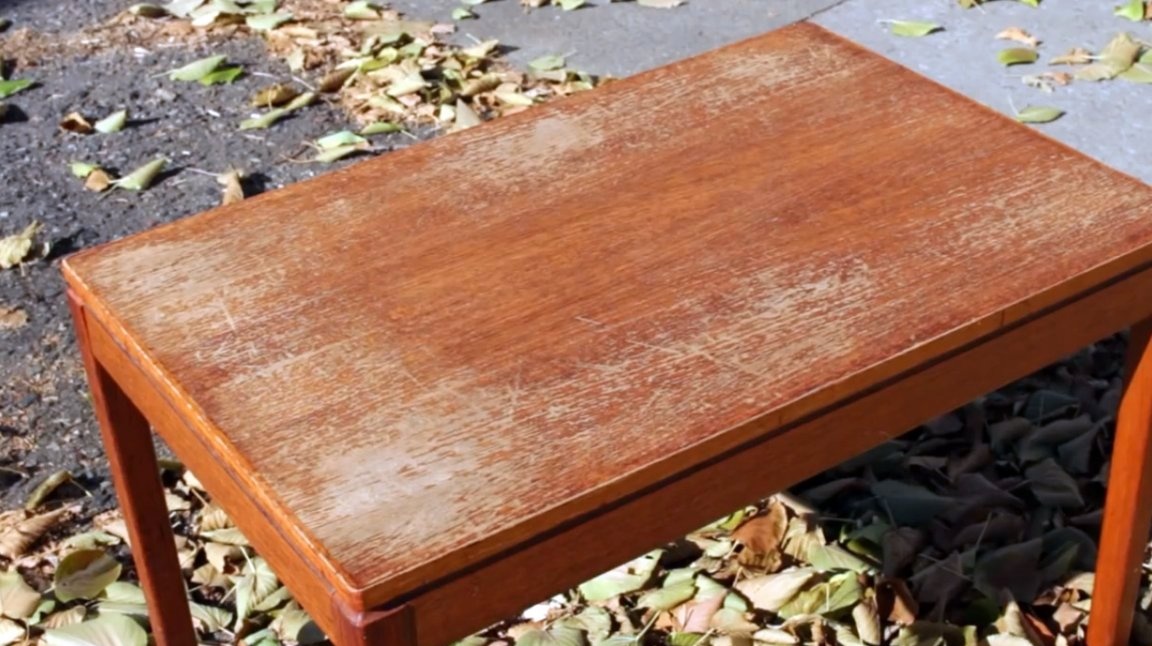
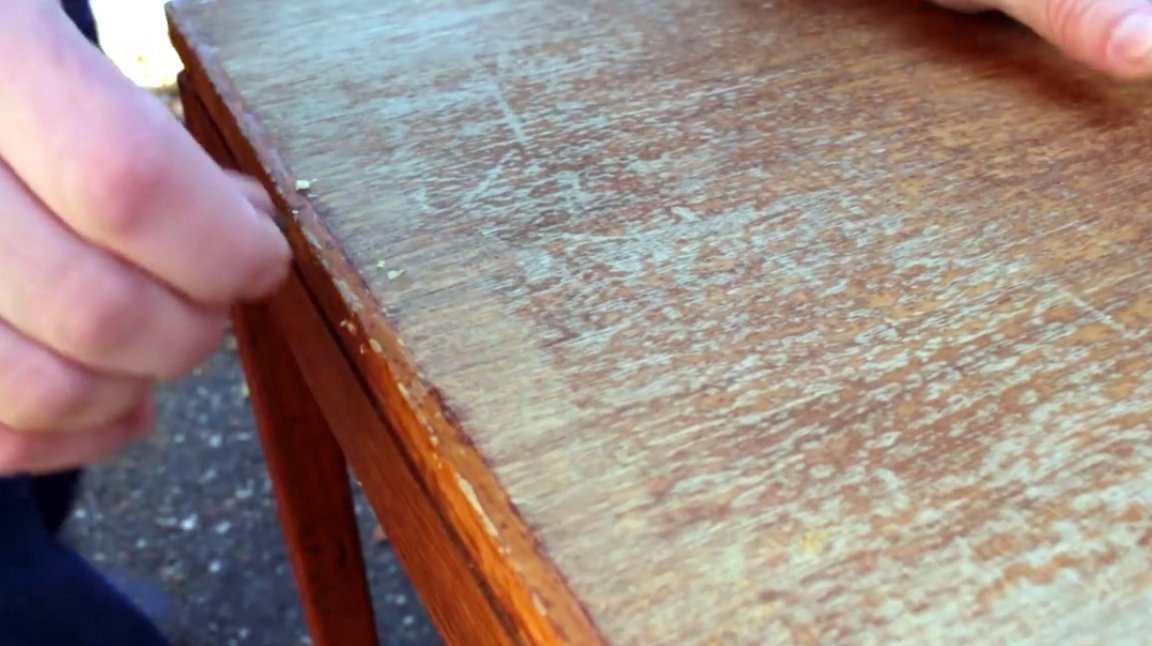
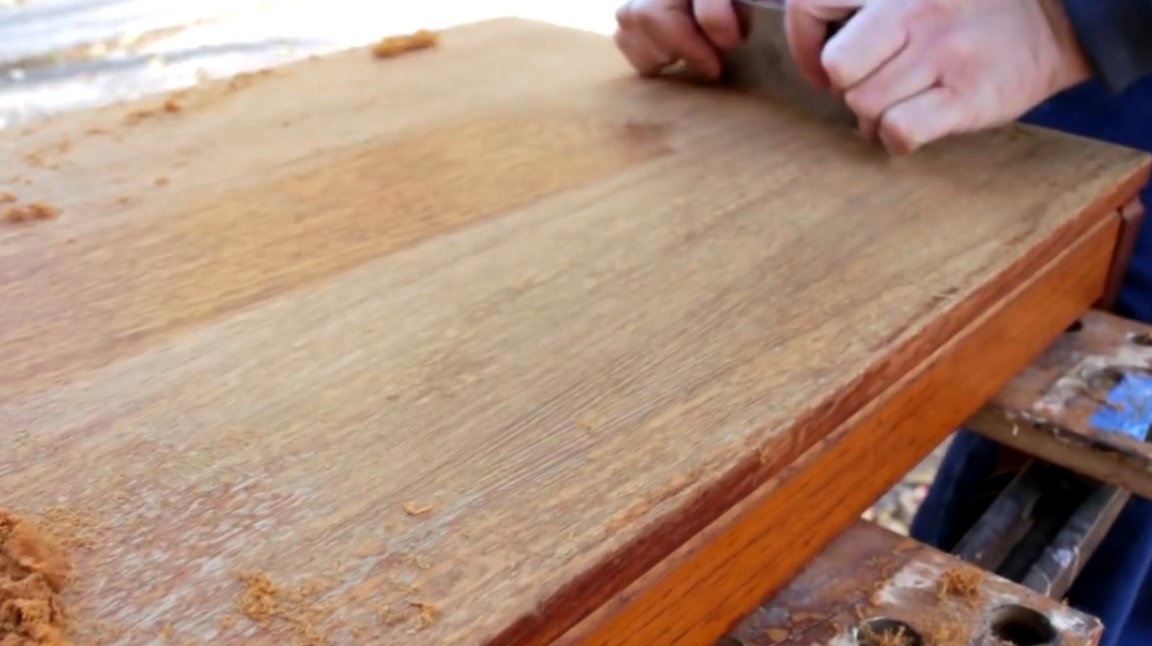
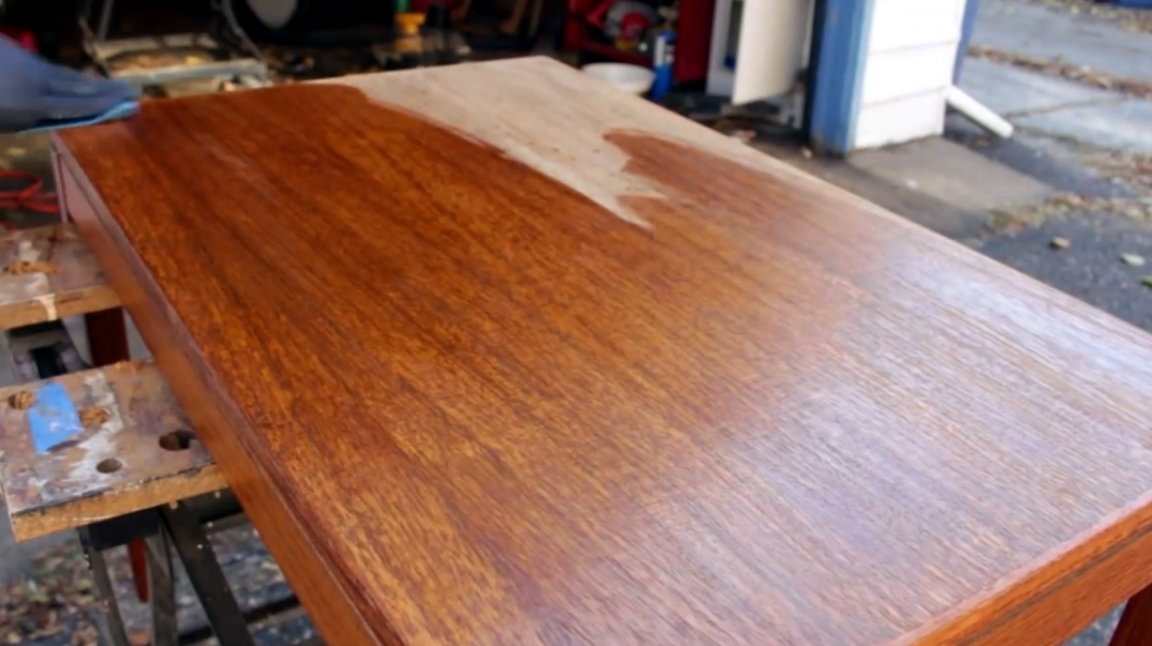
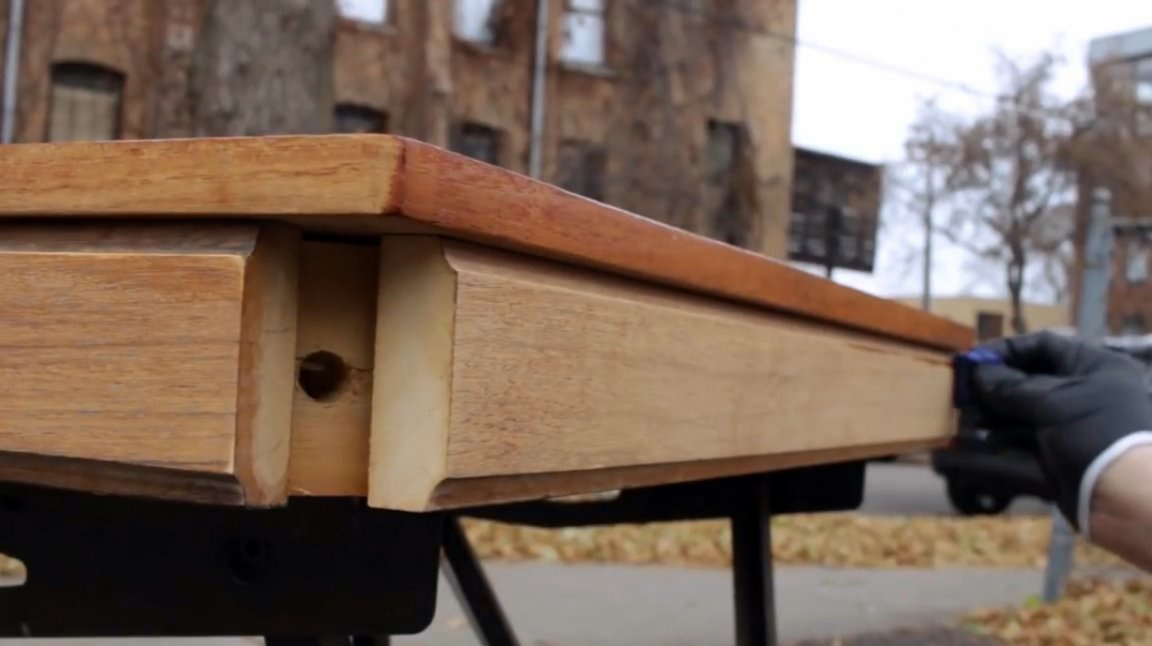
After pre-processing, these gray areas are still on the countertop. These are exactly the areas where there was no topcoat.
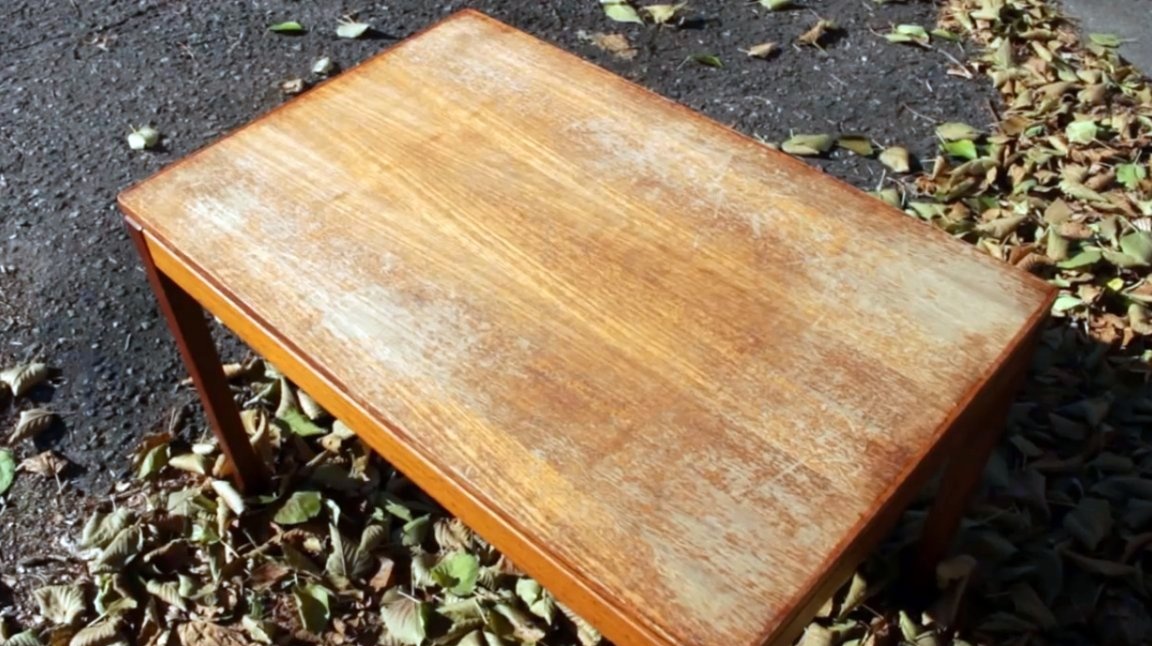
The photograph also shows that along the edge of the lid there is still a little finishing layer. This part shines in the light.
And here, where the welt completely burned out, the reflection of sunlight from a shiny lacquered surface apparently took place.
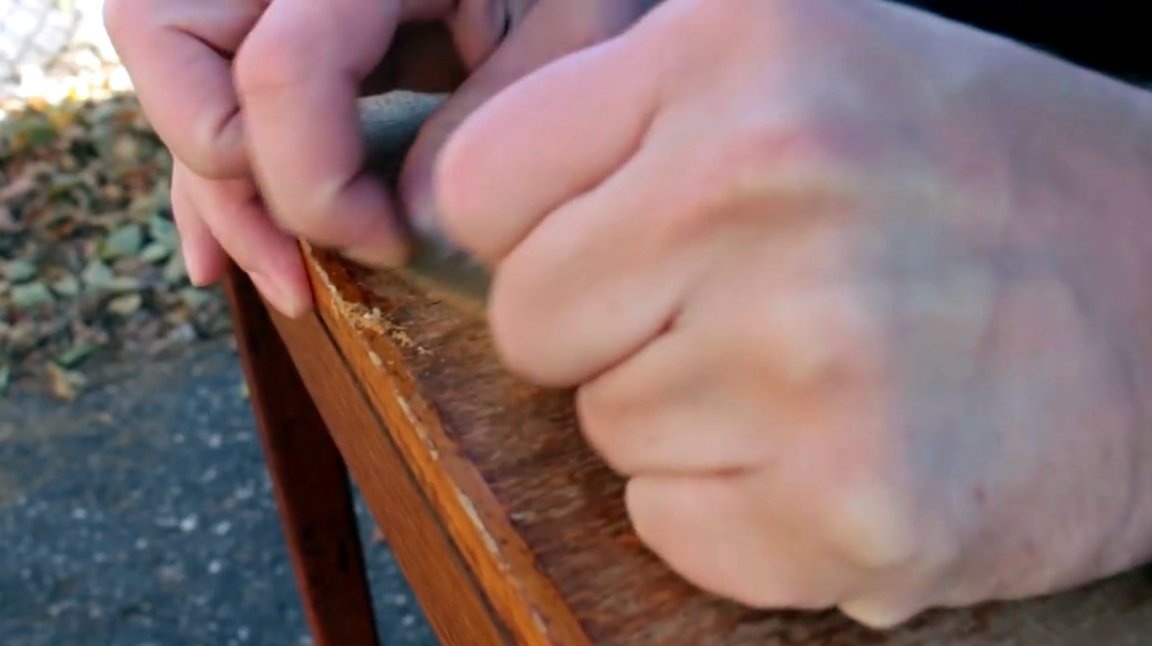
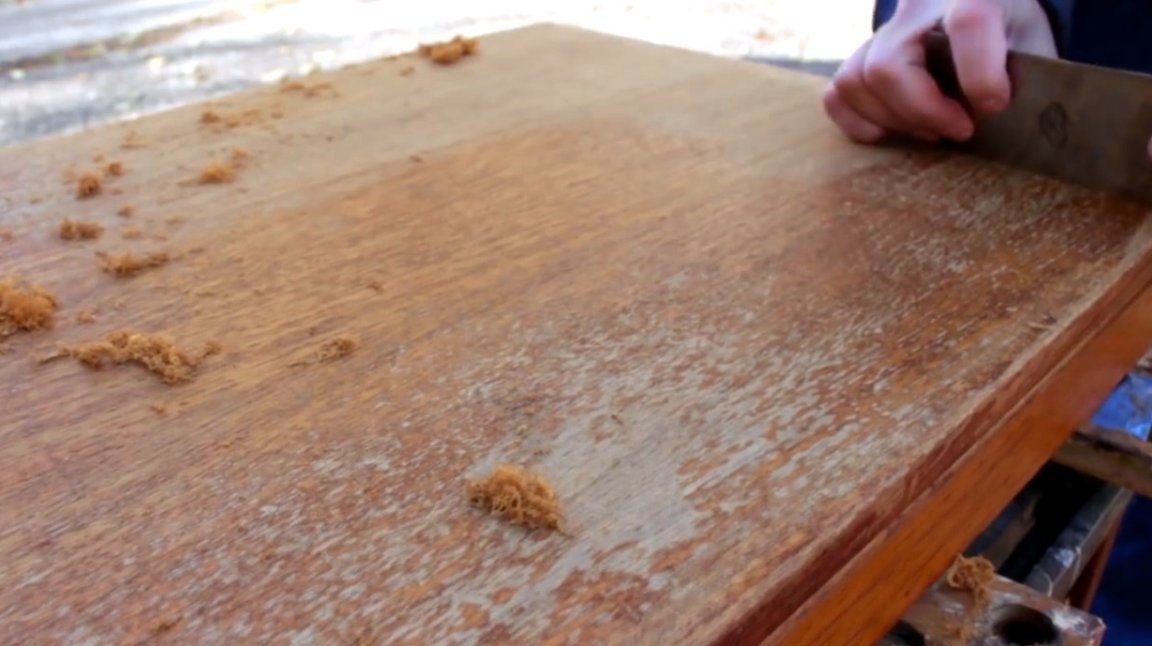
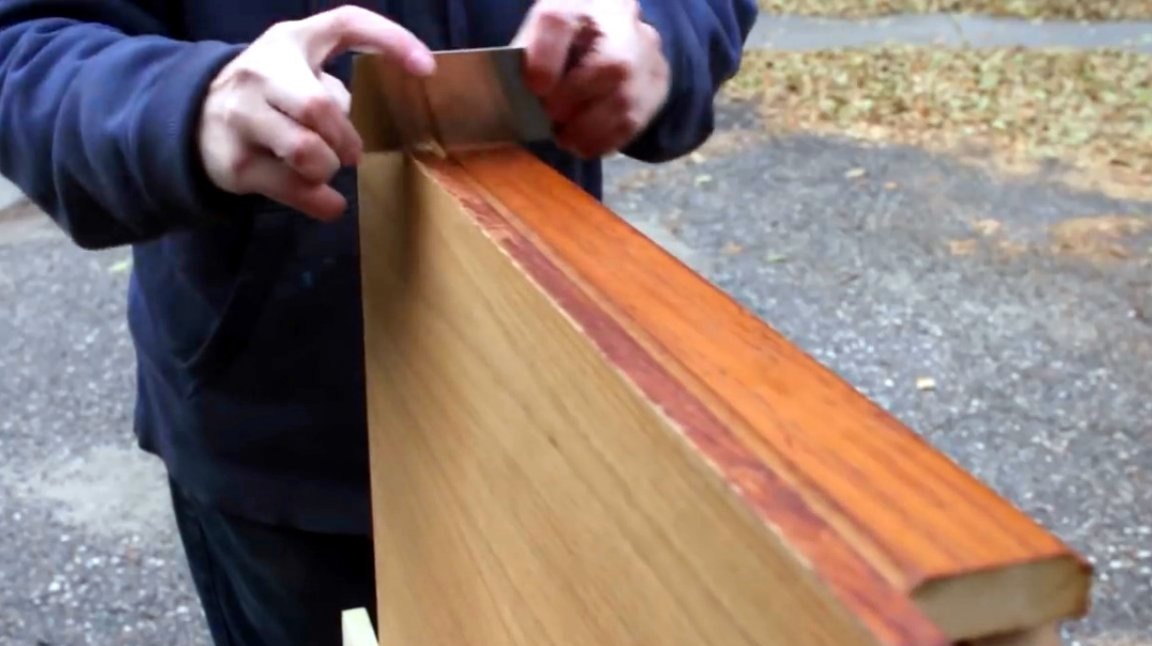
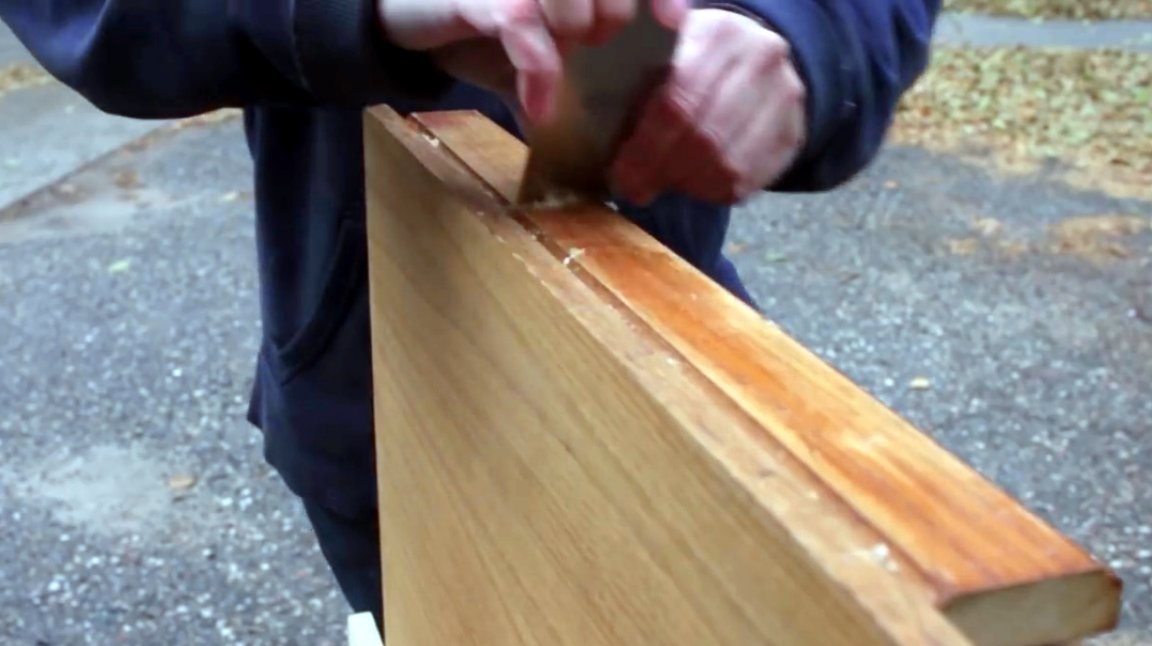
With a knife blade and a scraper, the author removes the upper, burnt-out layer of wood.

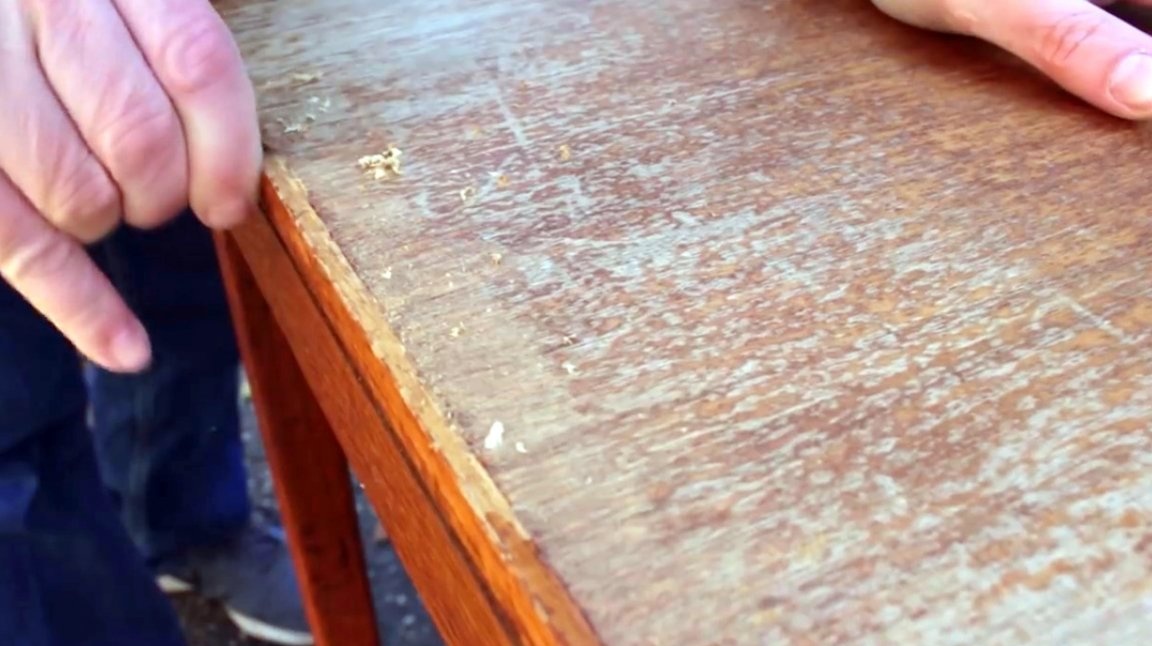
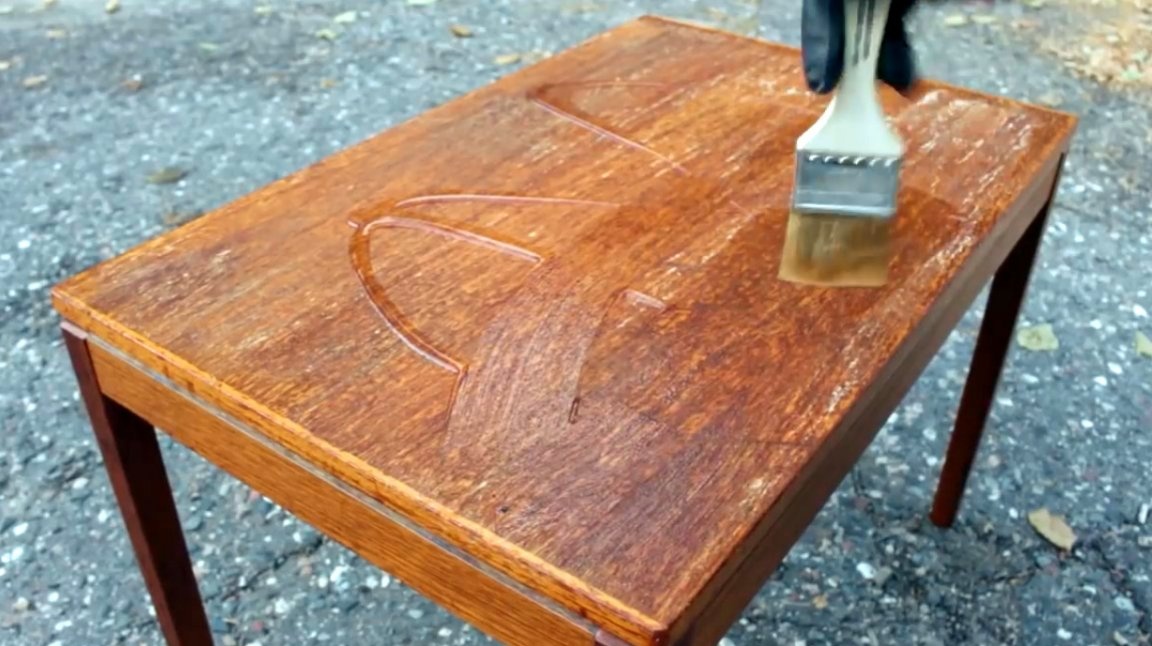
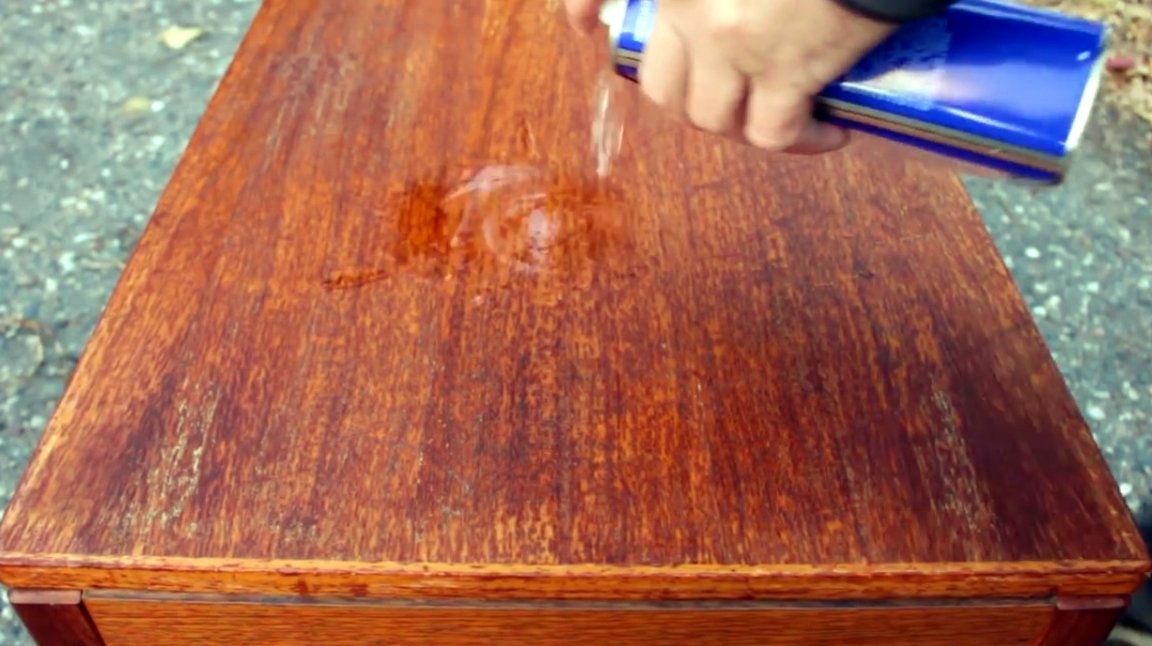
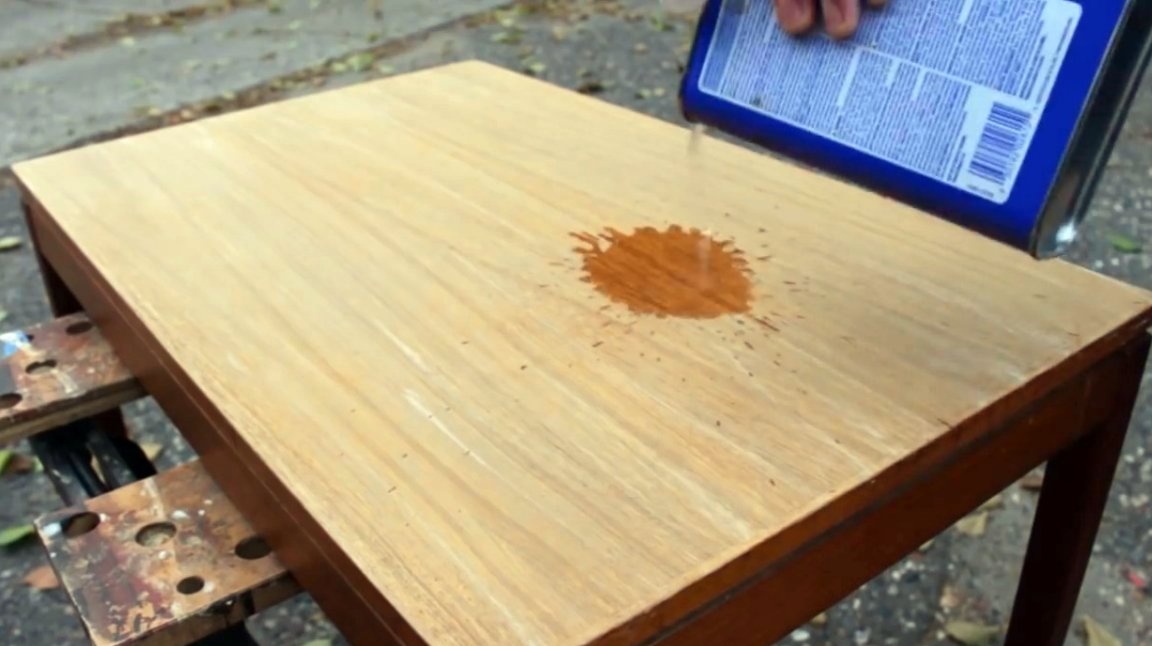
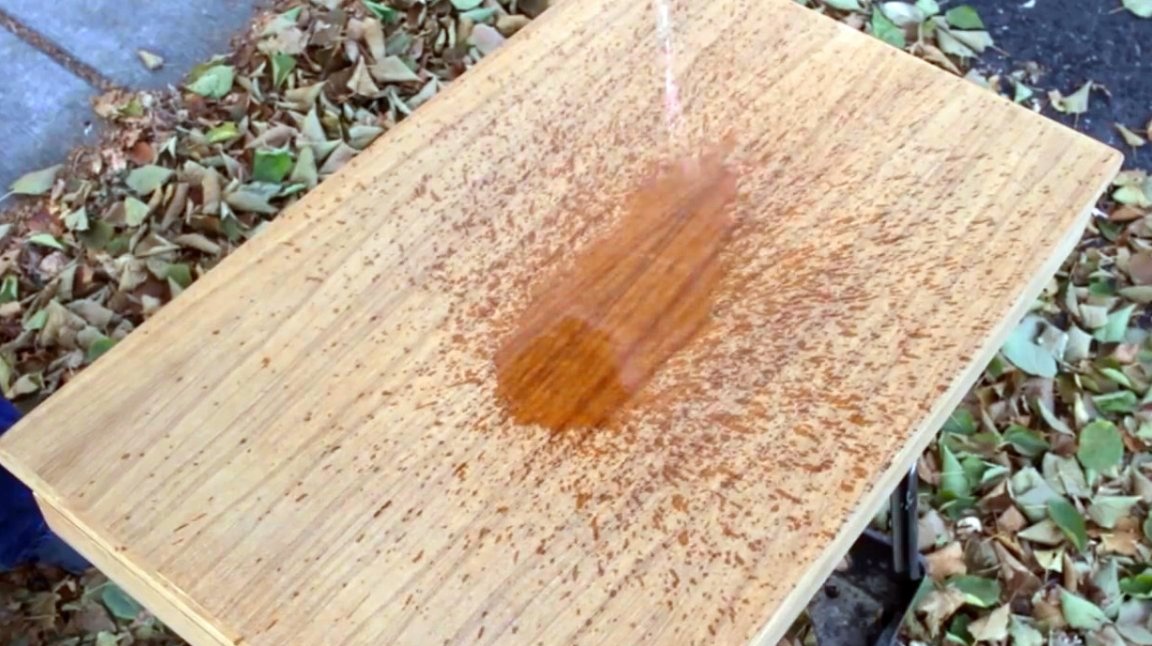
He again wetts the lid with solvent and observes what the surface will look like under the new finish layer. White Spirit reveals some more stains and dark spots that require removal.
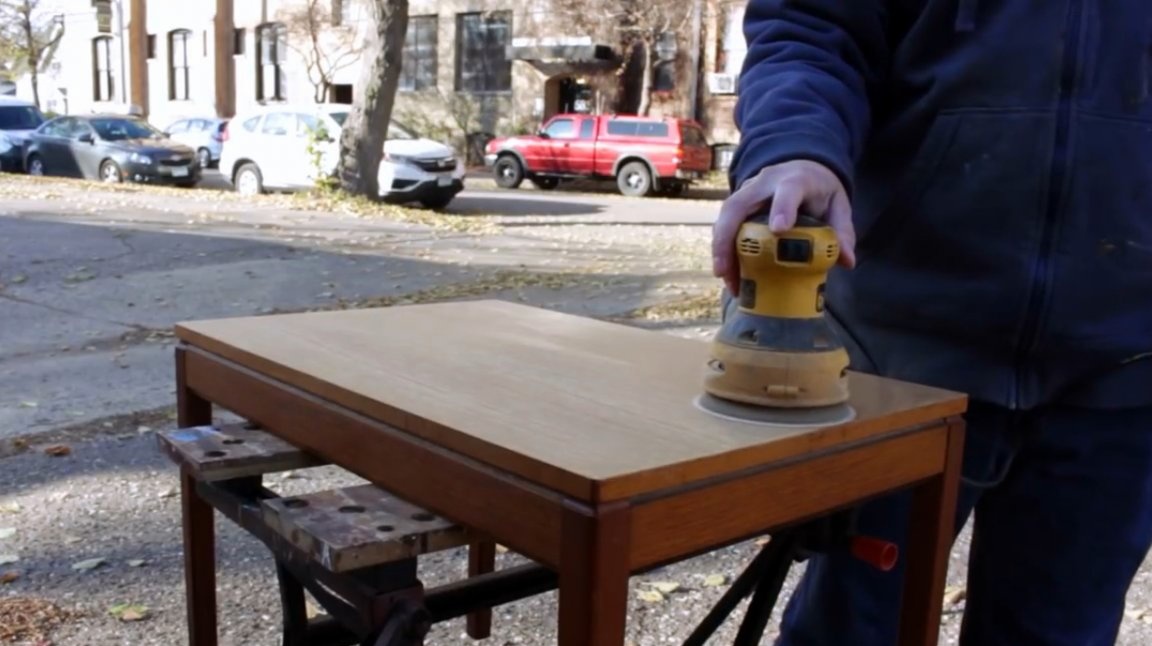
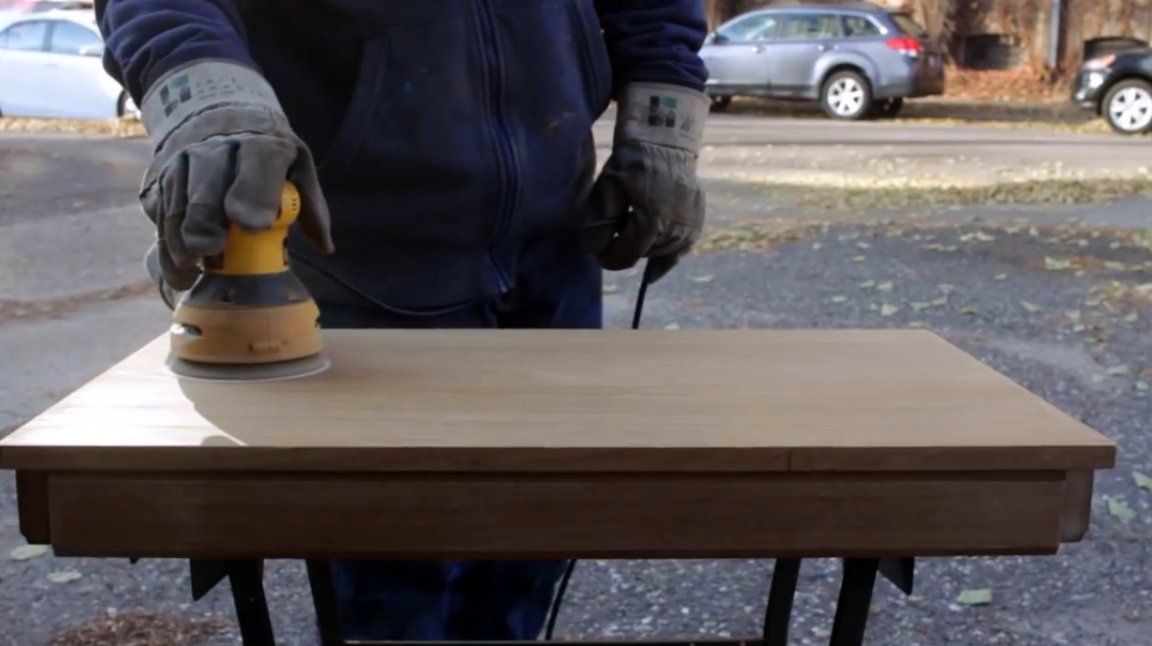
At the next stage, the author decides to carry out light grinding of wood using a manual orbital machine. He begins with a 100 grit grinding disc.
Easy wetting again - checking for uniformity of the surface. And again, small flaws appear. This time, the author refuses further grinding due to the fact that the top layer of the countertop is a fairly thin wood veneer.
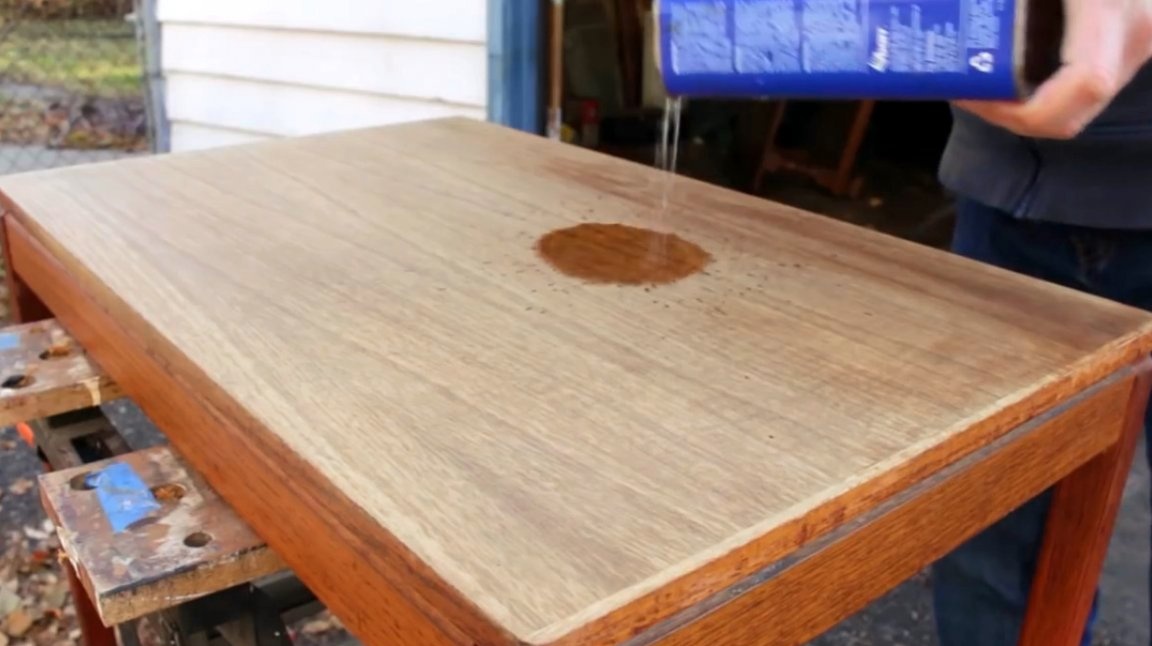
Then the master resorts to using oxalic acid. It can be purchased in powder form. The acid should be mixed with warm water, wipe the surface with it and leave on it until dry.
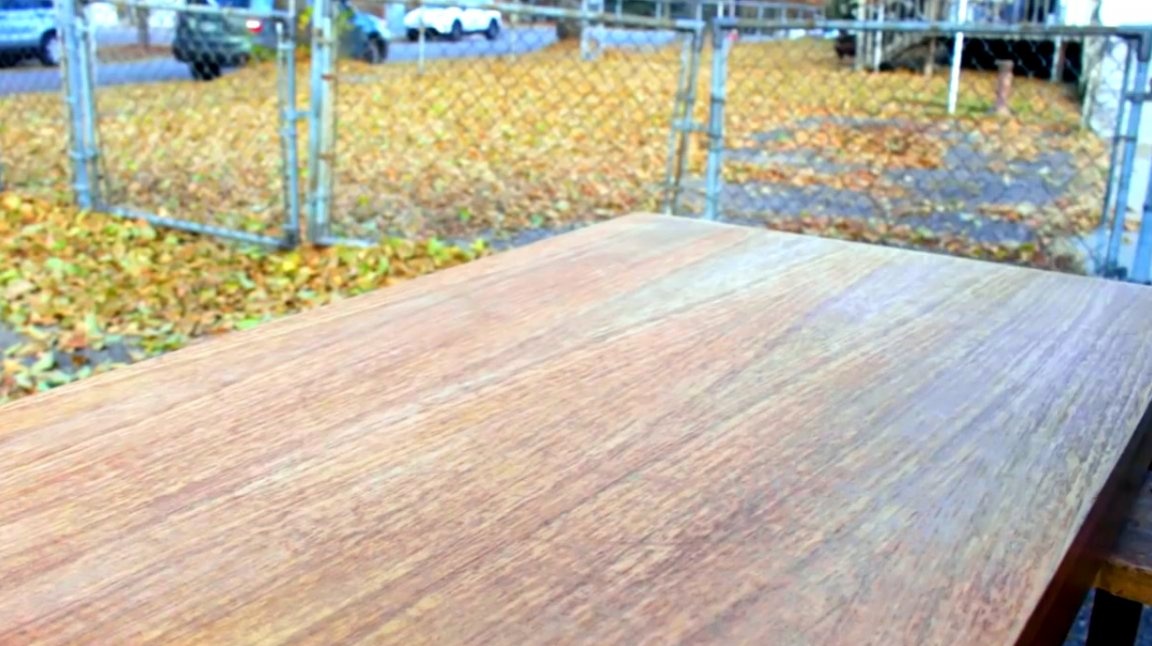
Again, a solvent test, and here is the result - the acid has done its job!
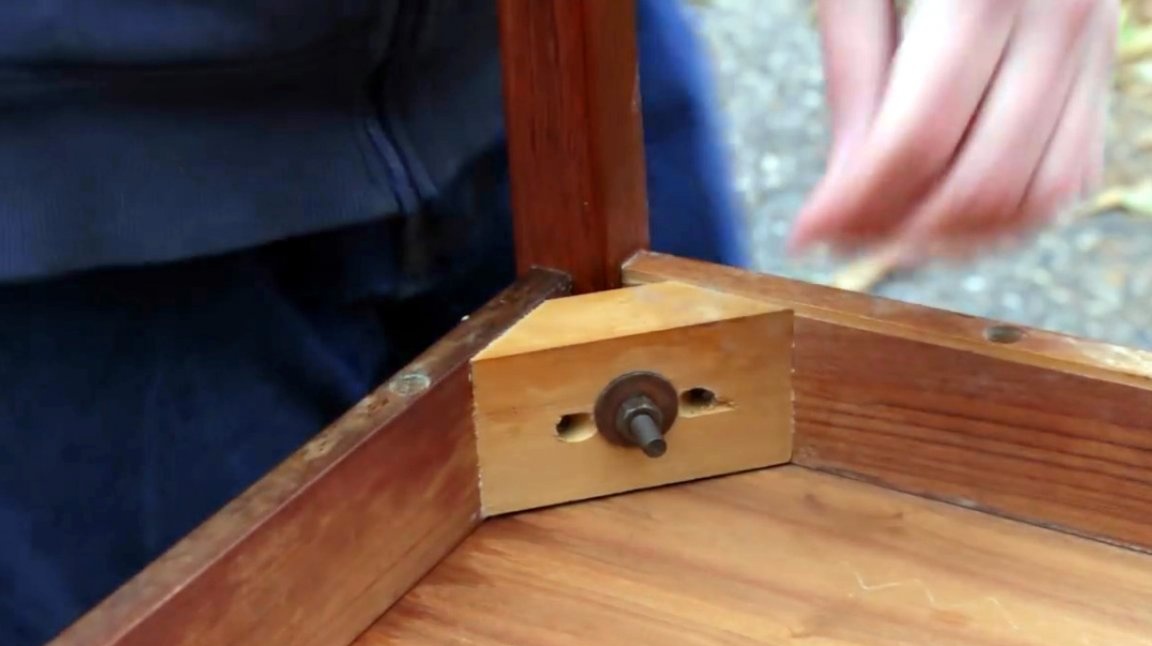
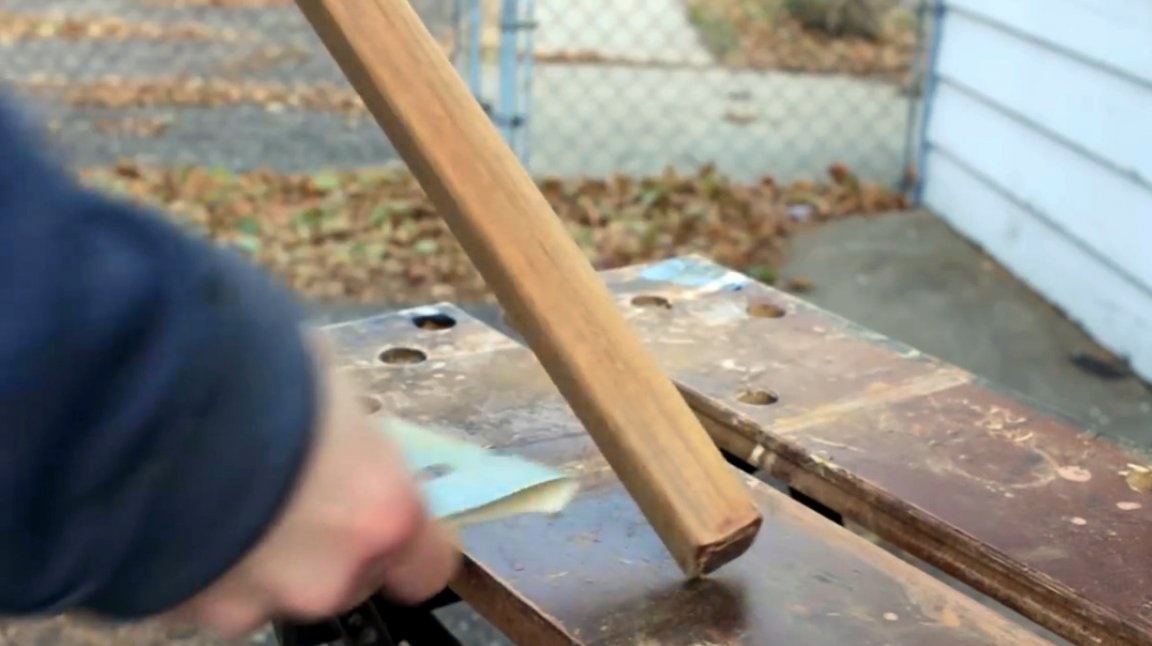
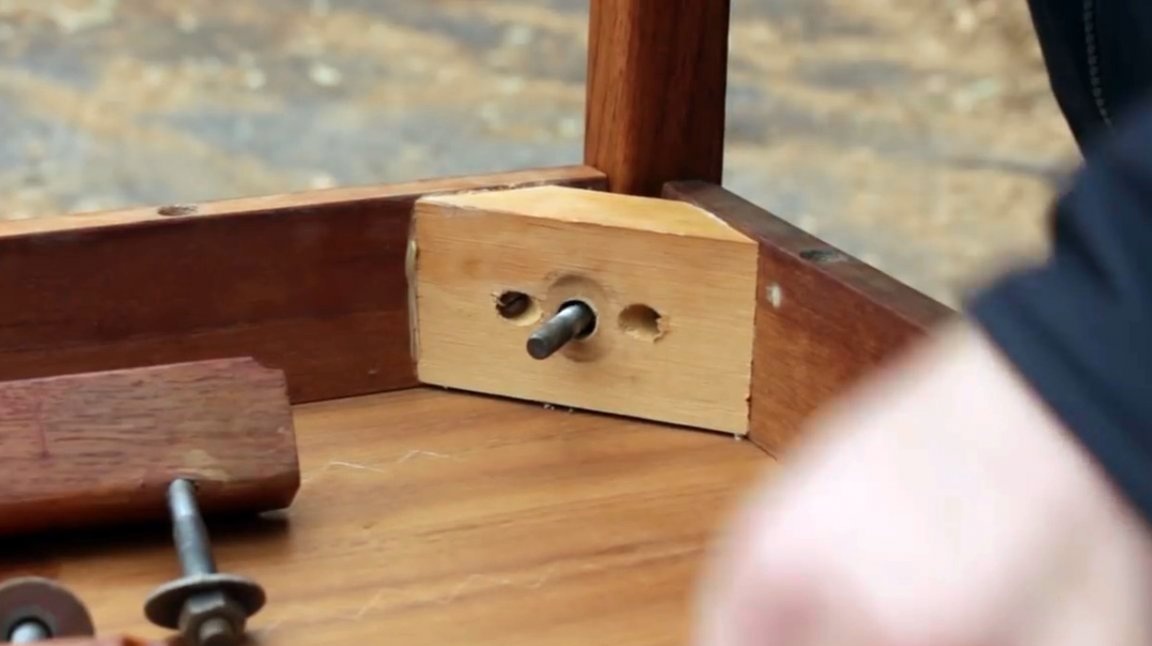
Now the author is engaged in legs. He completely unscrews them from the countertop, and proceeds to the workbench.
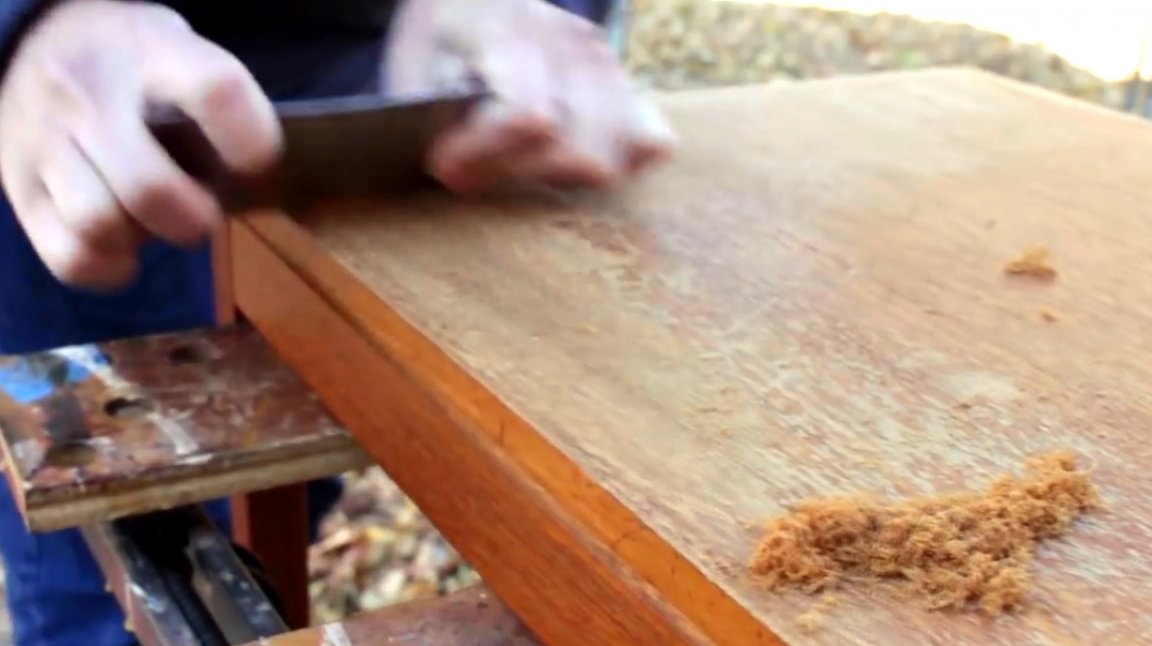
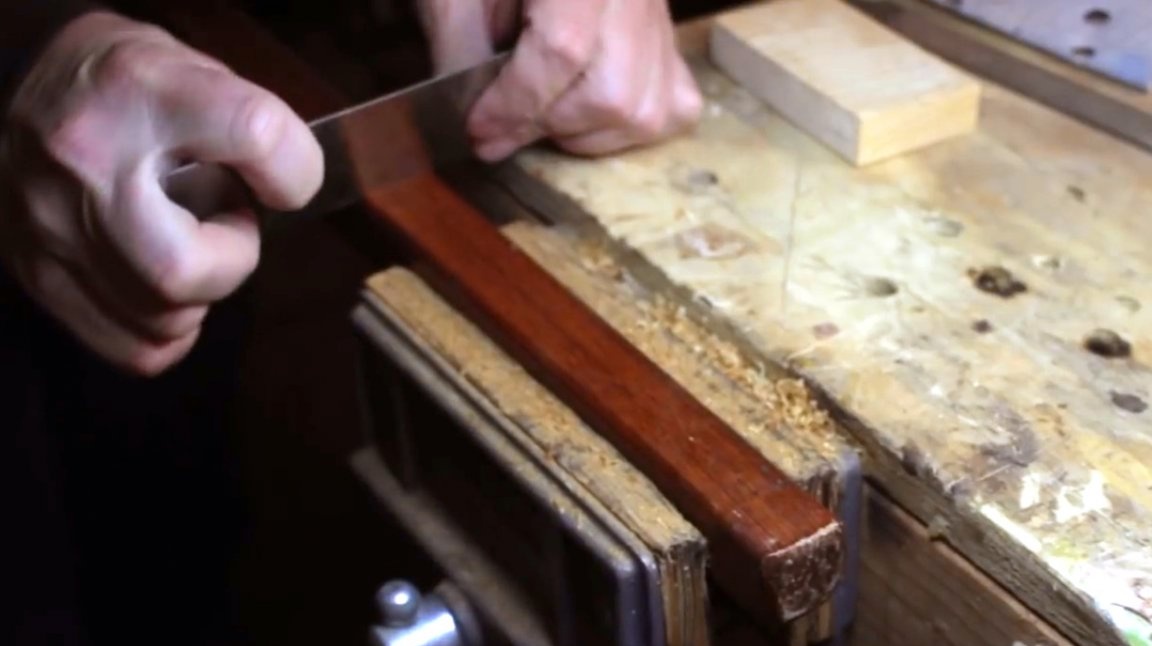
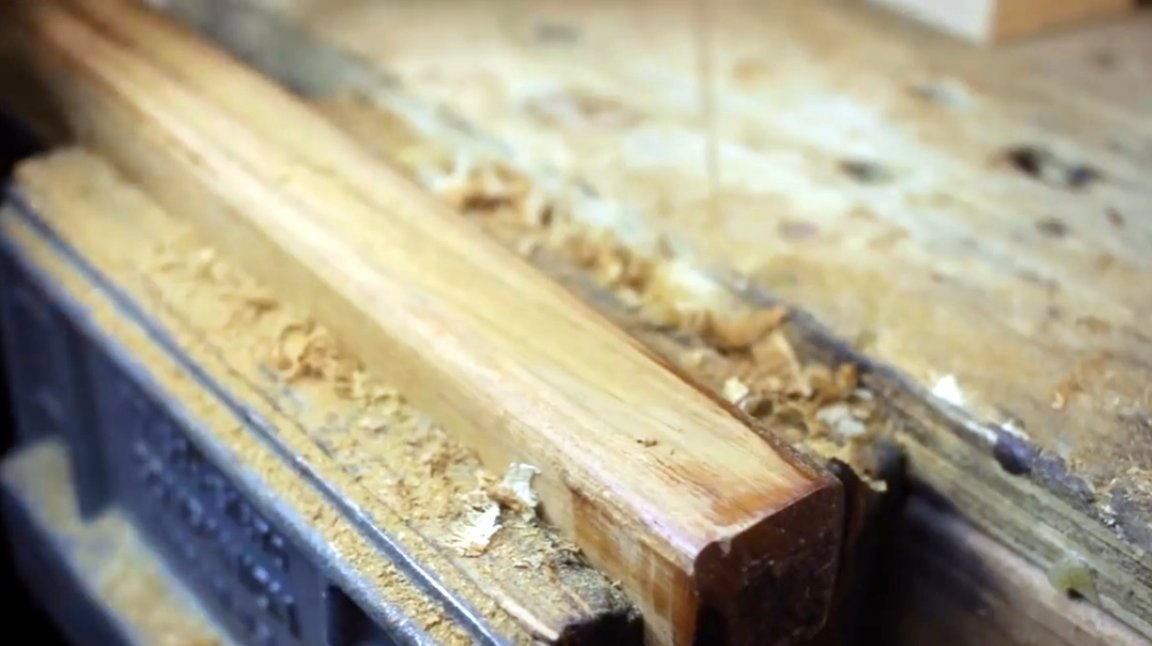
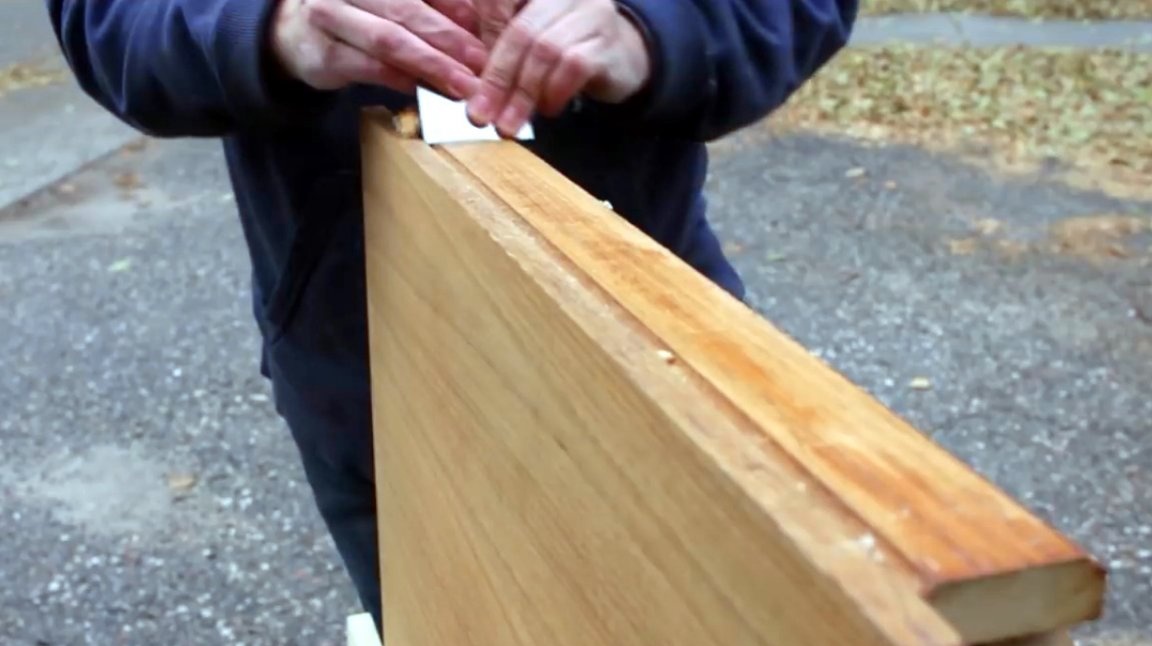
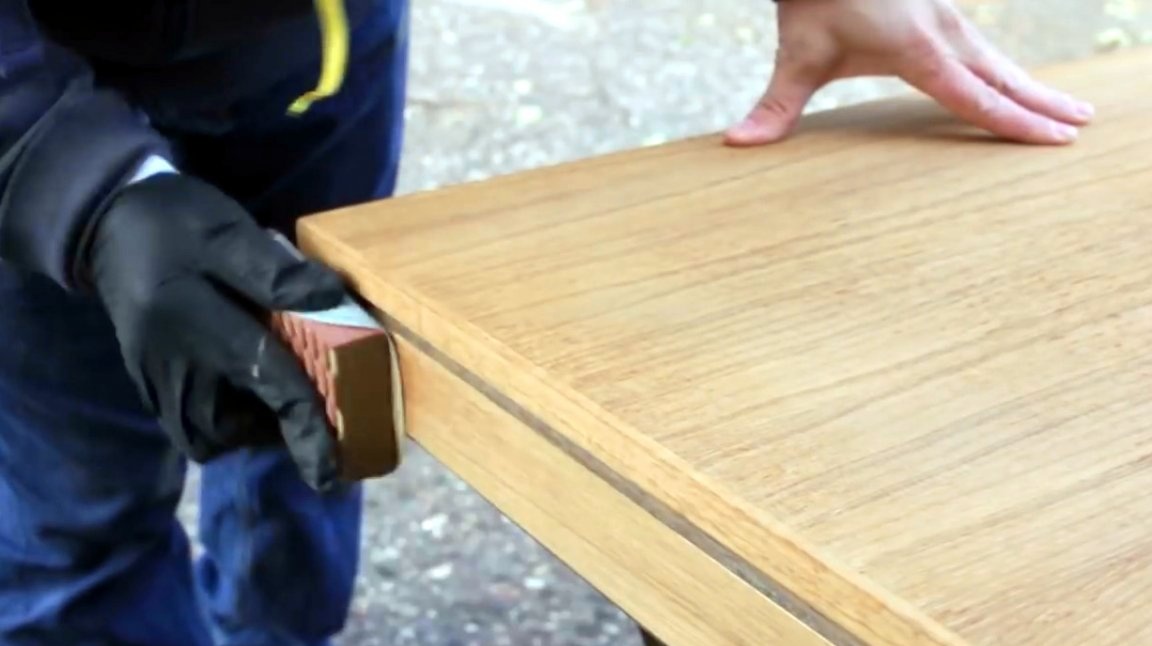
This time he removes the finish only with a scraper and it works great! There is no veneer, instead, solid wood, so you do not need to be afraid to remove the excess.
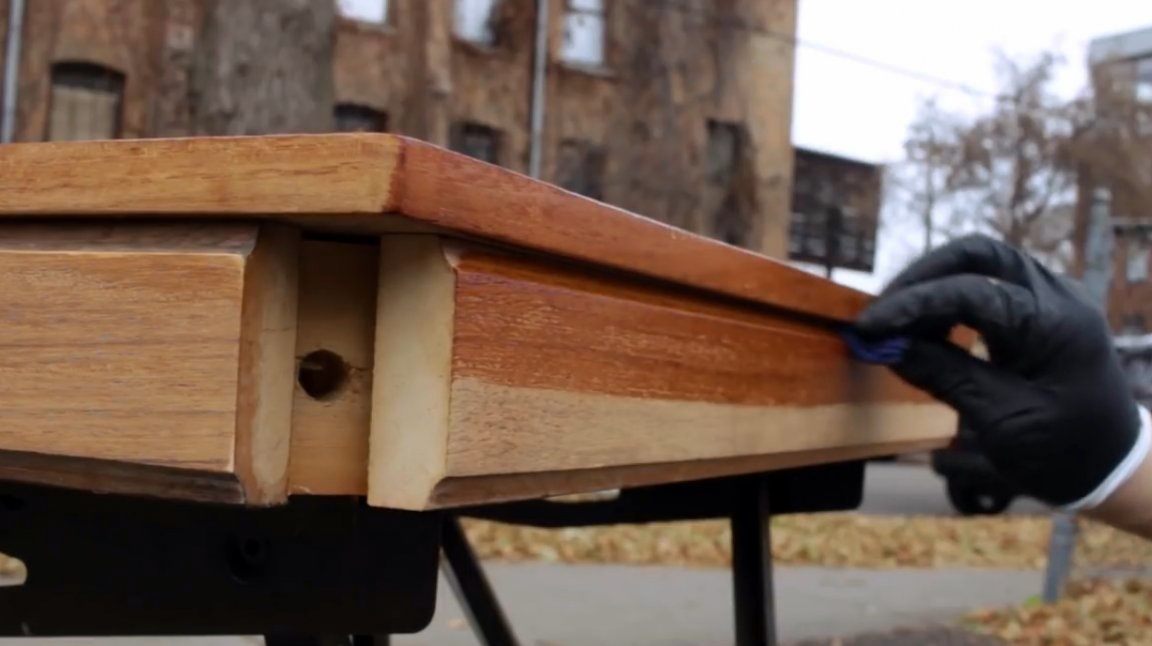
He does the same with the sides of the countertop.
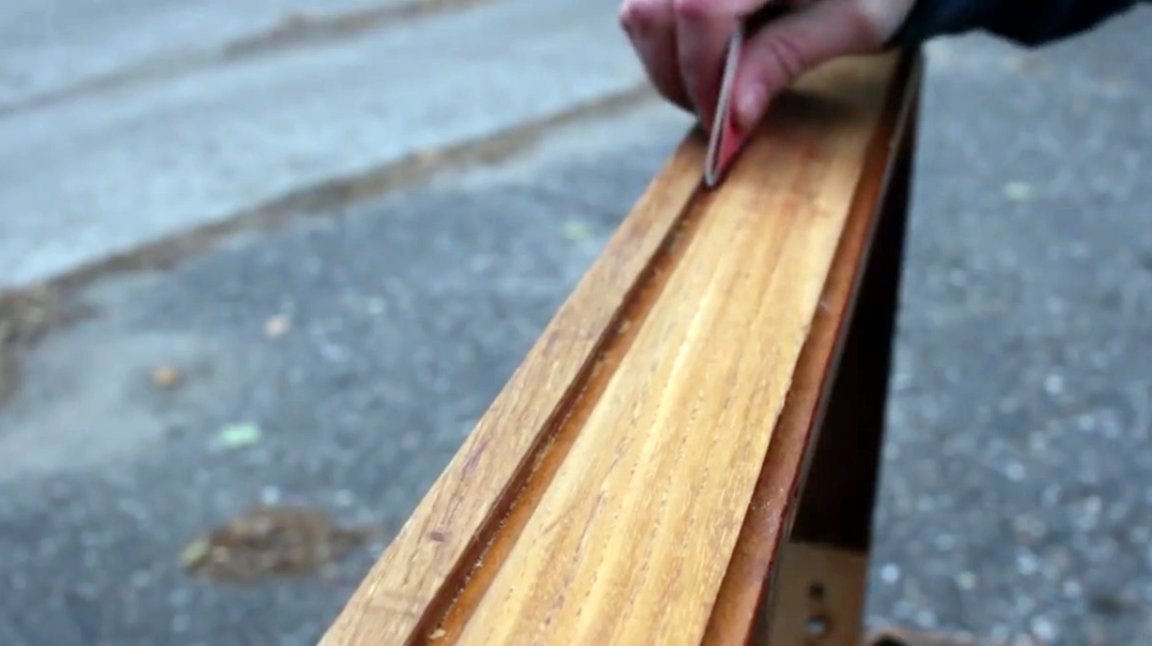
In grooves and slots, the master applies ordinary sandpaper, trying only to slightly process these areas, since the coating in these places was very easy to remove. It will be quite simple to open it with an additional new layer.

The author once again lightly walks along the top of the lid with a grinding disc, since oxalic acid has raised wood fibers in some places. First it is a 120 grit disk, and after that it is 220 grit. It is important to work at a low speed of rotation, only slightly pressing the device to the surface, so as not to leave concentric traces. The angles at which the veneer is as thin as possible are also preferable to bypass. They should be processed manually.
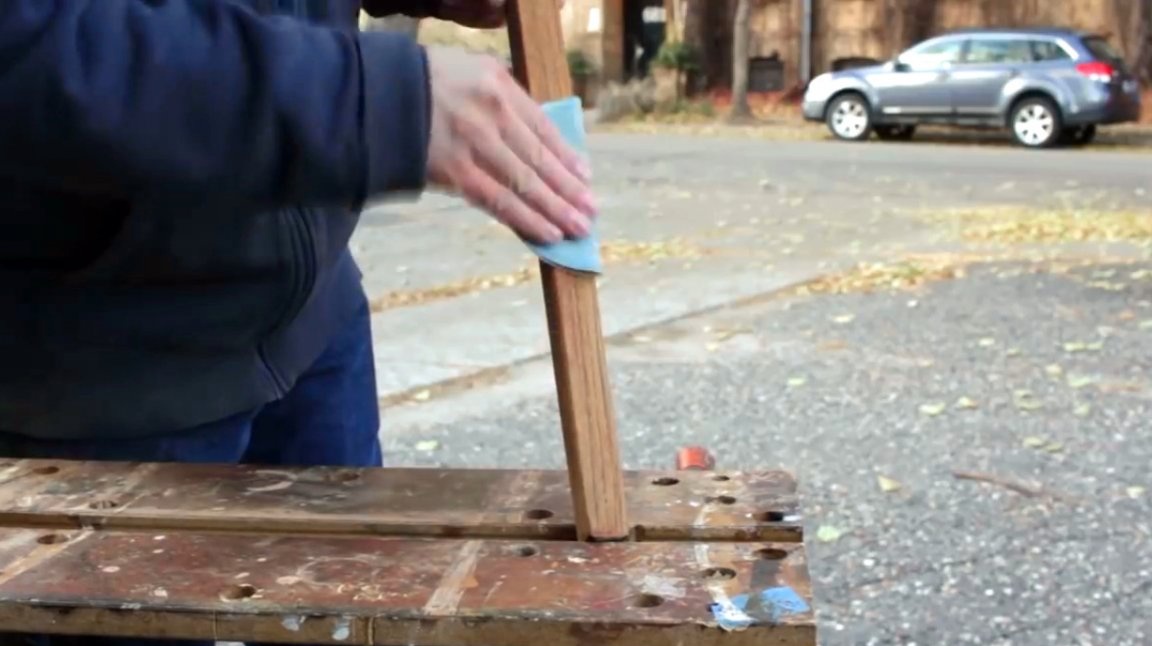
The author also wipes the legs manually with 220 grit sandpaper.
After grinding, remove all dust with a soft brush.
Before you put a layer of fresh finish, the master wipes the surface with alcohol.
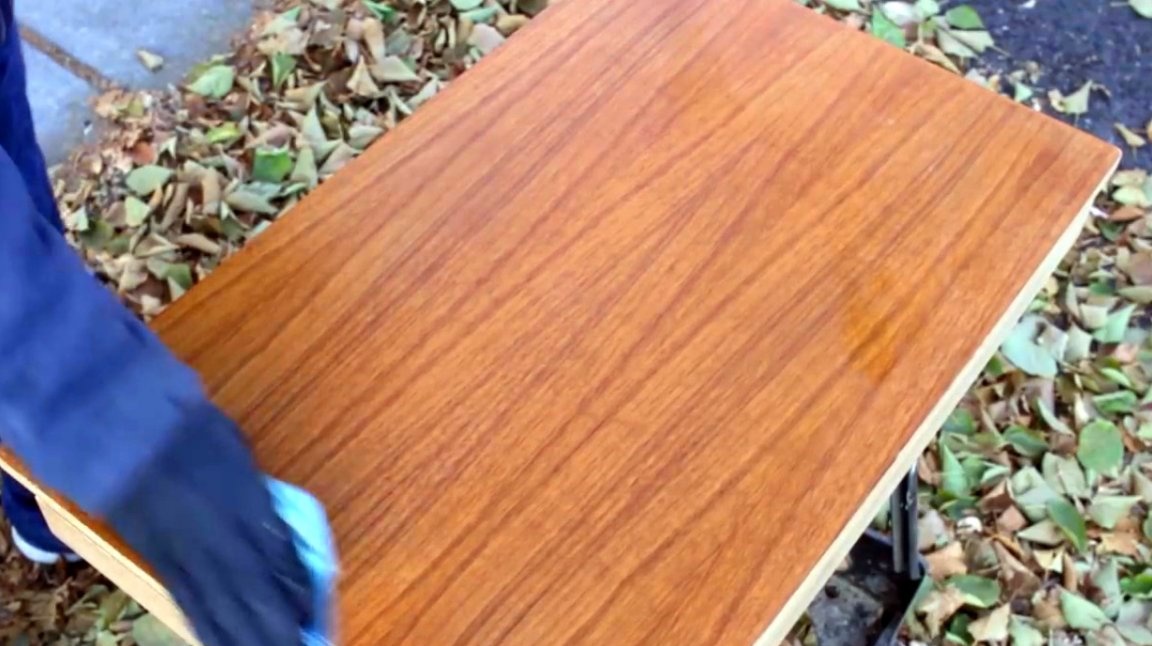
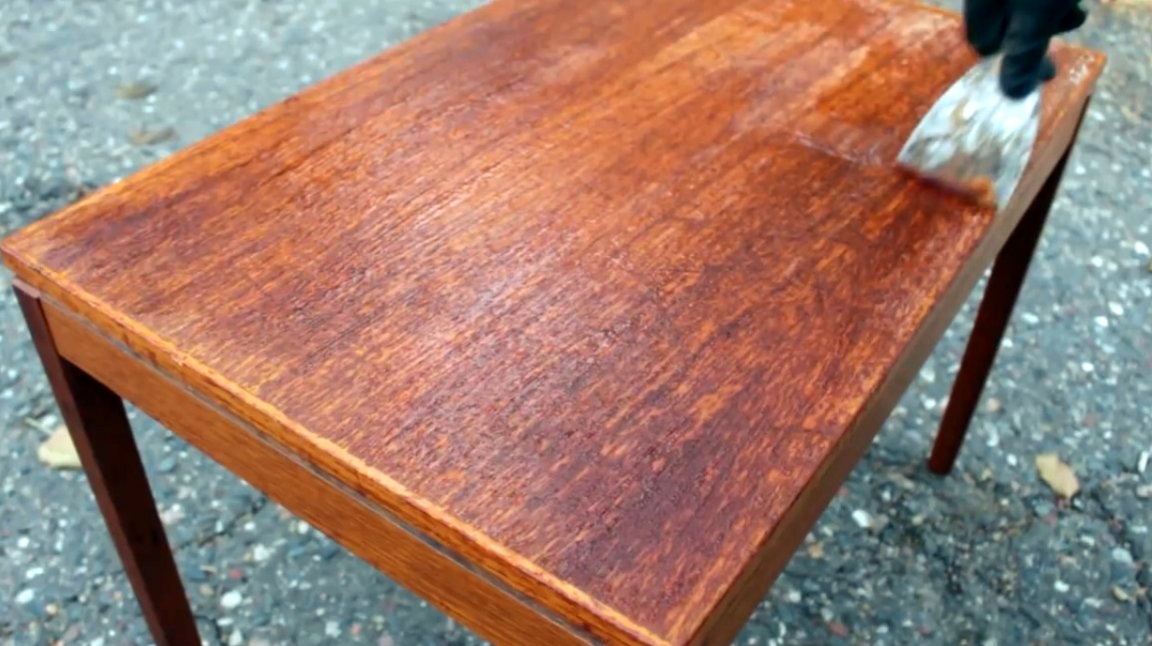
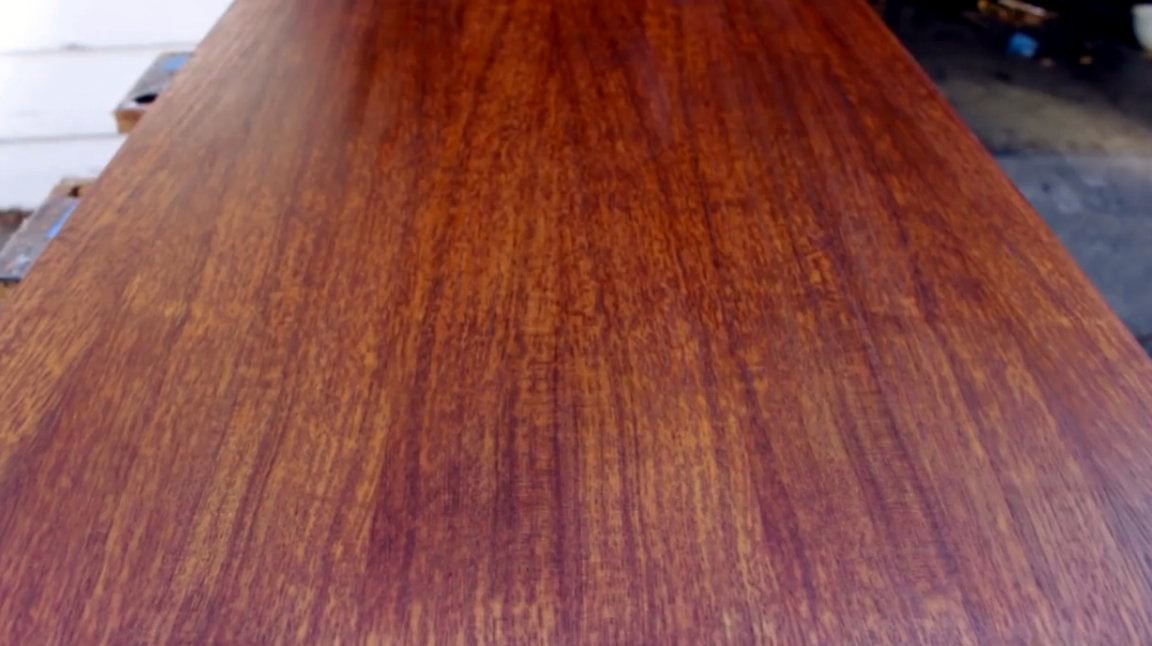
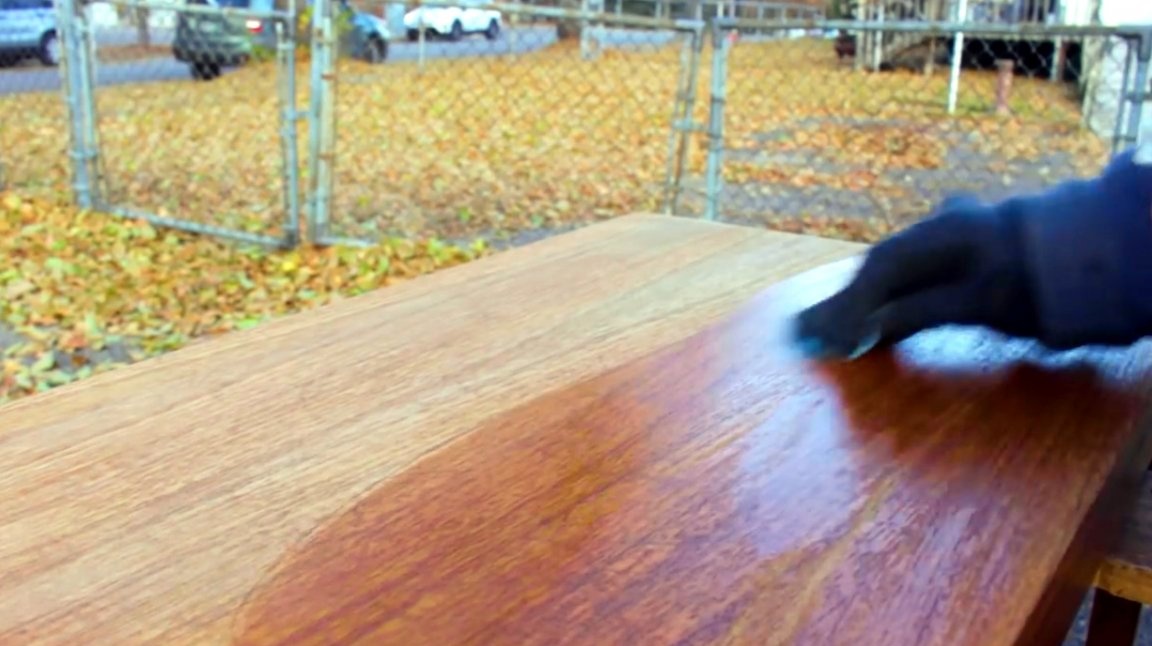
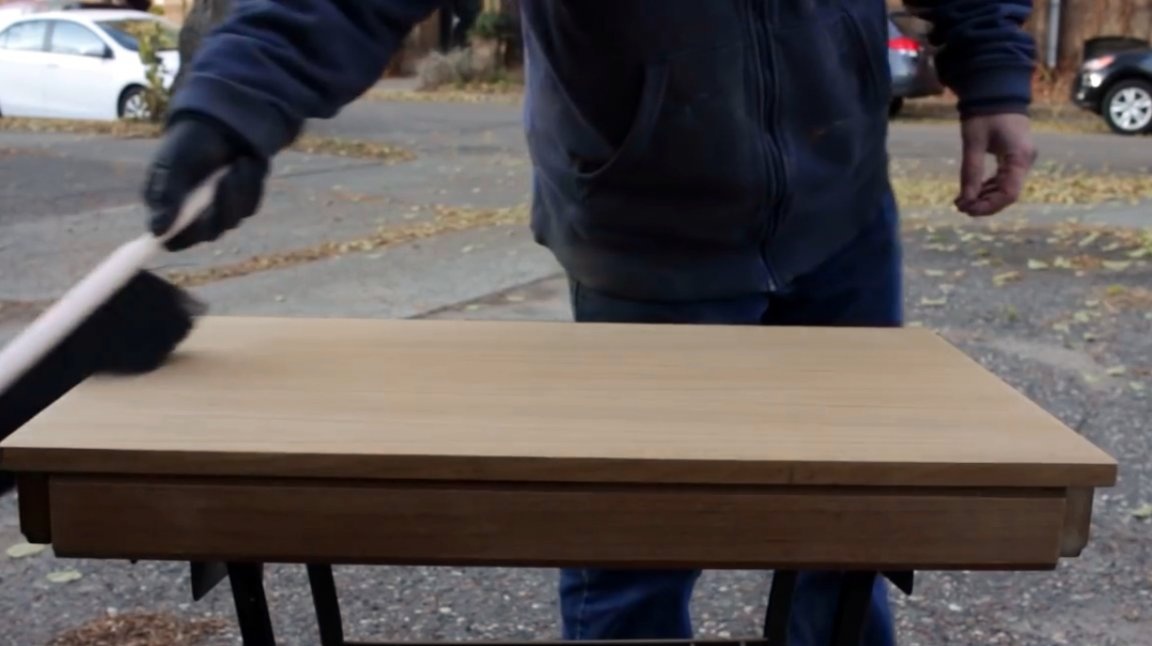
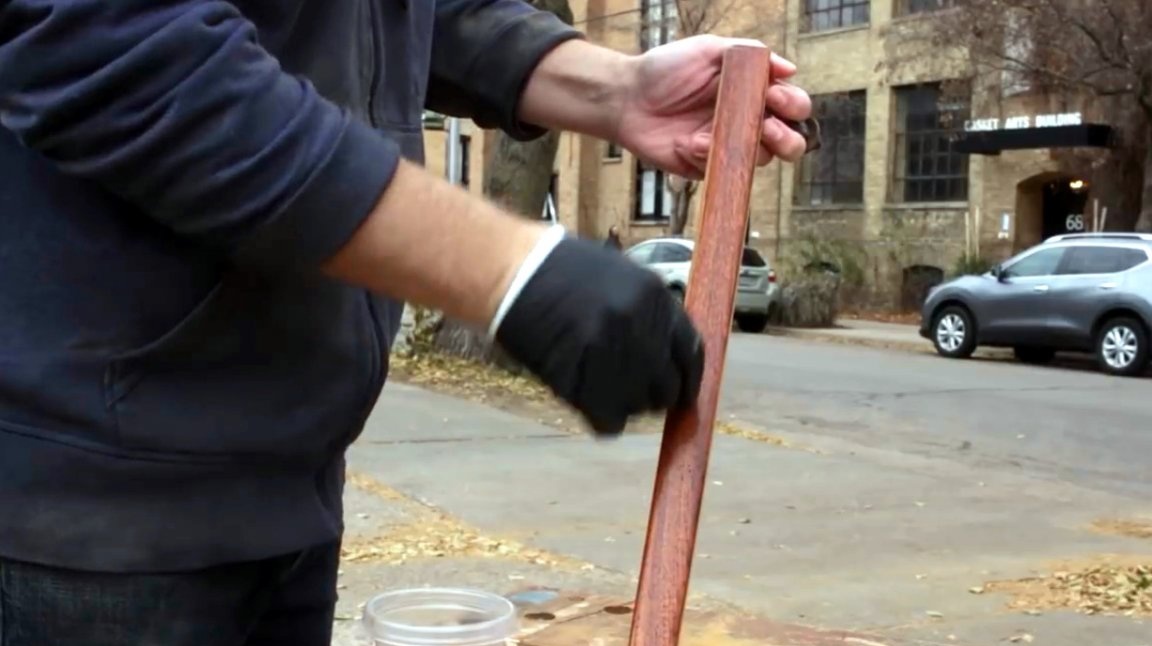
He does not use any paint or stain, as the tree has retained excellent color. He will use pure "silk" polyurethane.
Of course, you can use other types of topcoats, such as acrylic varnish, various oils and wax.
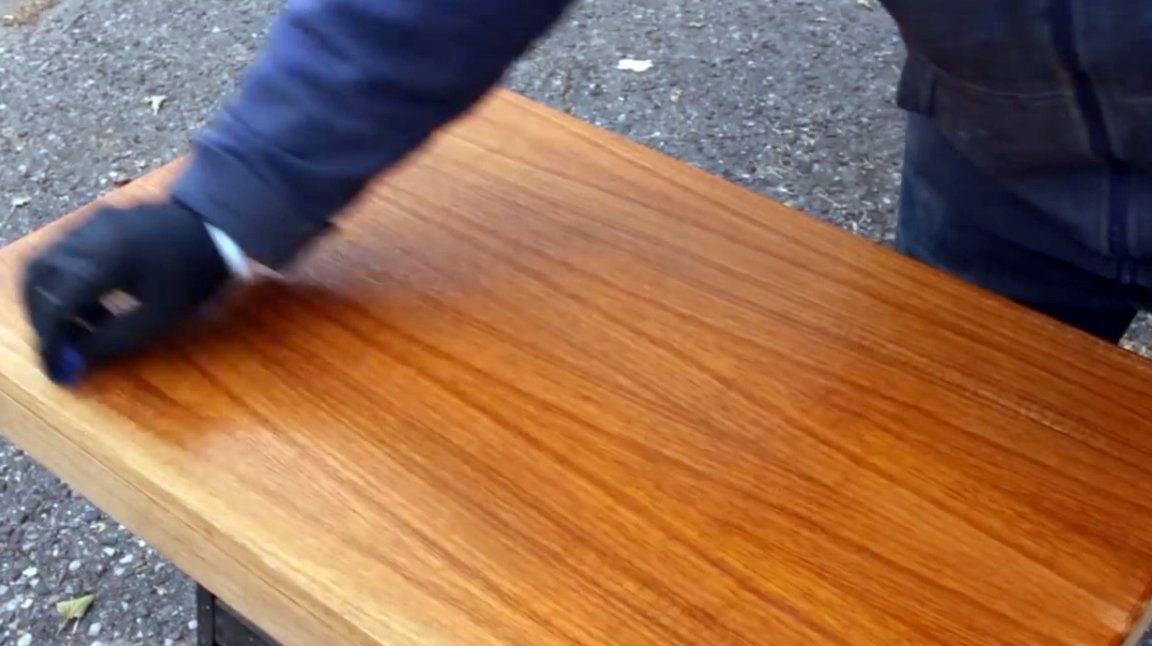
The master pours a small amount of it into a small plastic container and gently rubs the composition with a cotton cloth in the wood, trying to make the first layer as thin as possible. Thus, he applies from 3 to 4 layers.

After the details of the table have dried, the author again screws the legs into place.
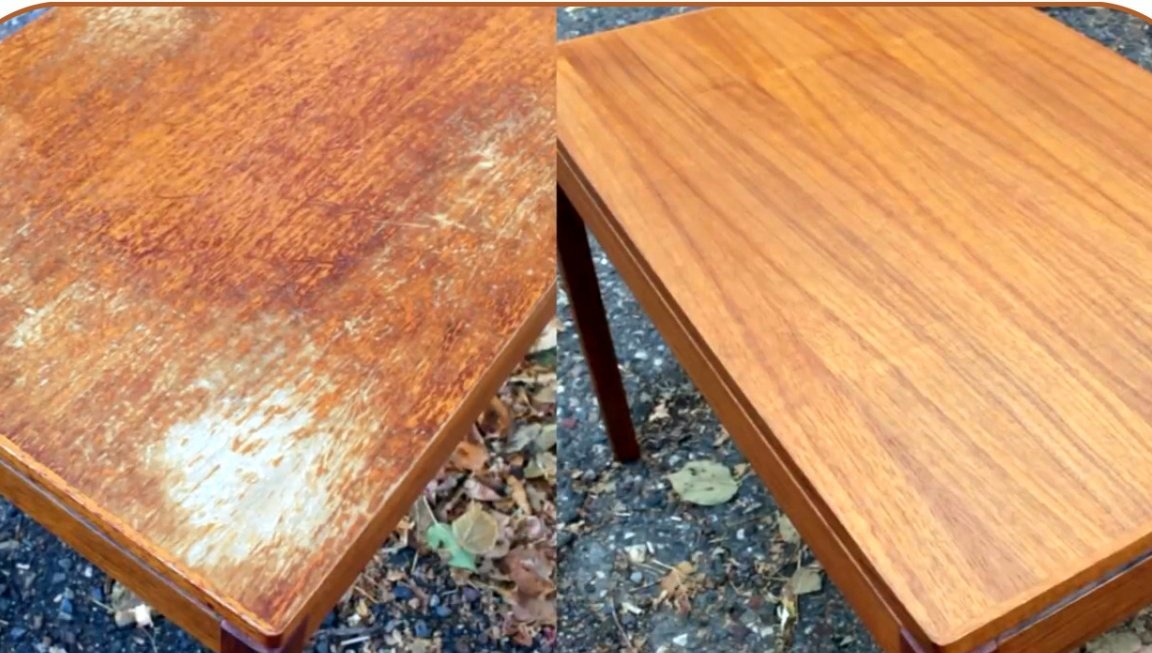
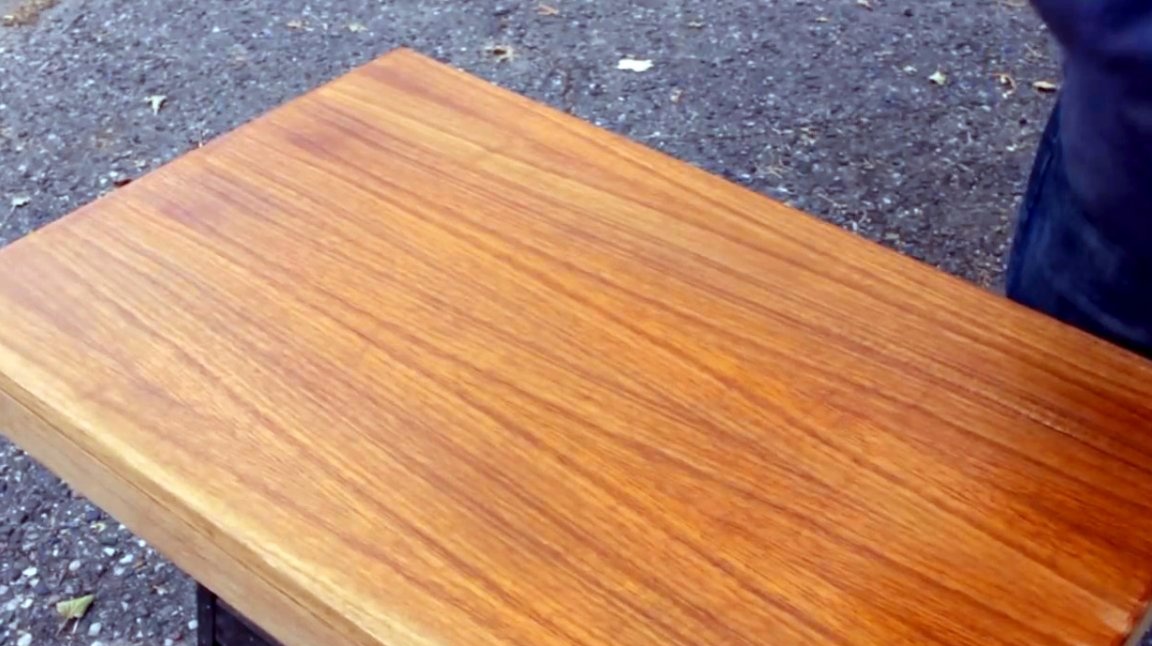
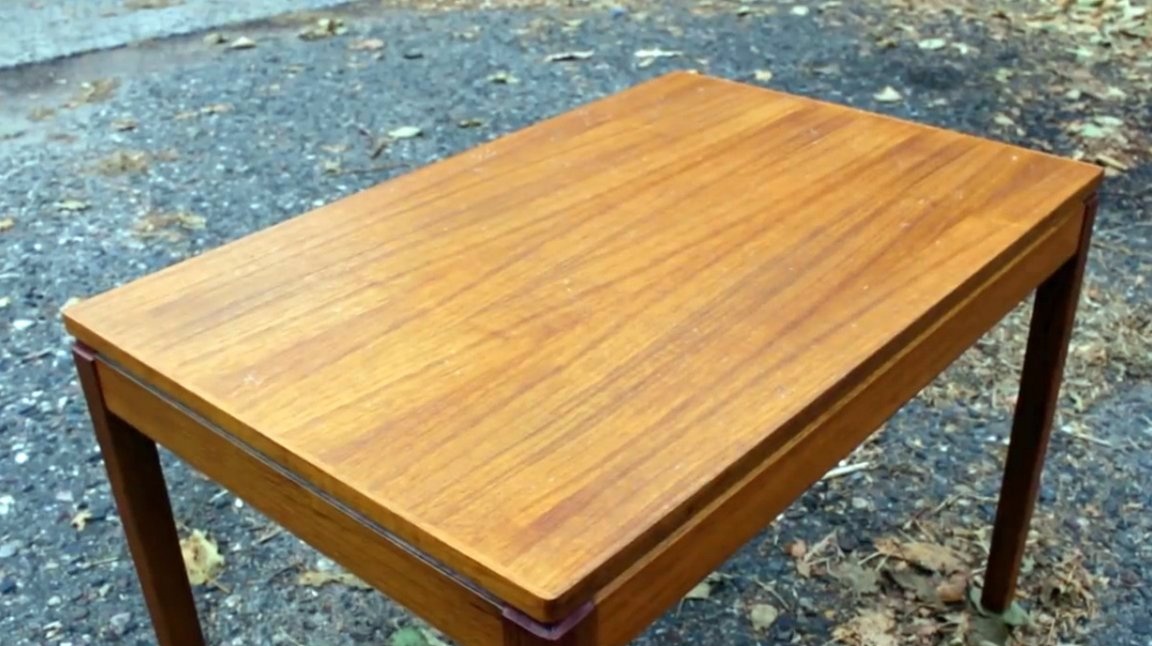
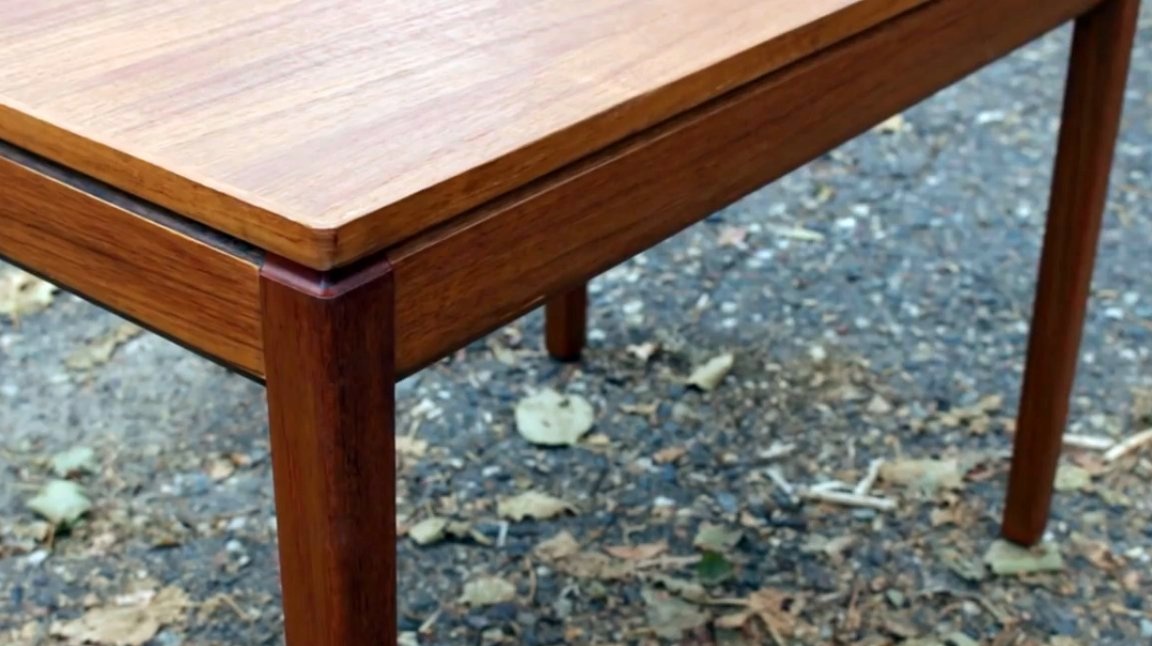
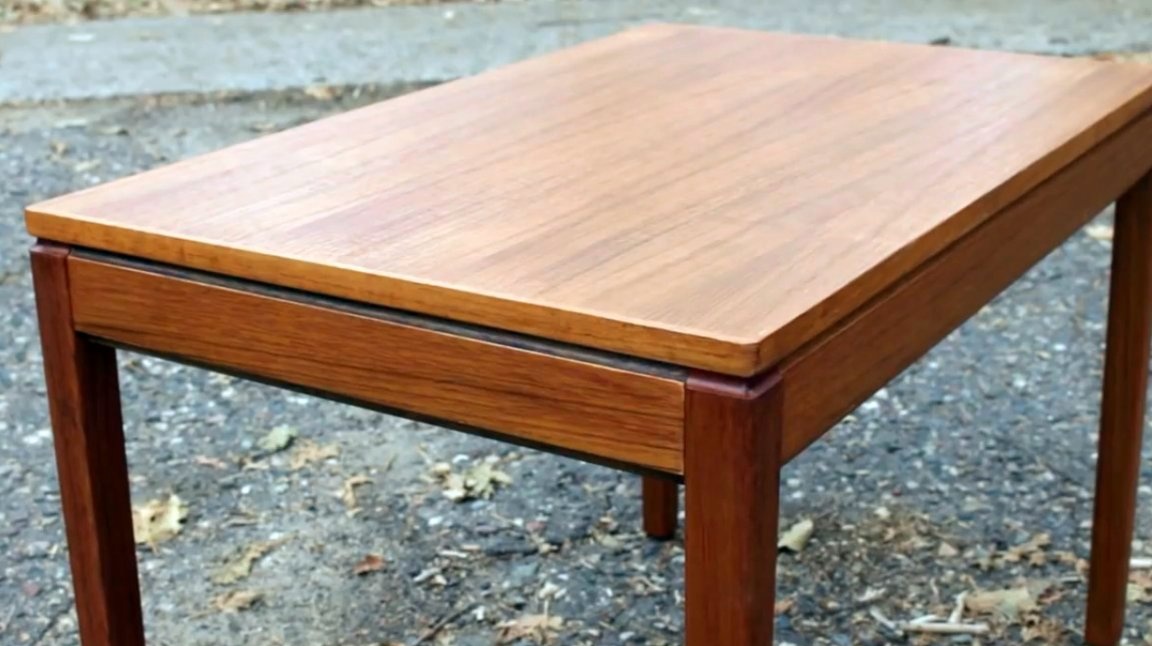
And here is the finished result, the table looks even better than the new one! Those who do not know his story will not even be able to guess how old he is!
I thank the author for the simple but useful device for the workshop!
All good mood, good luck, and interesting ideas!
Author video can be found here.