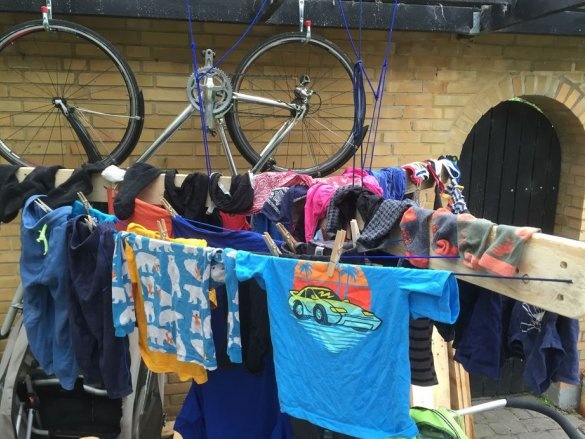
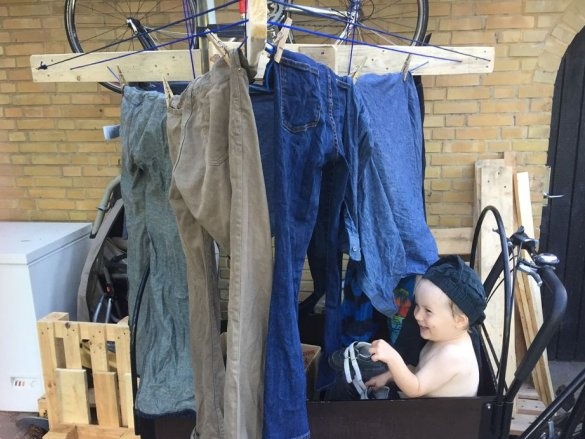
Greetings to all readers and masters. In this article I want to touch on the topic of drying clothes. If the residents of apartments have a choice where to dry things after washing is limited - a balcony, a loggia or batteries, then the owners of private houses will find it easier. He pulled the ropes in the yard or in the garden and sushi to his health. But here bad weather can play a cruel joke. Another thing is if you have a canopy. This is where the non-standard version of the dryer comes in handy.
For the manufacture, the author used boards from the pallet, but any other, most importantly one section, can be used.
Step 1
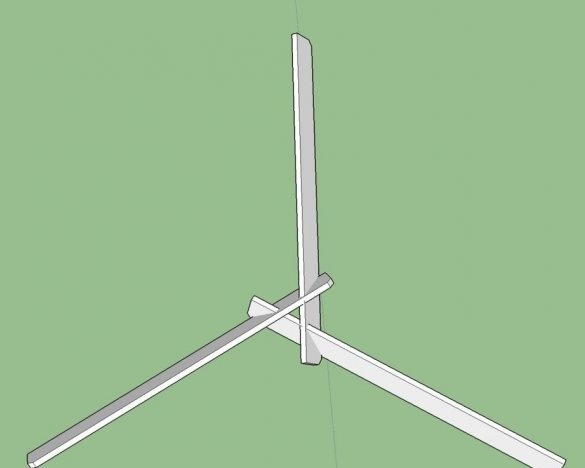
Before proceeding with the preparation, we prepare a sketch of the future dryer. We select the sizes individually, it all depends on the place where the “propeller” for drying will be suspended.
Step 2
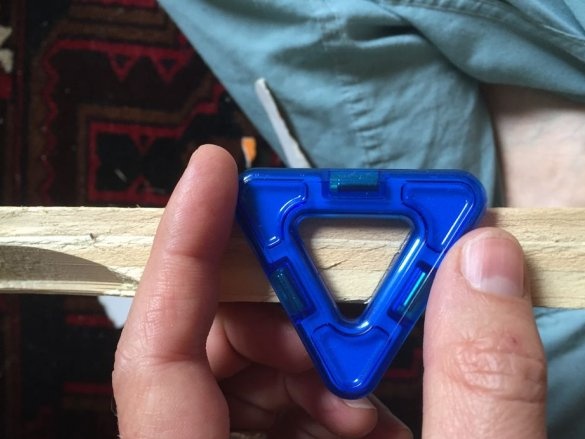
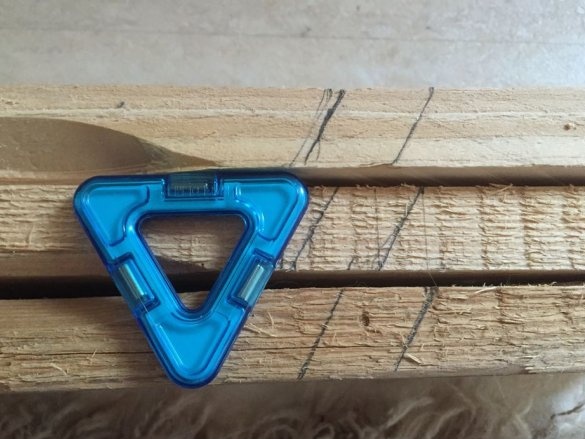
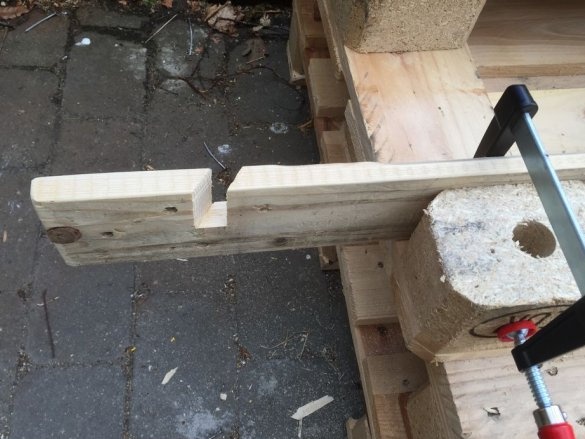
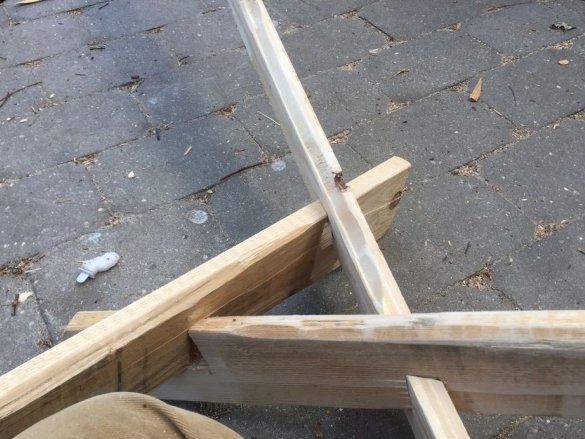
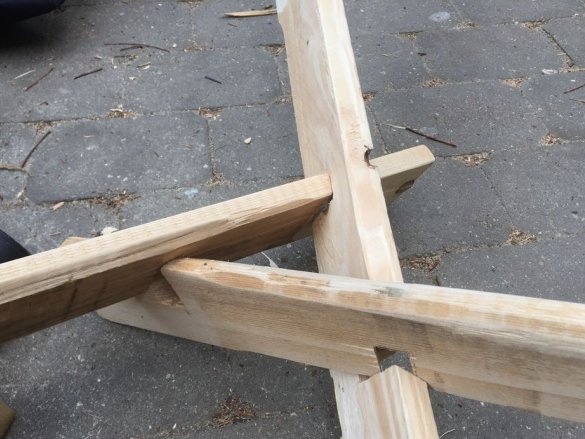
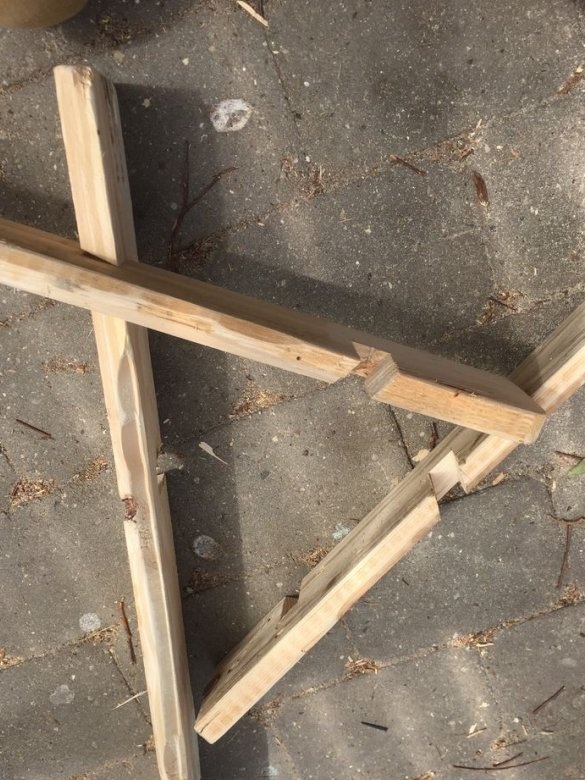
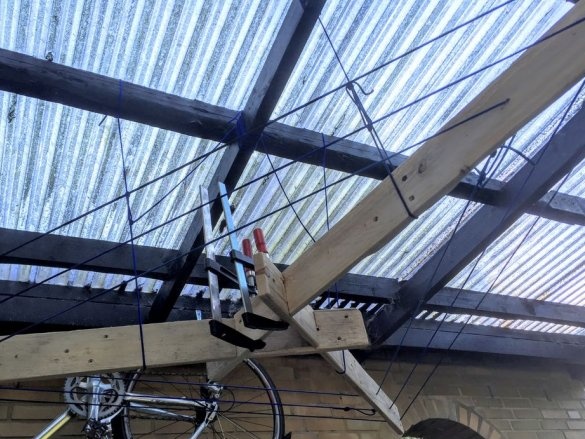
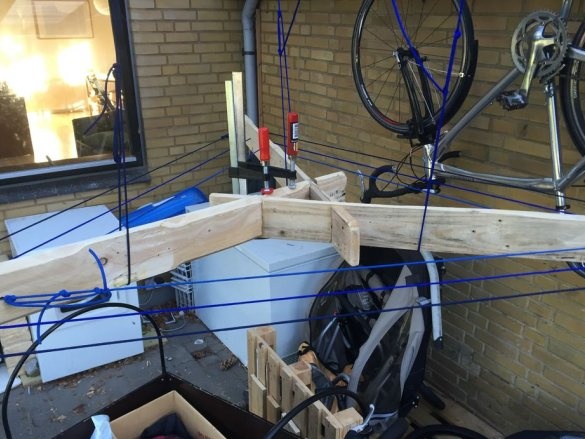
Once you have decided on the project, you can begin to prepare the details. Since the dryer will look like a screw, and in its center there will be a connection in the form of a triangle, the author, using a triangular level, makes a marking on the edges of the boards. By the way, it is advisable to polish the boards beforehand, and it will look more beautiful, and the splinter can be avoided.
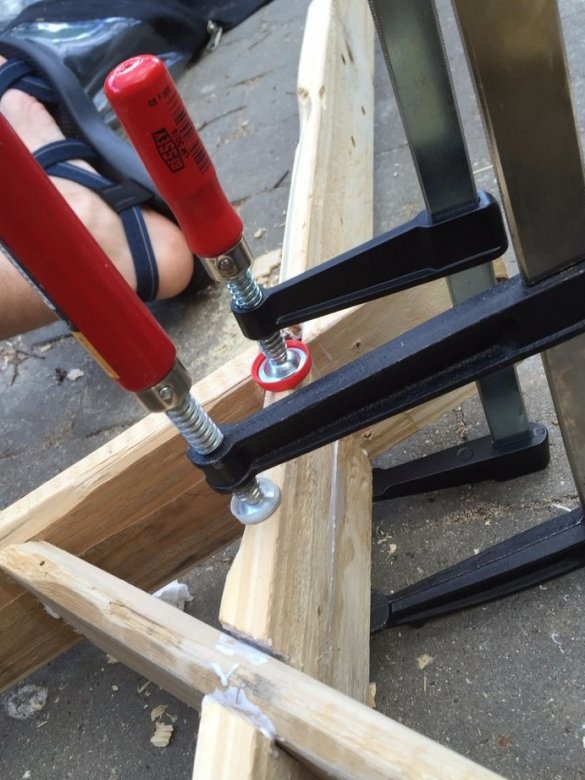
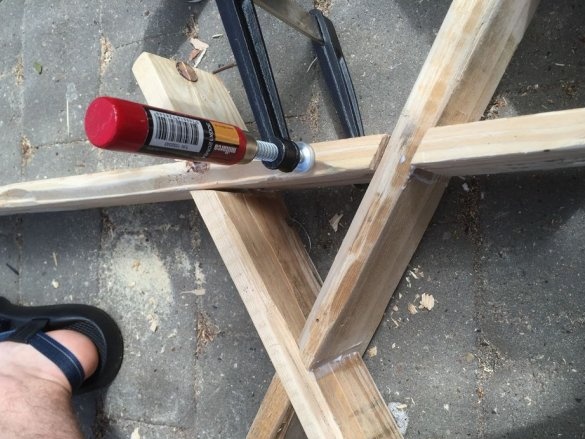
After marking, cut out the grooves, grease them with glue on wood and assemble the structure.
Step 3
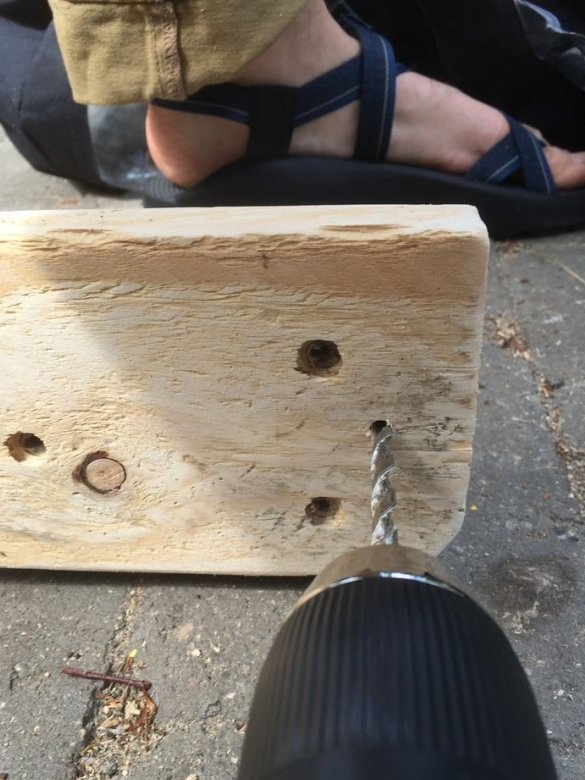
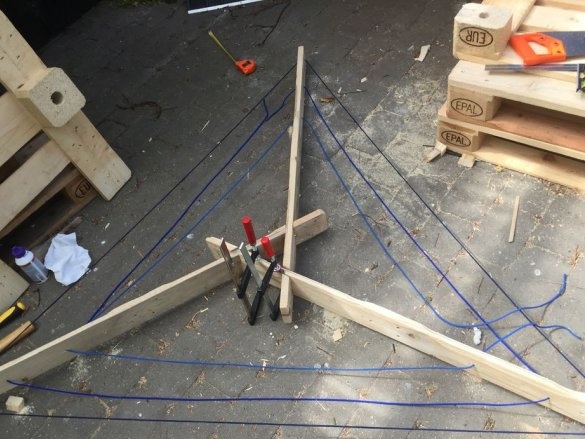
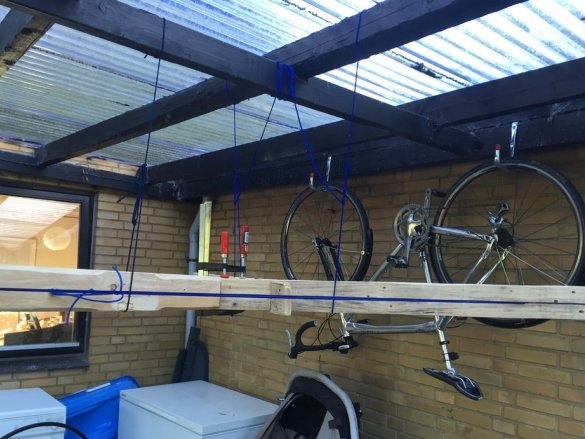
The frame is ready, drill holes for the ropes and thread them. It remains only to hang the dryer from the ceiling of the canopy and you can dry the laundry.
By the way!
The dryer can be fixed so that it can be raised and lowered. As a result, it will be more convenient to hang clothes on it, and after the clothes dry, it can be lifted to the very ceiling and it will not interfere.
Good luck to everyone and thank you for your attention! See you soon!

