
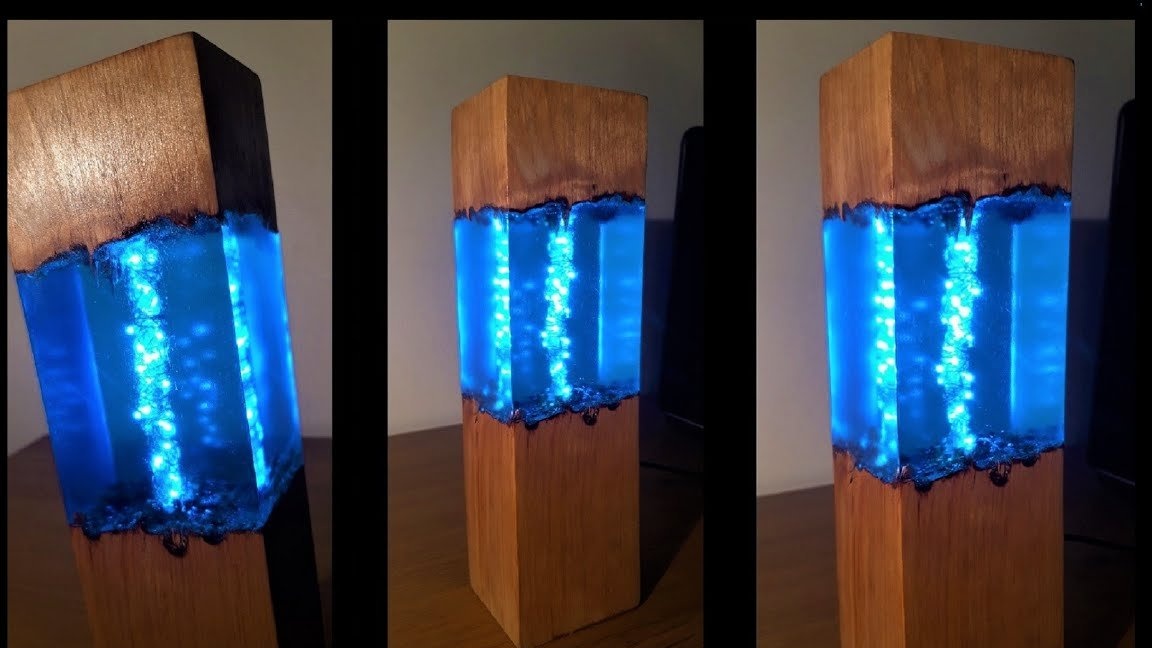
I welcome all fans to craft, I propose to consider instructions for making a simple and interesting night light do it yourself. Homemade It is made of epoxy resin and wood, and an LED strip acts as a light source. The homemade look looks beautiful, a festive mood is created in the house, this is especially true on the eve of the New Year holidays. If the project interests you, I propose to study it in more detail!
Materials and tools used by the author:
Material List:
- a small LED garland or ribbon;
- a piece of a wooden bar;
- epoxy resin for pouring;
- dye for epoxy resin.
Tool List:
- acrylic for formwork;
- Super glue;
- hot glue or silicone sealant;
- drill;
- a chisel;
- ruler;
- electronic Libra;
- a vacuum chamber (optional);
- manual belt sander;
- orbital polishing machine;
- oil for wood.
Homemade manufacturing process:
Step one. We work with wood
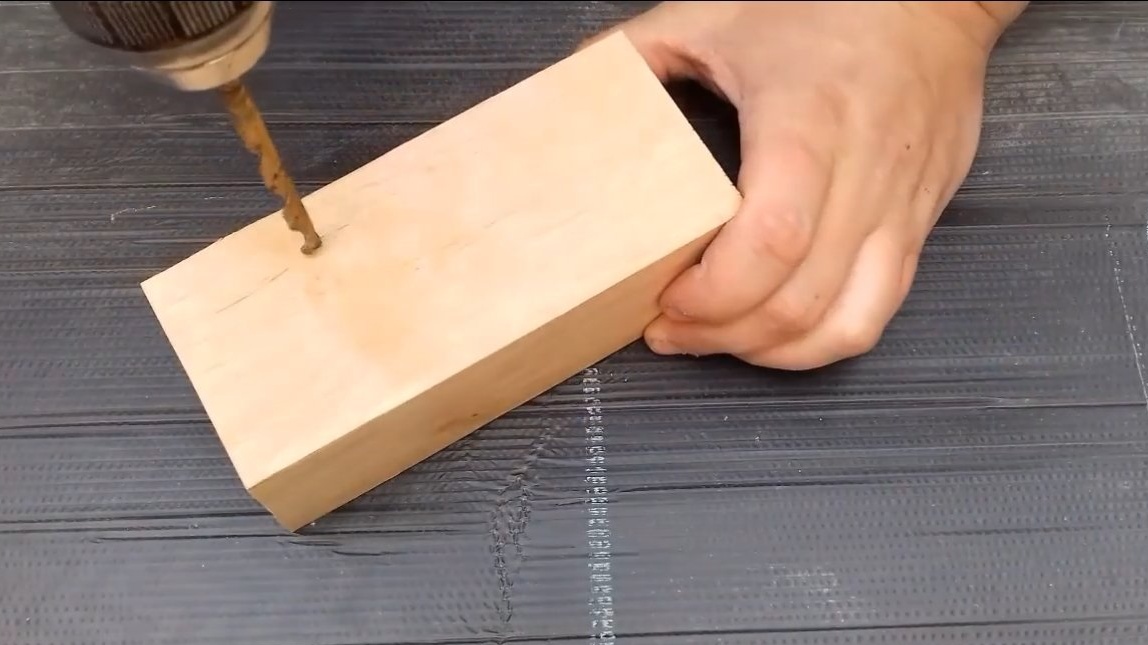
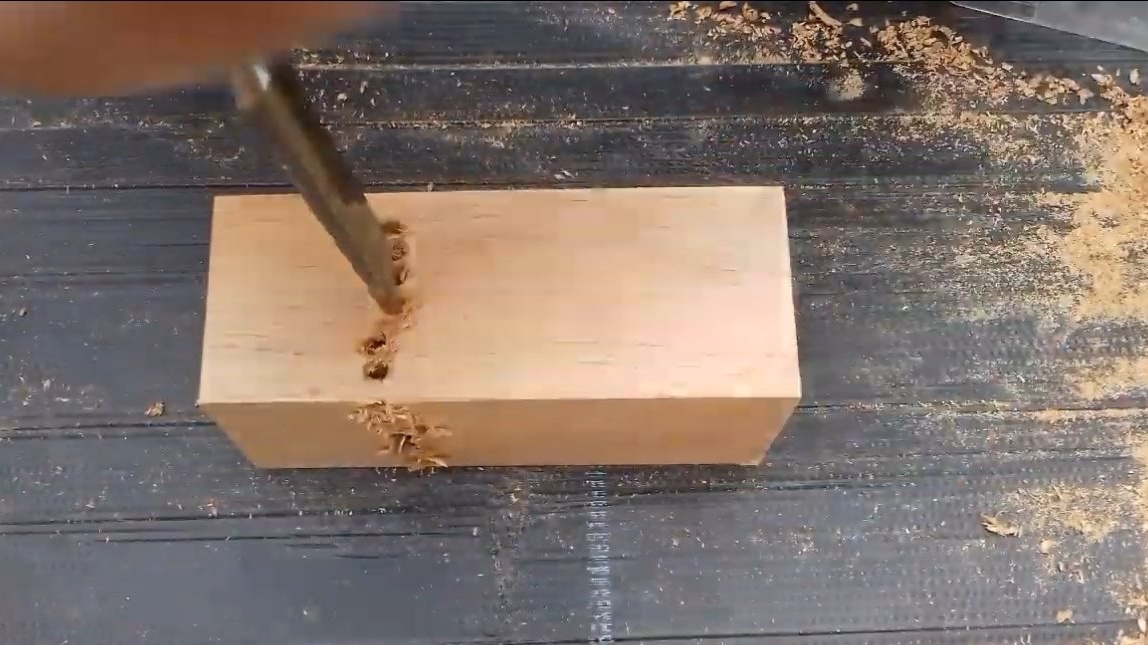
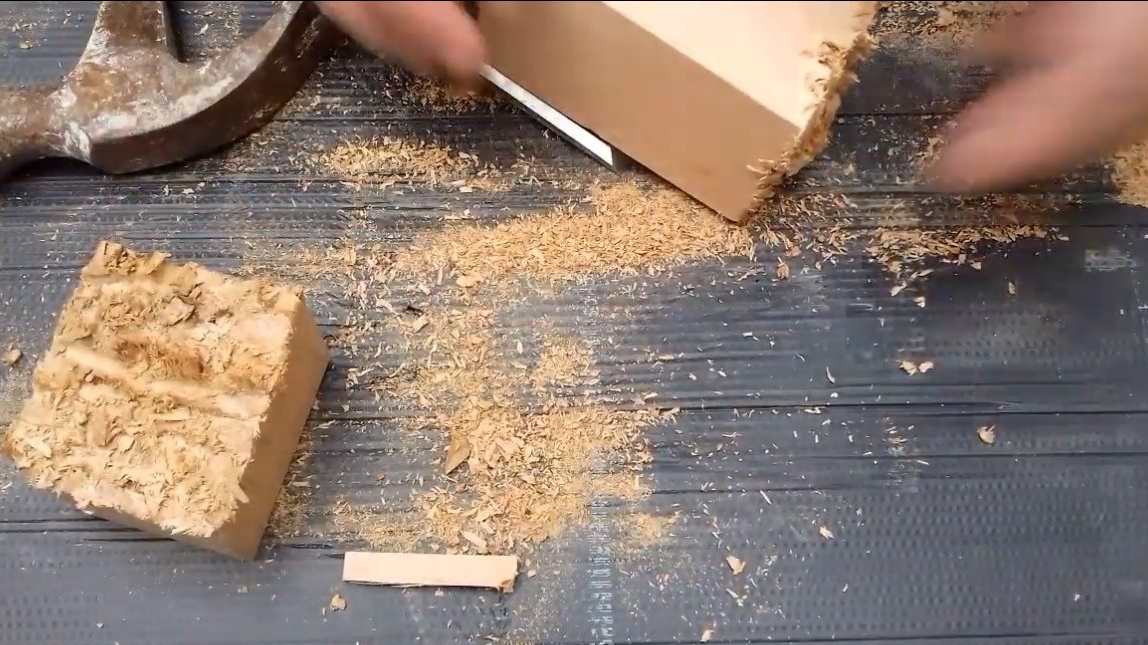
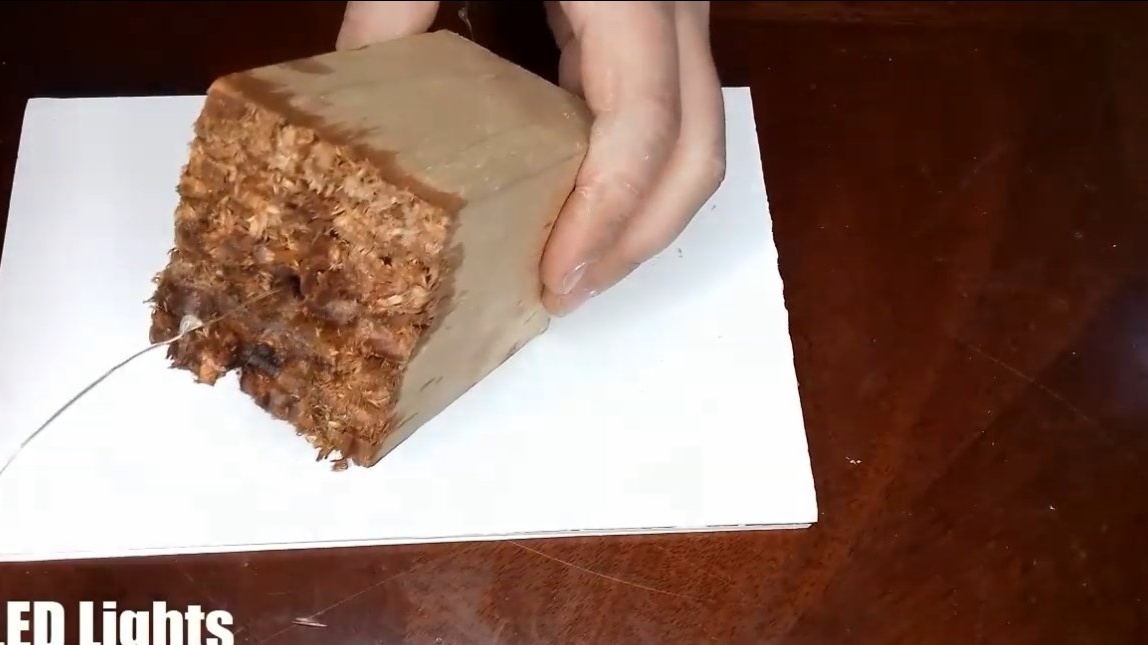
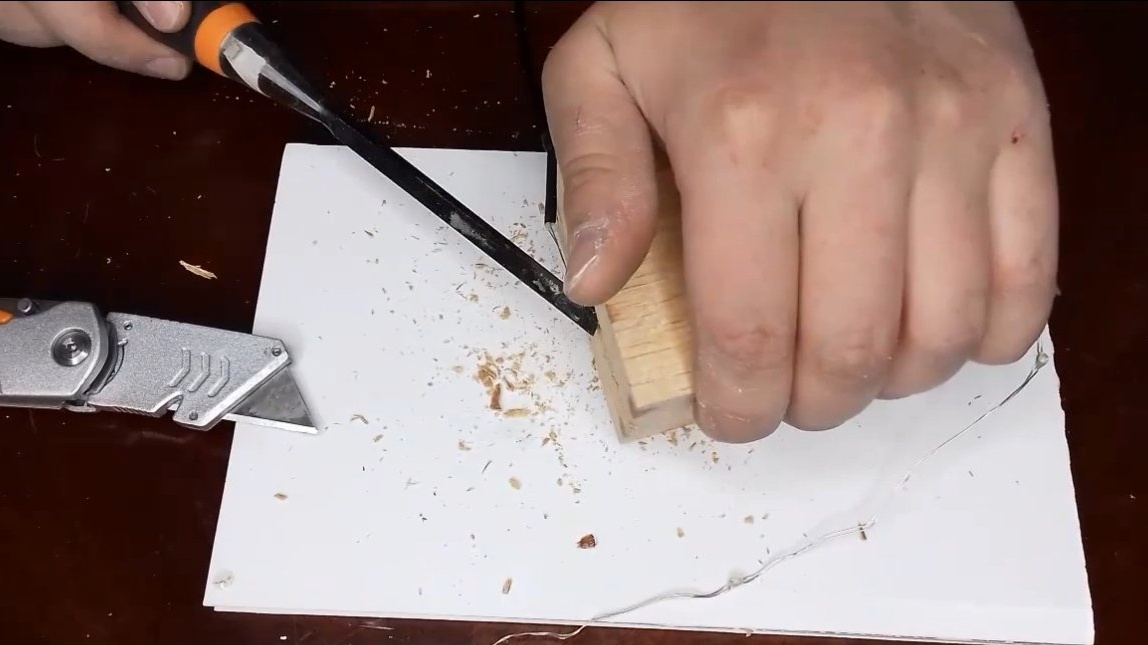
As a basis we take a bar or a thick board, we need to break the workpiece into two parts to get torn edges. Of course, the tree cannot be broken just like that, so we arm ourselves with a drill and drill rows of holes from all directions. Well, then with the help of a small chisel, the author disconnects the two parts, the resin will be filled between these blanks.
So that the tree does not form bubbles when pouring resin, we coat the ends of the tree with epoxy.
Step Two LEDs
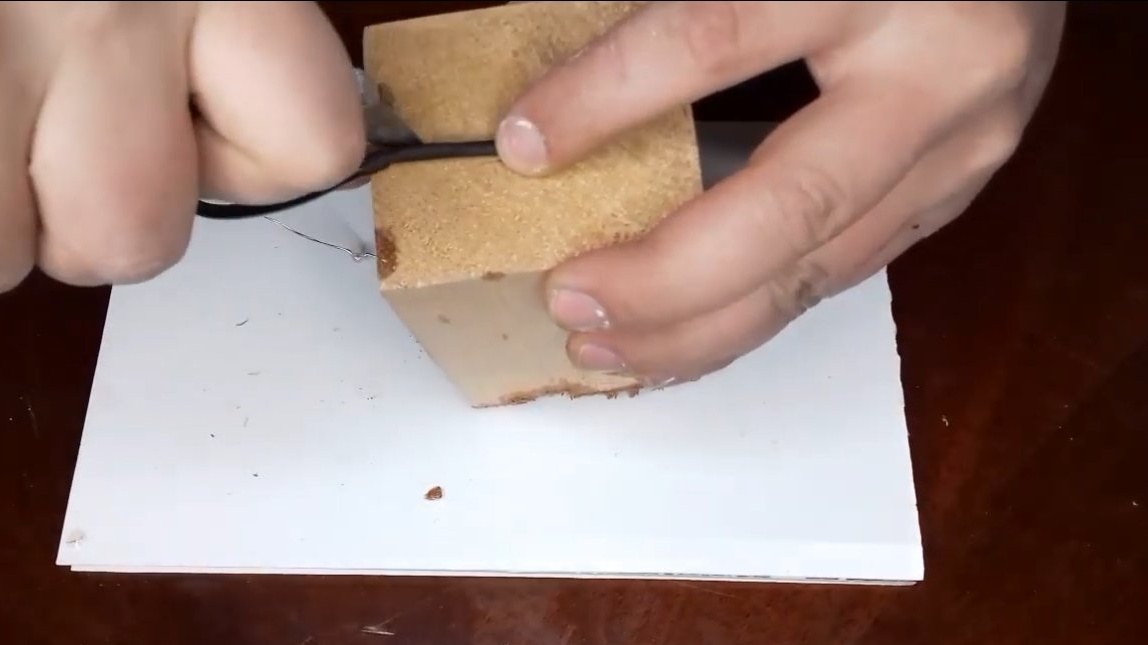
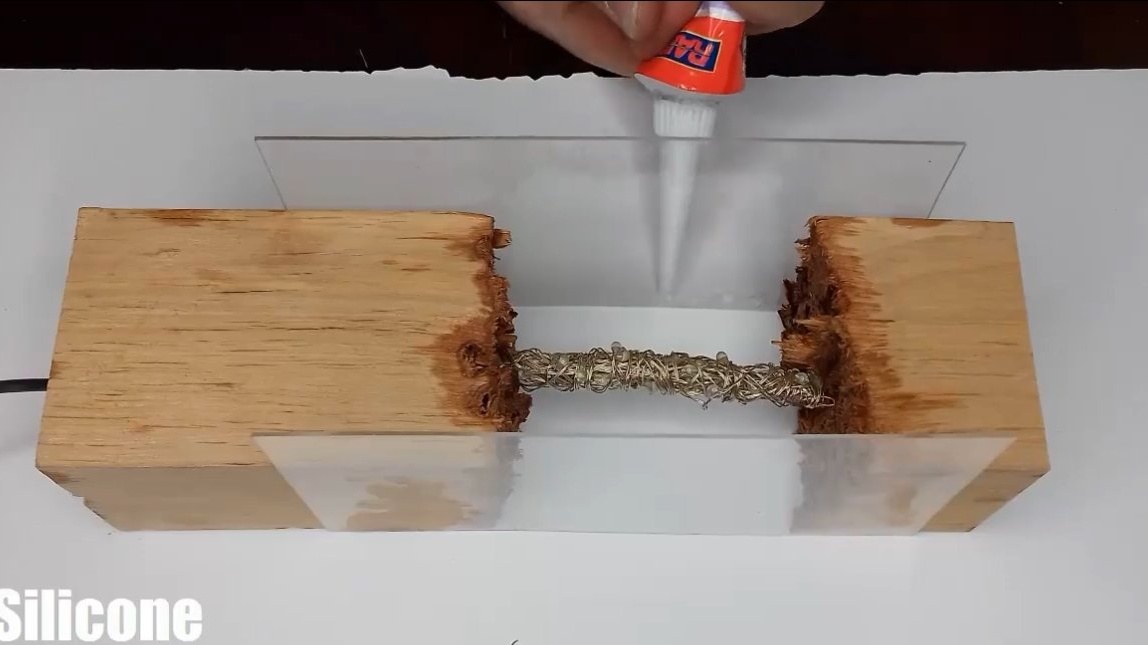
Between two wooden halves you need to install an LED strip. The author had a garland on a hard cable, he just wound it so that it turned out to be a rod. If you have an LED strip or an ordinary garland, it can be wound on a wooden dowel, stick and so on.
In the wooden part, which will be the base, we drill a hole for the cable, we also use a chisel to make a groove in the base for the cable.
Step Three Formwork and resin casting
Acrylic is an excellent formwork; epoxy does not adhere to this material.We cut out the details and glue them with superglue to the tree. In the end, you need to seal all the targets, for this the author uses silicone sealant, hot glue is also suitable.

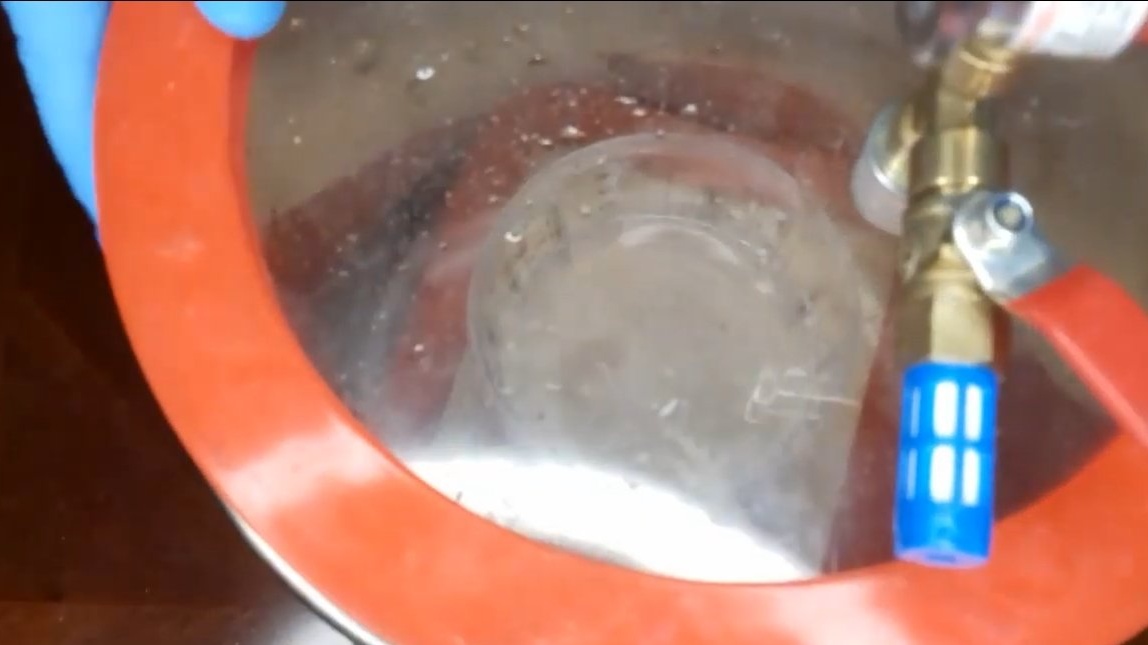
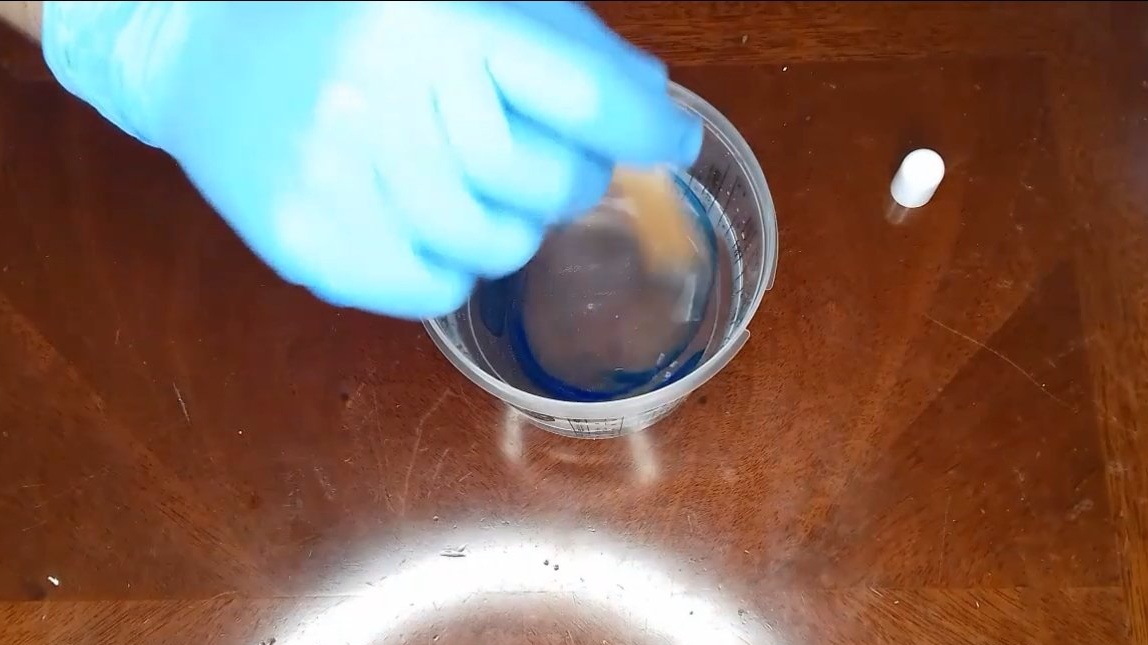

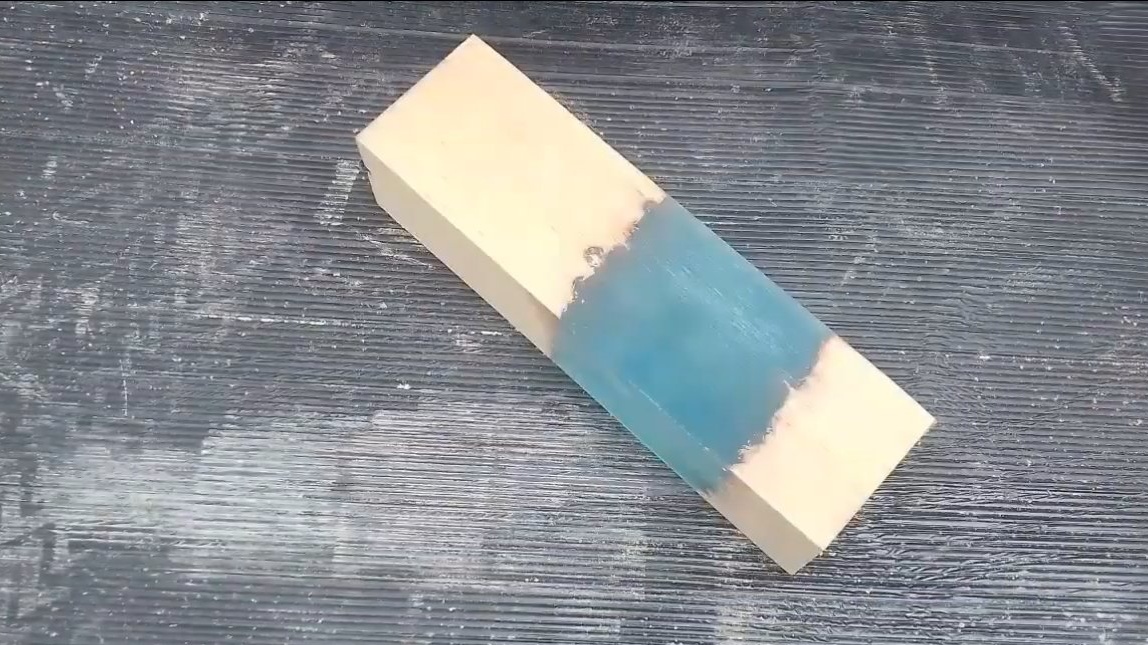
The author added blue dye to the resin; printer ink and pen ink are excellent. In order to have fewer bubbles in the resin, the author put a glass of epoxy into a vacuum chamber and removed the air.
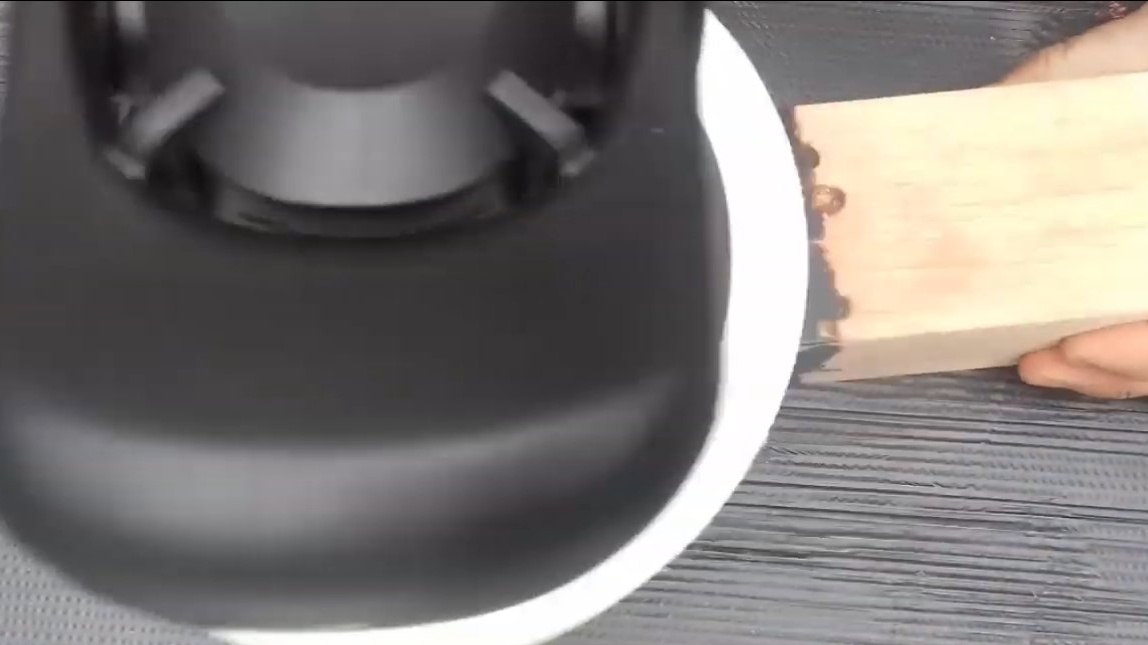
Step Four Grinding and polishing
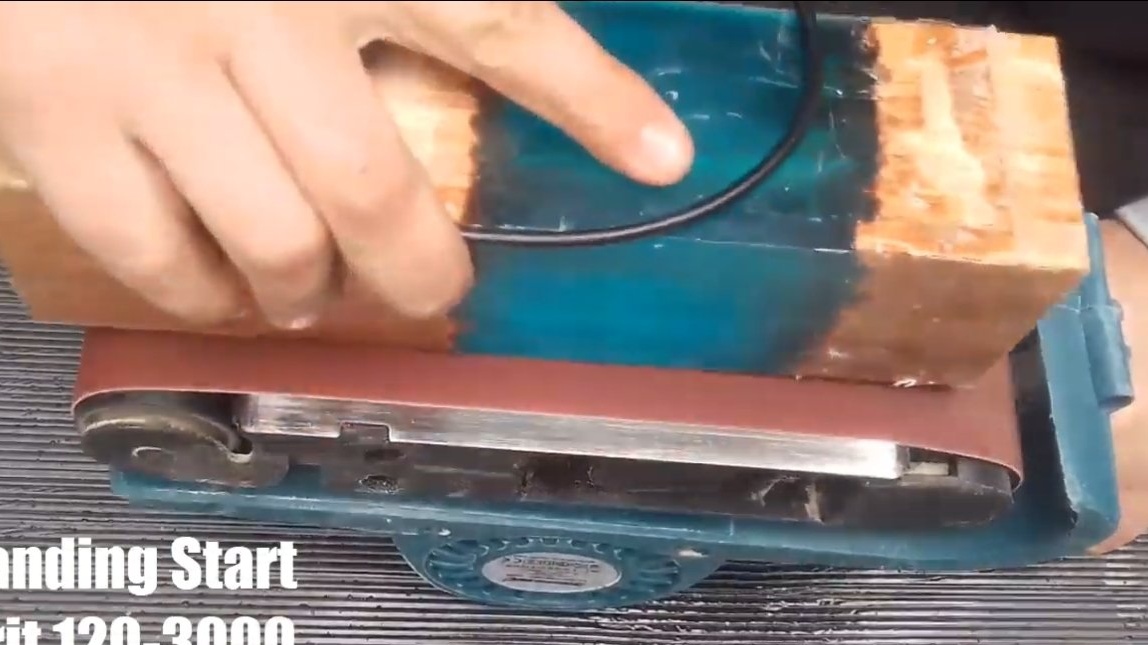
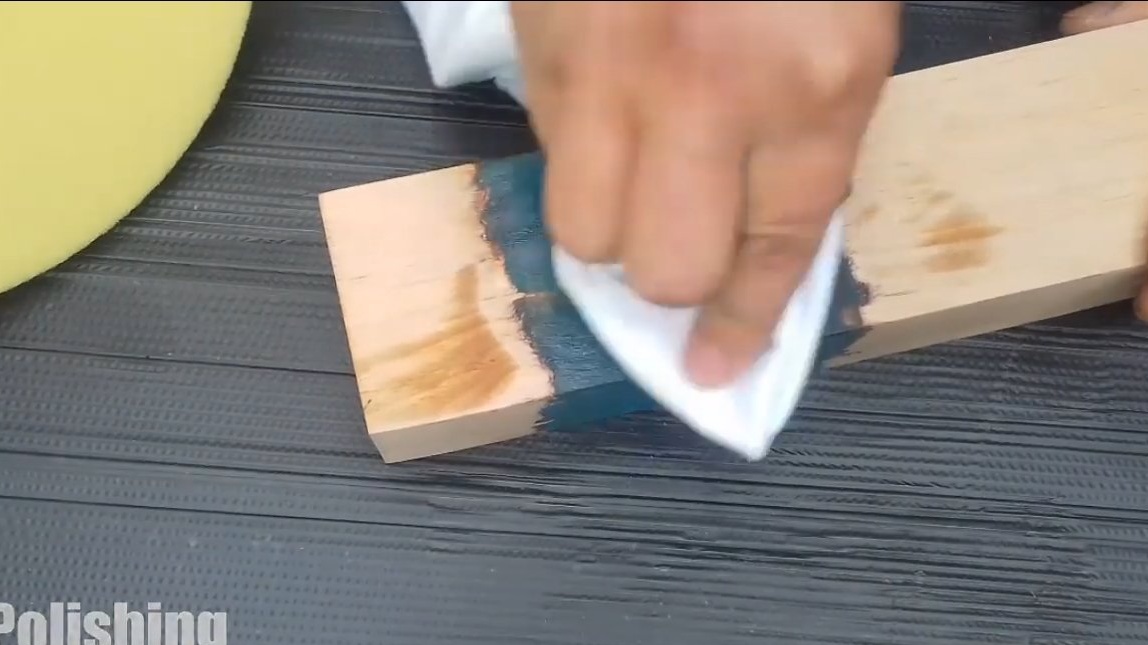
For grinding, the epoxy must completely harden, otherwise it will clog the sandpaper, and will only heat up. To begin with, the author leveled the plane, for this a belt grinder and sandpaper with a grain size of 120 were used. The author gradually reduced the grain size of sandpaper to 3000. Only after such a fine grinding, can the resin be polished now. After polishing, the resin will again become transparent.
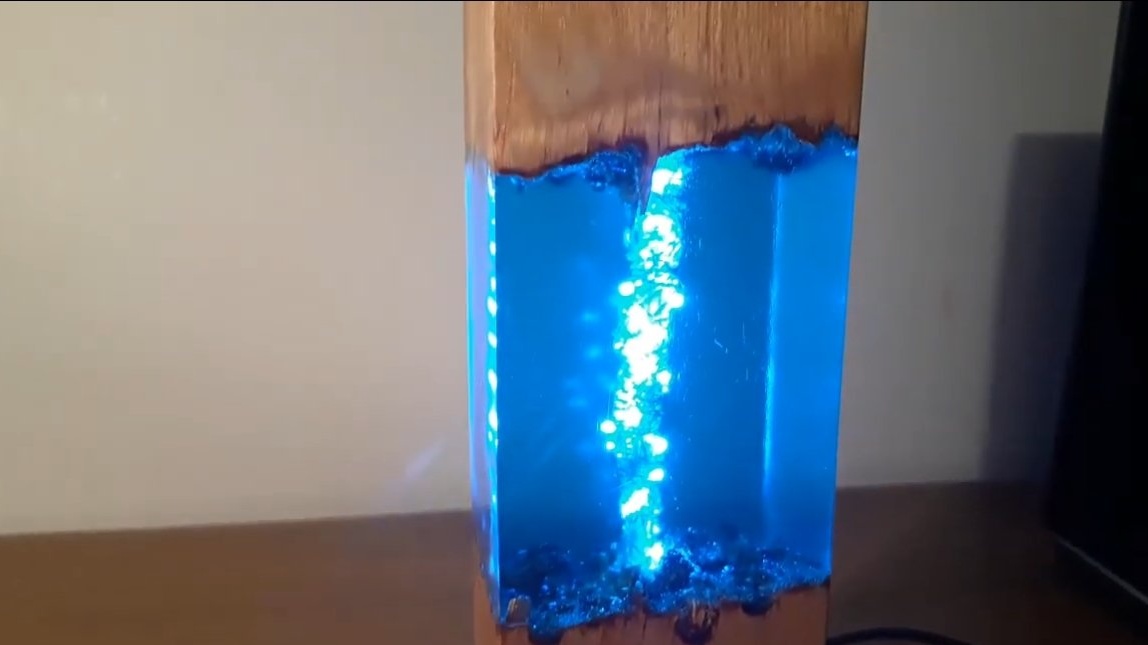
The homemade product is ready, we connect the power to the night light in accordance with the established garland. Everything looks great, the author has not in vain spent time and effort!
The project is completed on this, I hope you liked the homemade work, and you found useful thoughts. Good luck and creative inspiration, if you decide to repeat this. Do not forget to share your ideas and homemade things with us!