
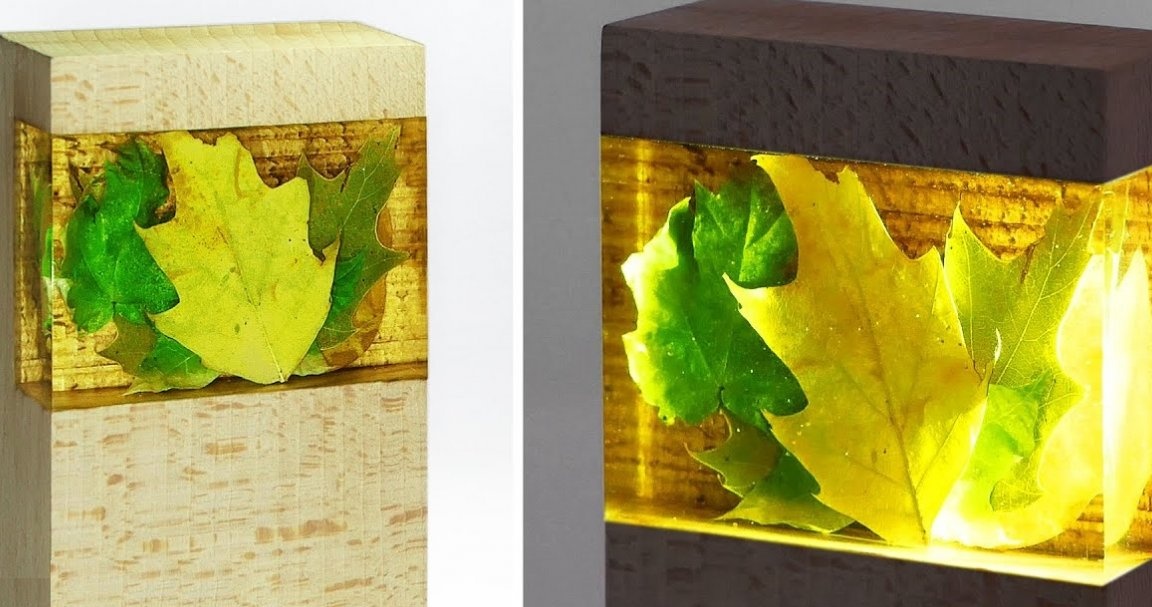
I welcome all fans to craft, I propose to consider instructions for making a beautiful autumn night lamp do it yourself. Homemade made of wood and epoxy, in which the author poured autumn fallen leaves. As a light source, a small 3V LED is used, which is powered by a flat lithium battery. The homemade product looks great, this is a great souvenir for home, a nightlight and more. If you are interested in the project, I propose to study it in more detail!
Materials and tools used by the author:
Material List:
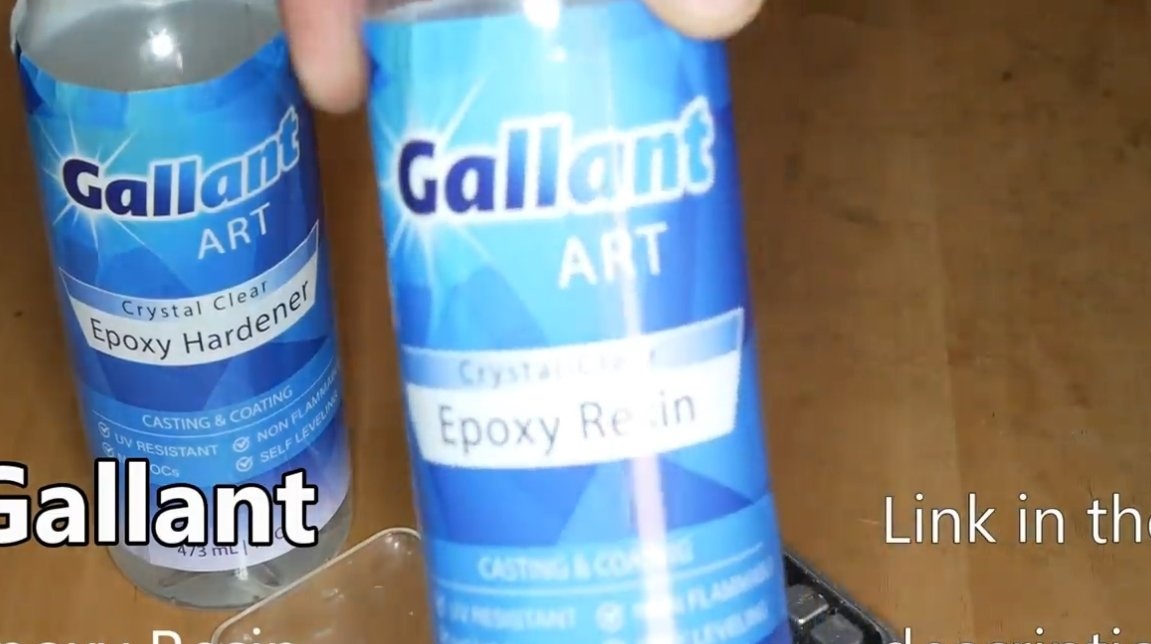
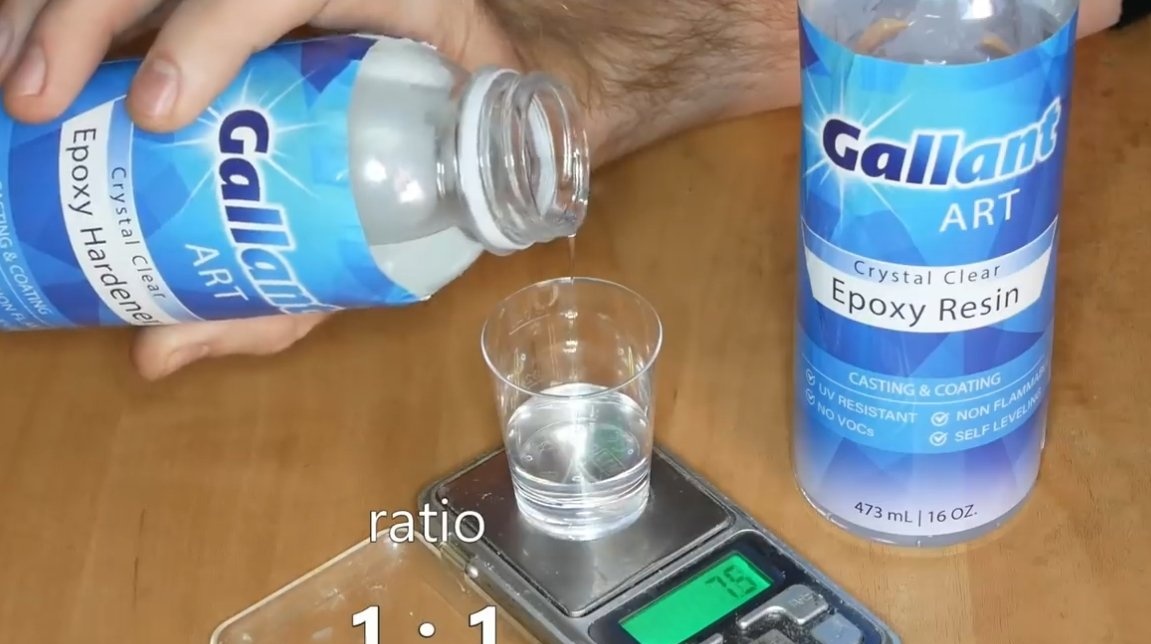
- epoxy resin;
- a piece of board or bar;
- dry leaves;
- 3V LED;
- 3V flat battery and holder for it;
- wires;
- switch.
Tool List:
- a circular saw;
- sandpaper;
- belt or disk grinder;
- drill;
- polishing machine;
- polishing paste;
- sheet acrylic;
- glue gun.
Homemade manufacturing process:
Step one. Wood base
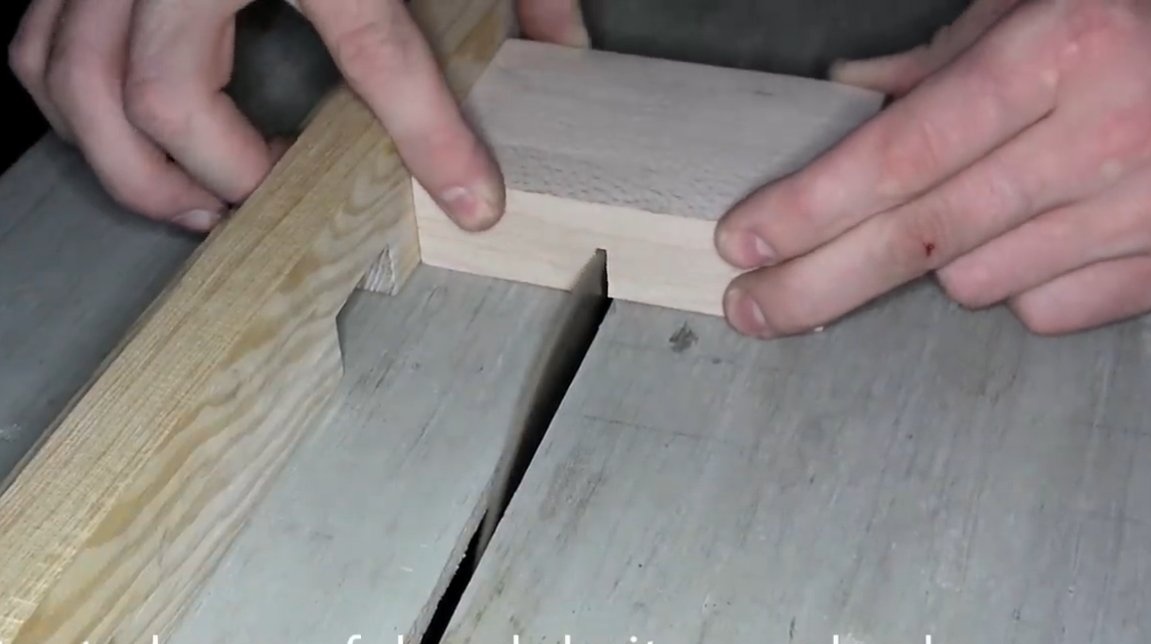
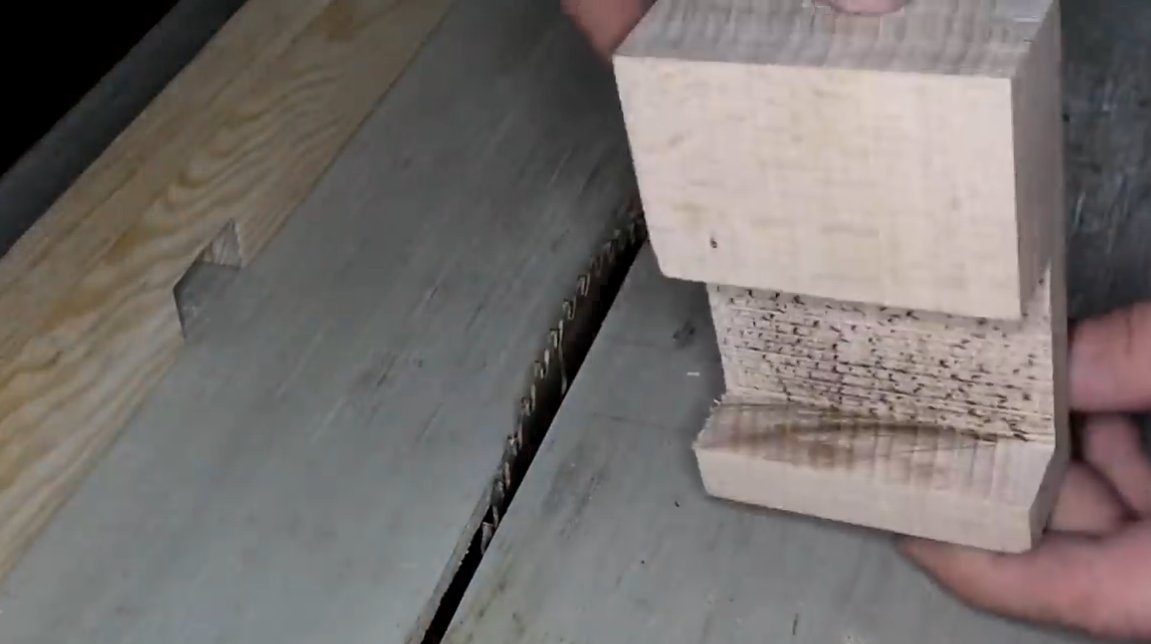
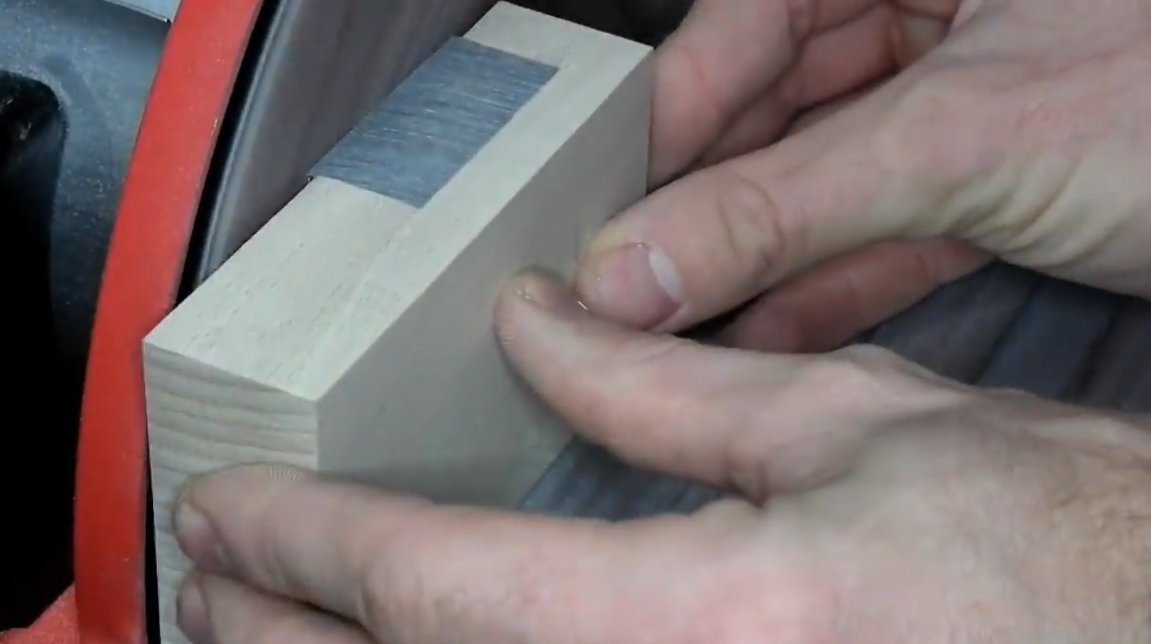
First of all, we will prepare the base of wood, we need a piece of a thick board. Trim the excess and grind the material well. Next, in the workpiece, you need to cut a niche where the resin will be poured. The author carefully cut this niche with a circular saw.
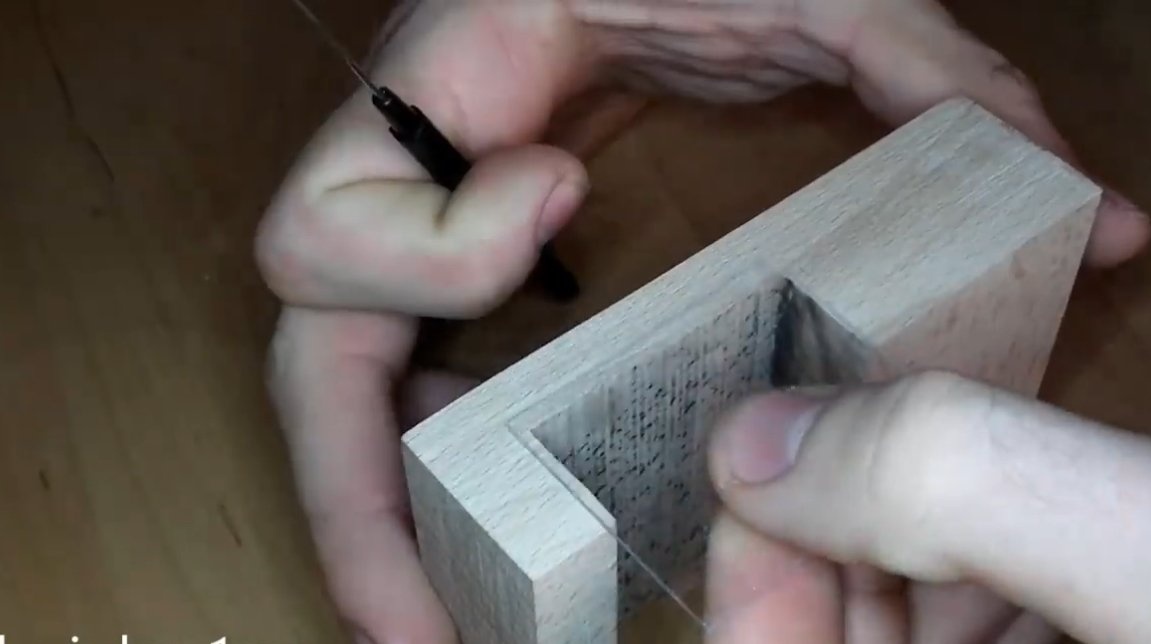
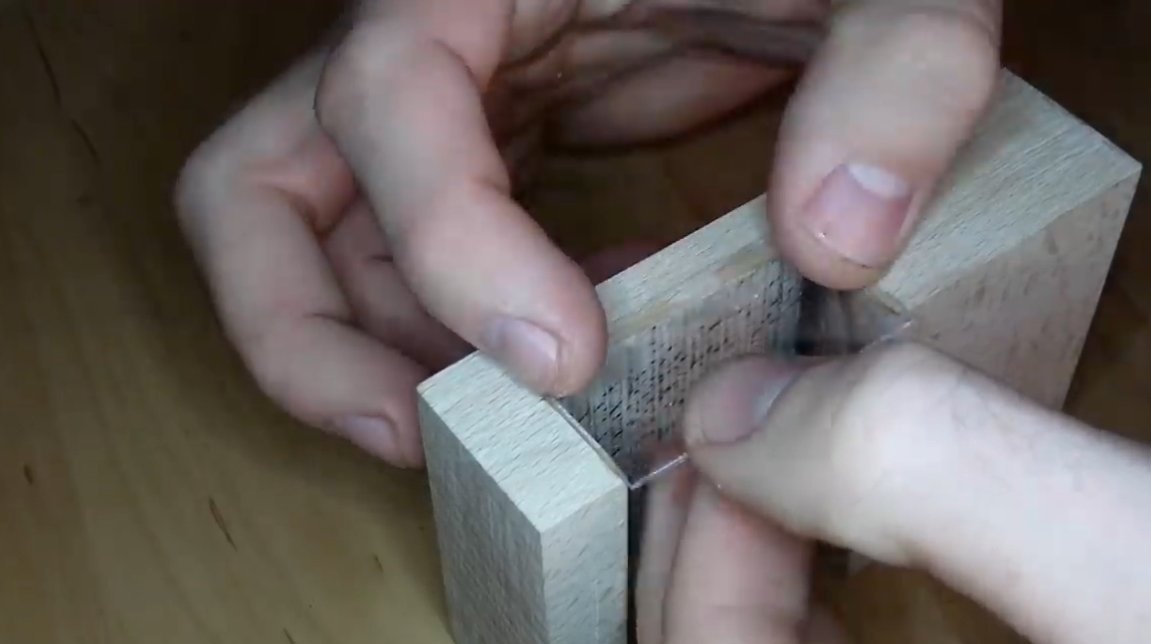
Step Two Formwork
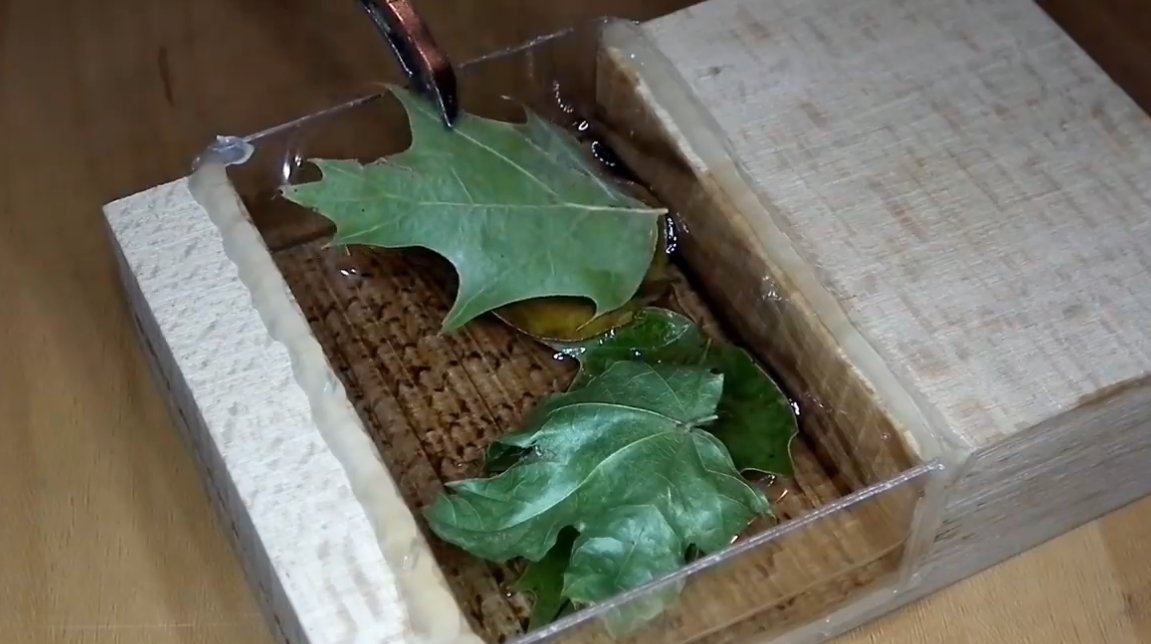
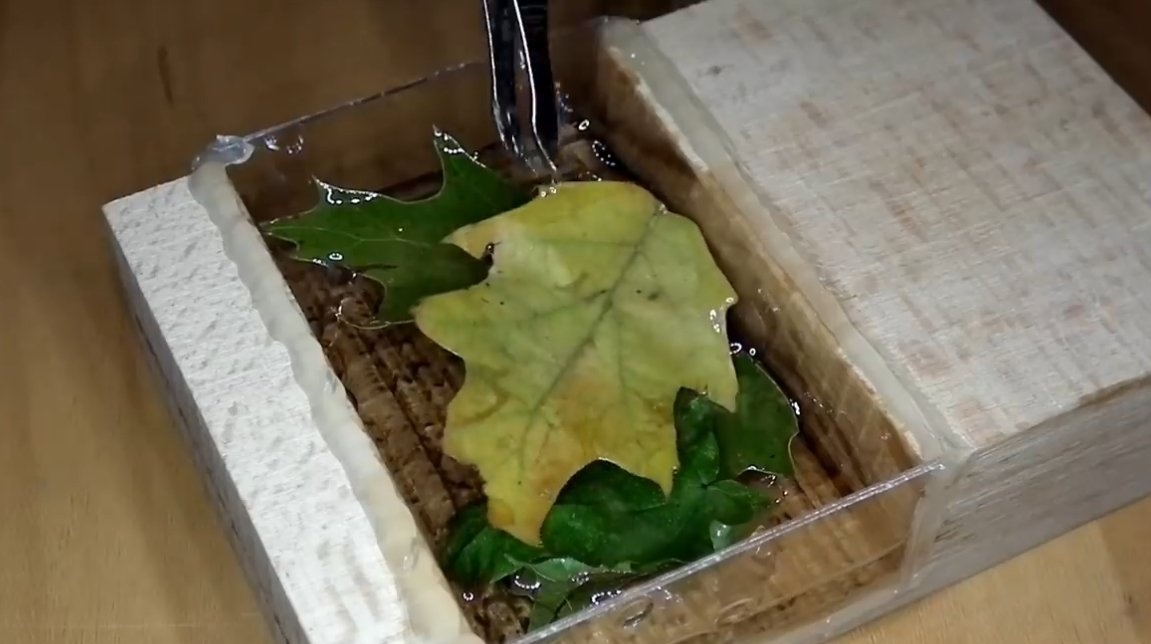
We make a formwork that will not release epoxy. On the sides of the wood blank with superglue we glue acrylic pieces, the resin will not stick to it. For additional sealing, glue acrylic in a circle with hot glue. Also, with the help of hot glue, the author increased the sides to raise the level of the resin a little higher above the tree, the resin shrinks when hardened.
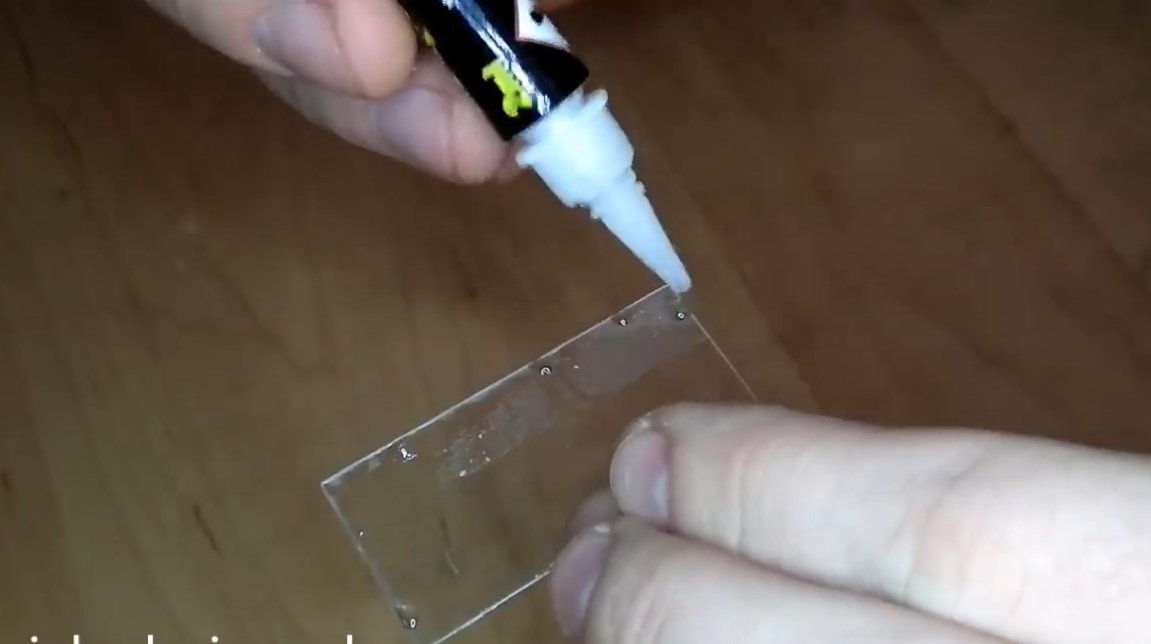
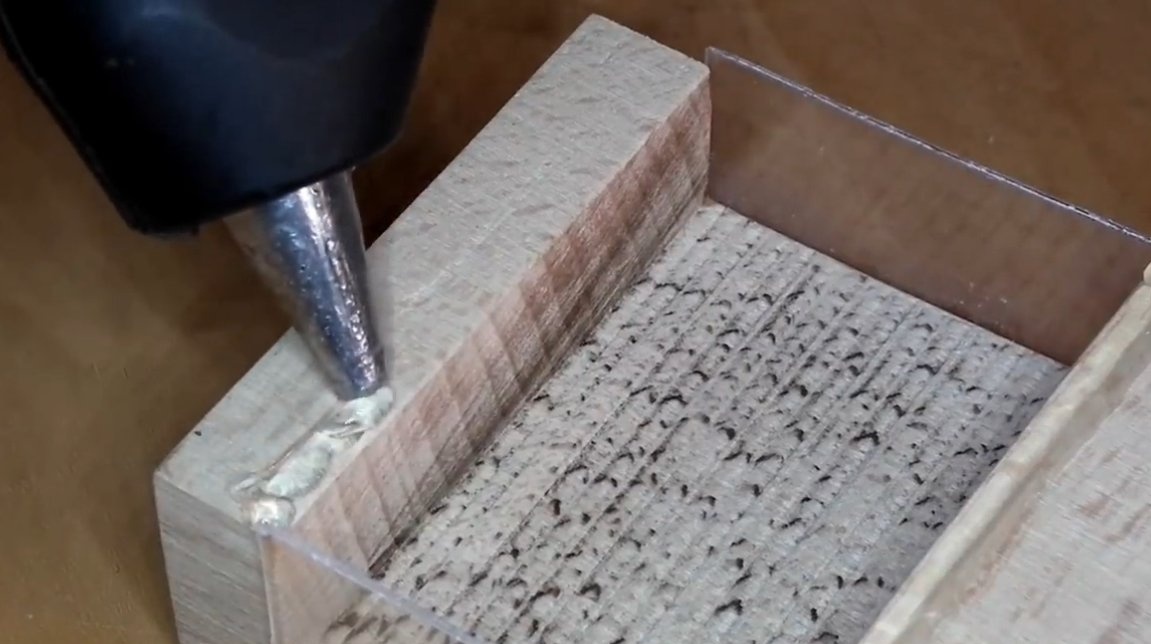
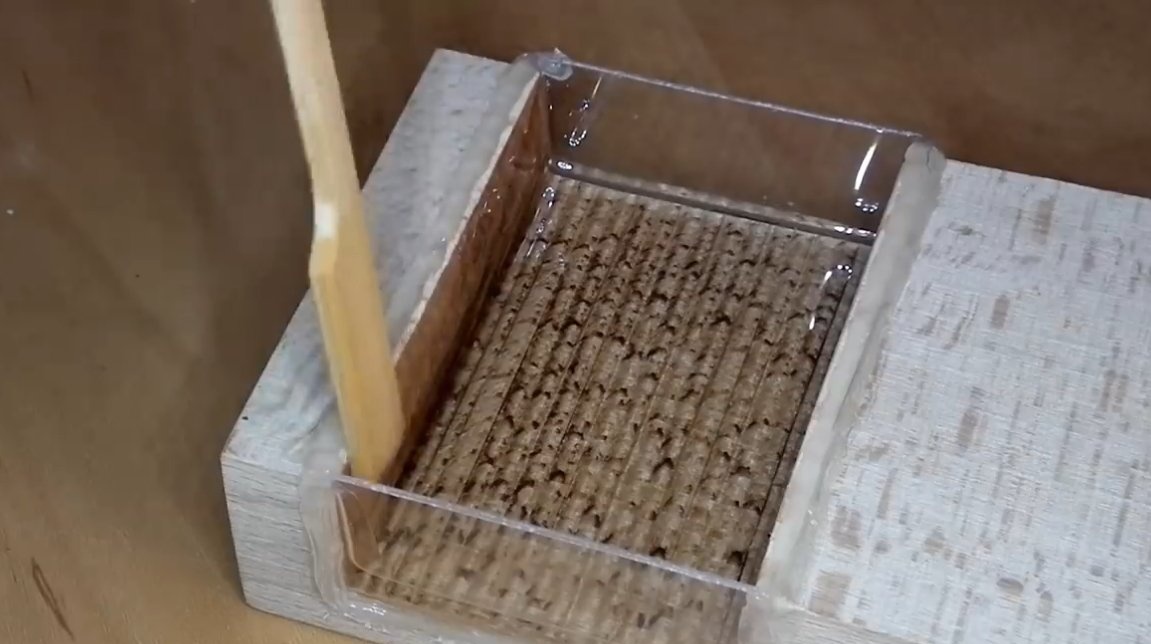
Prepared formwork from the inside should be coated with epoxy. This is done so that all the cracks are closed, and that there are no bubbles when pouring resin.
Step Three Pouring
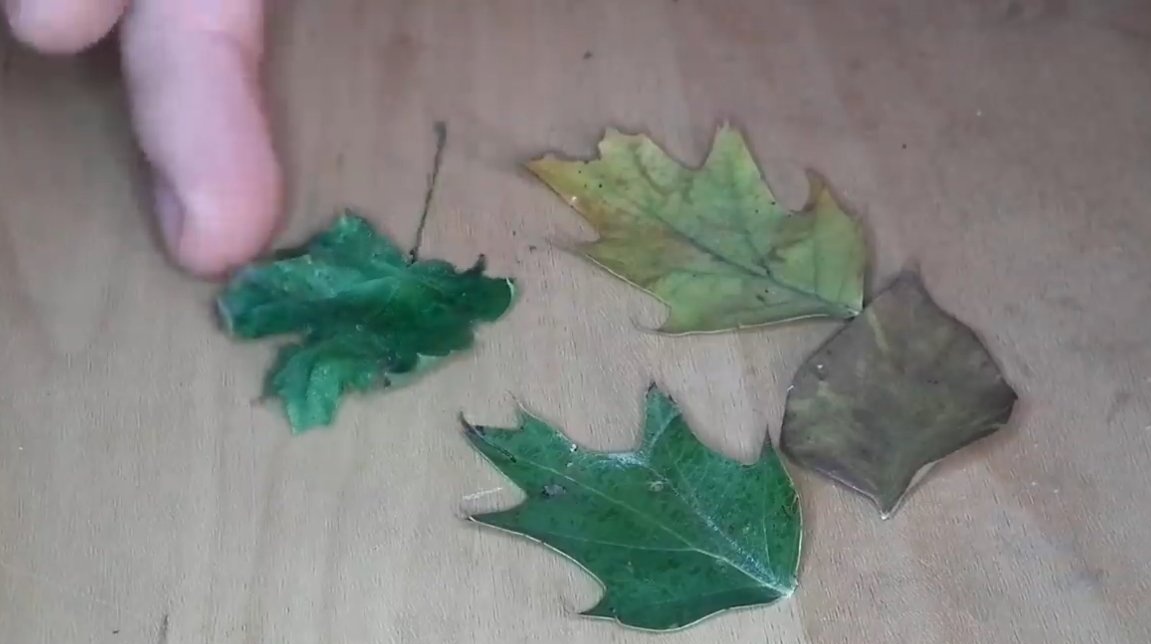
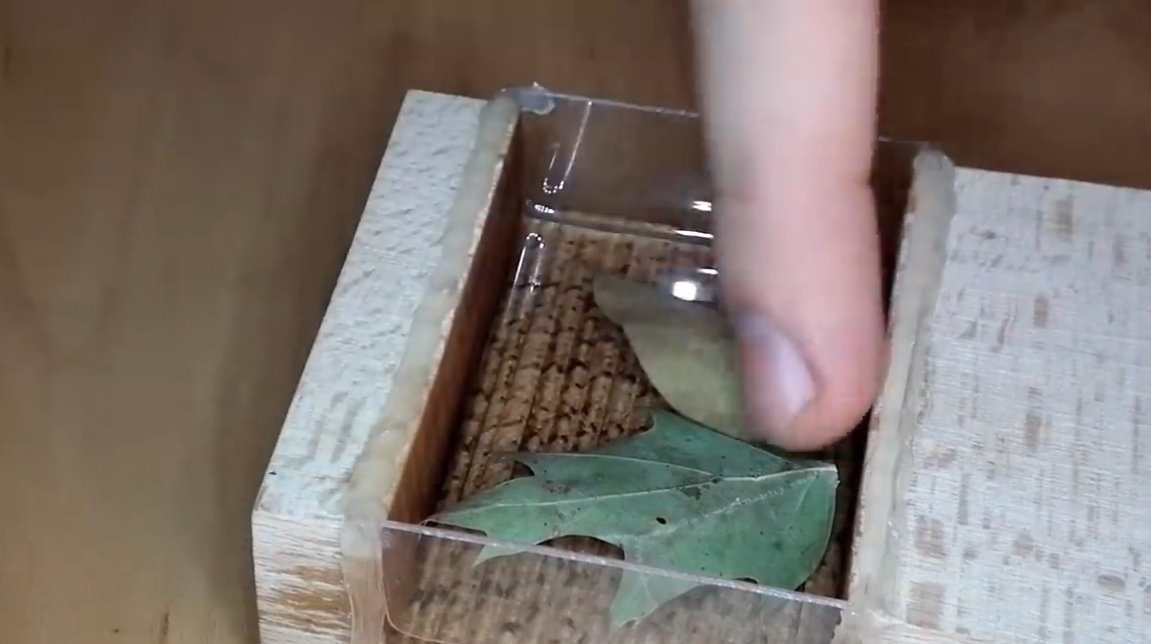
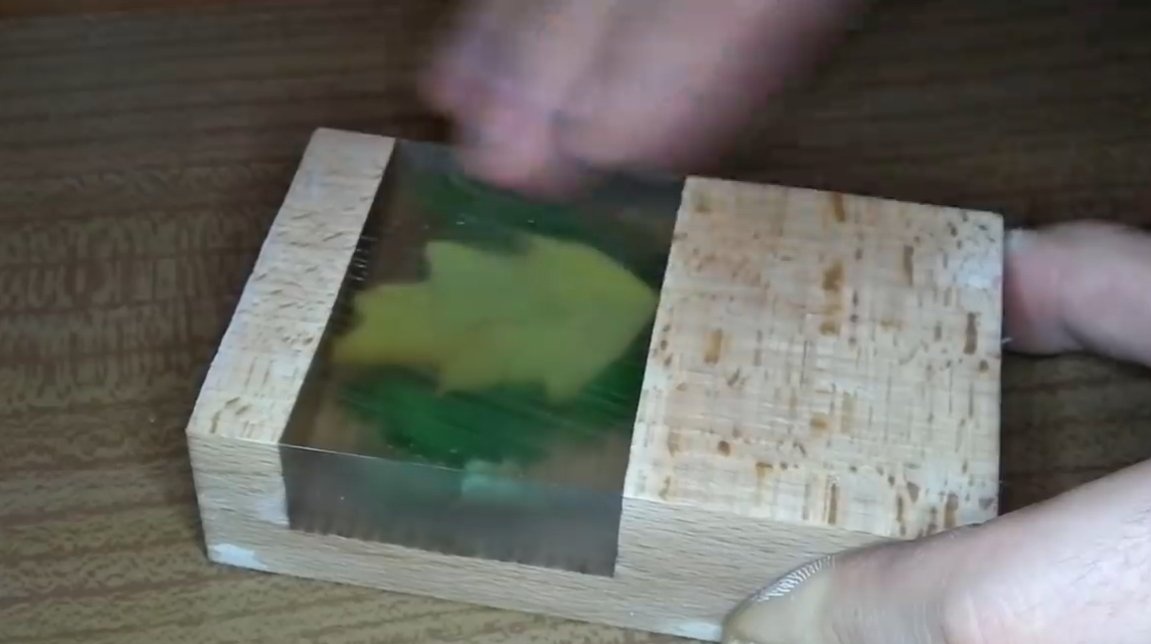
We prepare the leaves for pouring, it is important to prepare them in advance, it is advisable to dry the leaves so that the resin does not become cloudy. The author smeared every leaf with resin and put it into the formwork so that everything looked beautiful.Well, then you can fill the whole thing with epoxy. Leave the resin to harden, if desired, you can blow out air bubbles from the resin with a hairdryer.

Step Four Grinding and polishing
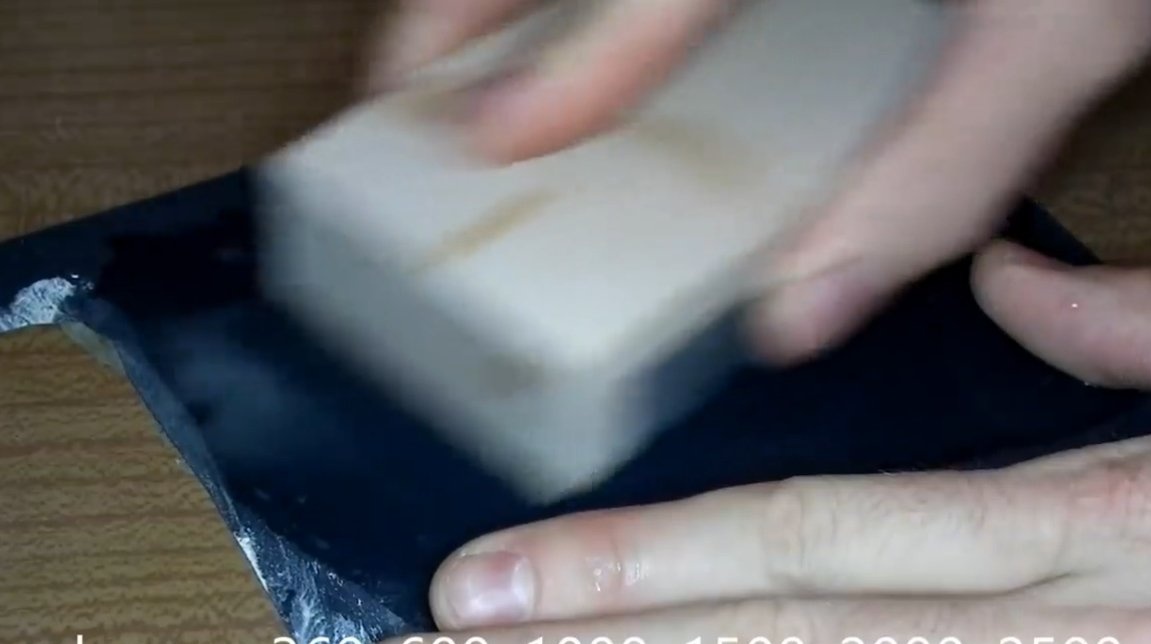
When the resin hardens, carefully remove the formwork and proceed to grinding. The author carried out rough work on a disk grinding machine, as a result, the planes were aligned. Next, you need to return the resin transparency, for this it needs to be carefully sanded with sandpaper. Sandpaper grit size is reduced gradually, from large to the smallest by 3000 or even 5000.
And for the resin to become crystal clear, it must be polished with a polishing paste. As for wood, it can be coated with wood oil.

Step Five Backlight
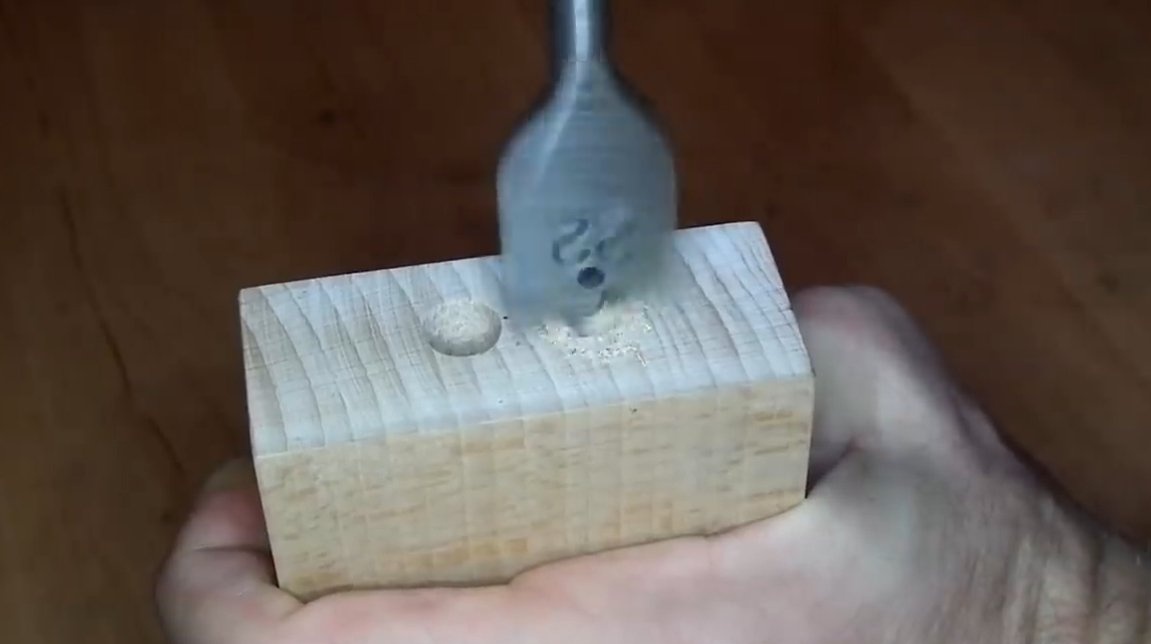
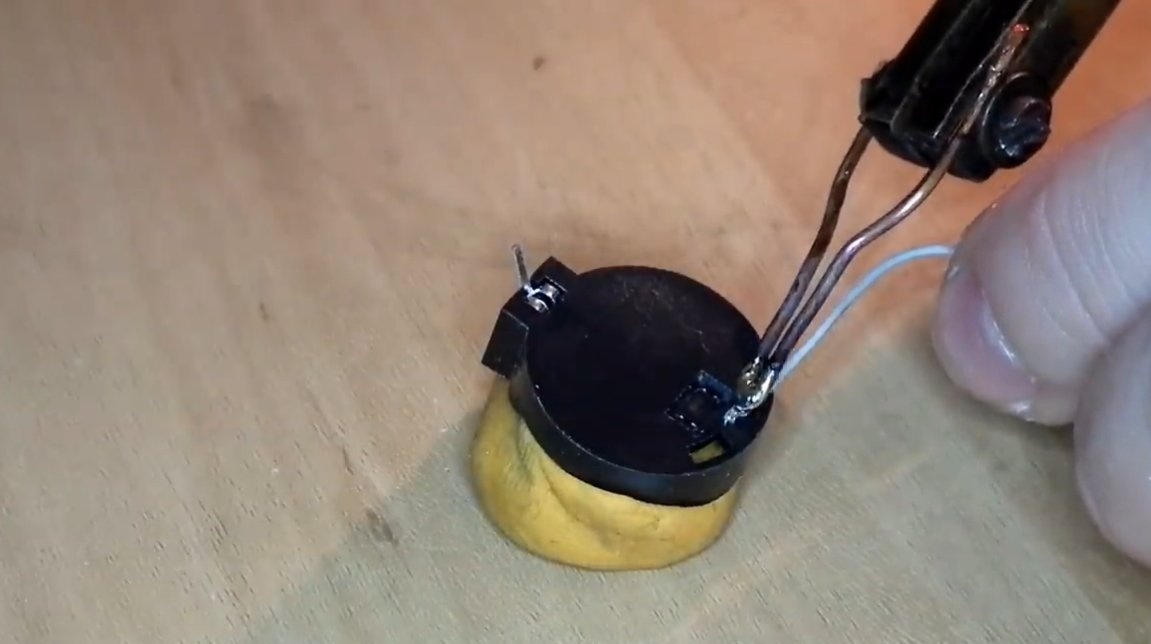
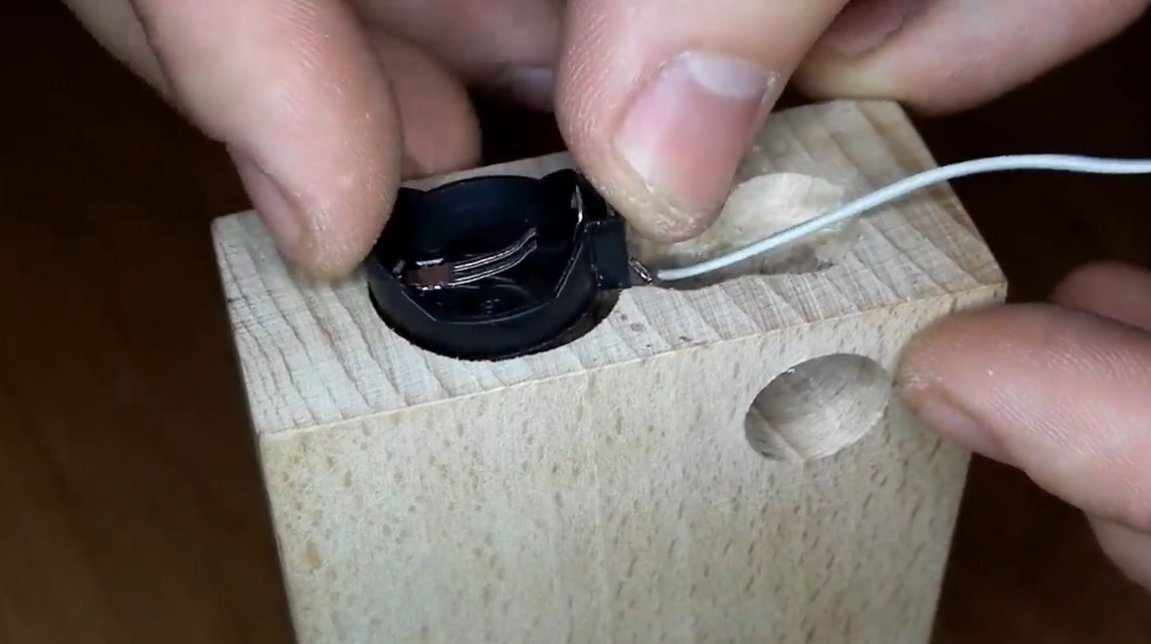
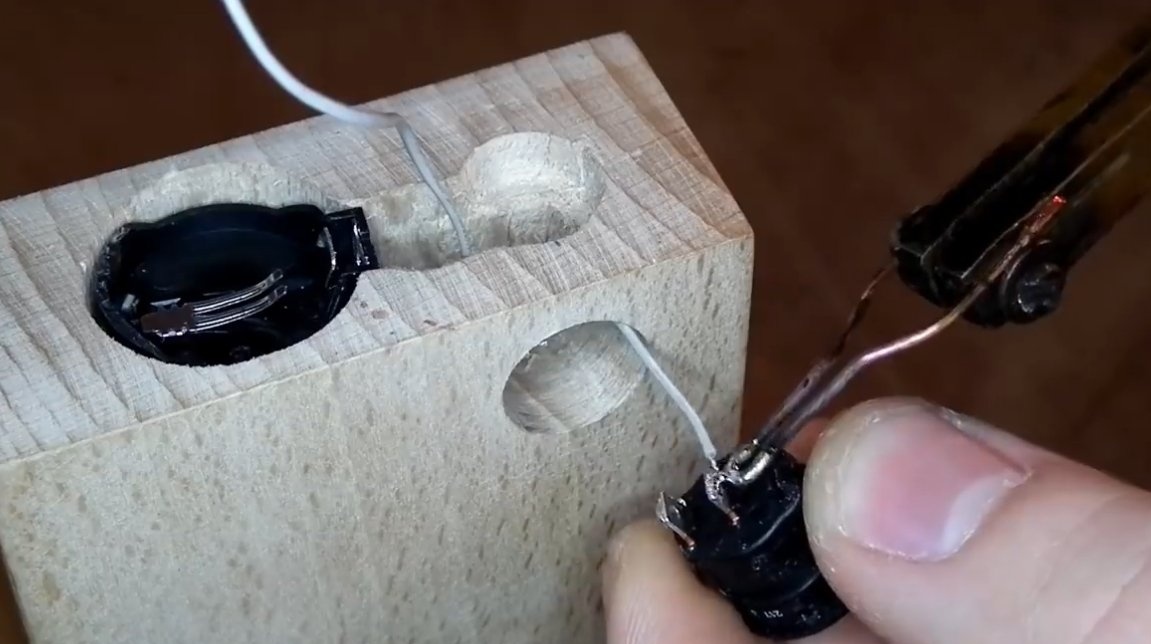
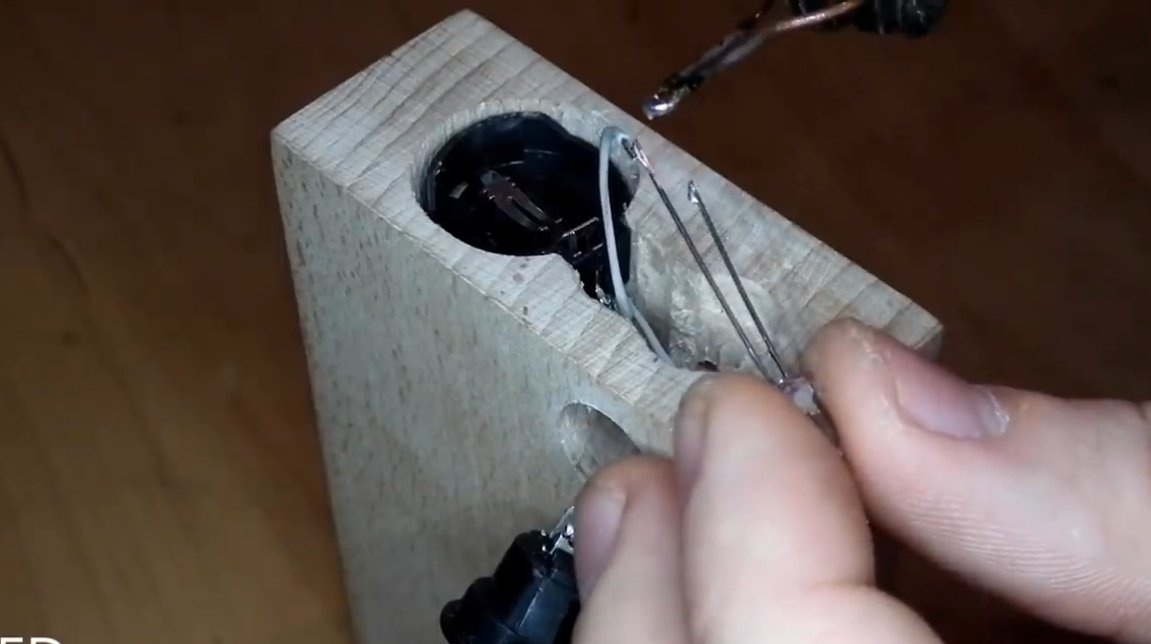
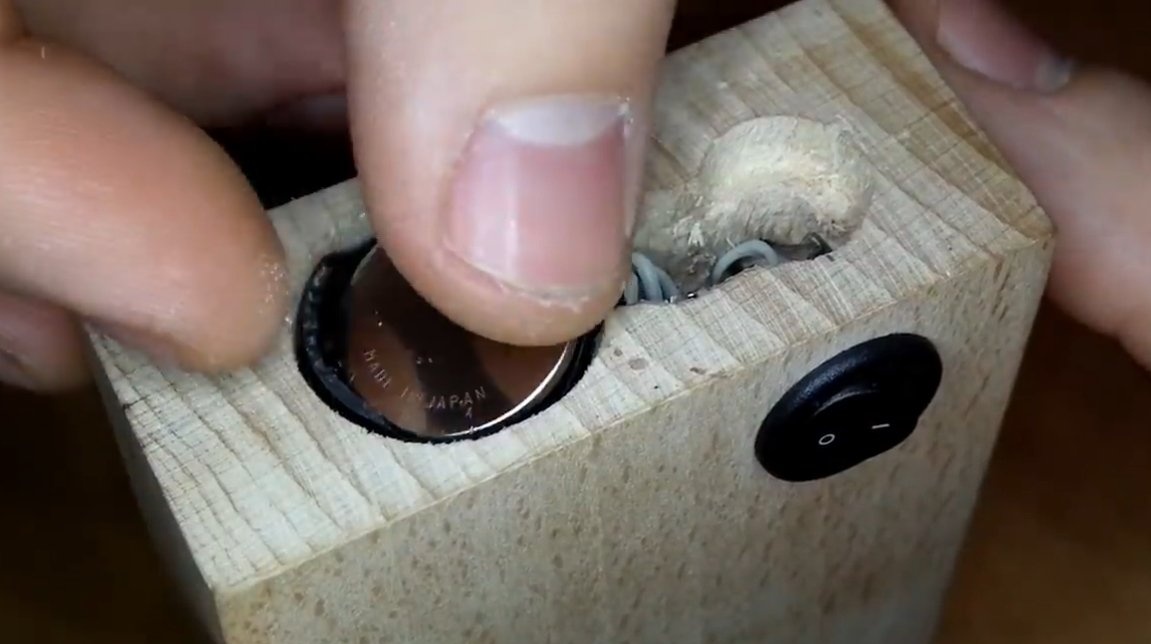
We make a backlight for our homemade product, for this we need a 3V LED, we drill a hole for it so that the light enters the epoxy. We also drill a hole for the switch and cut out a place for the installation of a flat battery holder. All parts can be fixed with hot glue. Now everything is ready, the homemade product looks great, it turned out an excellent night light!

The project is completed on this, I hope you liked the homemade work, and you found useful thoughts for yourself. Good luck and creative inspiration, if you decide to repeat this. Do not forget to share your ideas and homemade things with us!