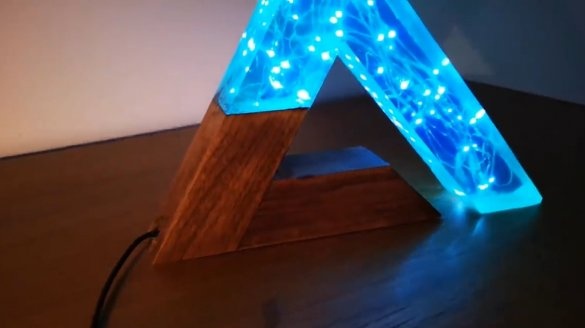
I welcome all fans to craft, I propose to consider an interesting night light that you can make do it yourself. Homemade made of wood and epoxy, and the light source is a small garland. Such a night lamp fits perfectly into the atmosphere of the New Year holidays and not only. In the assembly, the project is not complicated and not particularly costly, if the homemade product is of interest to you, I propose to study it in more detail!
Materials and tools used by the author:
Material List:
- a small garland;
- epoxy resin for filling and dye;
- wooden block or similar material;
- Super glue;
- acrylic for formwork;
- silicone sealant or glue gun.
Tool List:
- a hacksaw or miter saw;
- drill;
- stationery knife;
- a vacuum chamber;
- orbital sander.
Homemade manufacturing process:
Step one. Making the base of the lamp
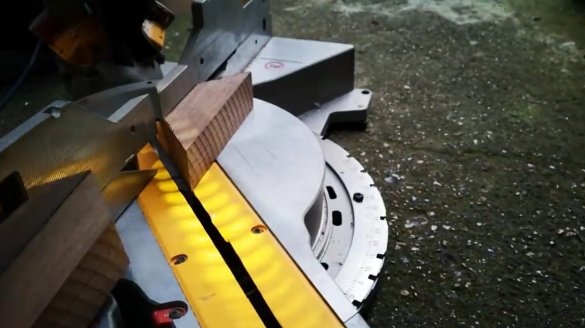
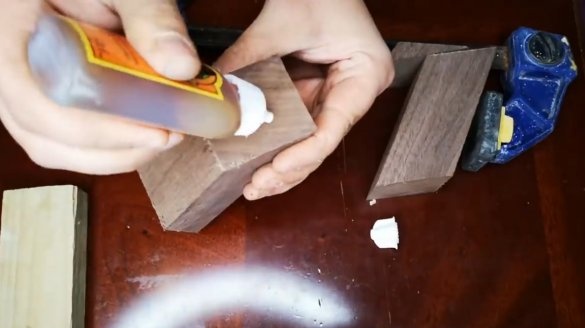
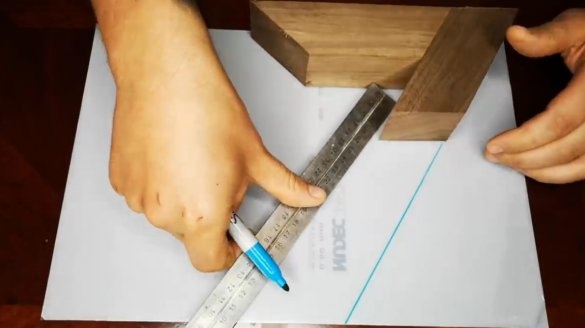
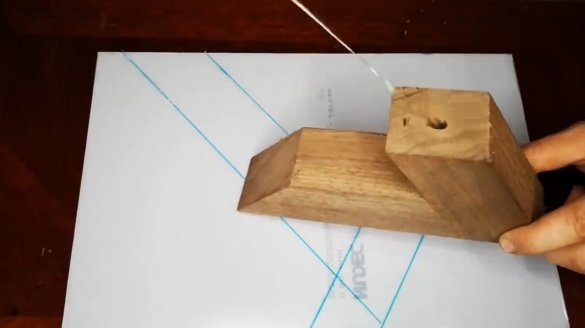
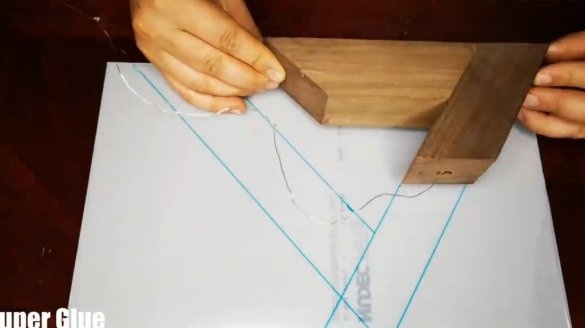
First of all, we need to prepare a tree, a bar will be suitable as a material. We need to cut the bar so that it can then be glued together at the right angle. You can glue two parts using wood glue or even super-glue. In the part that will stand upright, you need to drill a hole for the cable.
Step Two Formwork
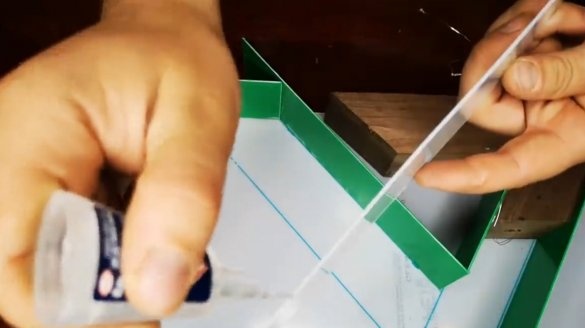
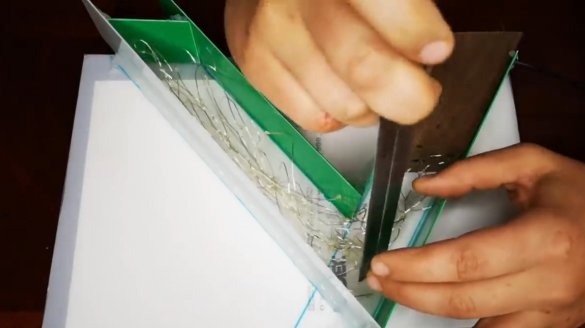
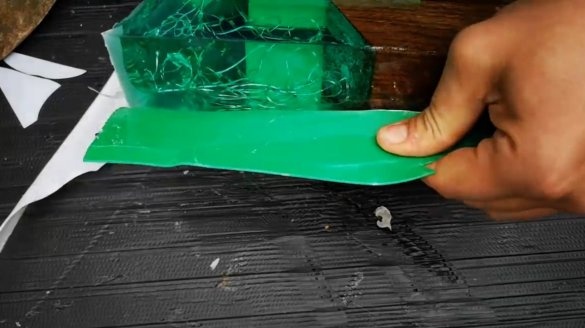
We make formwork for pouring epoxy resin. It is necessary to make formwork from a material to which resin does not stick, acrylic is excellent. Some craftsmen even use wood, it can be covered with separating wax or lay a film in the formwork.
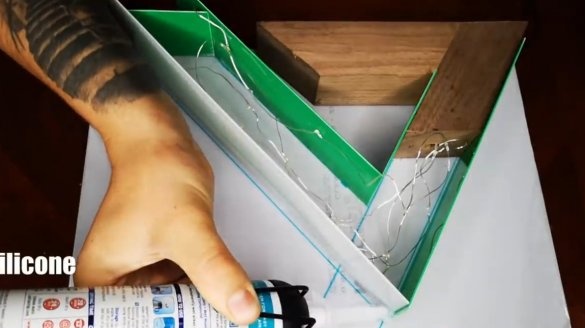
The author assembled the acrylic formwork, gluing everything together with super-glue. All joints need to be very well sealed, since epoxy is a very fluid substance. We use a glue gun or silicone sealant to process the joints.
Step Three Resin filling
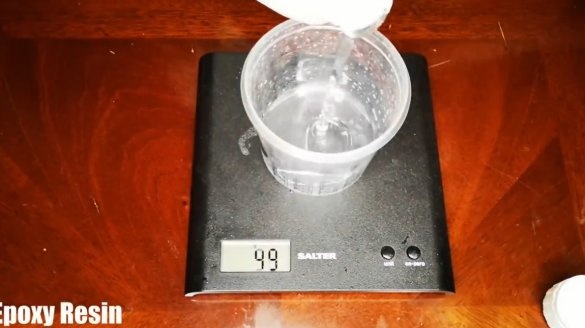
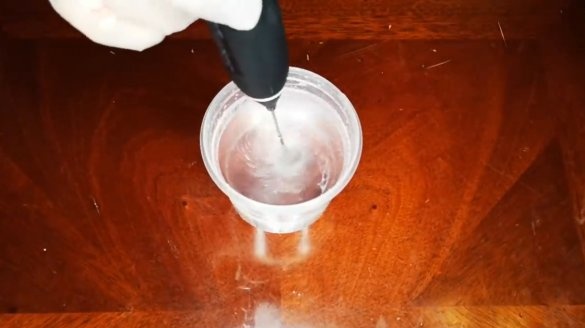
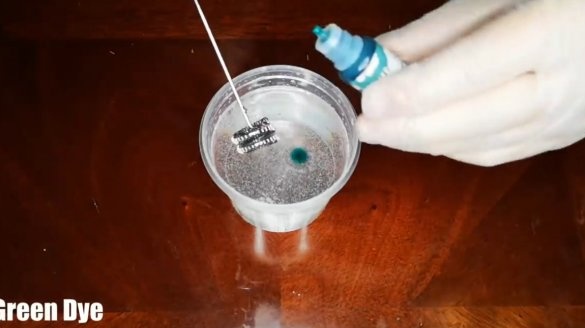
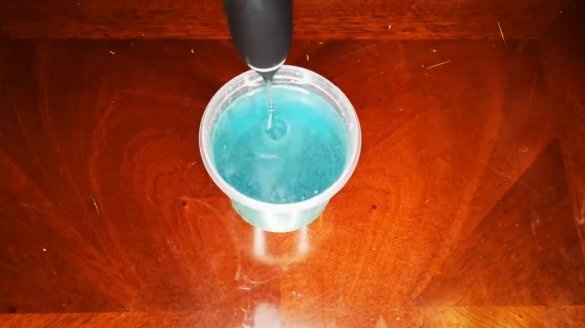
Stir the epoxy with hardener and add a little dye to your taste. Make sure that the selected resin can be poured in large volumes, otherwise the resin may boil.
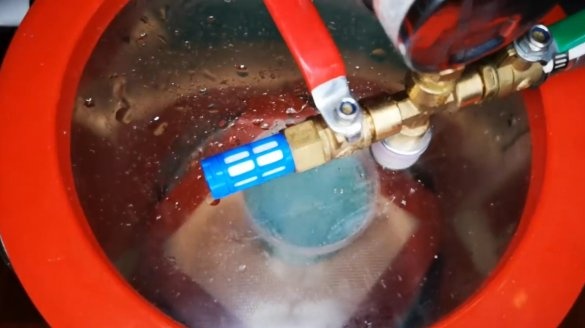
The author put a cup of finished resin in a vacuum chamber to expel excess air from it.
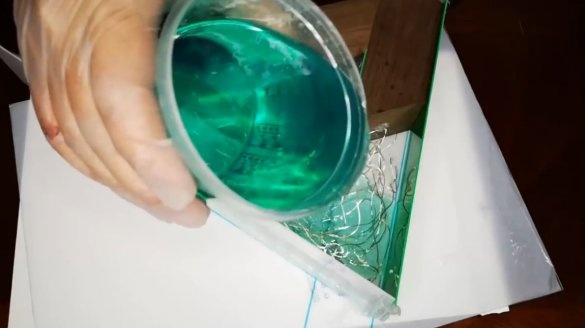
We put a garland into the formwork, not forgetting to connect a cable to it. Then you can fill the resin. There is no need to rush, we pour the resin gradually to minimize the number of bubbles. After pouring, you can walk on top with a construction hairdryer in order to drive out the air. In general, with air bubbles, the homemade product will look more interesting.
Step Four Final touches
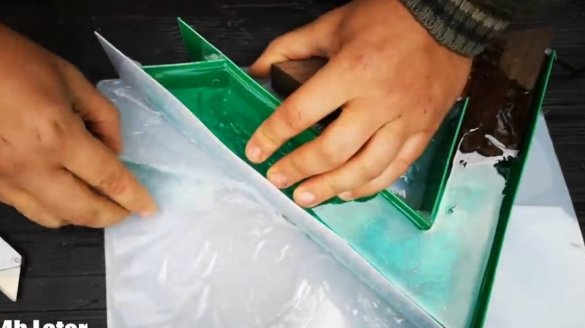
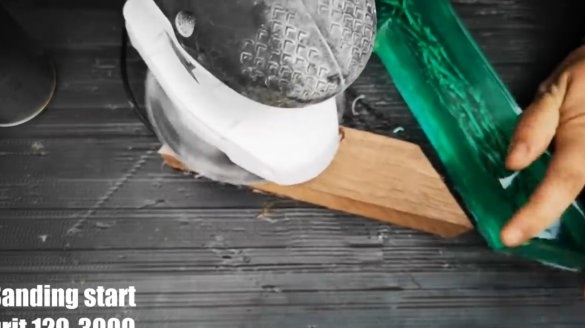
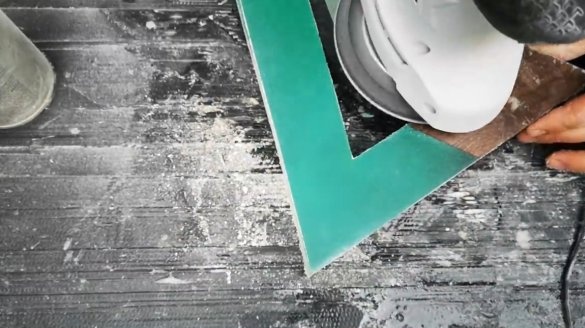
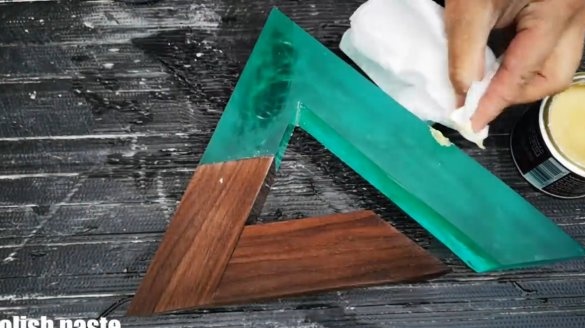
We remove the formwork when the resin is completely hardened. If you have problems, you can heat up the acrylic with a construction hairdryer. Now the product is well grinded using an orbital or other grinding machine. To return the resin to its former transparency, it will have to be polished for a very long time until the scratches disappear. Some craftsmen simply apply another layer of resin on top, which returns the resin transparency. After polishing, the author polished the epoxy resin with a polishing paste.
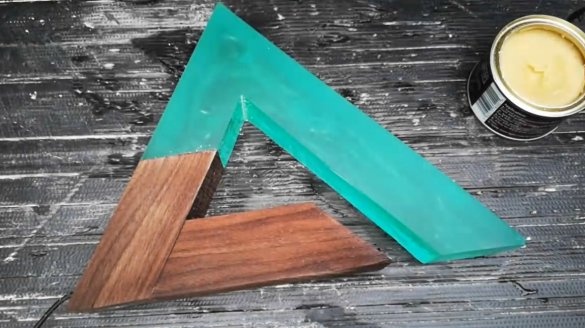
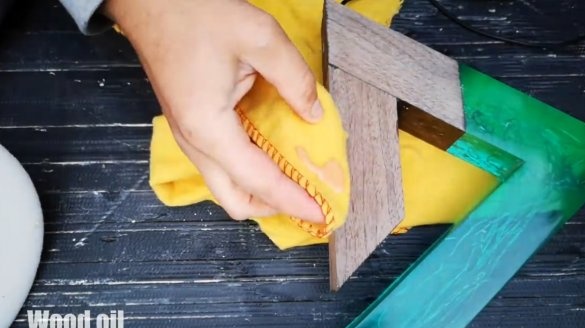
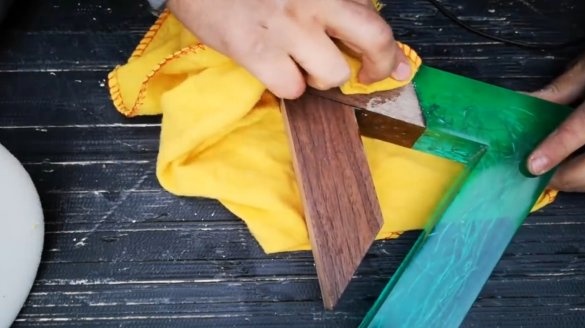
Next, you need to process the tree, we also grind it to a perfectly smooth state and soak it with oil on the tree, the homemade product looks great. So that the resin does not turn yellow for a long time, it is recommended to cover it with a special varnish that does not transmit UV rays.
That's all, now the homemade product is completely ready, you can turn it on. Everything looks great, modern, the atmosphere of the holiday is immediately created in the house. The project is completed on this, I hope you liked the homemade work, and you found useful thoughts for yourself. Good luck and creative inspiration, if you decide to repeat this, do not forget to share your ideas and homemade things with us!


