
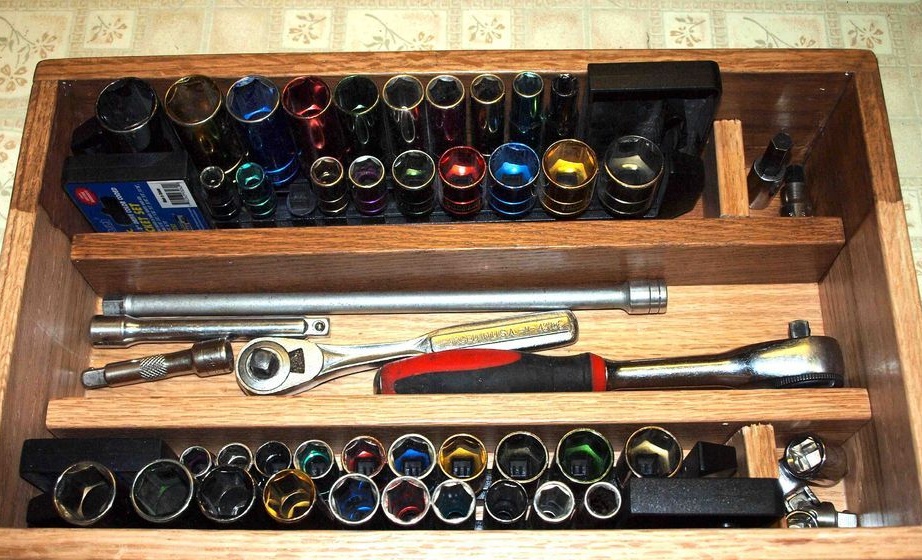
Hello to all the inhabitants of our sites, at this time in the tool market, the manufacturer offers us a huge selection of different utilities and devices, but the question arises: where to store it all and so that it is compact, convenient, and also beautiful. In this article I will describe how the author made a convenient key box that will find its long-awaited place in the garage every motorist.
To build this homemade us will need:
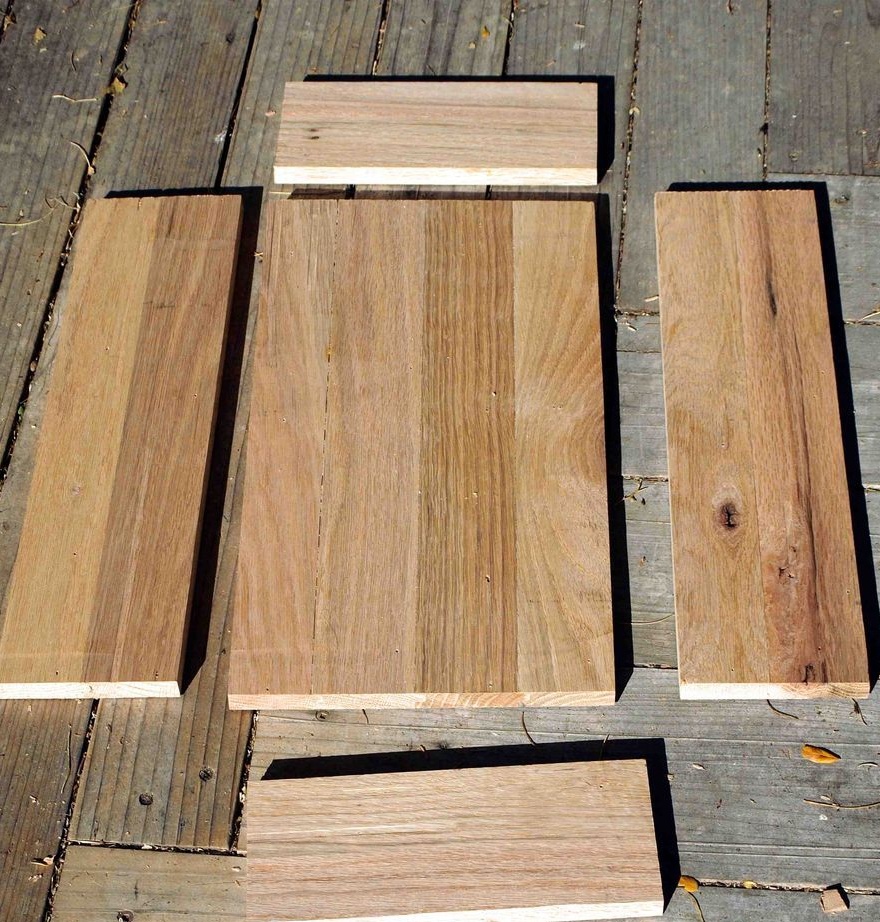
* Boards, thickness ranging from 12 to 20mm.
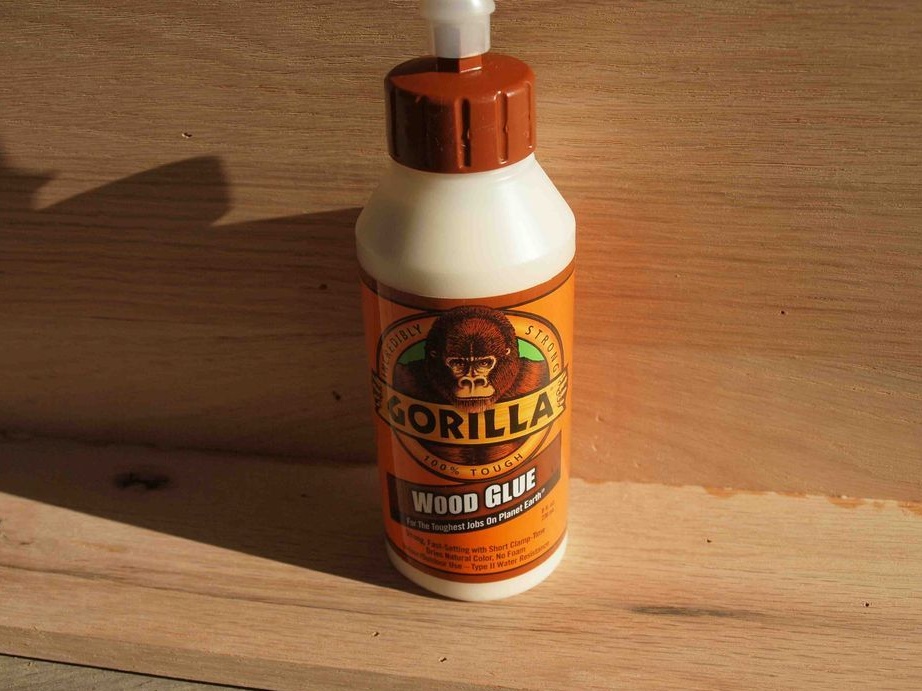
* Wood glue.
* Screws, fit a length of 30-35mm.
* Screwdriver.
* A wood hacksaw, preferably with small teeth.
* Polishing machine.
*Pliers.
* Tools for working with wood.
* Varnish for wood or stain.
*Belt.
* Construction stapler.
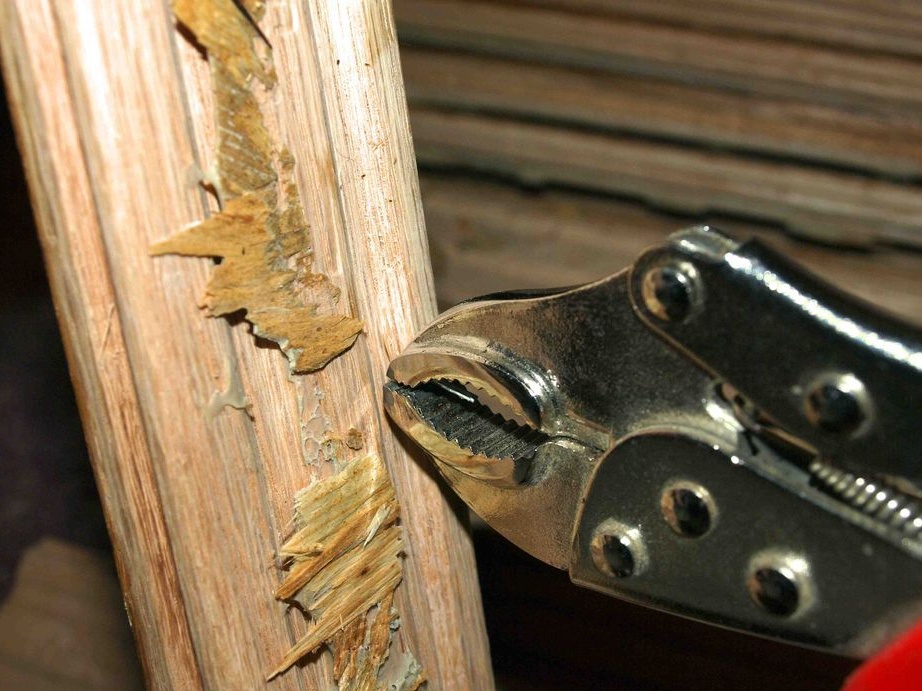
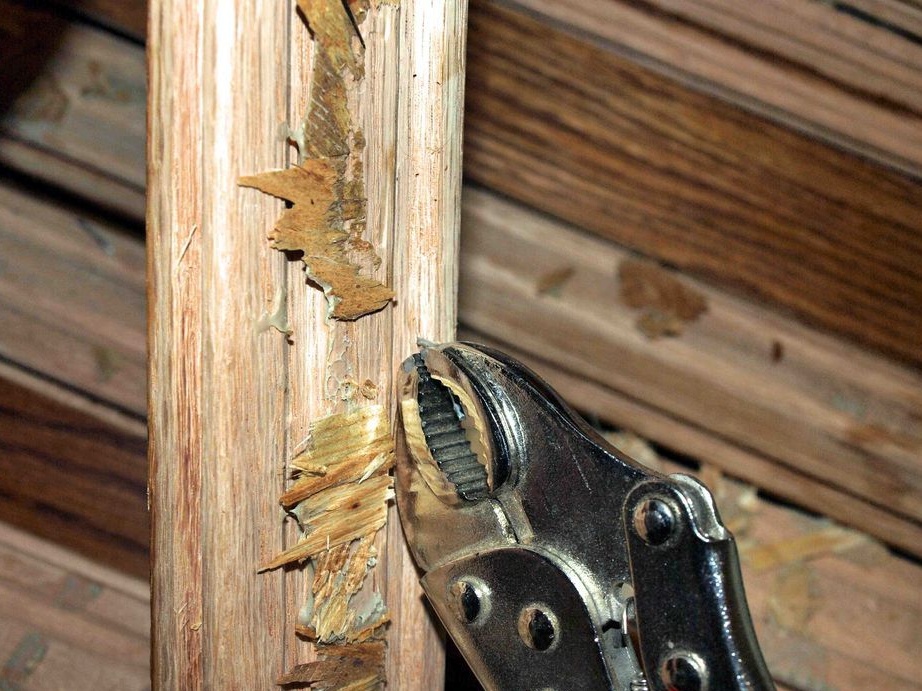
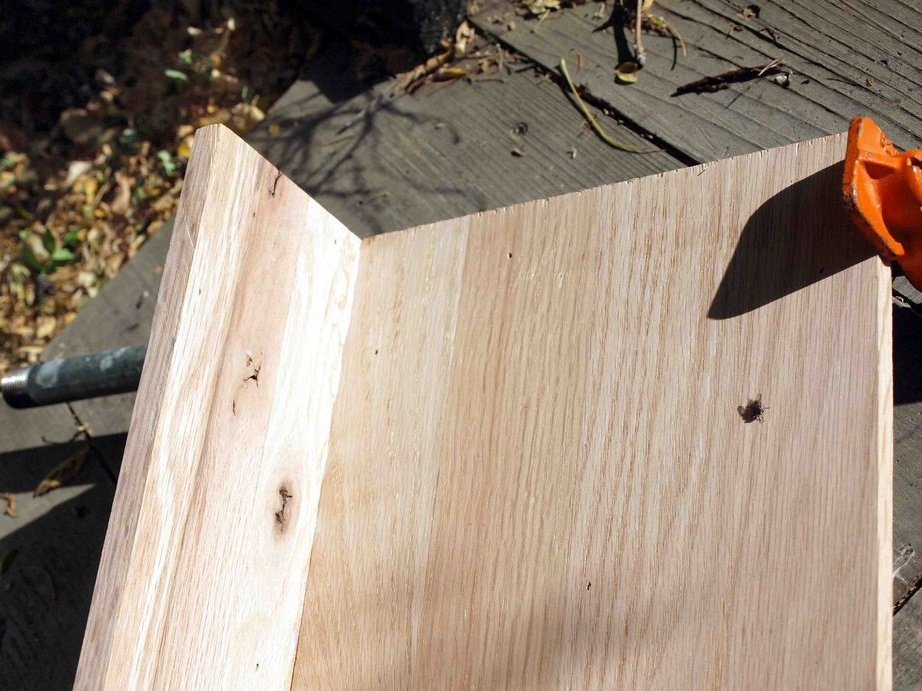
First step we will free the boards from unnecessary elements, for example, burrs, dirt and traces from previous use. But be neat with wood, as its texture is soft and it will be easy to damage it, and this is at least not an aesthetic look.
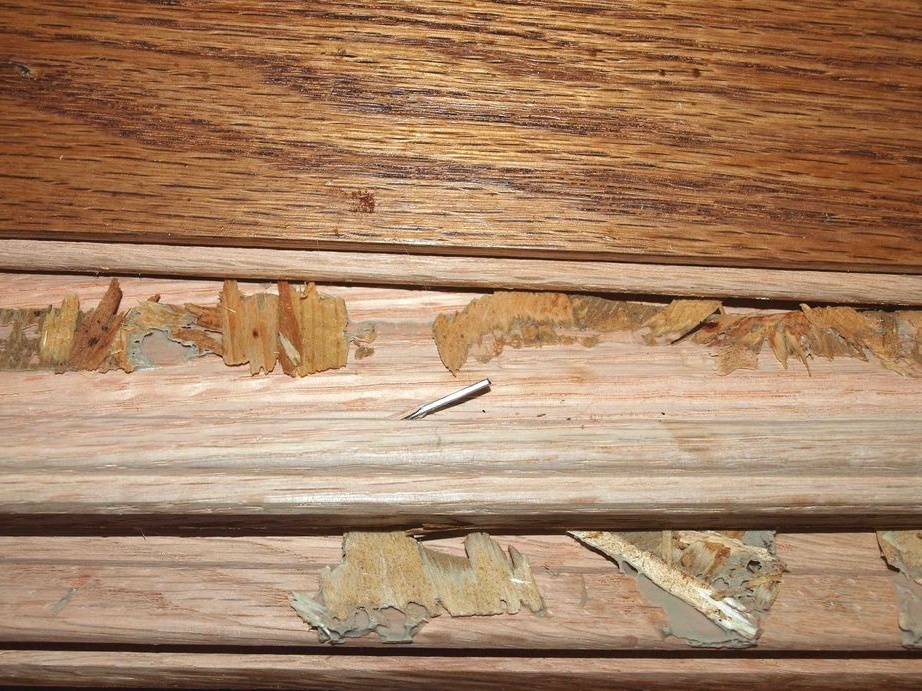
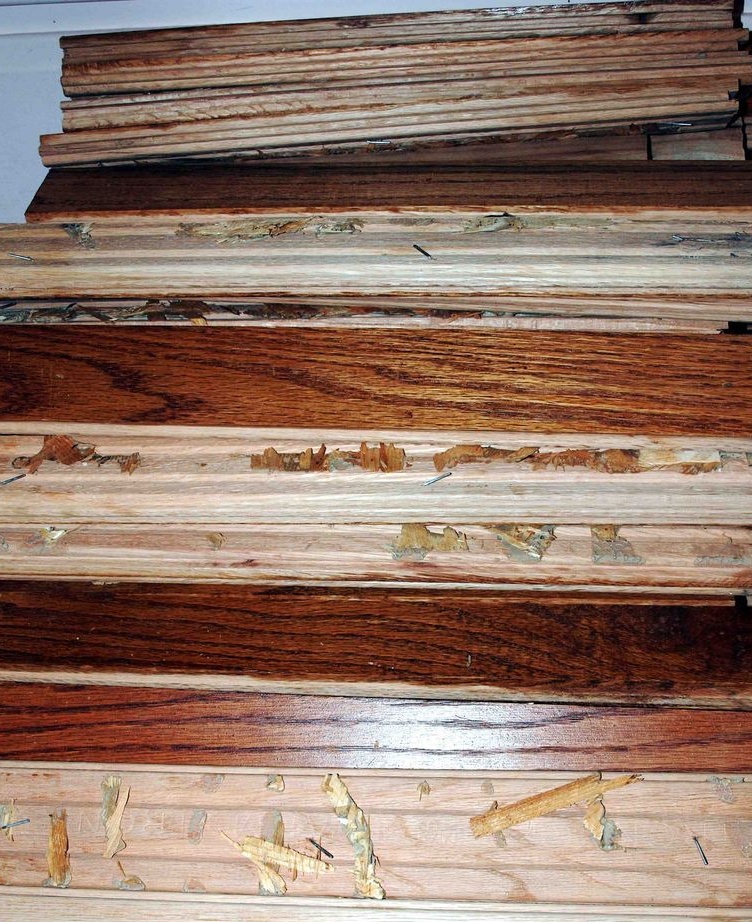
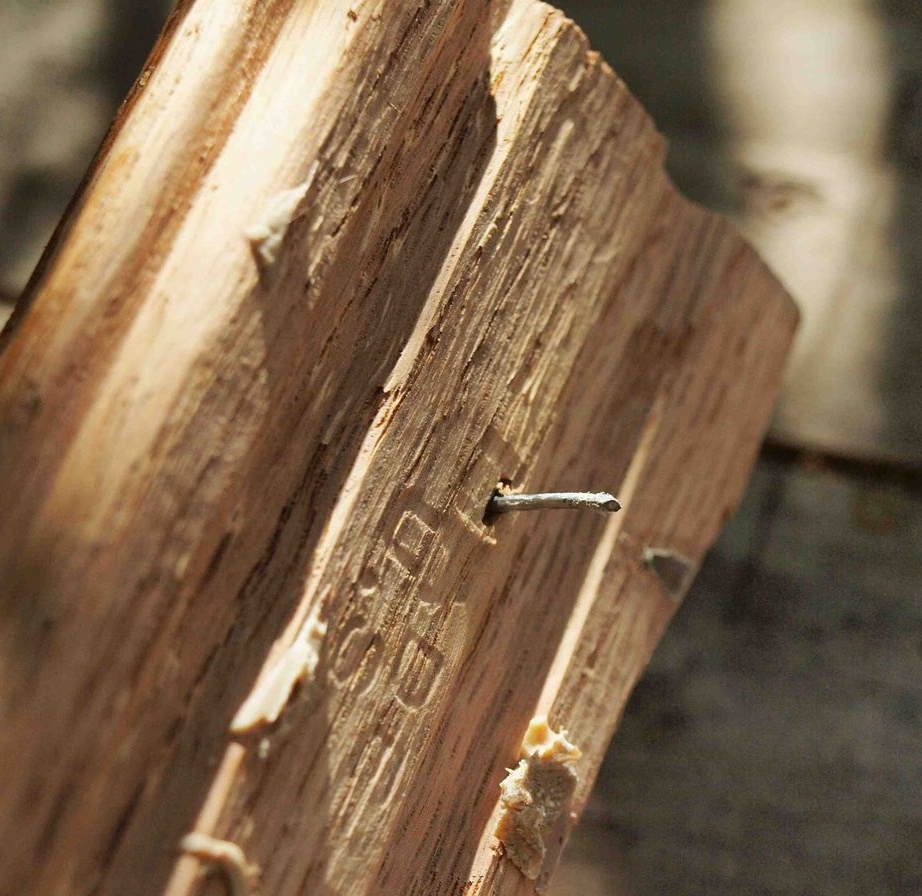
Also pull out the nails if they were in the boards.
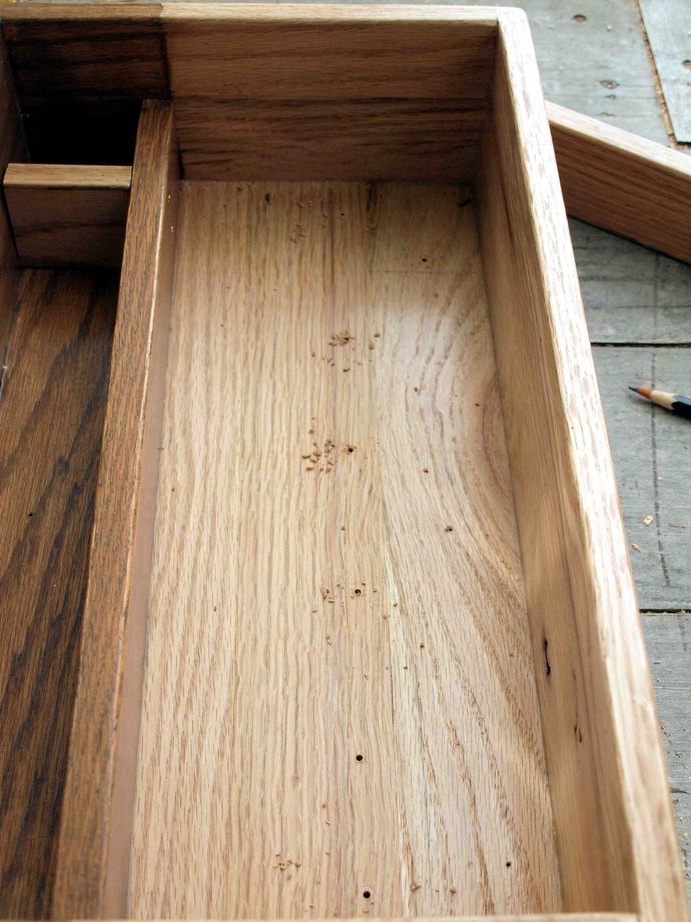
Second step. Saw off the boards with a hacksaw of the desired length, having previously thought through what dimensions your box will have. You can give any shape to the box, in this case the author decided to make the box in the form of a rectangle, which is quite advisable, since the keys have a long elongated shape.
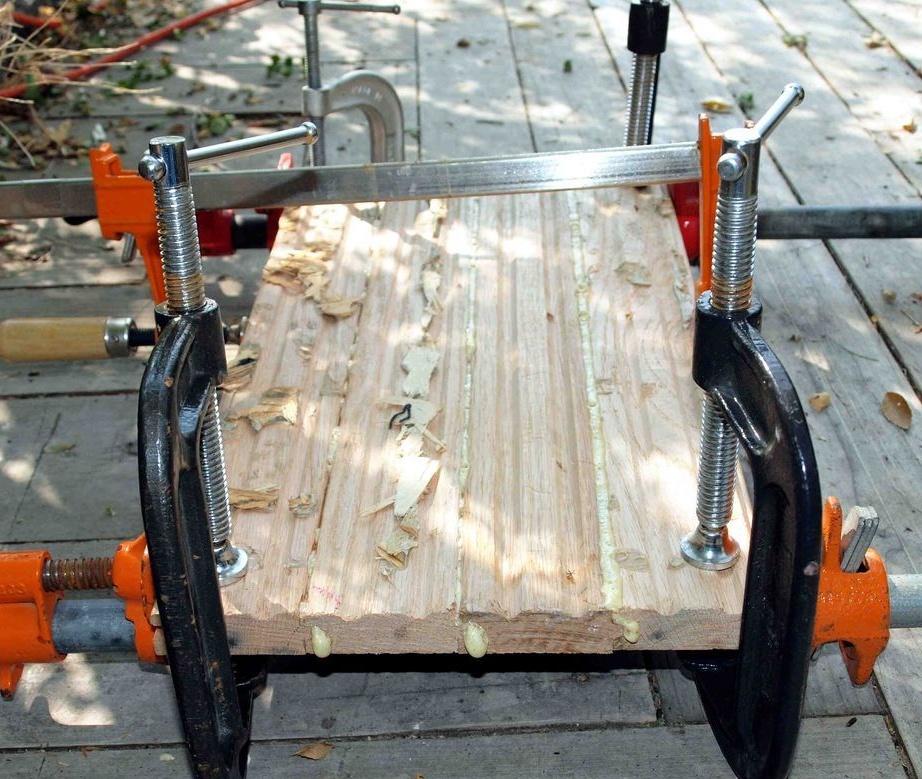
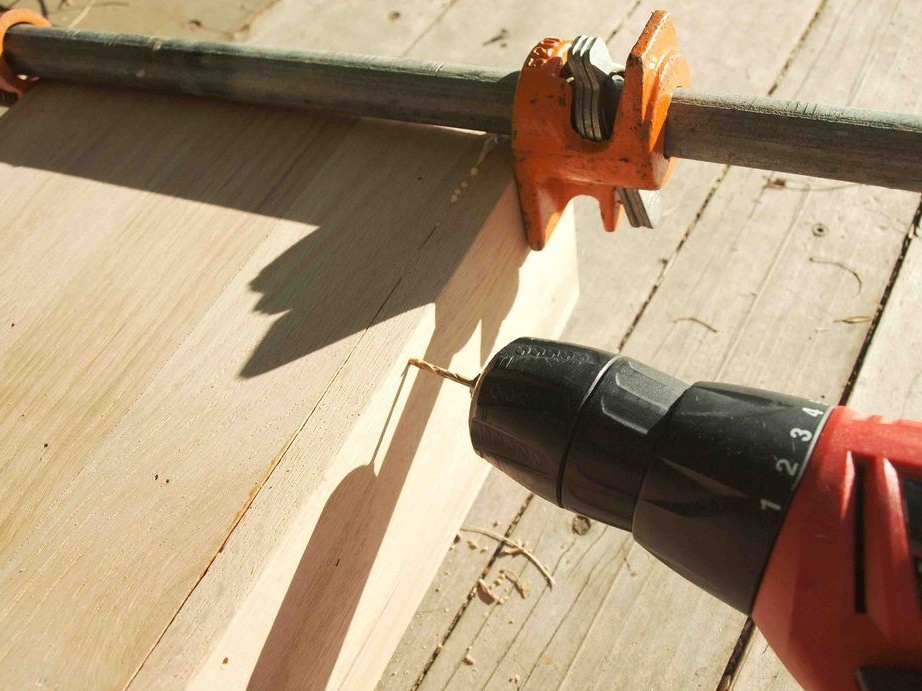
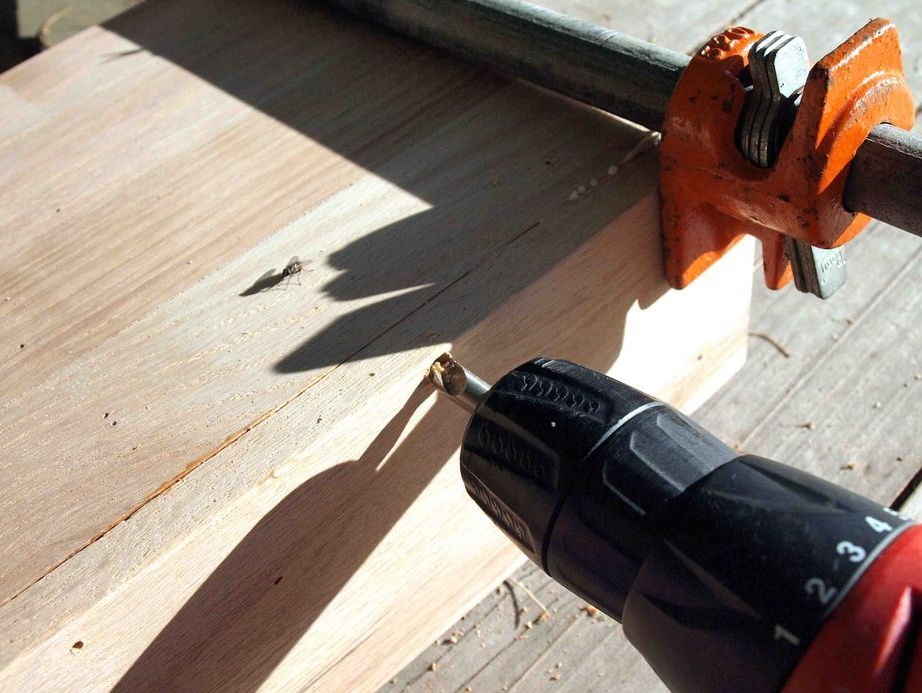
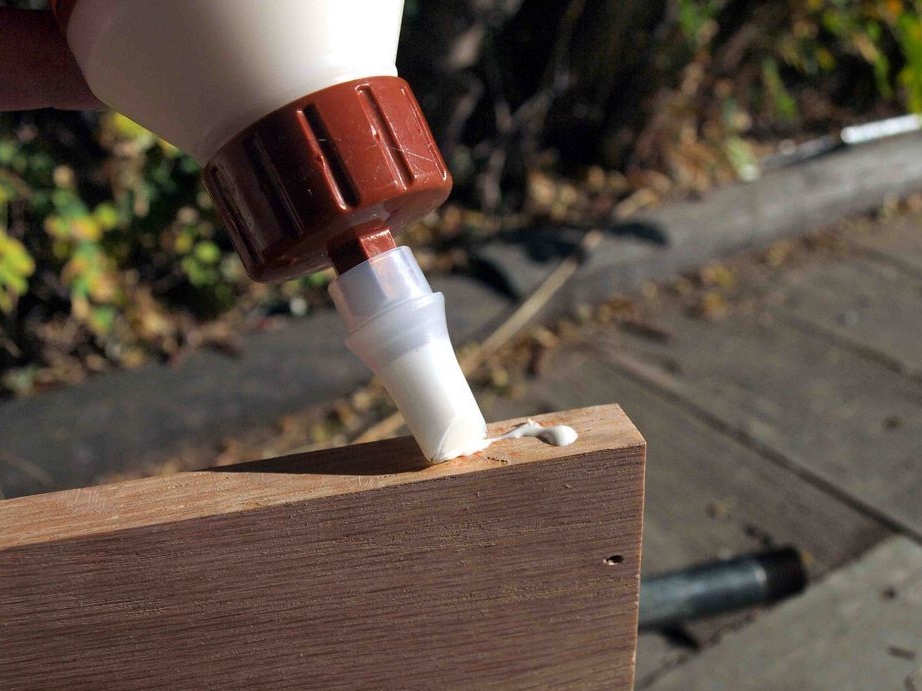
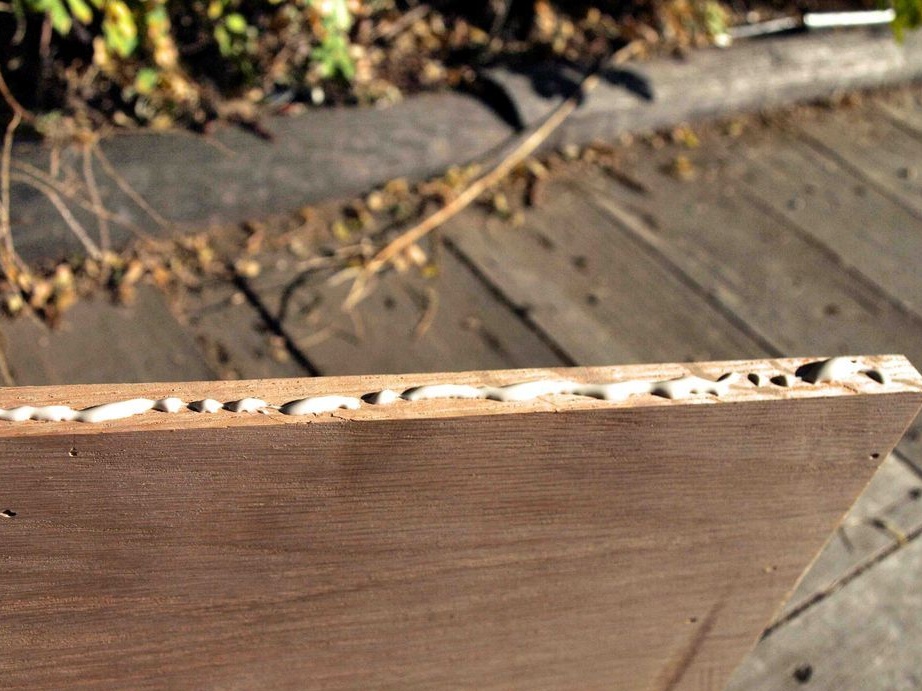
The bottom of the box is made on the principle of a gutter-ledge. Therefore, a protrusion is made on one board, and on the other trough, in the future they are connected to each other, having previously smeared their connection with glue.
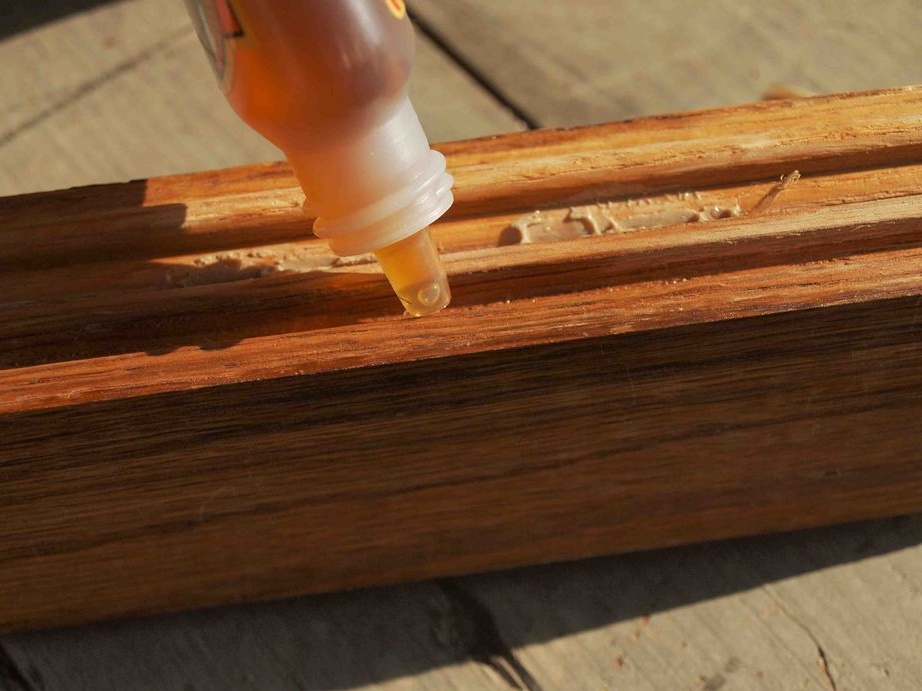
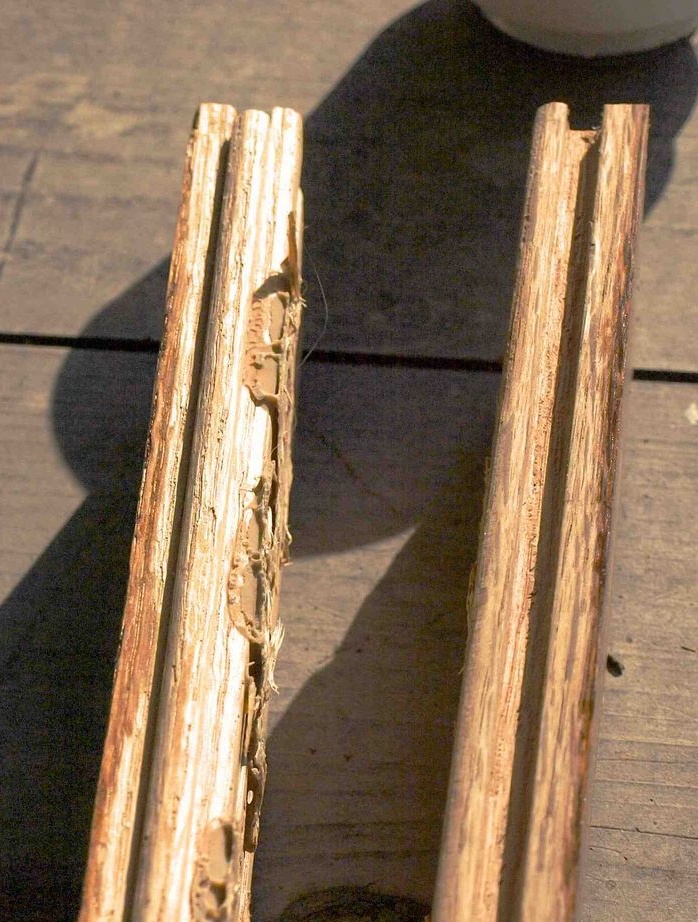
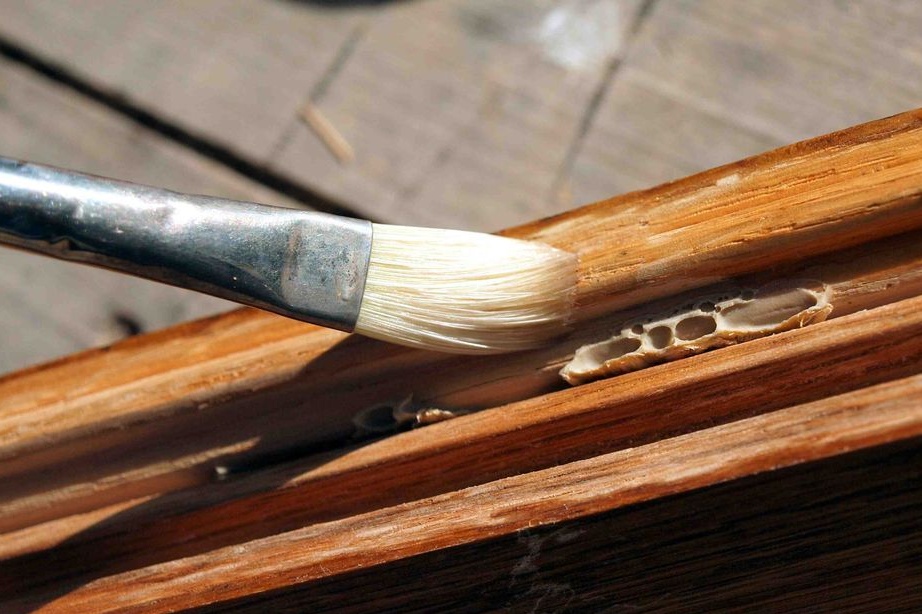
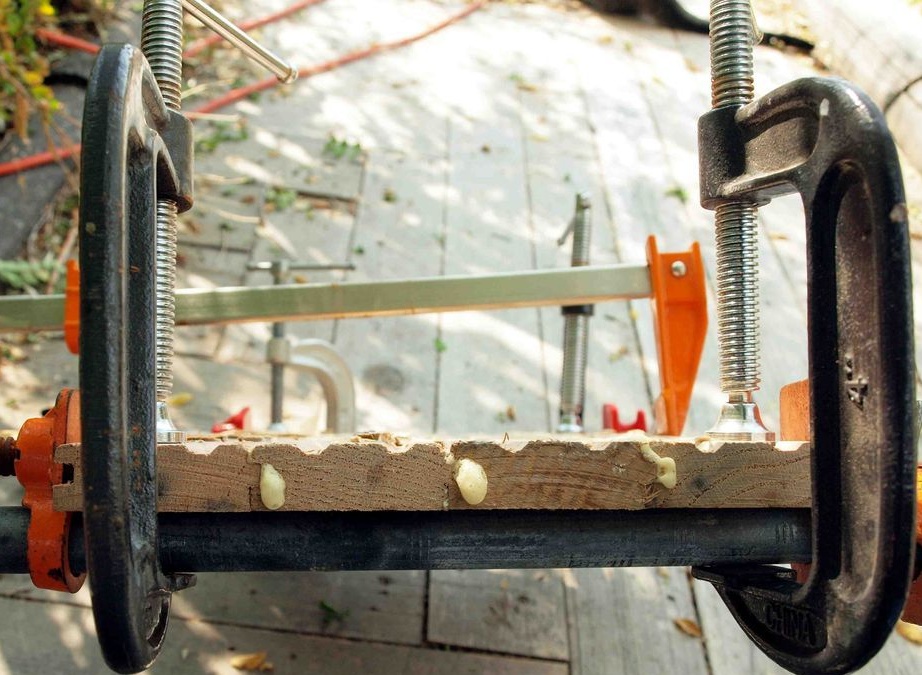
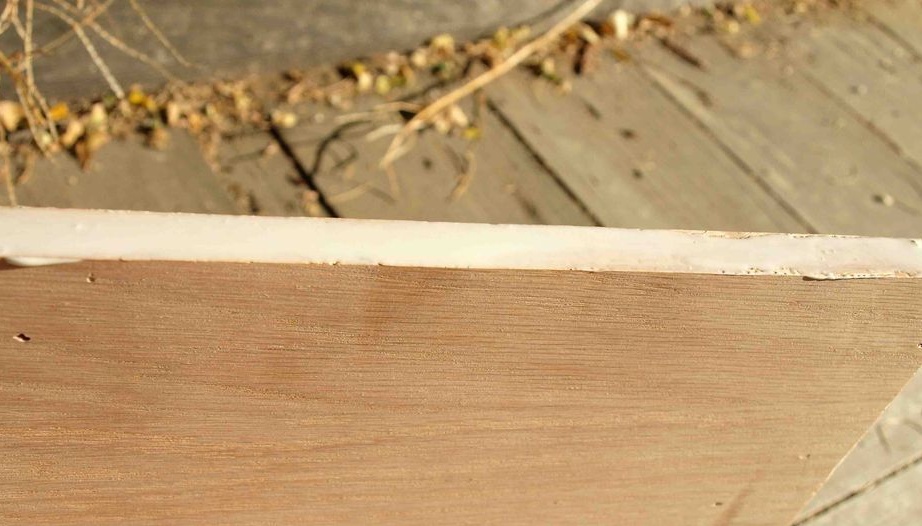
For a strong connection, press the board to the board with clamps and leave it to dry completely, and so that the bottom is not curved, you need to press them to a flat surface, as in the photo.
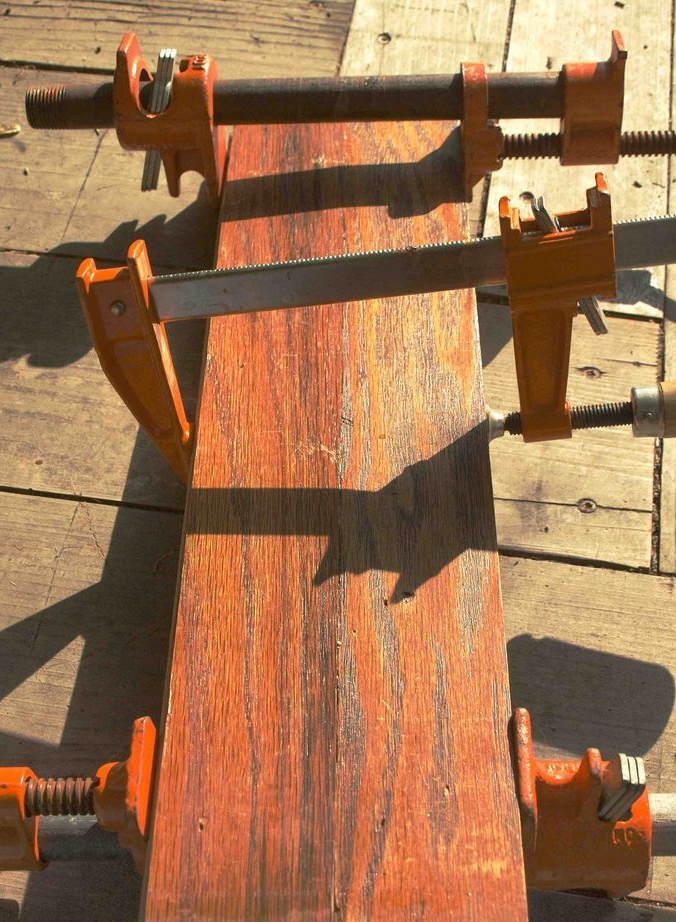
Third step. After the bottom of the box has dried, you can begin grinding the parts. Straight edges are better not to grind, so as not to form adverse gaps when connecting.
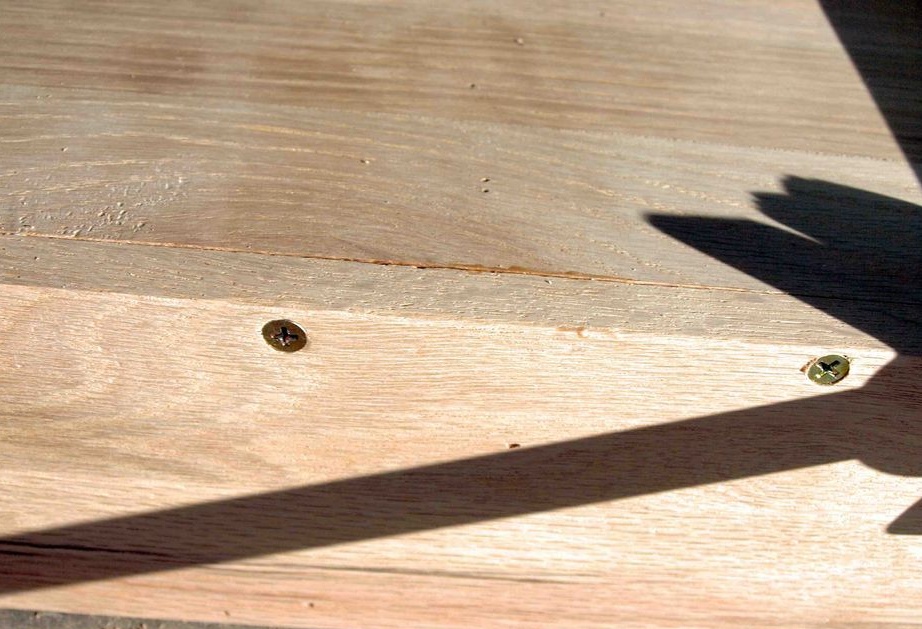
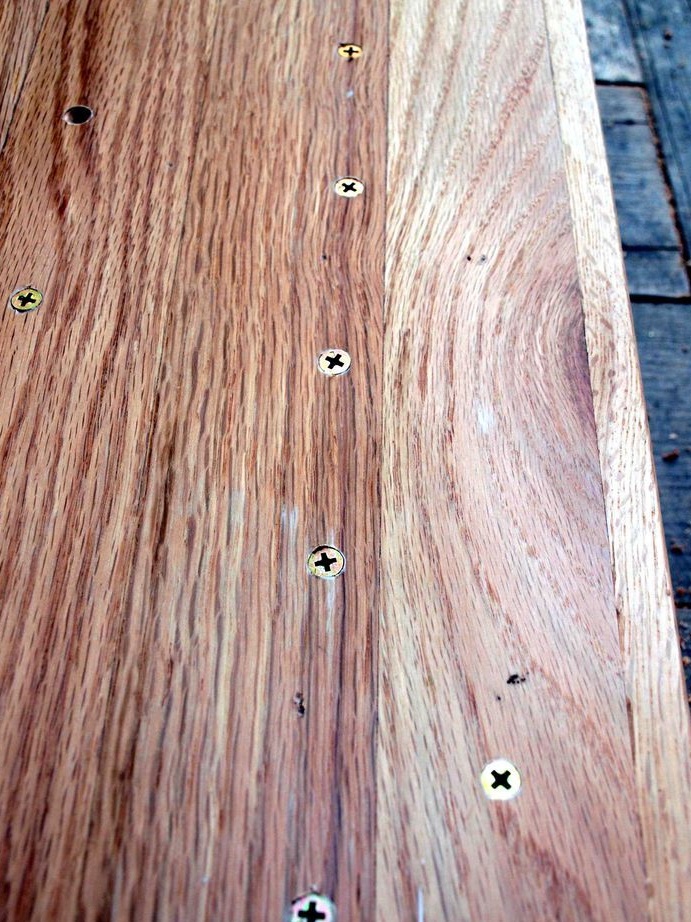
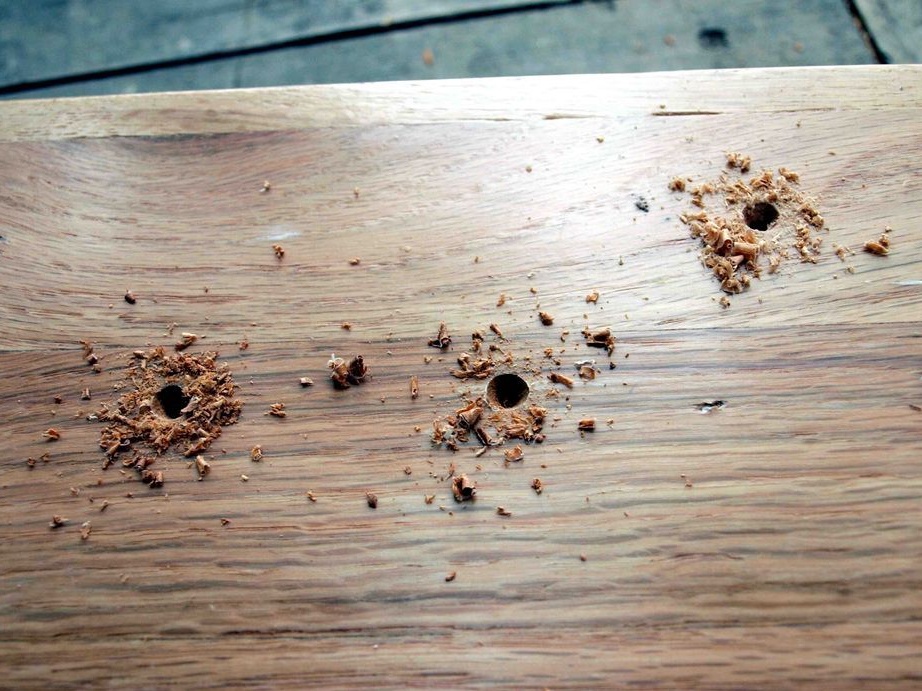
Then, picking up a screwdriver, we twist each wall to the bottom, making holes in advance with a thin drill and after that we make a hole for a larger screw head.
Also do not forget to coat the joints with glue.
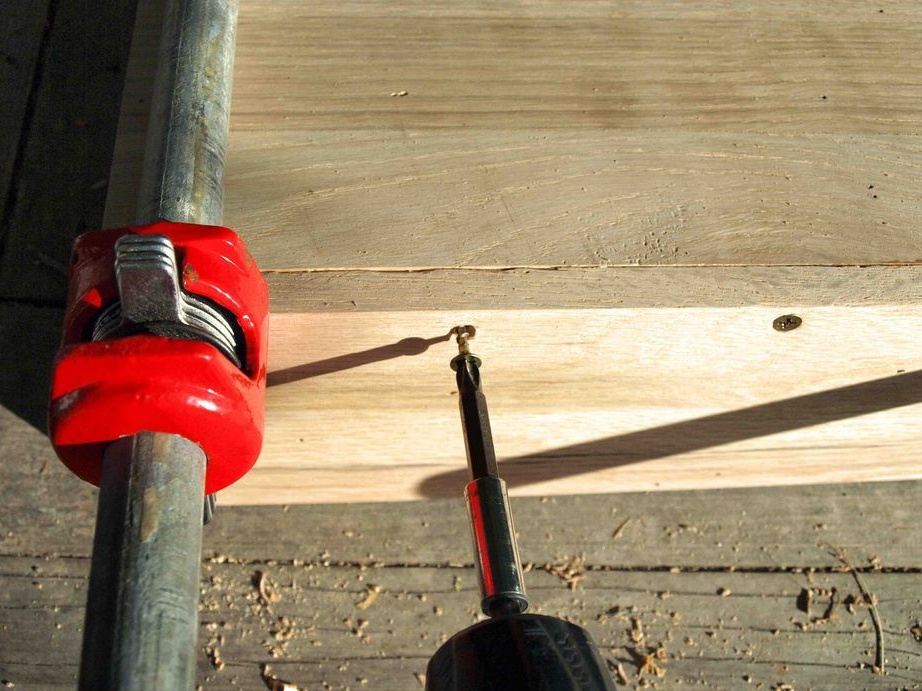
Each board after screwing should have an angle of 90 degrees with the bottom plane, so use a square for these purposes.

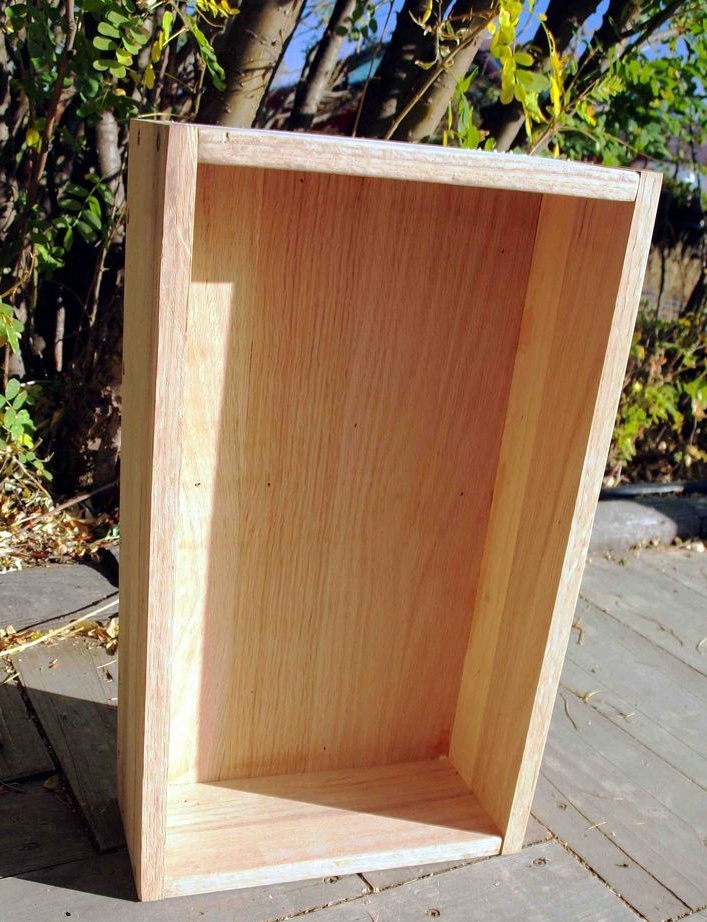

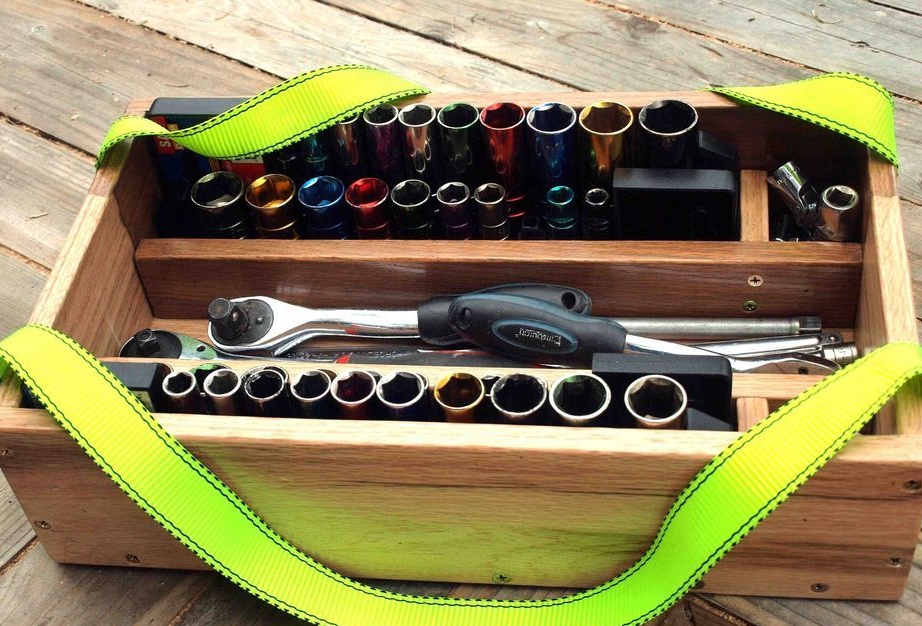
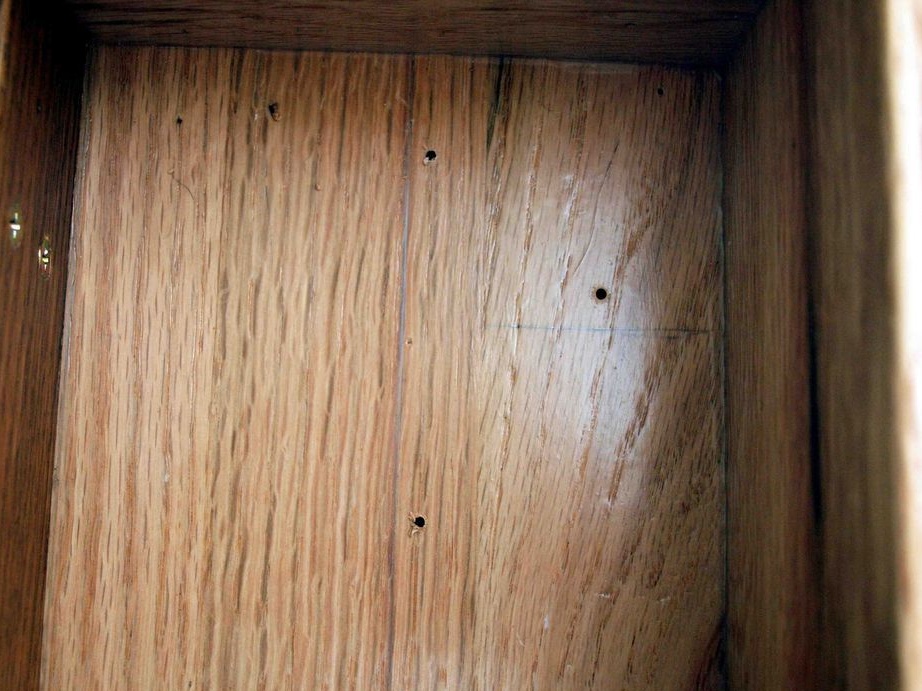
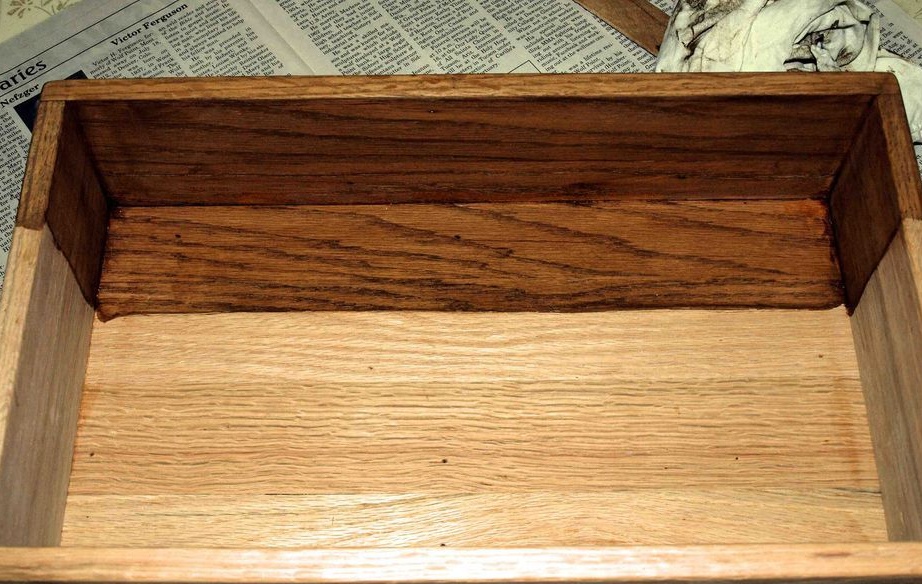
We collect the box wall by wall, then we make a varnish coating in several layers. When something like a lacquered box is ready, you can move on to creating smaller partitions and tool compartments. We attach these partitions from the back of the box using the same screws and do not forget about the pot for their caps.
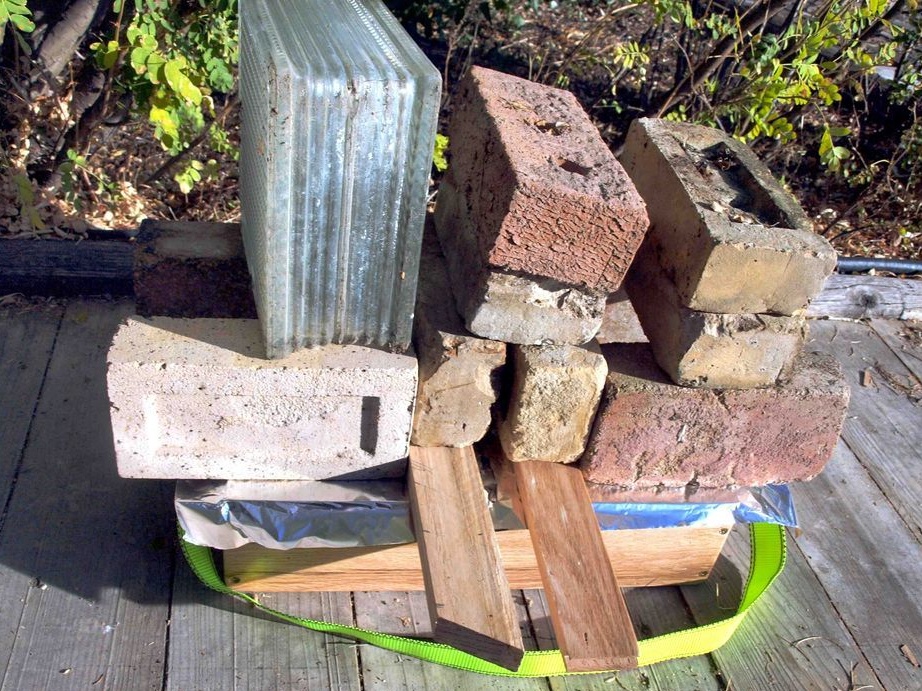
The final stage. A box without a handle does not look very good, and it’s inconvenient to use.
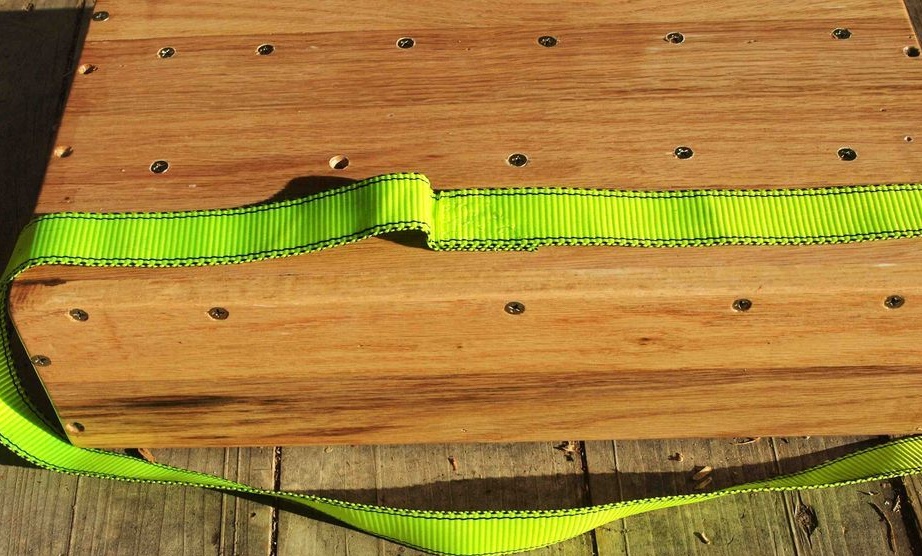
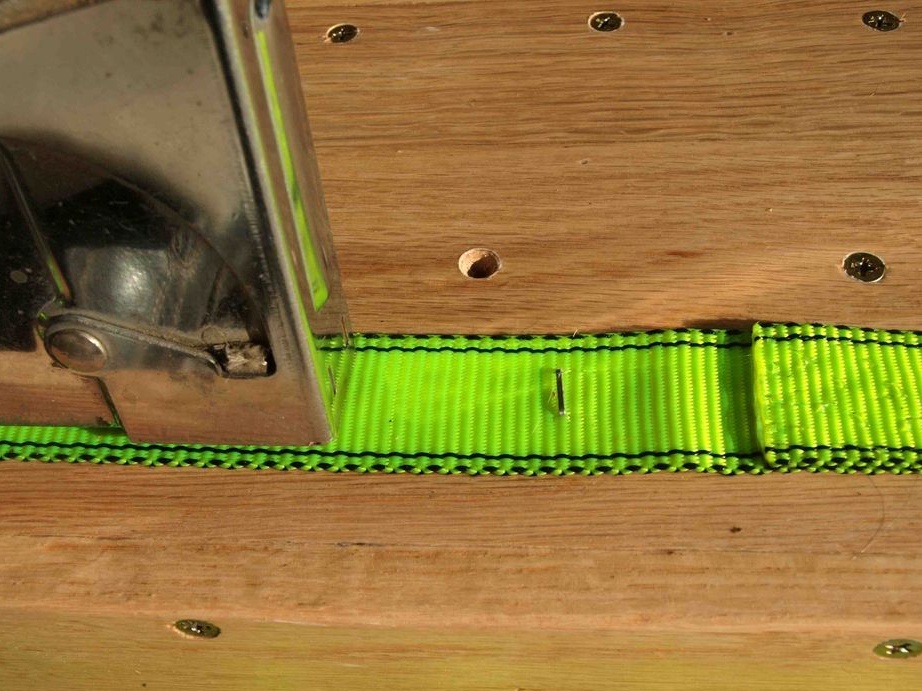
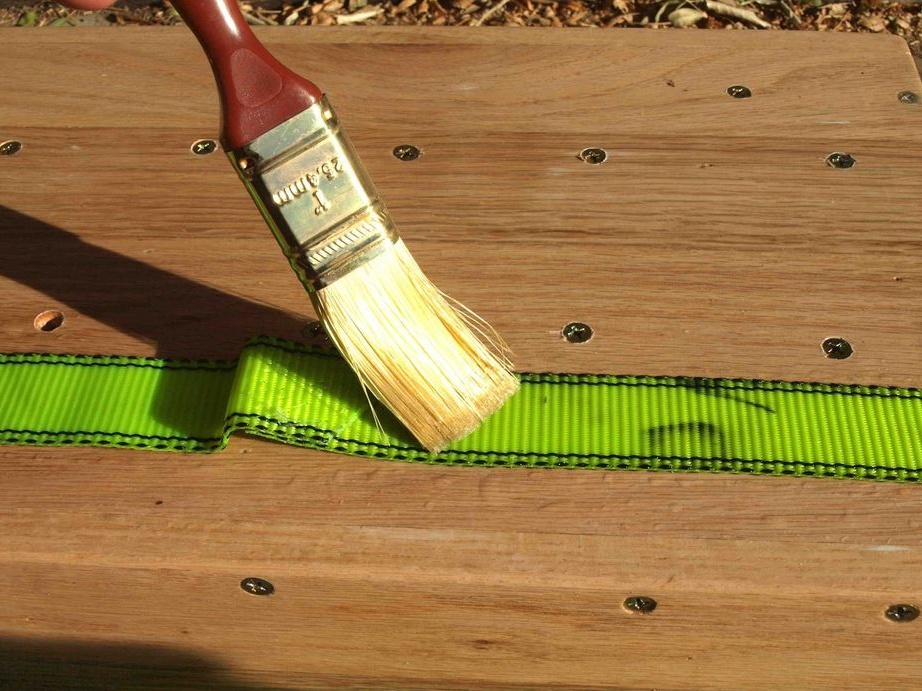
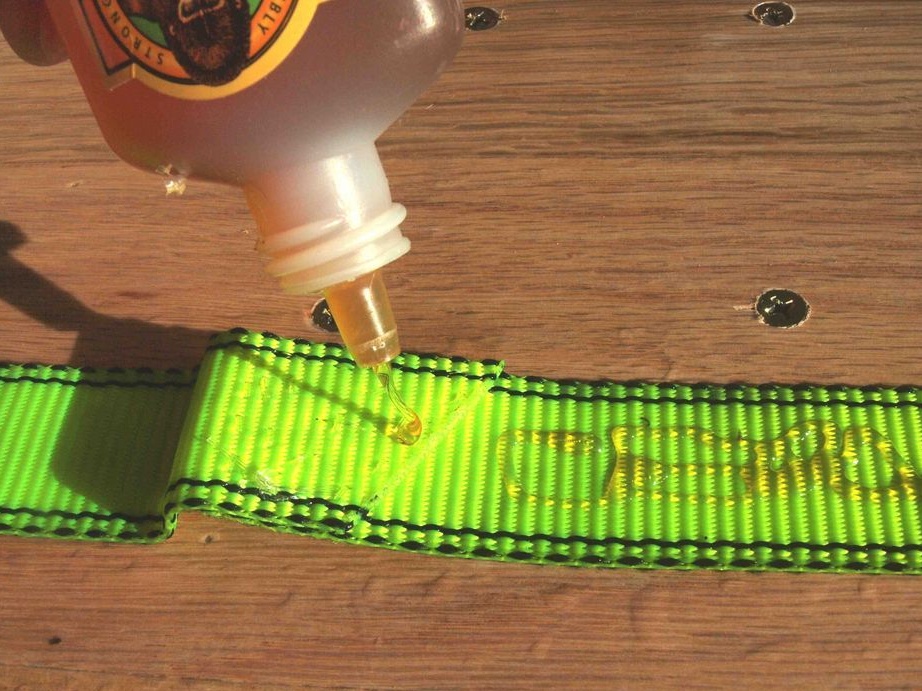
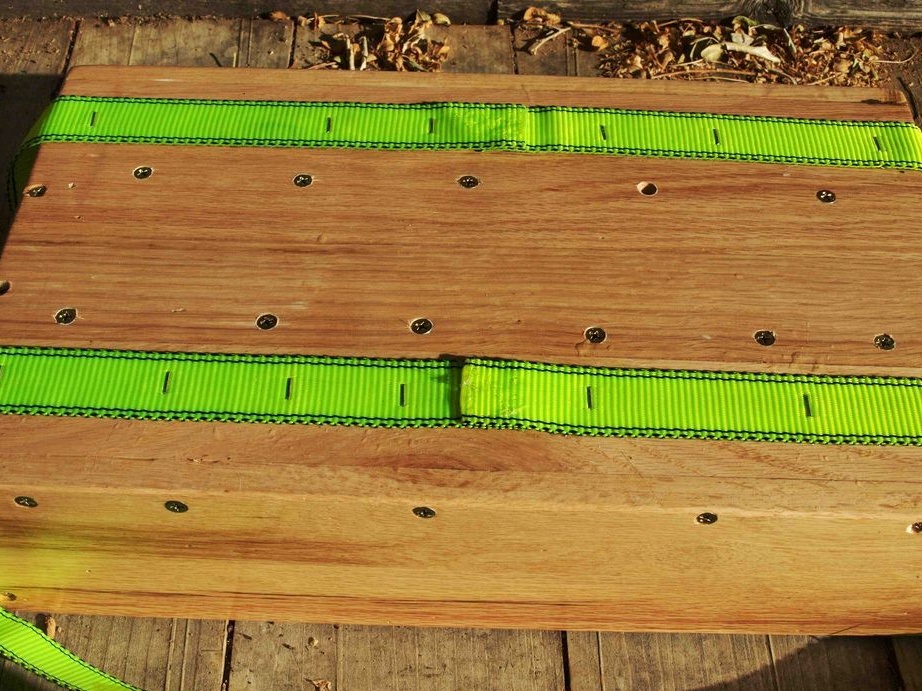
For the convenience of operation of this box, a handle is needed, in its role there will be two straps, which we attach with glue to the bottom and fix with a construction stapler, and in order to glue glue we put something heavy on the box.

And in the end, fill the box with your keys and it will certainly help in your garage.
The homemade product is ready for this, I wish all the inhabitants of our sites the best ideas and the development of their talents in this field, as well as special thanks to the author valensia7.