

Hello, friends the inhabitants of our site and site visitors! Many of you have your own carwhich sometimes needs to be repaired do it yourself in the garage. To do this, we need a bright carry or flashlight. Here is a flashlight I want to offer you.
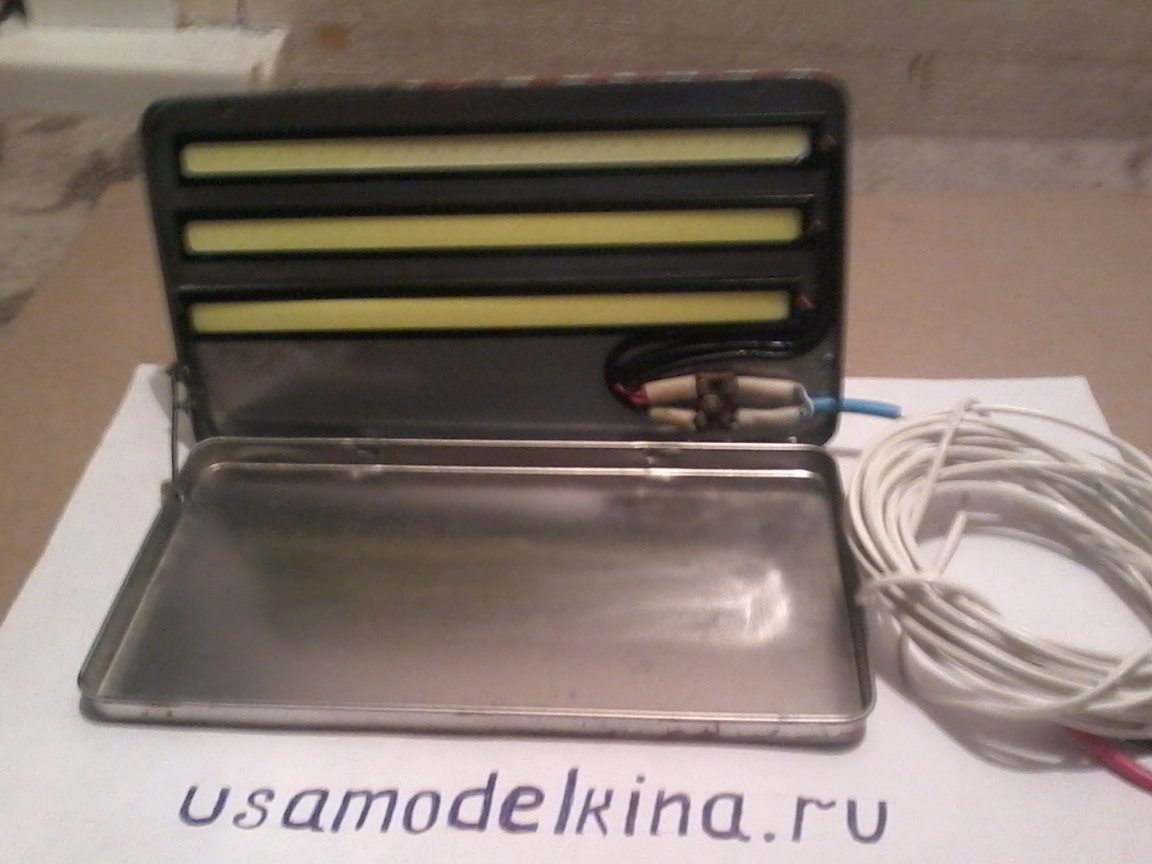
I ordered three LED strip on Aliexpress. I received the parcel exactly one month after the order. Ribbons 17 cm long and 1.5 cm wide are shown in the photo. Each tape has 28 white LEDs. The current consumption of each tape is -190 mA, the supply voltage is 12V. For homemade work, we need the following parts and tools.
It: three 12V LED strips

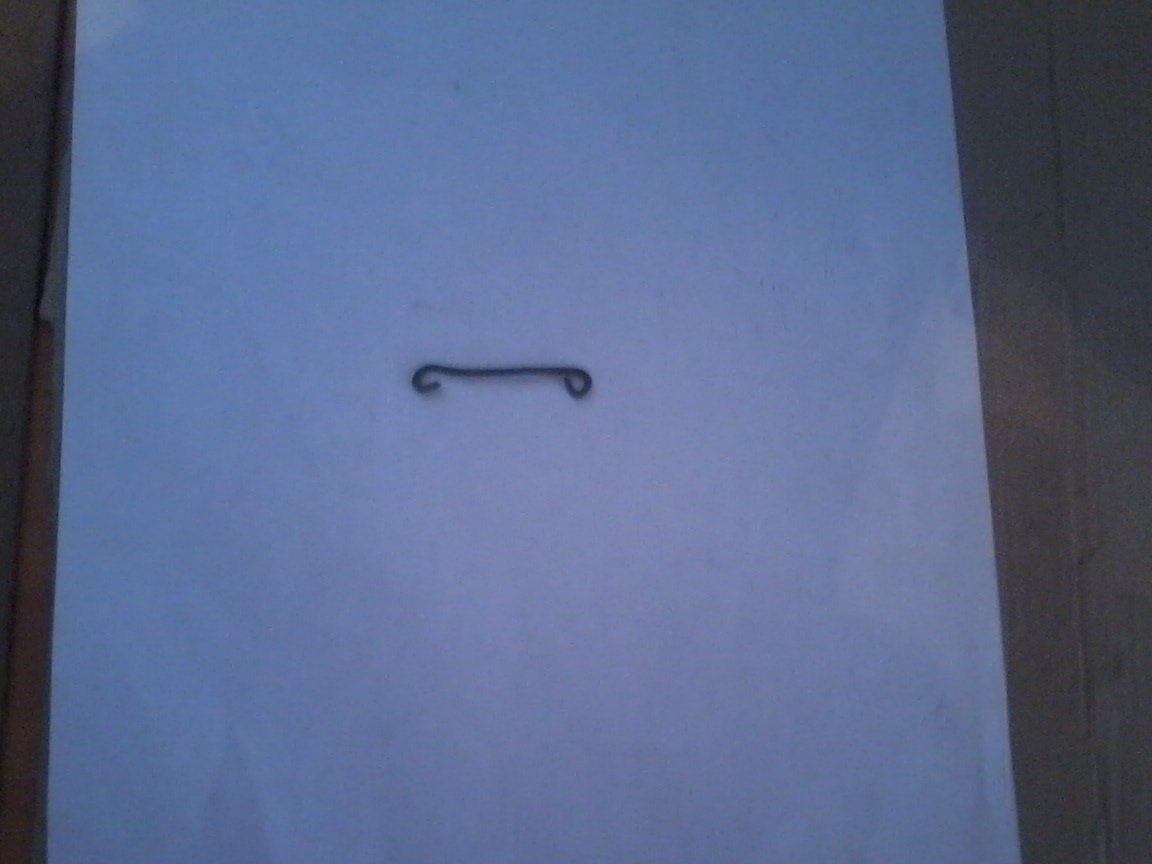
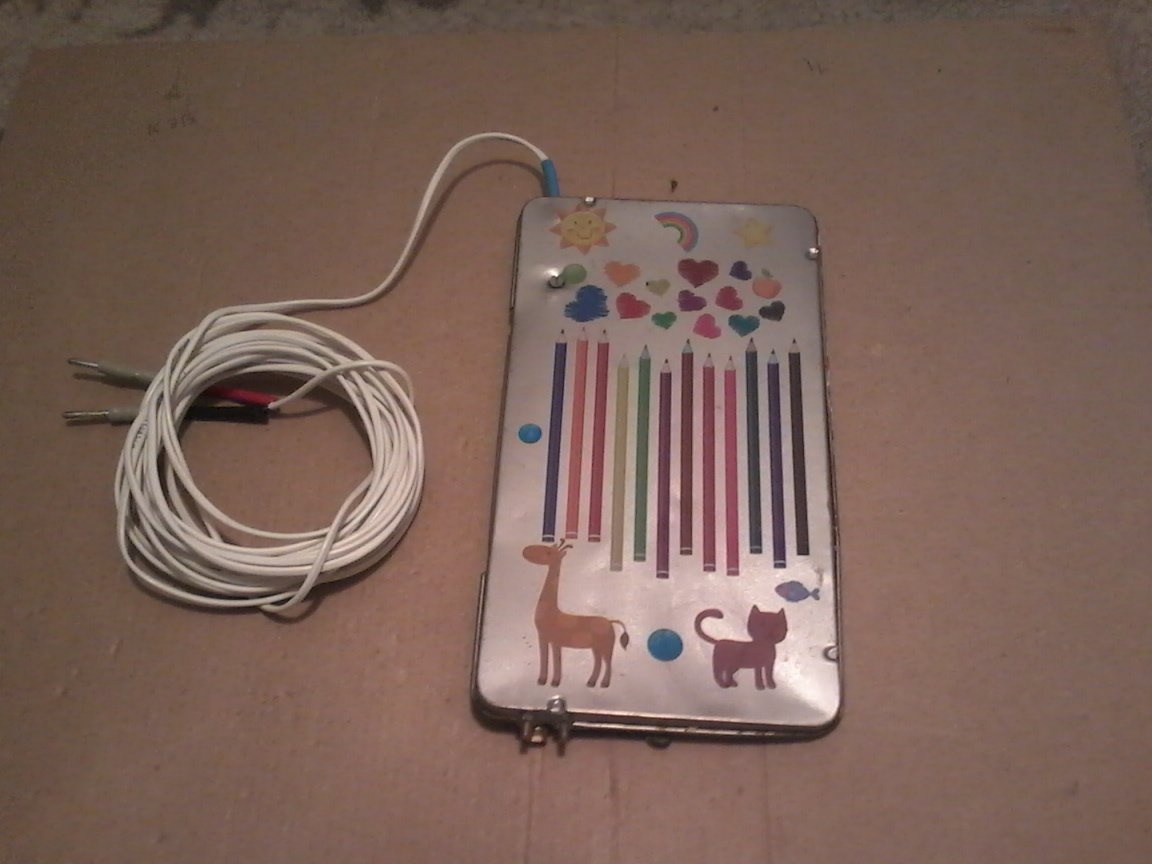
You can do more, a small mounting plate with petals for soldering 1 * 1.5 cm in size, a mounting network wire with a cross section of 0.75 mm - 4 mm, a piece of any wire 5-10 cm long, 1 mm in diameter, M 2 screws and nuts, two plugs or two crocodile clamps - if you feed the lamp from the car’s battery.
Instruments: soldering iron, solder, tweezers, pliers, wire cutters, screwdriver, drill, drill.
We assemble in the following sequence:
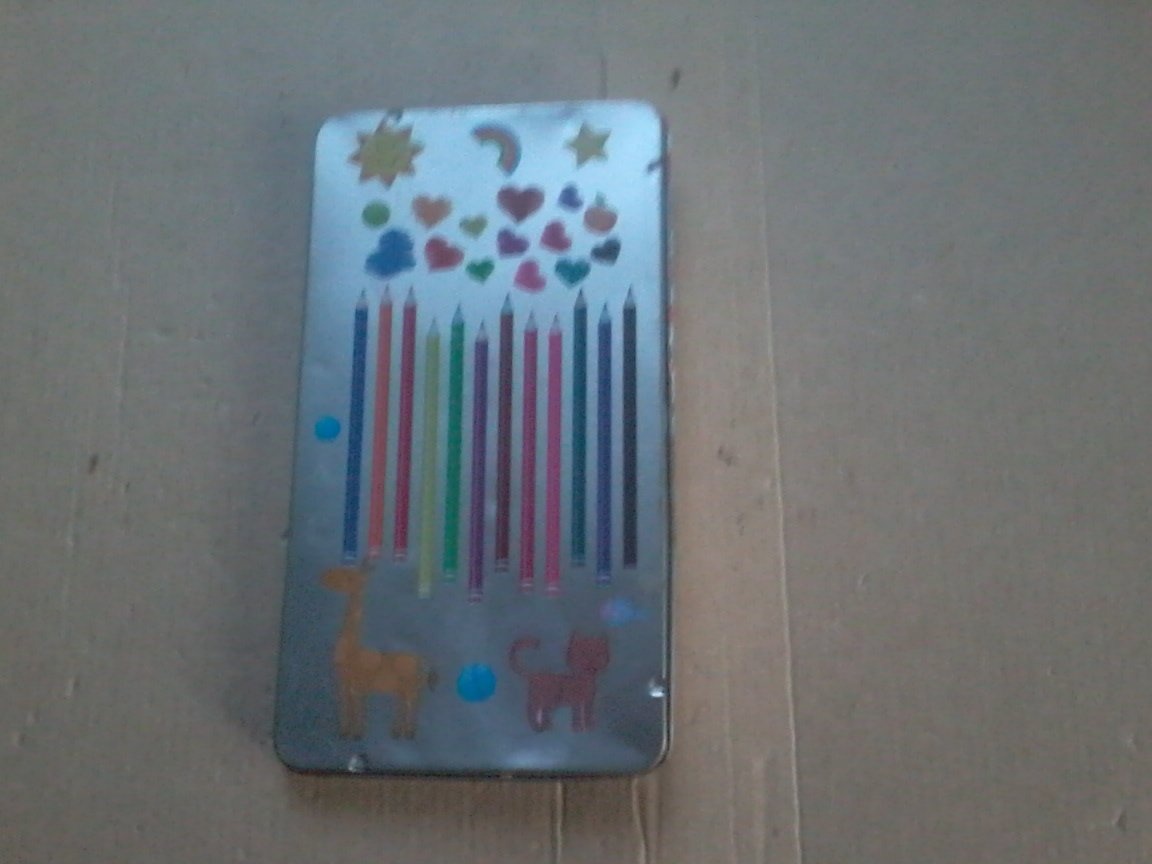
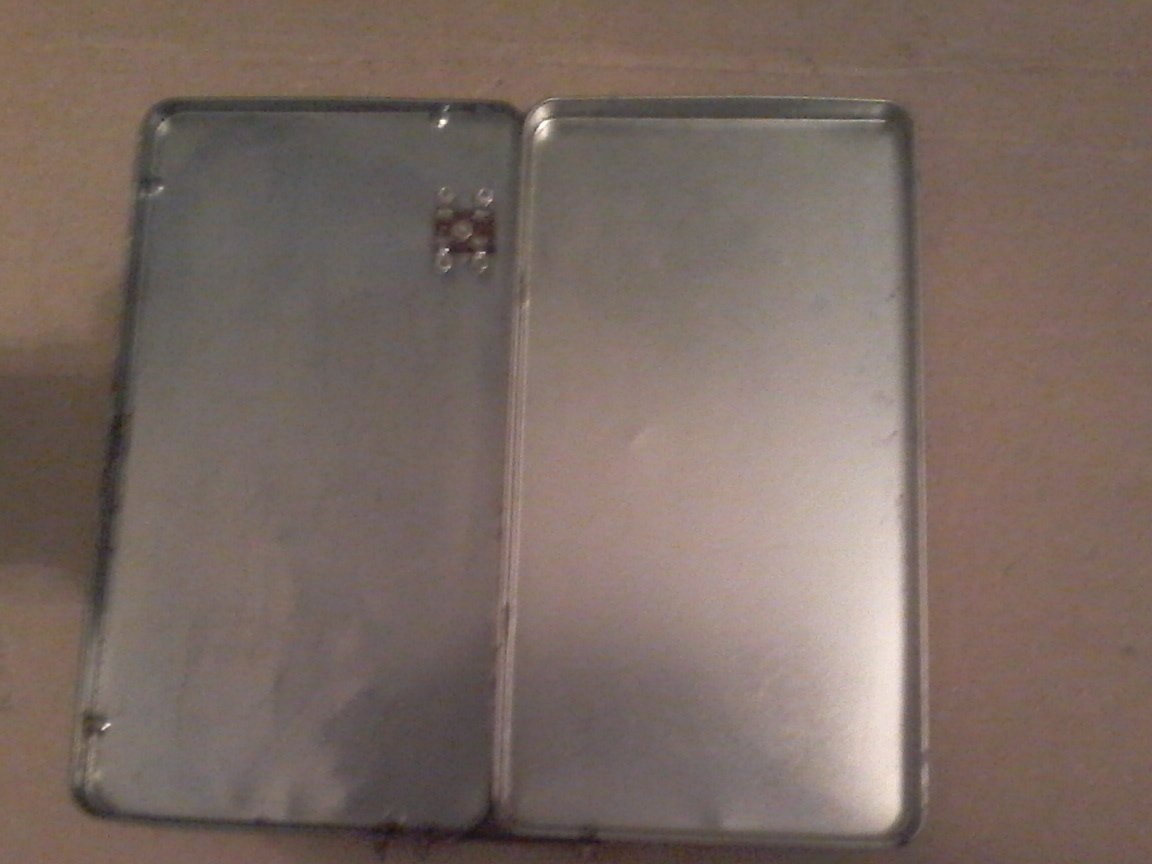
Step 1. We take an ordinary iron children's pencil case, size 18.5 * 10 * 1 cm.

In the upper case cover on the left side, we fix two M2 screws with nuts, as shown in the photo.
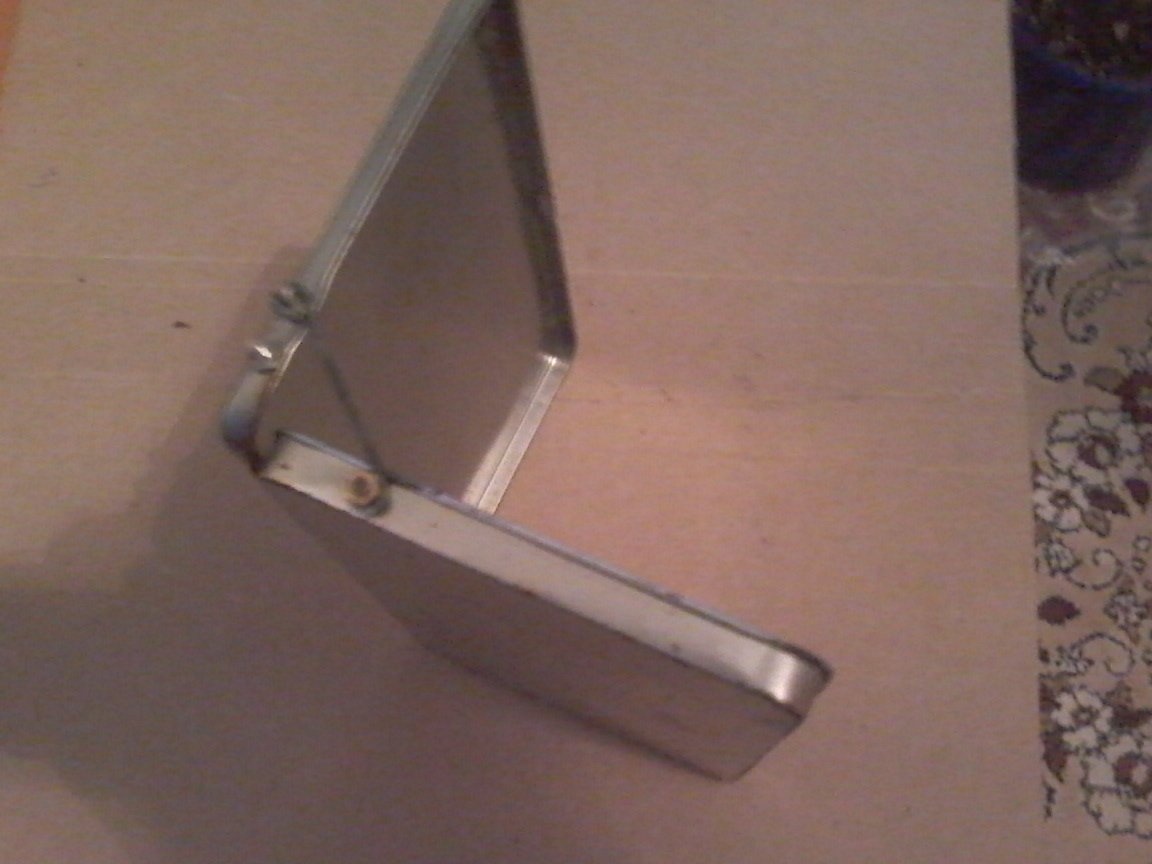
The screws should protrude outward by 5 mm. In the bottom cover, we do the same, just put one screw, and fix on it a piece of wire, bent on both sides in the form of rings. All this is shown in the photo.
Thus, the pencil case will be fixed in three positions - 90, 120 and 180 degrees.
Step 2 In the upper cover at the bottom right we fix a scarf with petals.
Then we glue all the LED strips using double-sided tape inside the top cover. Adhesive tape comes complete with ribbons.
Step 3 We solder all the conclusions of the tapes with the petals of the board and with the mounting wire.
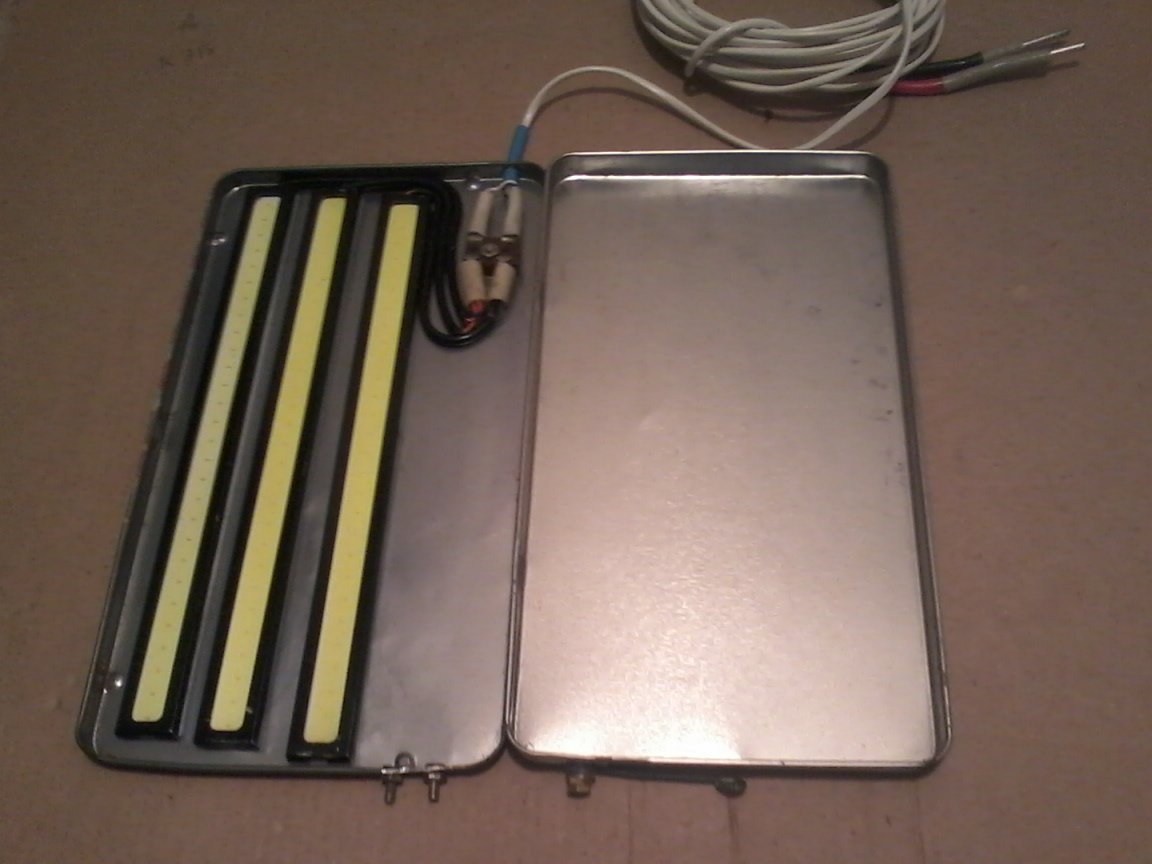
We solder the tapes in parallel, that is, all three red wires (this is plus power) to one terminal, and black wires (minus) to the other terminal. At the other end of the mounting wire I solder two plugs to connect to the power supply of the old computer.
Step 4. I fix the covers of the pencil case to the position of 90 degrees. I connect the 12V power from the power supply and check the operation of the flashlight. Shown in the photo.
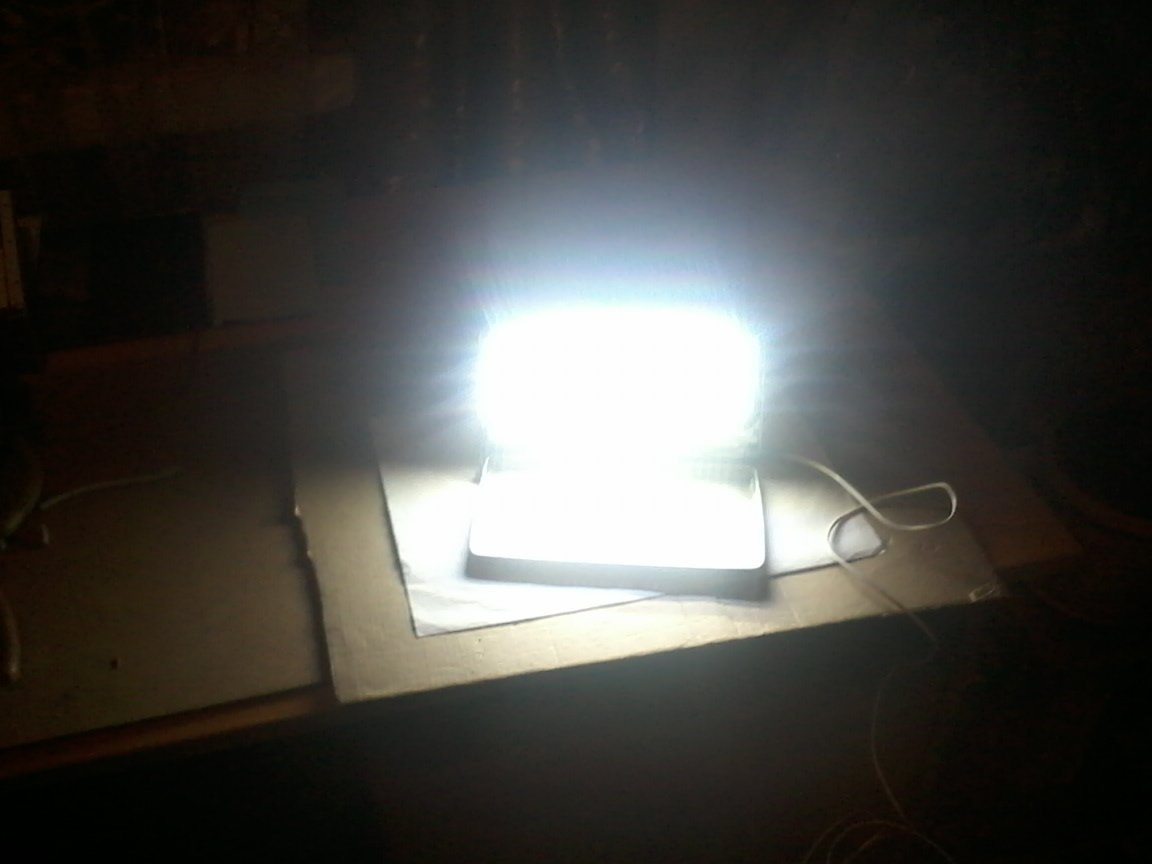
Homemade ready.
It has a small size, easy to use, and it shines quite brightly.
That's all. I wish you success in your work and all the best friends! See you again.