How to convert a lamp with a lead-acid battery into a LED with a lithium-ion? This is the question we will consider in this article with the help of a wizard from Canada.
Tools and materials:
-Manual rechargeable flashlight;
-Lithium-ion batteries Samsung INR18650;
-LED driver;
-LED Cree XHP 70.2;
-Radiator;
-Fan;
-Reflector;
-Shrink tubes;
-Multimeter;
-Sheet metal;
-Wire;
-BMS- module;
-Nickel plate;
-Connectors;
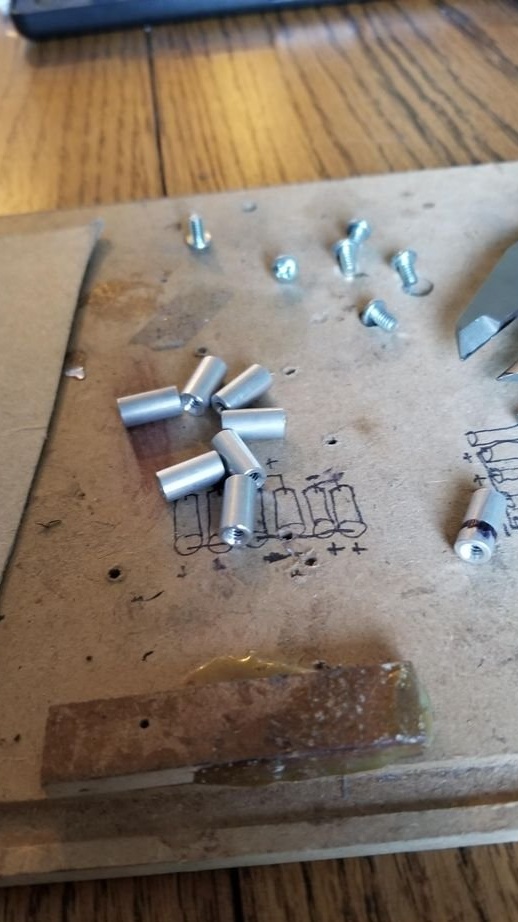
-Fasteners;
-Copper sheet;
-Dremel;
-Knife;
-Screwdriver;
-Soldering accessories;
-Charger;
-Drill;
-Band-grinding machine;
-Glue gun;


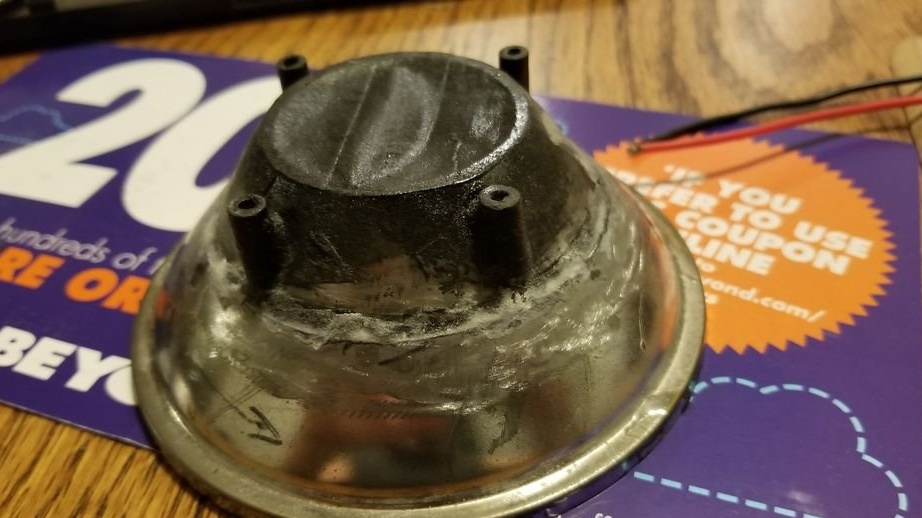
Step One: The Case
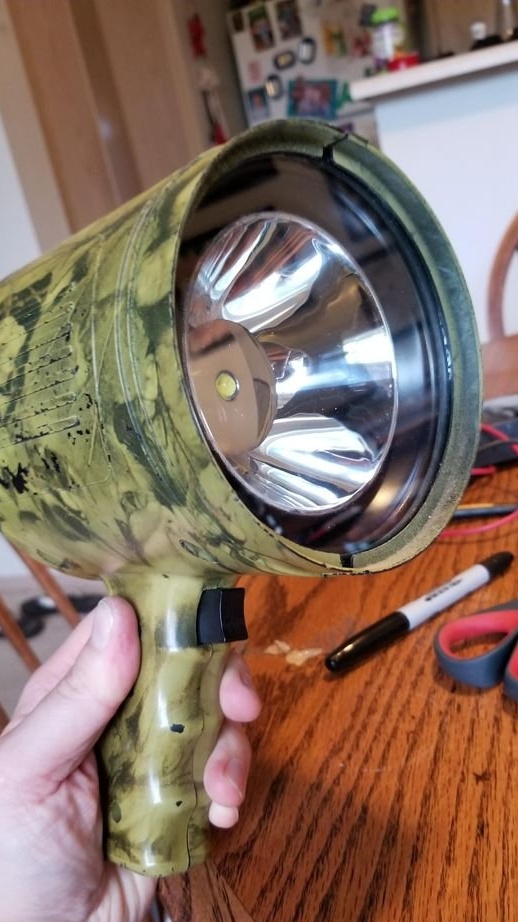
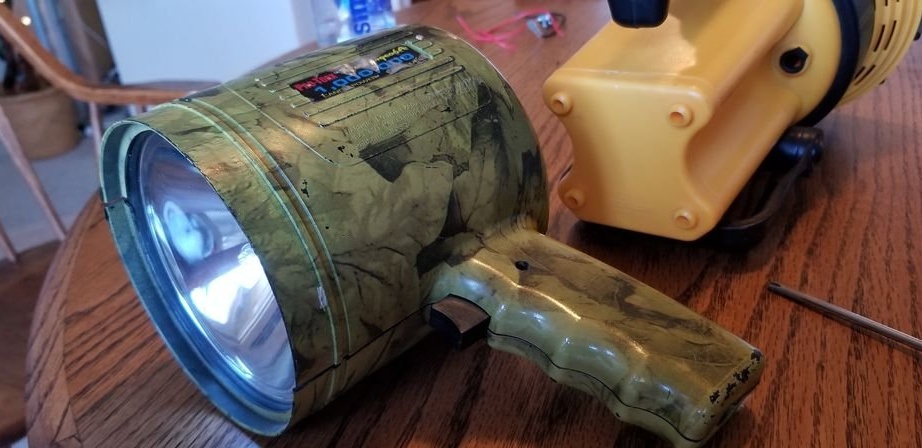
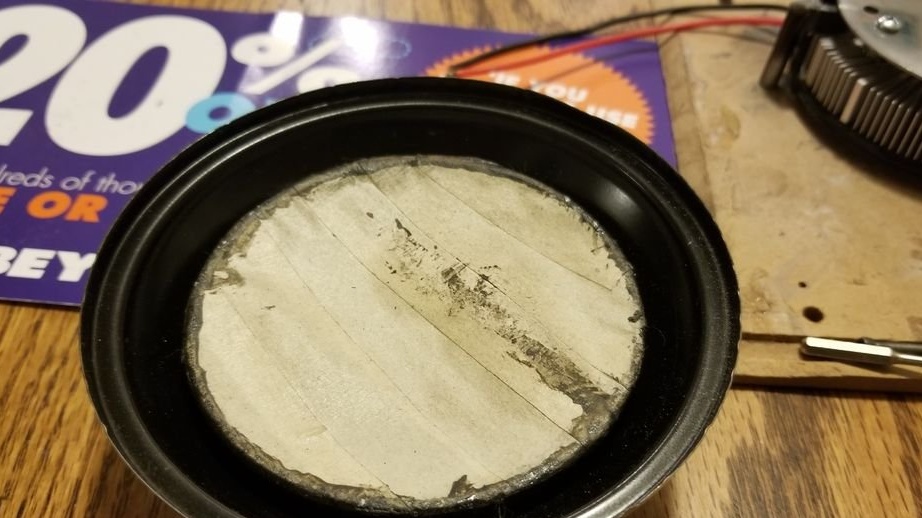
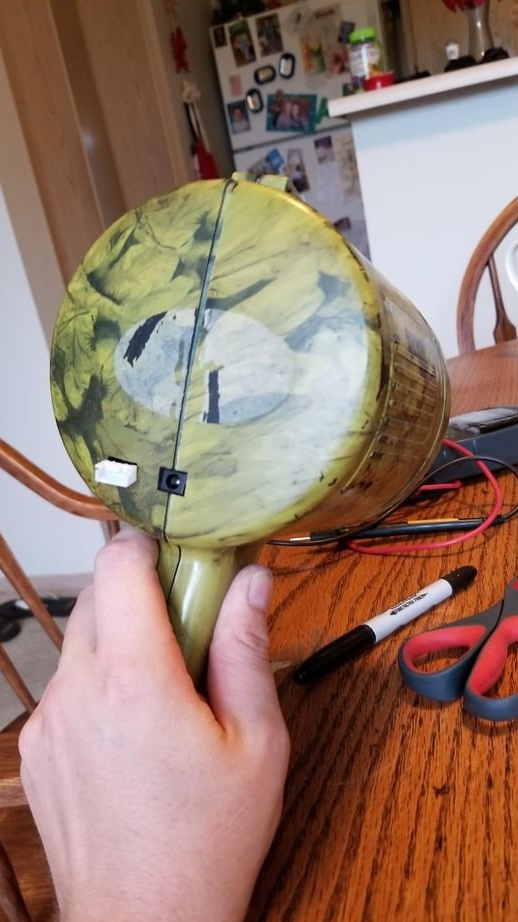
The master had a hand lamp with an old lead-acid battery, which was no longer charging. It was on the basis of this flashlight that he decided to make his homemade. The lantern is large enough to fit all the necessary parts in its housing.
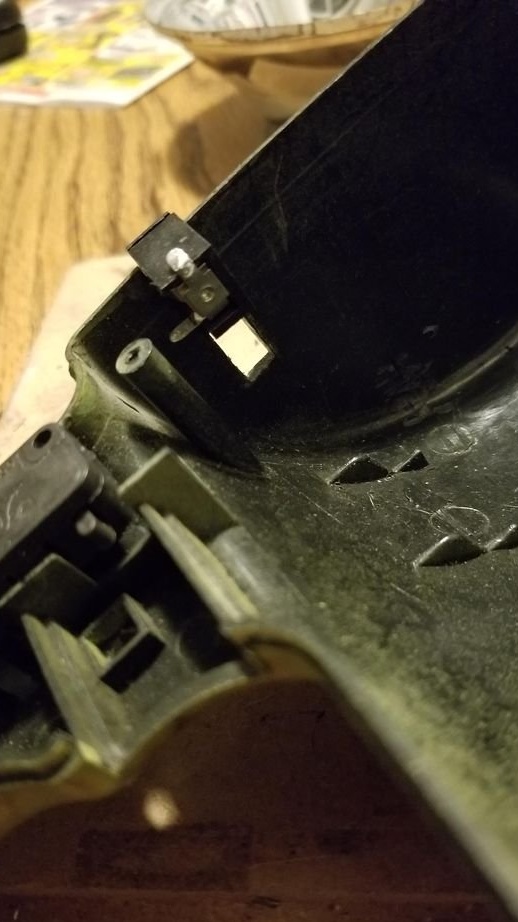
The body of the lamp master disassembles and dismantles the battery, bulb, electronics.


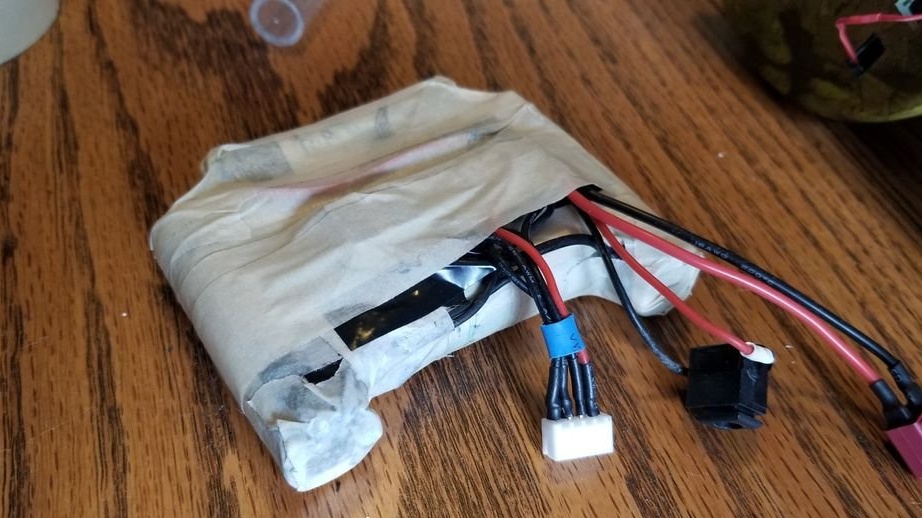
Step Two: Power
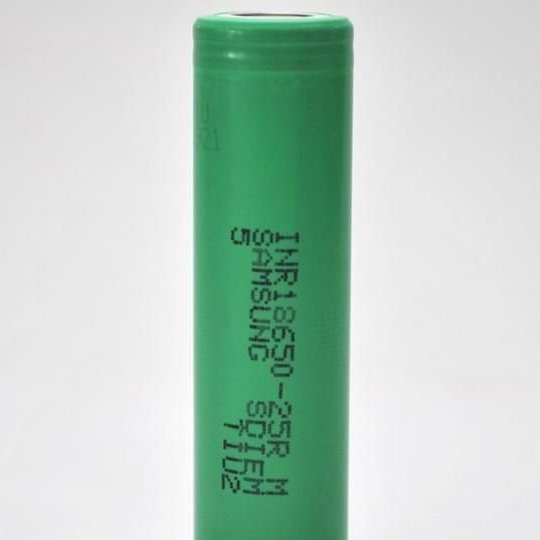
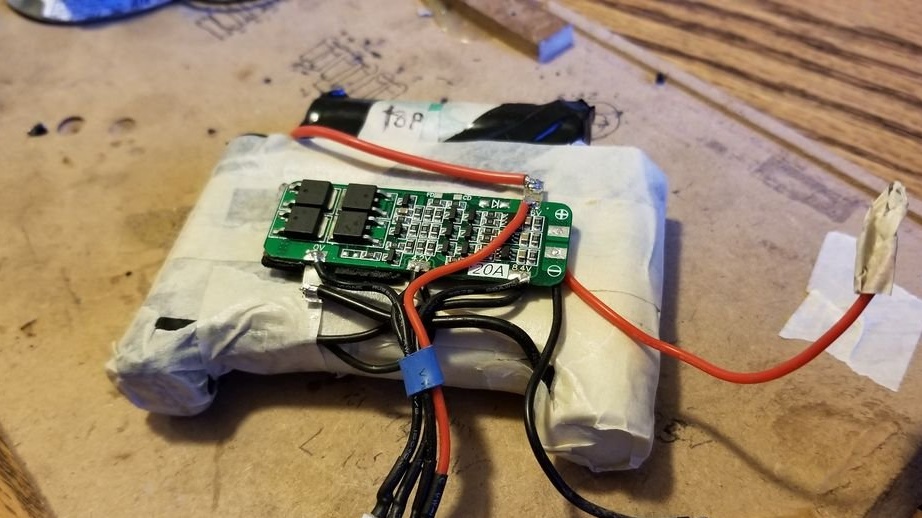
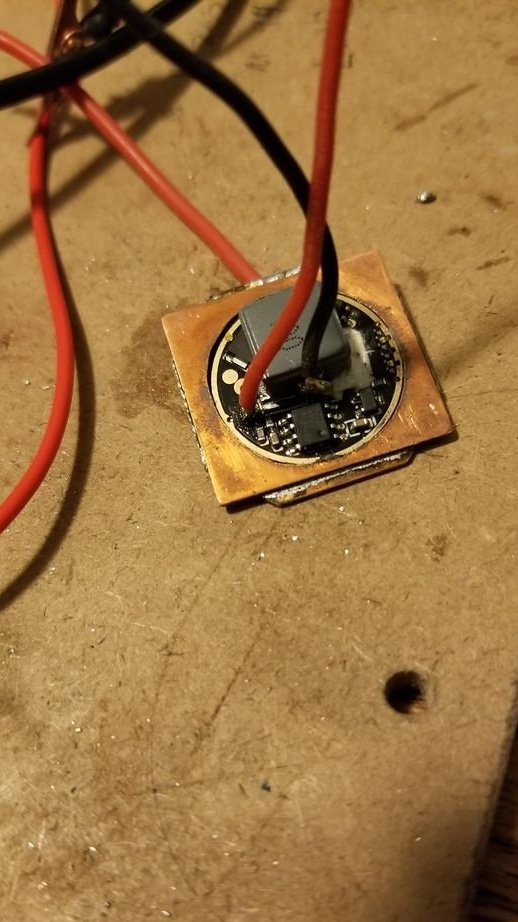
As a power source, the master uses a 3S2P lithium-ion battery made of 6 18650 batteries. SAMSUNG INR18650-25R 2500 mAh 3.6V batteries. Discharge current max., A 20. Charge current max., A 4. When connected using the 3S2P circuit, this gives 5000 mAh, which should provide light at maximum power for 45 - 50 minutes.
In the circuit, the master uses BMS to control the charge / discharge and a connector for the charger.


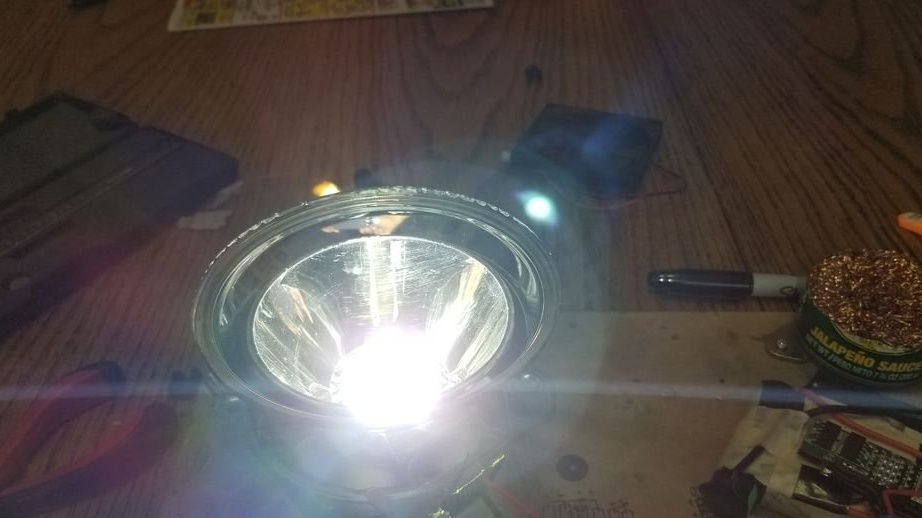
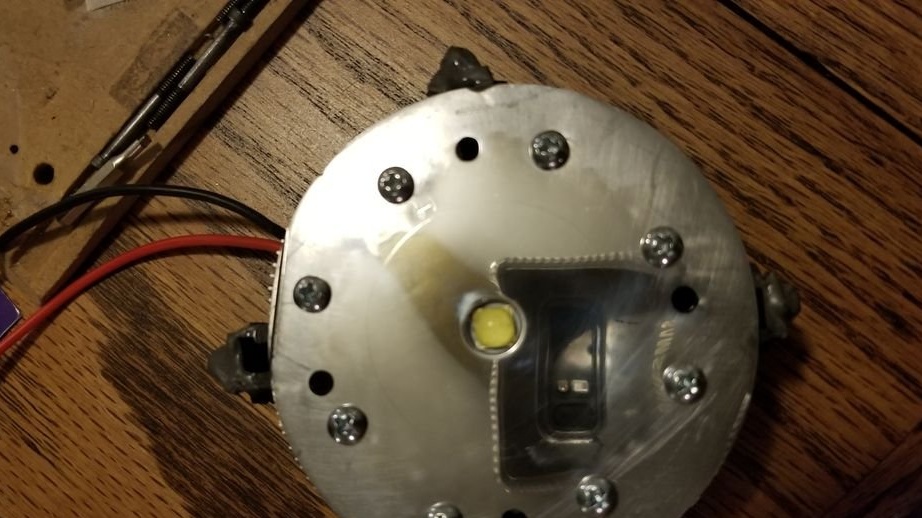
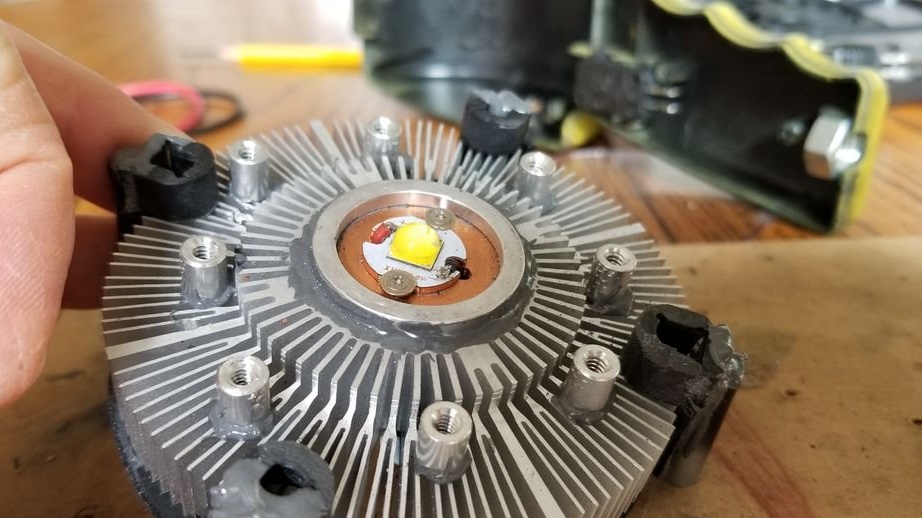
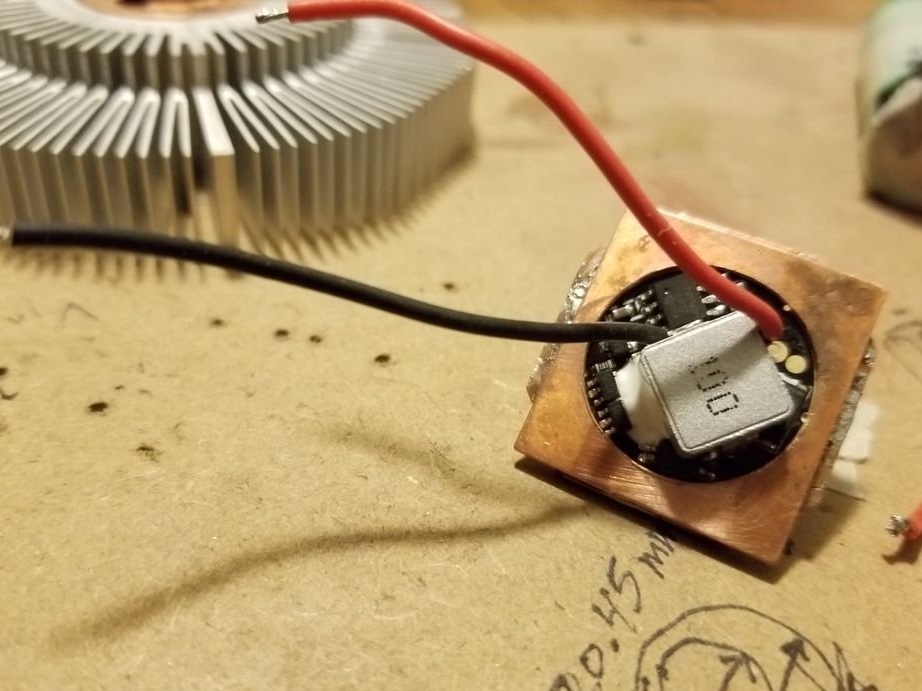
Step Three: LED Module
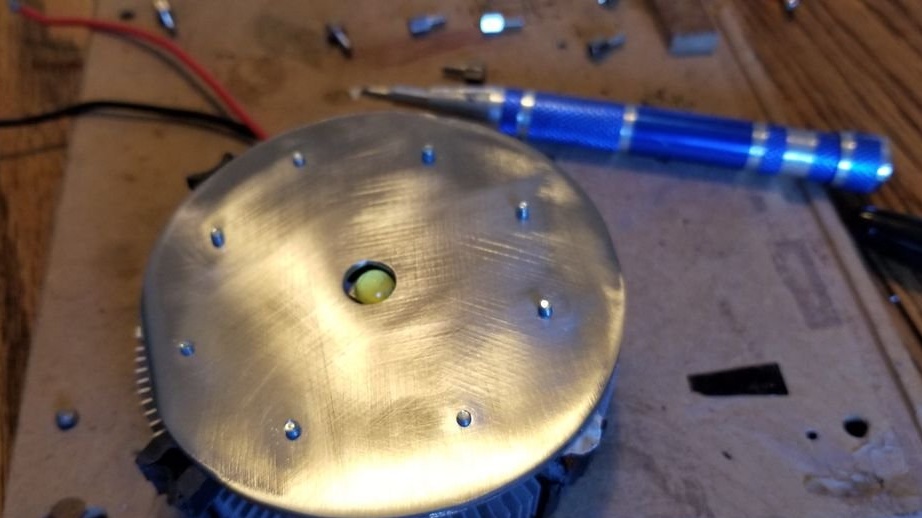
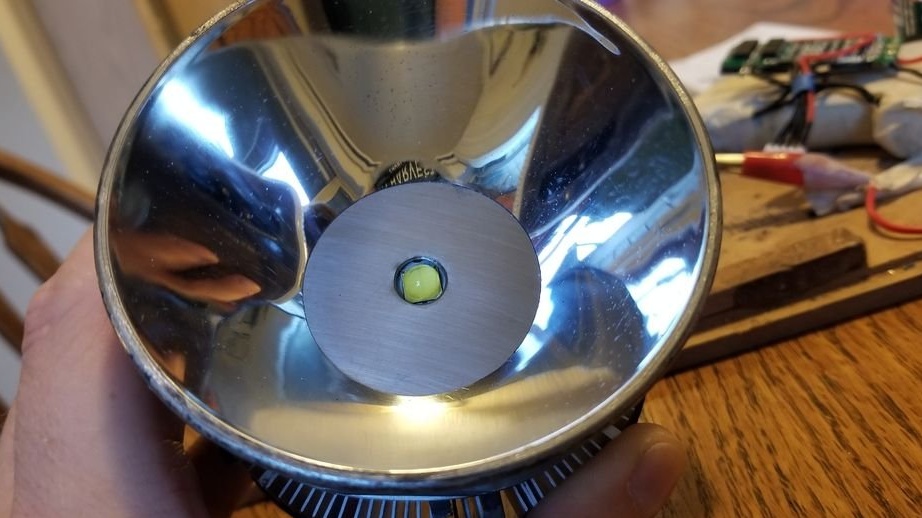
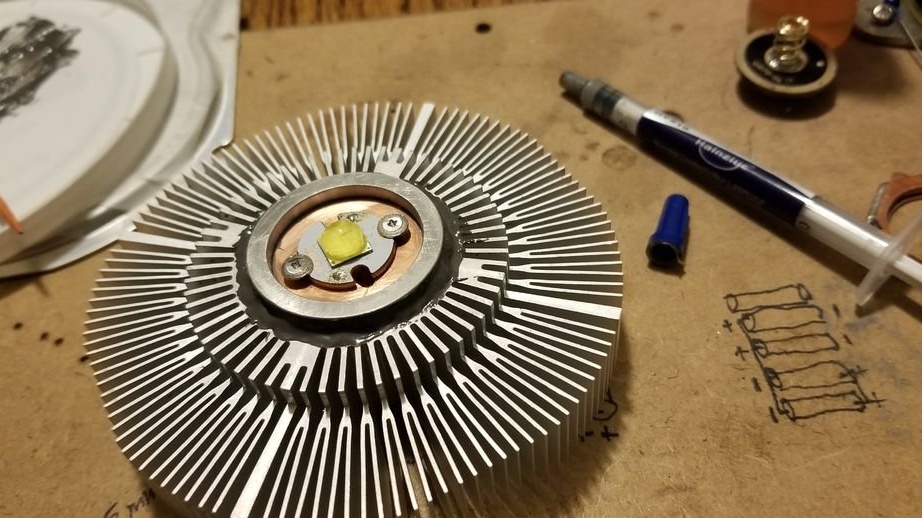
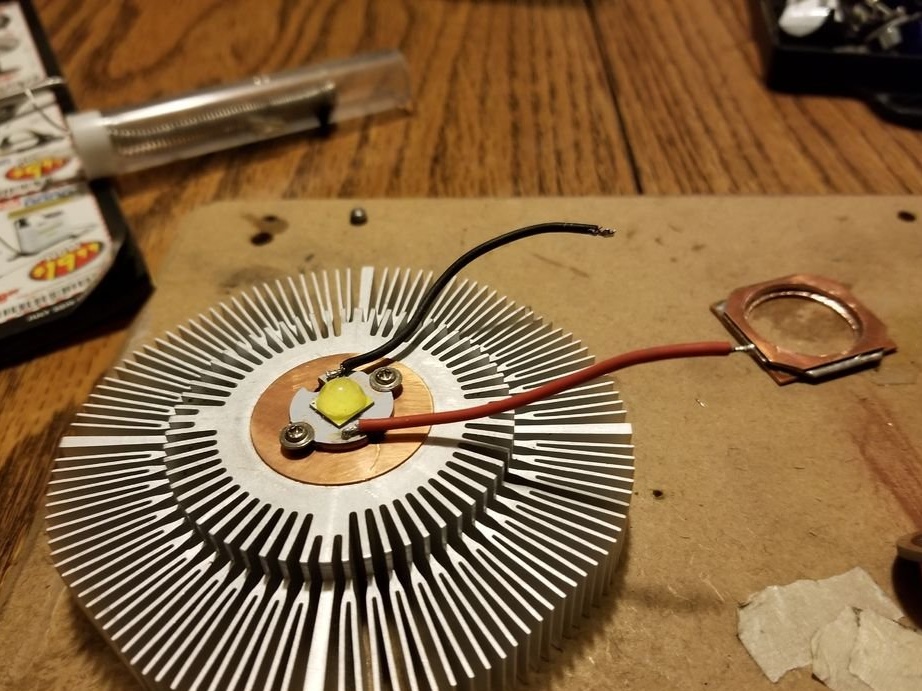
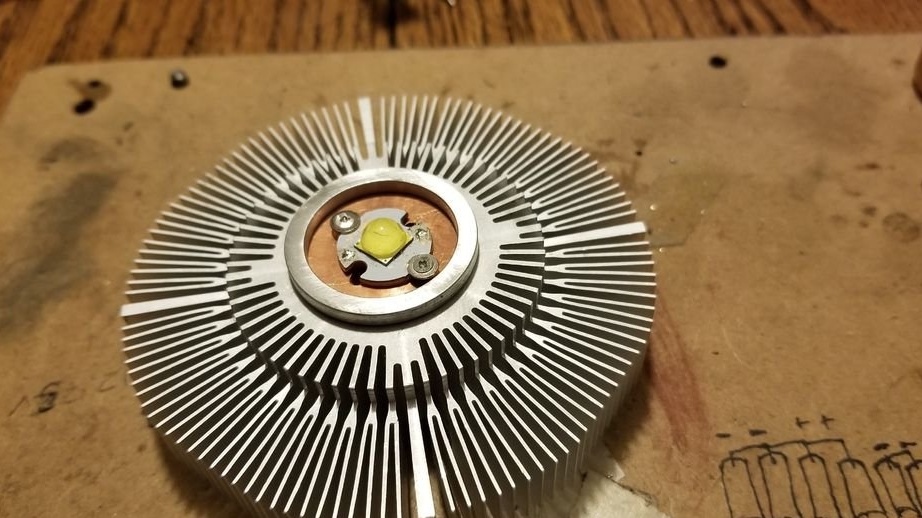
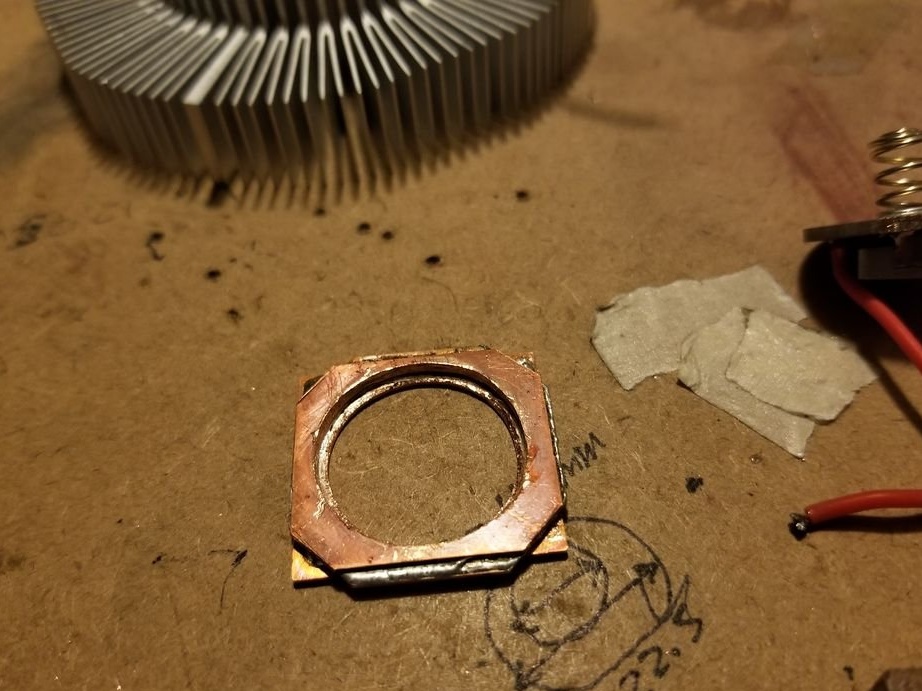
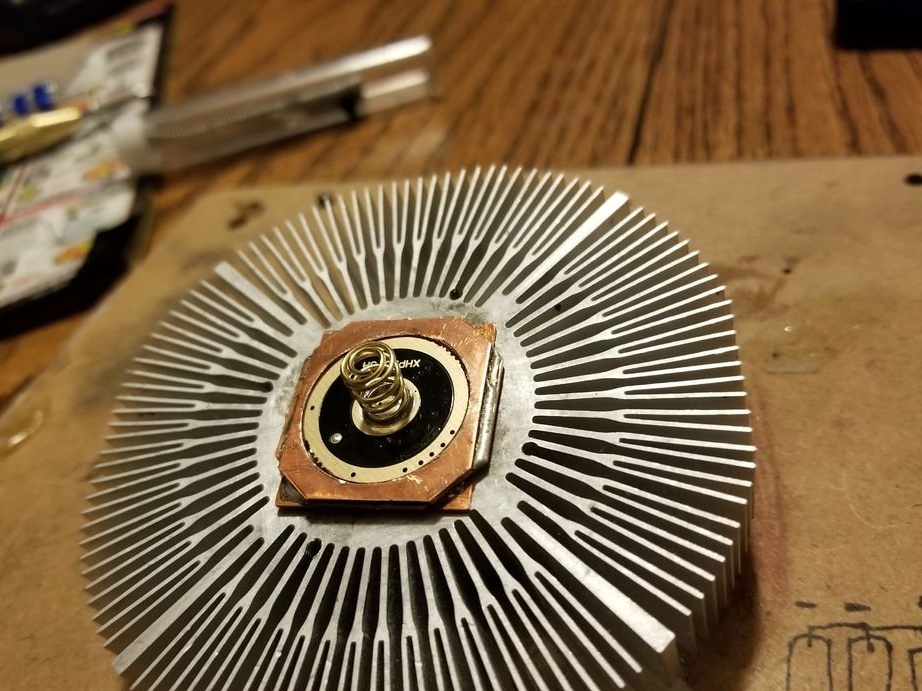
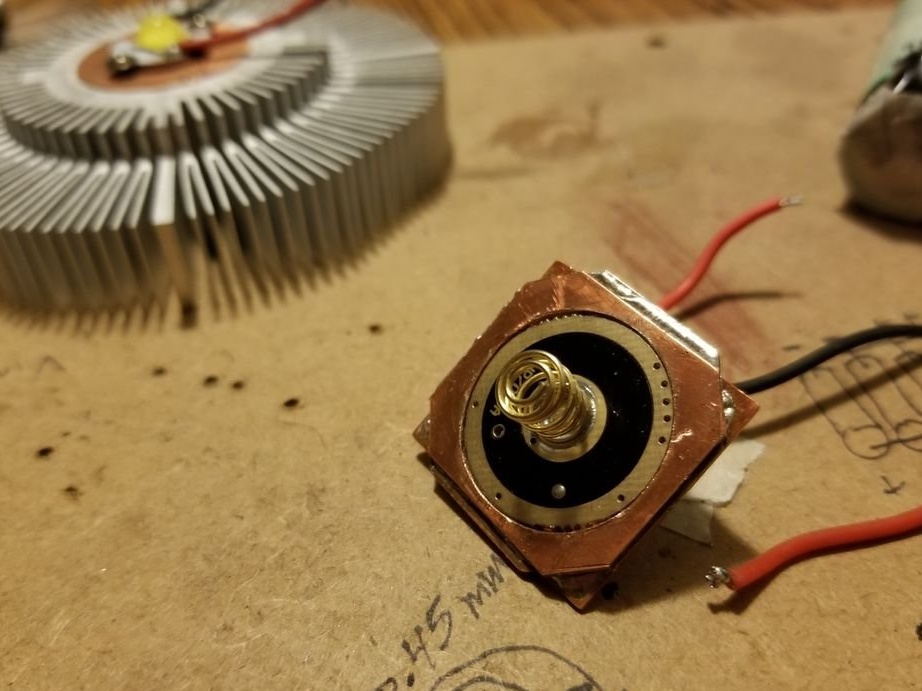
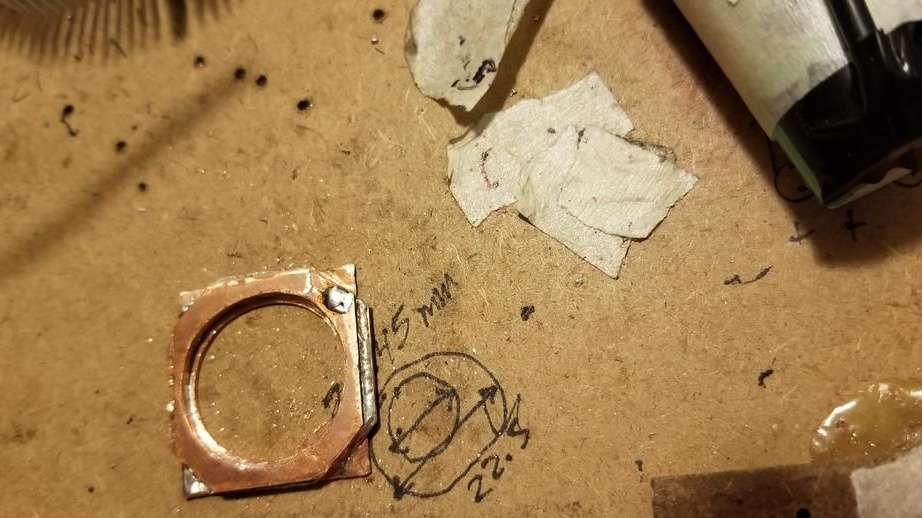
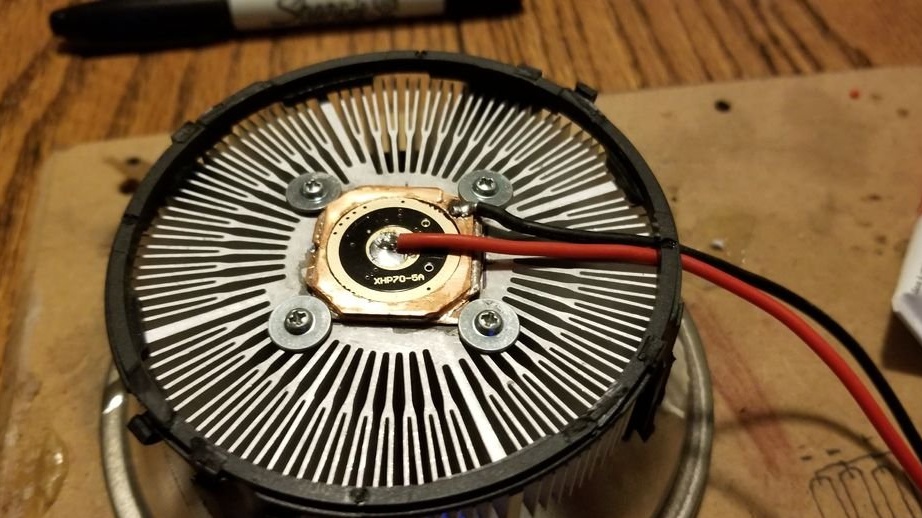
The master uses Cree XHP 70.2 as a light source. The LED is mounted on a mounting plate with a diameter of 16 mm over a copper plate 1.5 mm thick.
The driver has 5 modes: low, medium, high (100%), SOS mode and strobe mode.
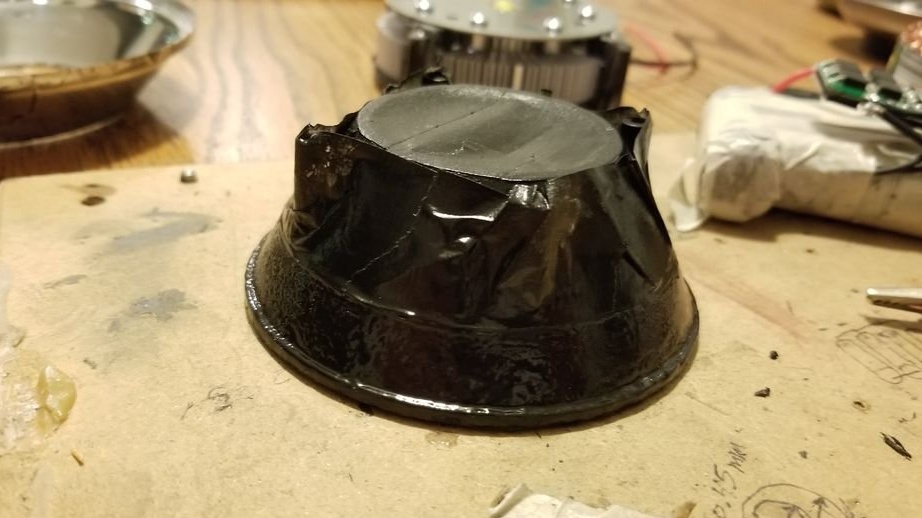
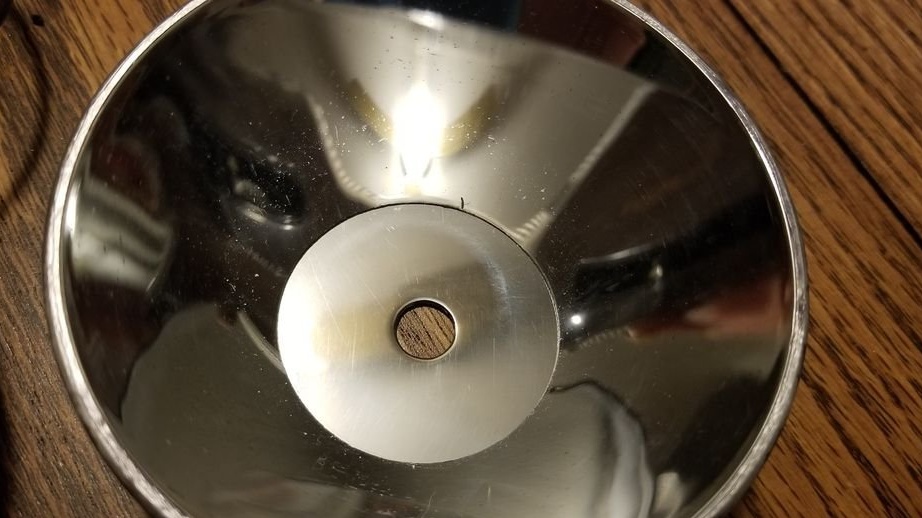
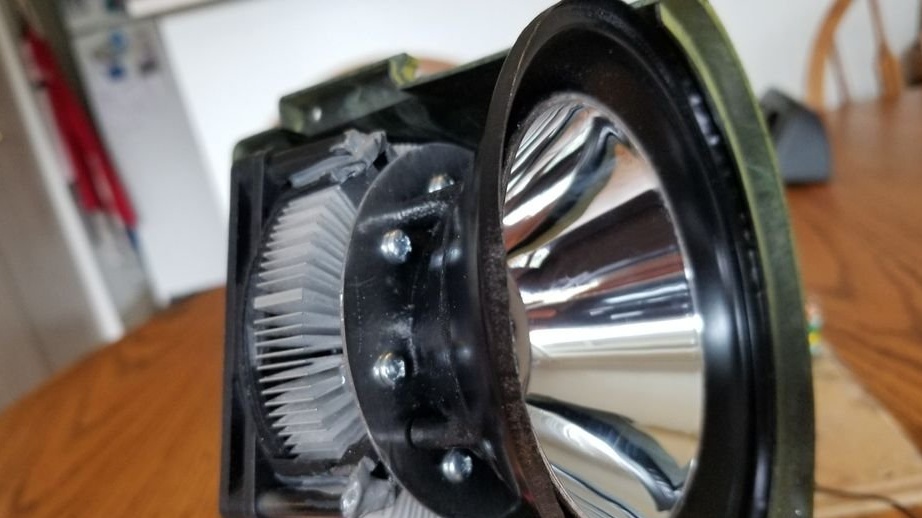
Since the reflector for the LED and the incandescent lamp are different, the reflector had to be modified. An LED and an incandescent lamp emit light in different ways. The light bulb scatters the light by almost 360 degrees, while the LED emits light at an angle of about 120 to 130 degrees from the center. LEDs are usually located behind the reflector, while incandescent lamps are located at the base of the reflector to better collect and focus light.
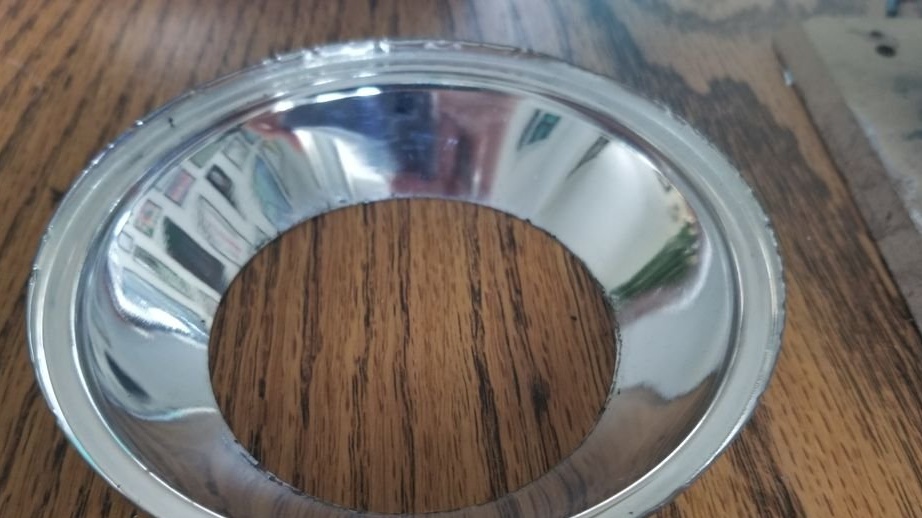

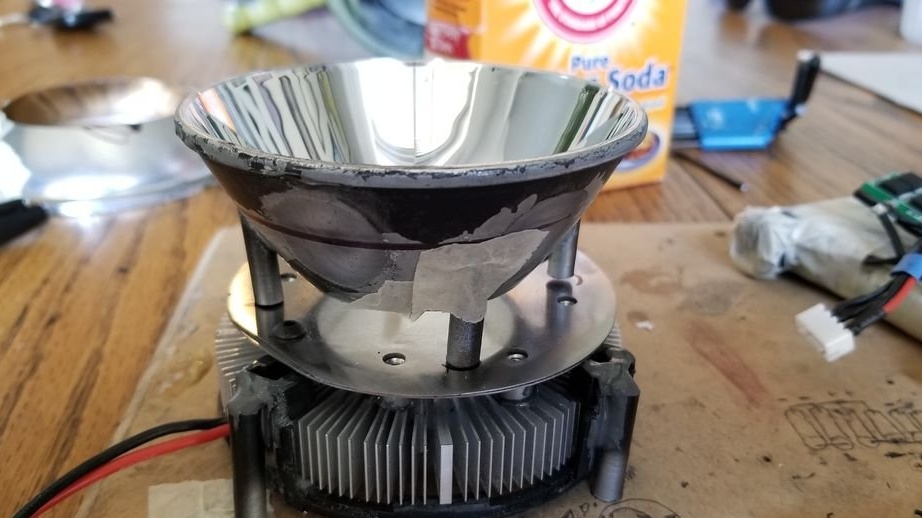
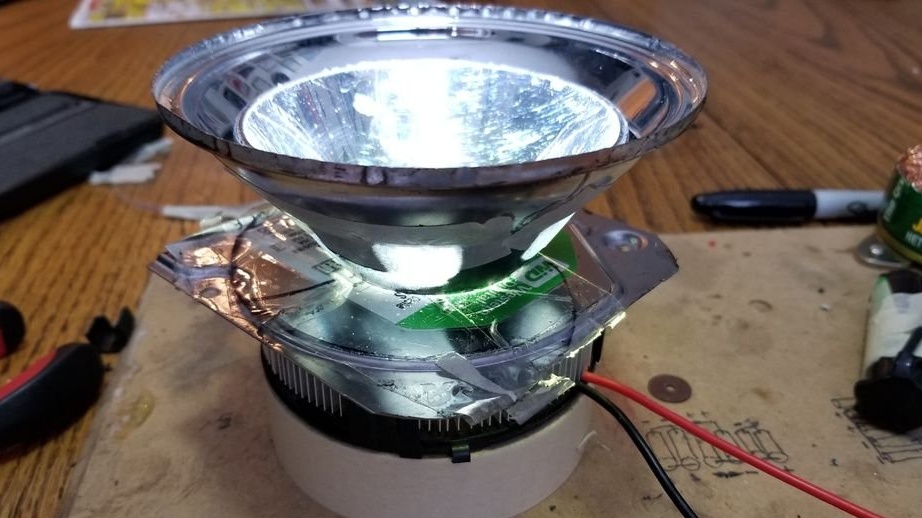
The master cuts off the middle part of the reflector. Cut a metal ring and polish it. Fastens it so that the LED is in the center of the ring. A reflector is mounted on top of the ring.

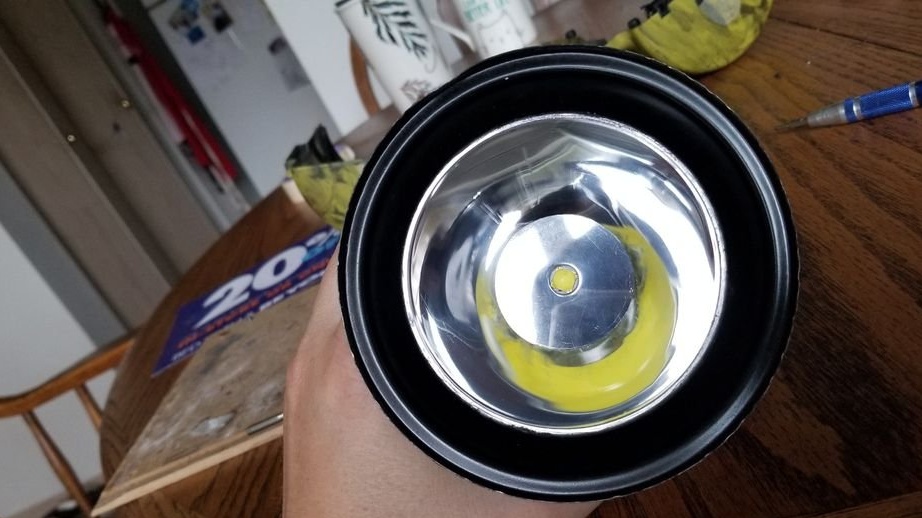


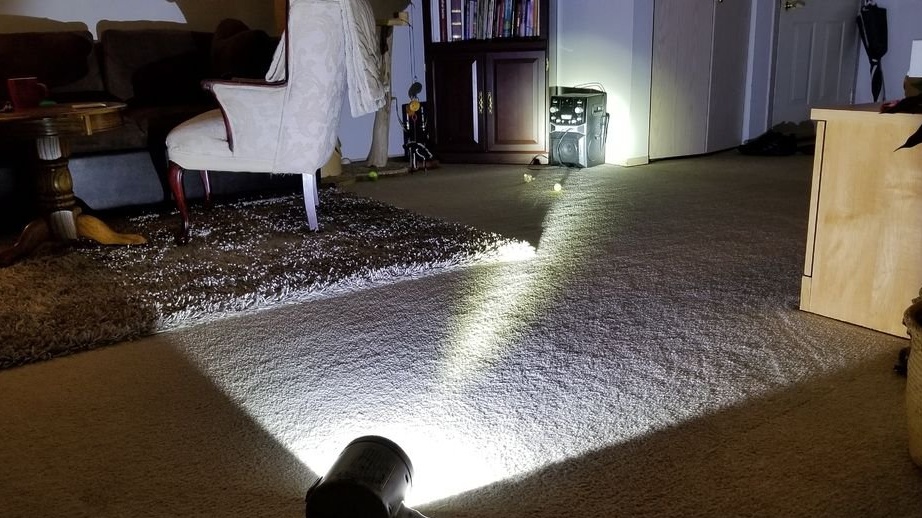
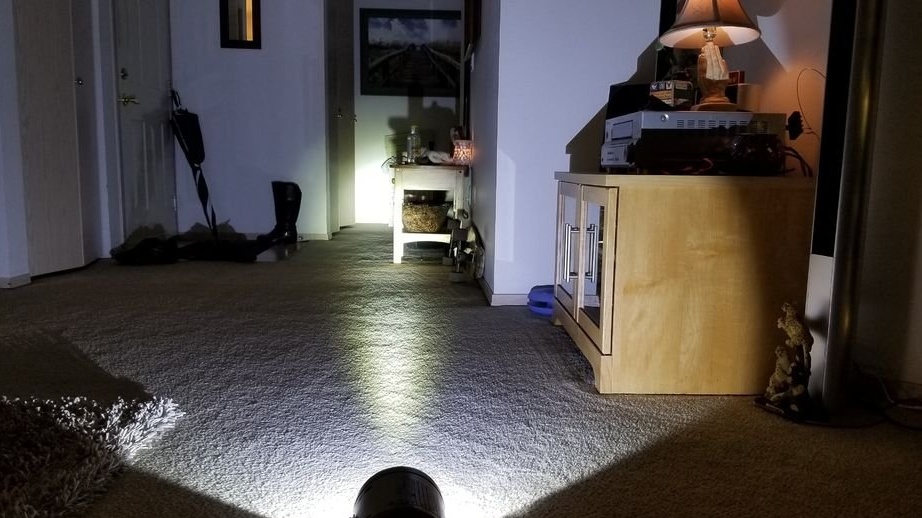
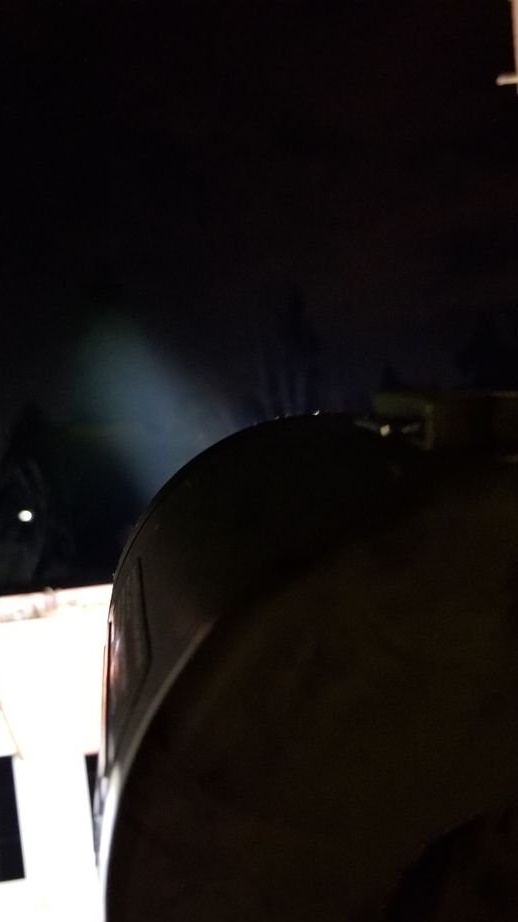
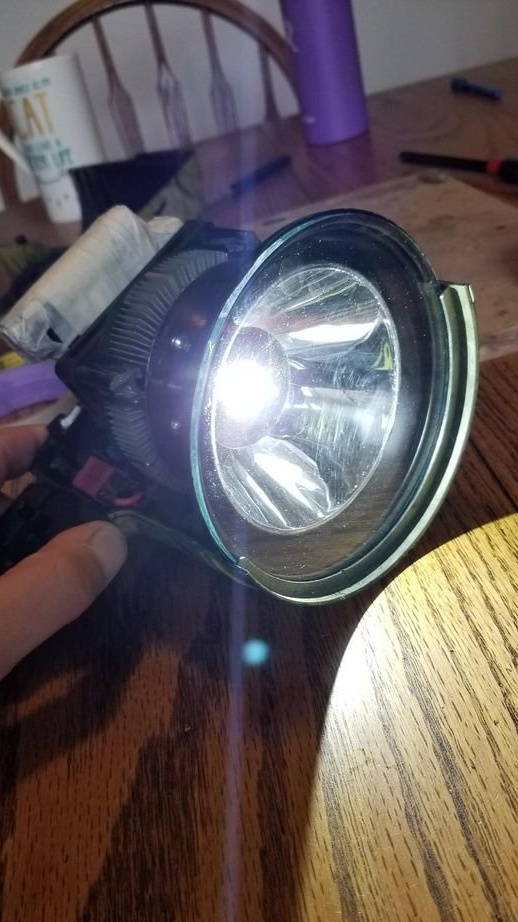
After assembly, it checks the operation.
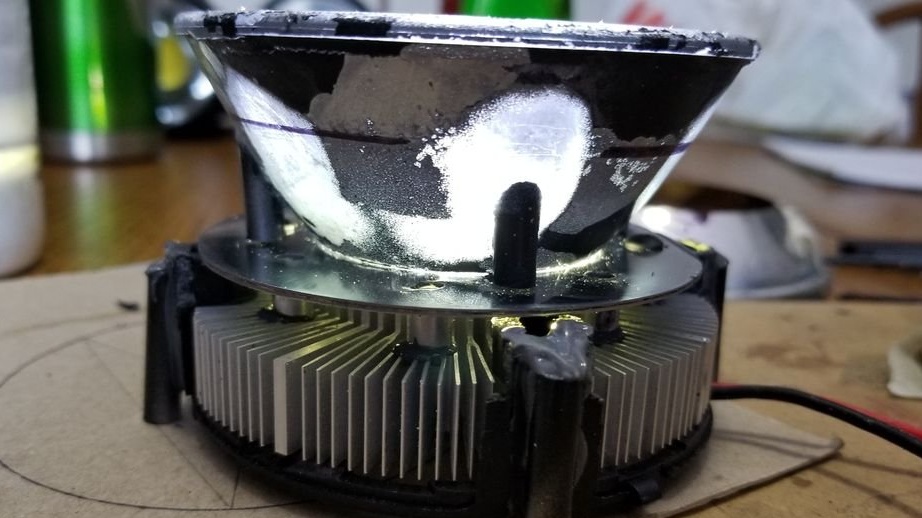
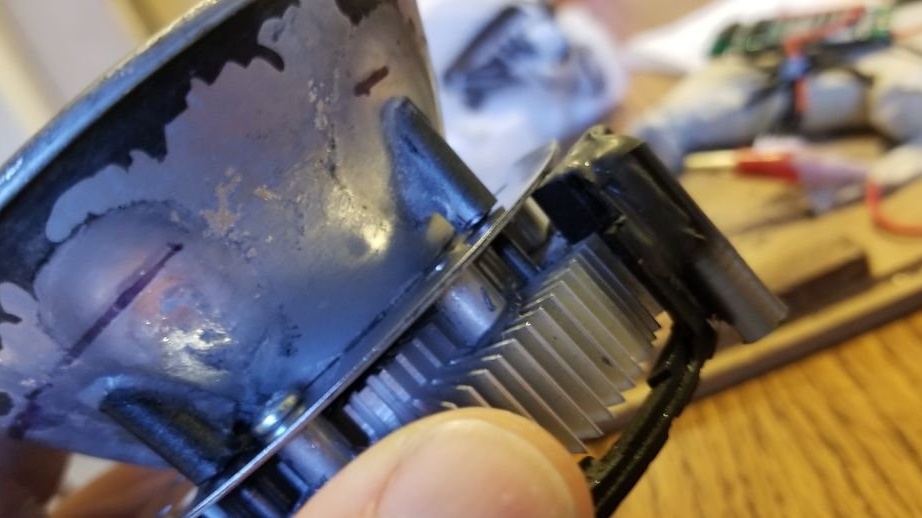
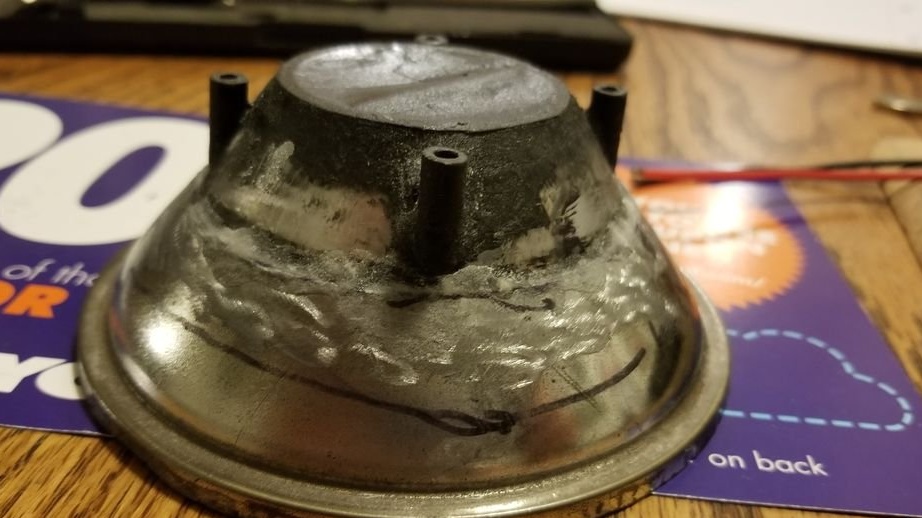
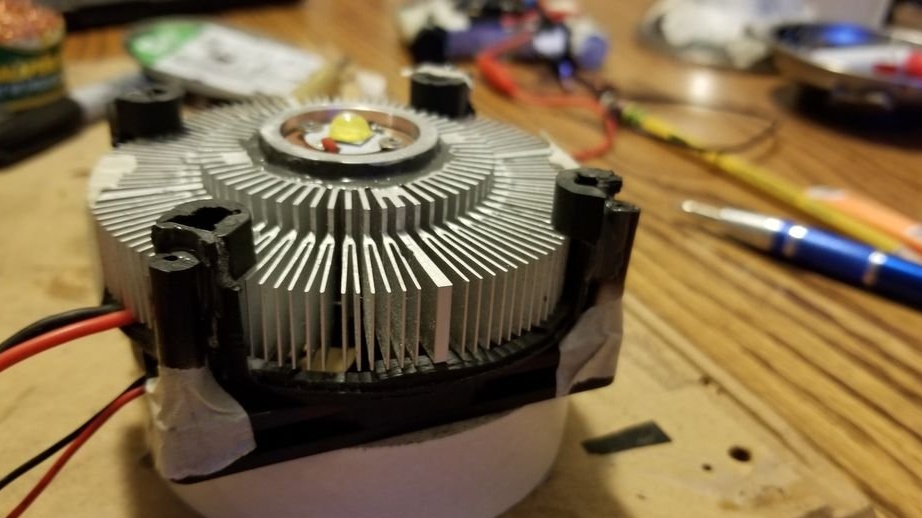
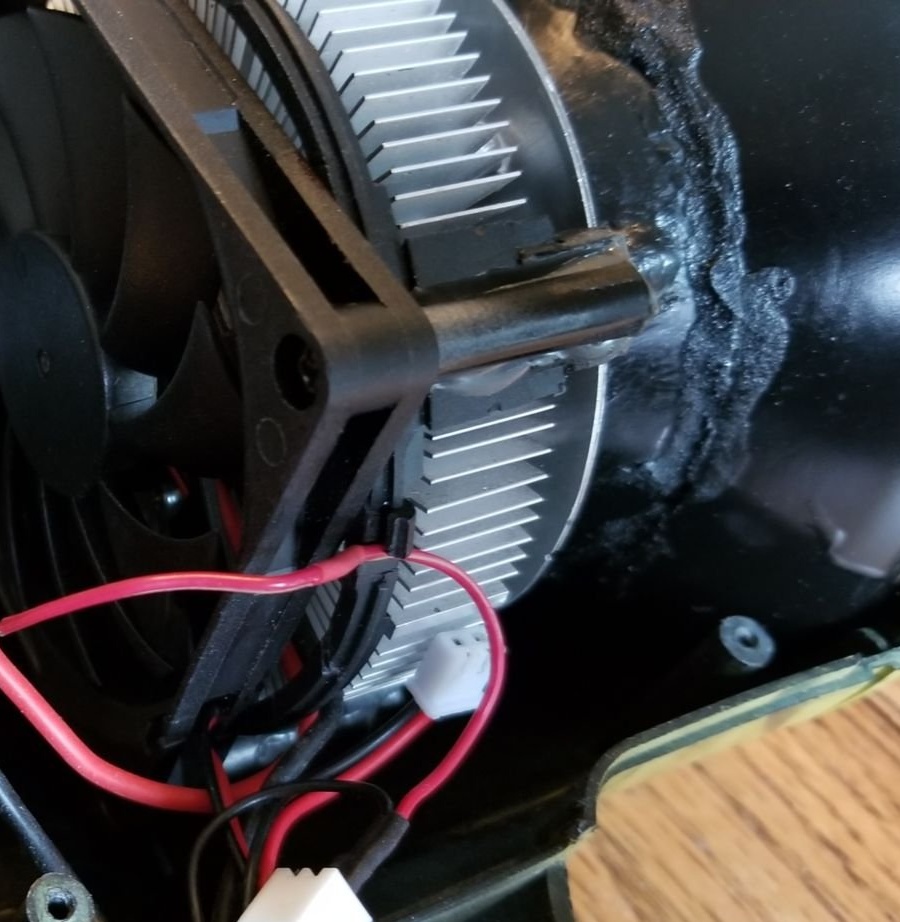
Step Four: Fan
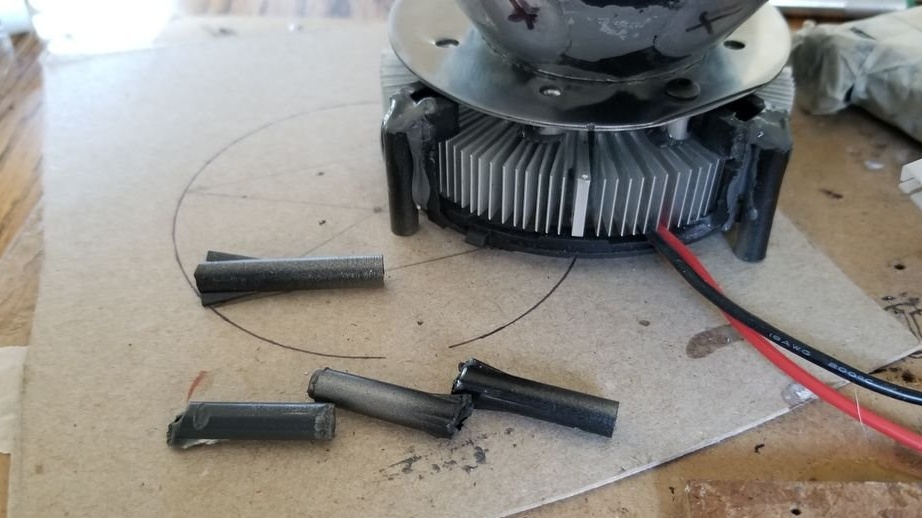
The cooling system consists of a standard Intel radiator and an 80 mm x 10 mm fan. Cooler from Intel Core i7-3770.It is not bulky, round, thin and designed for 84 watts of power. This is enough to deal with the LED and driver.
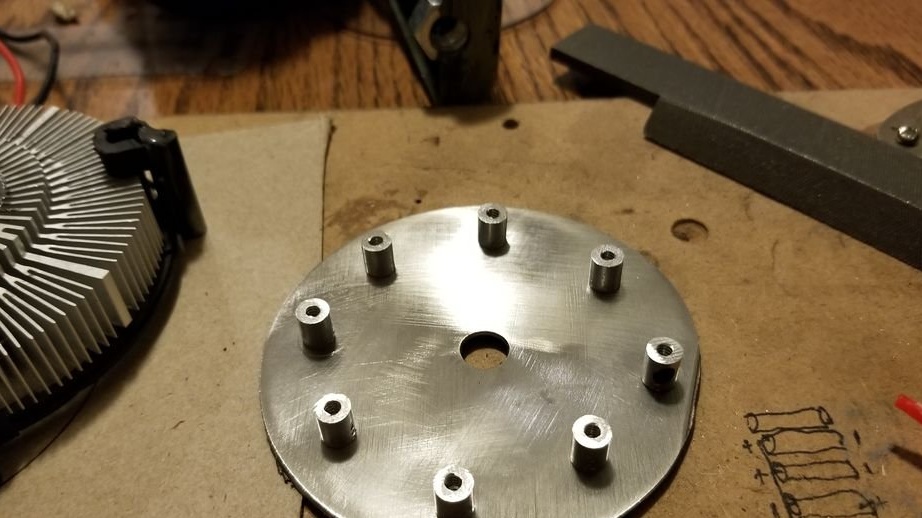
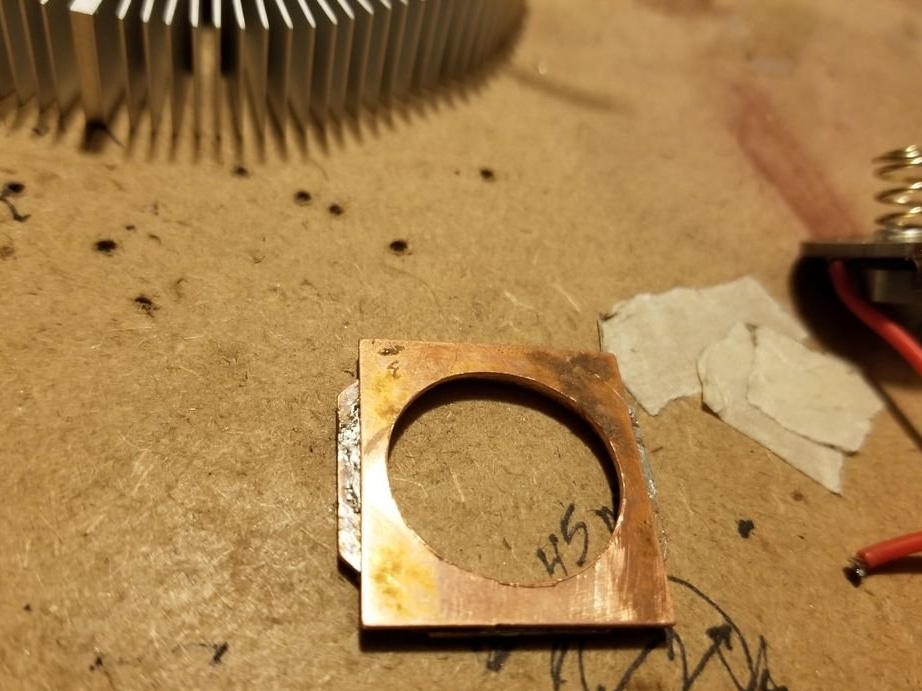
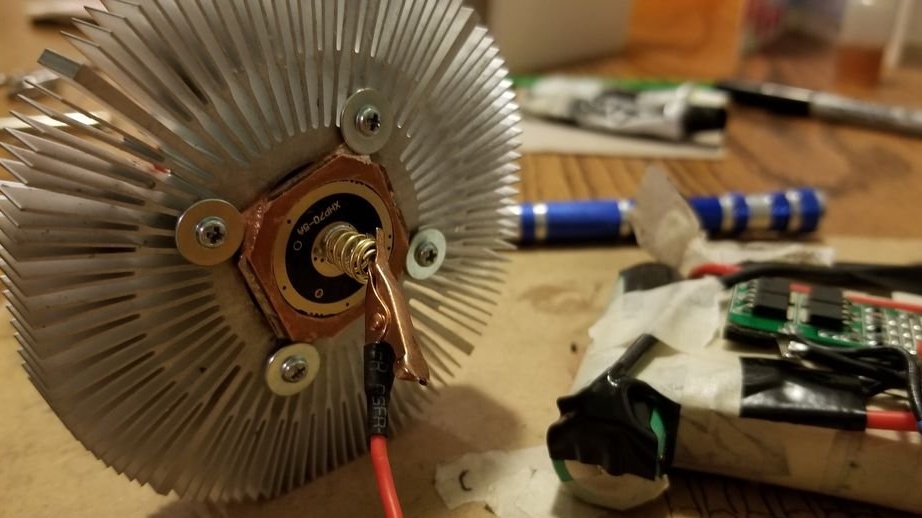
The master drilled 4 holes in the upper part of the radiator. Two for wires for the LEDs passing through the driver, and two for mounting screws. Between the copper board of the LED and the radiator, for better thermal conductivity, I applied thermal paste. To install the driver, the master made fasteners from a copper plate. It is attached to the radiator with four screws.


Step Five: Build
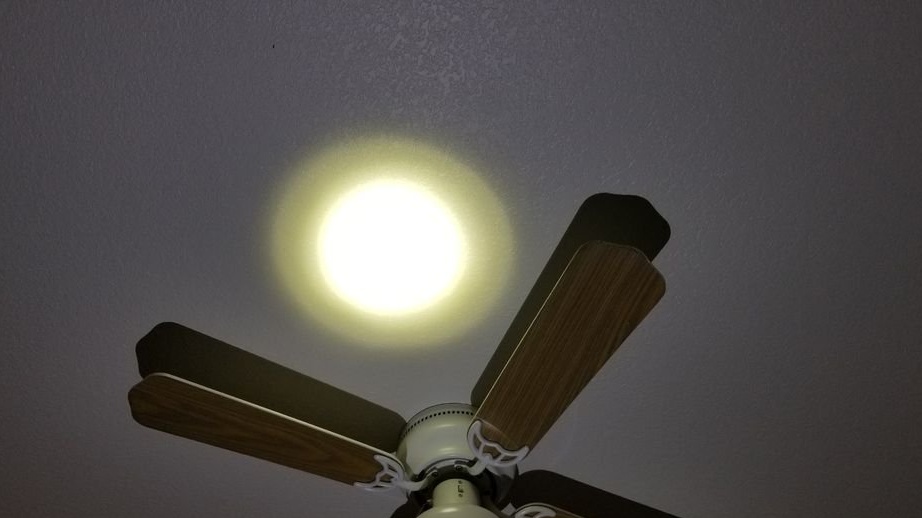
After preparation, the master fixes all the details in the lamp housing.
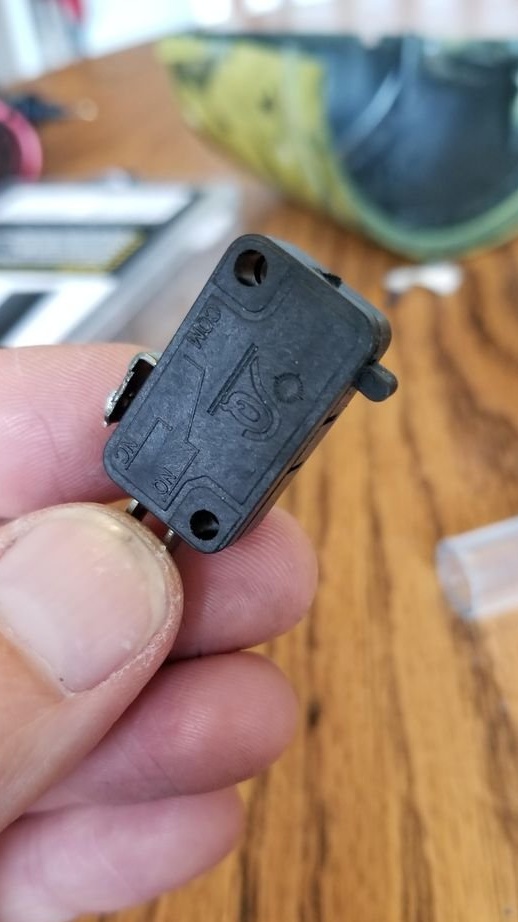

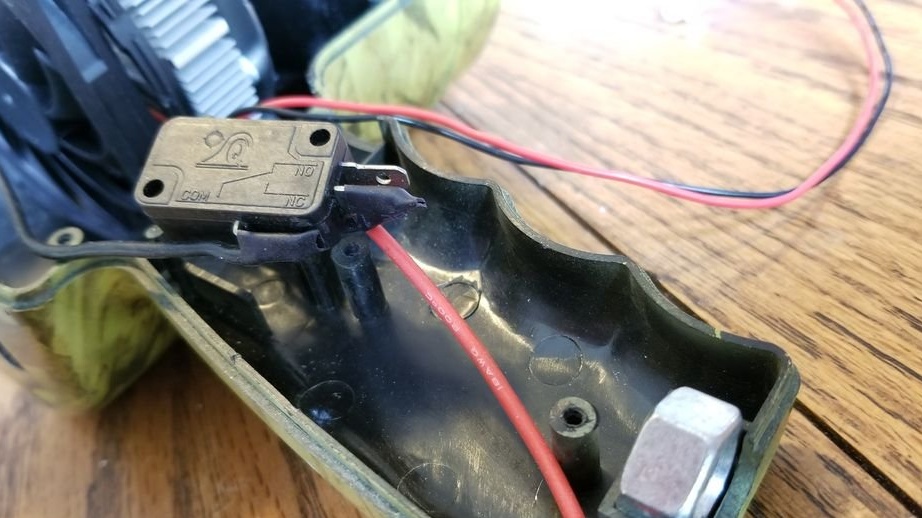
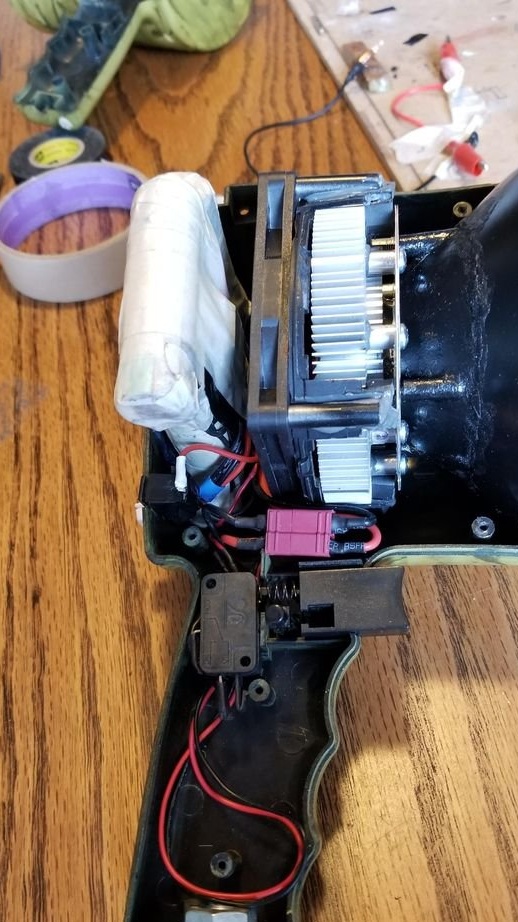


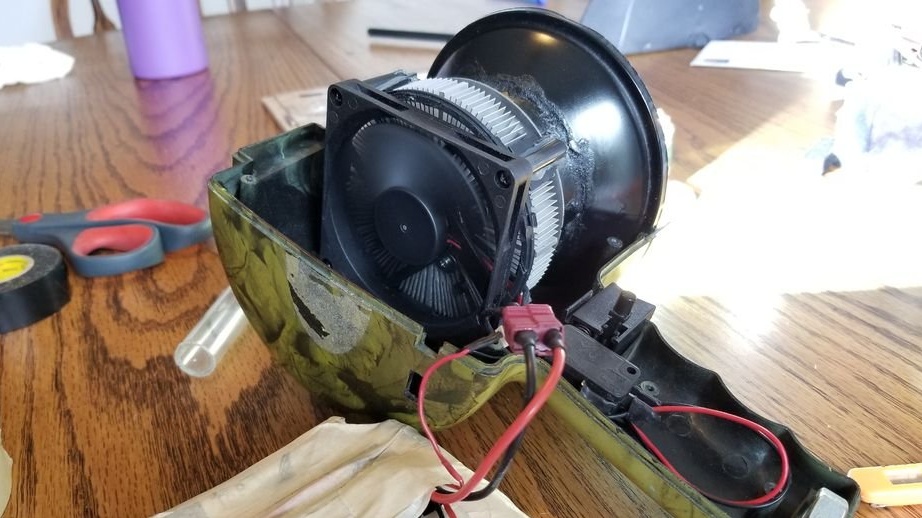
Gathers a lantern.


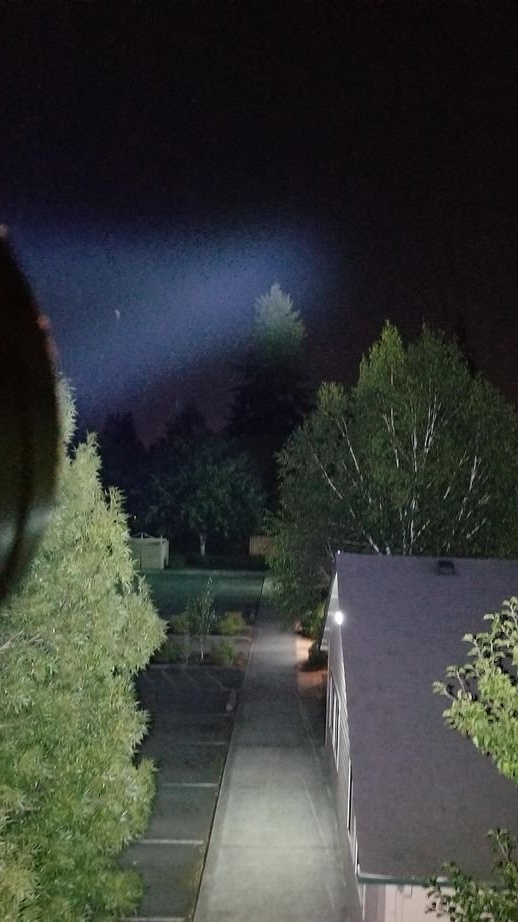
According to him, the lantern turned out to be quite powerful.