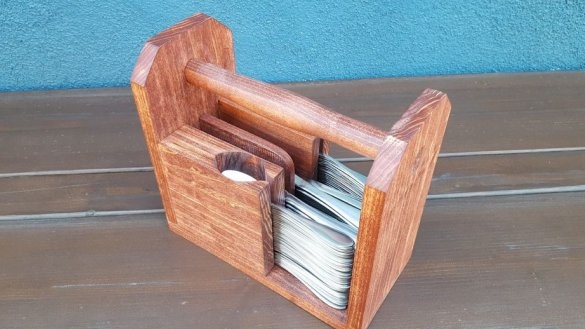
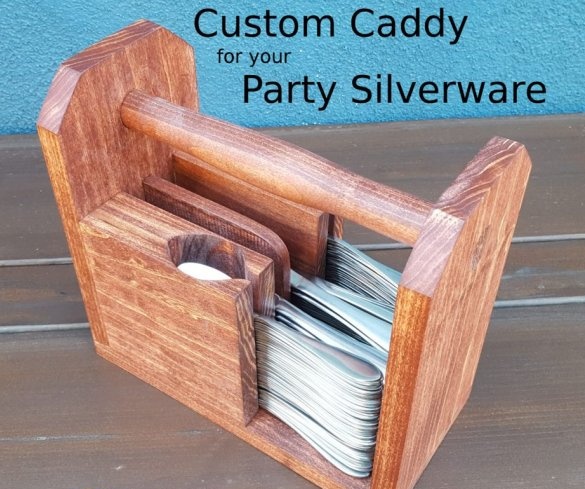
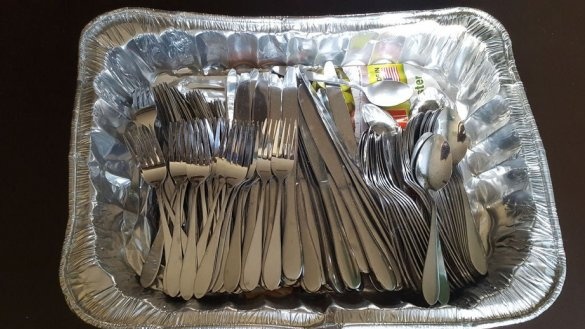
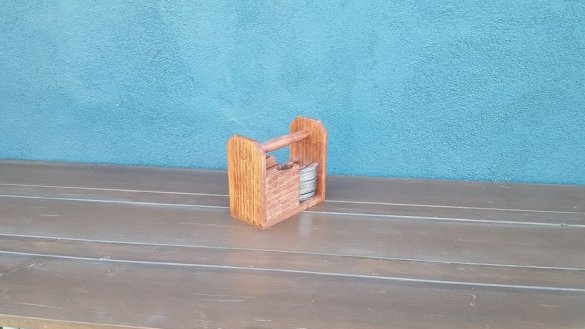
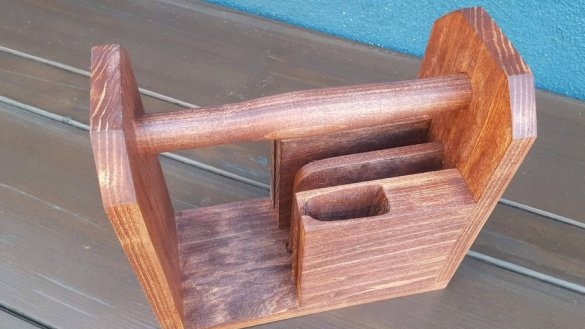
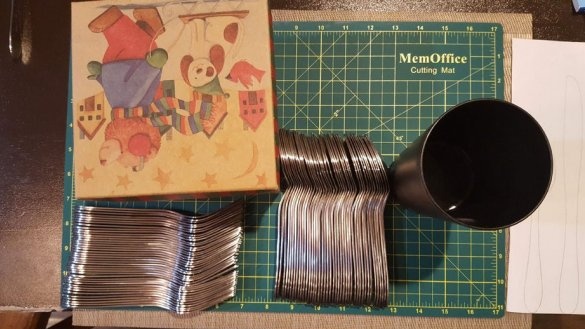
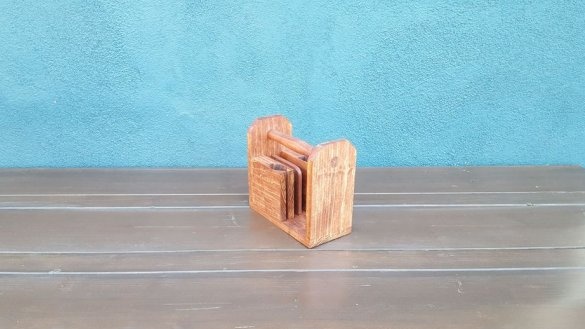
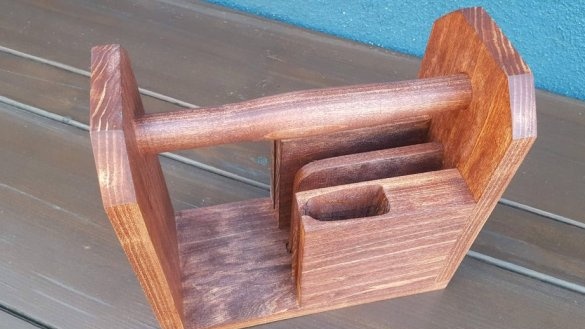
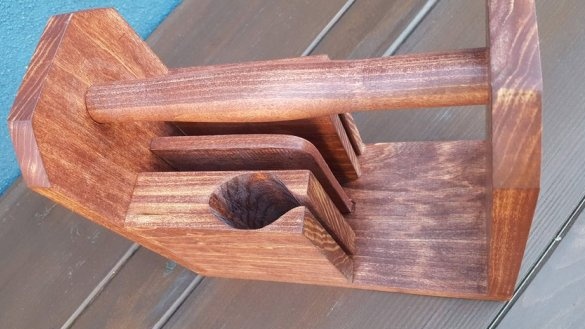
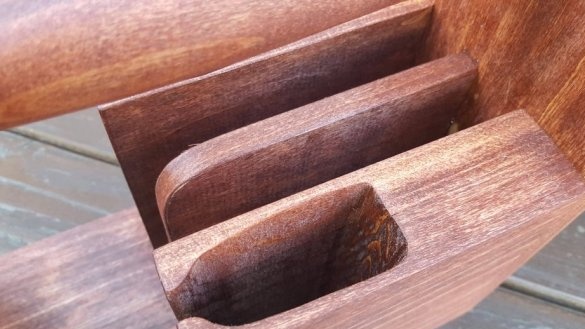
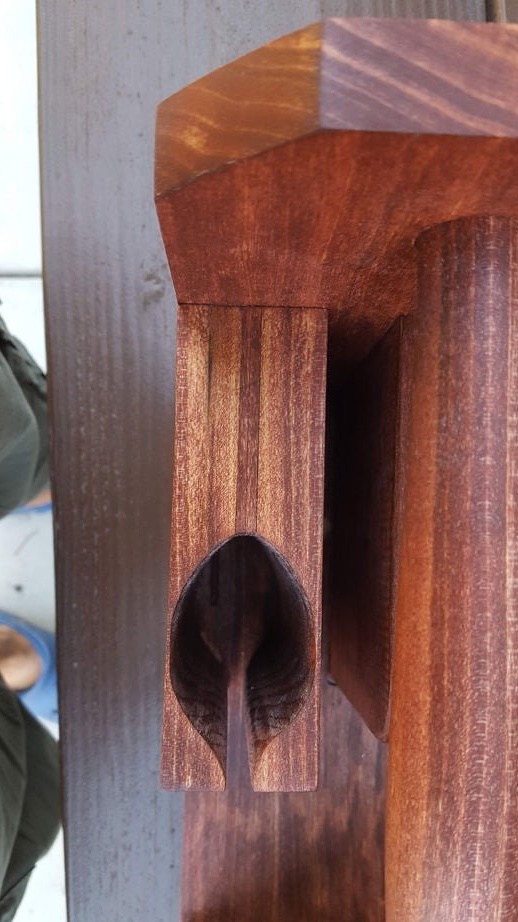
If your spoons, forks and knives are stored in one big heap, then this article is just for you. In the article, we will consider how the Master made an organizer box for storing these cutlery.
Tools and materials:
- Hardwood;
- Joiner's glue;
-Finishing material;
-Polyurethane varnish;
-Gon;
-Milling machine;
-A circular saw;
-Sandpaper;
-Miter saw;
- Clamps;
-Sander;
-Bandsaw machine;
-Drilling machine;
-Lathe;
Step One: Plan
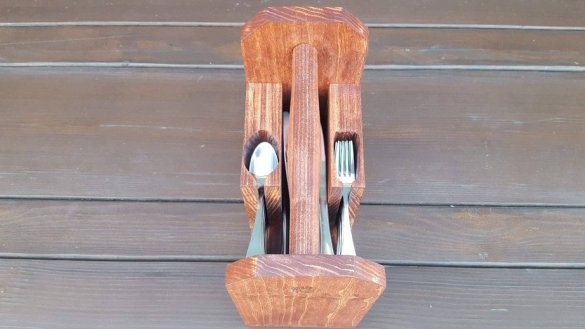
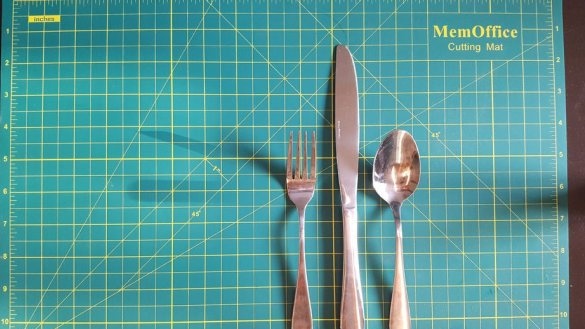
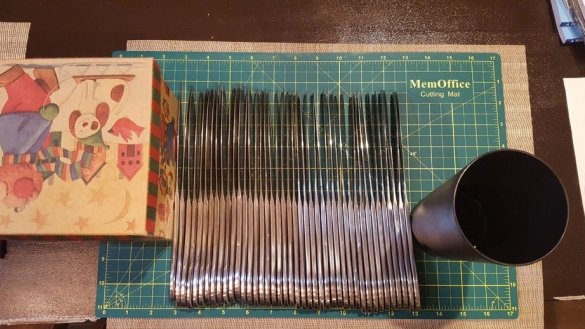
The master puts the cutlery in stacks, spoons, forks and knives in separate stacks, and measured them. The stack of forks and spoons is approximately the same, the stack of knives is twice as large, and the master decides that the spoons and forks will be located on two sides in one row, and the knives in the middle in two rows.
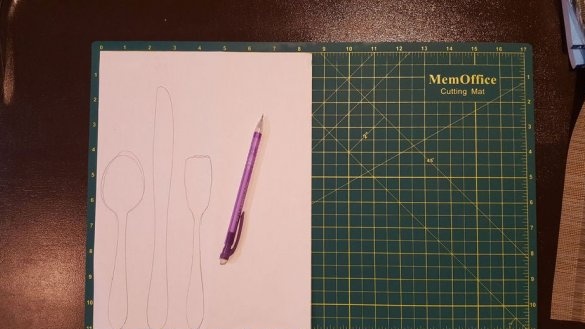
Then the master placed the instruments on a sheet of paper and circled around the perimeter. Then, based on the measurements, the master designed the organizer.
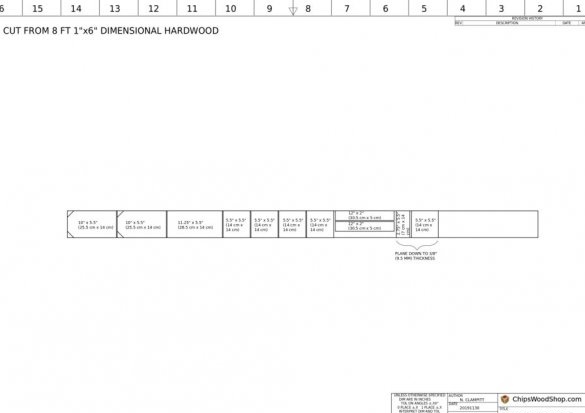
Download the organizer parts drawing by the link below.
00012_CADDY.pdf
Step Two: Templates
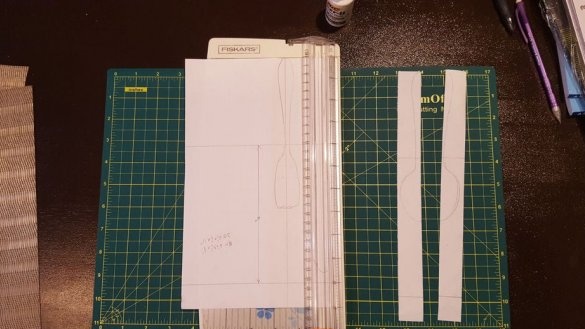
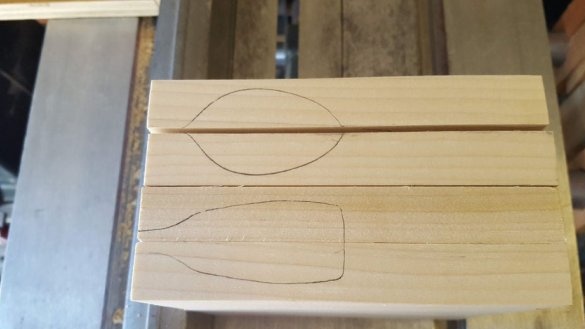
From paper, the master makes cutlery patterns. Then he transferred the templates to the boards.
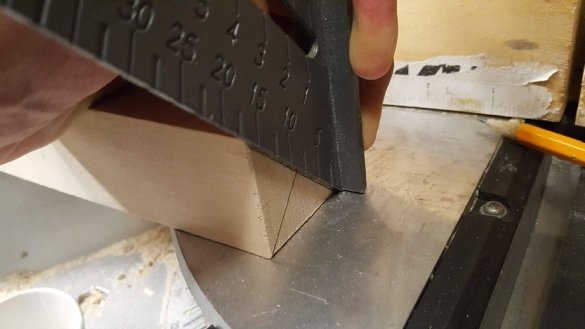
Step Three: Angle
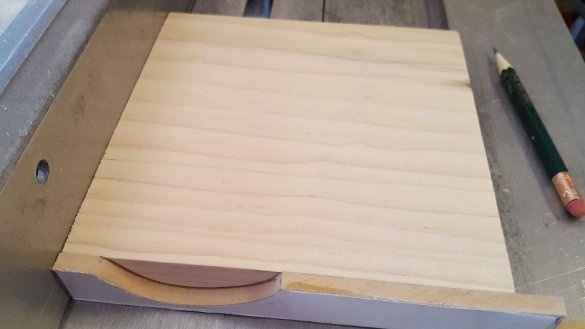
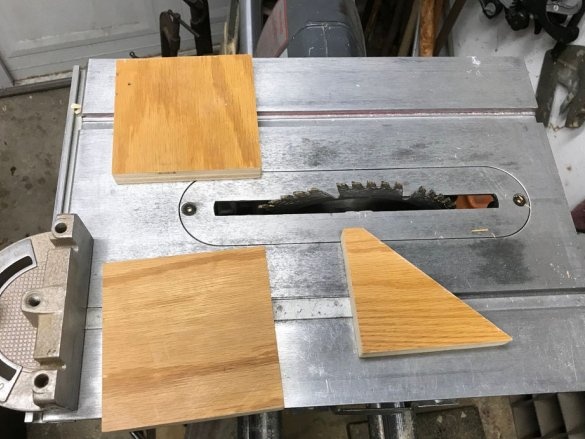
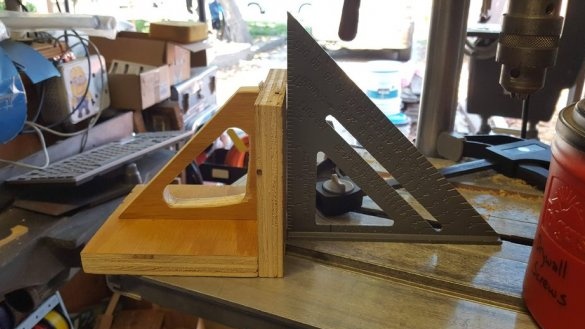
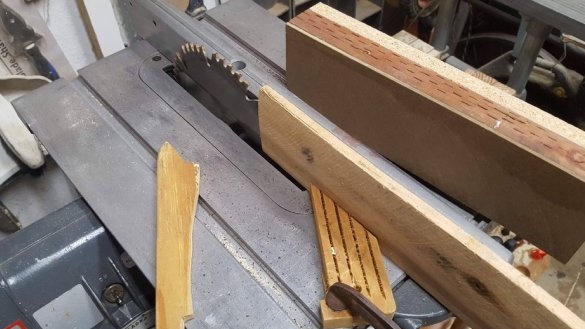
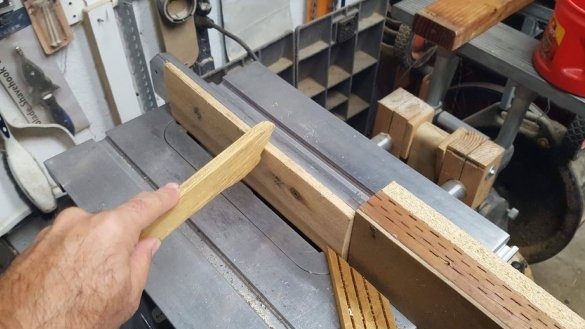
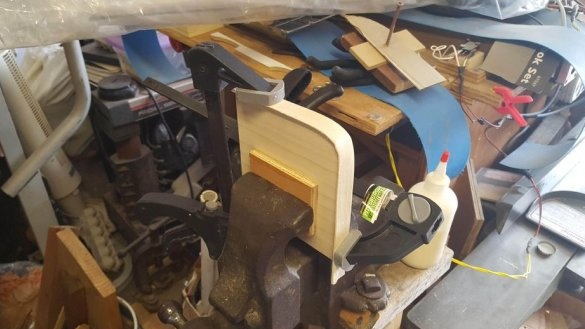
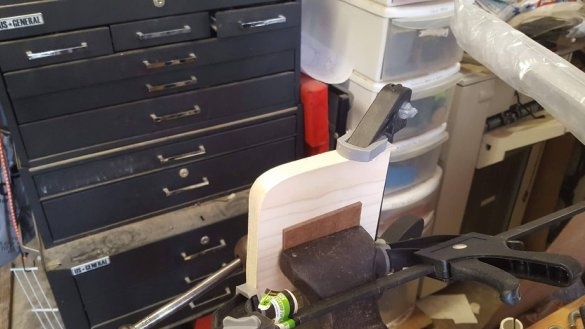
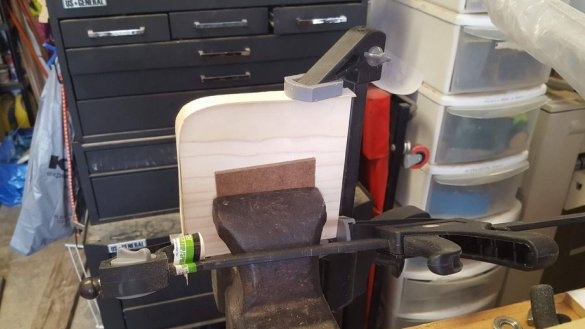
For further work, the master makes an angle from laminated MDF, as in the photo.
Step Four: Making Cell Parts
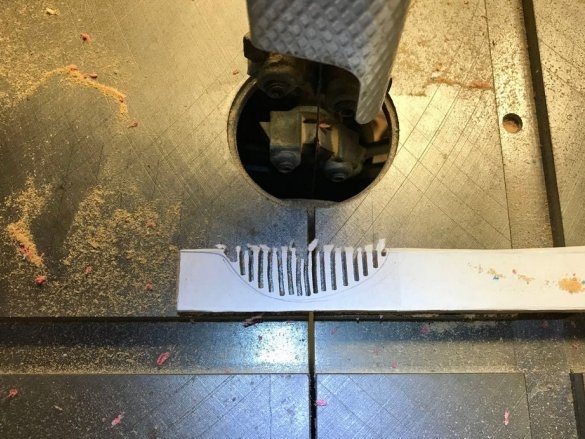
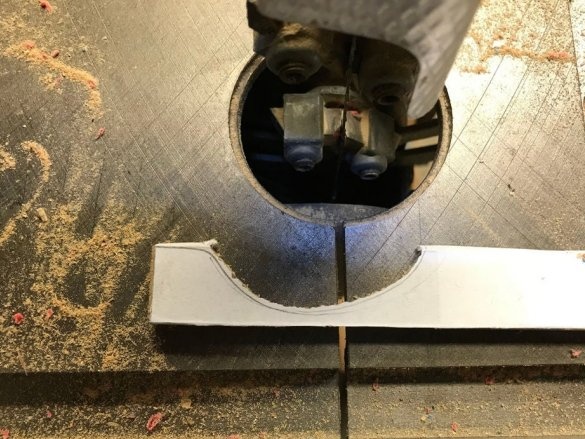
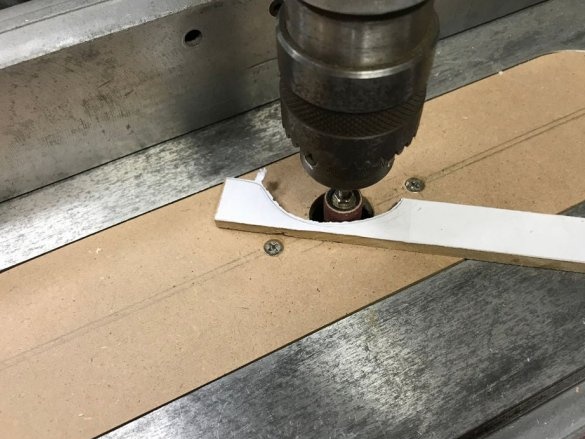
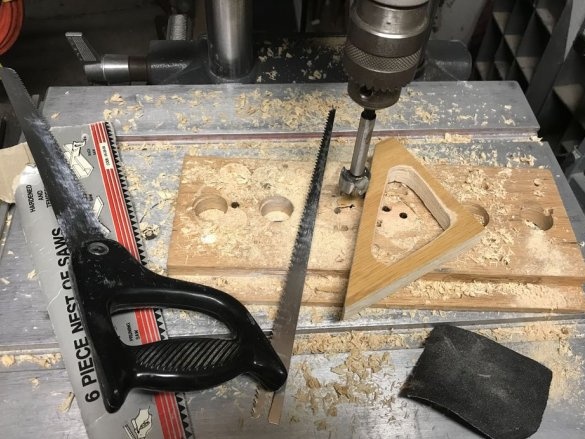
Further, the master cuts the shape of cutlery on the workpieces.
Makes a knife divider.
Step Five: Drawer
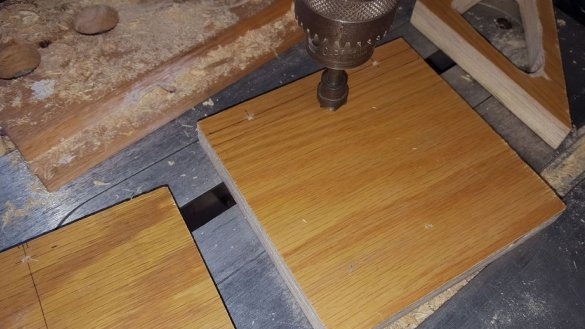
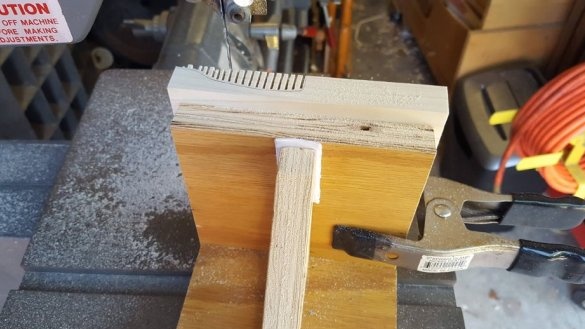
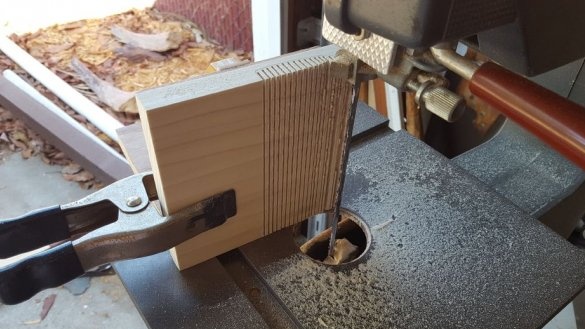
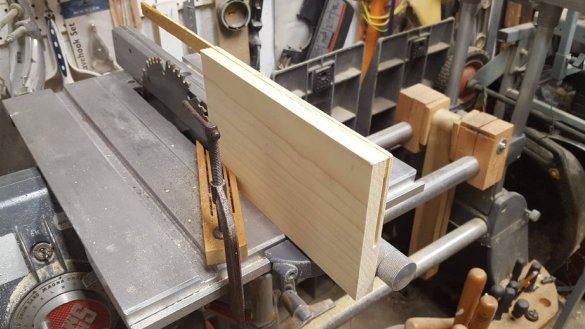
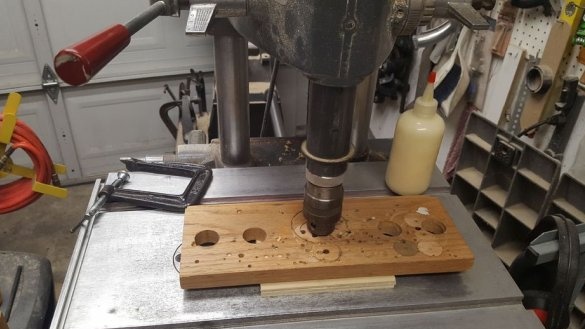
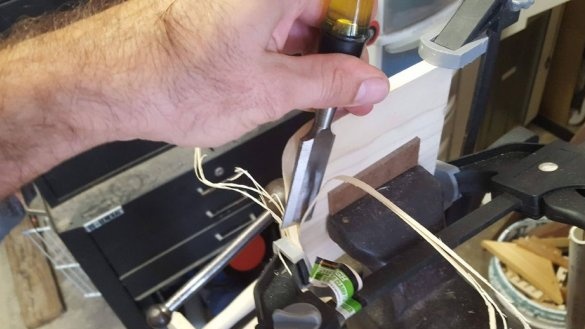
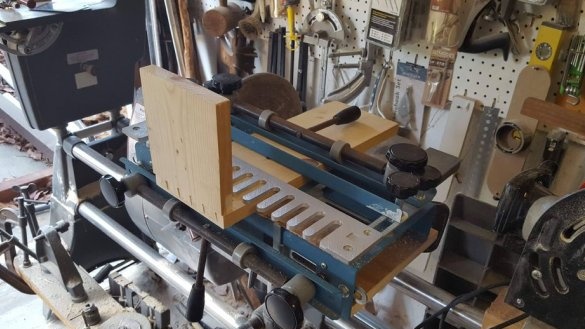
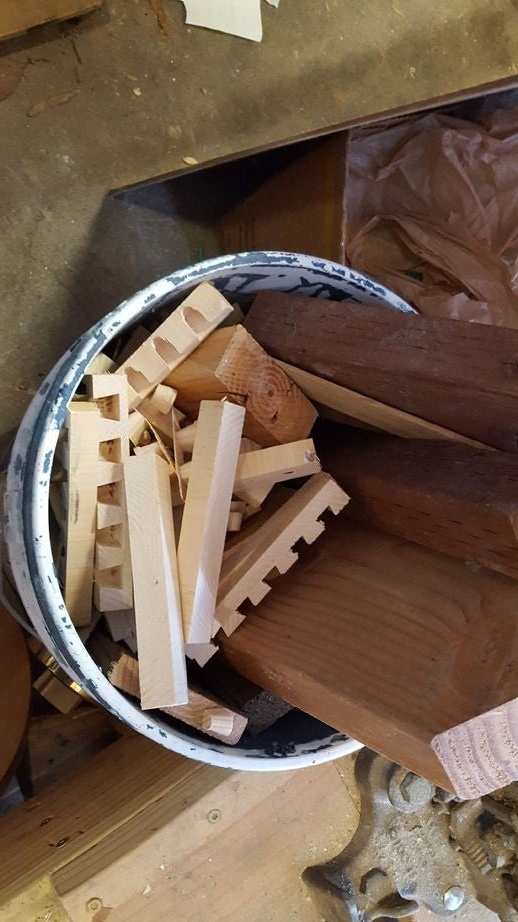
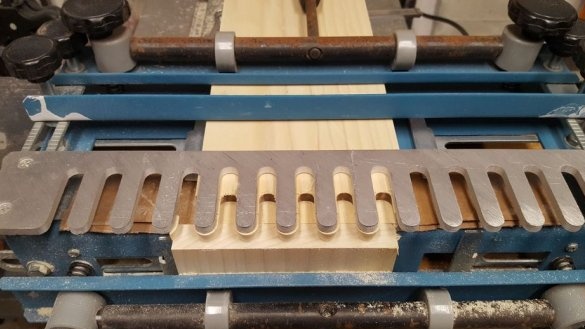
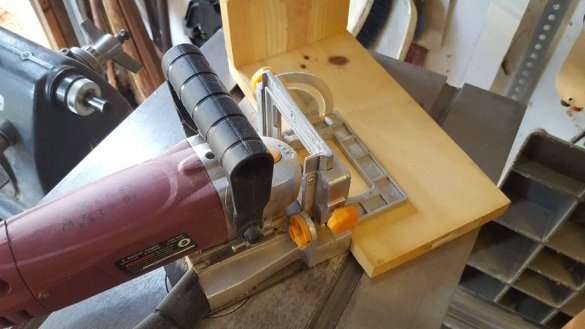
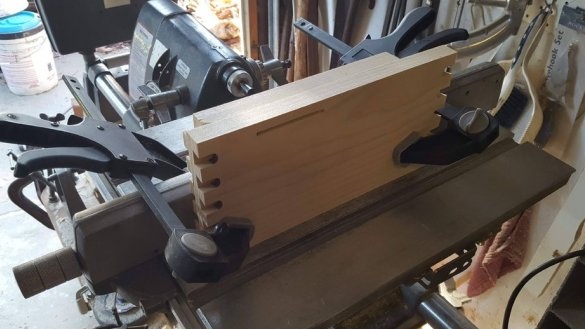
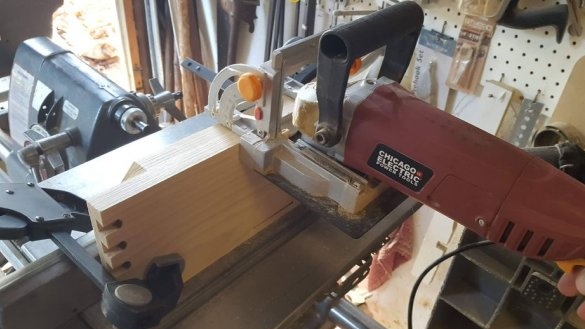
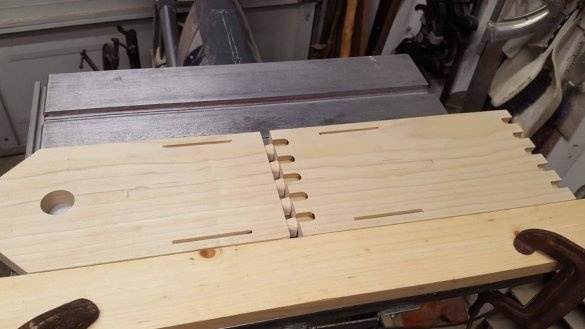
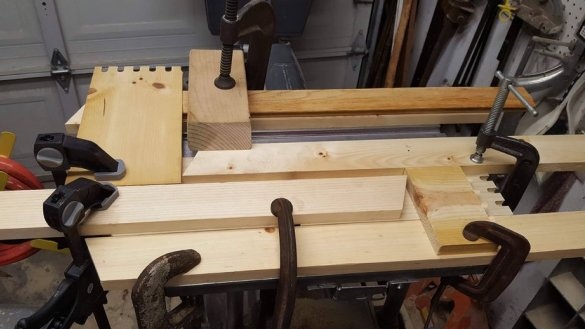
Details of the box will be connected by the dovetail method. The master cuts the walls and bottom of the drawer and cuts out the grooves.
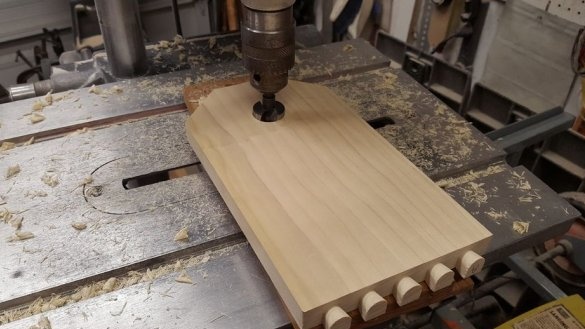
Drills a hole for the handle.
Step Six: Pen
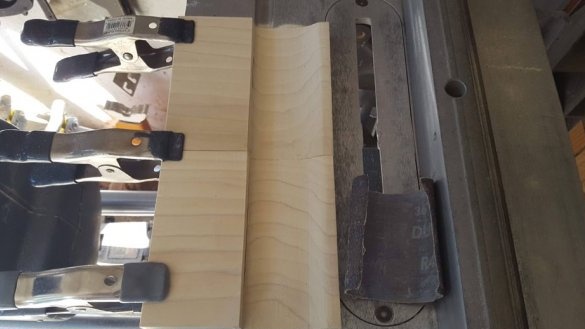
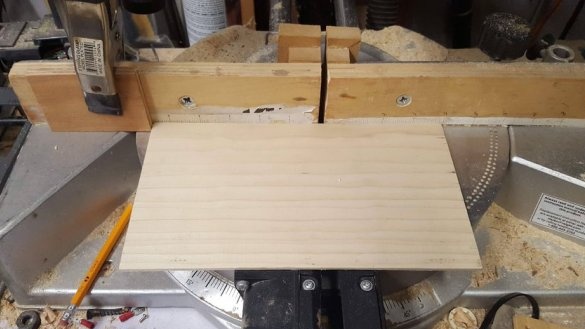
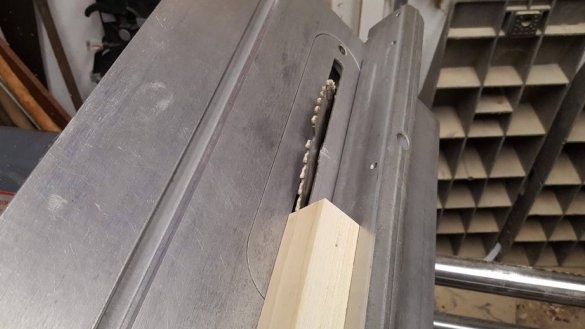
The master glued the handle for the box from two rails, cut it on a circular saw and processed it on a lathe.
Seventh step: groove
To fix the partitions, the master cuts out the grooves in the side wall.
Step Eight: Build
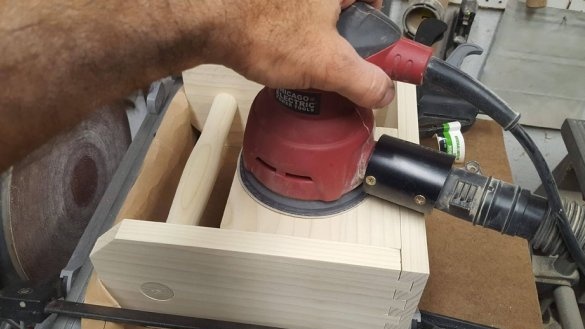
Then the master polishes the details and collects the organizer. Coats it first with stain, and then with polyurethane varnish.
All is ready. It remains only to decompose the cutlery into the designated cells.

