Many of you have probably thought about various ways to save water. This is true in the presence of a water meter, or an adequate relationship to the resources of the planet.
It is clear that in European countries it is customary to wash dishes in a sink filled with soapy water, and at the same time use a wild amount of detergents.
In the vast expanses of the USSR, one of the most popular and simplest methods is simple immersion of ordinary brick or a bottle of wet sand in the toilet bowl (yes, you can adjust this matter with simple settings of the drain system). So you can reduce the one-time volume of drained water.
However, people from the land of the rising sun have long been applying one interesting way. It consists in draining the used water from the washbasins into the storage tank, which then flushes the sewage.
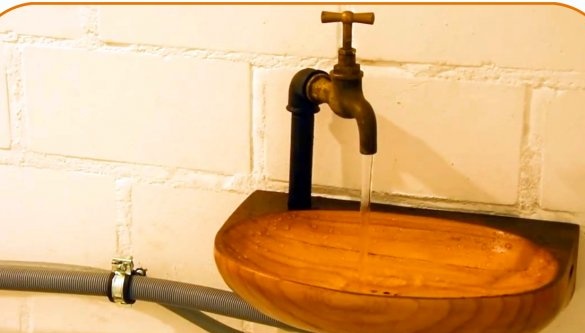
In this article, the author of the Hassan Abu-Izmero YouTube channel will tell you how he made the original wooden sink with such a useful feature.
For this homemade product it is not necessary to make the sink itself, then it will be clear why.
Materials
- Thick pine boards
- Two-component epoxy resin
- Sandpaper
- Spray paint
- Old crane
- Pipes, corners.
Instruments, used by the author.
— Six-tooth disc milling cutter
— Four-tooth disc milling cutter
— Bulgarian
— Pneumatic grinder
— Clamps
— Screwdriver
— Forstner Drills
— Band-saw
— Orbital sander
- Miter saw
- Metal brush, mallet
- Roulette, square, pencil.
Manufacturing process.
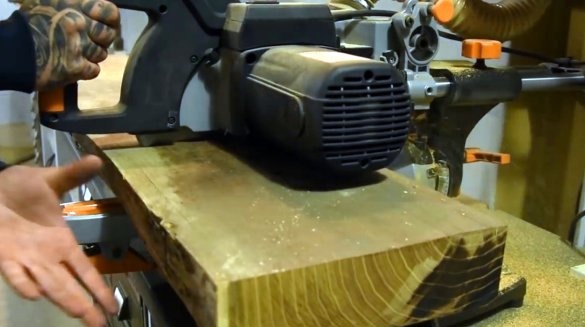
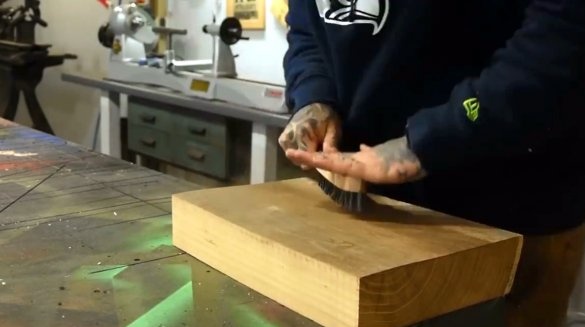
First of all, the master begins to make a sink. He cuts off the workpiece with a miter saw, and cleans its surface with a stiff metal brush.
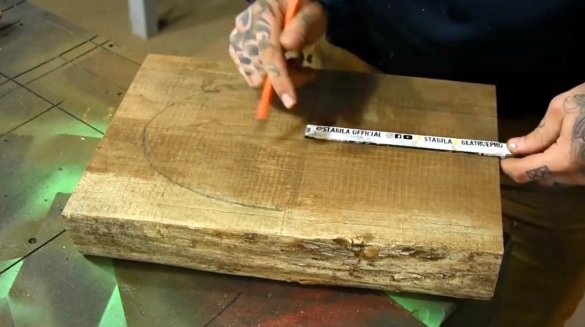
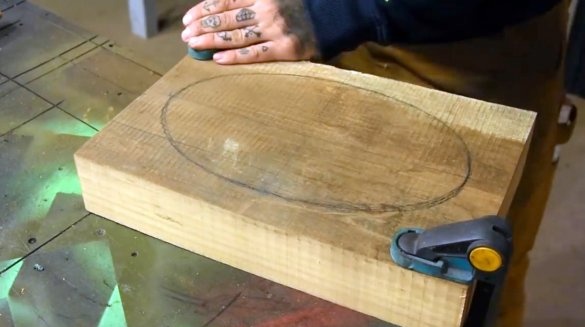
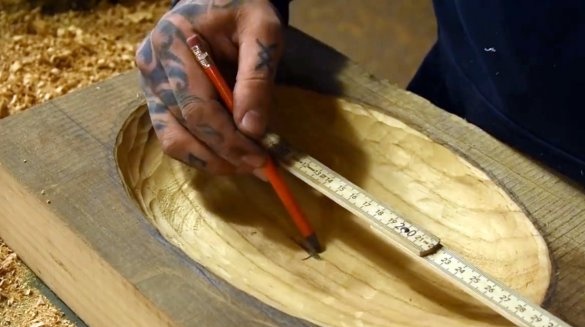
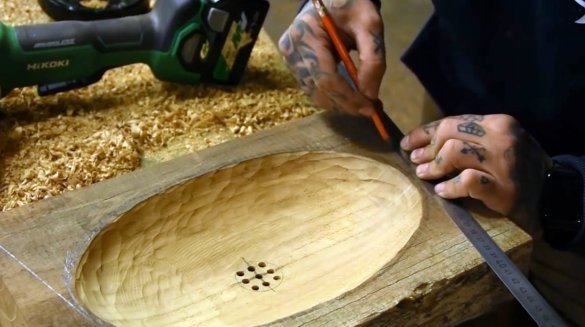
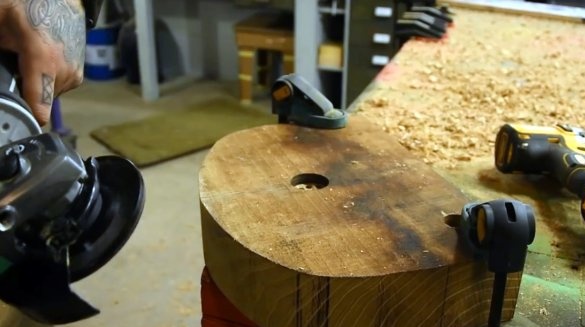
Then the workpiece is fixed on the workbench with clamps, and the future oval recess is marked on it.
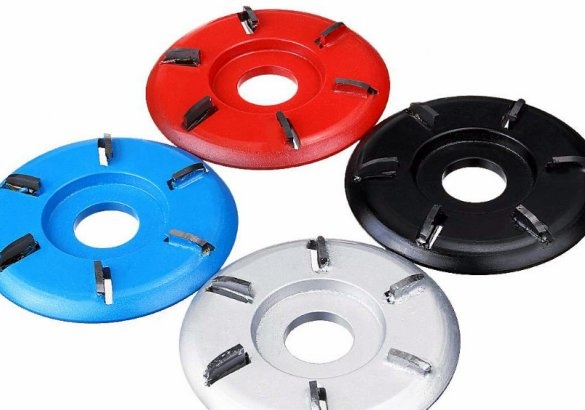
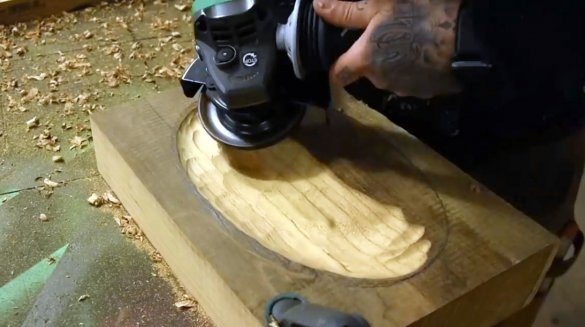
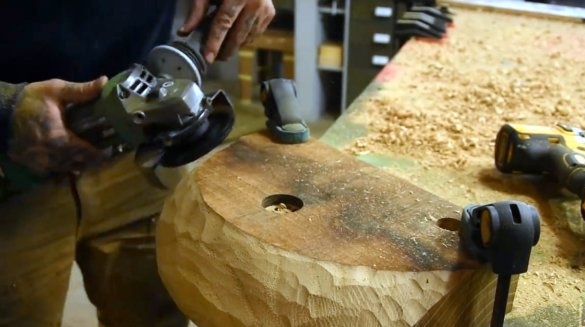
But the following processing is performed using a grinder and a very interesting milling disc for grinder.
There are several varieties of such discs, but they do an excellent job. For example, like this saw blade, and another milling.
By the way, about processing wood with such a disk, recently there was a small article.
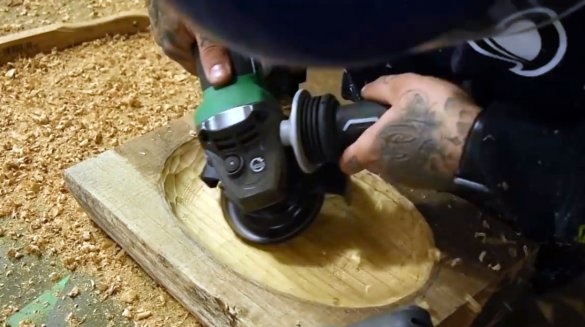
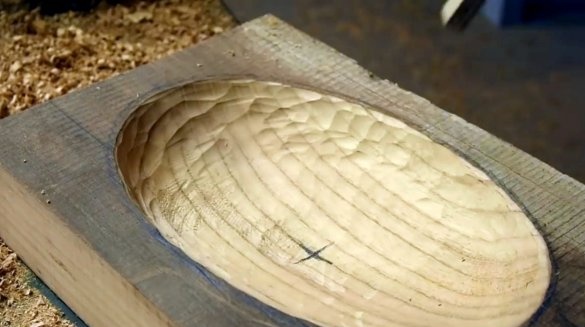
After the formation of the shell in the wood, the master checks the thickness of the remaining material, and aligns on both sides.
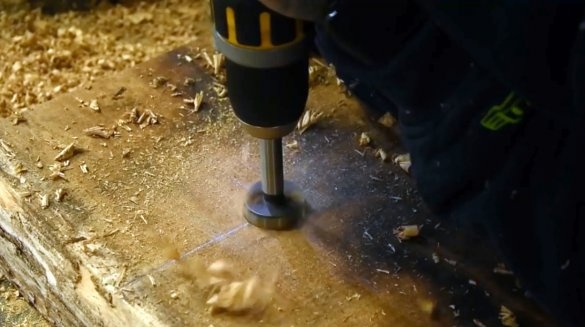
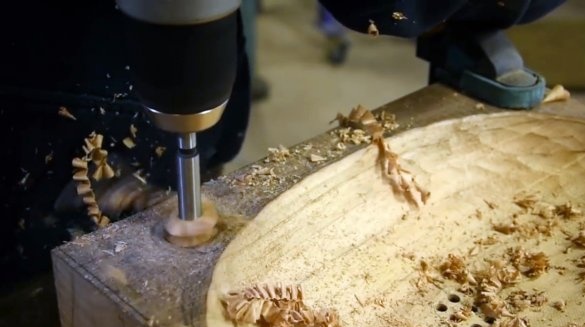
A hole for the drain pipe is drilled from the back of the workpiece using a Forstner drill.
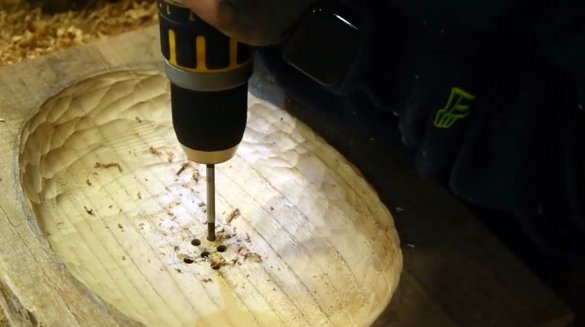
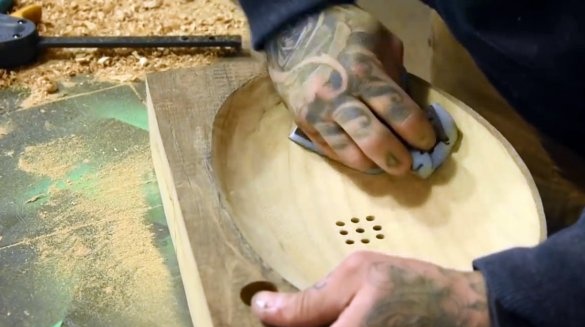
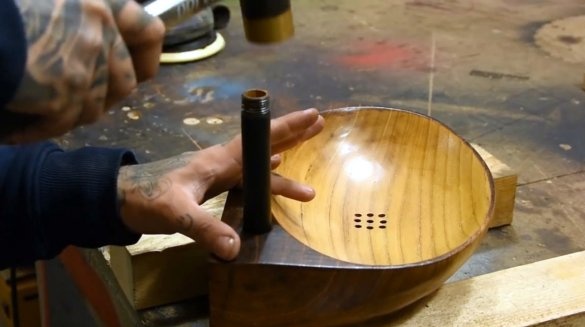
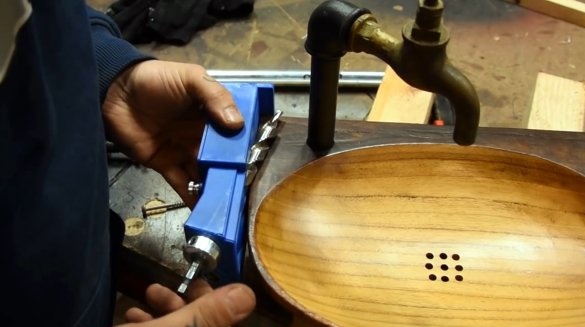
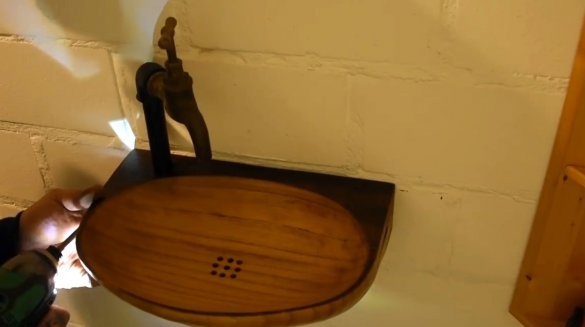
At the bottom of the bowl, the master drills nine holes of the drain grate.
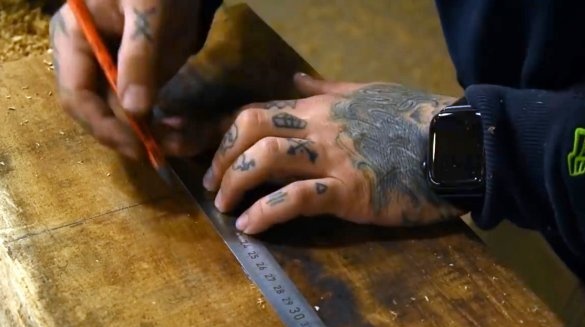
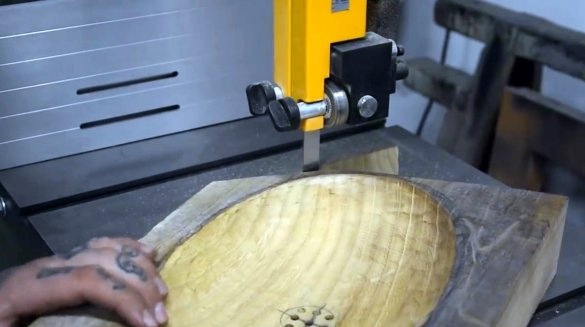
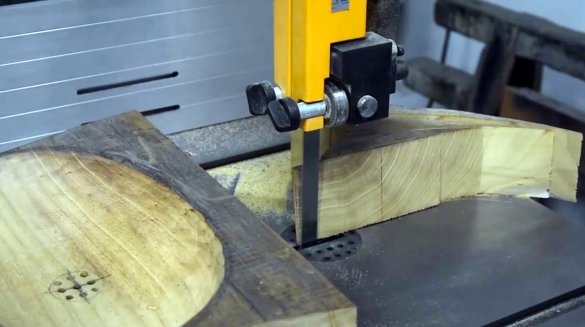
Next, the external boundaries of the future shell are marked, and excess material is cut off on a band saw.
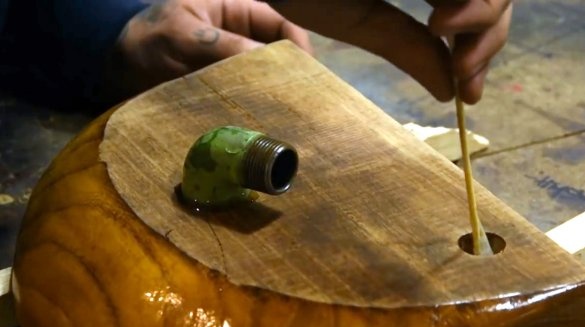
In the left corner of the array, the master makes a hole for supplying water to the tap.
After all these preparatory procedures, he fixes the workpiece with clamps on a workbench, and grinds the outer contour of the sink.
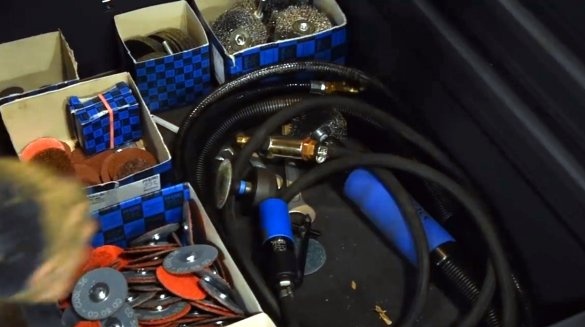
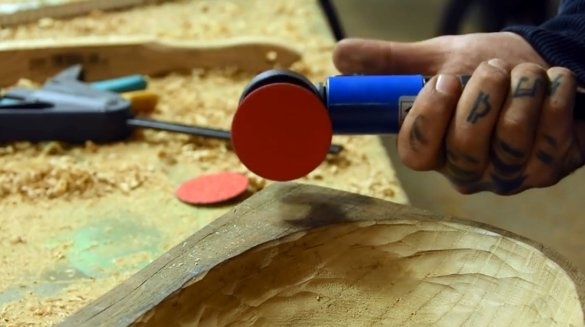
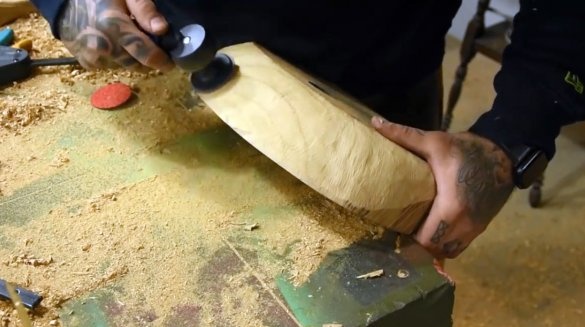
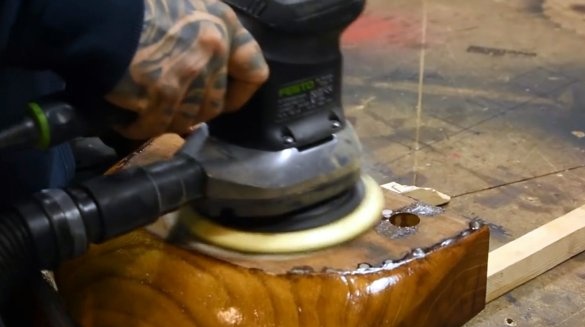
Such machining with milling discs is very rough and the surfaces should be sanded. To do this, the wizard applies pneumatic grinding head.
Further grinding, as always, is done with fine sandpaper manually.
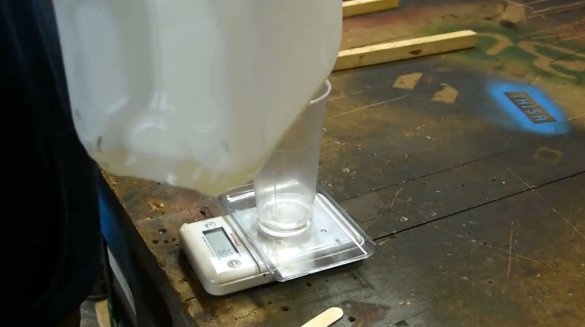
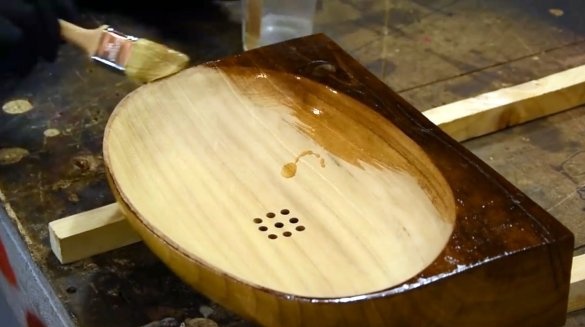
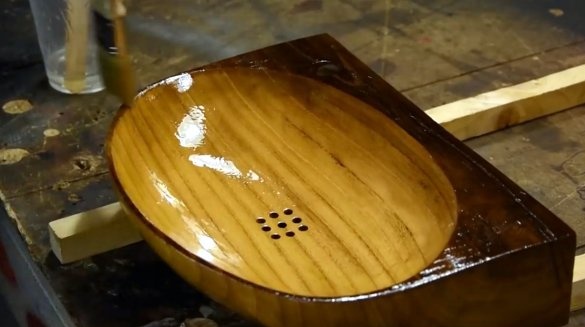
To protect the wood surface from exposure to water, the author covers it with a thick layer of two-component epoxy. After polymerization, it will become completely impervious to water. Before such treatment, it is possible to carry out the stage of staining the wood with the use of alcohol-based wood stains, which will further degrease the surface and provide better adhesion.
The number of epoxy layers depends on your desire, the more the better. For the highest quality coating, you can expose the entire product that has just been coated with epoxy to high pressure in a special pressure chamber. It will eliminate possible bubbles in the coating layer.
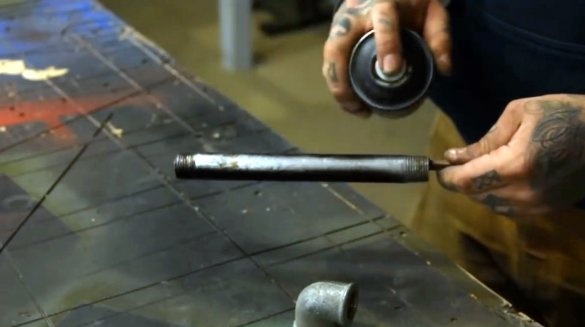
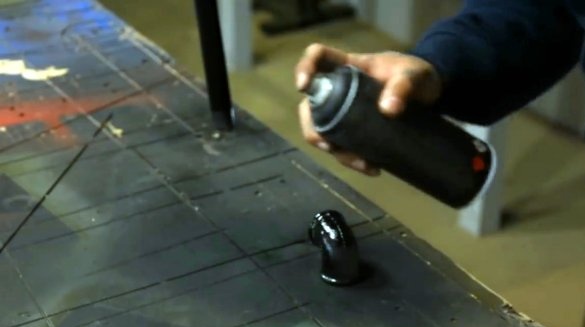
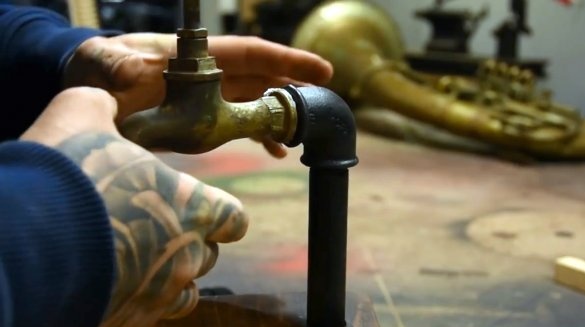
Elements of plumbing pipes should be cleaned with sandpaper and spray coated, this is required to comply with the general concept of product design.
The author did not treat the bottom surface of the sink with a protective layer of resin, perhaps this is required so that the tree “breathes” and does not accumulate excessive moisture in itself.
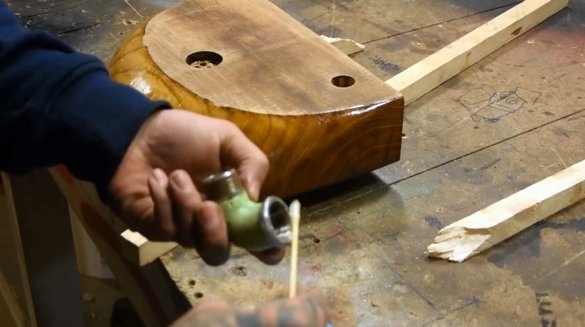
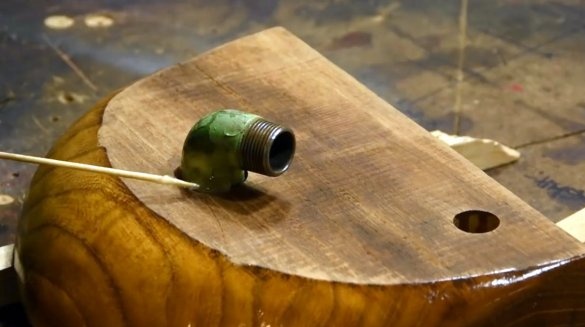
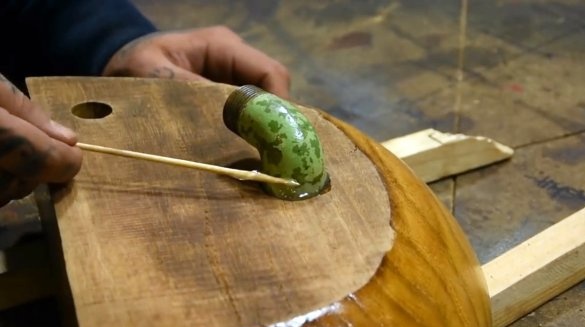
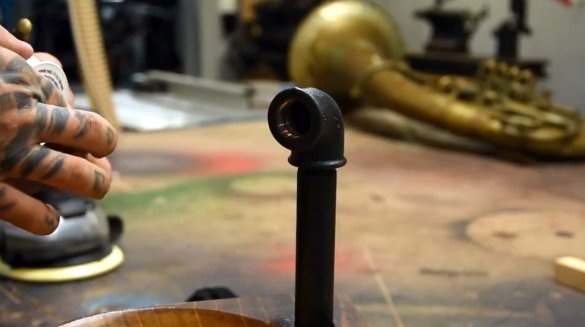
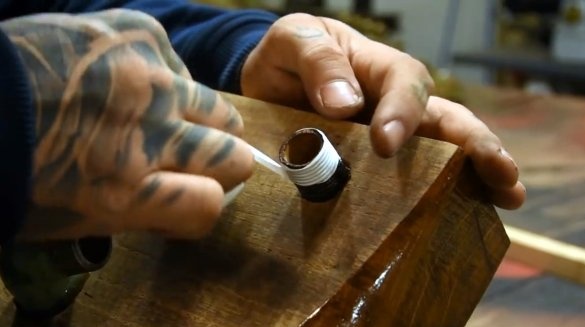
Now, having smeared all the internal surfaces of the drain hole, an inch corner is glued into it on the same epoxy.
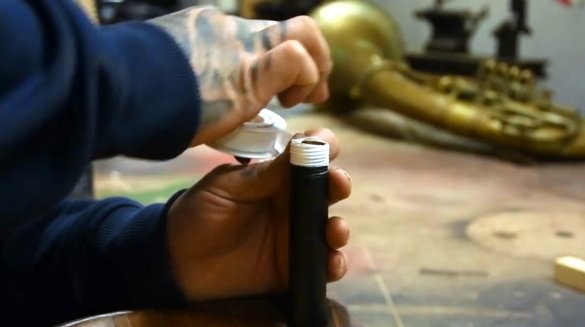
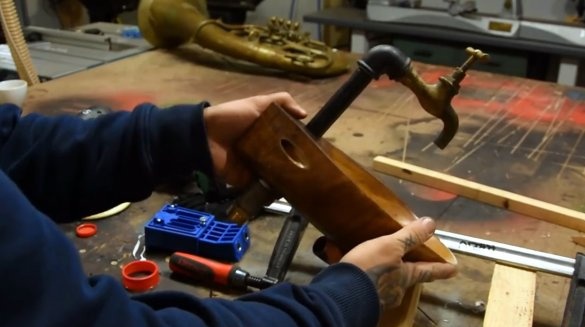
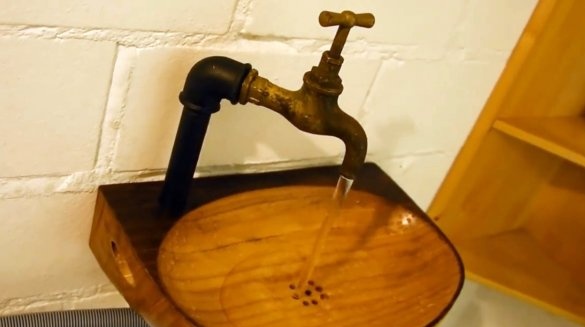
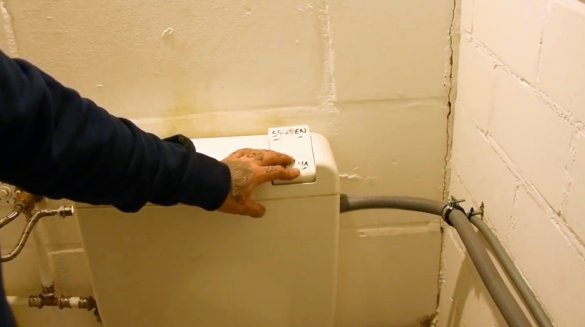
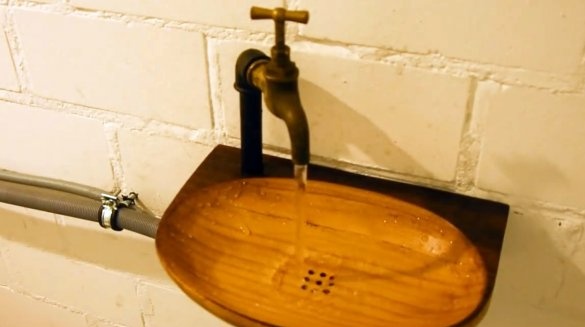
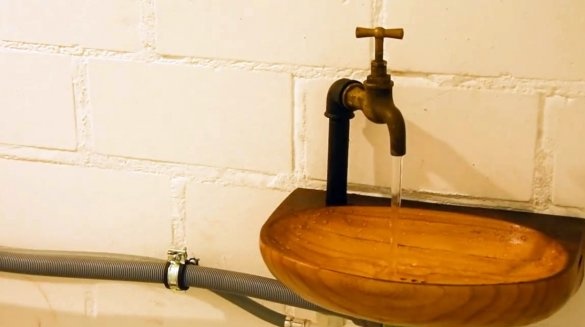
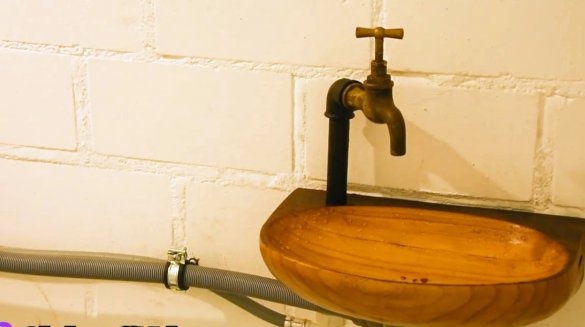
The opening for the inlet tube is also sealed. It remains neatly, without splitting the wood, to press the tube into it. The joints of the tubes are sealed using FUM tape or tow. Yes, the crane itself may be with a broken valve, because its function is no longer required. The faucet will turn on when you press the flush button on the toilet bowl, which will actually allow you to wash your hands in time.
Therefore, even old brass products can be used as a crane, or just a piece of pipe with an aerator installed.
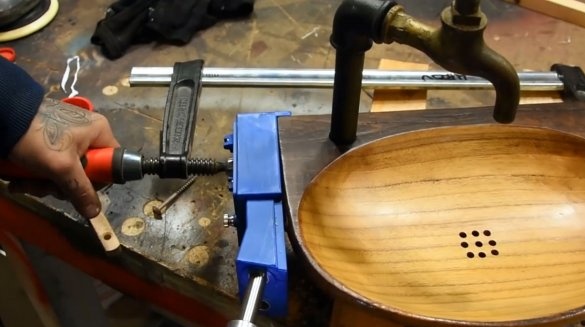
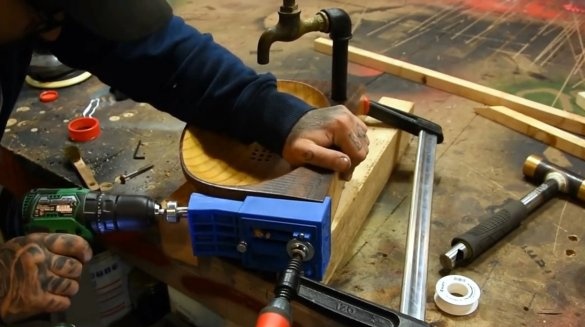
In order to fix the sink on the wall, the author resorts to one of the very well-known solutions. These will be connections under the “oblique screw” or “pocket connections”. They are performed using a conductor, which is attached to the product with a clamp.
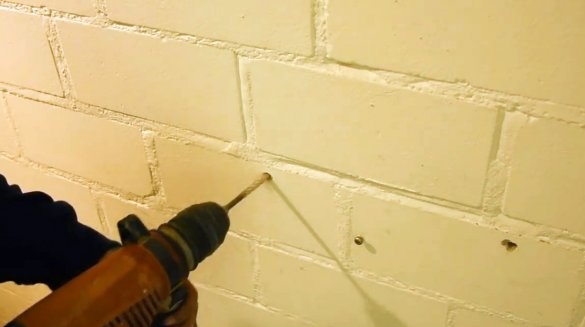
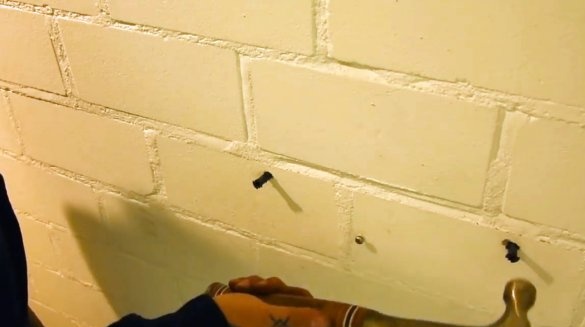
Fastening the finished sink to the wall is carried out in a standard way. Holes are drilled in it with a puncher, plastic choppers are clogged, and it is screwed with dowels.
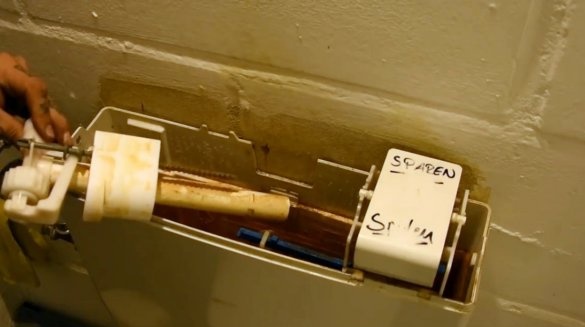
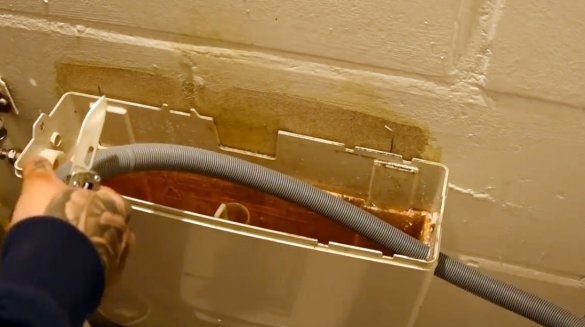
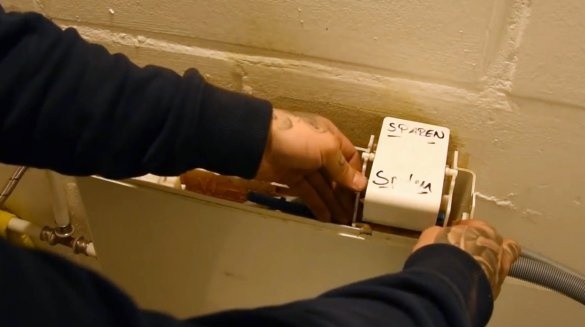
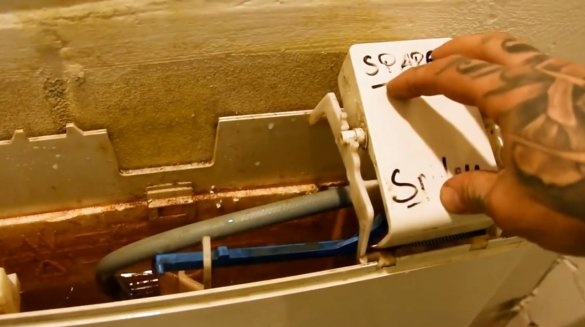
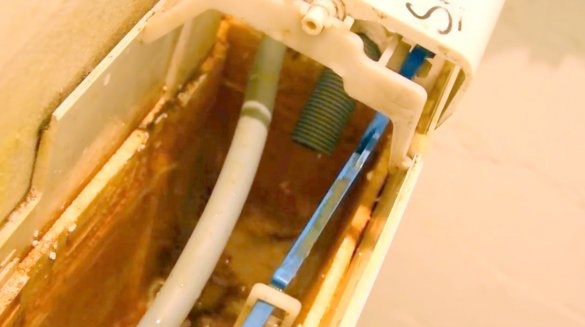
To implement a water saving system, the author needs to disassemble the tank of an already installed toilet bowl. Then drill holes for two hoses - inlet and inlet.
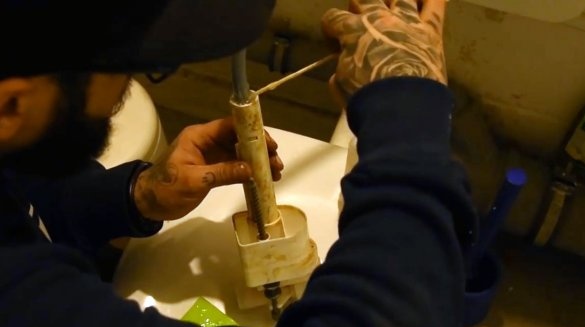
The edge of the water supply hose is glued to the end of the bulk fixtures. A drain hose follows from the sink to the tank.
So, everything is ready for testing. The master presses the drain and water begins to flow from the tap into the sink. Everything that merges from there enters directly into the toilet tank.
Here is such a wonderful homemade work. Now you can wash your hands after visiting the restroom while the tank is filling. After that, the faucet will turn off automatically, and do not worry about closing it. Typically, the volume of drained water is from 8 to 12 liters, and soapy water after washing hands will not harm the mechanics of the tank.
I thank the author for a very unusual wooden sink, and an effective way to save water!
If you have interesting homemade products, share them on this site. Here you will get a real reward, not a “bunch of green stuff" at the entertainment forum.
All good mood, good luck, and interesting ideas!
Author video can be found here.

