
I welcome all fans to craft, I propose to consider instructions for making a nut cracker do it yourself. Homemade the author did so that it was possible to quickly and simply chop walnuts. The machine turned out to be quite productive, now you do not need to beat your fingers with a hammer or break doors to get the core of the nut. The author collected the stanochek from ferrous metal, everything is assembled simply and reliably, if the project interests you, I suggest studying it in more detail!
Materials and tools used by the author:
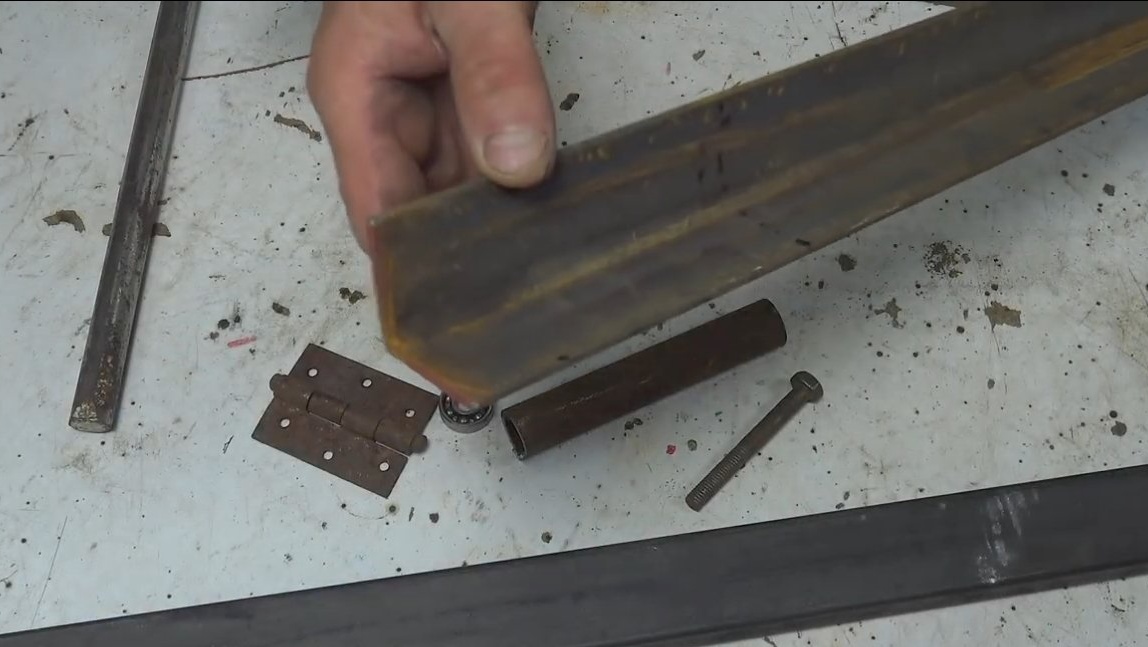
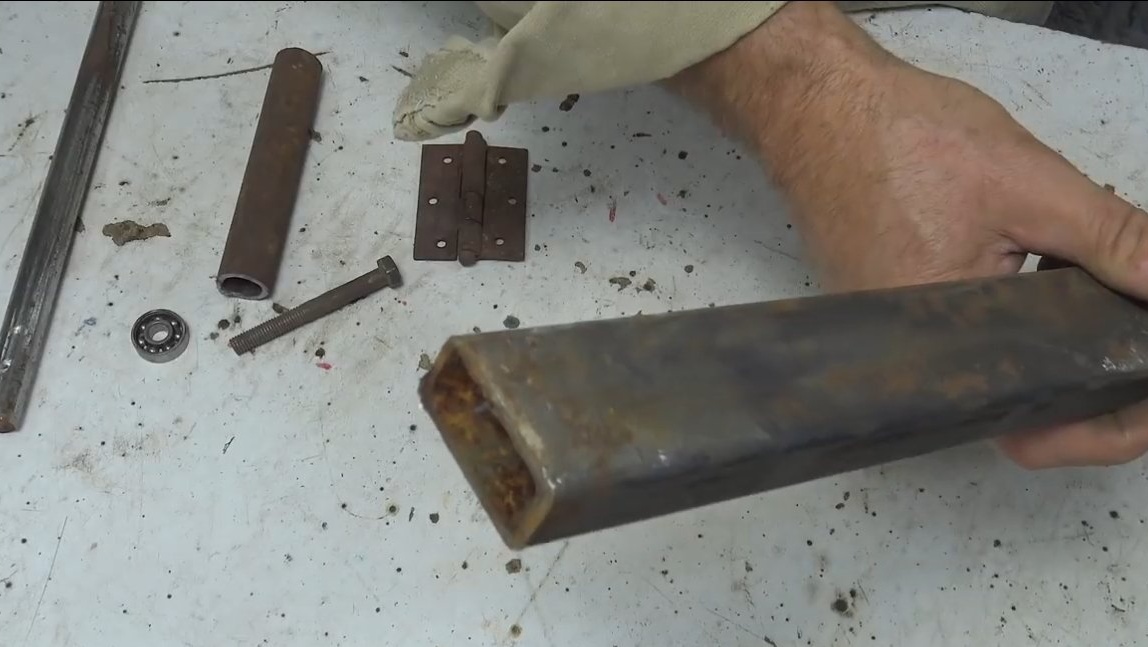
Material List:
- corner;
- strong door hinge;
- a small radial bearing;
- round and rectangular pipes;
- a little sheet metal;
- steel rod;
- spring;
- bolts, nuts, washers.
Tool List:
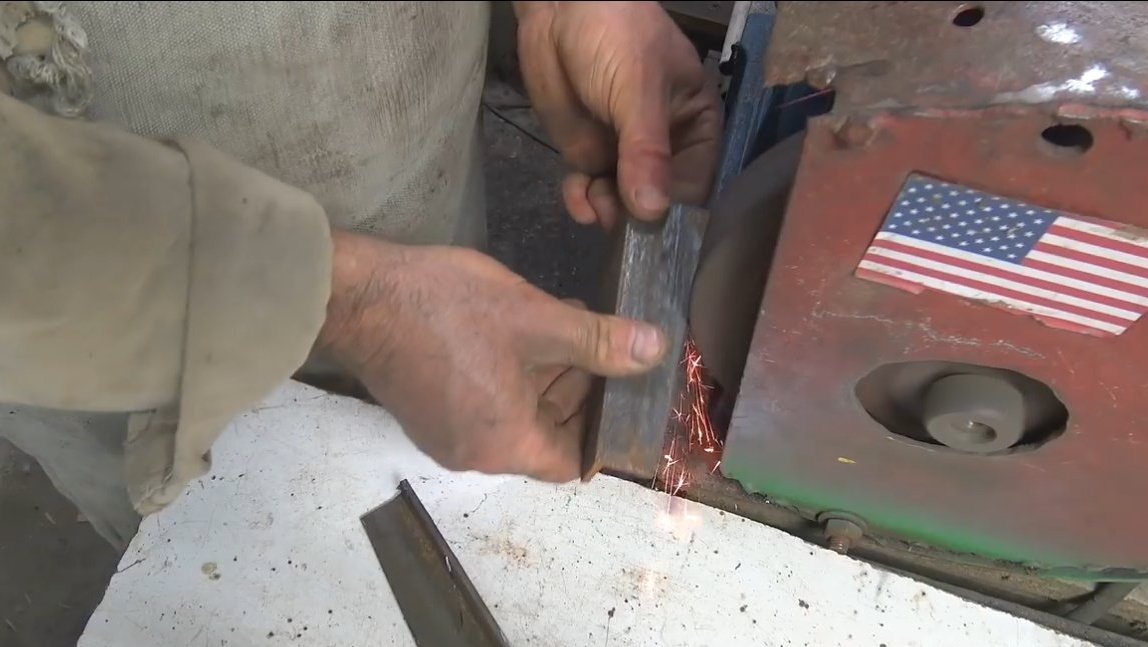
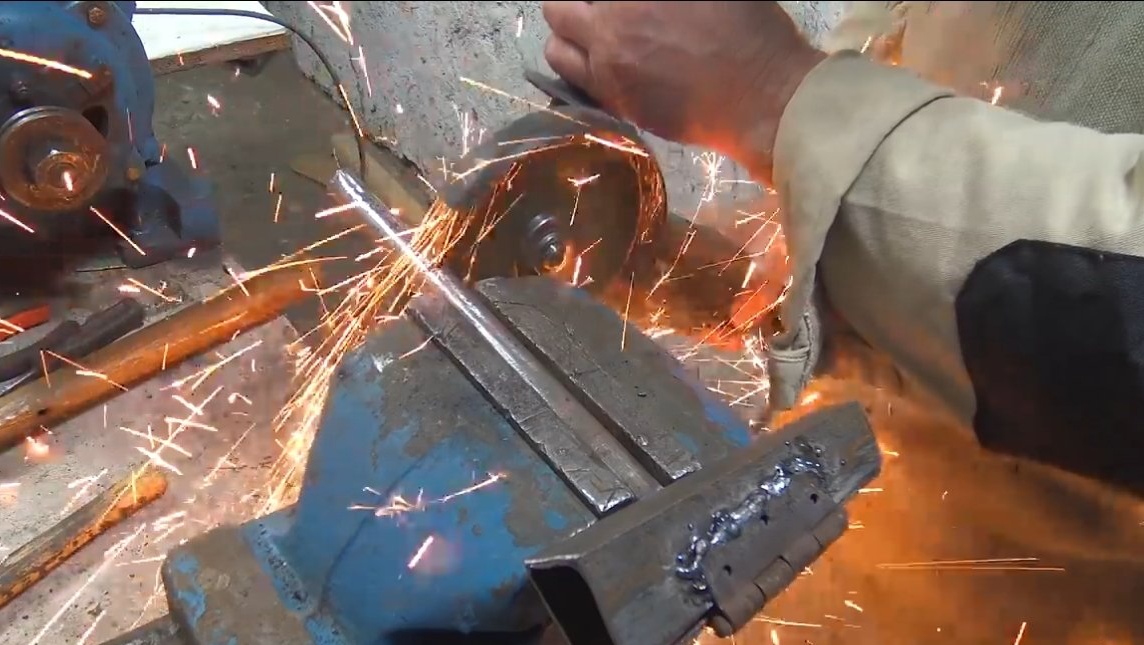
- grinder;
- welding machine;
- drill;
- whetted;
- vise;
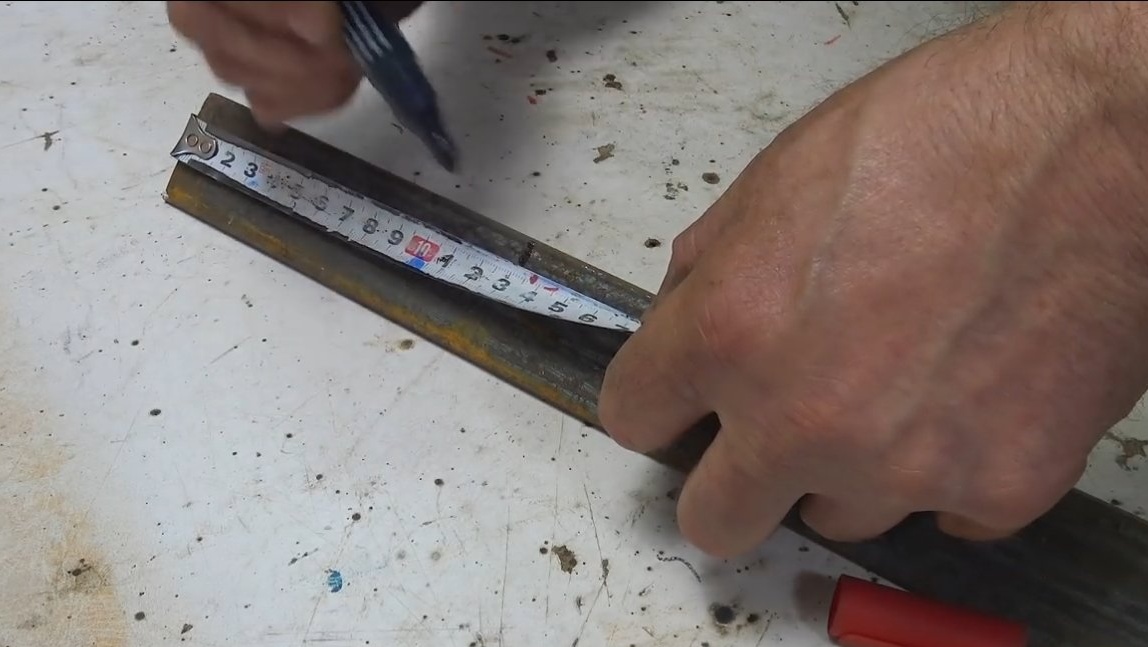
- roulette;
- marker;
- vernier caliper.
Homemade manufacturing process:
Step one. Axle and bushing
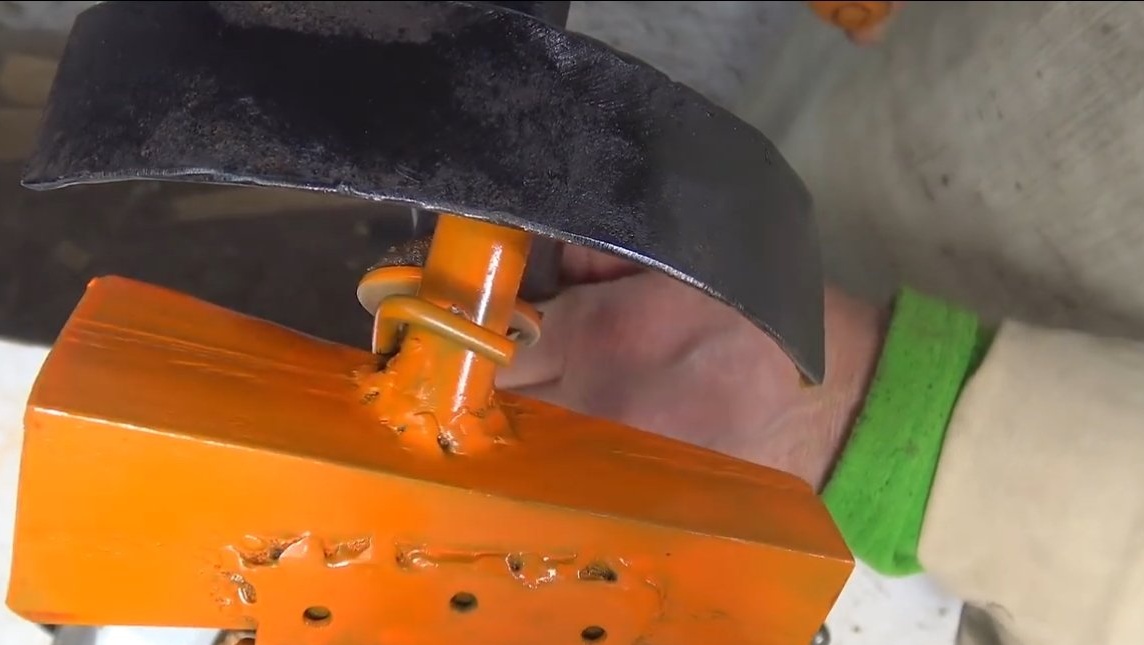
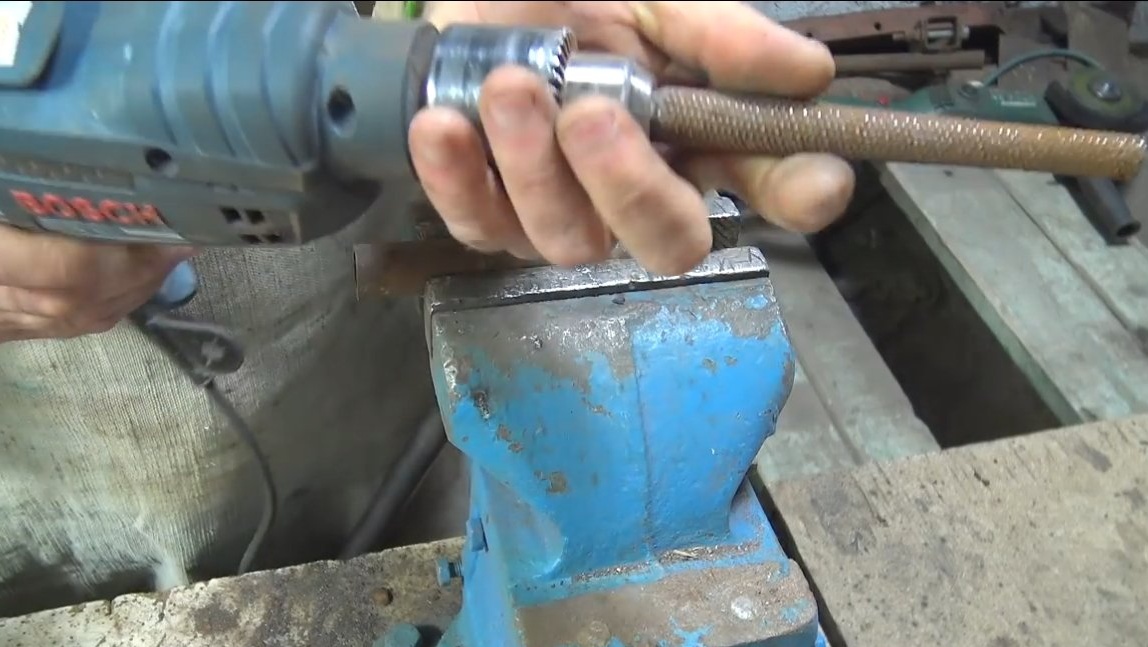
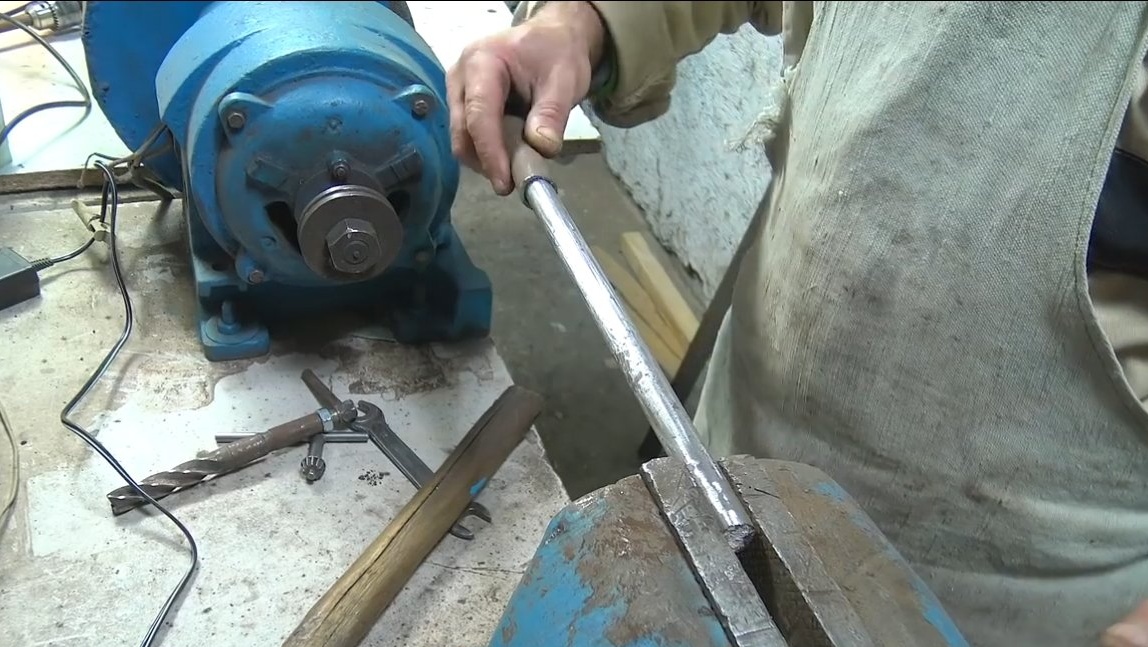
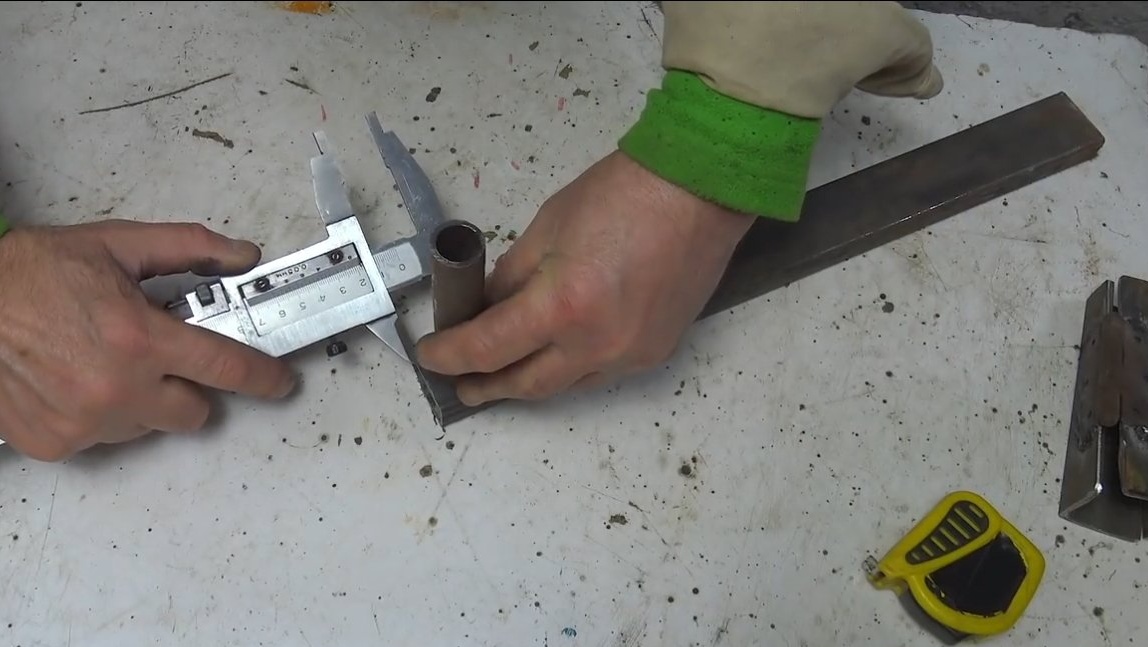
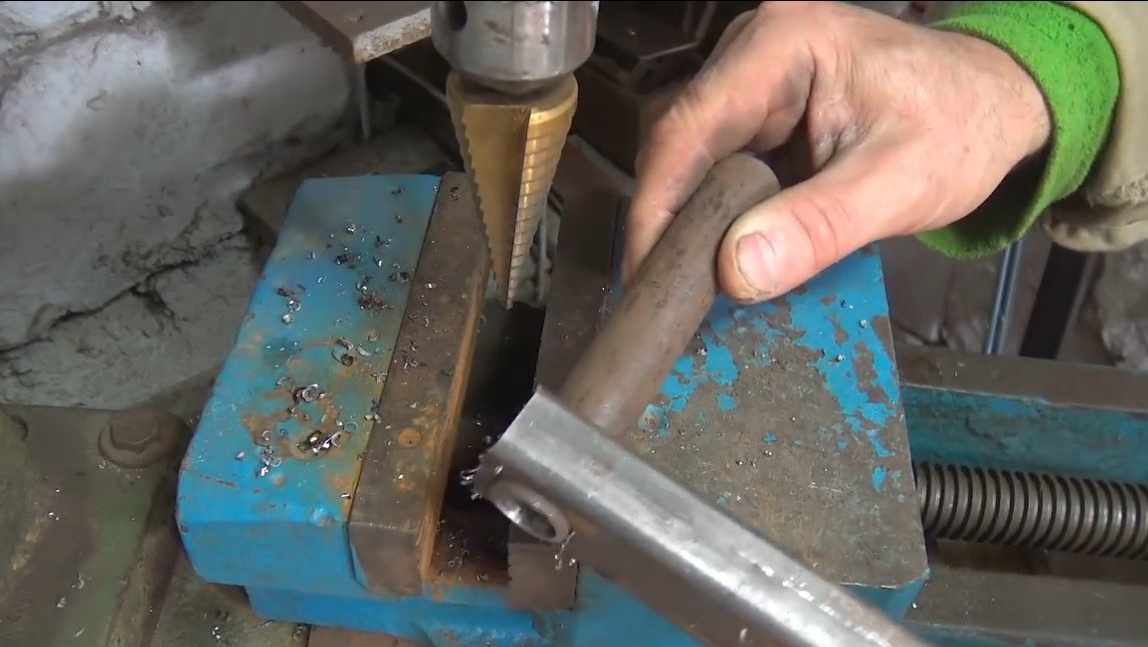
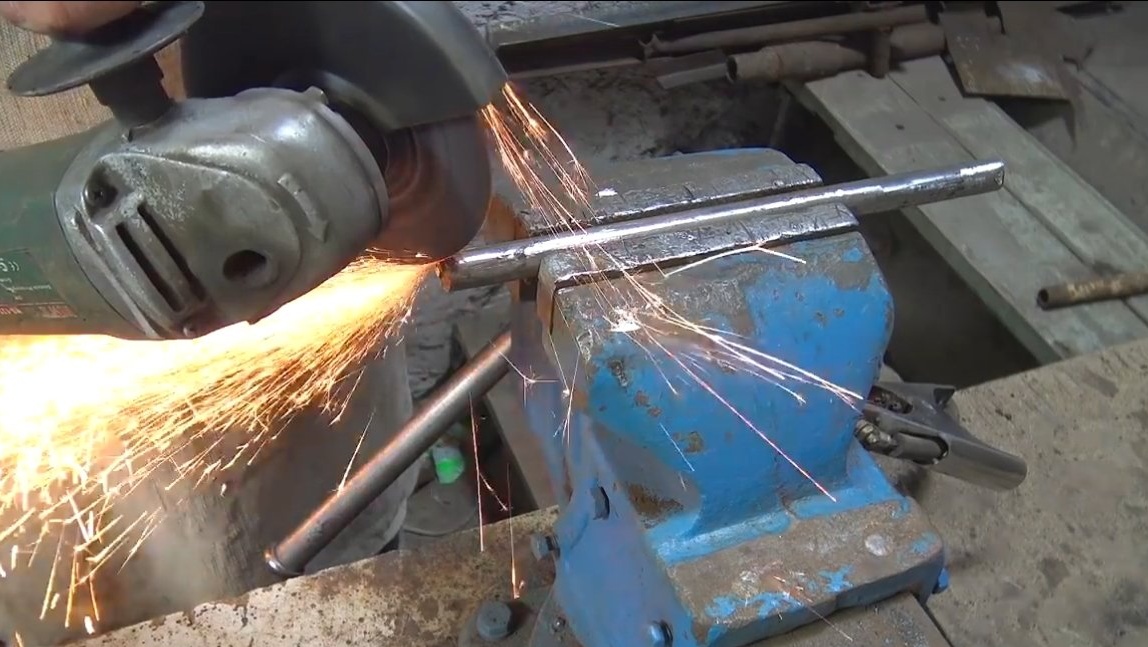
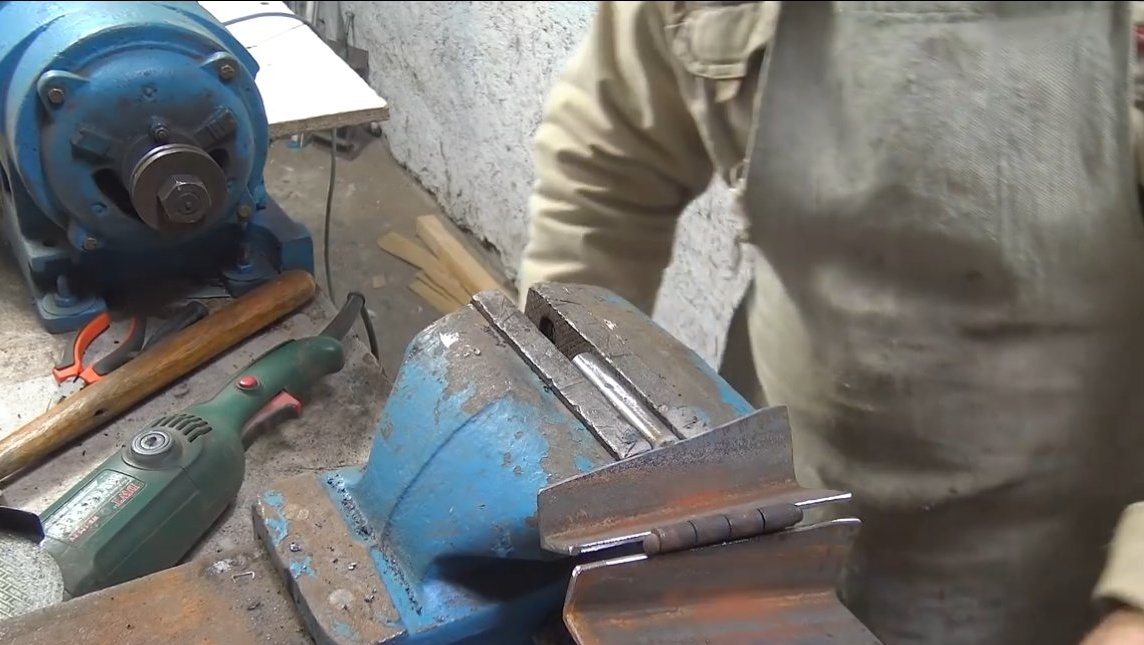
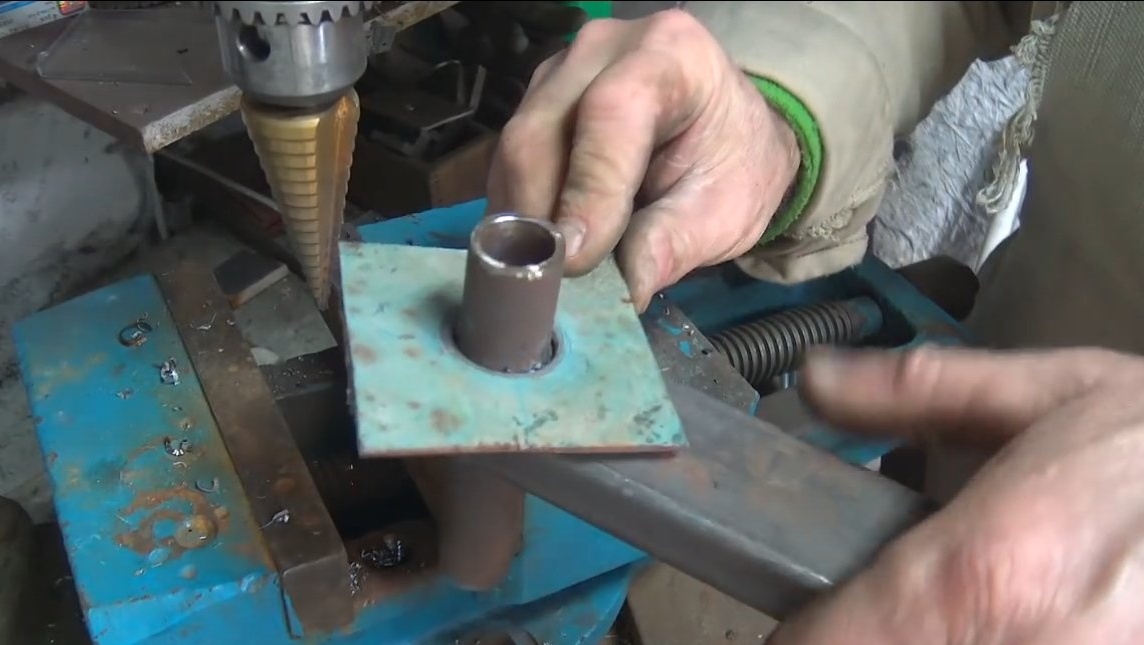
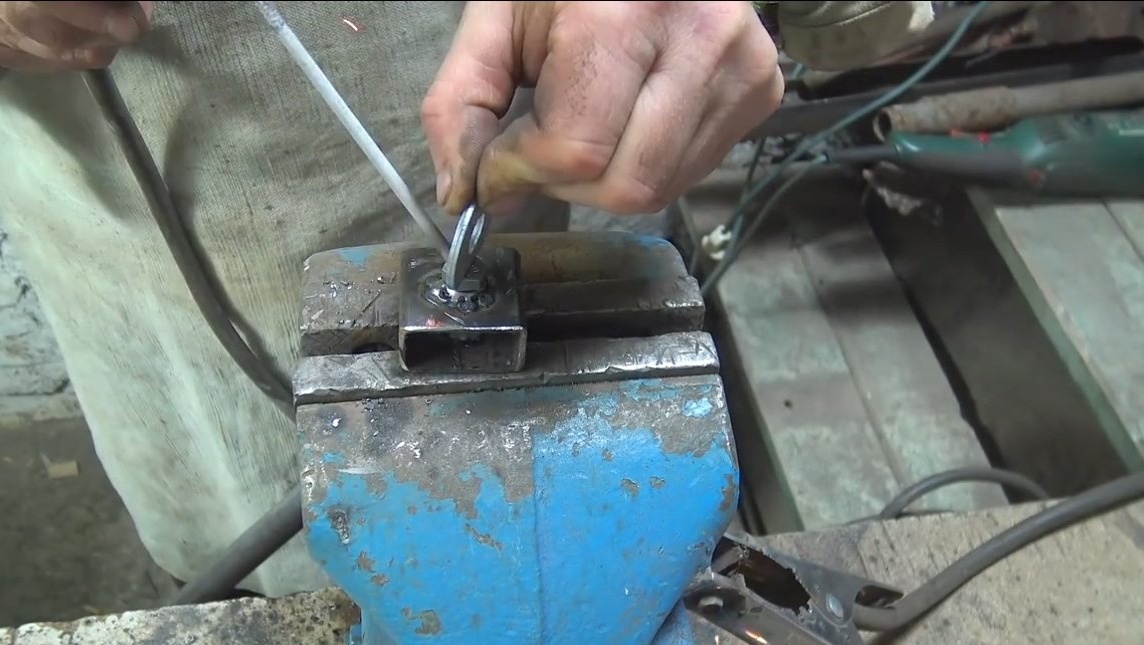
We use a steel smooth rod, which will be the axis of the machine. The rod must be well cleaned from rust to bare metal. Under the axis we make a sleeve, you will need a piece of a round pipe with such an inner diameter so that the axis comes into it with a small clearance. If there is no such pipe, you can weld a small pipe or make it already wider.
The author cleaned the existing pipe from the inside with a drill; a file was used as a nozzle.

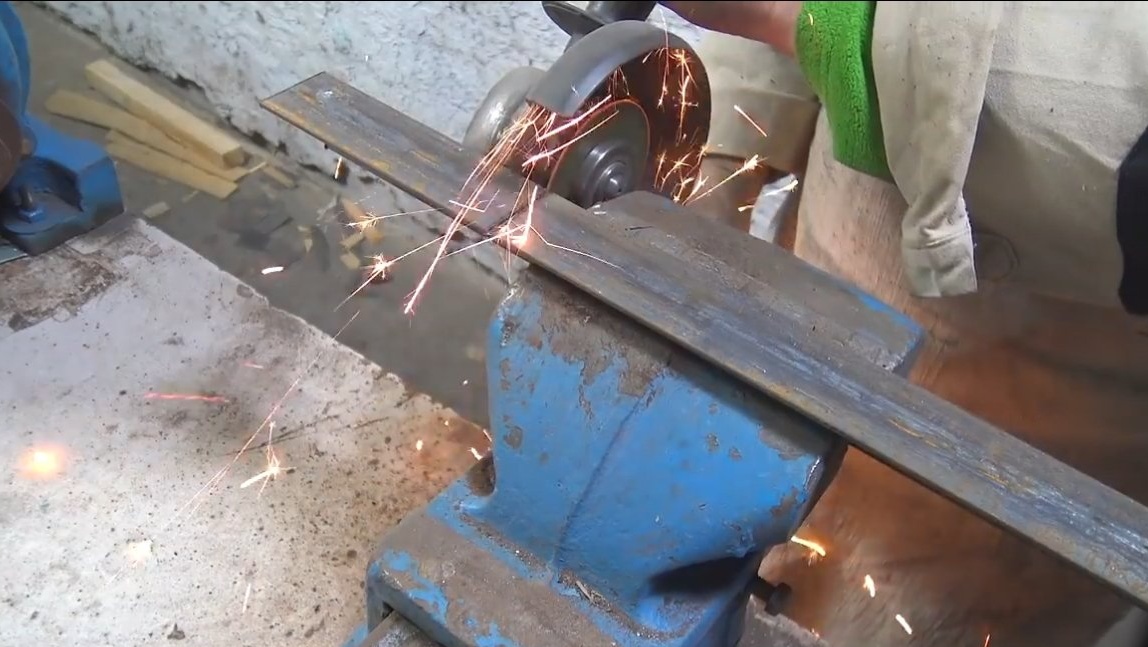
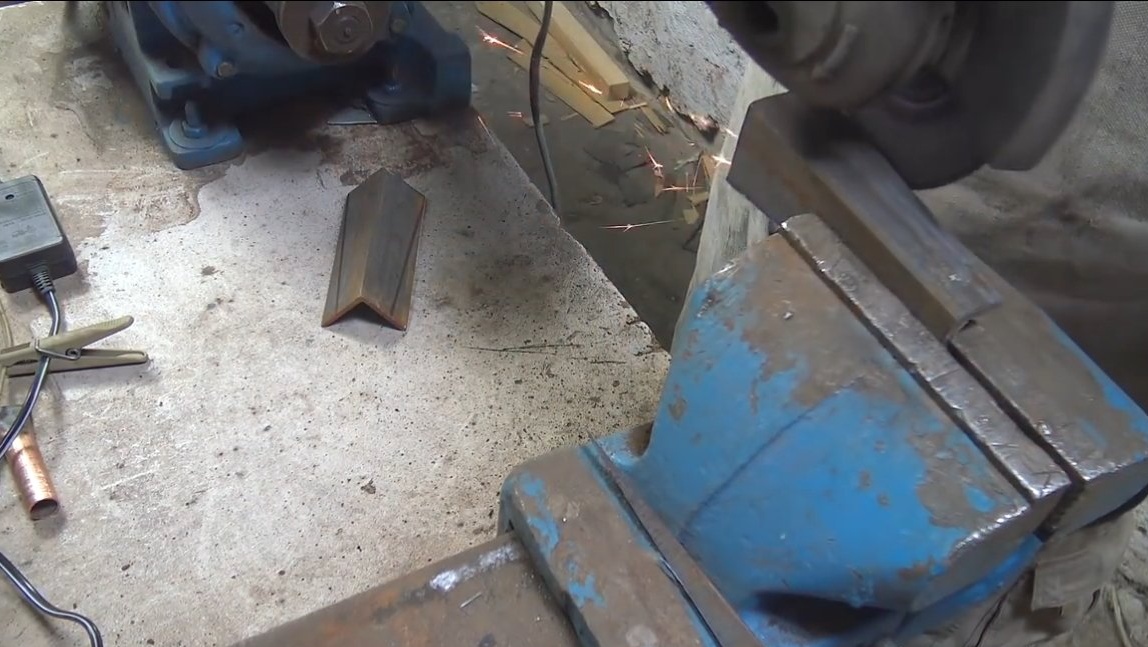
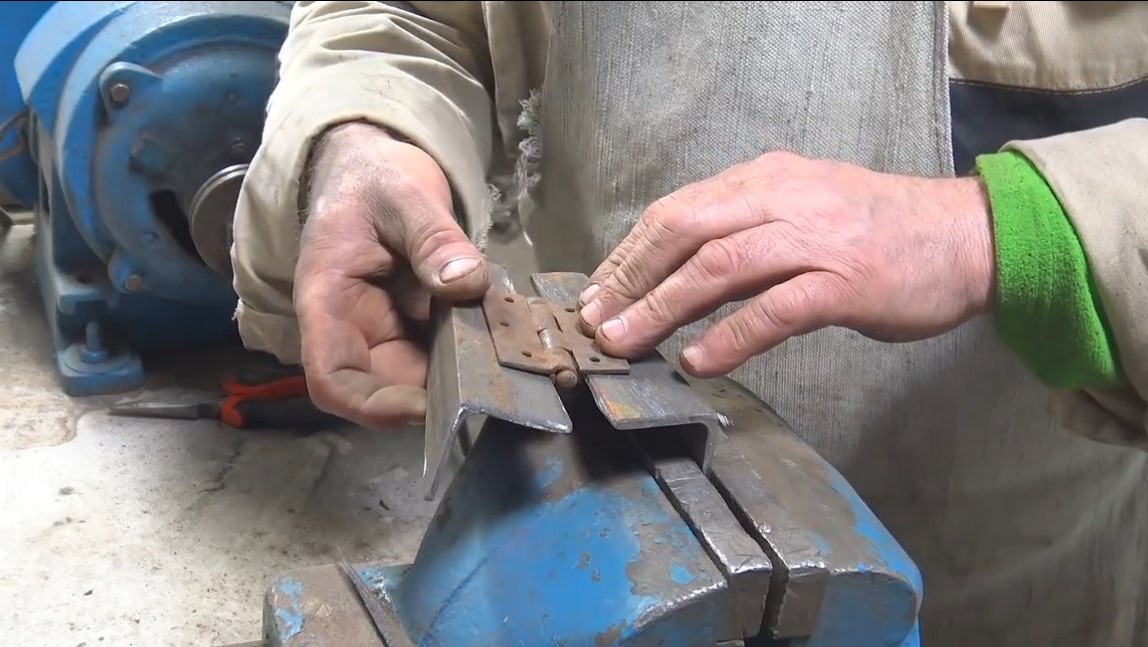
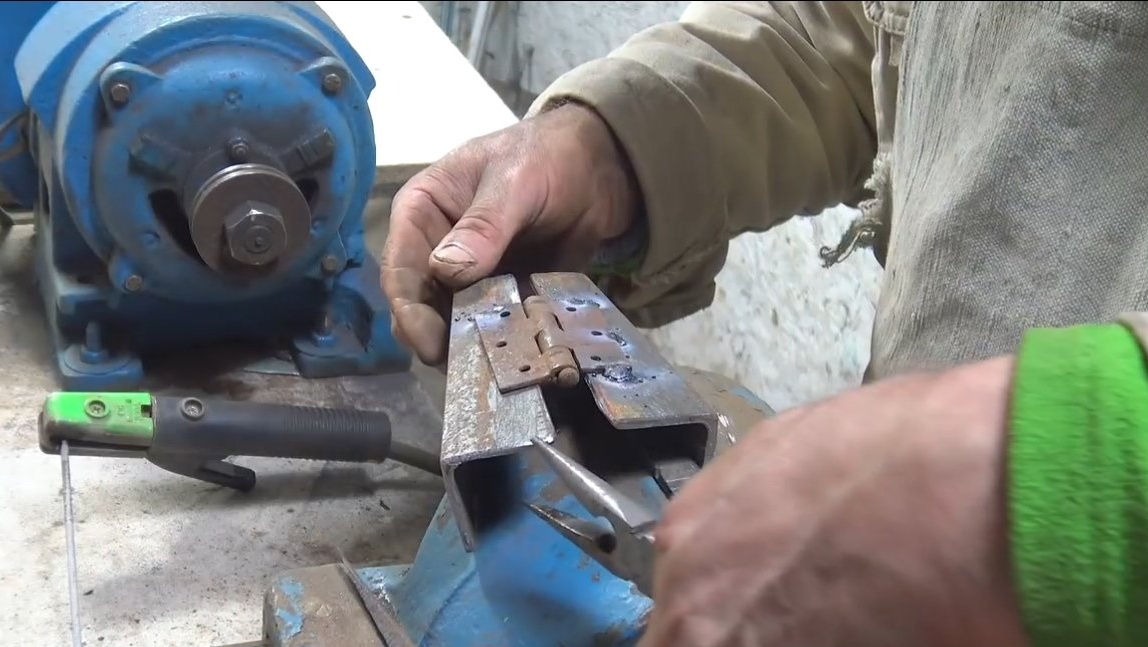
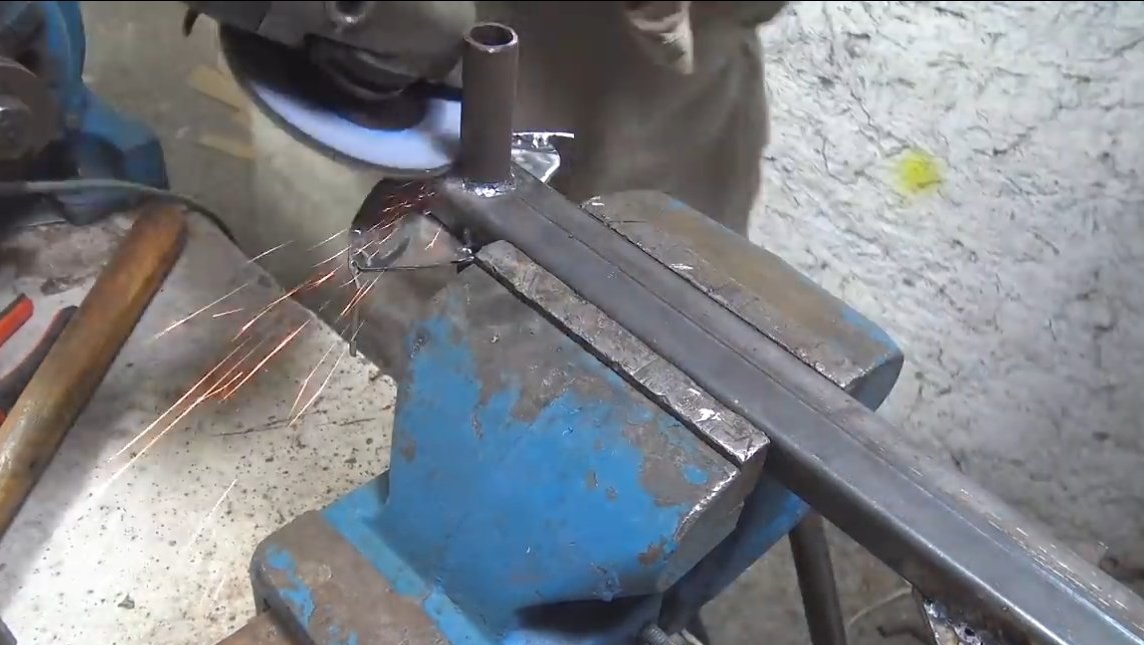
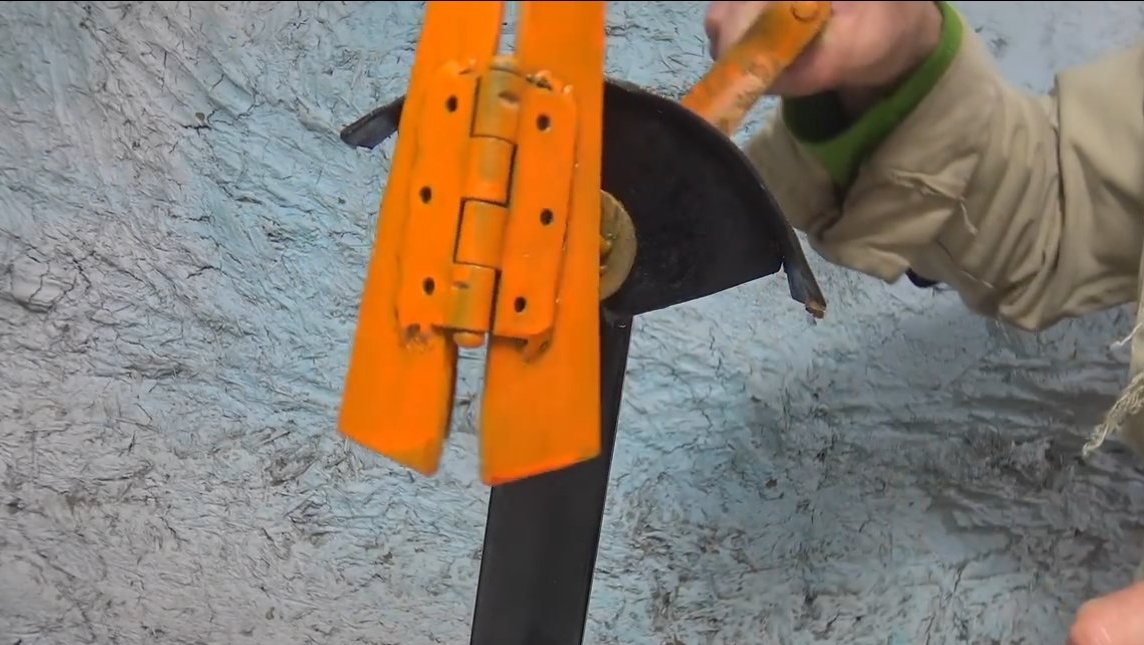
Step Two Peeling unit
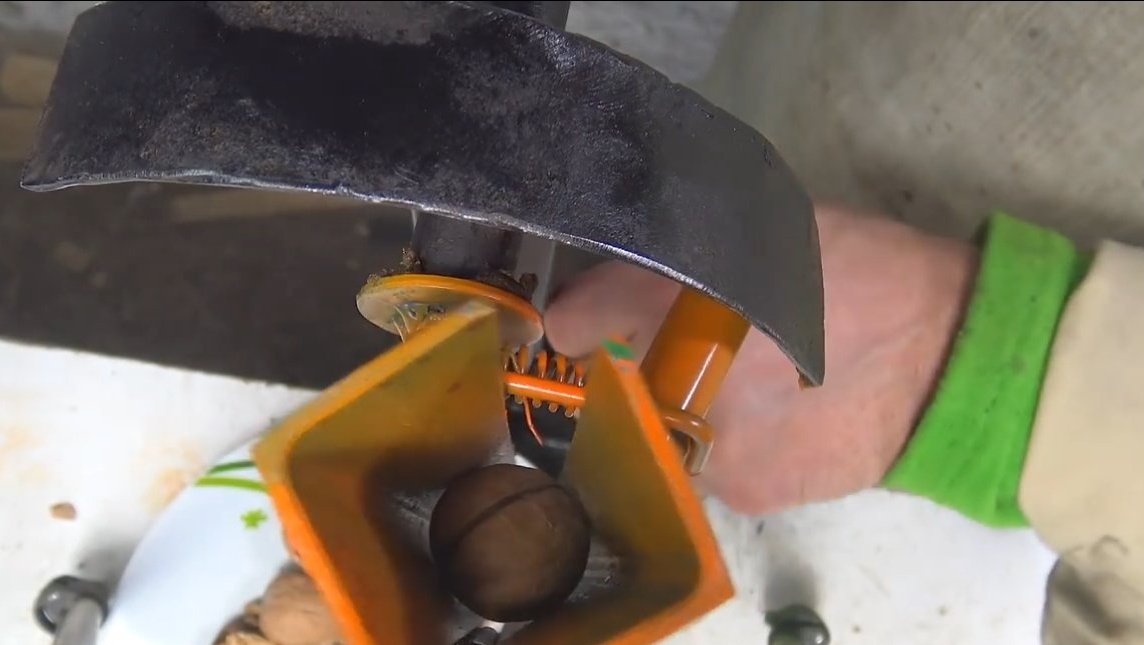
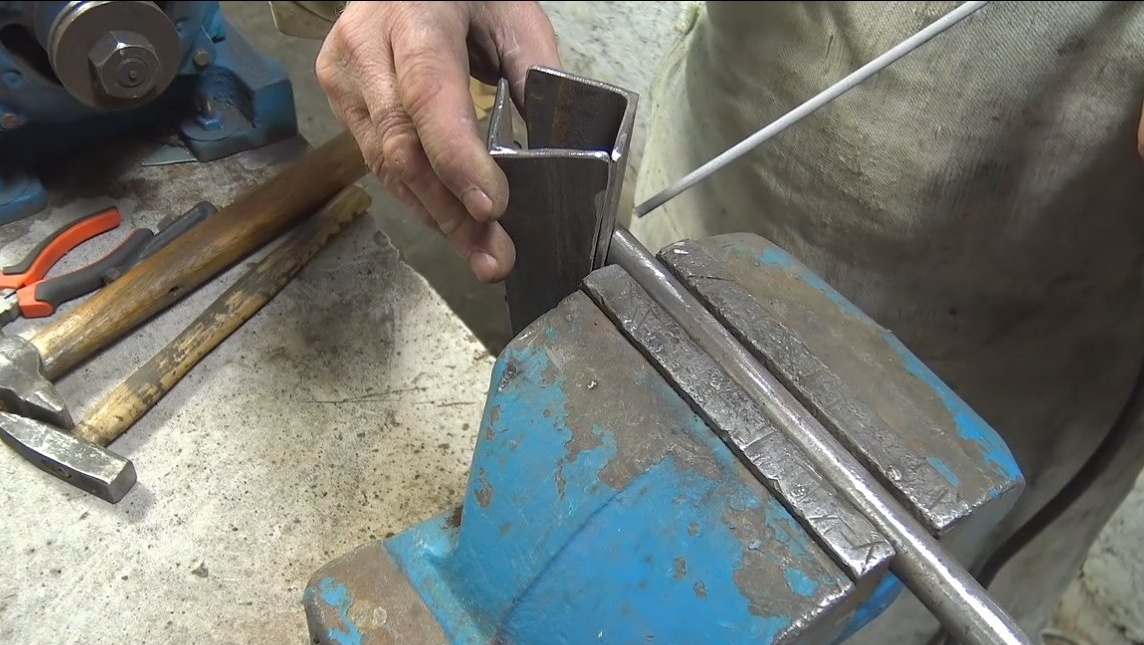
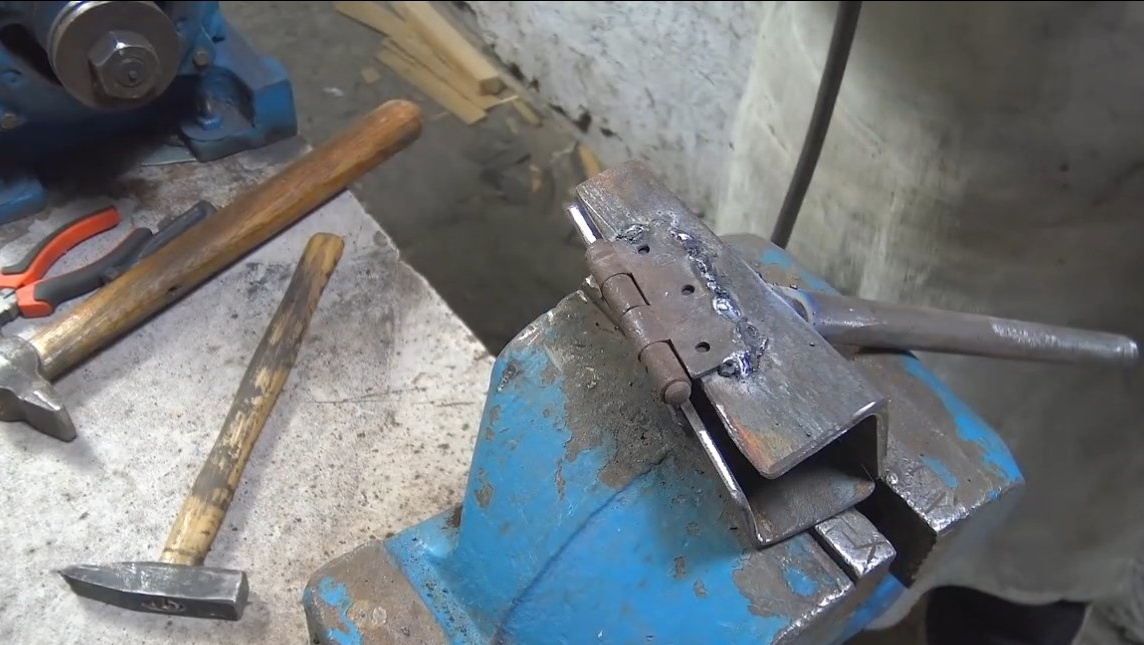
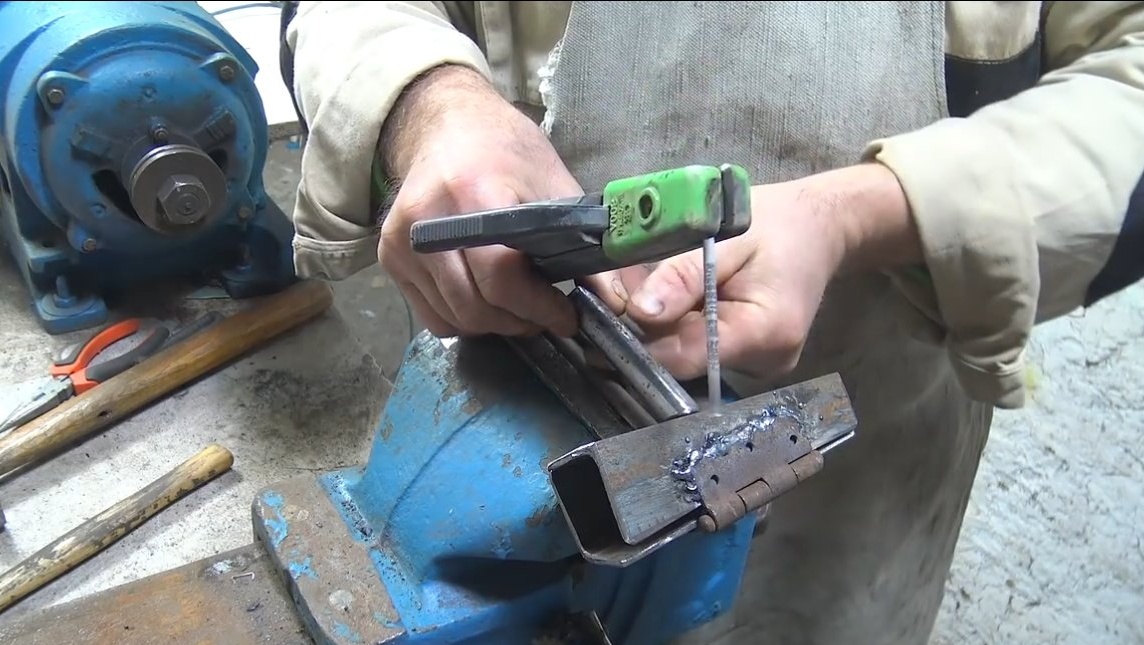
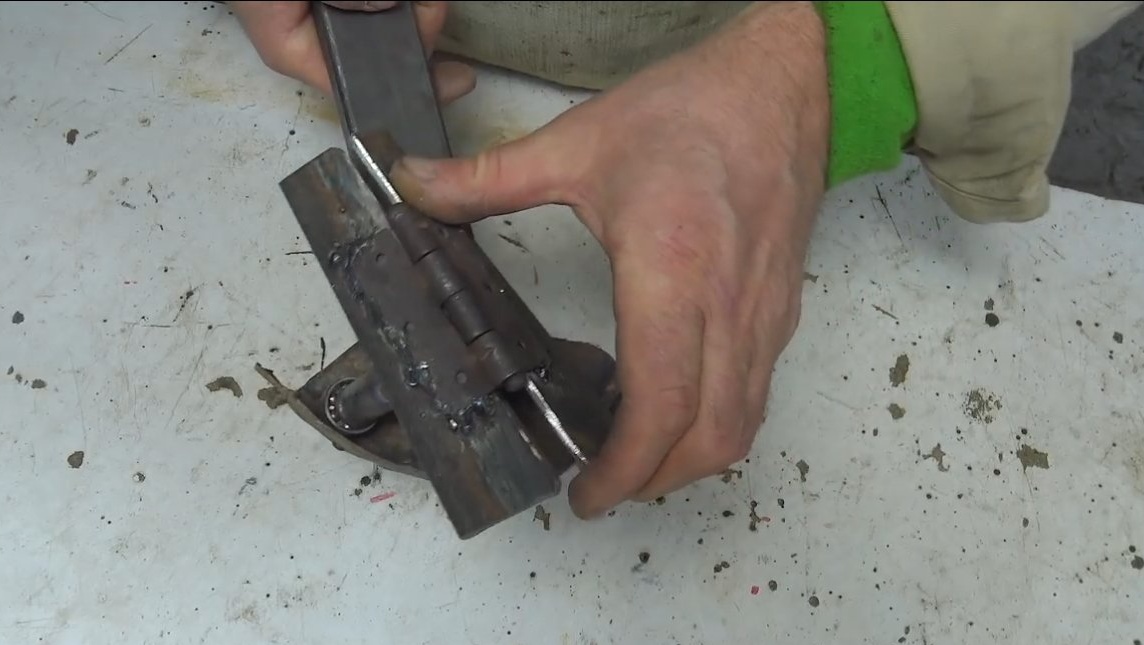
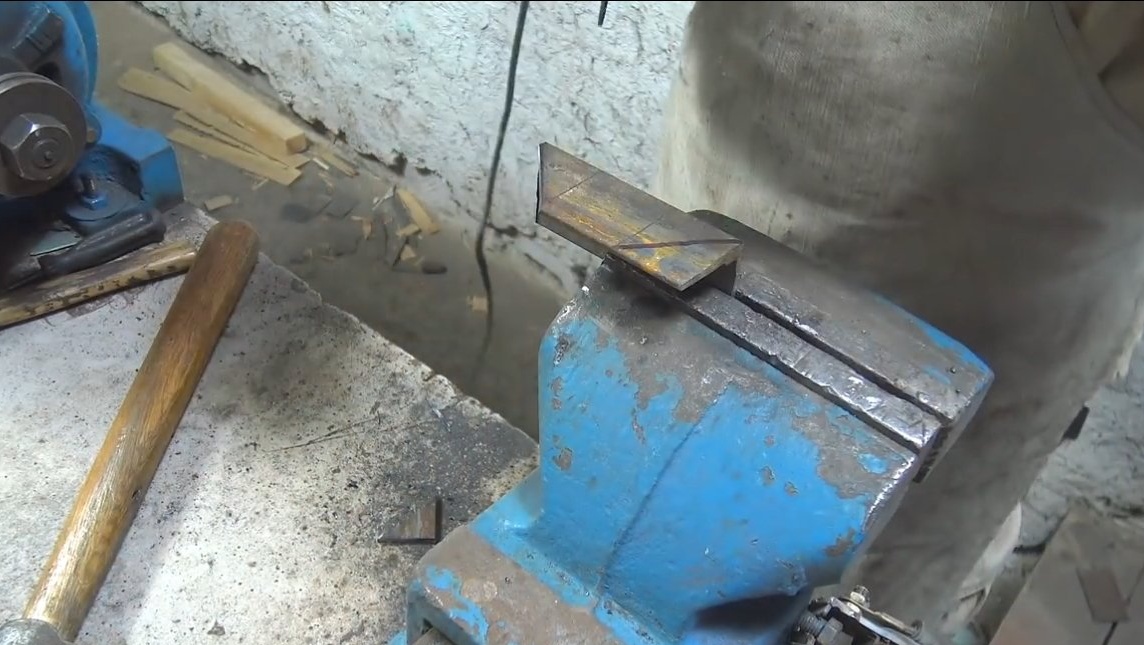
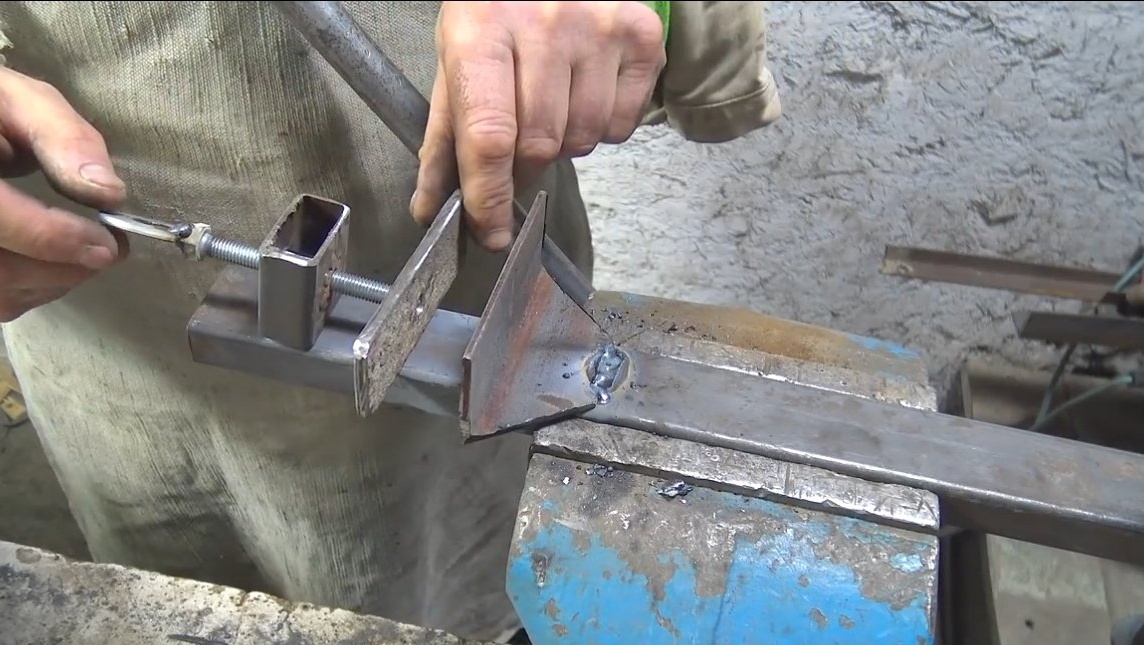
We make a knot that will compress the walnut, you will need to make a pipe that will compress. The author made such a pipe from two pieces of a corner. The corner must be cut so that a pipe under the cone is obtained, this will allow peeling nuts of different sizes. So that the two halves of the corner diverge and converge, we connect them through a strong door hinge.
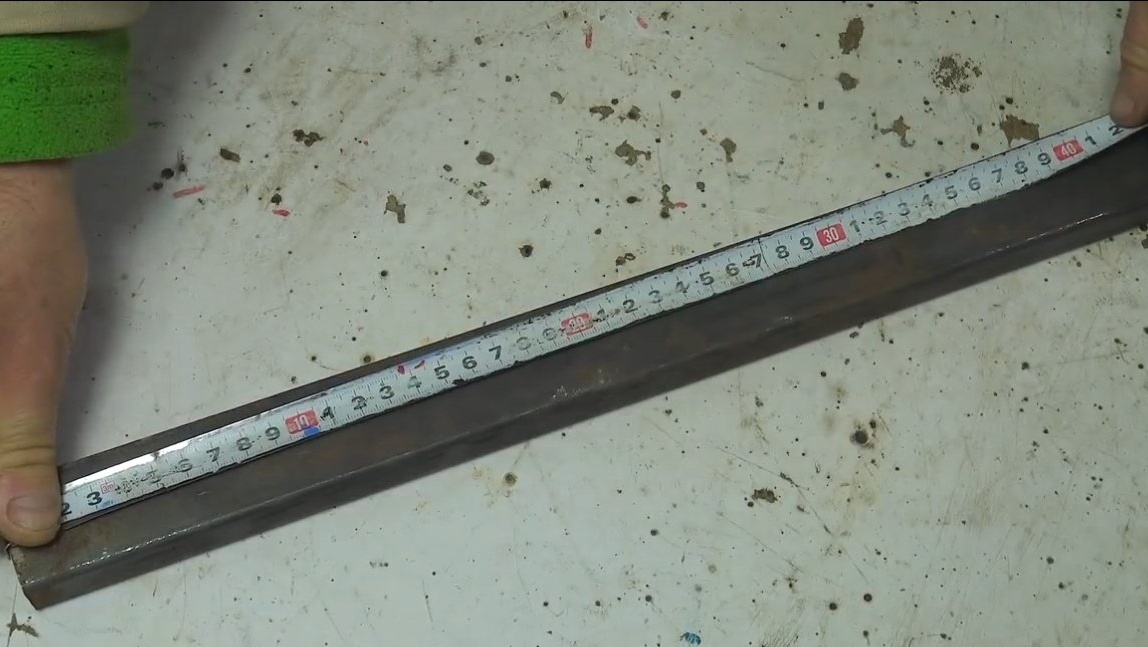
Step Three Rack
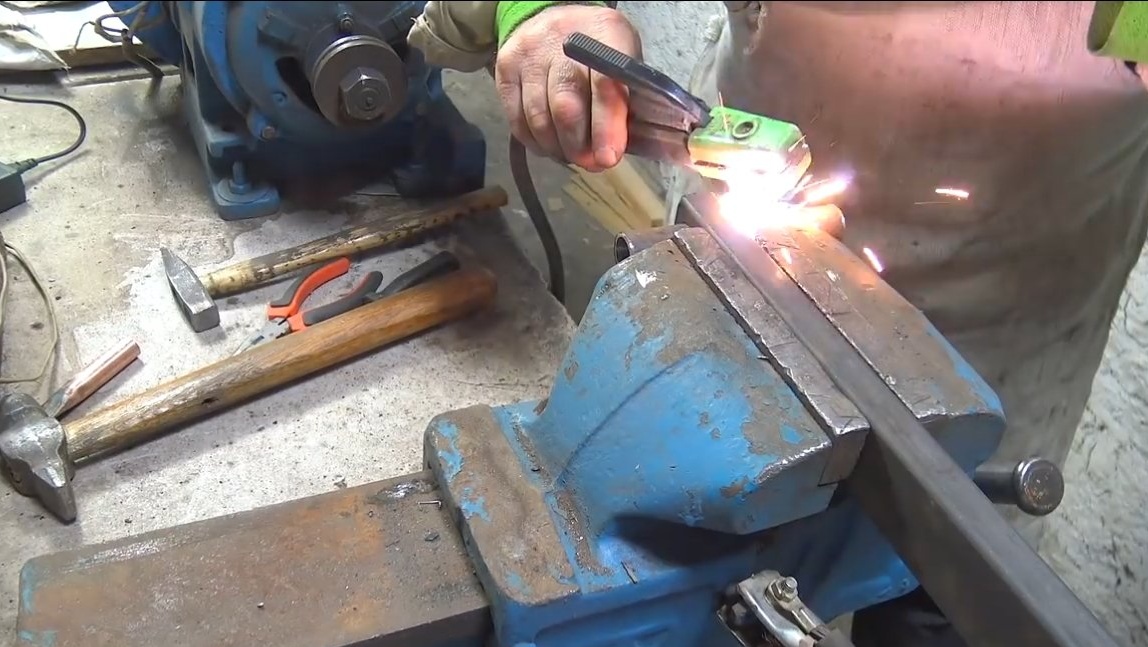
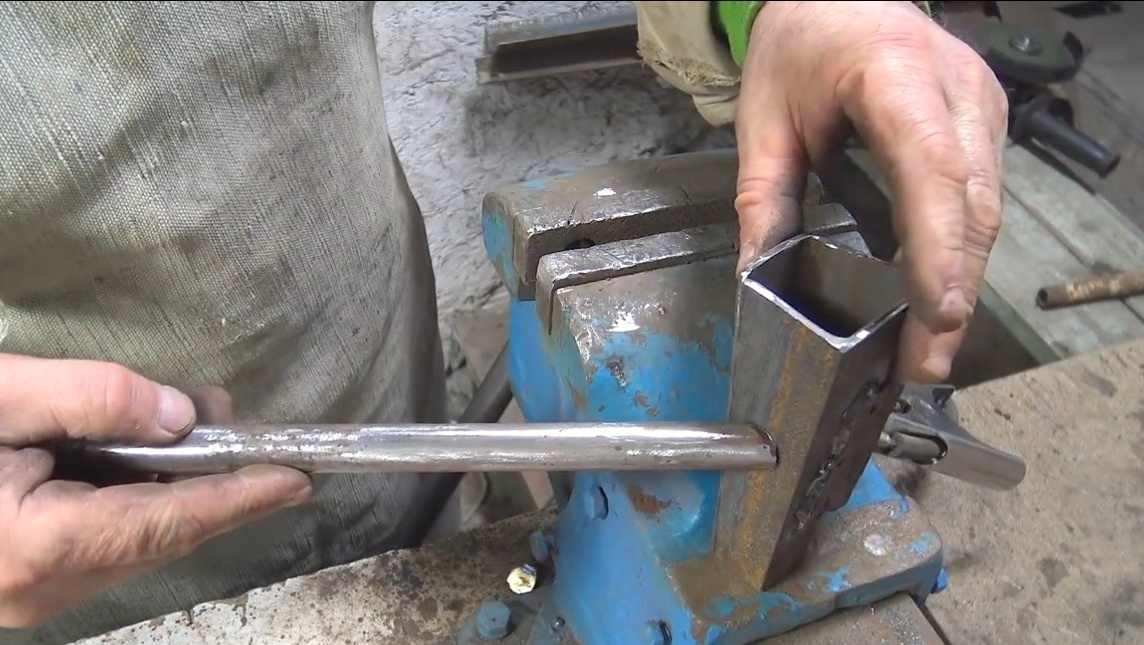
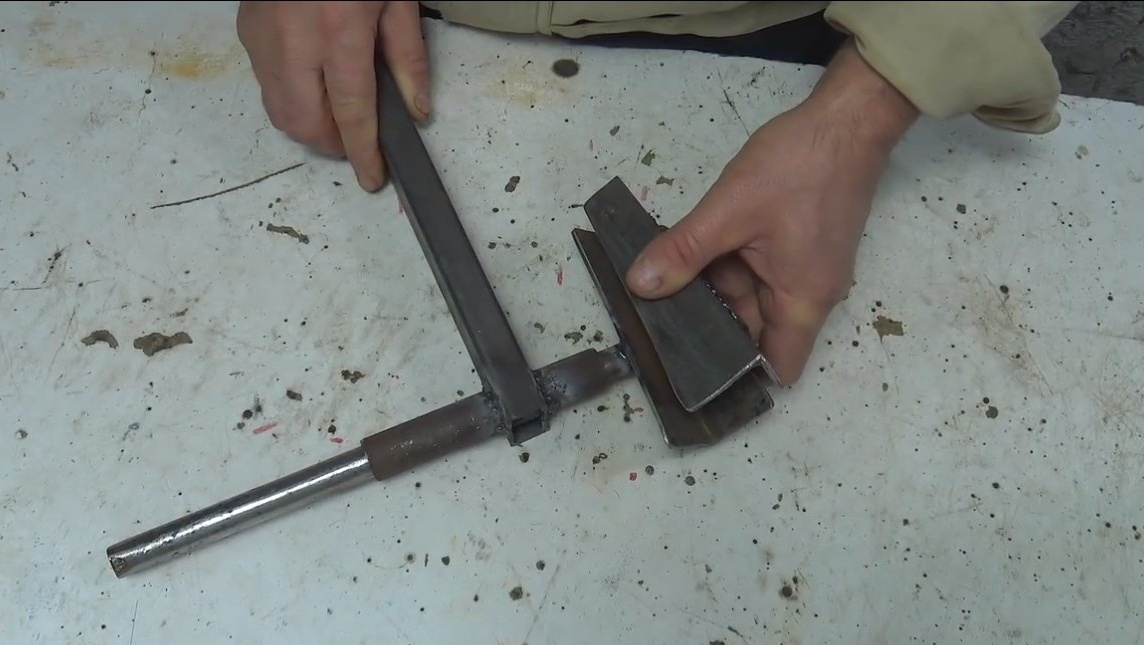
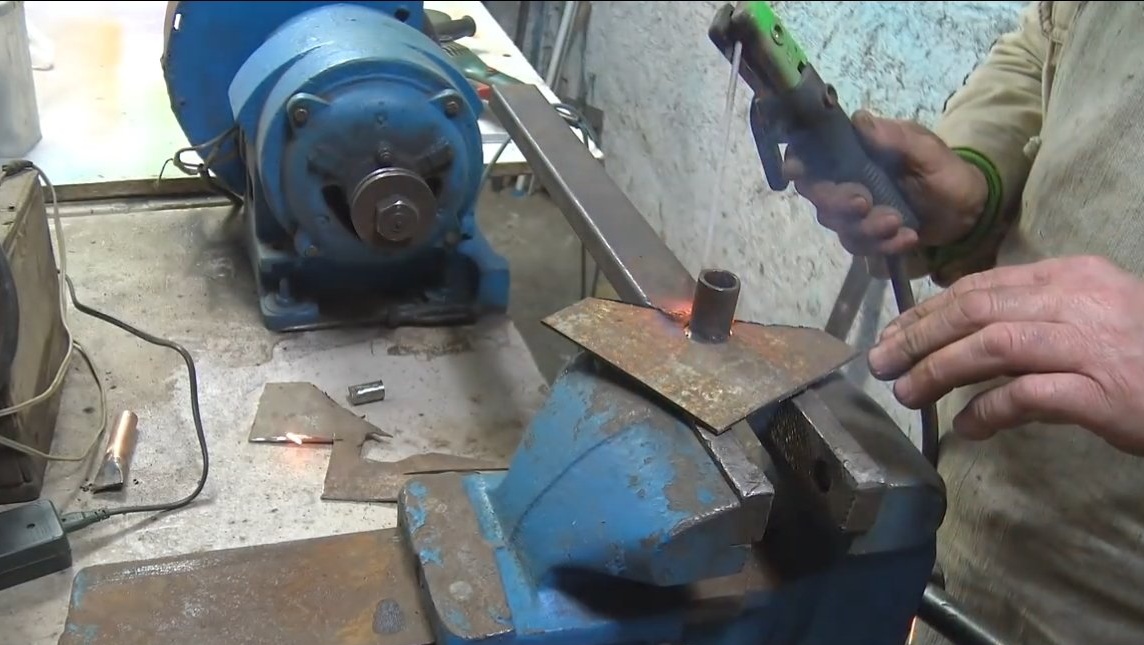
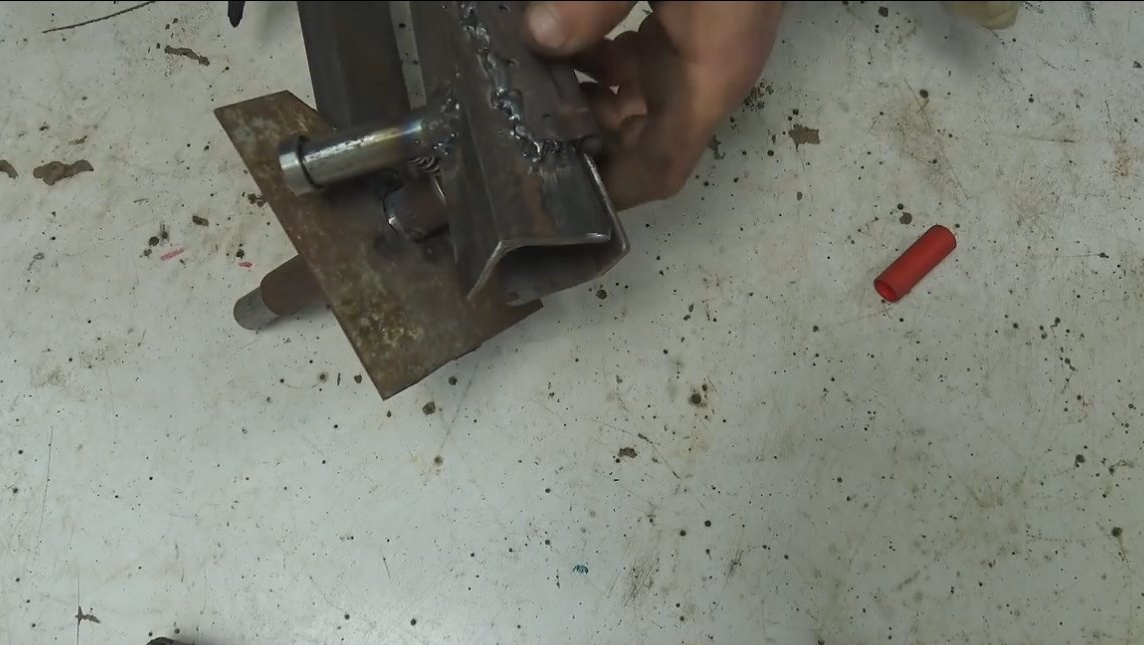
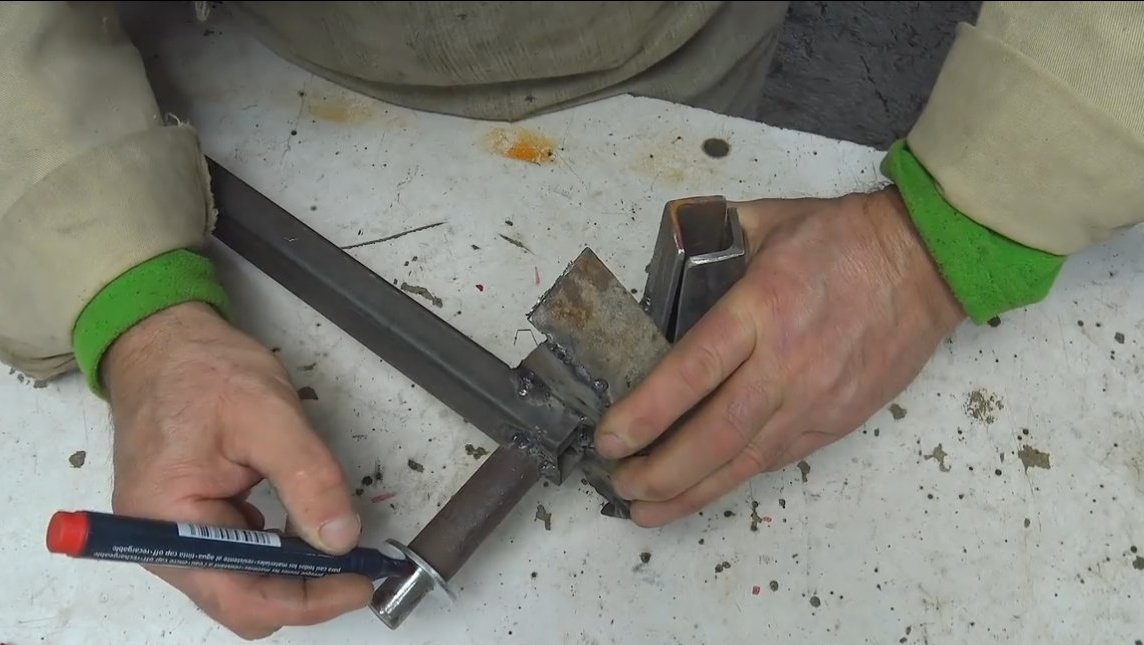
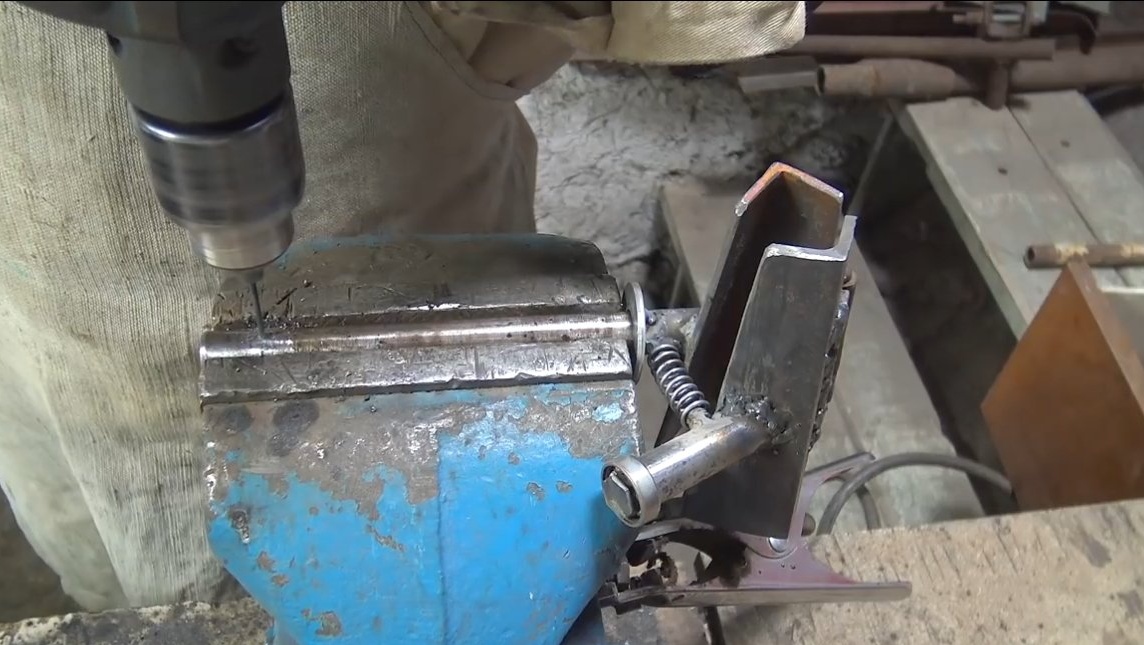
We make a rack on which the nut cracker will be installed. As a rack, we use a piece of a rectangular profile pipe, drill a hole in it and insert a sleeve made for the main axis there previously. The sleeve needs to be welded well by welding, just look do not burn through the pipe.

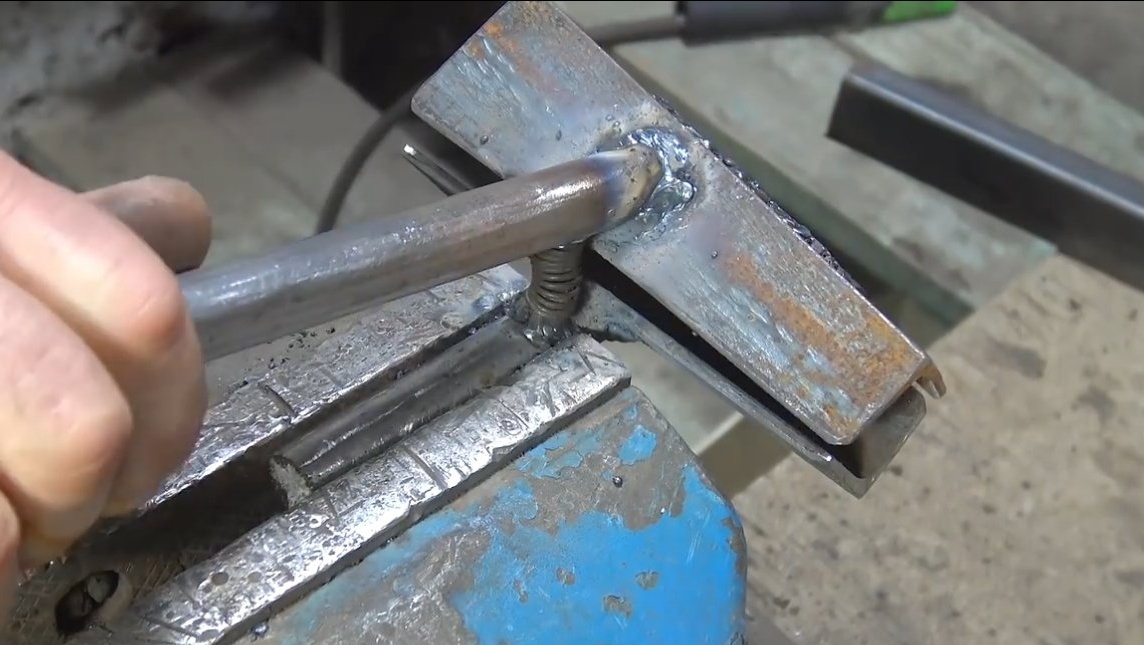
Step Four Stop lever and spring
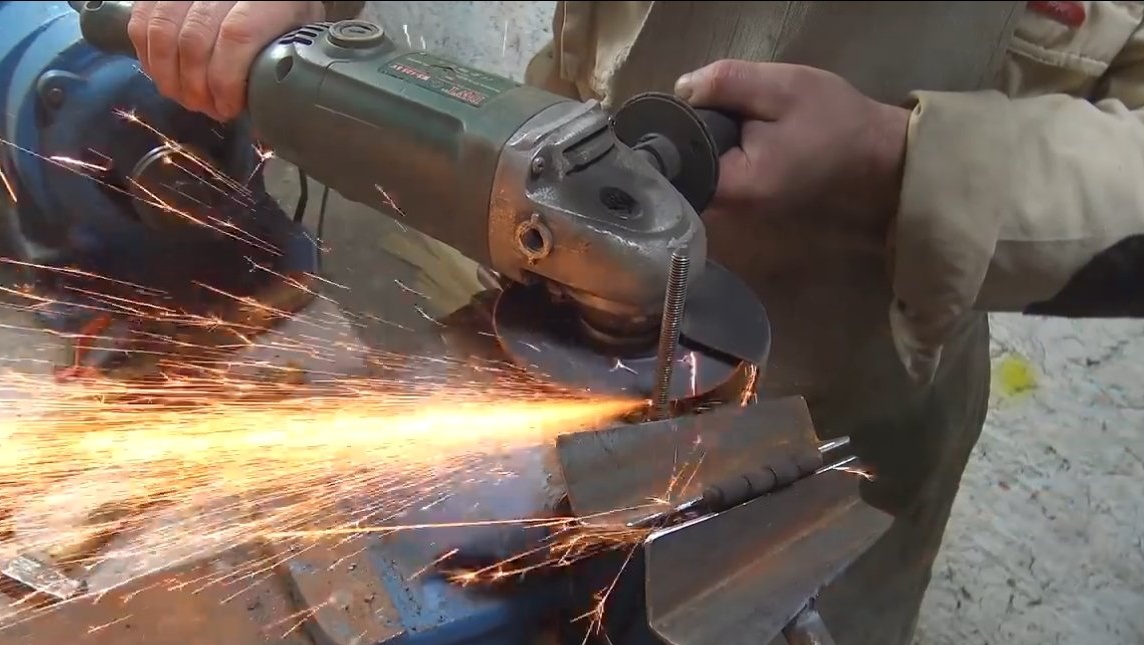
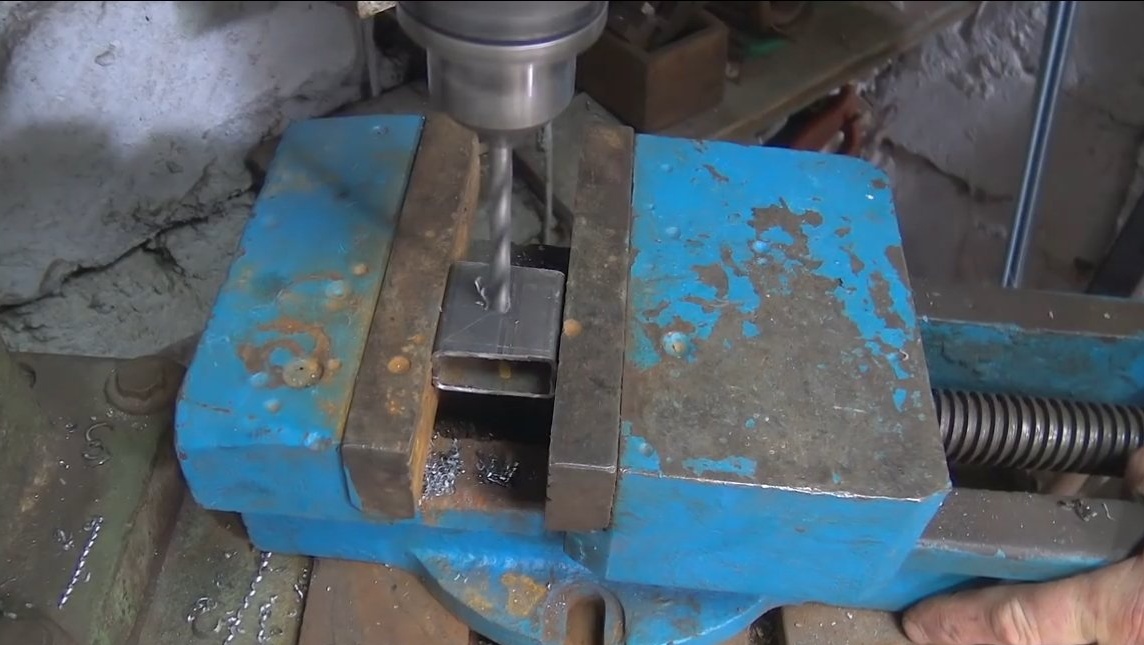
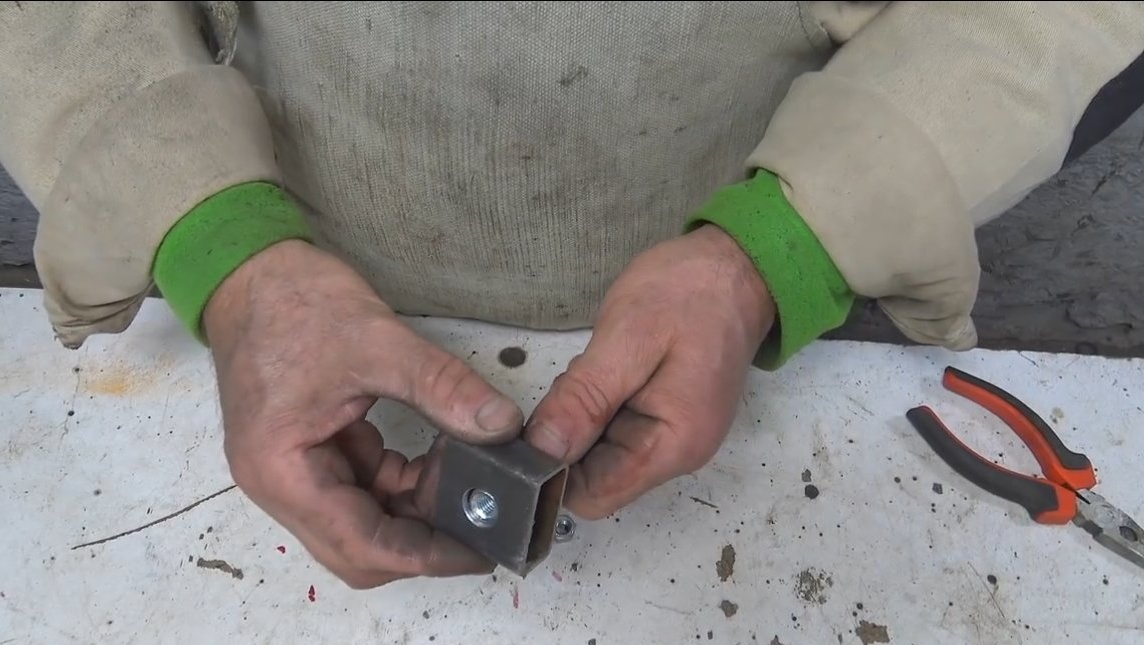
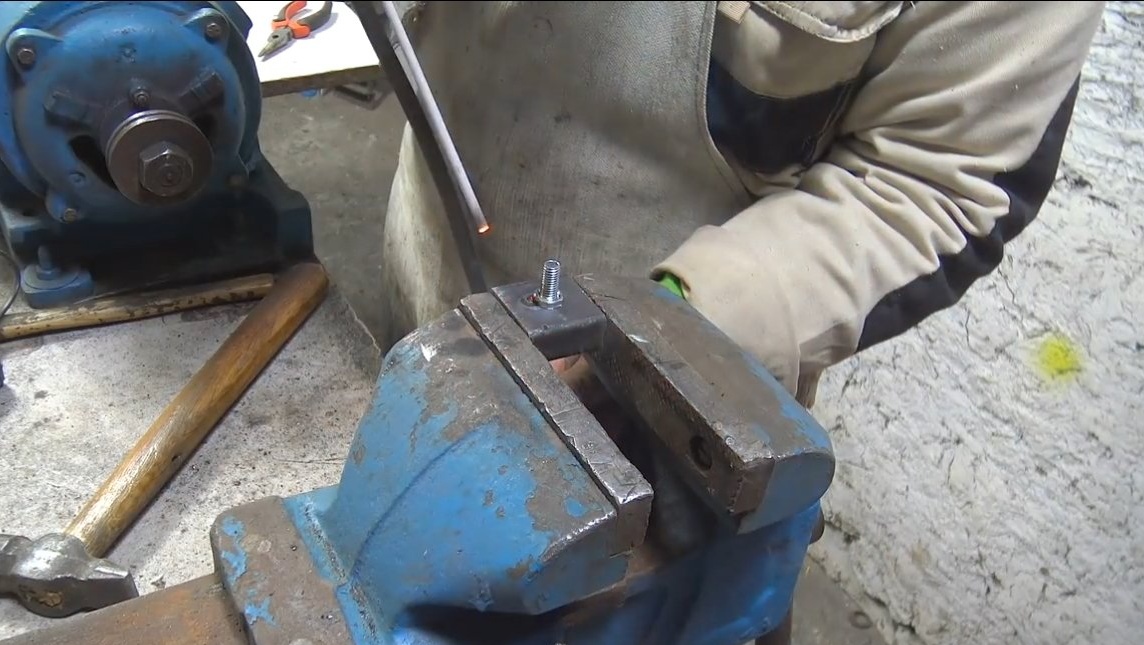
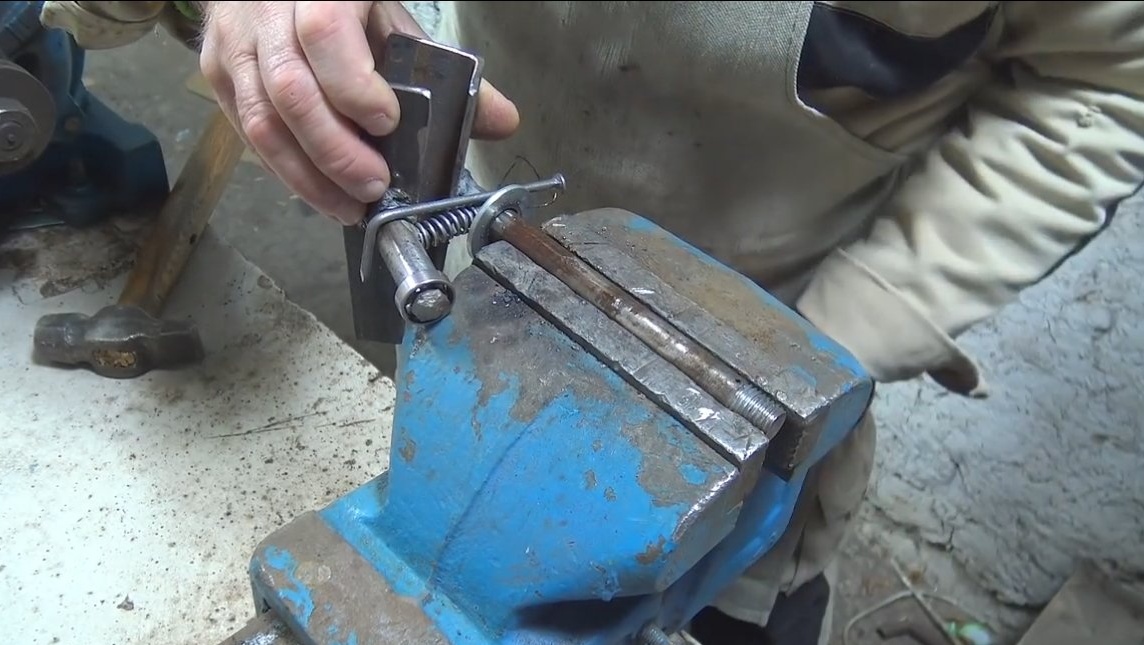
We weld an axis to one of the halves of the clamping pipe, as a result, the whole pipe will rotate around its axis. We weld a lever from a steel bar to the second corner, and install a bearing on the end of the lever, which will be a roller. The bearing will abut, and the corners will converge, thereby breaking the nut. To fix the bearing on the axle, you can drill a hole, cut the threads and tighten the screw and washer.
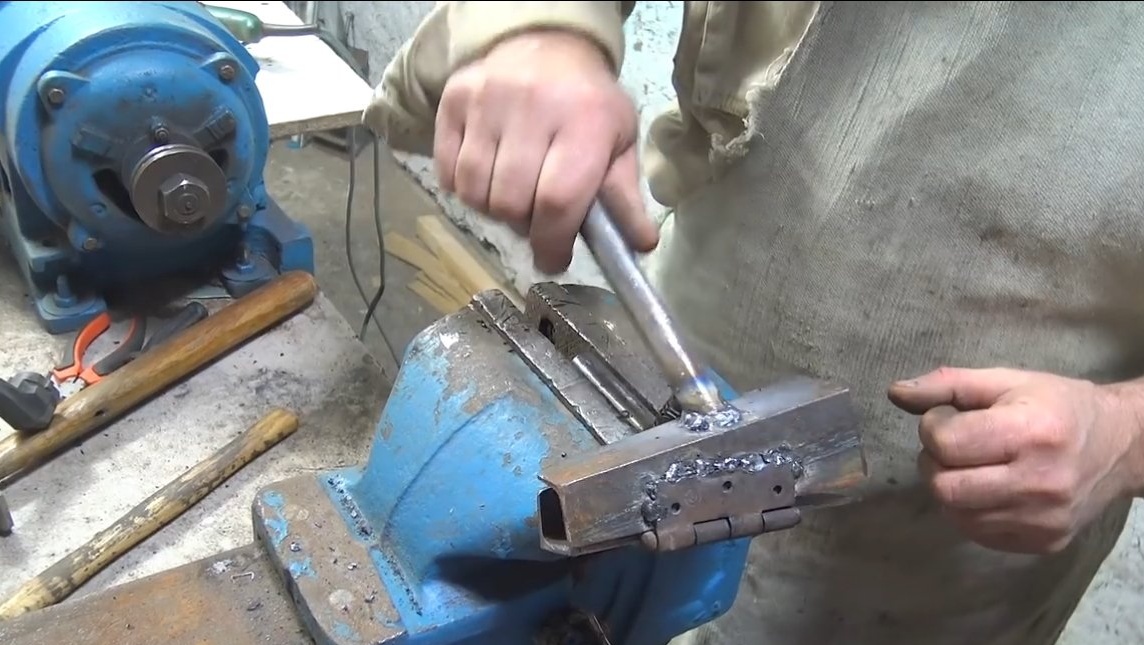
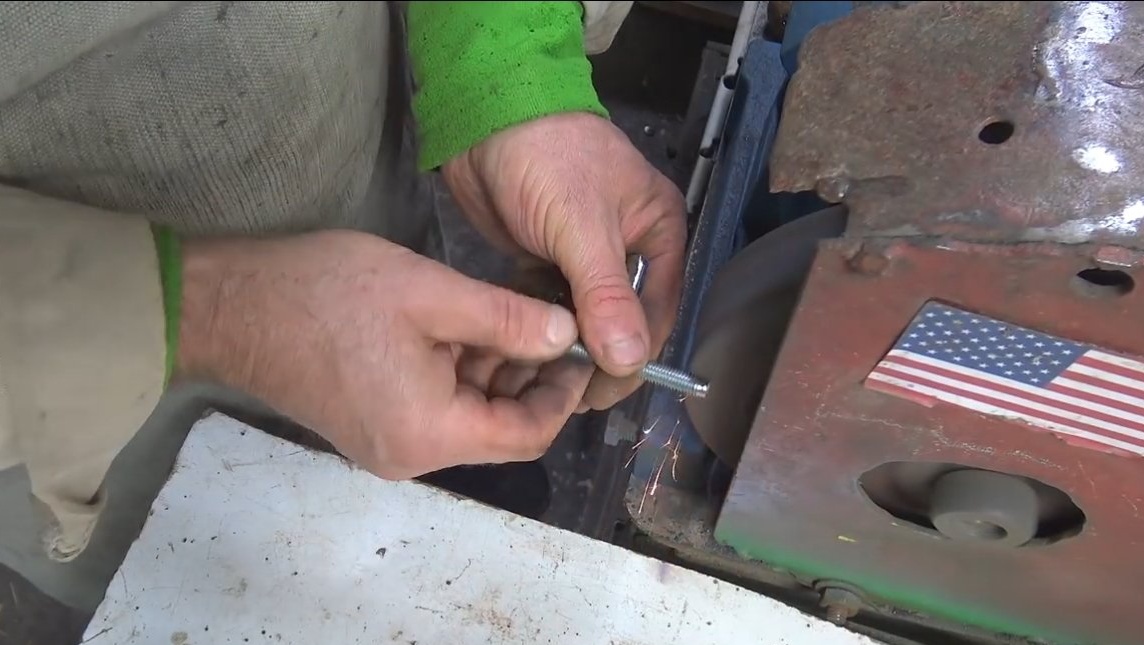
Of course, the corners should diverge from us, so we put a spring between the levers. As stops for springs, we weld pieces of bolts.
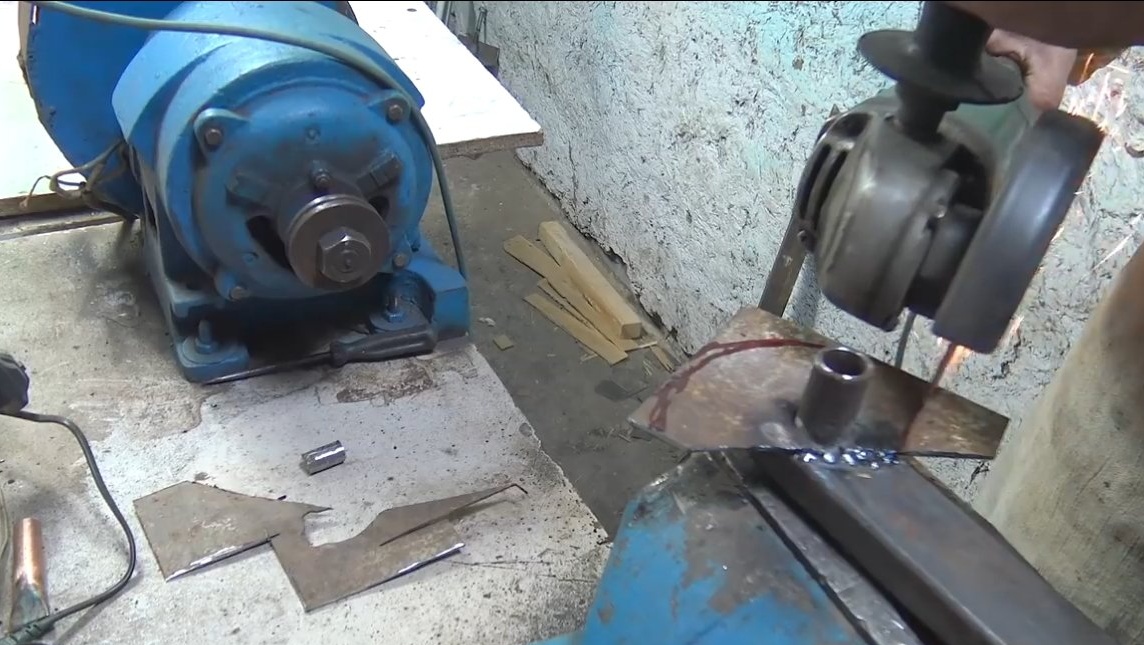
Step Five Stop for clamping unit
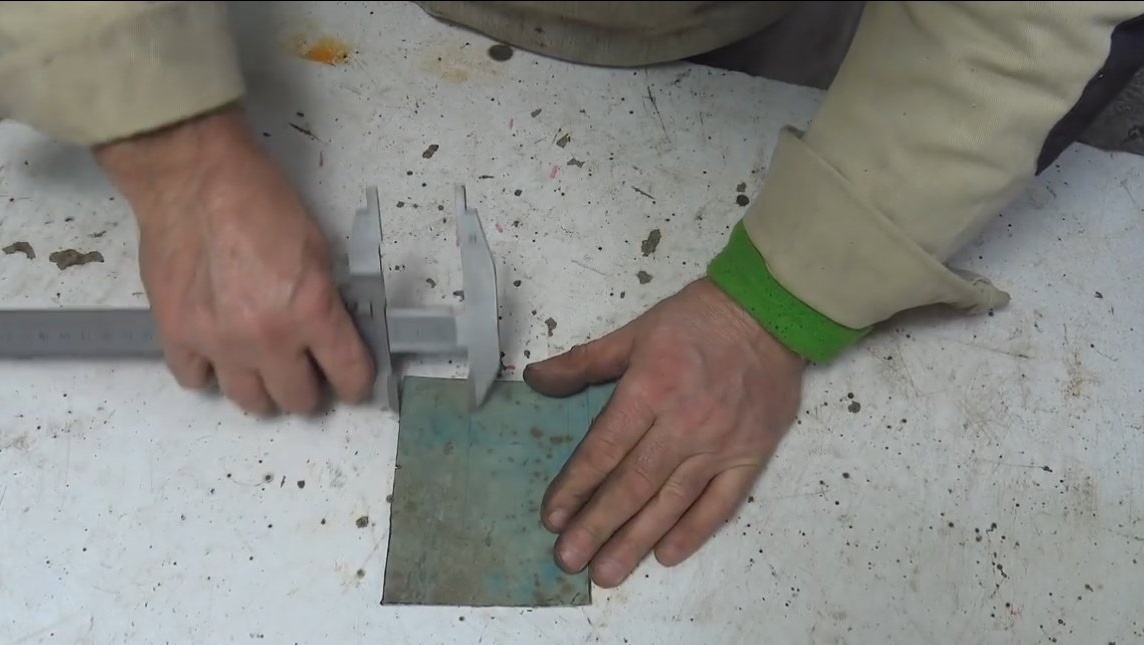
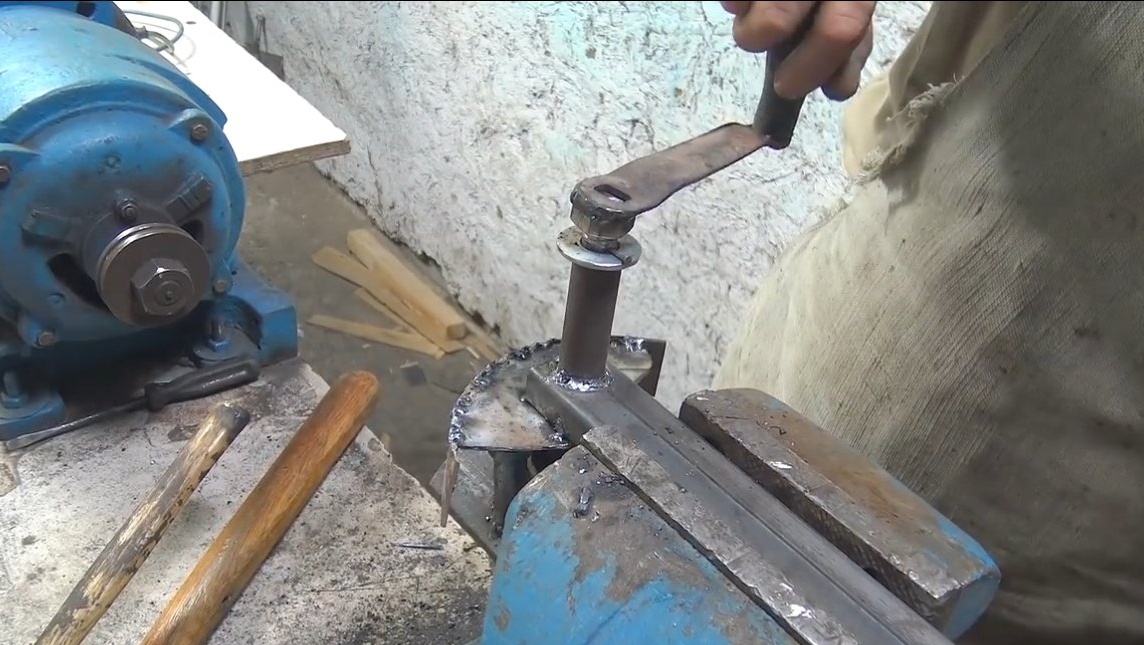
We make an emphasis for the clamping unit, in which the roller (bearing) will abut and as a result of which the corners will close. Such an emphasis can be welded from sheet steel, a kind of "snail" should be obtained. It is better to take steel thicker so that the roller does not bend the emphasis from the load.
Step Six Thrust washers
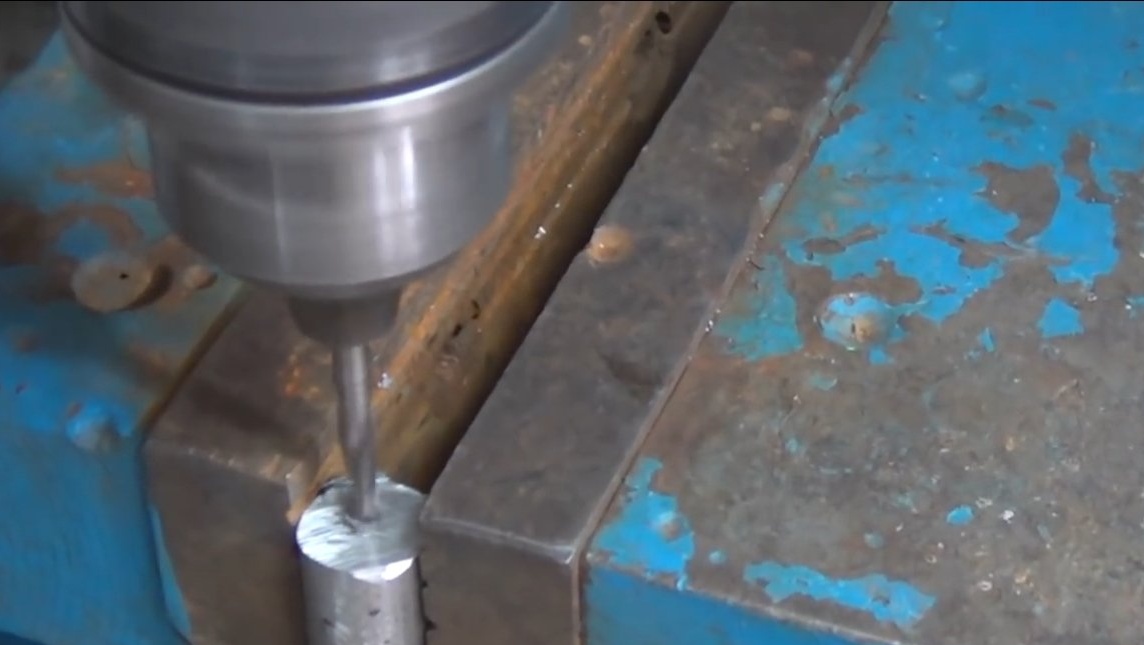
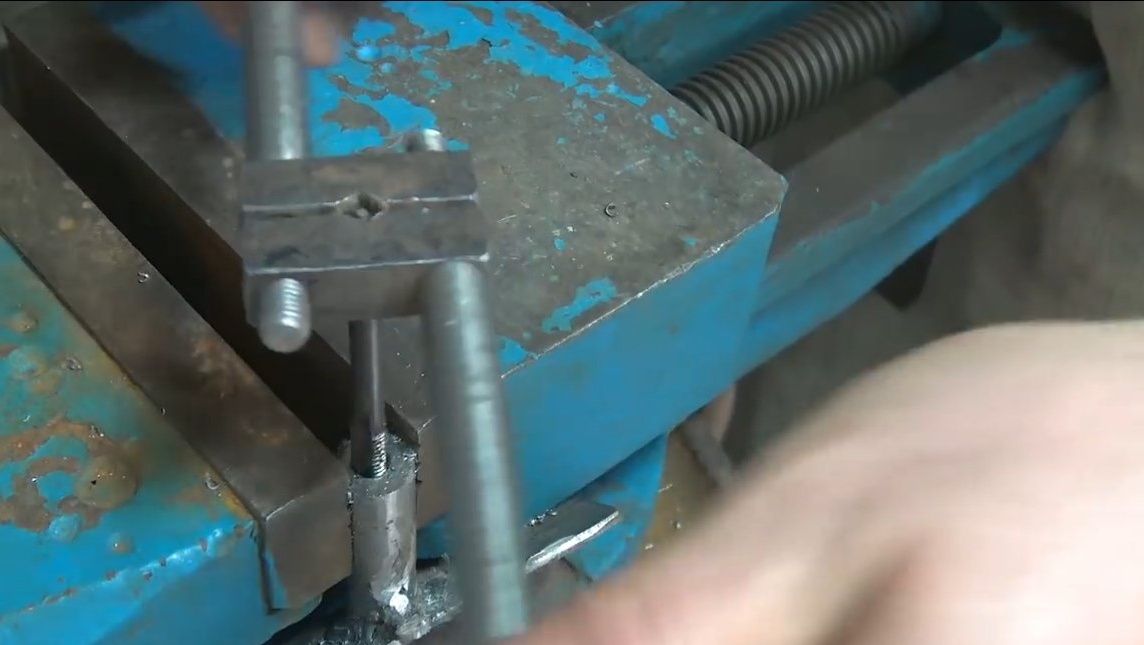
For the axis, thrust washers must be made so that the axis does not walk along the sleeve. Washers can be bought ready-made, and to make stops, we drill holes in the axis and put nails as thrust pins.
Seventh step. Vise
At the end of the rack you need to make a reliable vice, such as in a meat grinder, so that the machine can be fixed on the table. The author collected a vice from a corner, a steel plate and a piece of a profile pipe. As a threaded rod, we use a long bolt, the author welded a washer to its head so that the clamp was conveniently tightened.
Step Eight. Pen and painting
We make the handle for the machine from a steel plate, for attaching the handle to the axis, the author cut the thread on it, and welded the nut to the handle.
When everything is ready, we clean well all parts from rust and dirt, you can paint. The car looks great, and now it does not rust, you can experience it.
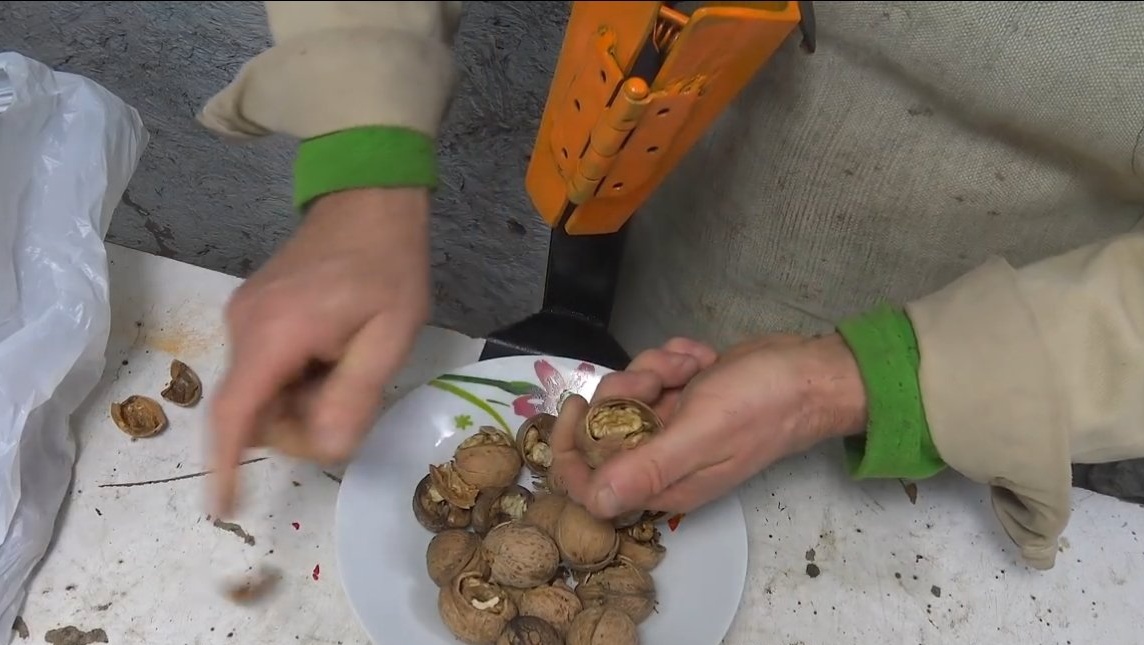
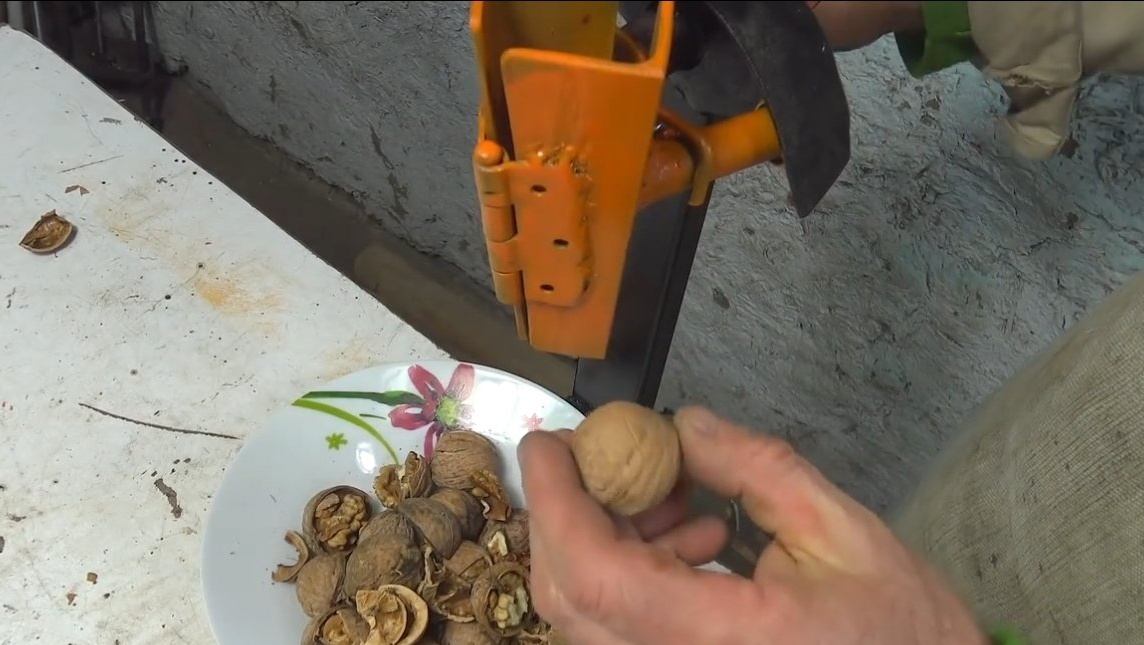
Throw a nut into the pipe, it will get stuck in the narrow part of the pipe. We turn the handle and the nut breaks, then it will fall out on the plate when the corners open. A little work experience and you can chop nuts pretty quickly. Of course, then you have to work a little with your hands, but the machine copes with the main task.
The project is completed on this, I hope you liked the homemade work, and you found useful thoughts for yourself. Good luck and creative inspiration, if you decide to repeat this. Do not forget to share your ideas and homemade things with us!