

Hello dear lovers to do anything do it yourself. In this article I want to tell and show you on my example how to make a decorative pond on your site yourself. You do not need any special knowledge, so with some effort you can recreate what you probably wanted to do a long time ago. Therefore, we begin to describe the process of building a decorative reservoir.
Of the tools, in my case, come in handy:
Bayonet
shovel
-perforator for mixing cement. It’s more powerful than a conventional drill,
- a nimbus nozzle on a drill,
- a variety of metal mesh,
-cement.
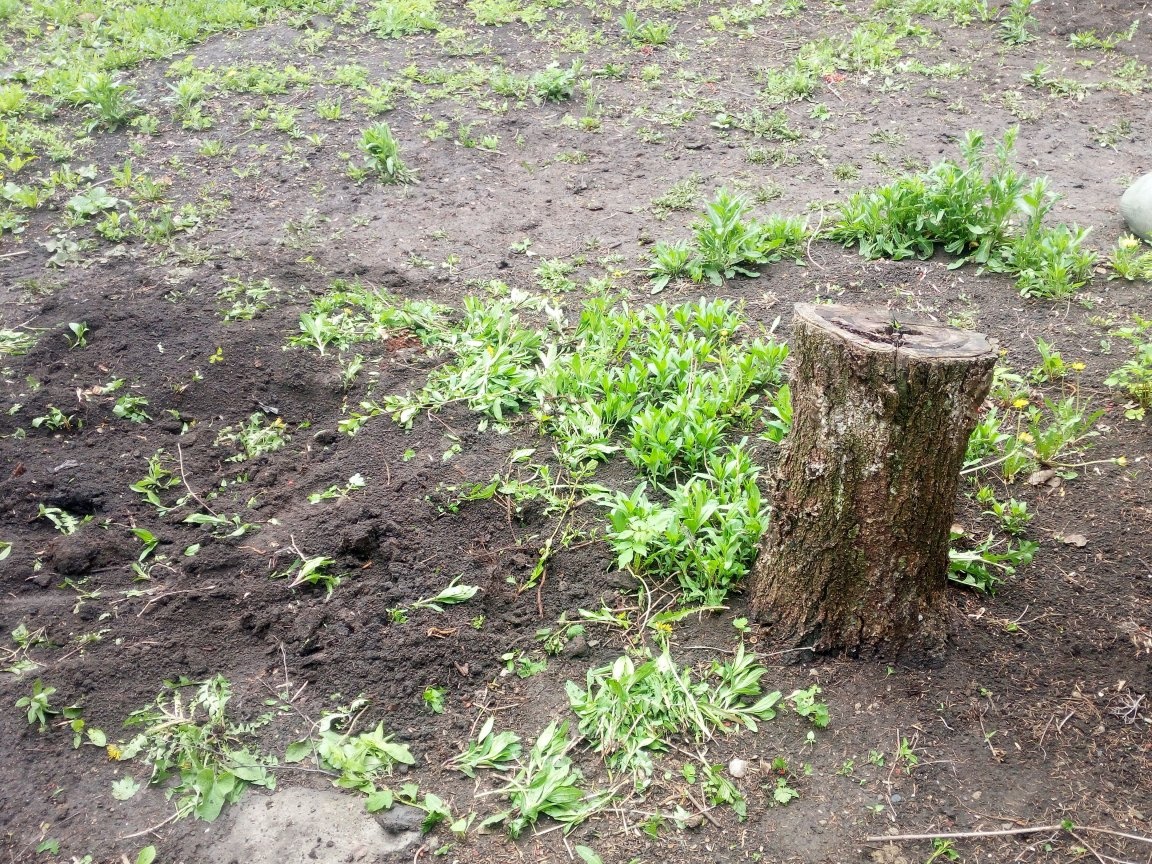
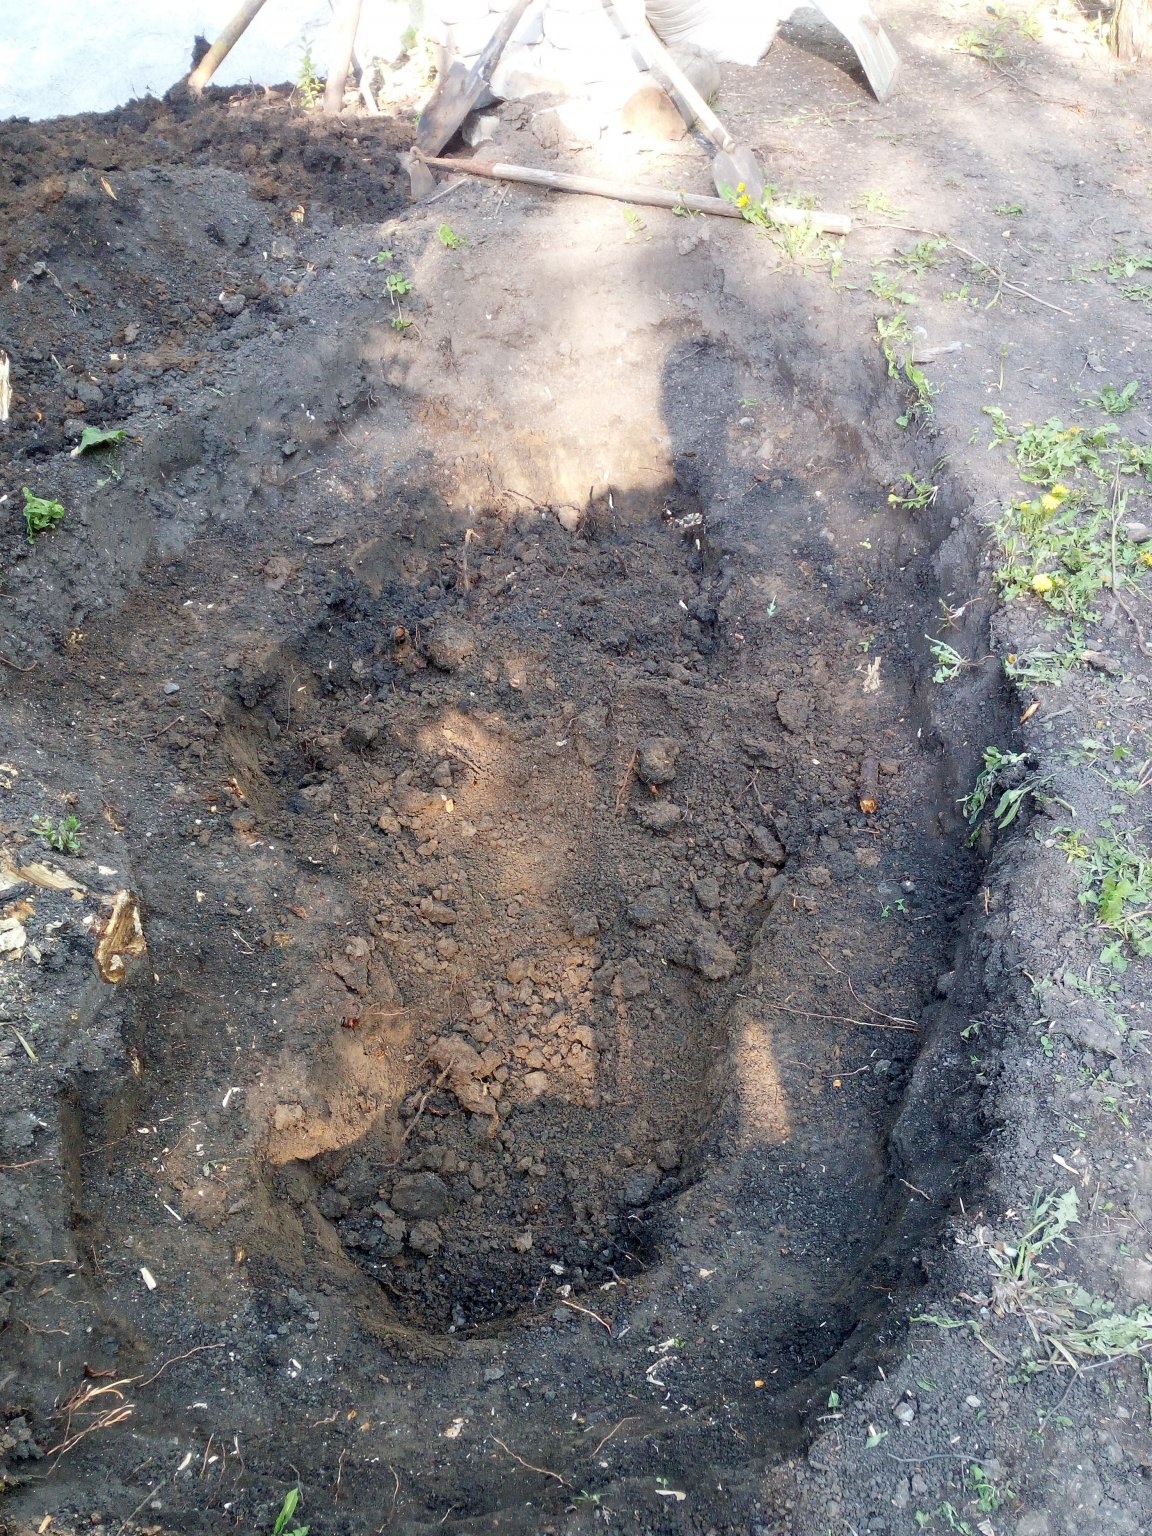
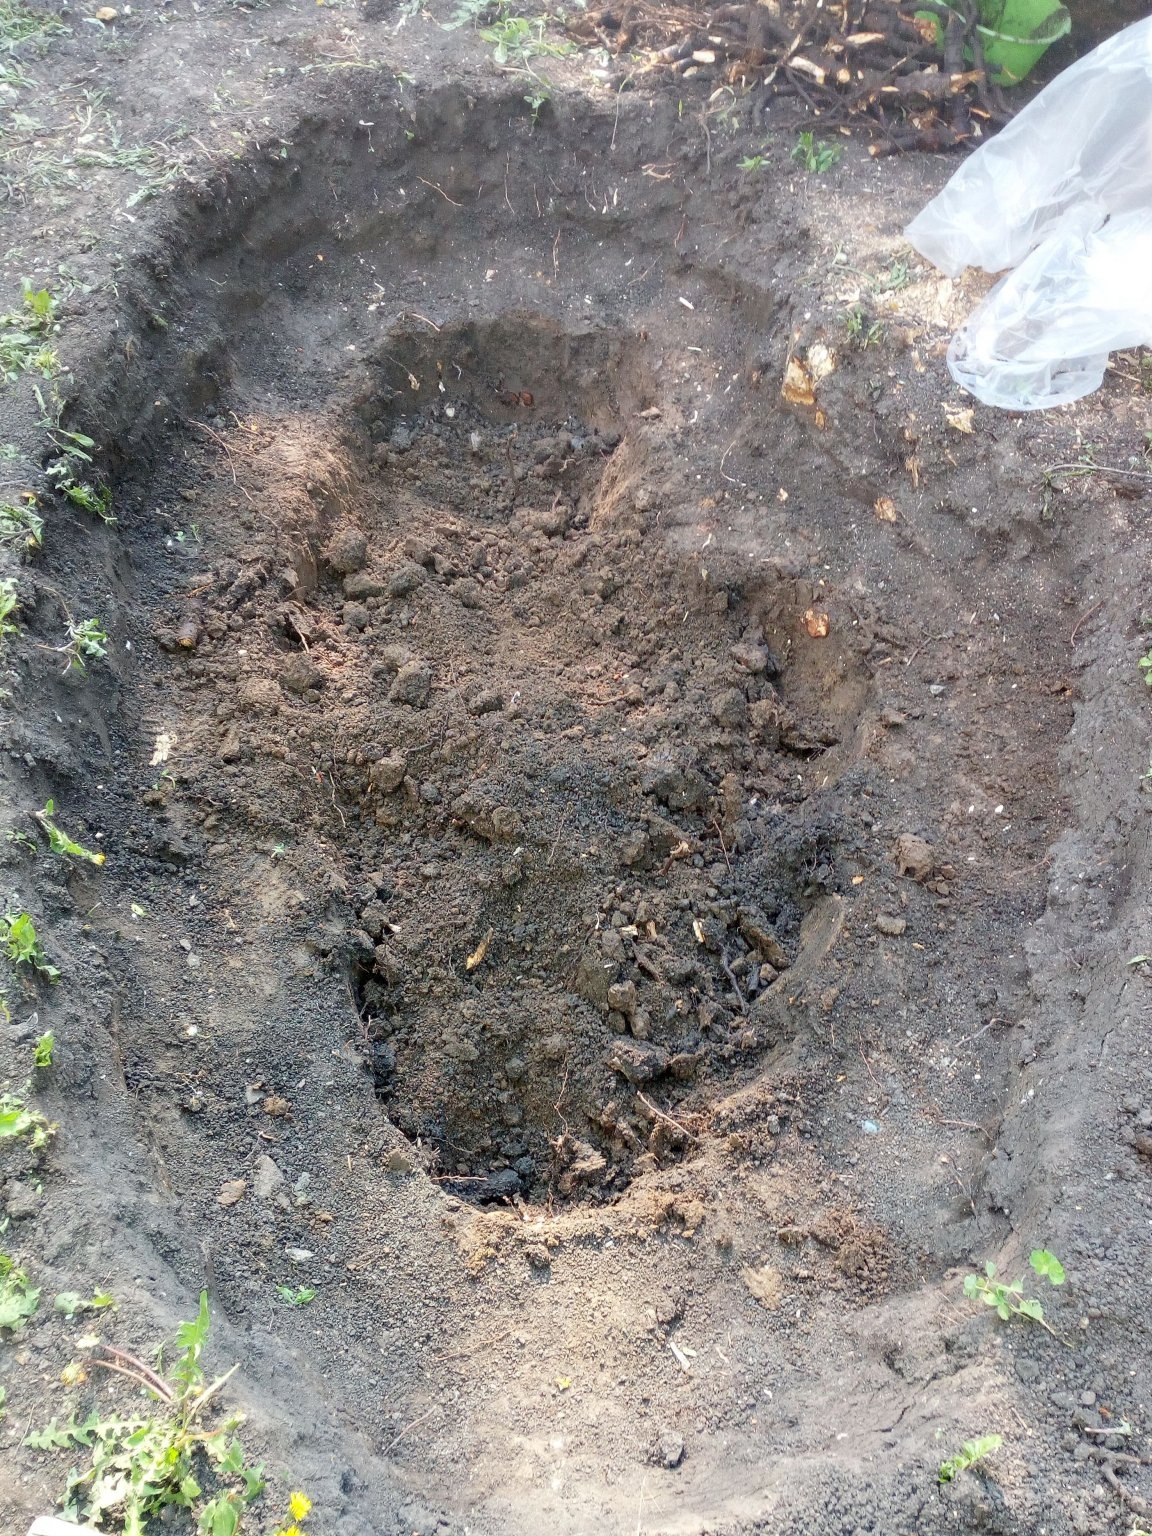
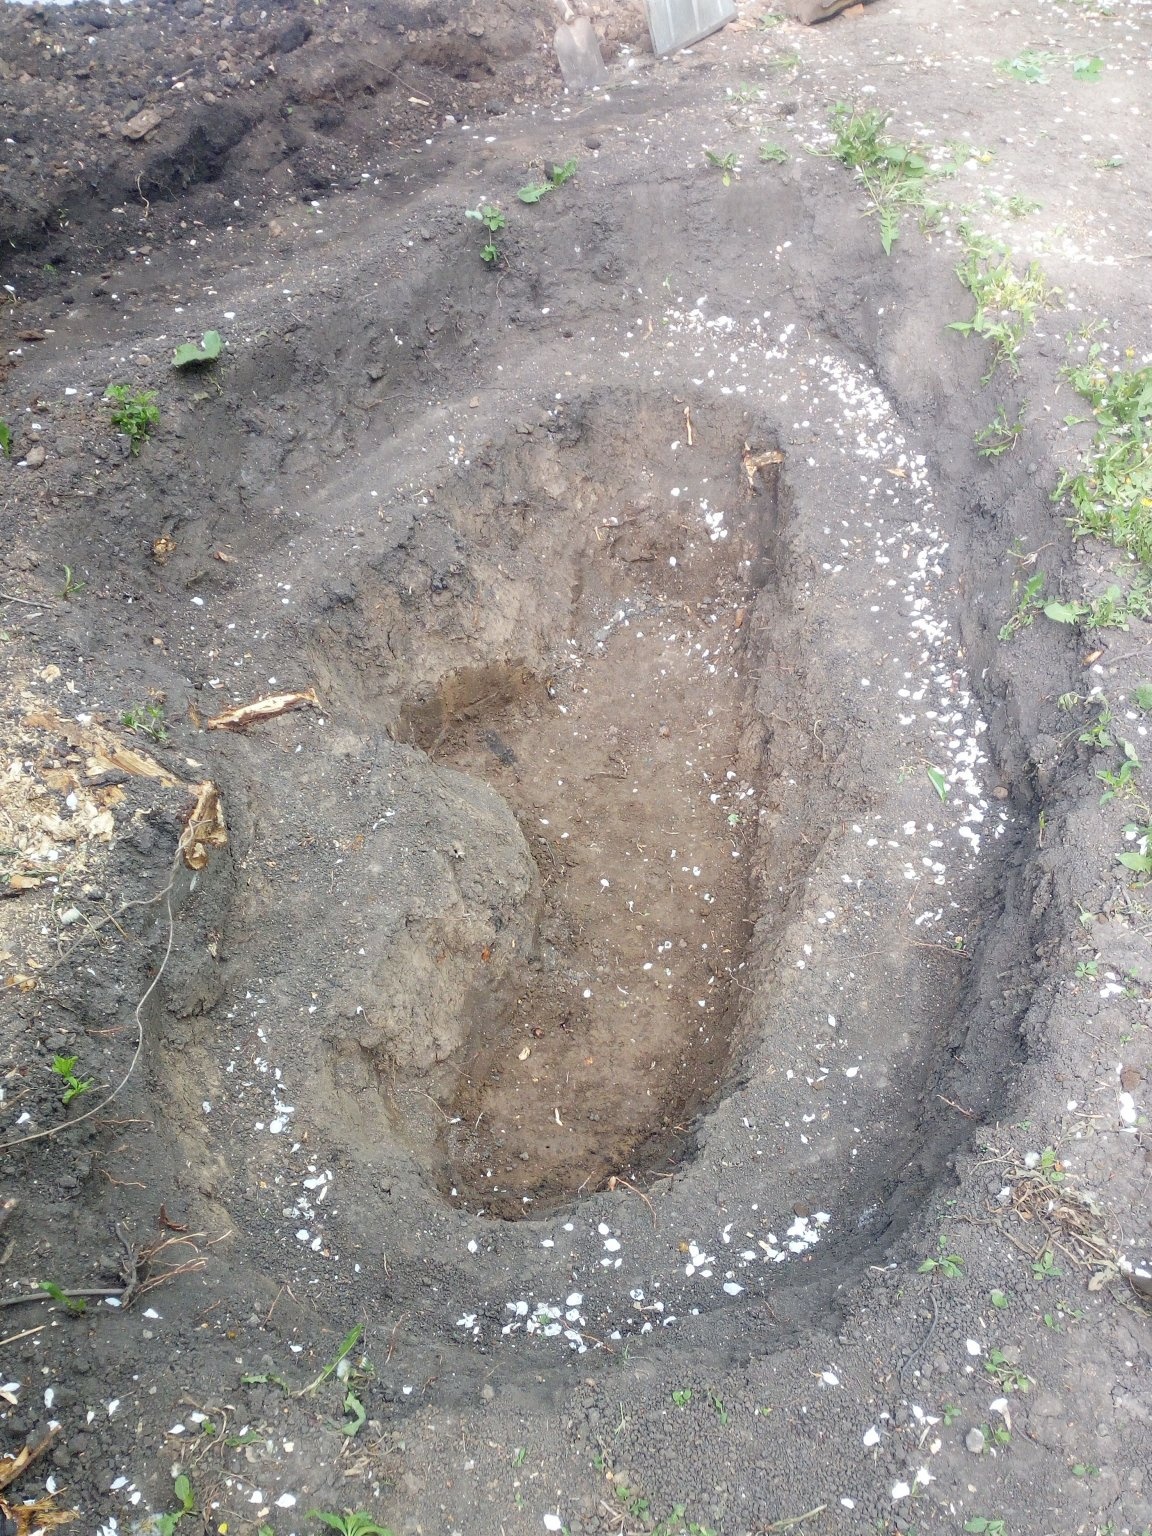
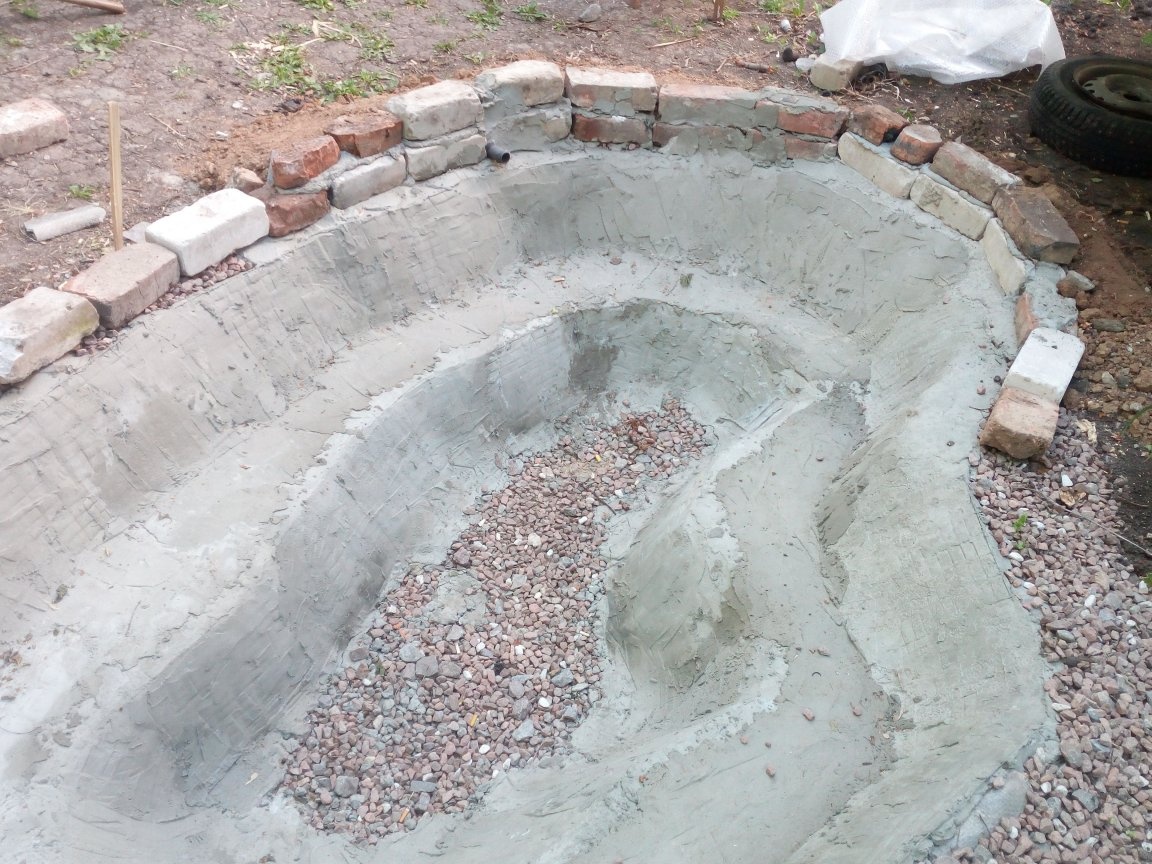
First you need to determine the location and size of the future pond. I had an open place on the site, next to which a large spruce grows. The place in terms of building a building is not convenient, close to the house, so it was decided to fill the void here. Initially, I was not going to make this building too large, but in the process of excavating the pit I got a little carried away. And it turned out what happened. Not to dig in what he worked so hard all day. He cleared the place, uprooted the old stump, to which no one ever reached his hands and proceeded to dig. First he chose the land around the entire perimeter of the future pond. He looked around at the work done, was inspired by the further labor feat and began to dig further. Actually, the pond was not supposed to be very large and without any ledges, but as mentioned above - I got carried away. Therefore, so that the pond did not look like a huge pit, it was decided to make it stepwise. Retreating from the edge of the pit, some distance dug a smaller hole inside it.

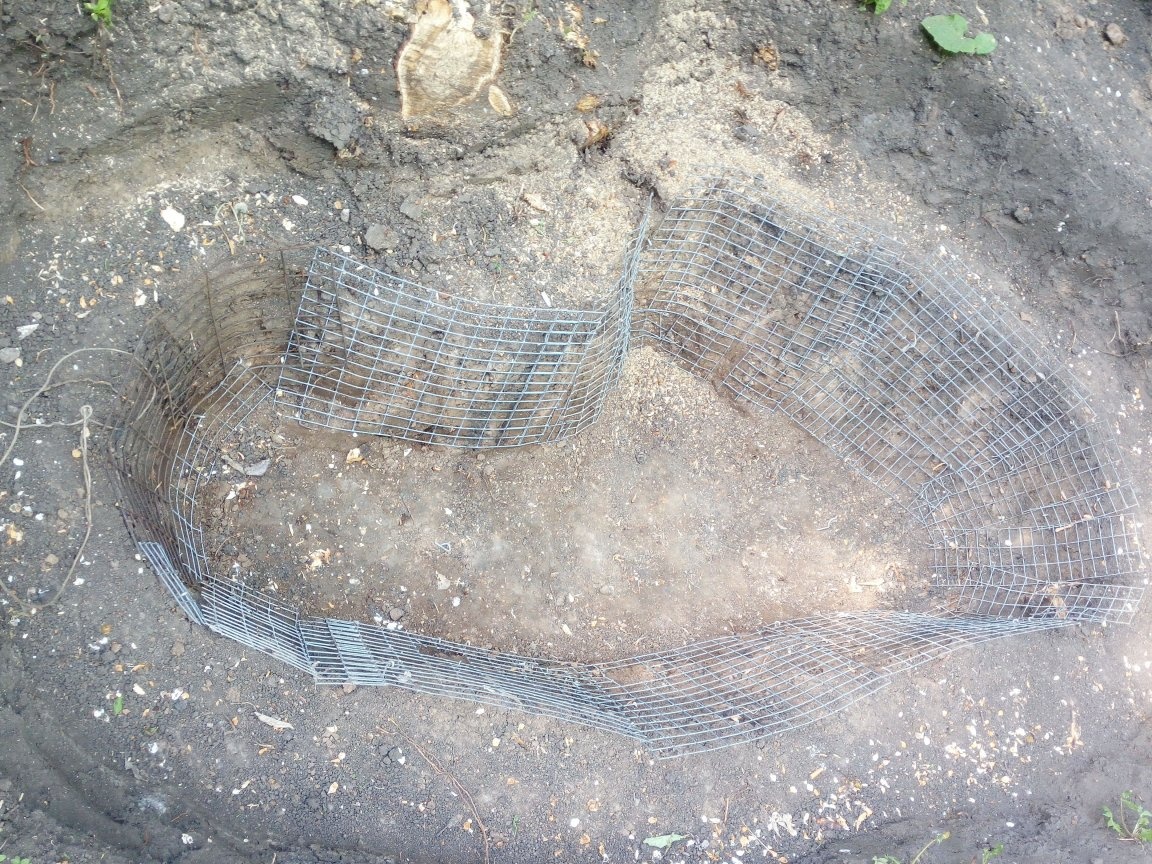
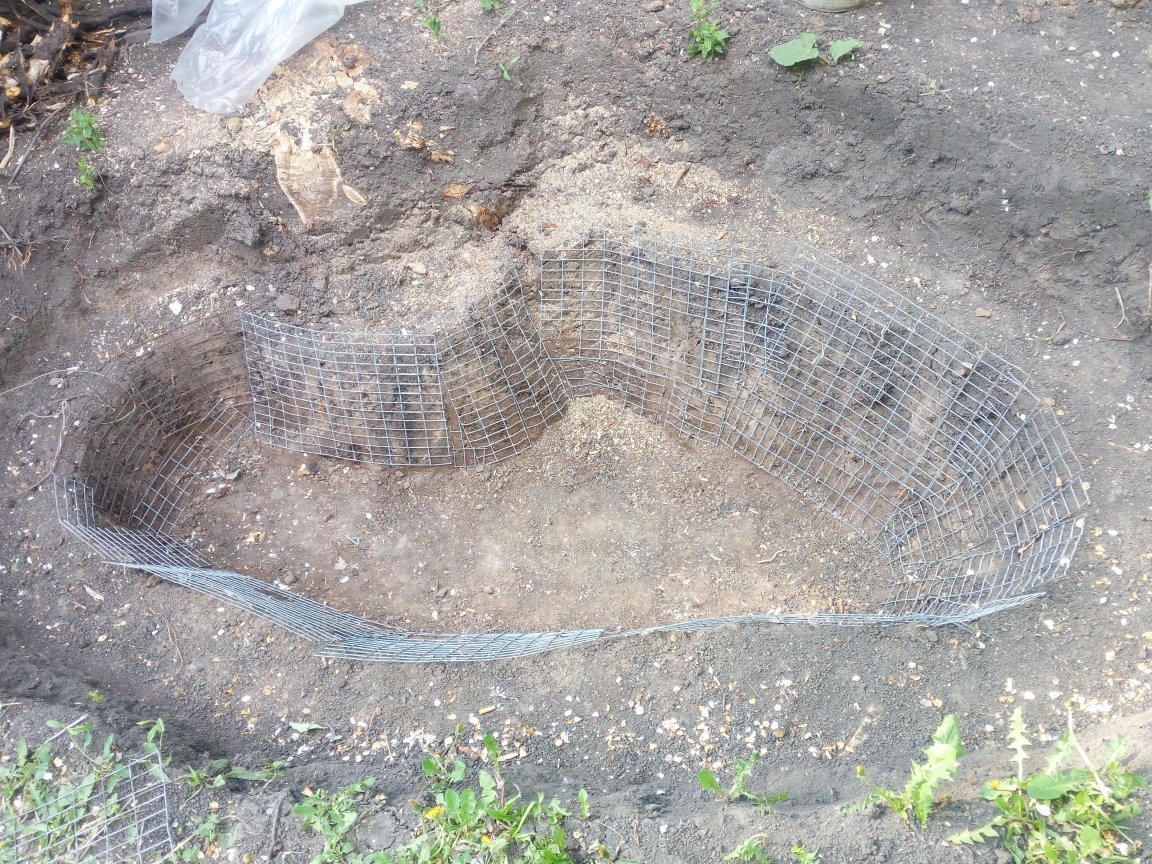
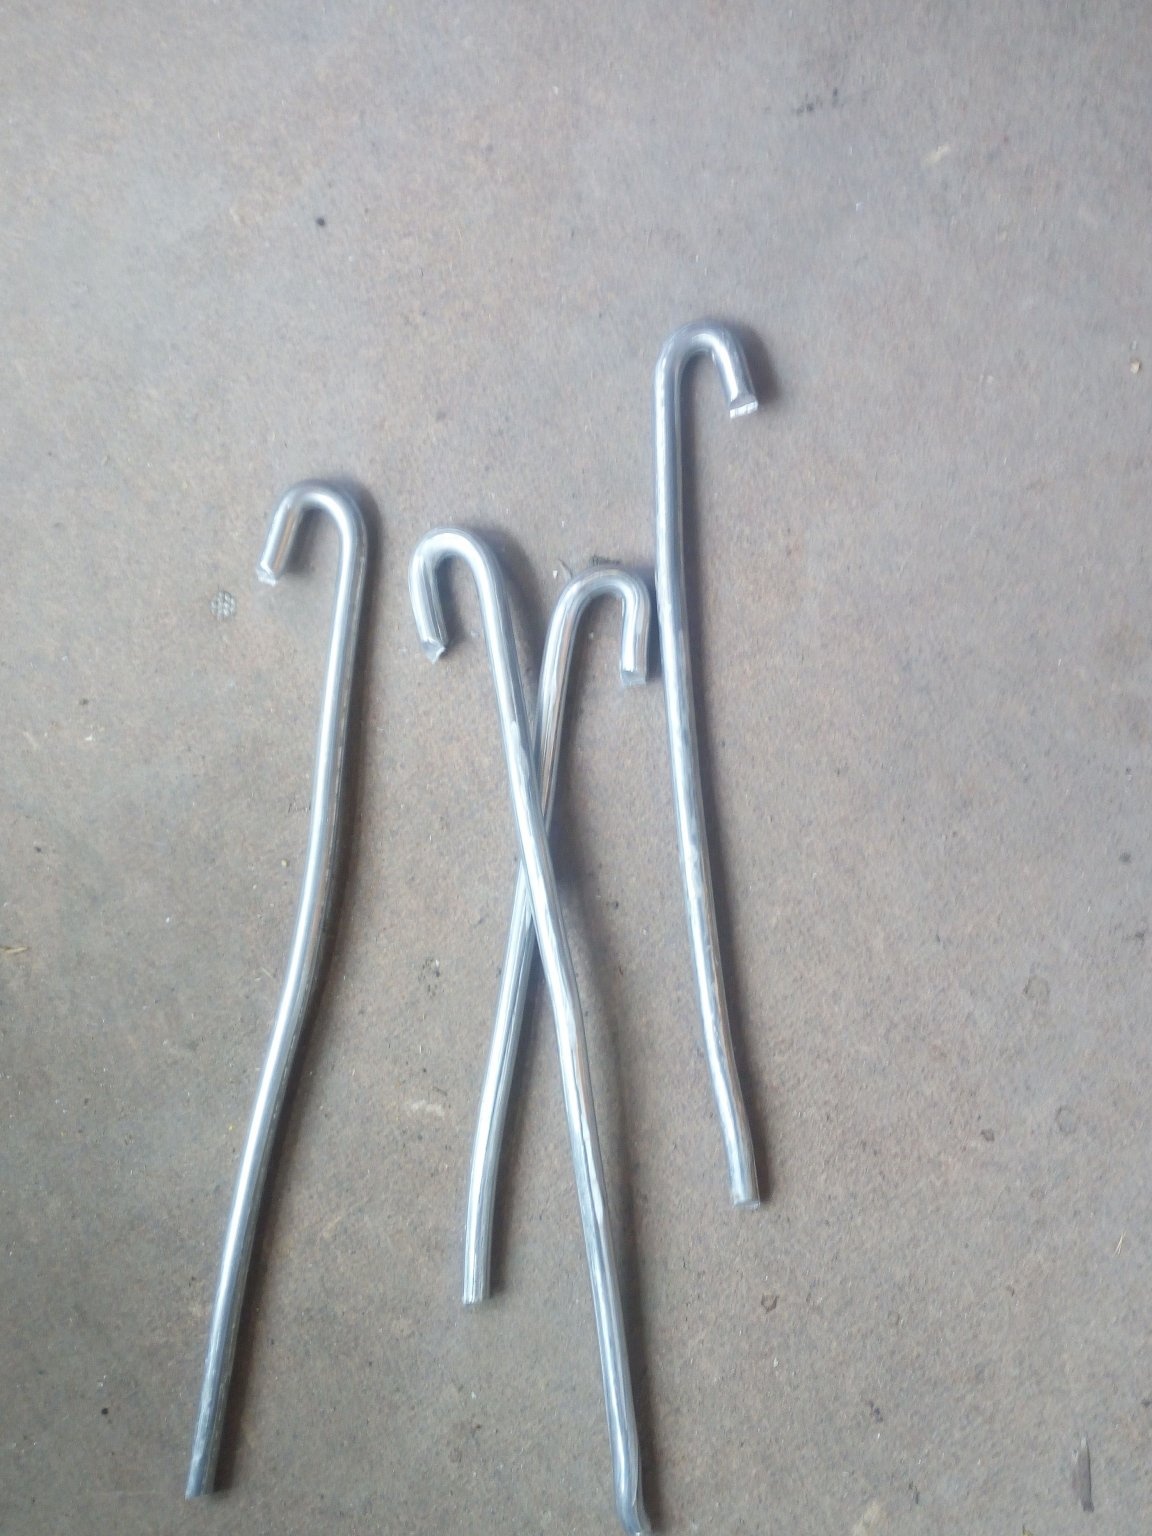
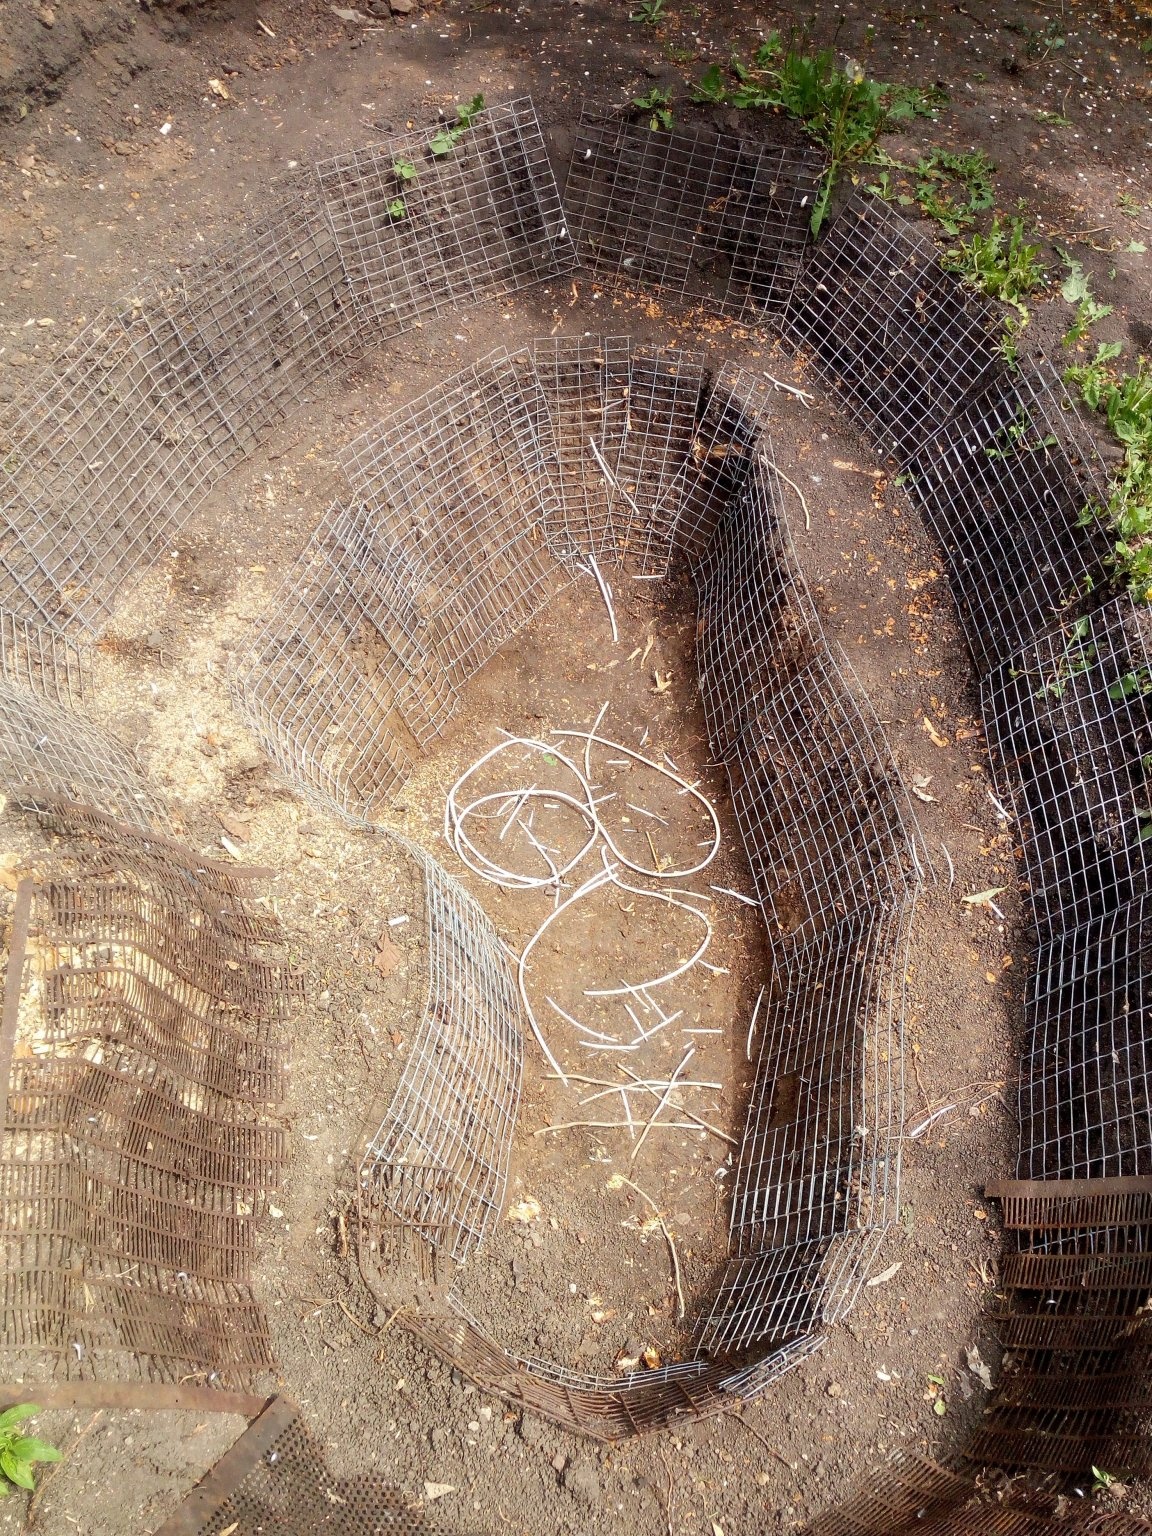
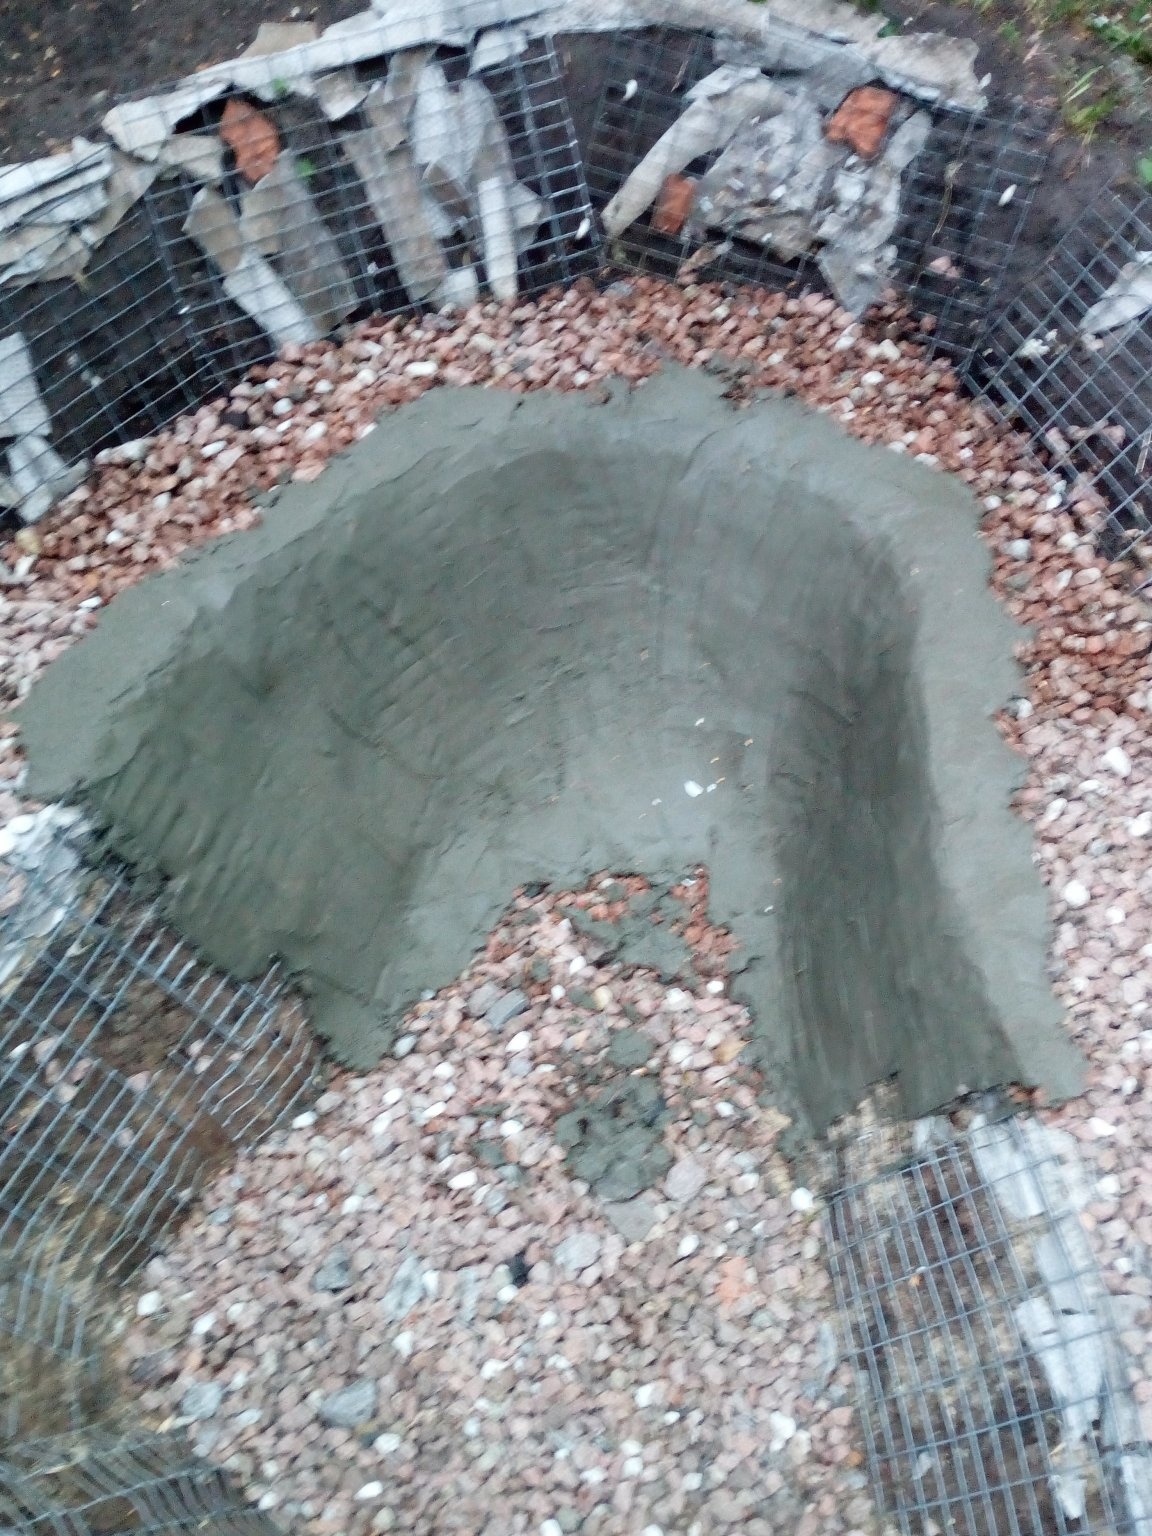
When the pit was ready under the pond, he began to reinforce its walls. For this, I used the metal grids that I had. All grids were attached to the walls of the pit with the help of metal pins with a curved end, which holds the grid. Thus, the whole pit was reinforced, except for the transitional ledge. The mesh protrudes around the perimeter a few cm up.
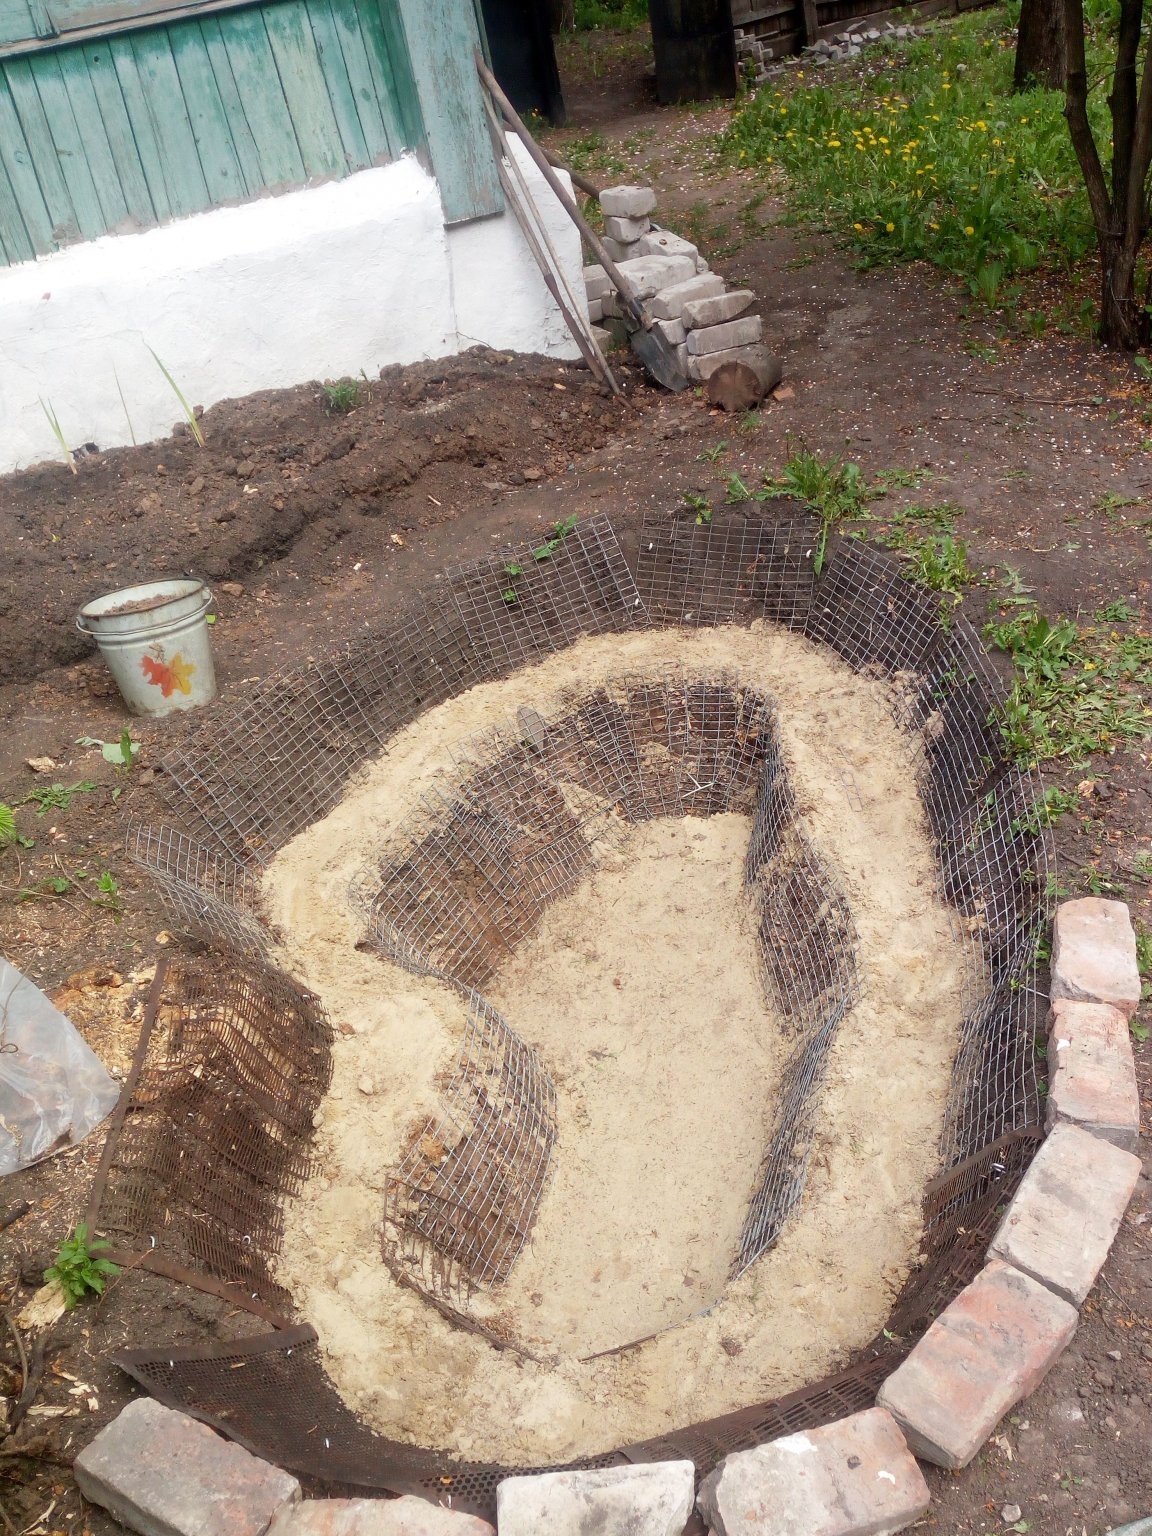
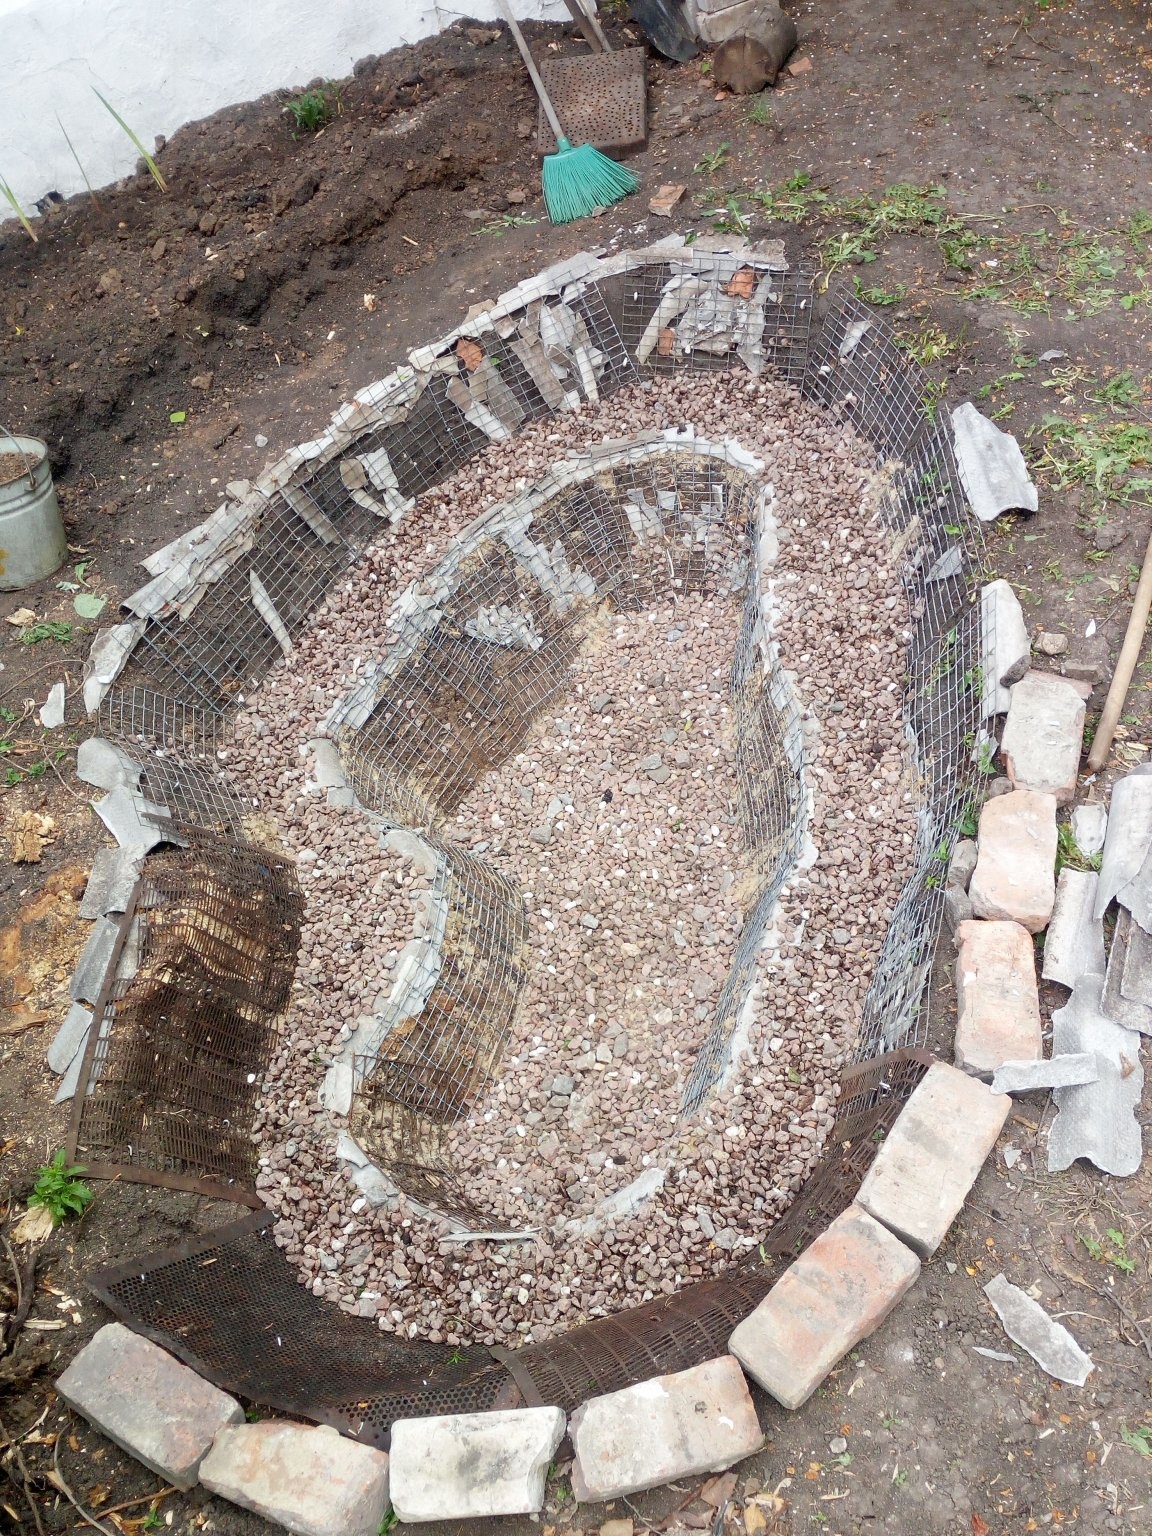
I pour a pillow of sand and gravel, the total layer of which is about 15 cm. I align the edge of the pond, since the site in that place has a slight slope.In those places where the grid could not be pressed to the edges of the pond so that it did not get out of the common line and did not break the wall pattern with drops, it was necessary to push the filler into the gaps so that the solution did not go out more than necessary.
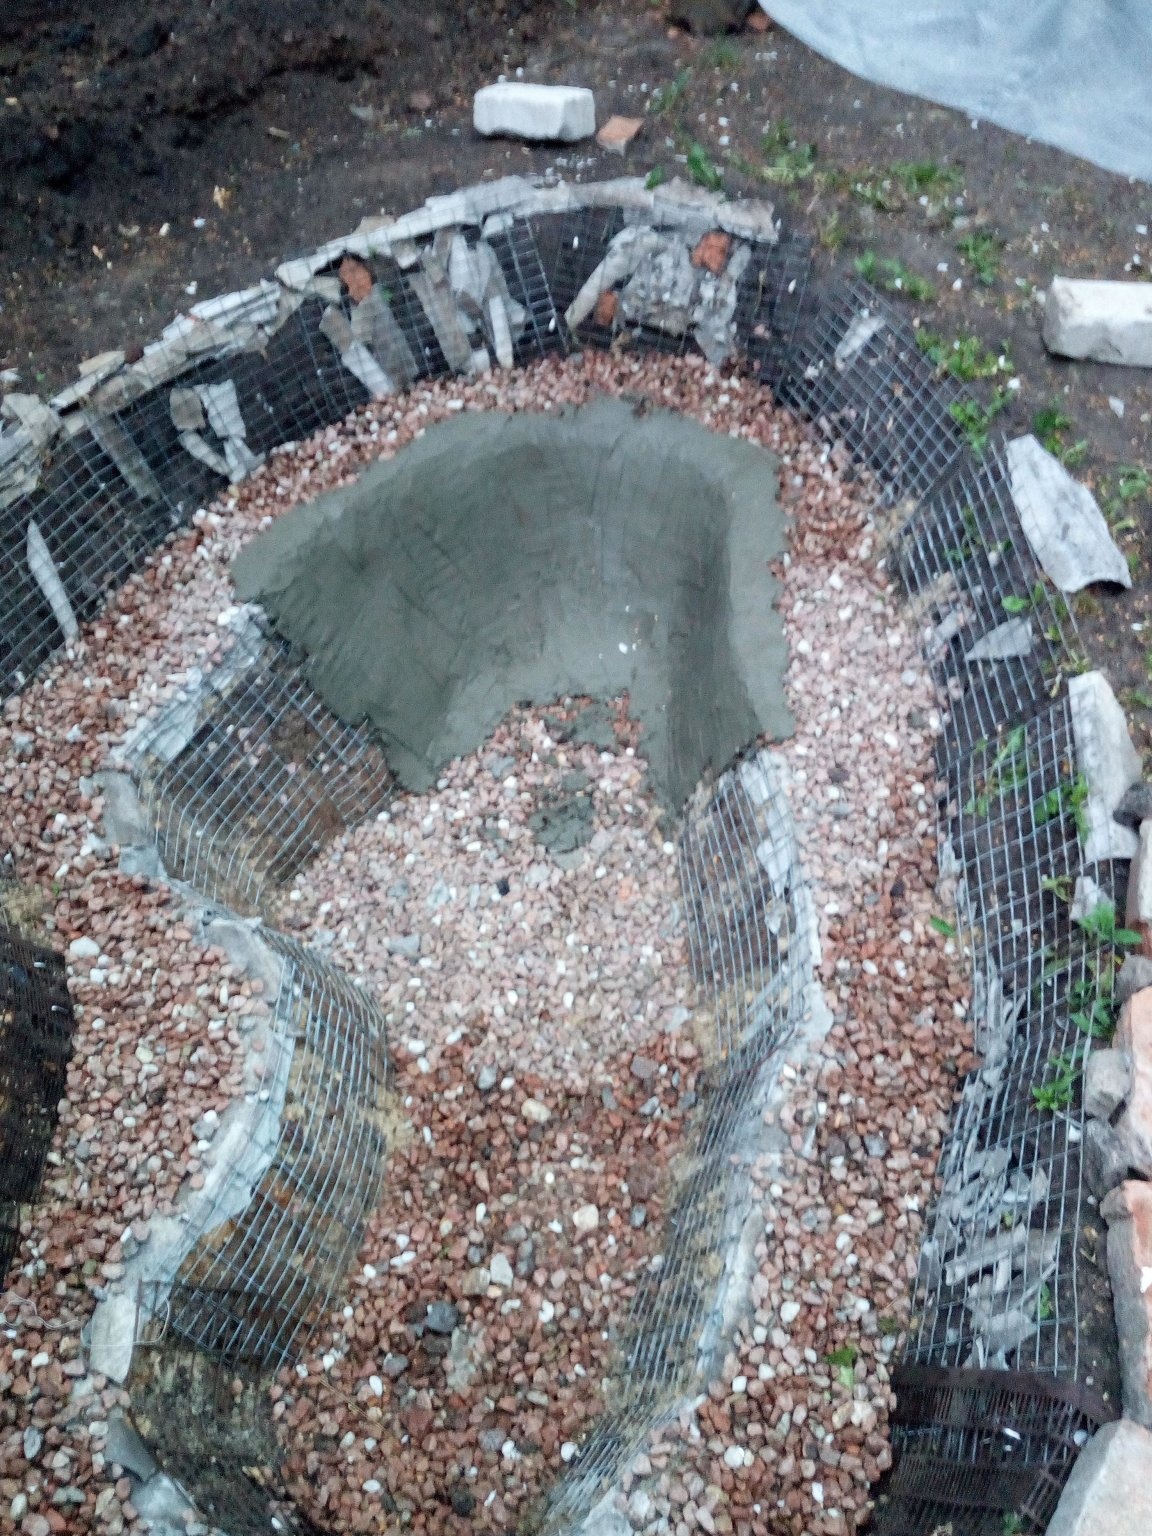
I begin to fill the walls with a solution. If you do everything as experienced designers advise on the Internet, then this process should be carried out once, i.e. the entire amount of pouring work should not be interrupted until it is completed. But I did without assistants, so I couldn’t manage to fill everything at once. In those places where the grid has a large cell, I made the solution thicker. And vice versa - in places with a small cell, the solution was liquid enough to fill the entire internal space between the grid and the wall. He raised one of the walls, located on the lower part of the plot with the help of bricks. In general, this stage lasted for about a week or a little more. Periodically moisten the put drying solution with water so that it does not crack. The weather was very hot. A total of 4 50 kg bags of cement were left in the pond.
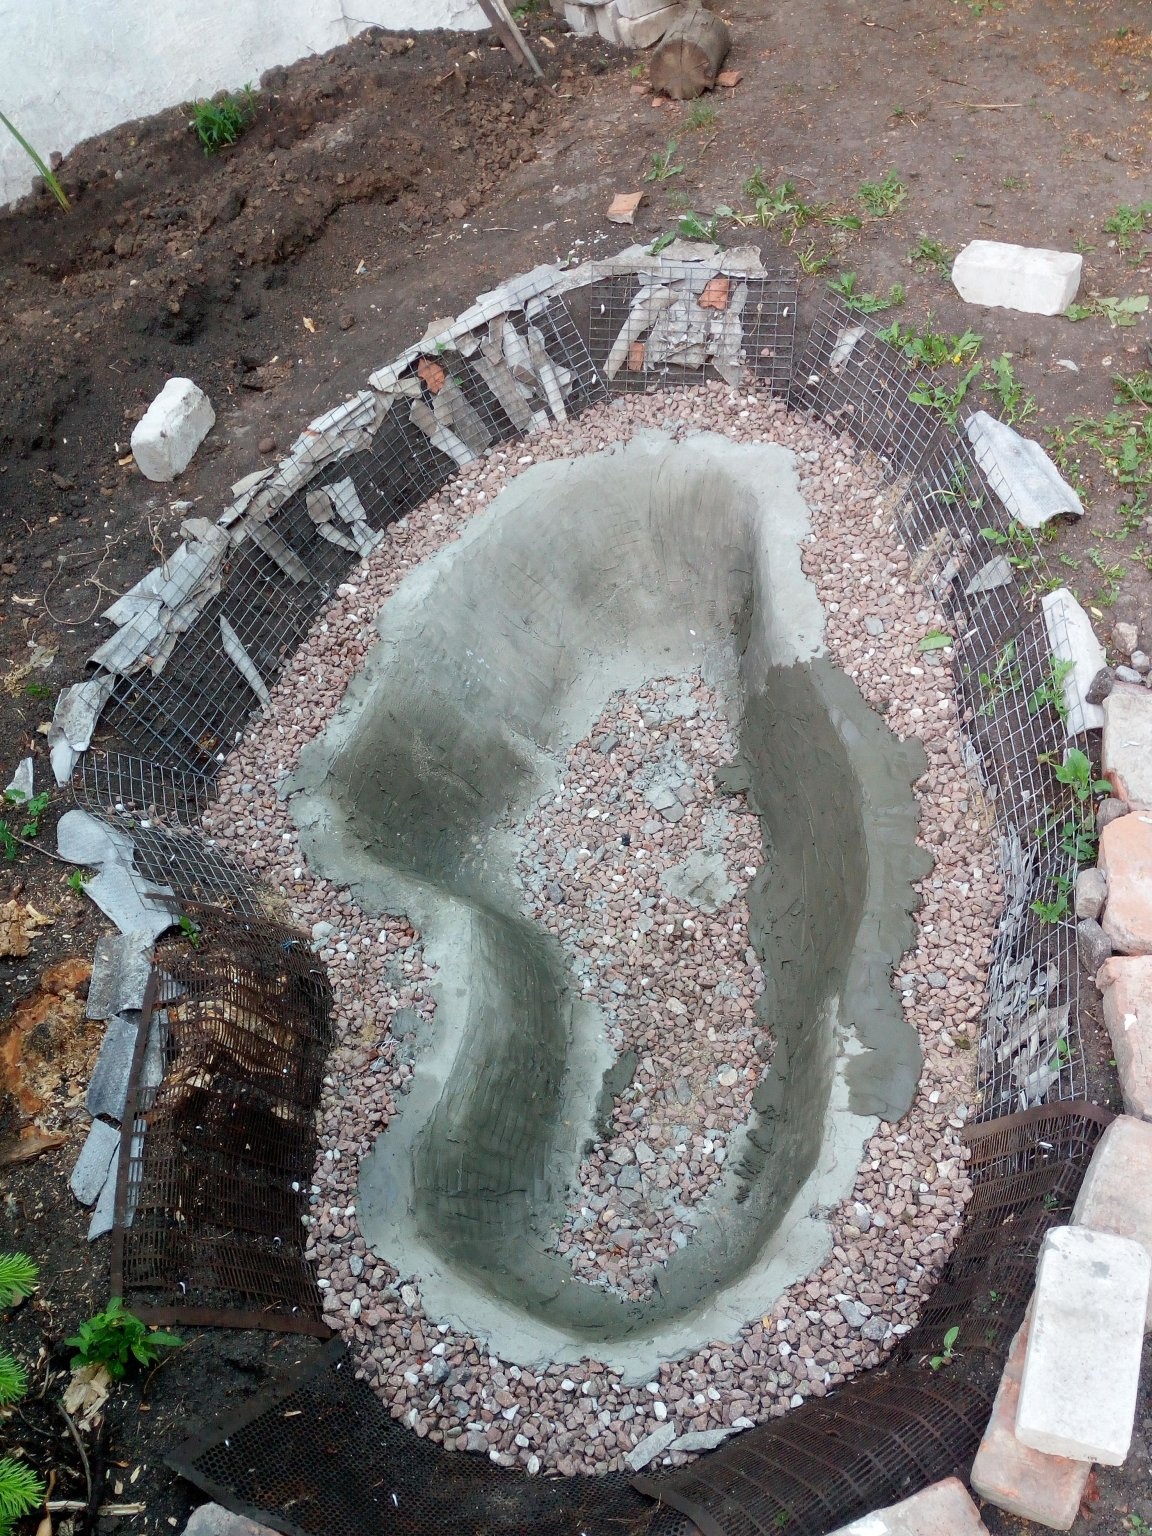
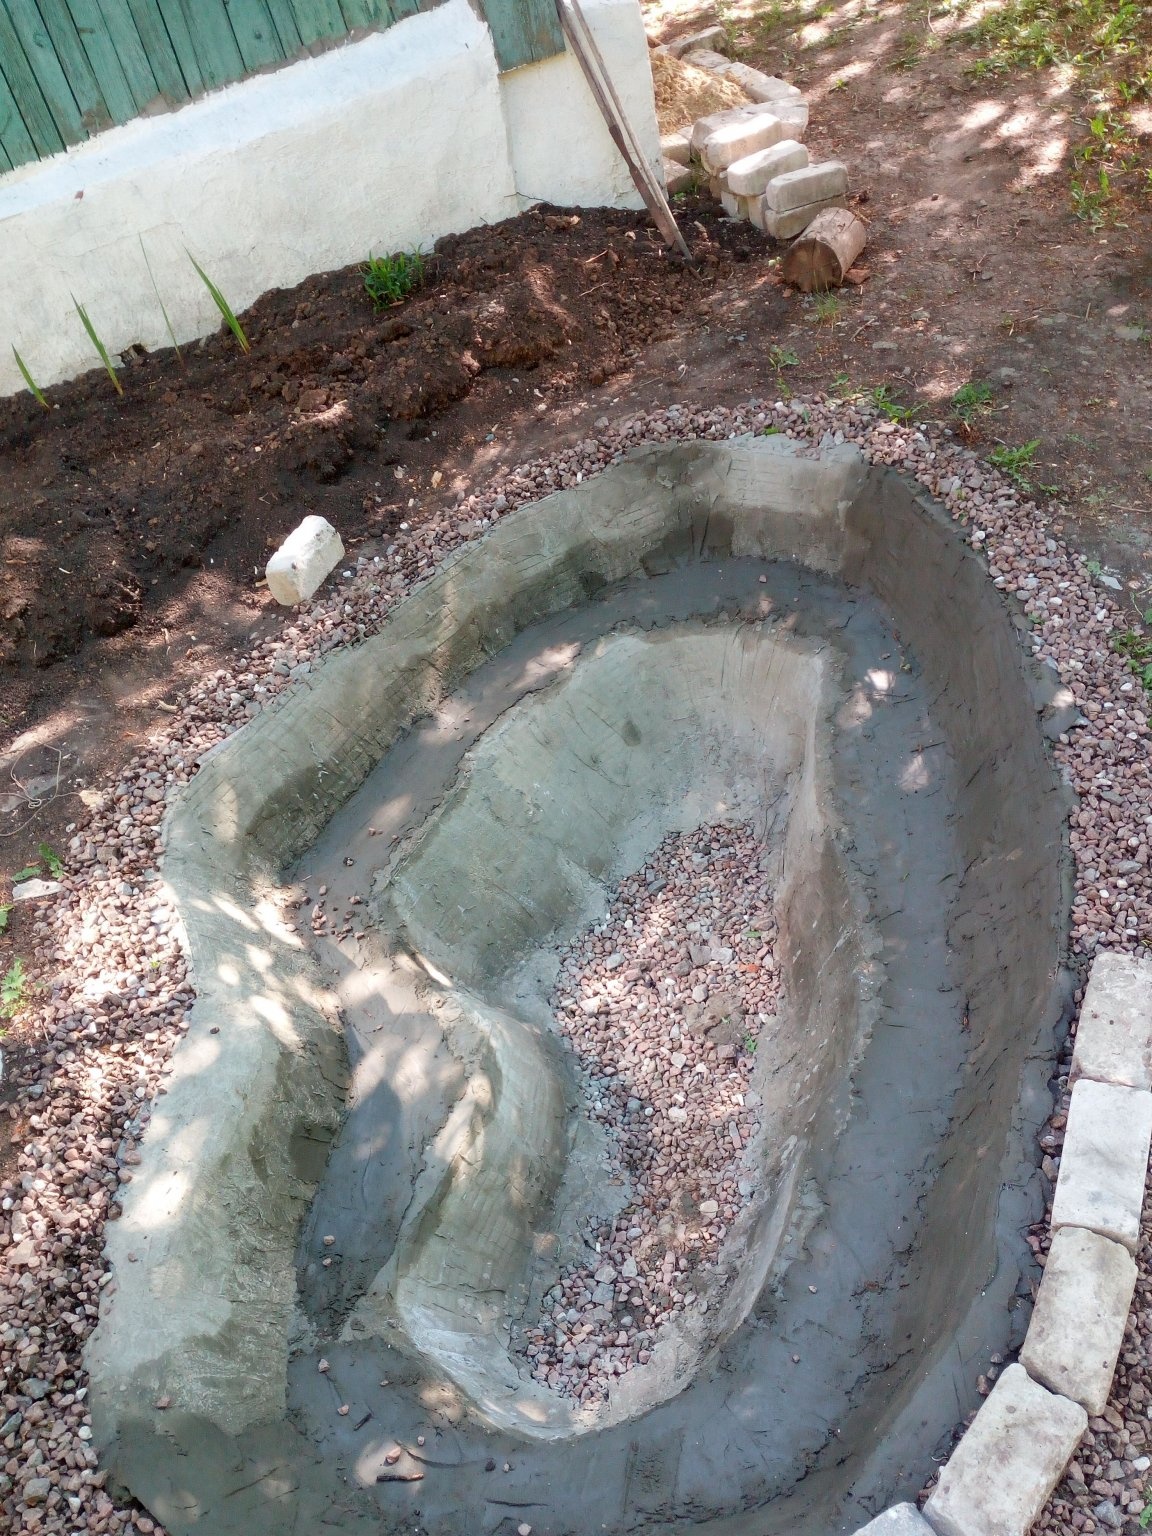

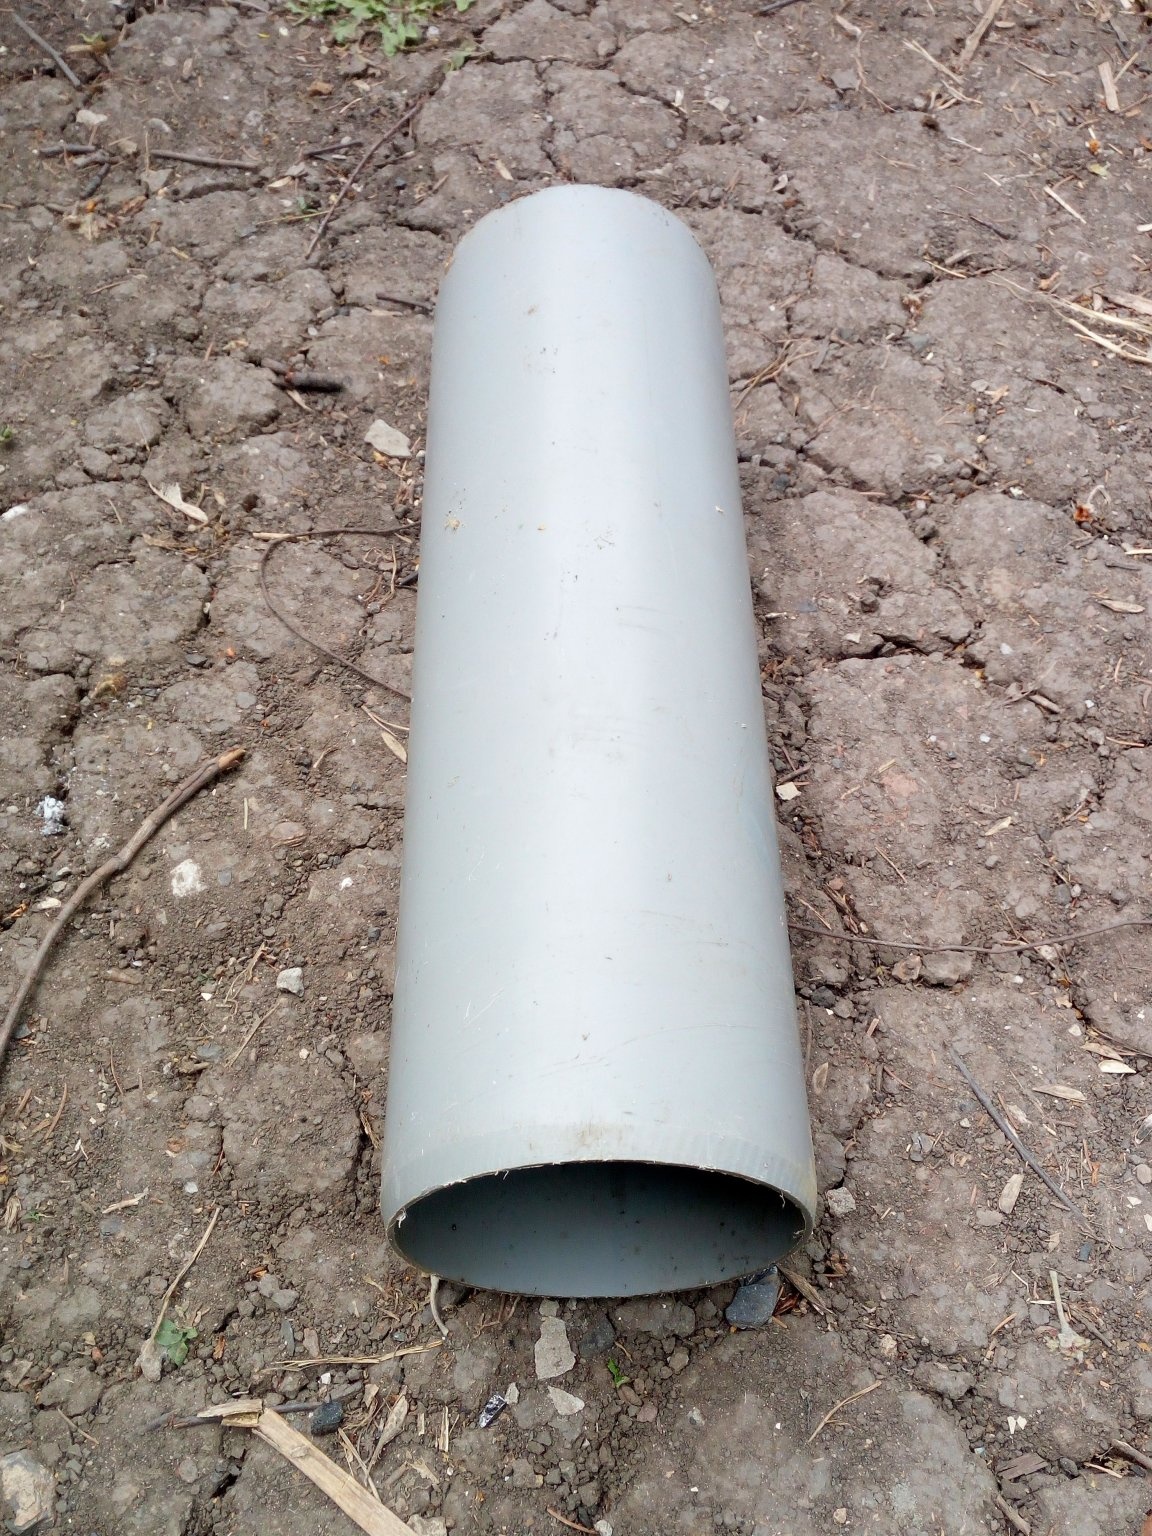
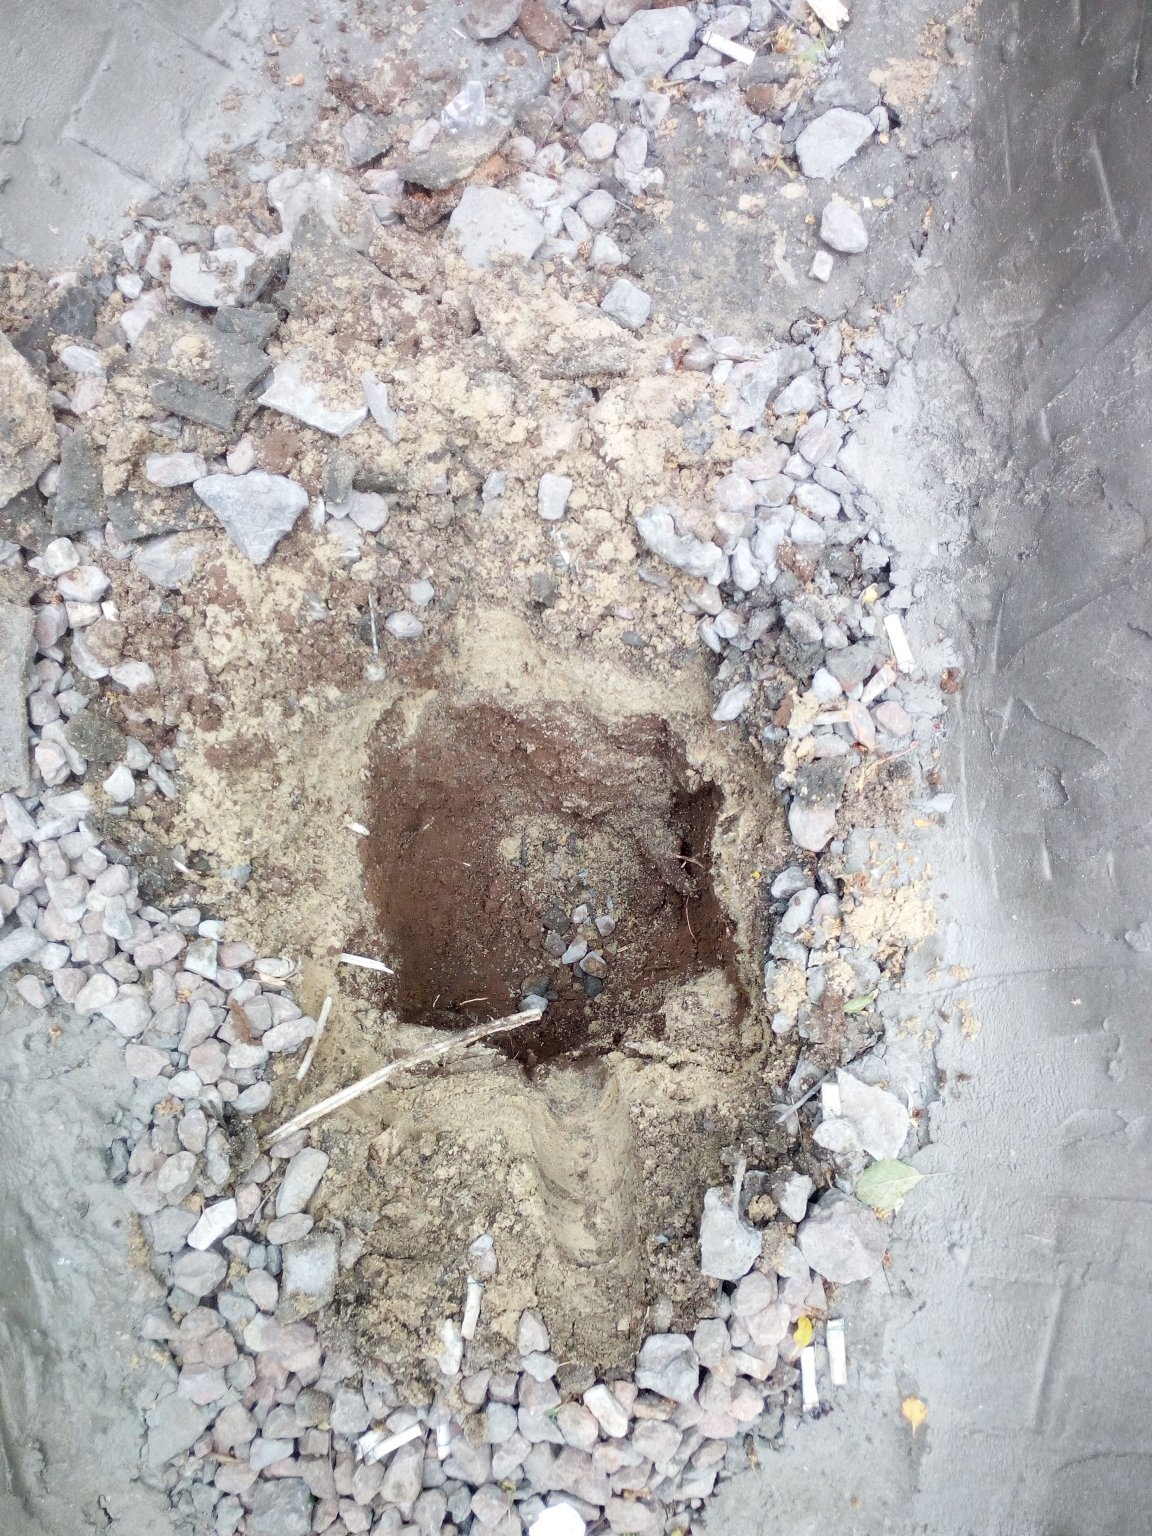
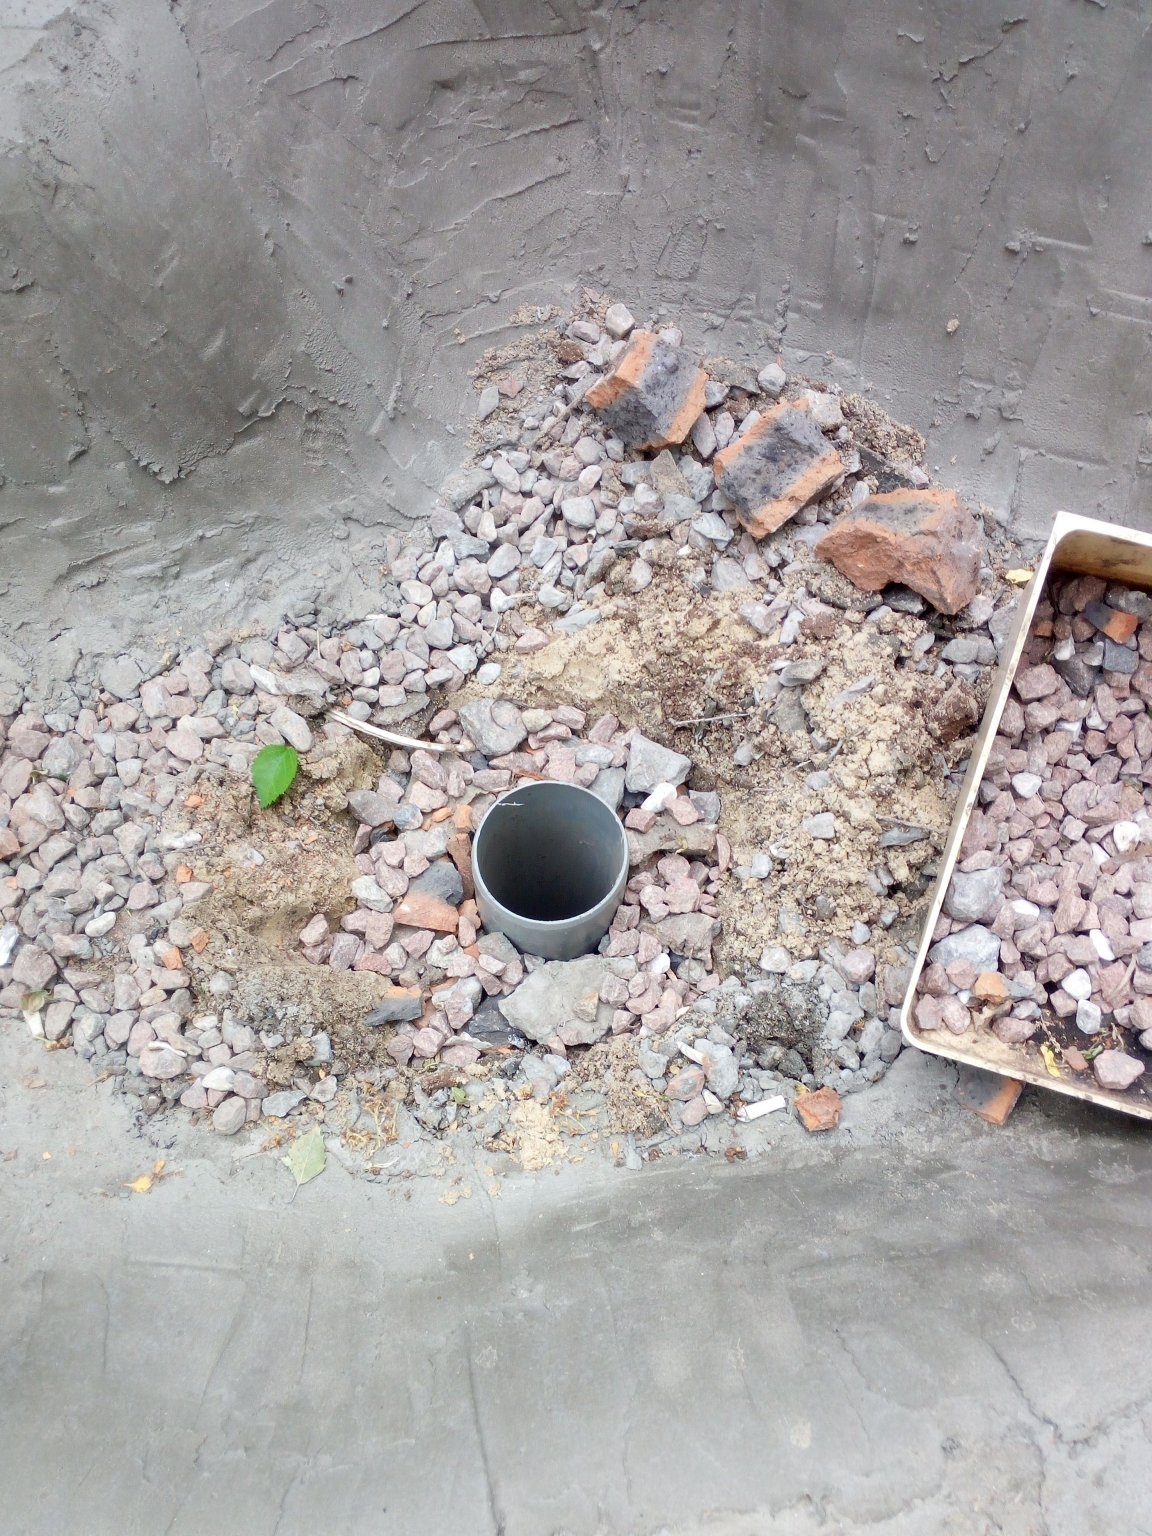
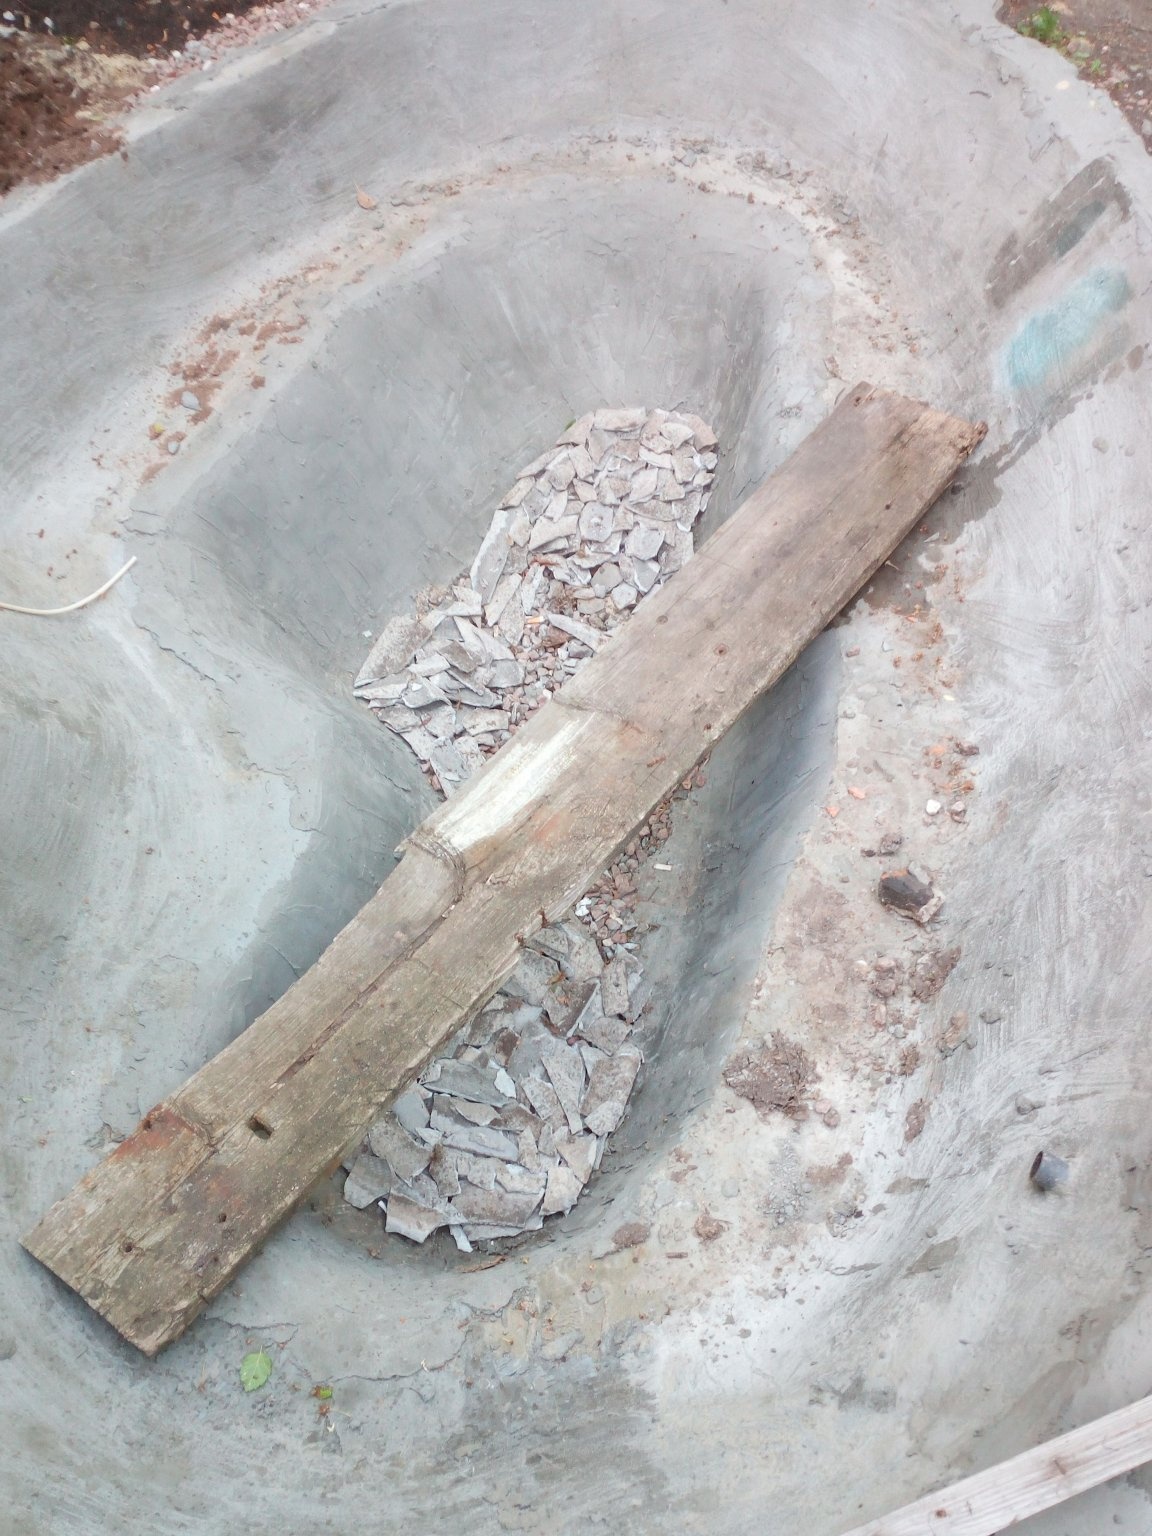
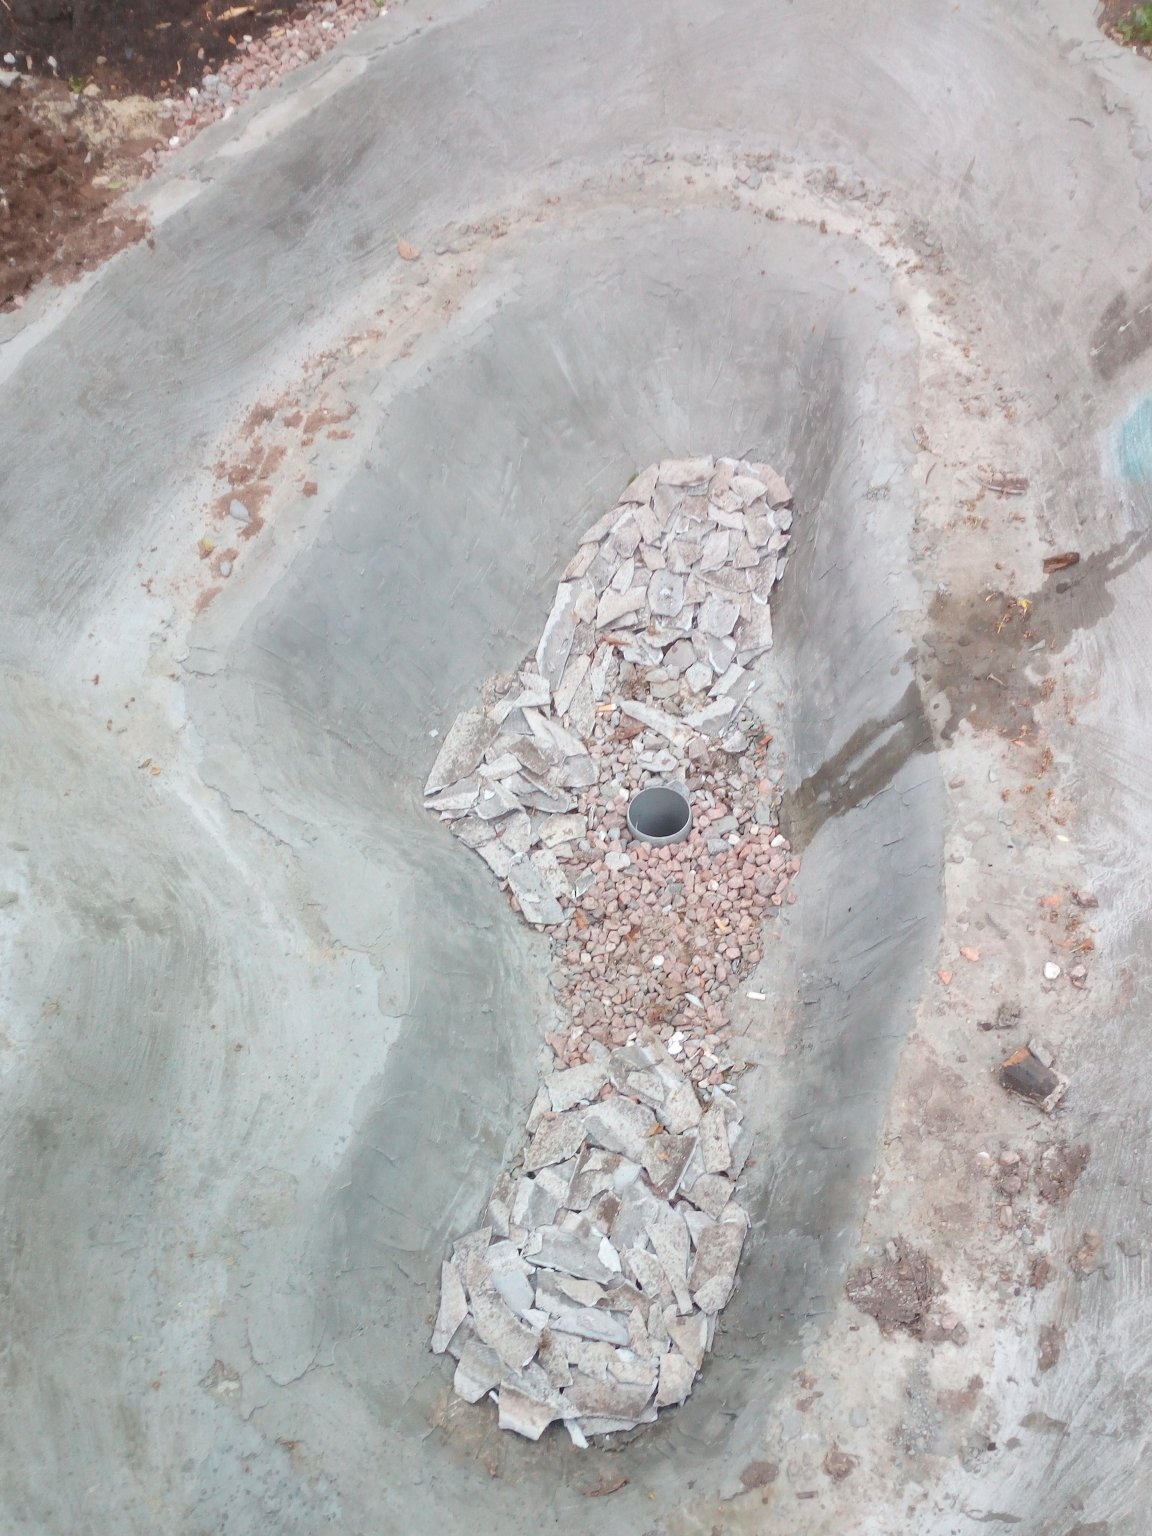
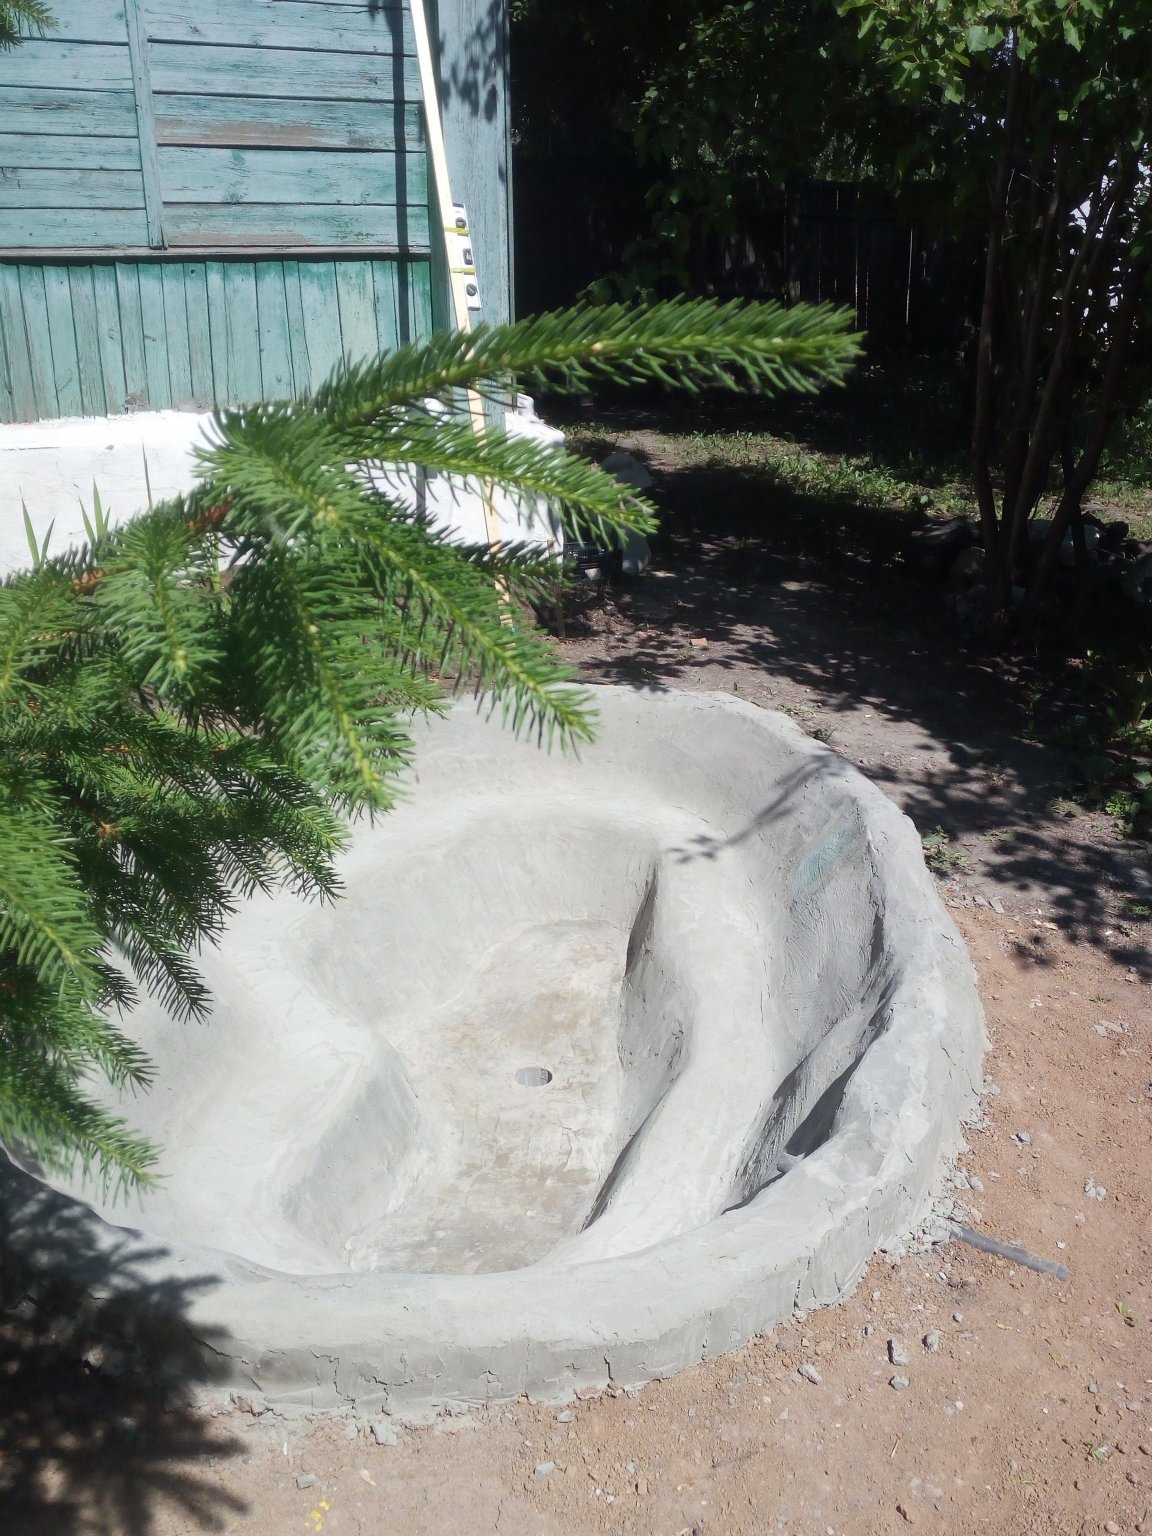
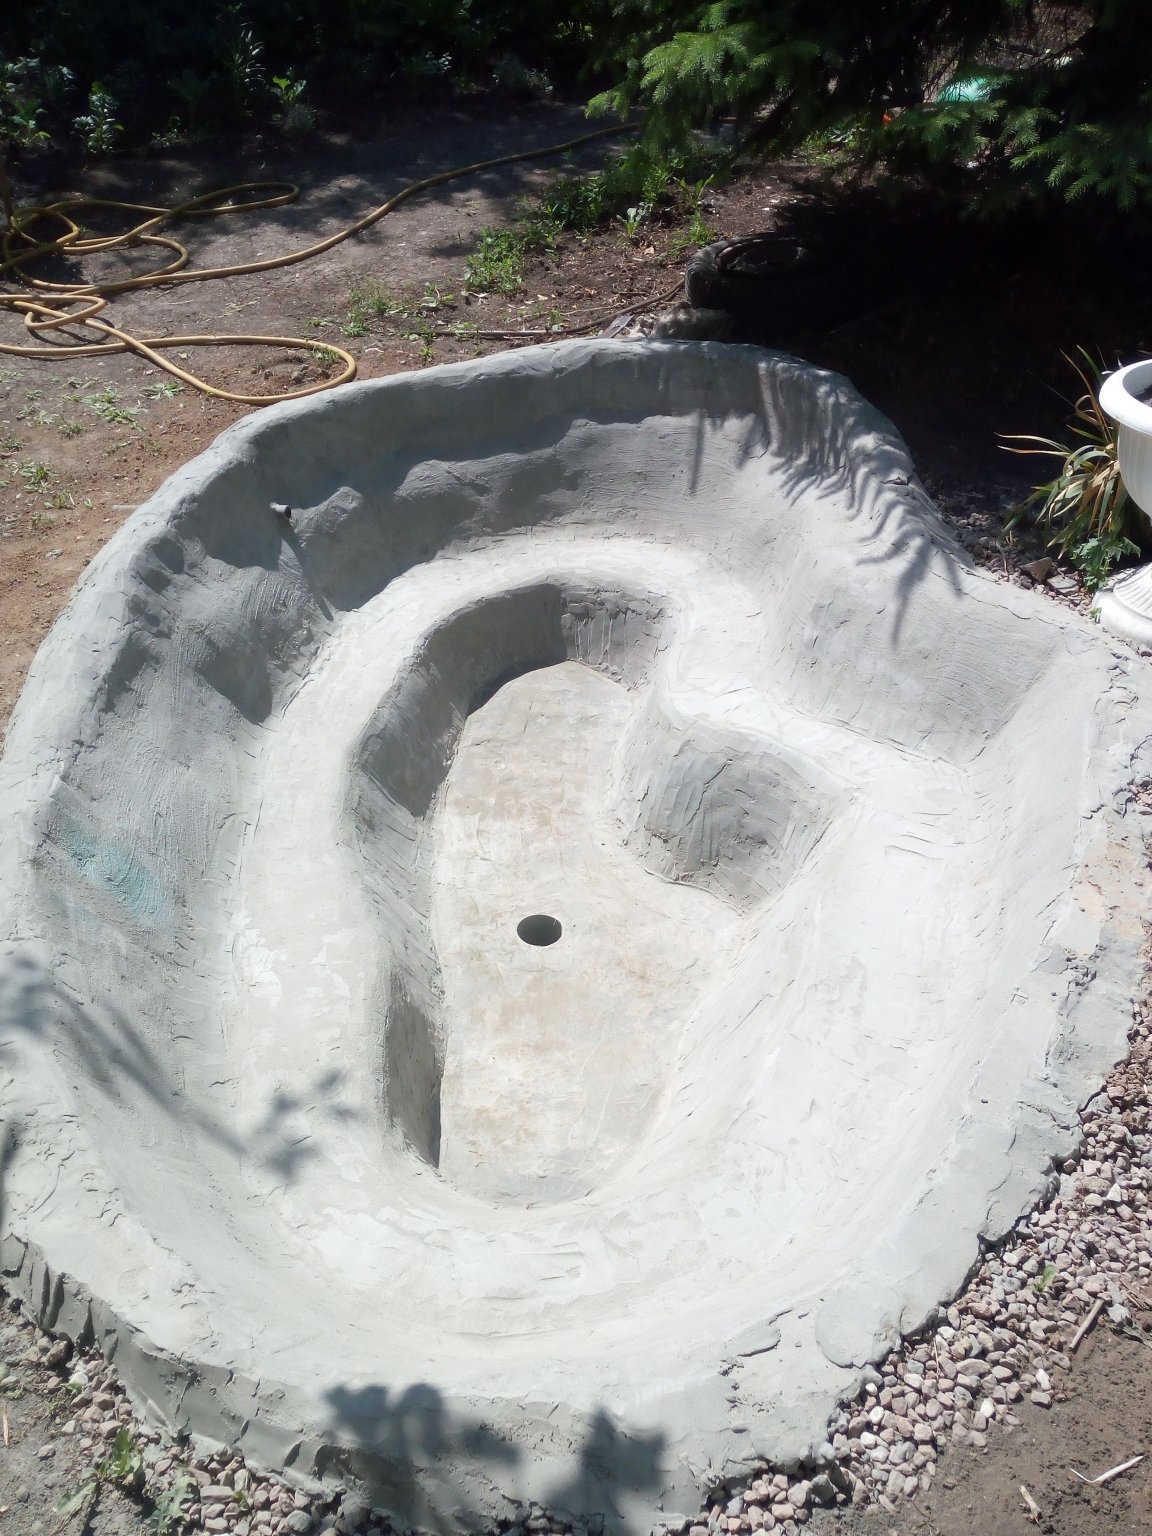
Only the bottom is not flooded. I thought that scooping up water before winter by hand would not be very pleasant, I decided to build a place under the pump for pumping water. To do this, I used a plumbing pipe, the size of which was ideally suited to insert a trickle pump inside it. I dug a depression in the bottom, into which I placed this pipe. Filled with a liquid solution. Further, the bottom was slightly raised at the edges, so that all water would go into this hole during pumping. Poured everything with a solution. The pipe before this was tightly plugged with a film.
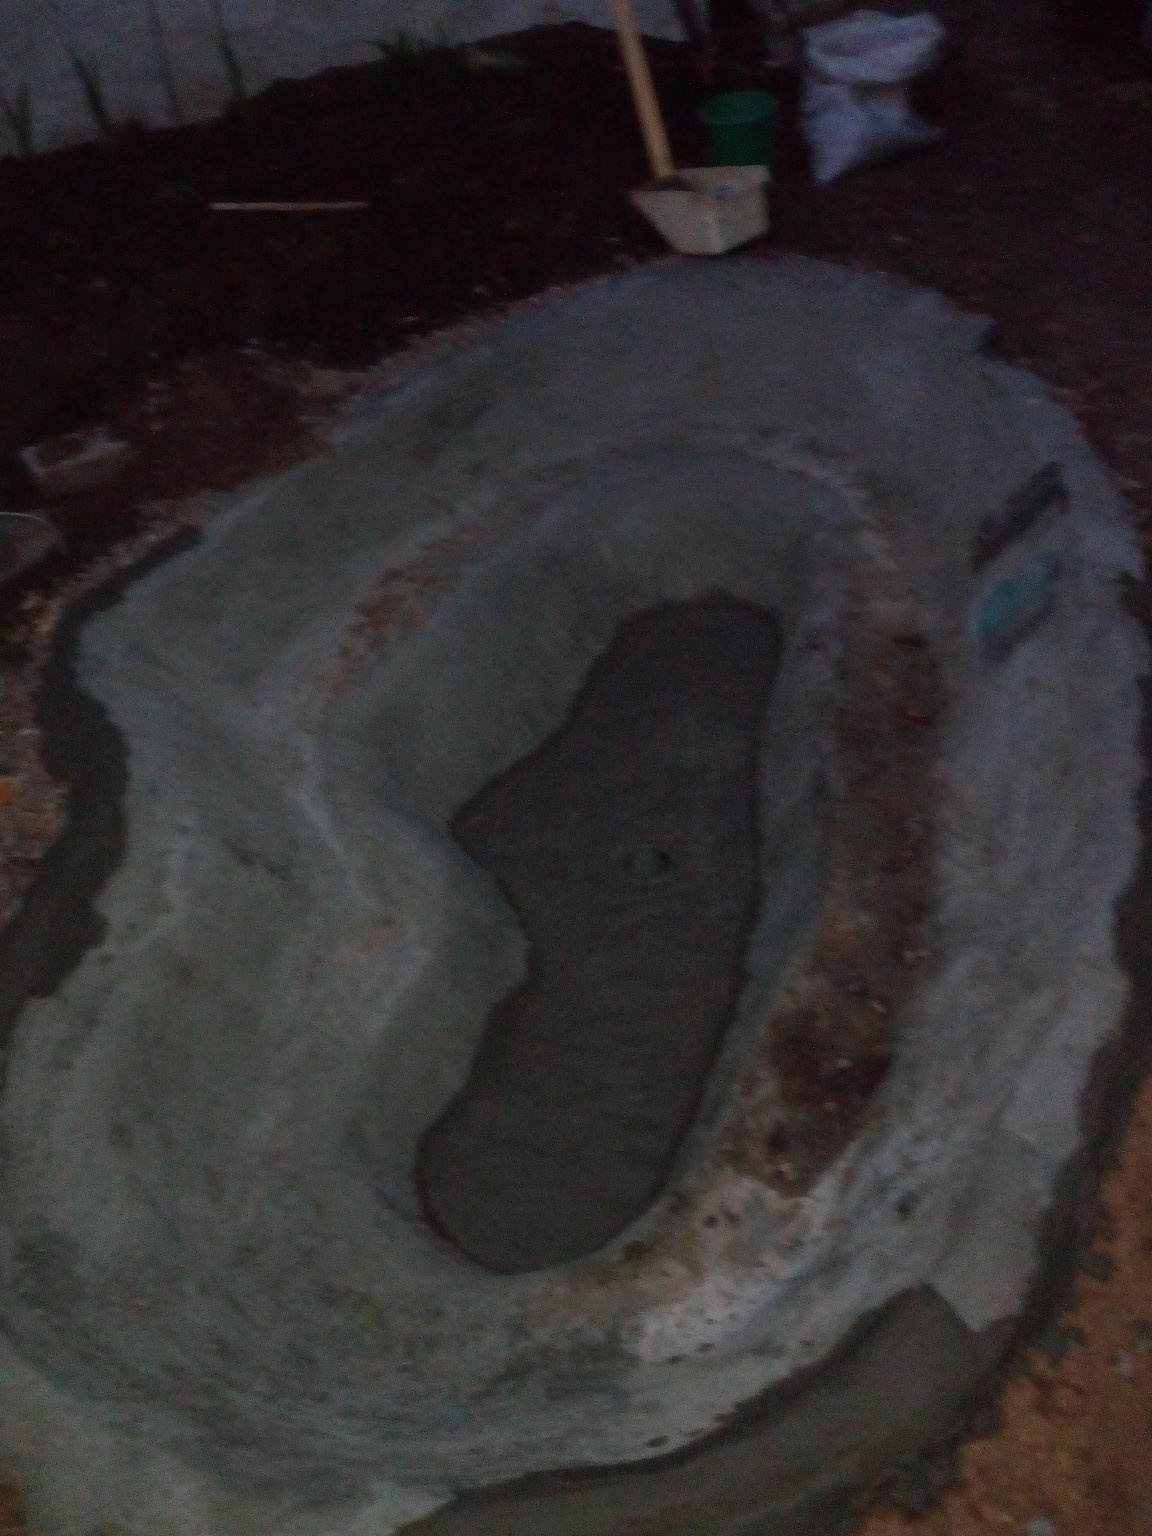
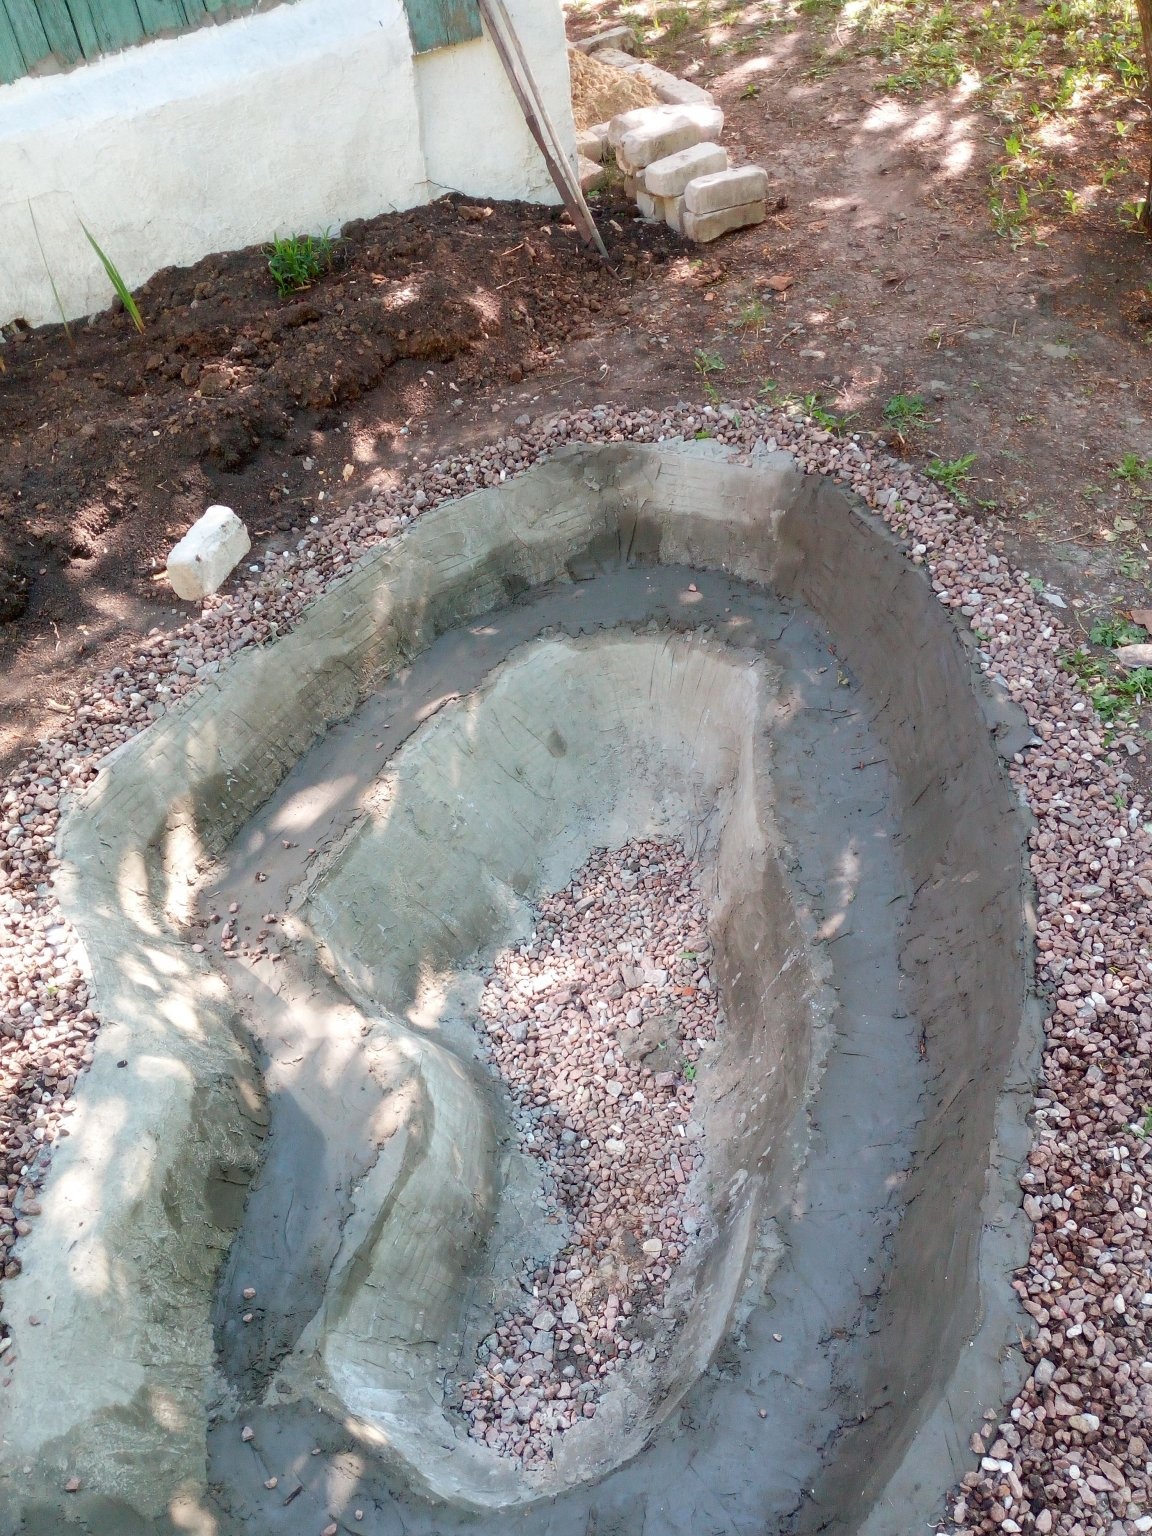
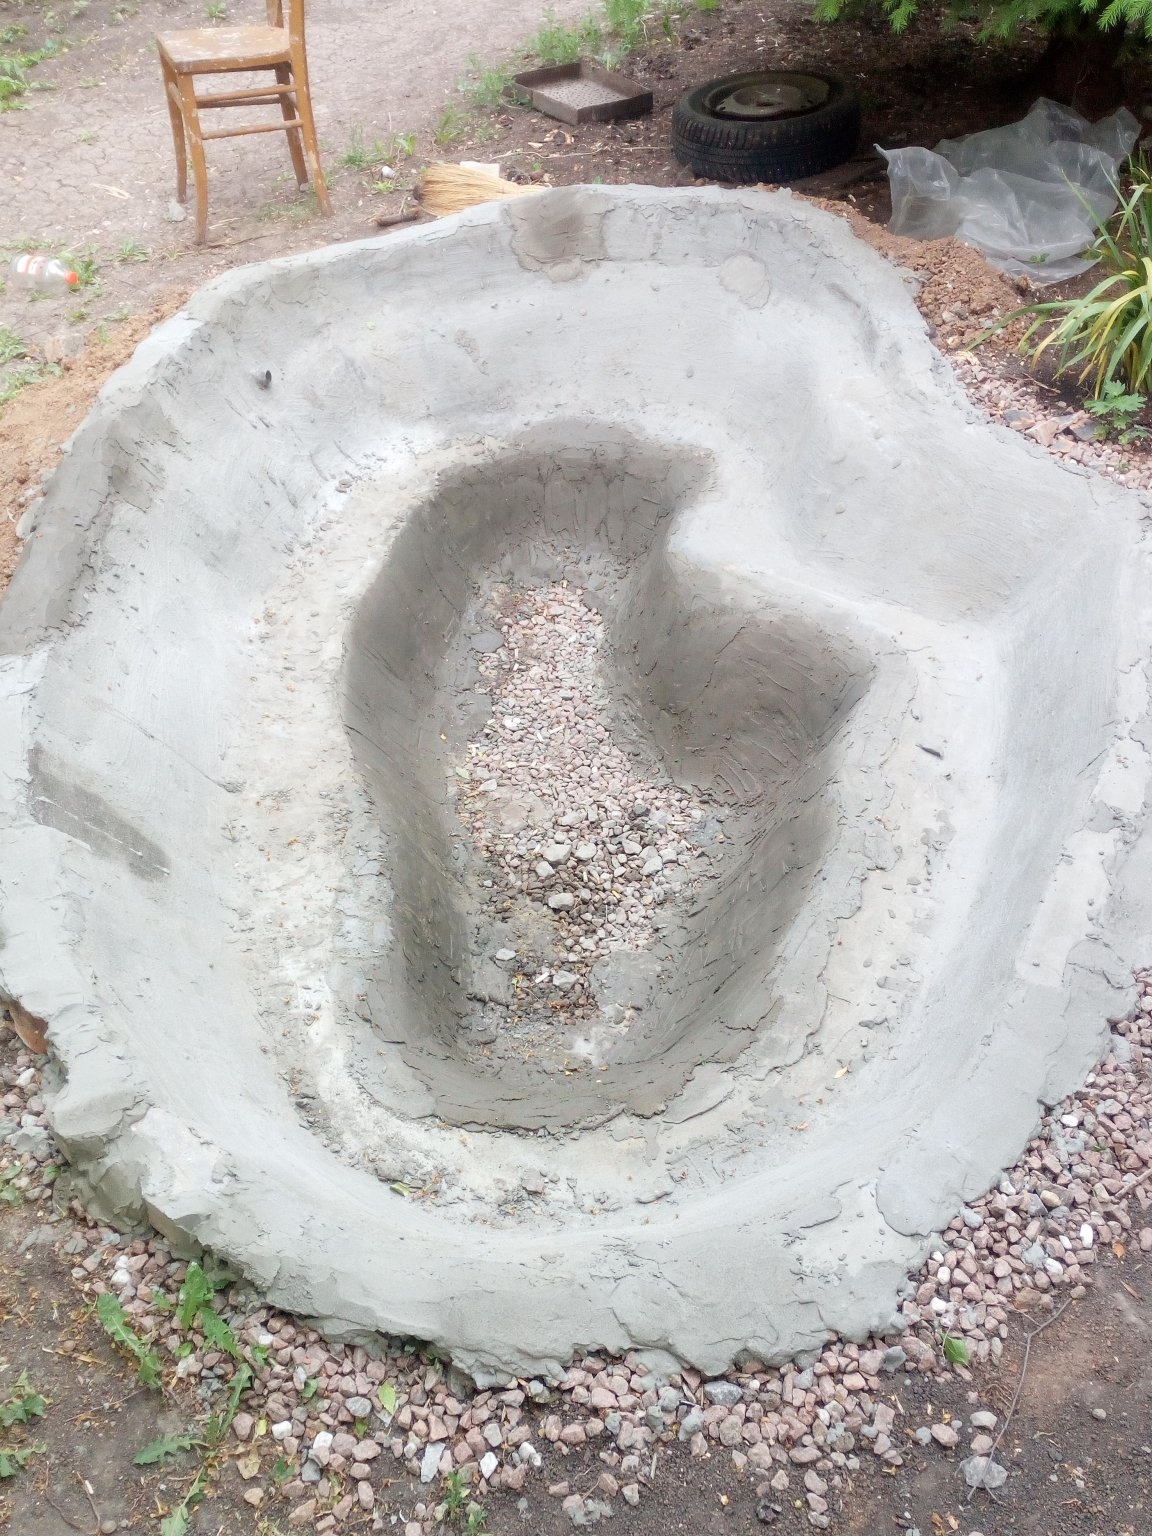
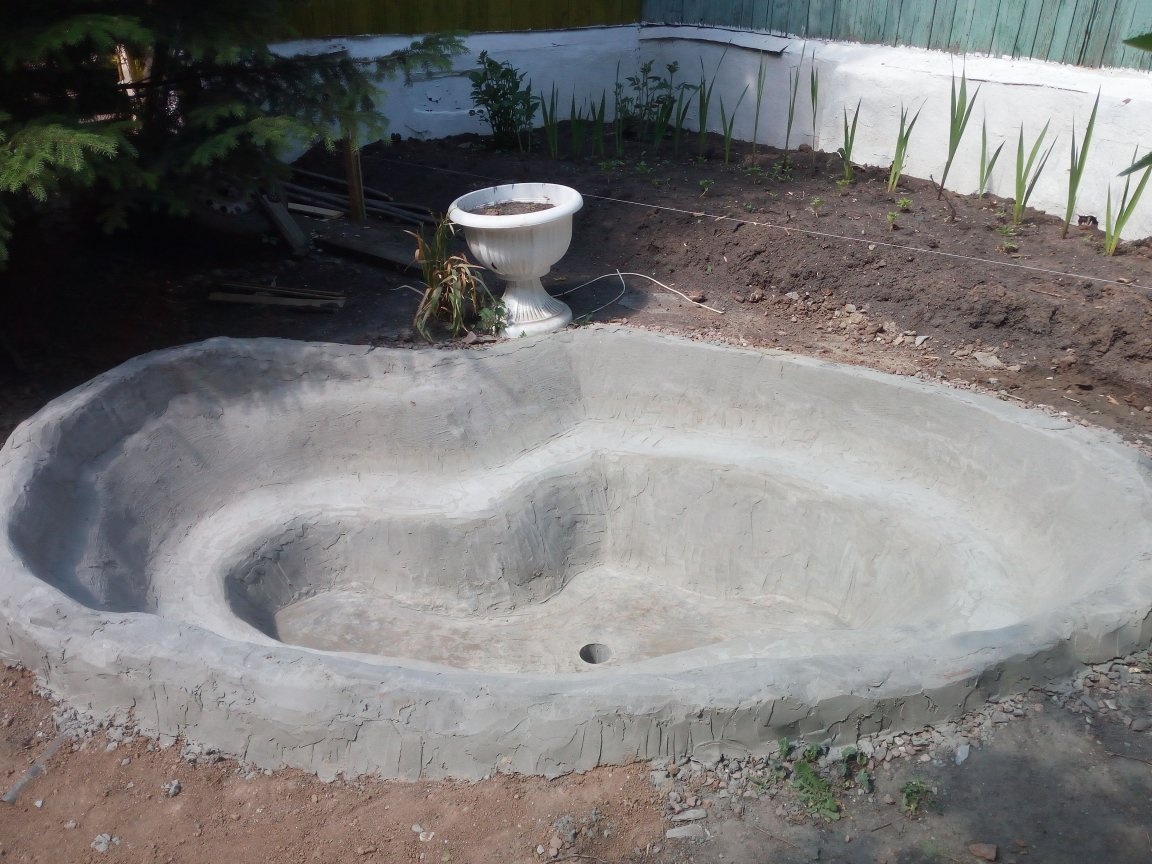
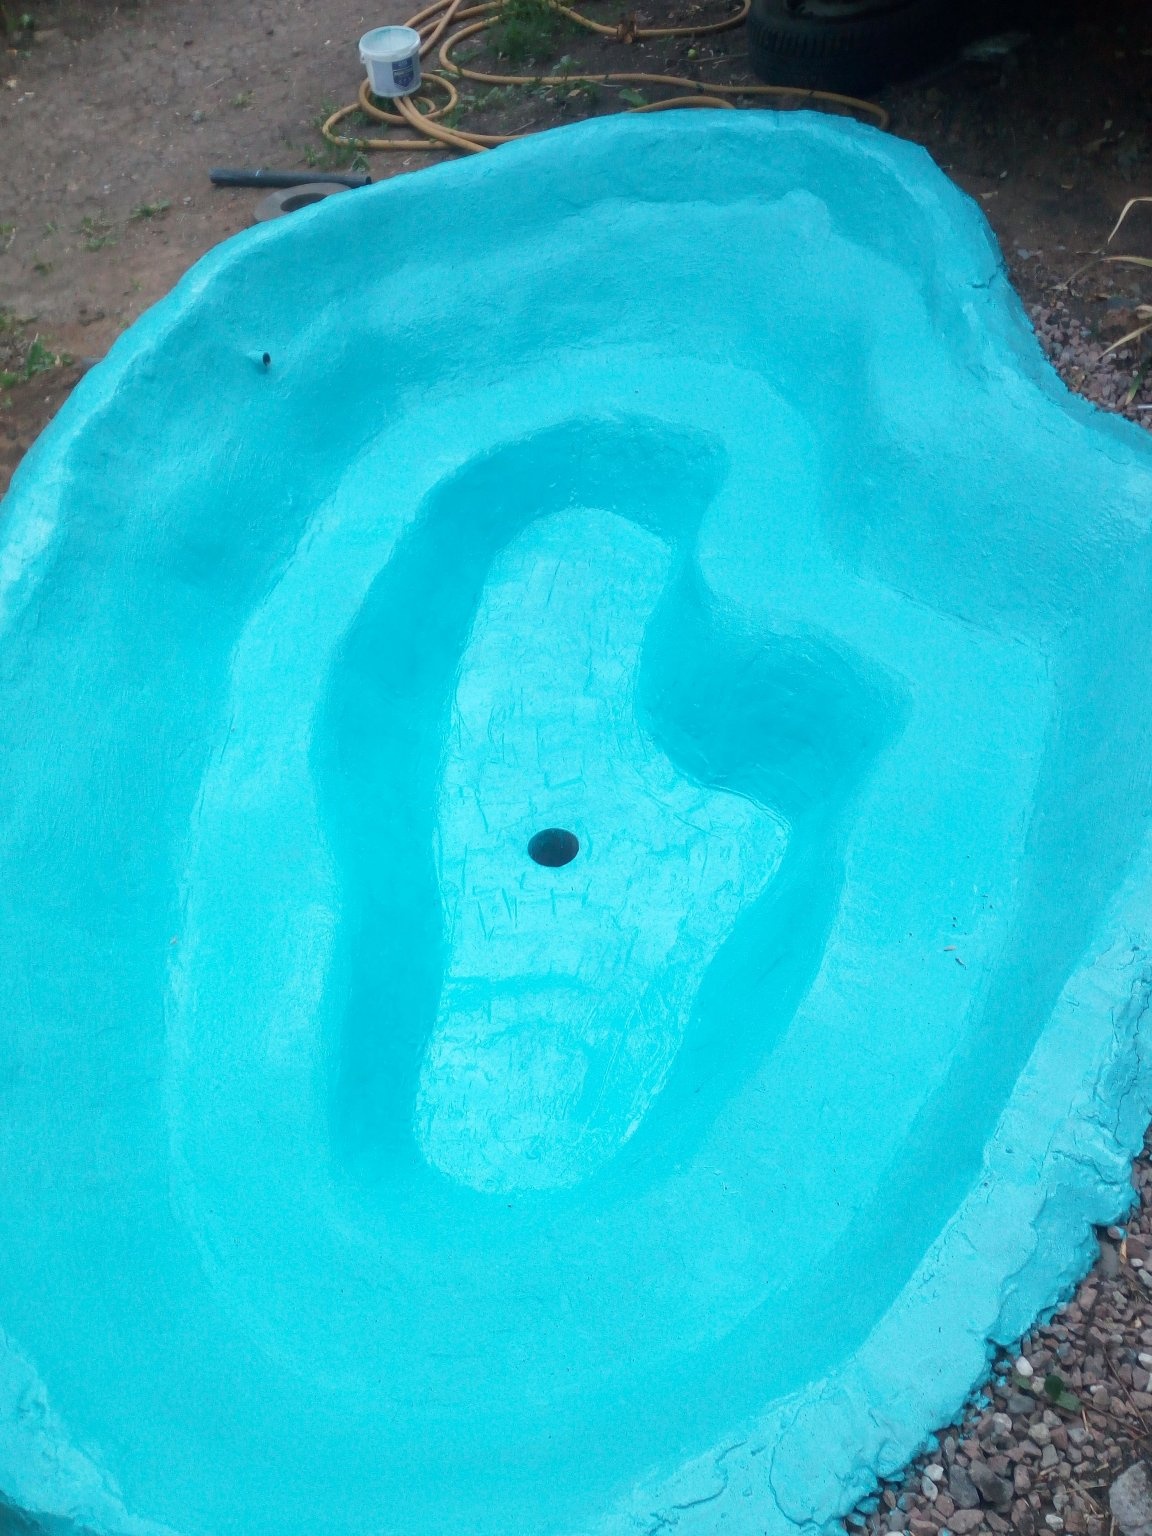
As a result, after complete drying, the pond looked like this. Unfortunately, not all photos were saved, so I posted what I have. But, in principle, the process is clear and so.
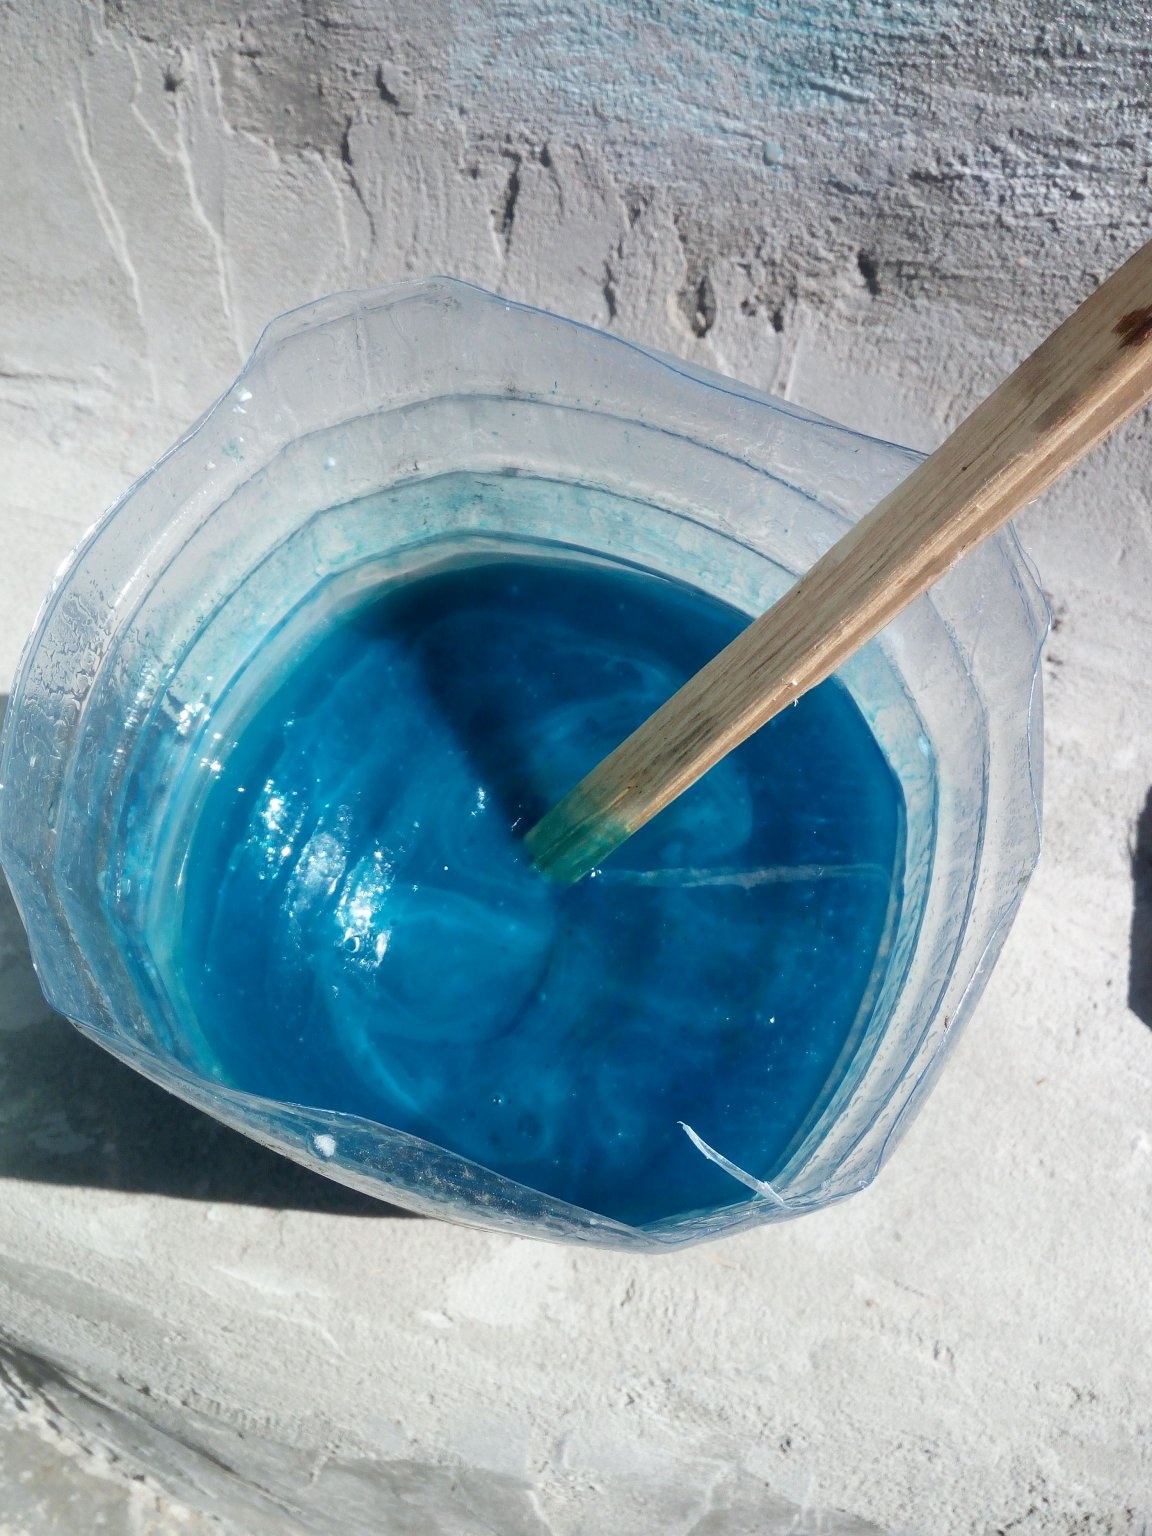
Because I didn’t make any kind of waterproofing, did not lay either a film or a rubberized fabric that is specially made for these purposes, I dyed it all with a home-made compound that really tightly filled all the pores in the concrete. Everyone knows this composition - polystyrene and R-647 solvent. You only need to take one that is sold in glass bottles. It completely dissolves the foam and, by its consistency, can be made very liquid, like paint. For some reason, in plastic bottles, it is not brought to such a liquid mass. Dissolves polystyrene and it has a viscous mass at the bottom of the container. He painted the whole pond with a brush.
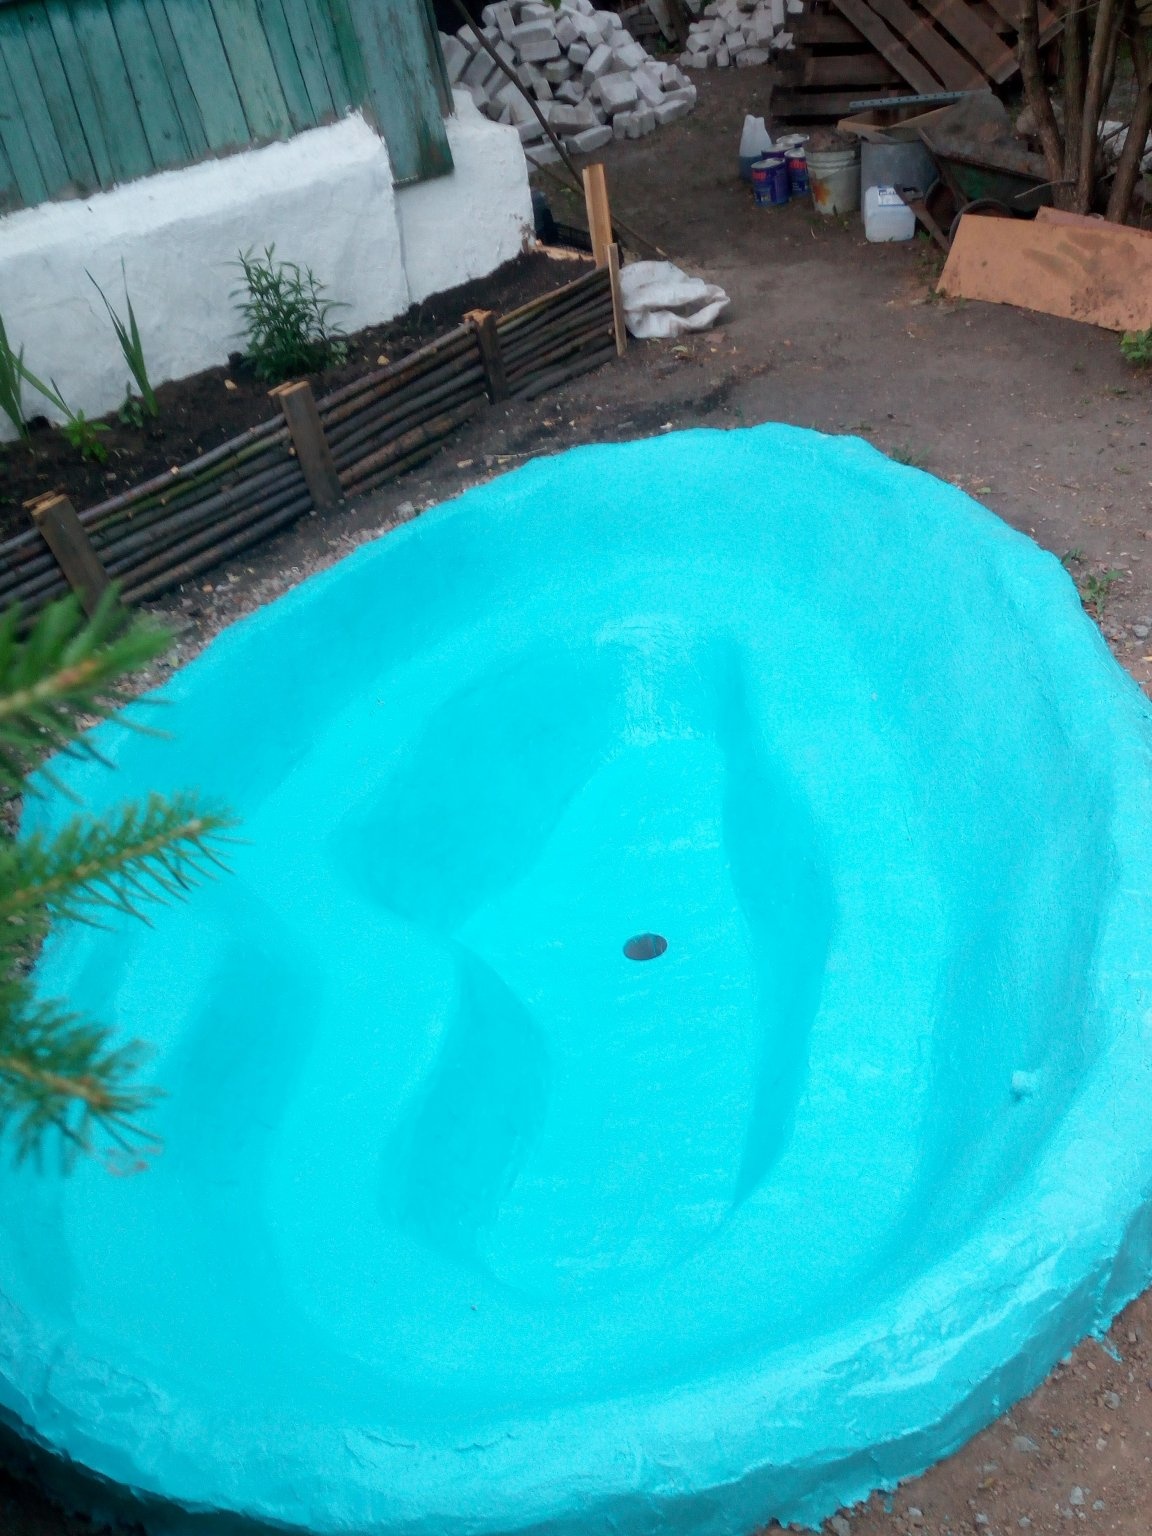
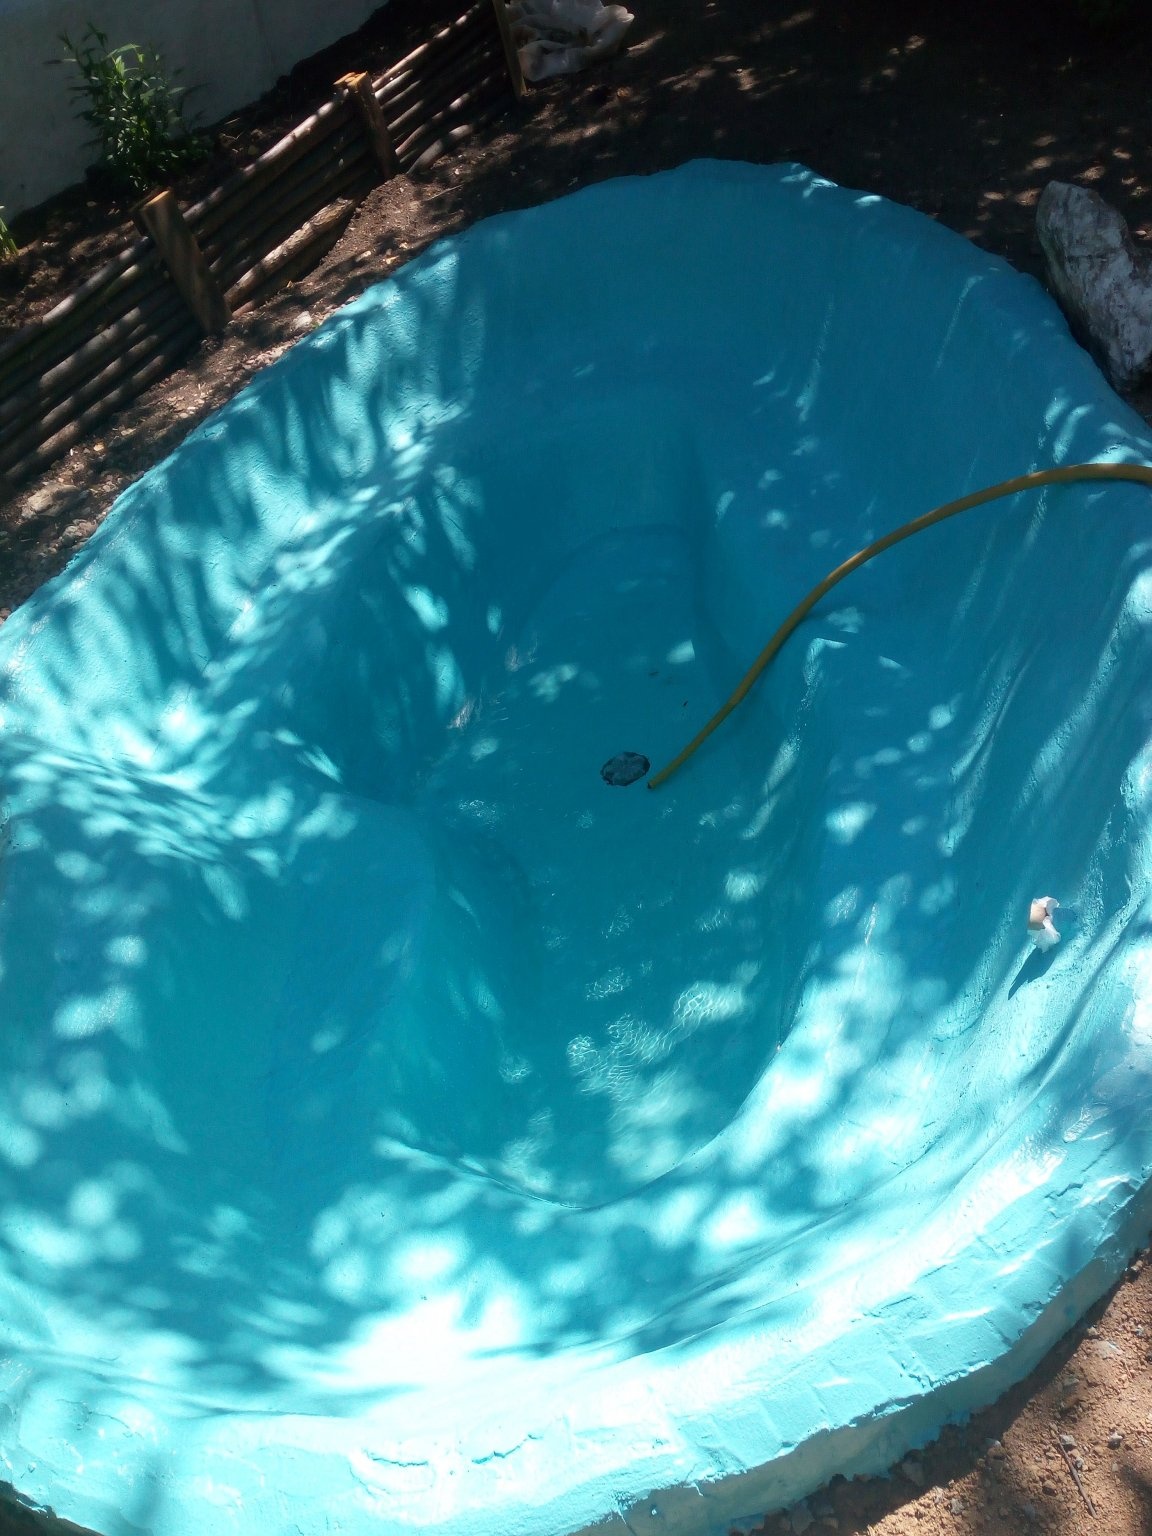
Finishing was done with ordinary enamel with the addition of dye. Here's what the pond looked like after staining and when pouring water into it. I inserted a small plastic pipe into the side wall. I put on a hose from a large fire extinguisher and brought it down the drain, since I have my own. This is a kind of protection against overflow during rain and in general.
There were some troubles: a day after water was poured into the pond, it suddenly cracked in two (!!!) places. Part of the water is gone. I had to pick everything up and reinforce and seal up with mortar again. After that, the water stopped leaving. It was necessary to add water 4 times before the end of summer, but this is most likely natural evaporation, the weather was hot. I took aquarium fish into the pond - guppies and mollies. They lived there until mid-September.
At the moment, the pond looks like this:
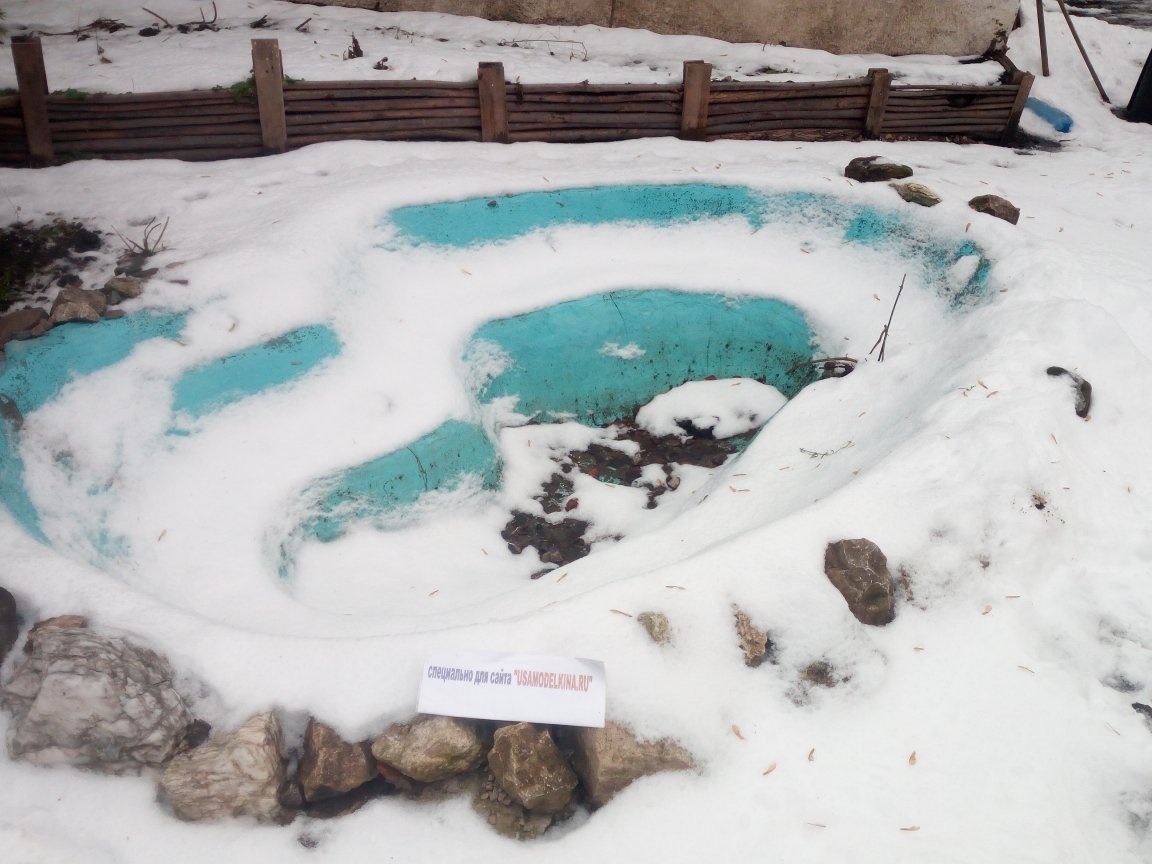
Dimensions: length 260 by 180 cm. Depth 80 cm.
In the spring I will take water and see what happened to him over the winter.
On this I say goodbye. I wish you every success!