
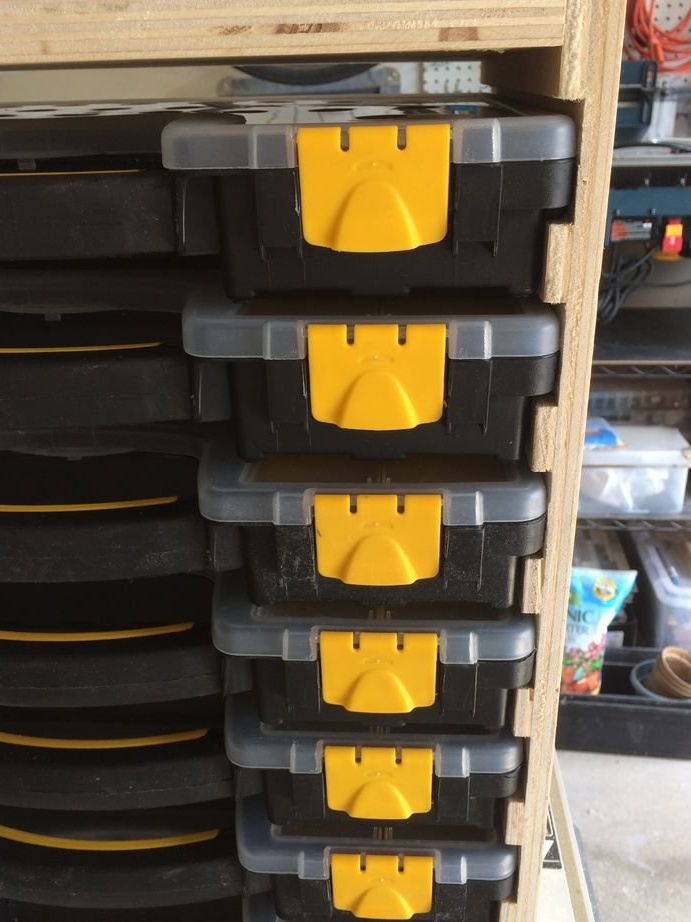
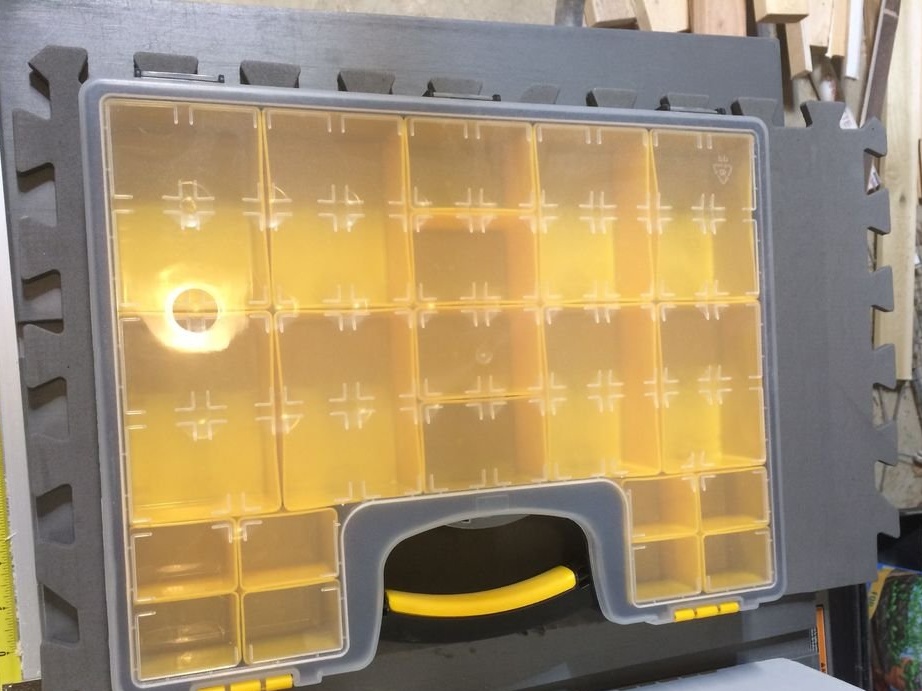
If you have one case for different little things, then finding a place for it is not a problem. And if there are ten or twenty such cases? Storage of this amount creates certain difficulties. In order not to stumble over the cases, and somehow arrange their storage, the master made a special organizer shelf.
Tools and materials:
-A circular saw;
-Rule;
-Marker;
-Calipers;
-Conductor;
- Jigsaw;
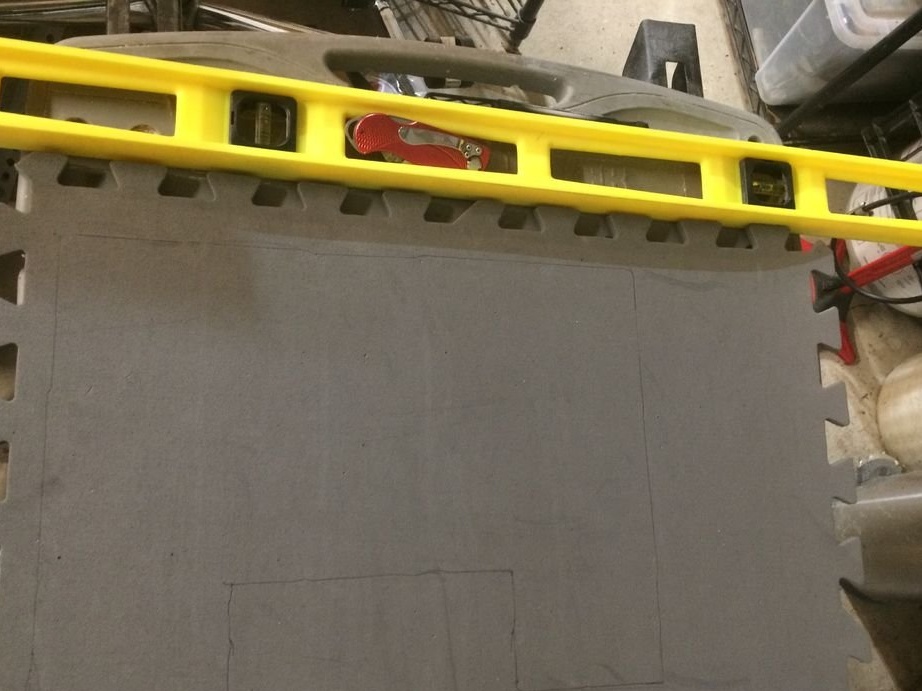
-Level;
-Plywood;
-Fibreboard;
-Fasteners;
- Joiner's glue;
-Paint;
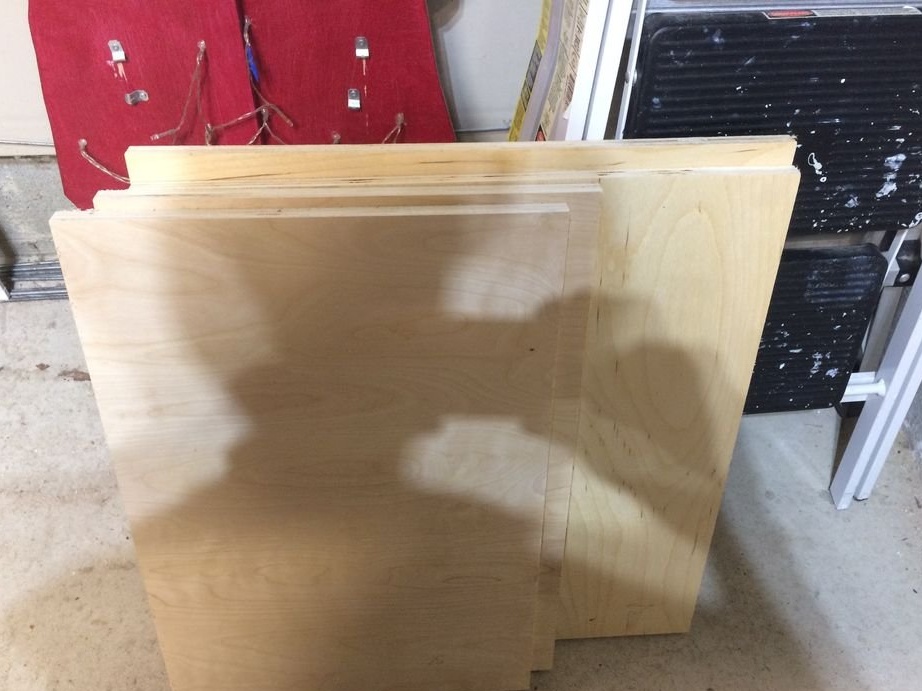
Step one: procurement of parts
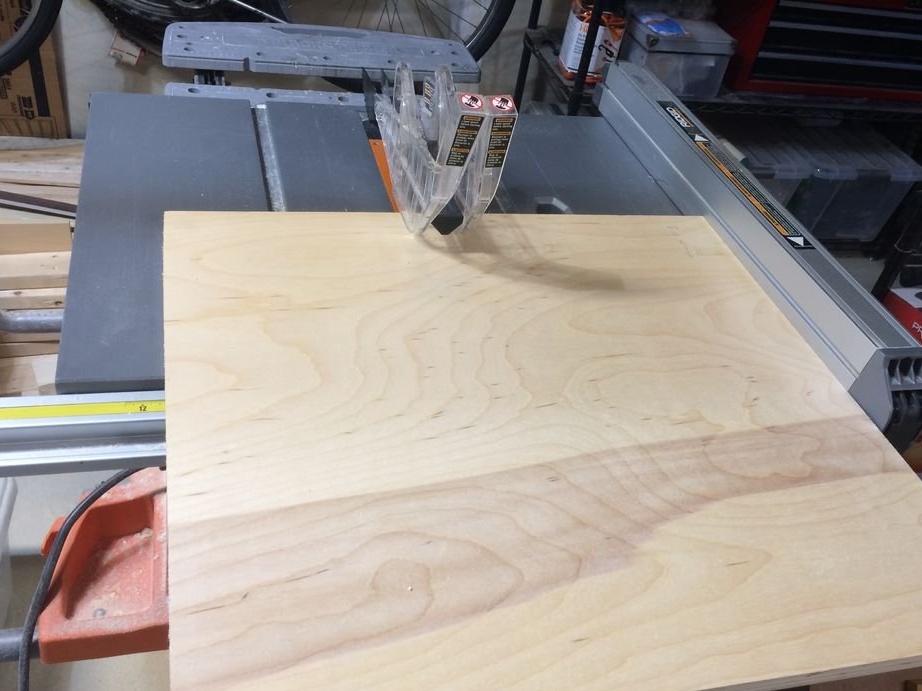
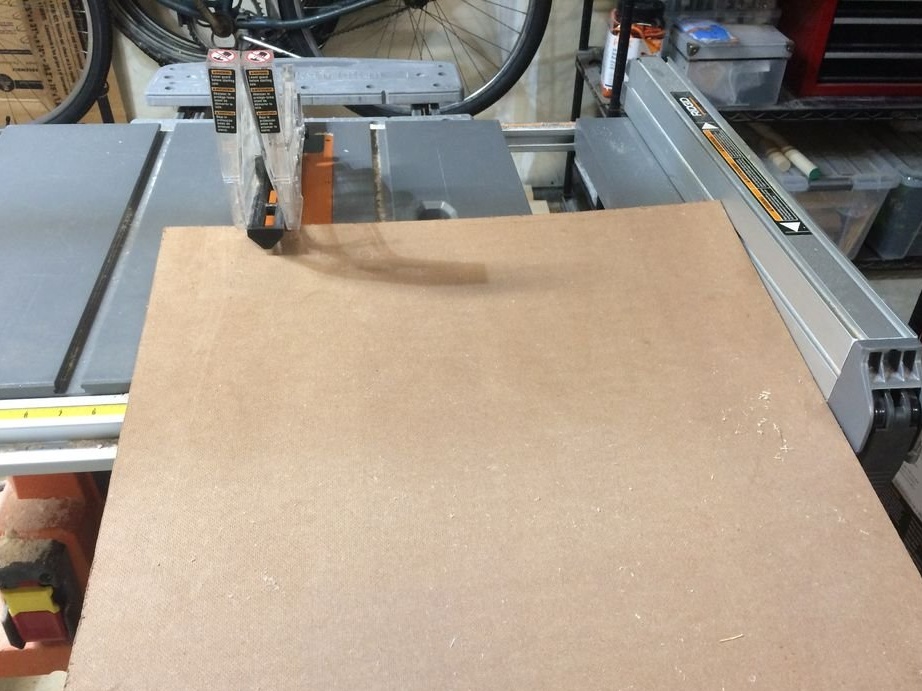
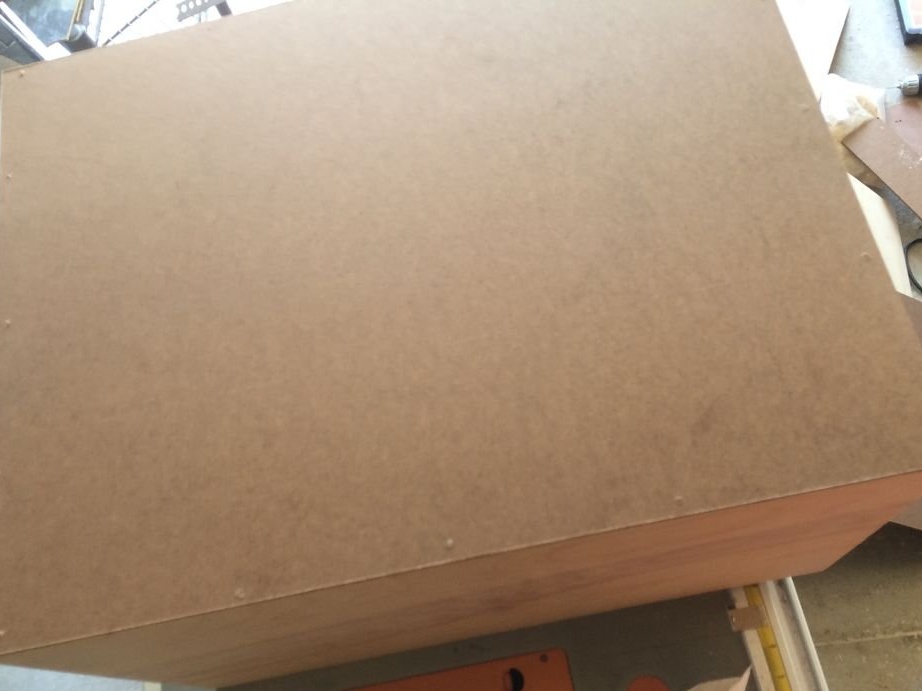
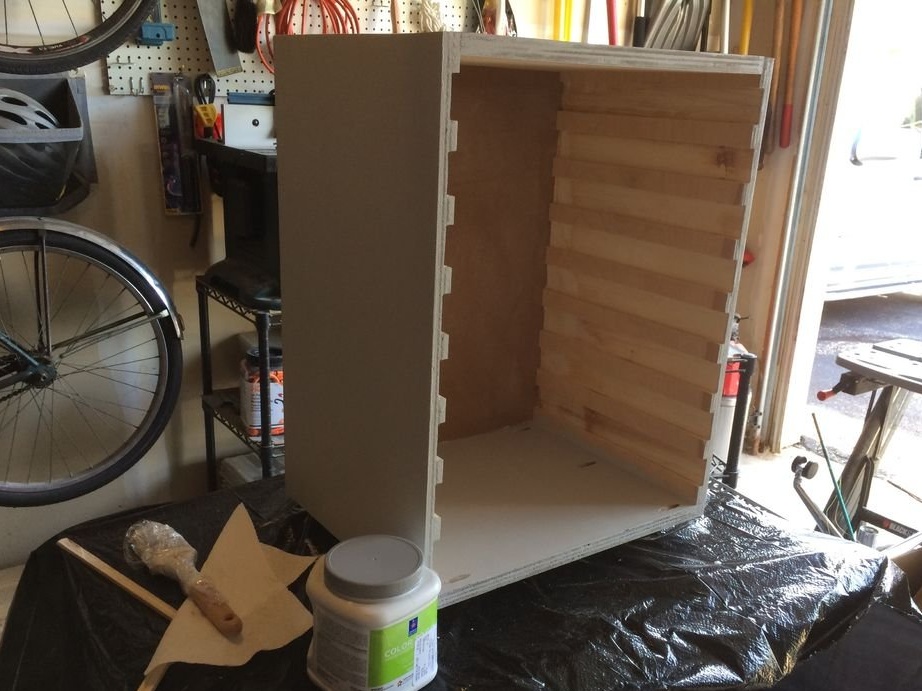
The upper, side and lower parts of the shelf will be made of 2 cm plywood, the rear part is covered with a 6 mm fiberboard sheet. The master performs the sawing of the material based on 8 cases.

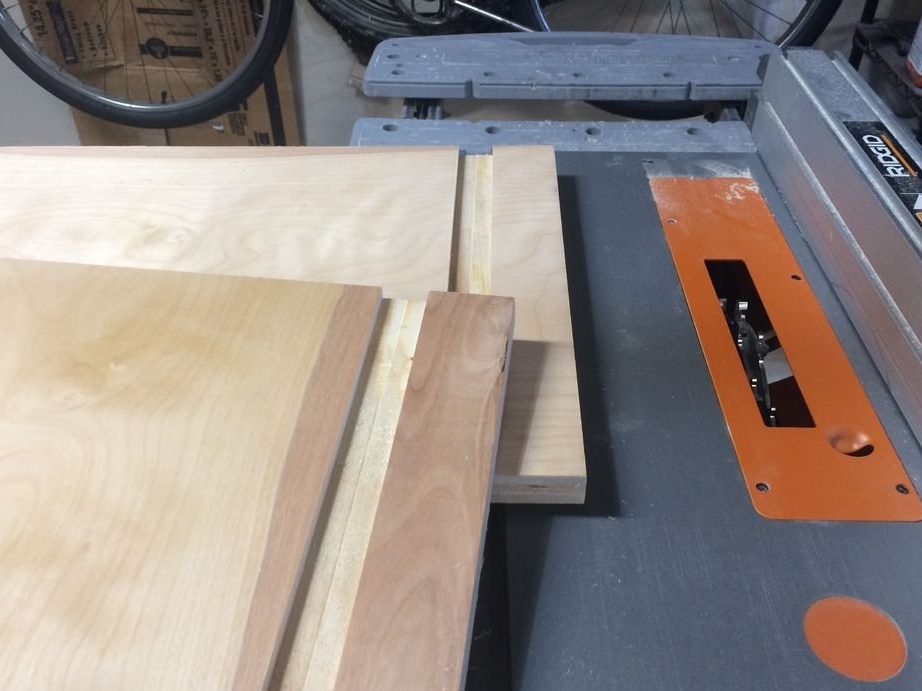
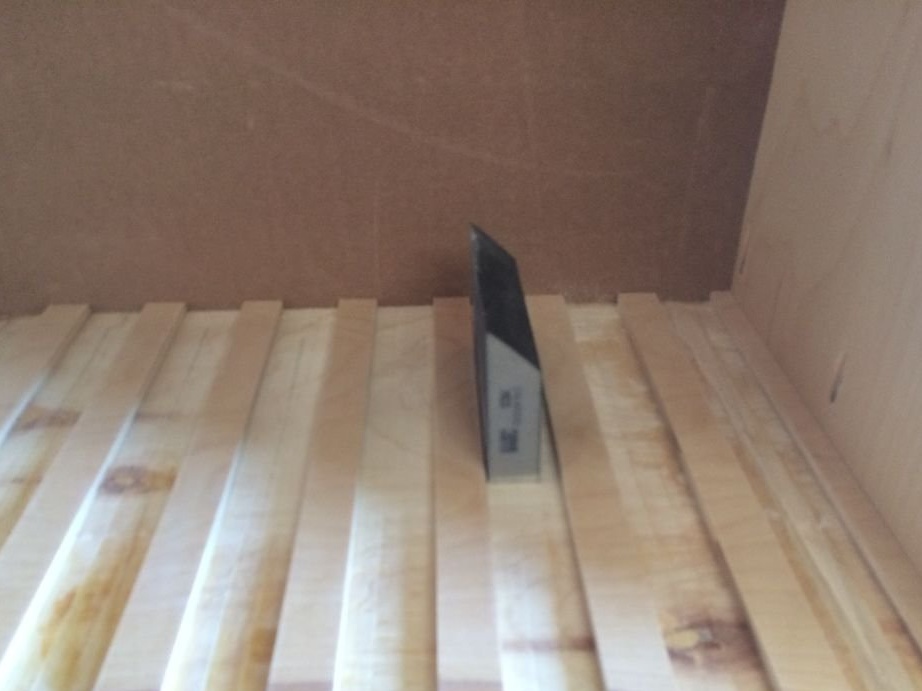
Step Two: Guides
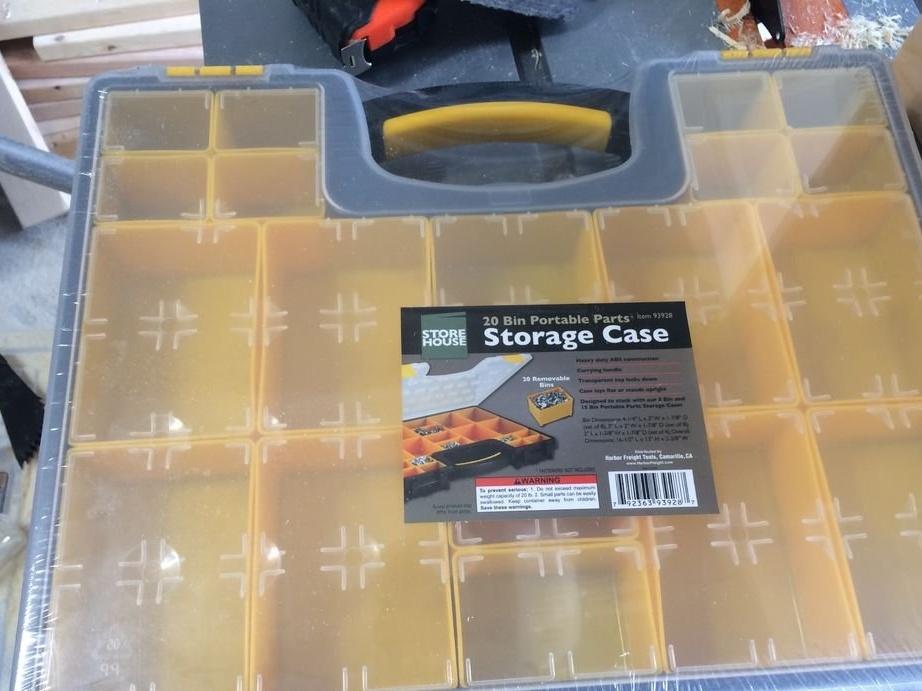
Now on the side walls you need to make guides for installing cases. (Cases may be different, so sizes will not be given.)
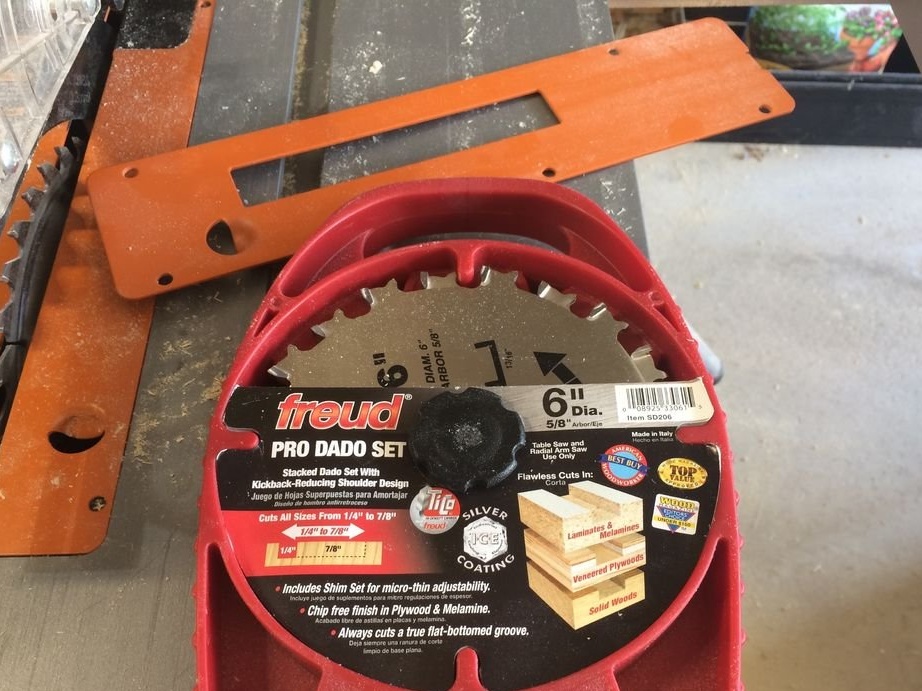
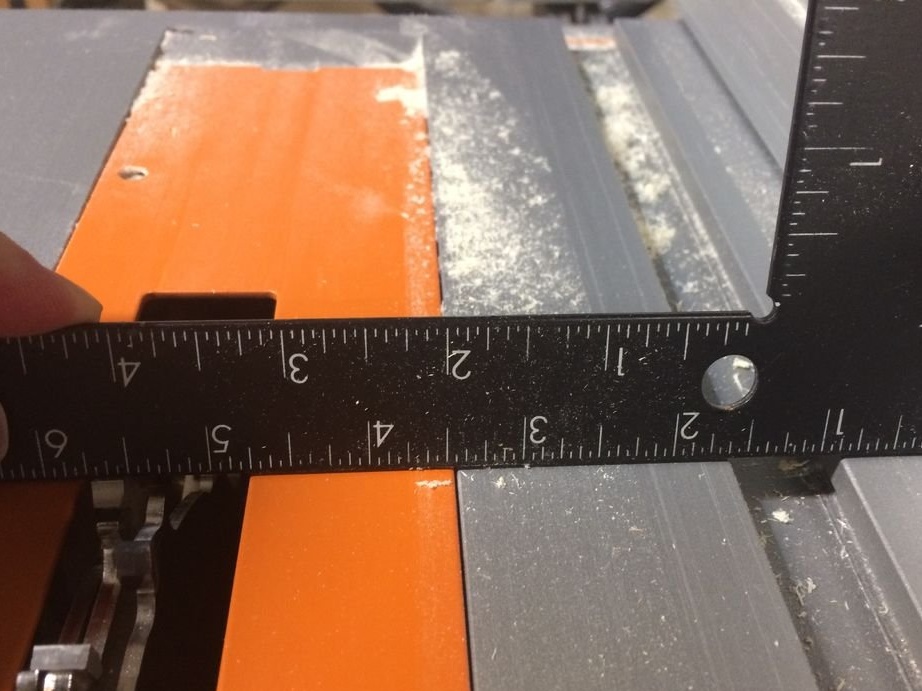
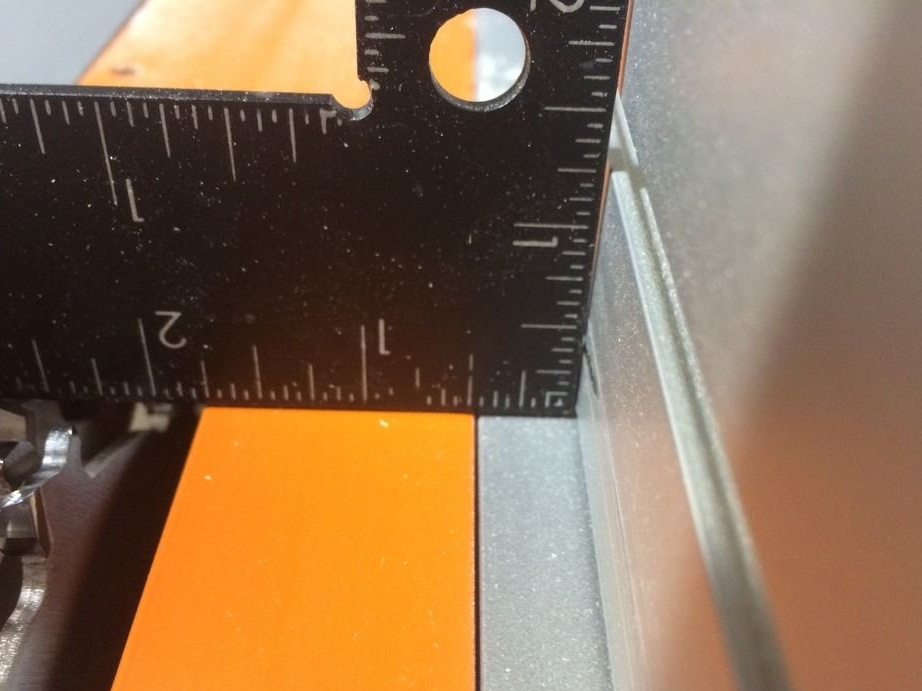
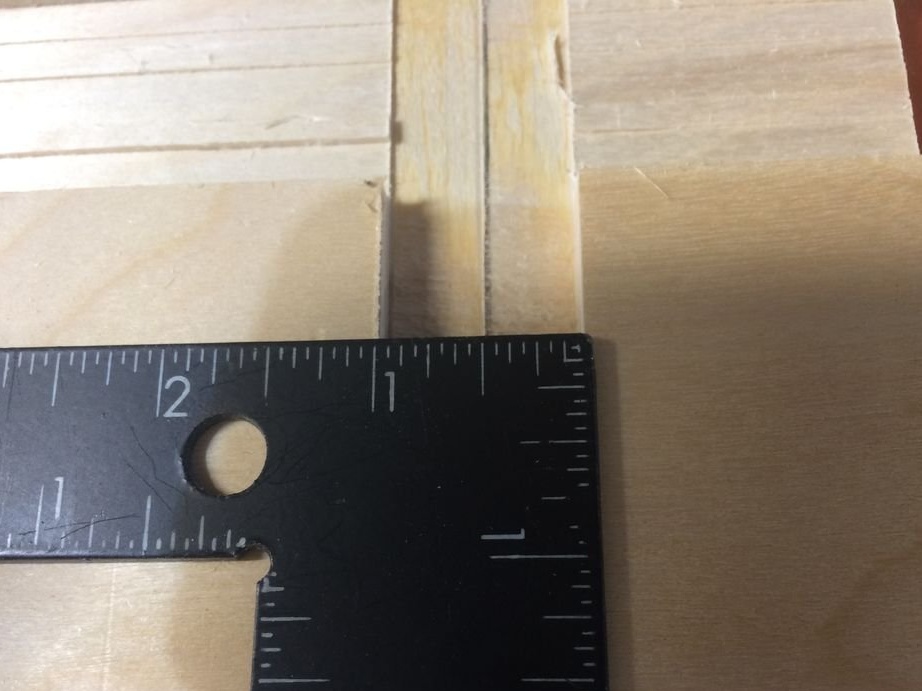
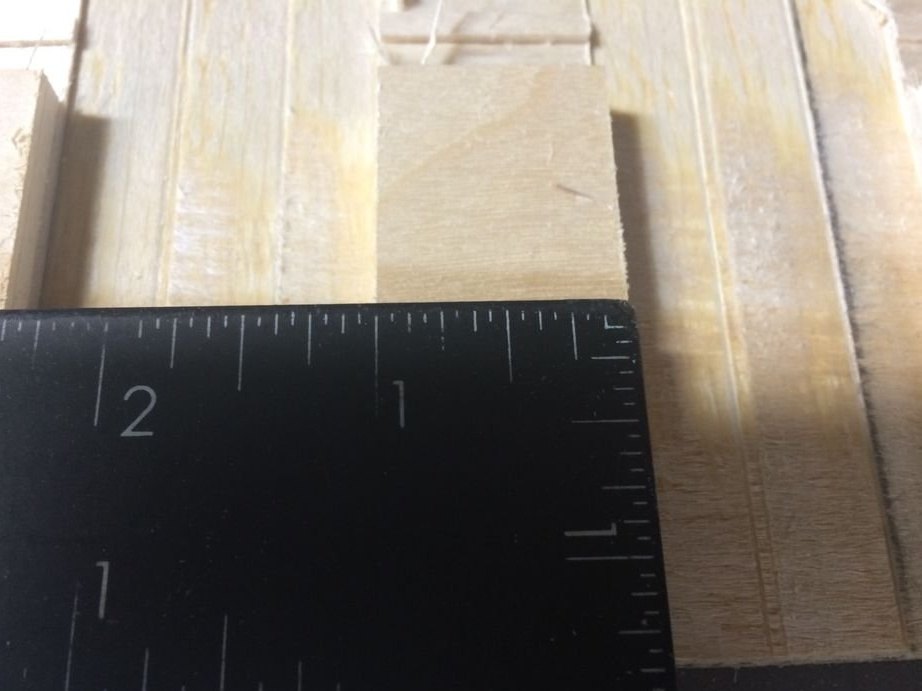
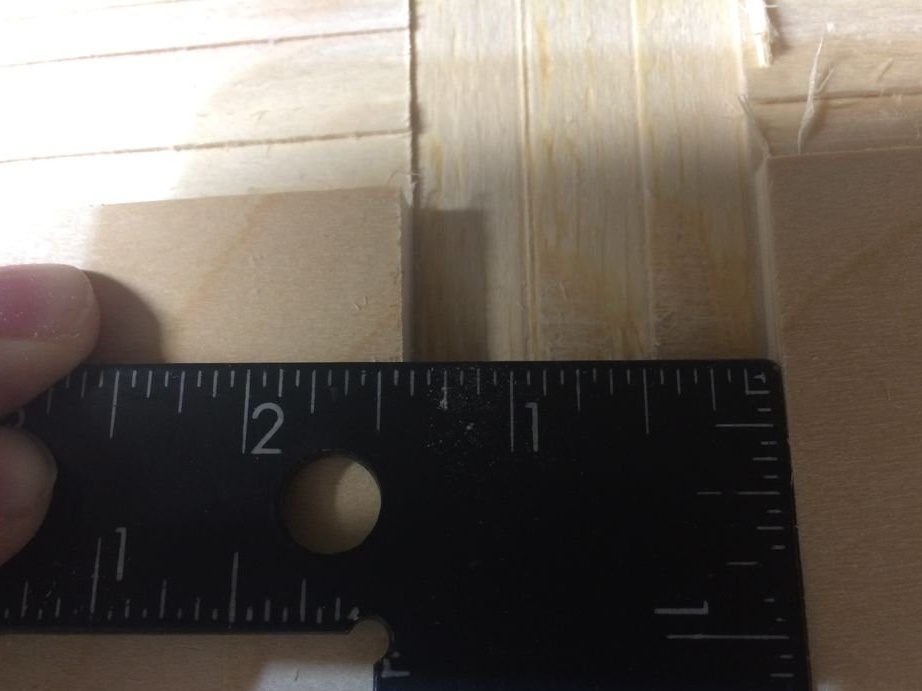
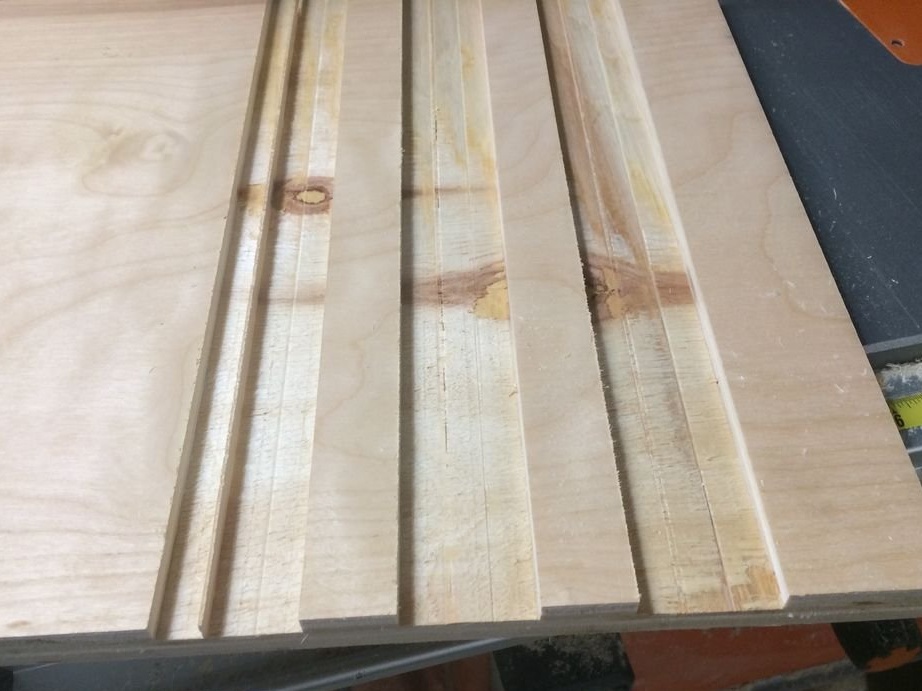
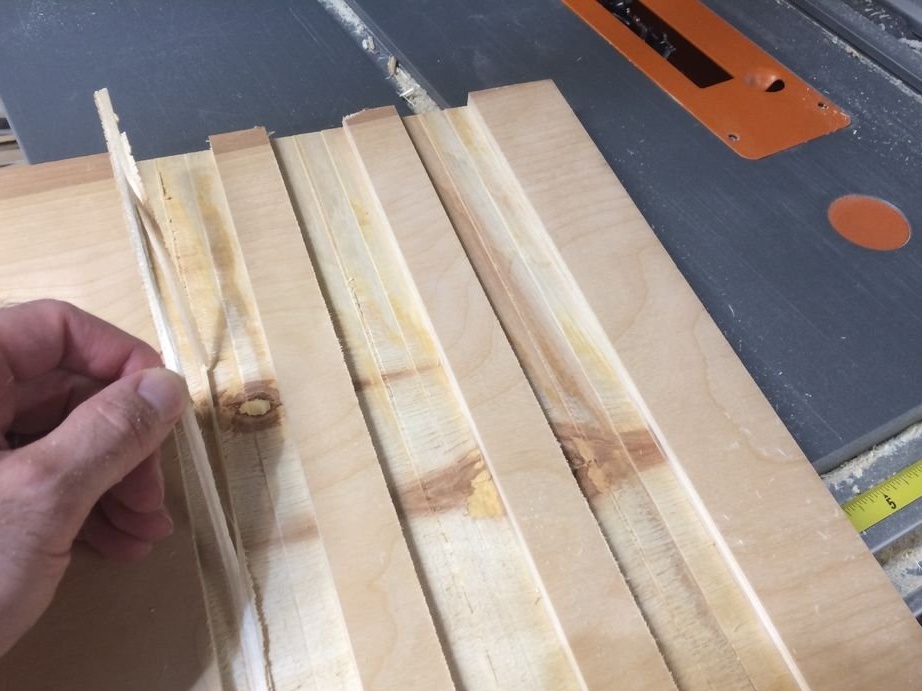
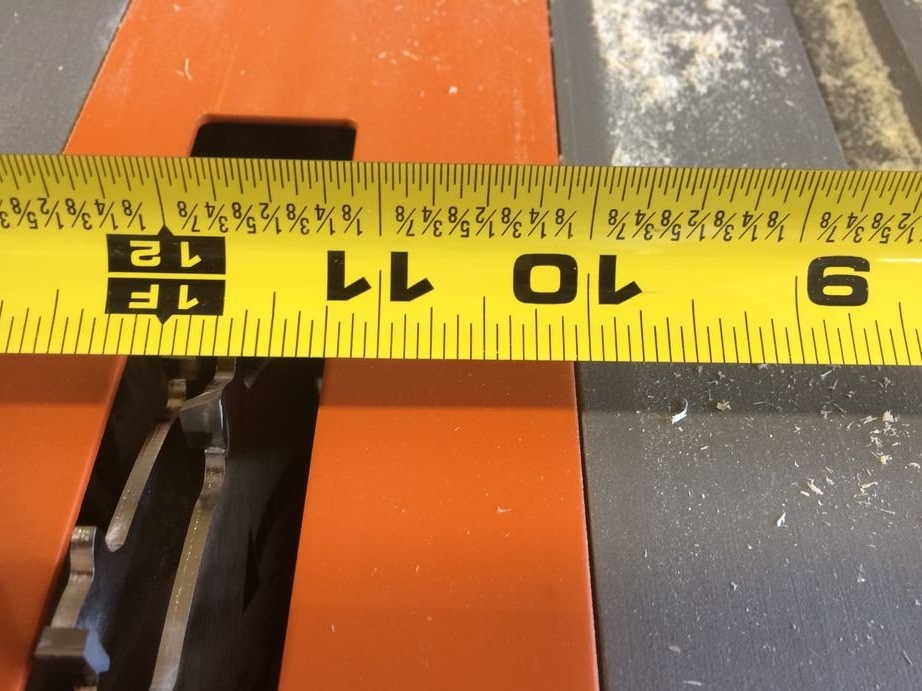
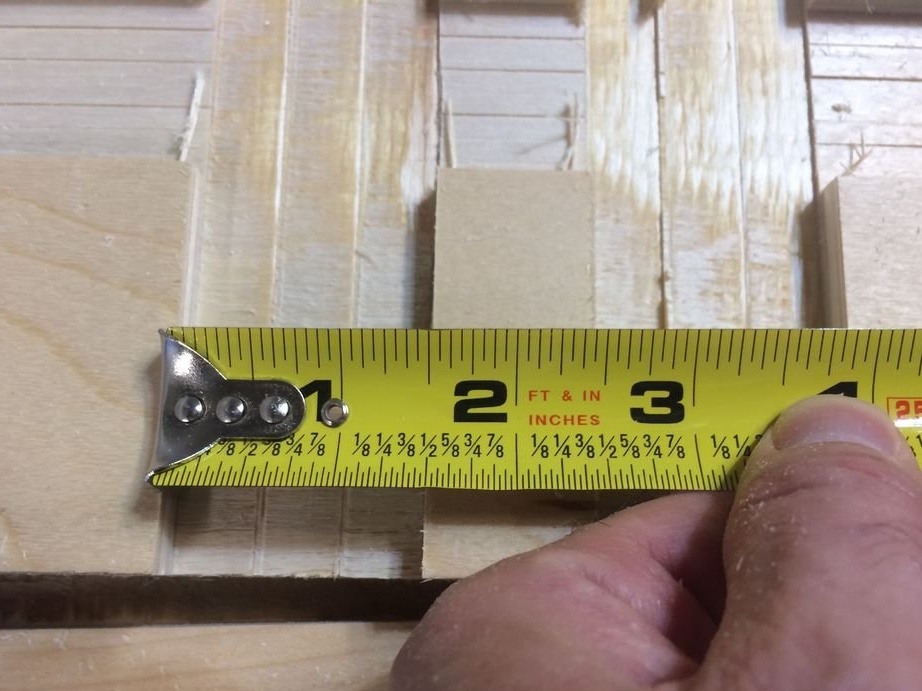
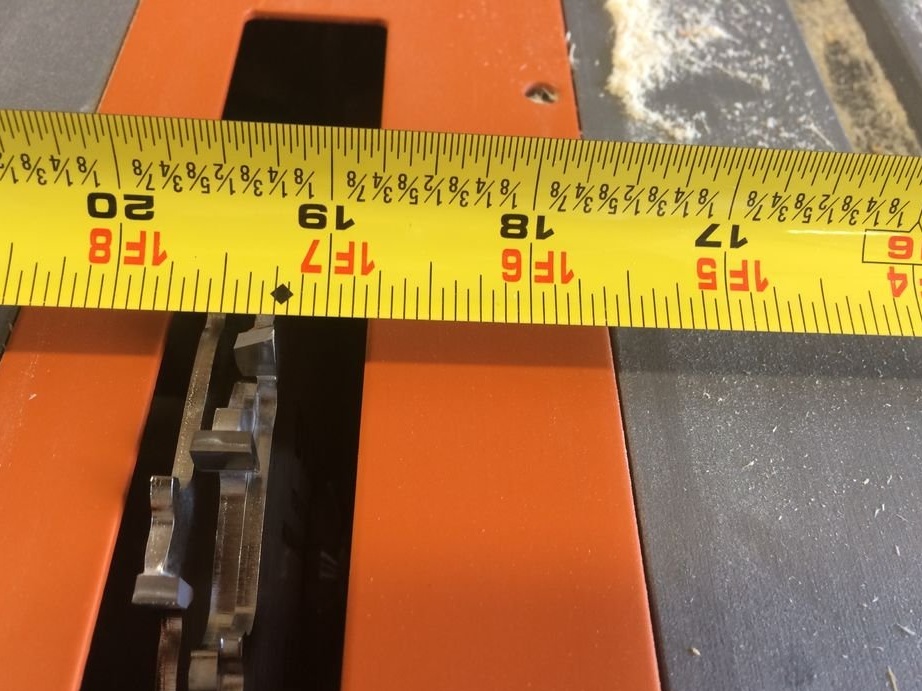
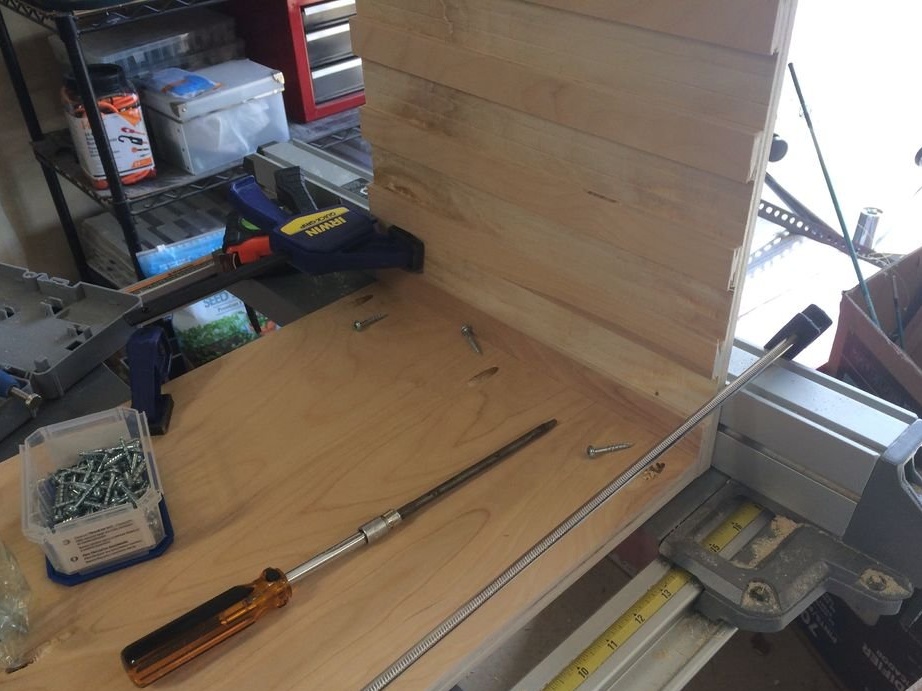
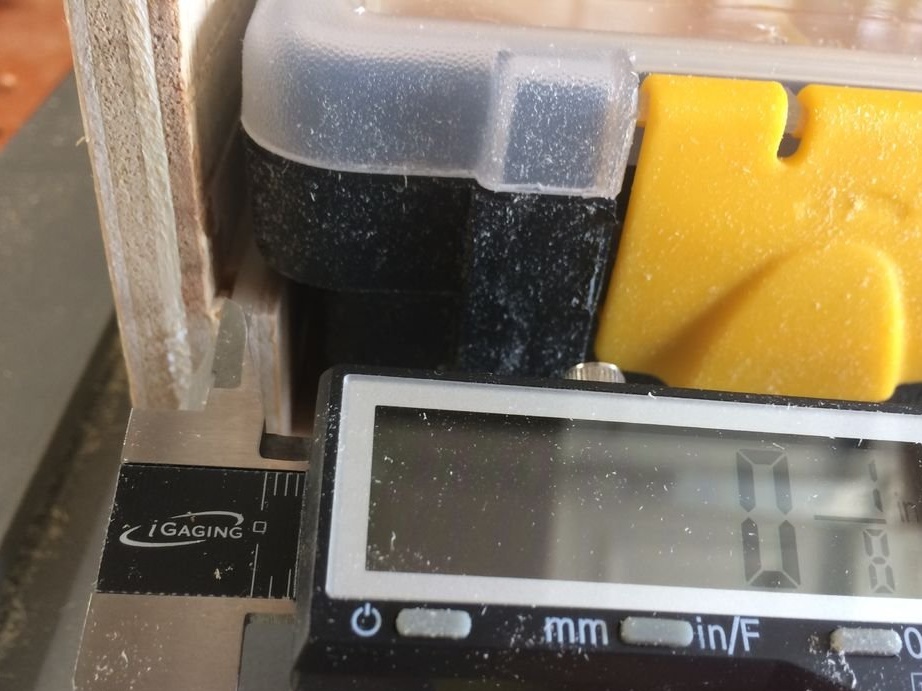
According to the size, the master calculates and marks the guides for eight cases. The wizard adjusts the height of the saw blade. The plywood is 20 mm wide and the guide will be 7 mm deep.
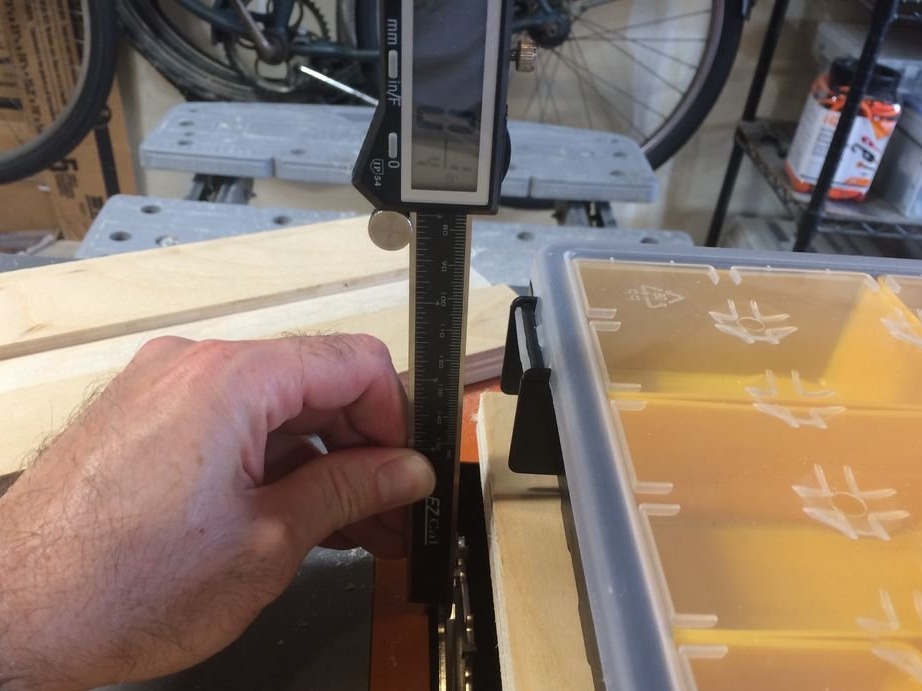
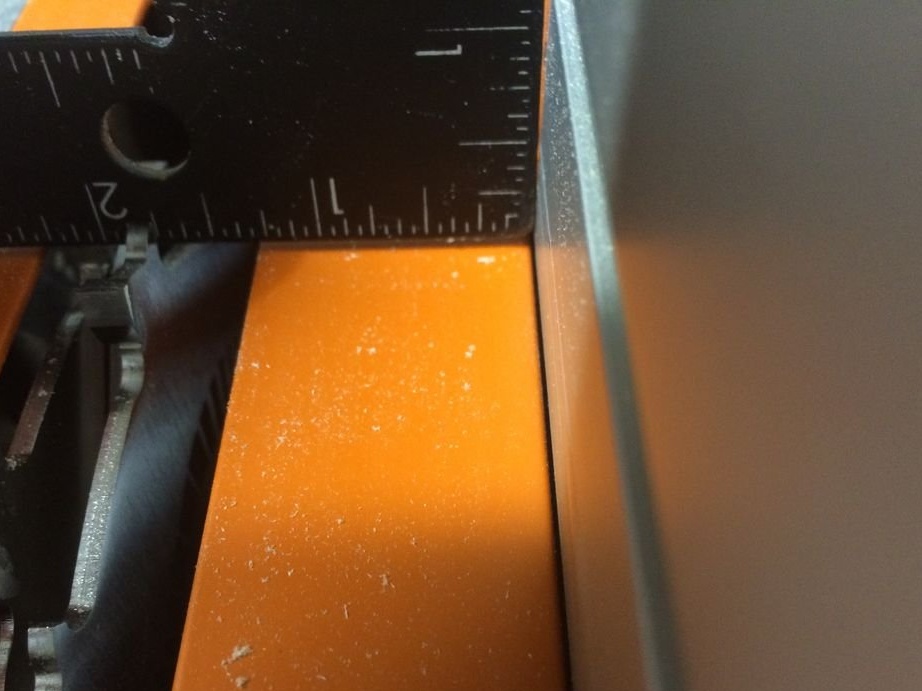
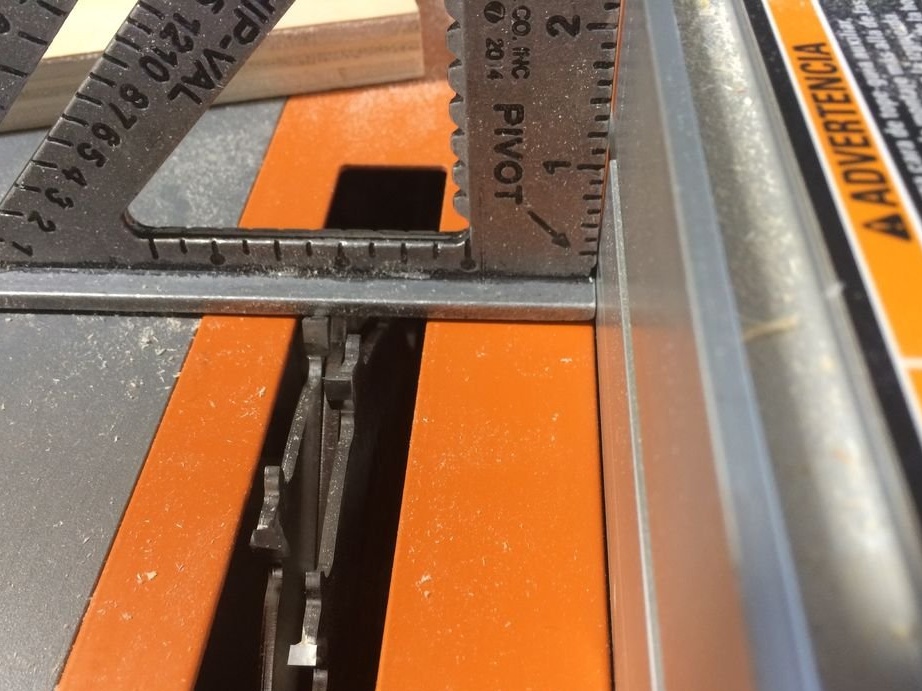
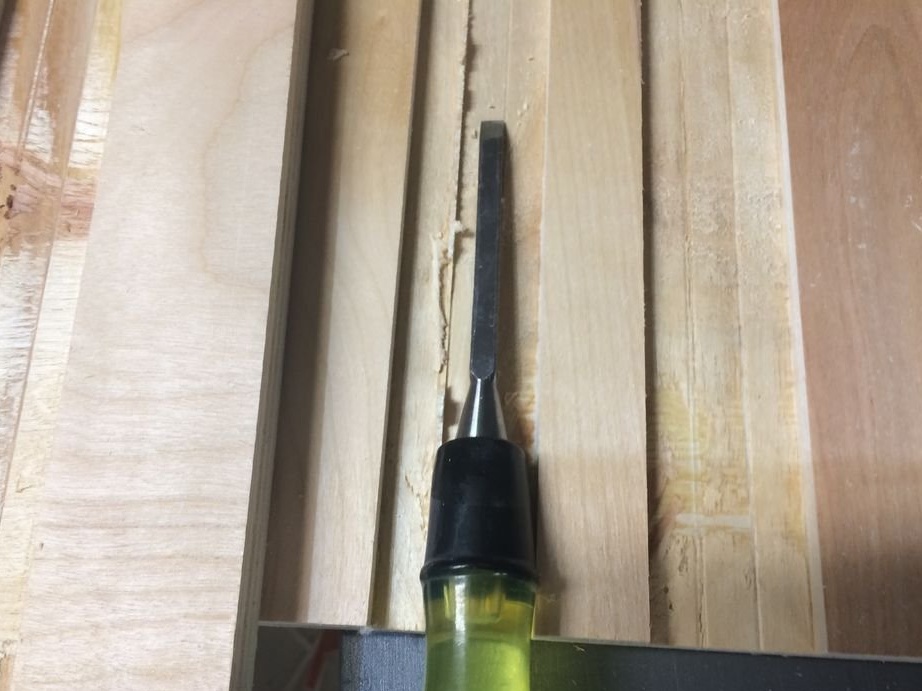
Width depends on the case. In one pass, you can’t make a guide, there is not enough disk width. Then the master makes two passes. After erupting the first guide, he cleans the groove with a chisel.
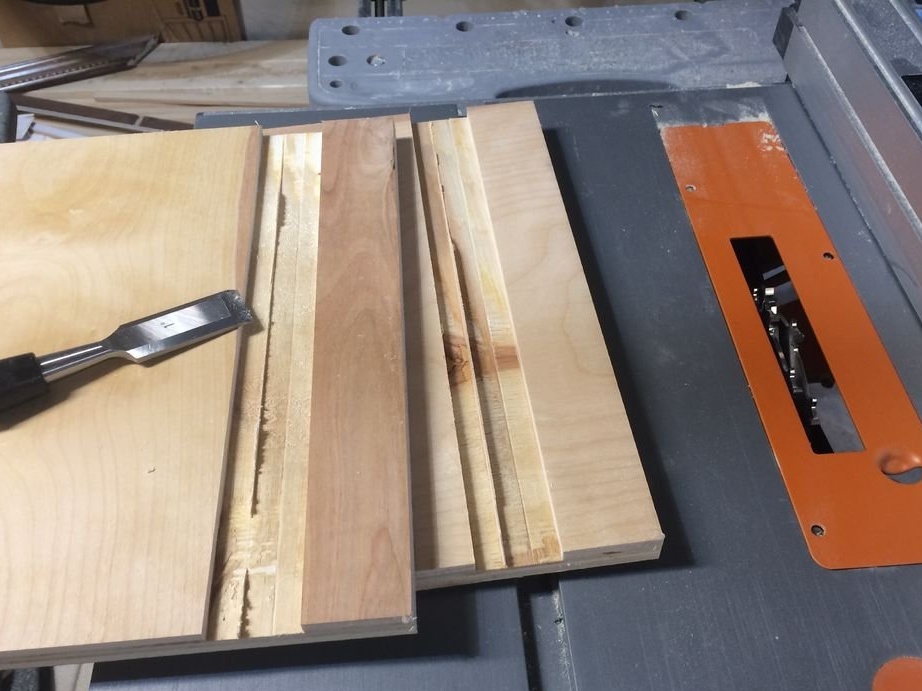
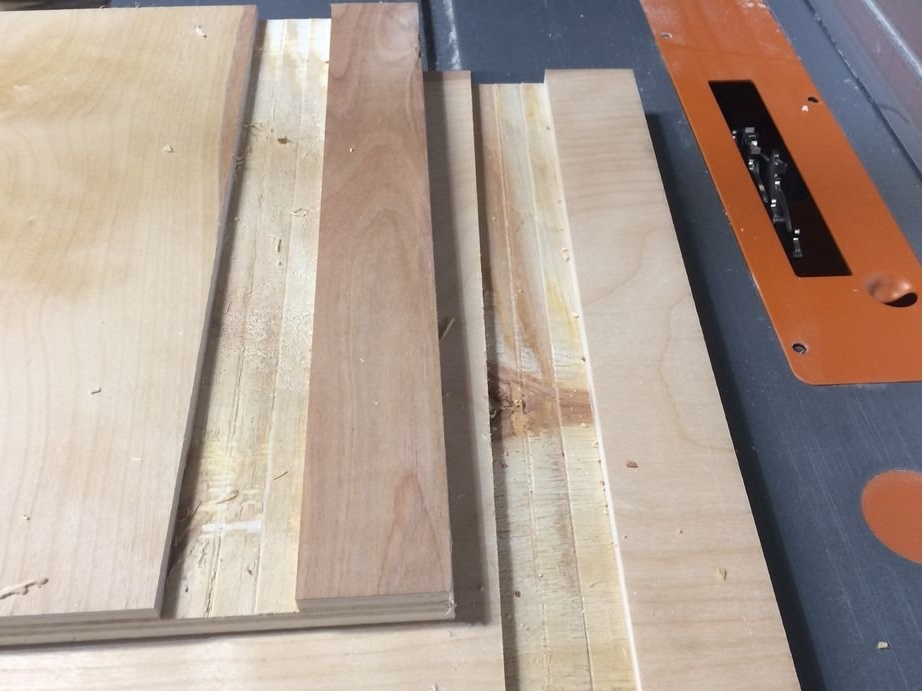
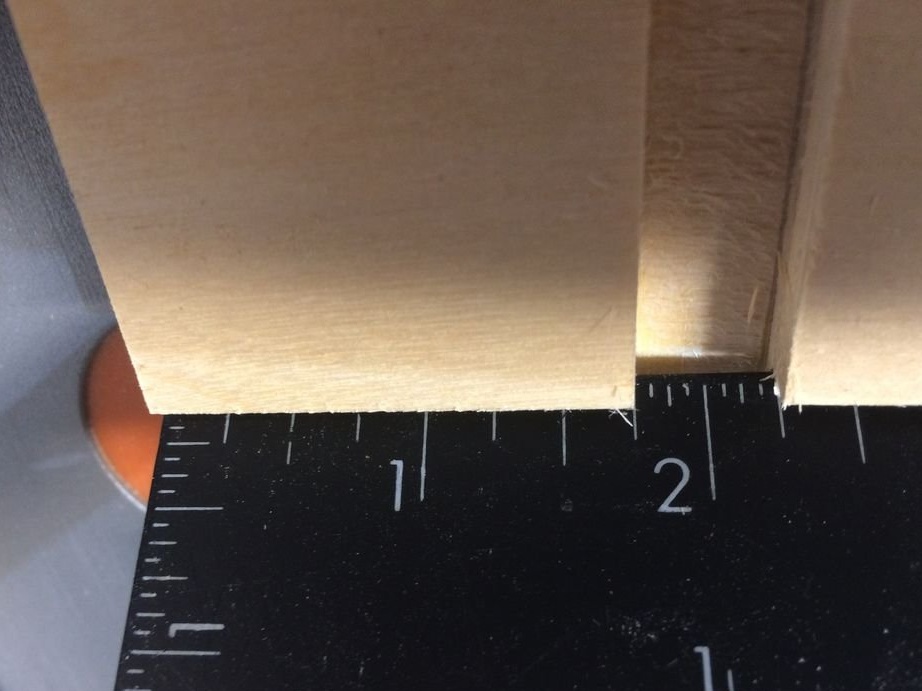
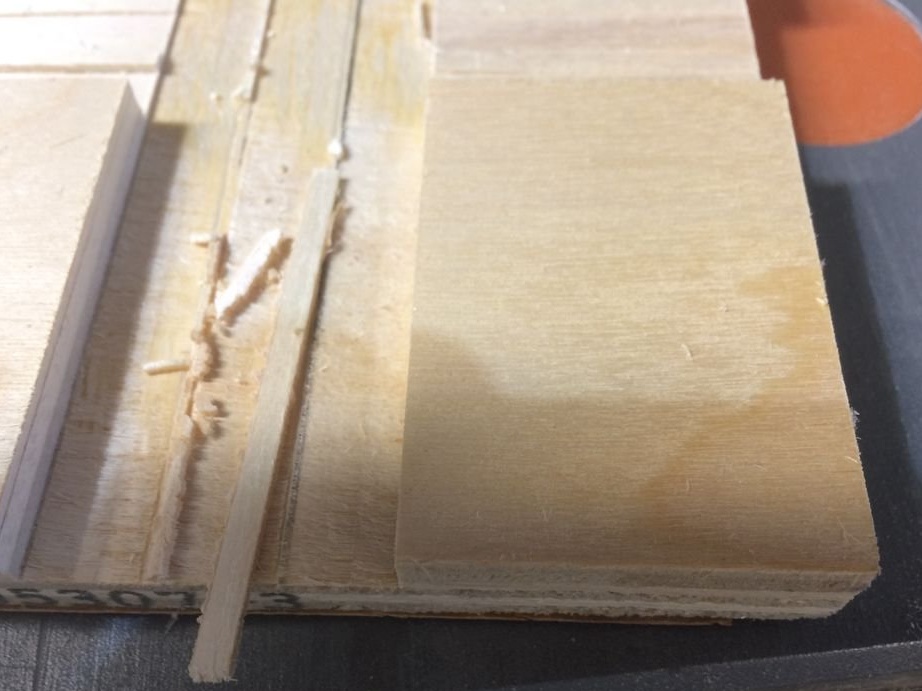
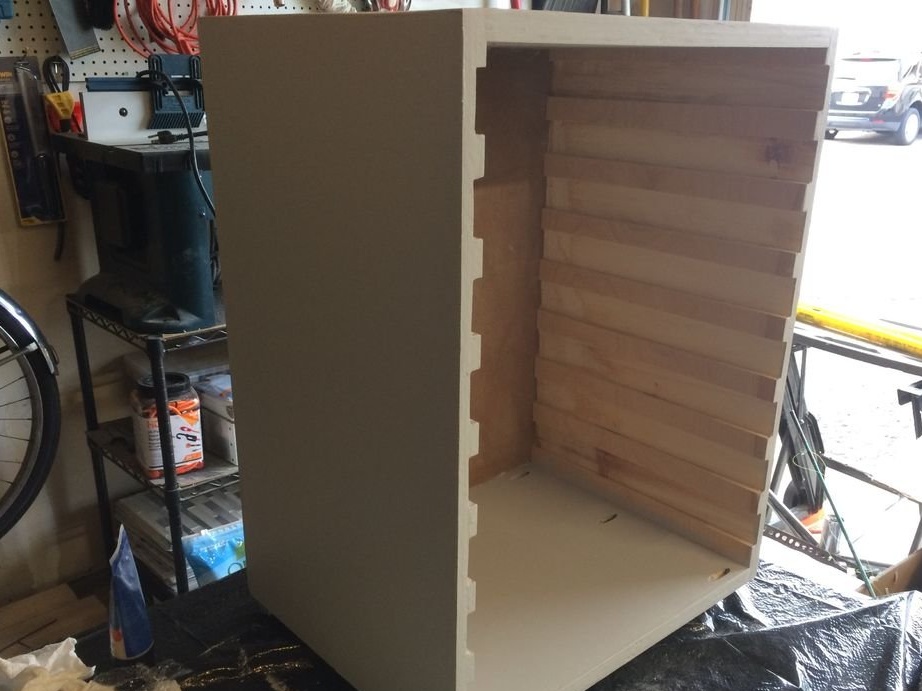
Stepping back makes a second guide.
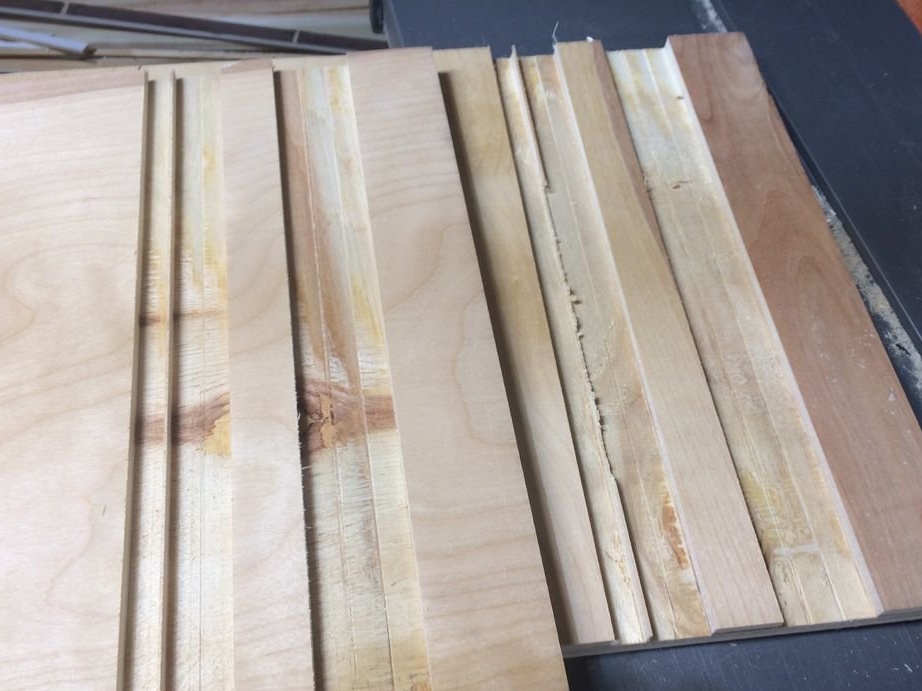
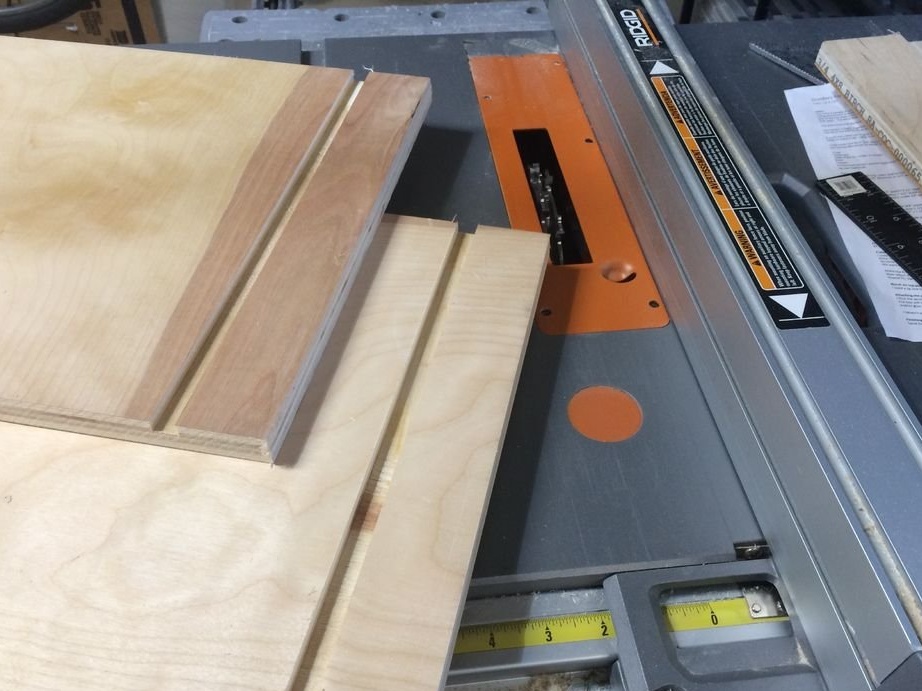
In total, eight guides must be made for each side.
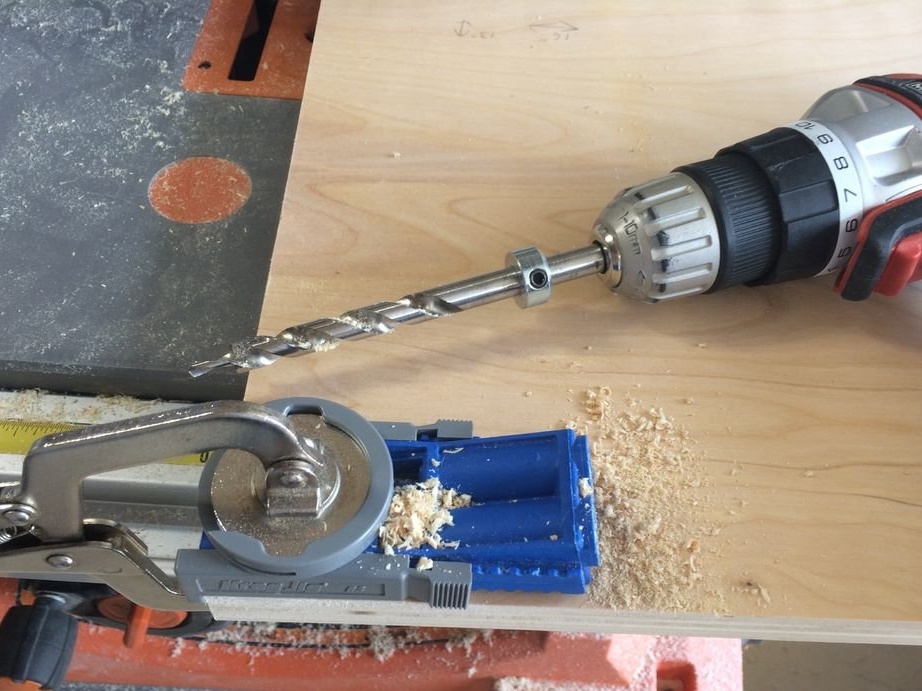
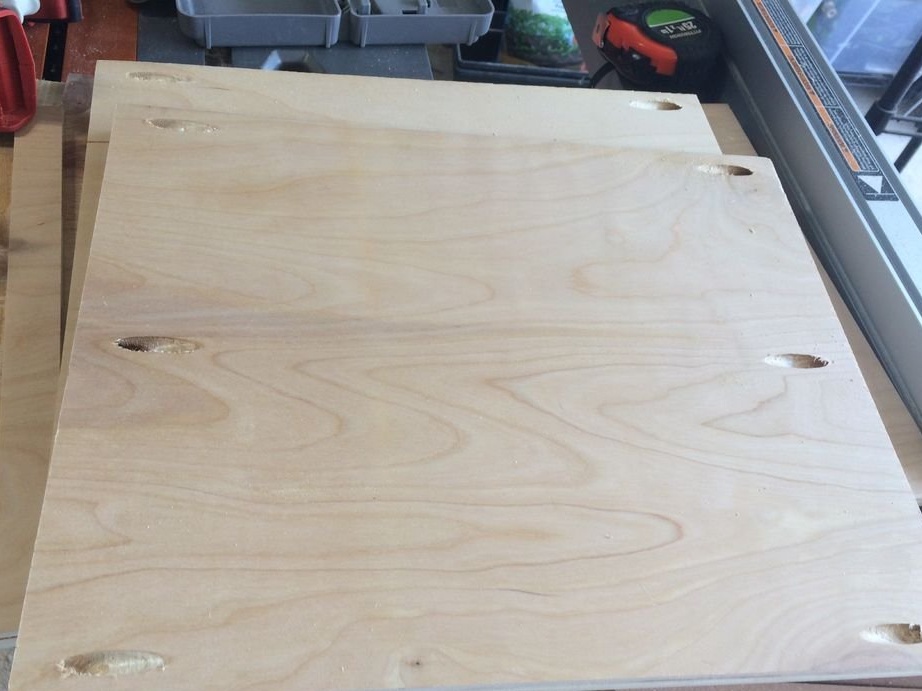
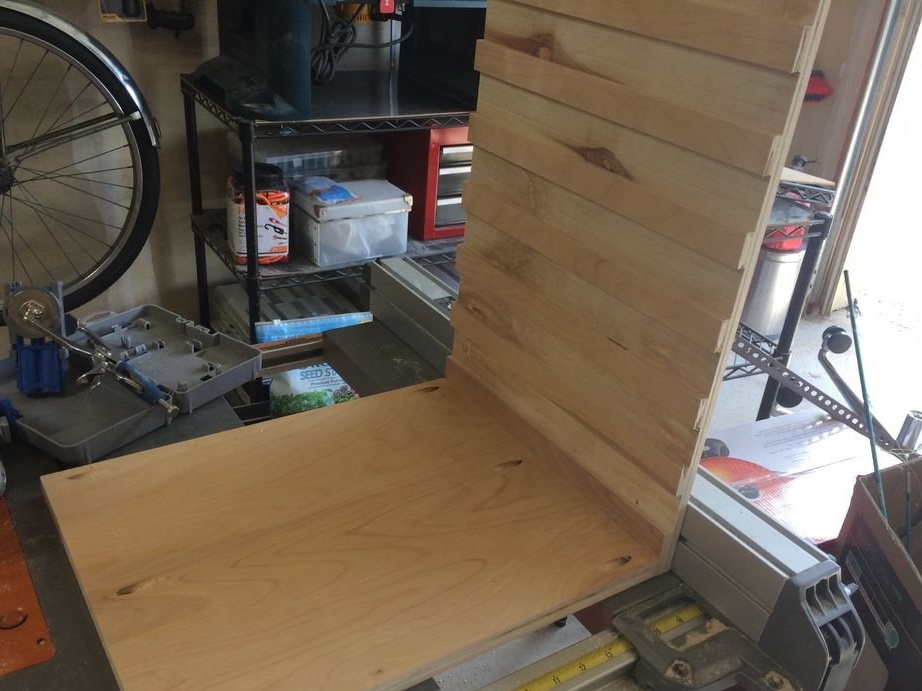
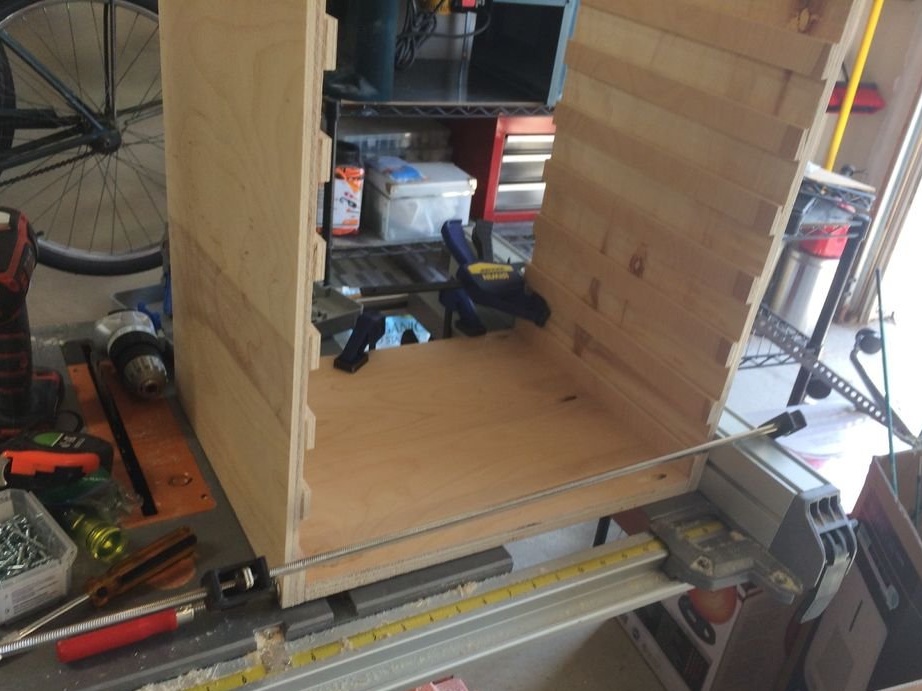
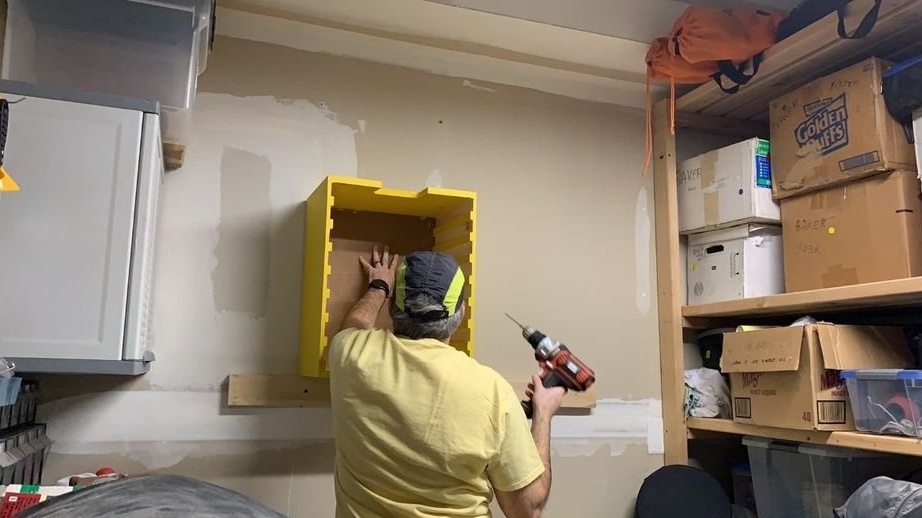
Step Three: Build
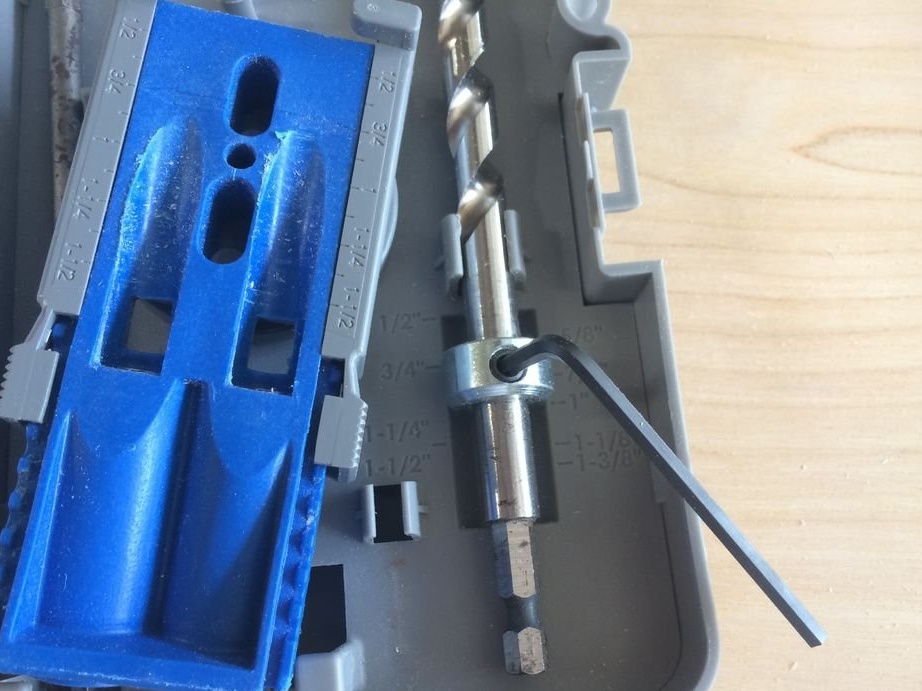
When assembling, the master uses carpentry glue and fasteners. Screw holes are drilled with using a jig.
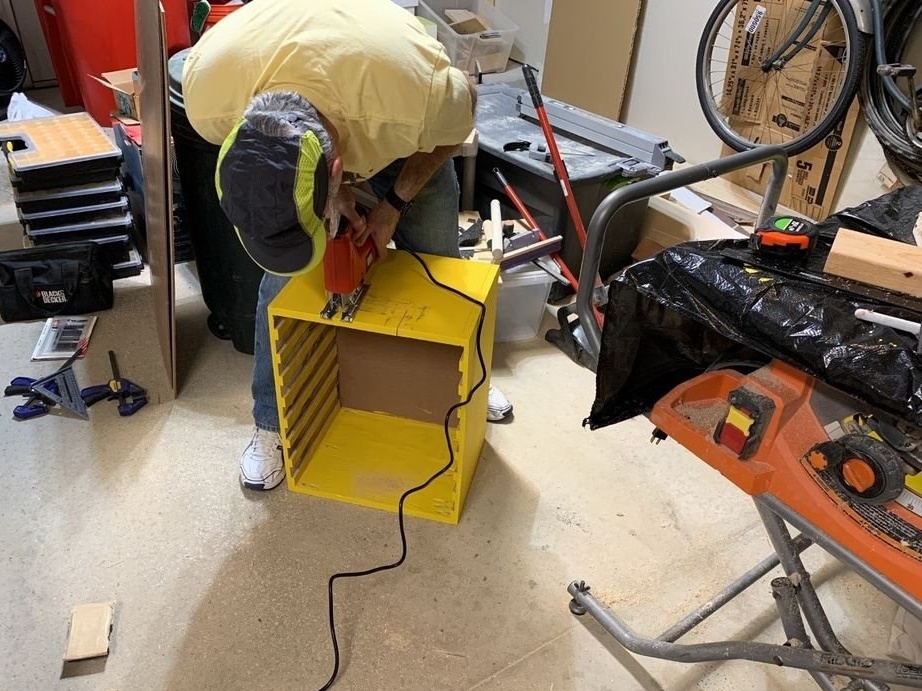
Step Four: Grinding and Painting
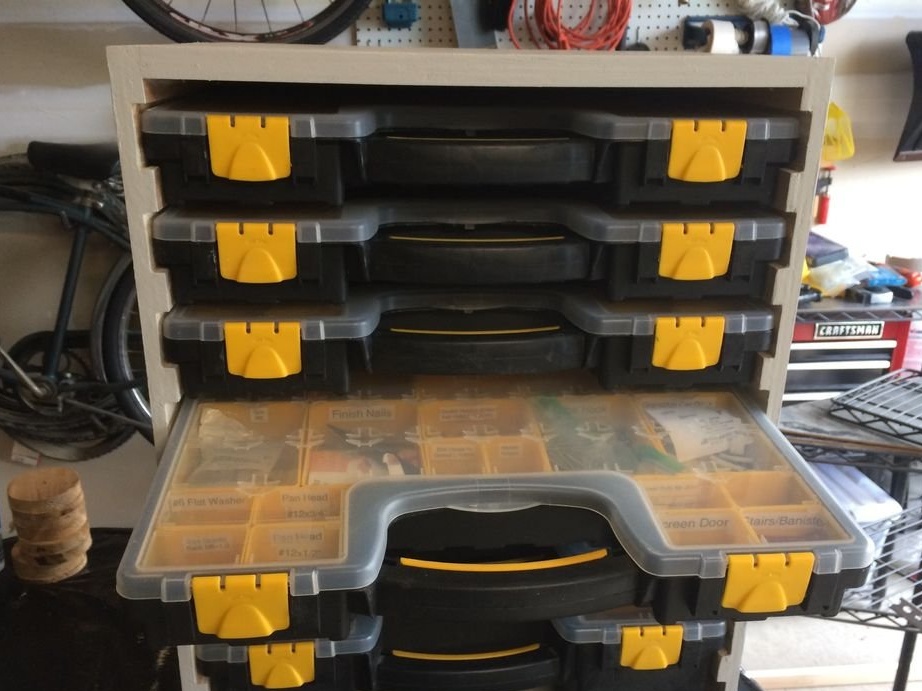
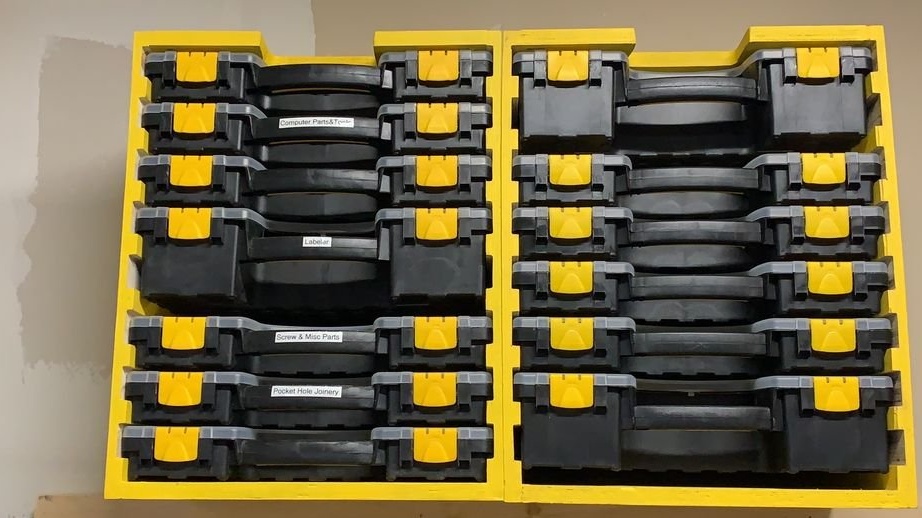
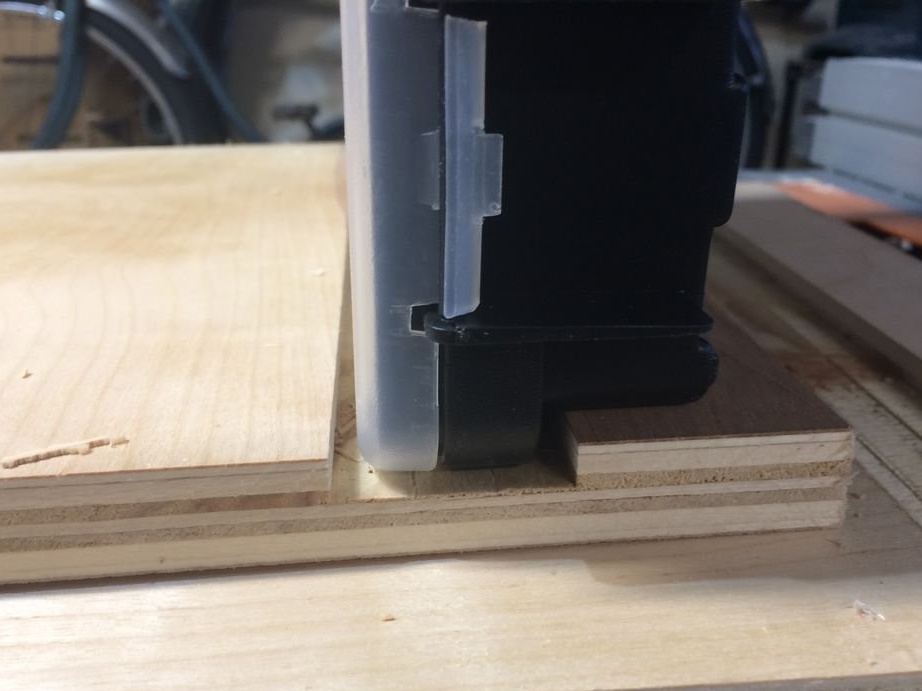
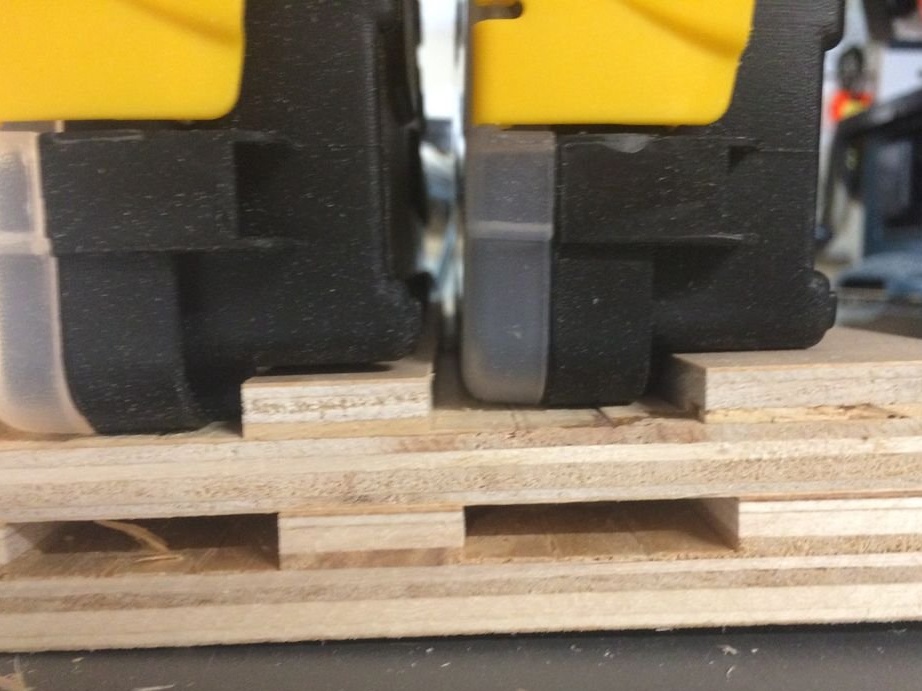
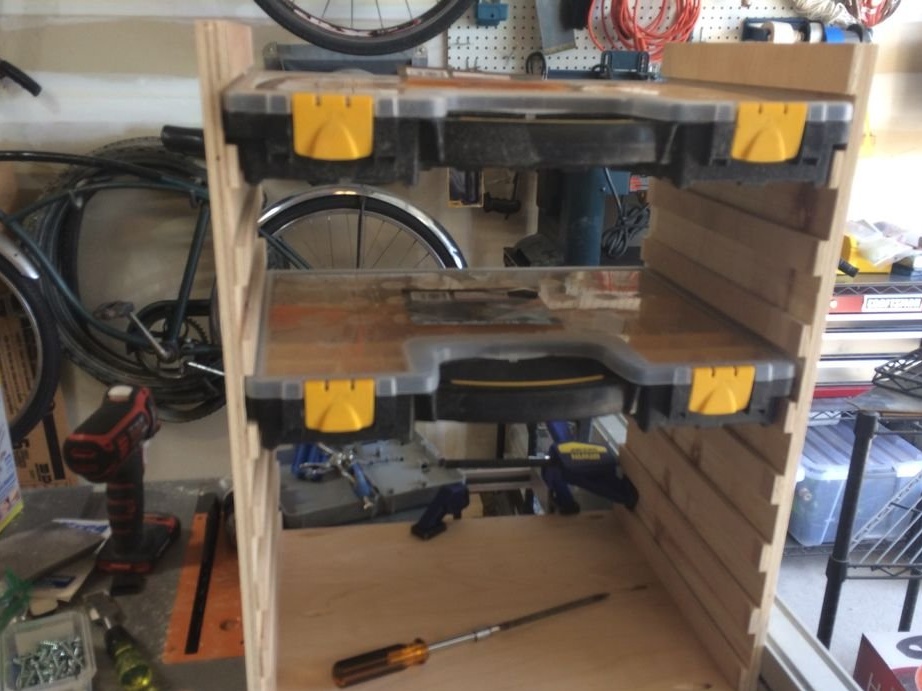
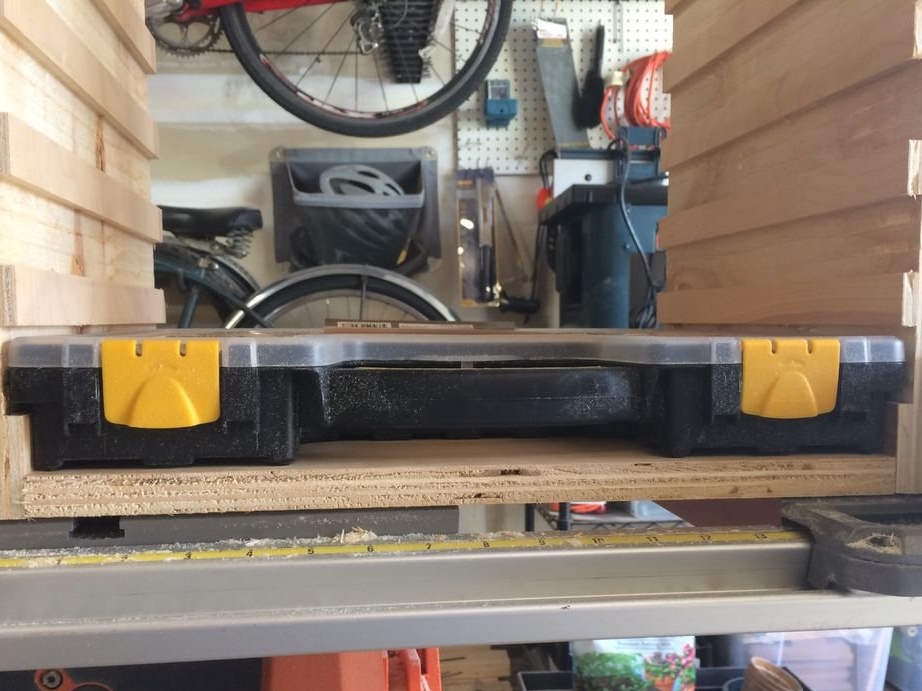
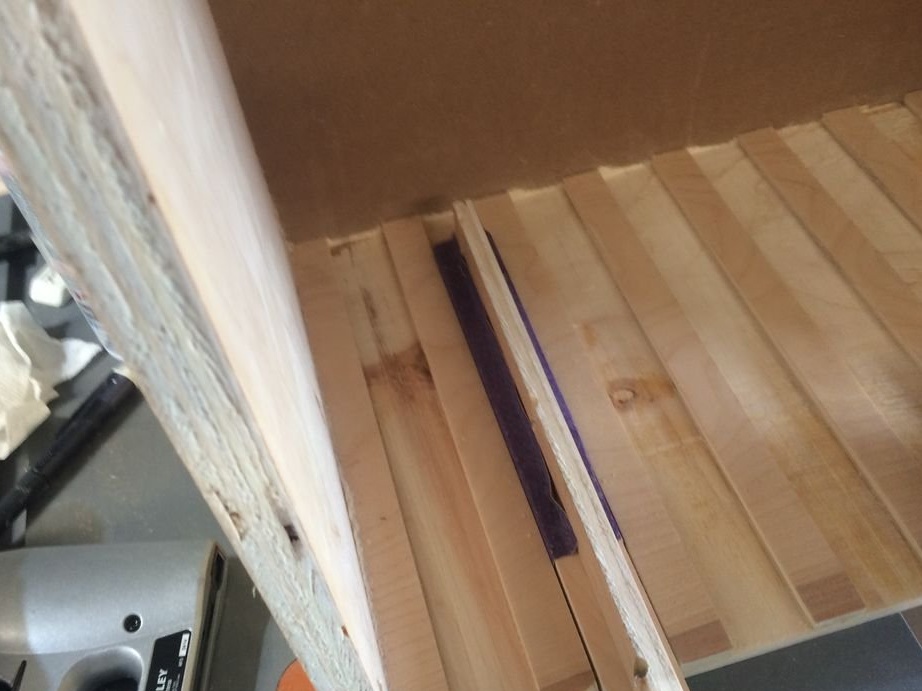
After assembly, the wizard sets the cases in each row and checks how easily they slide along the rails.

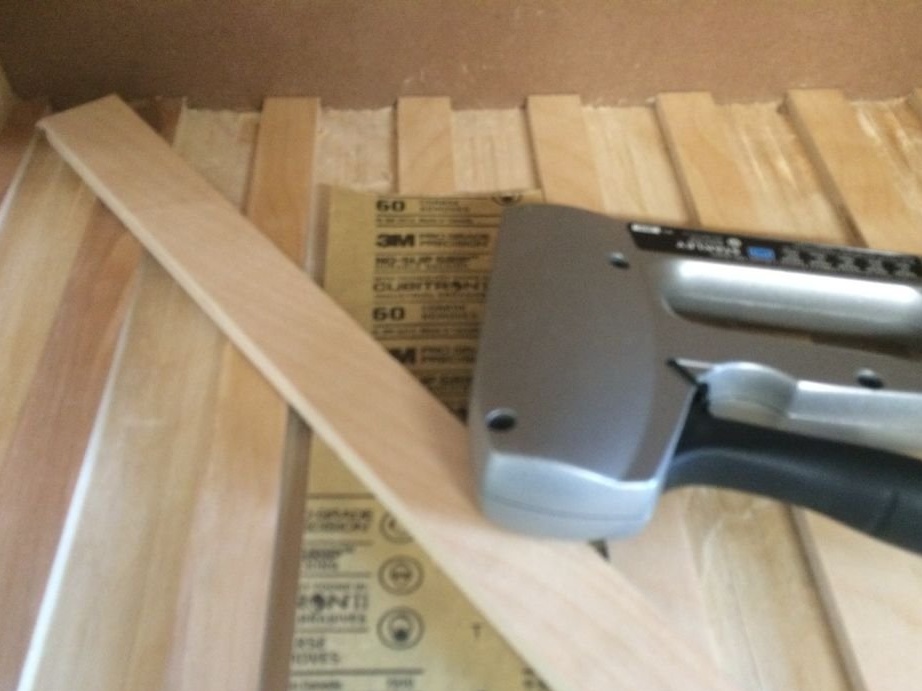
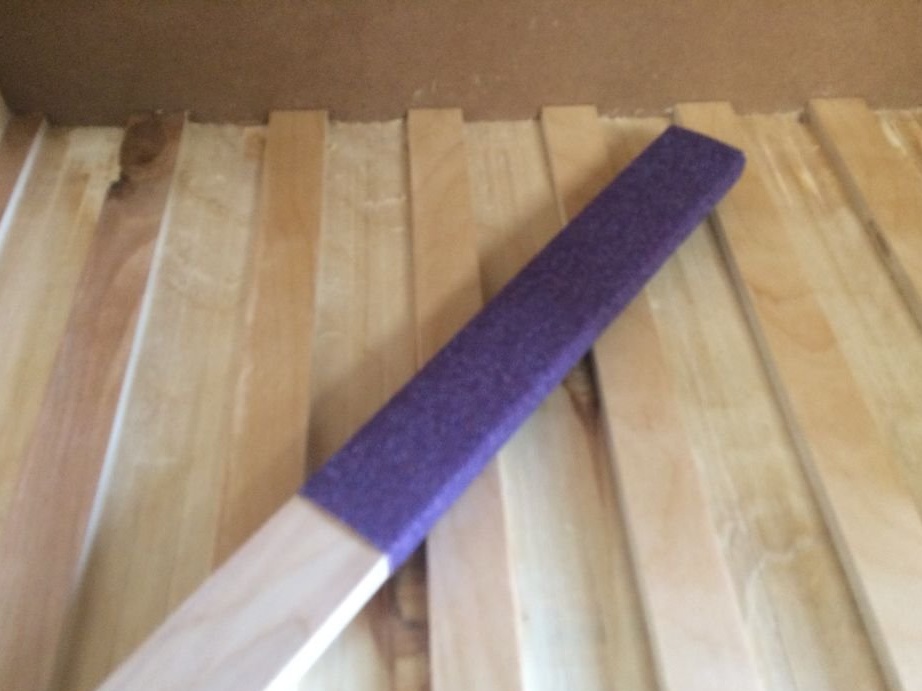
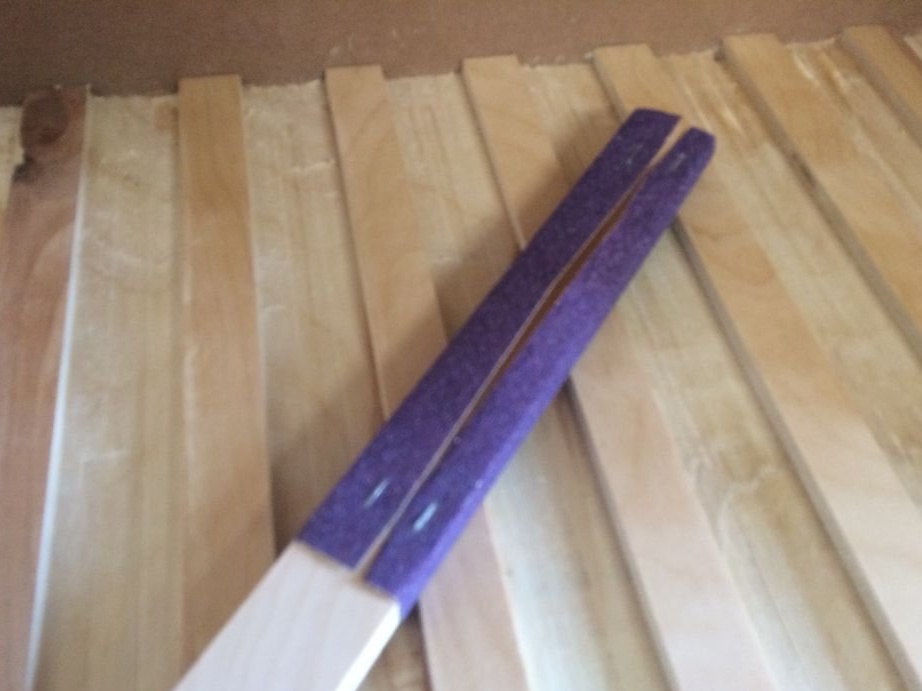
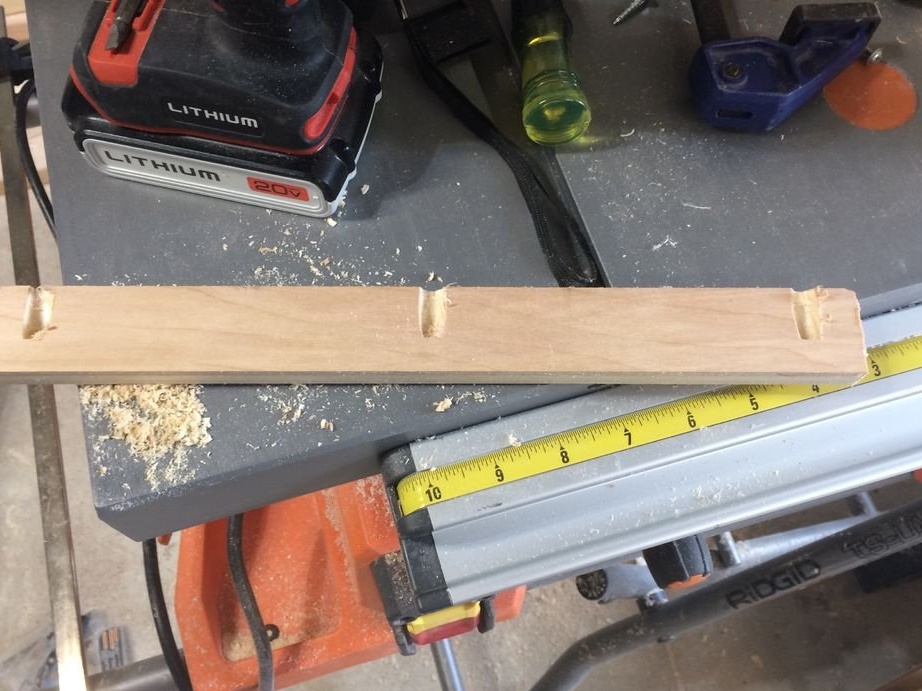
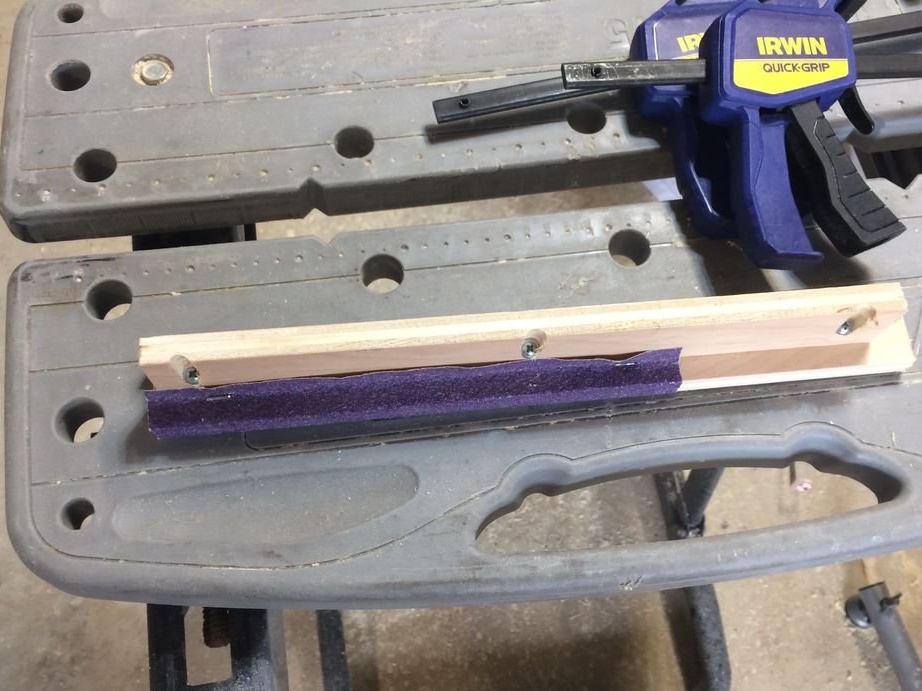
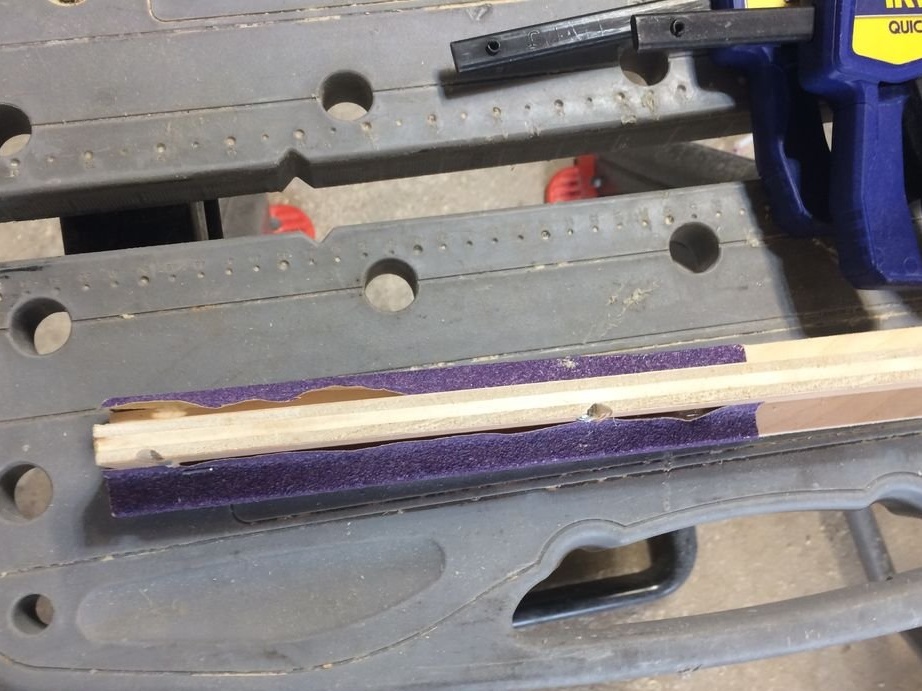
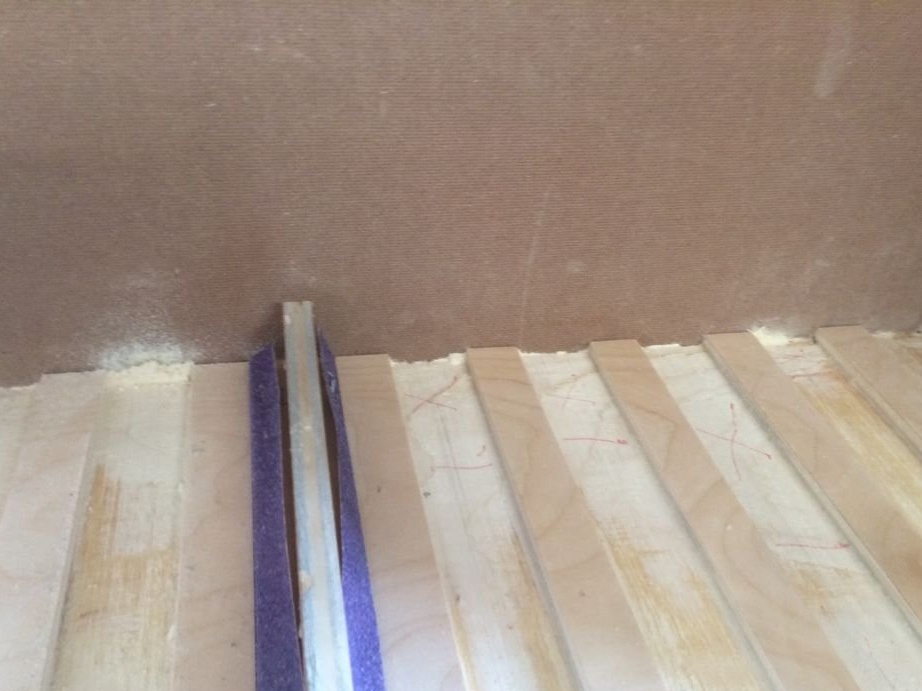
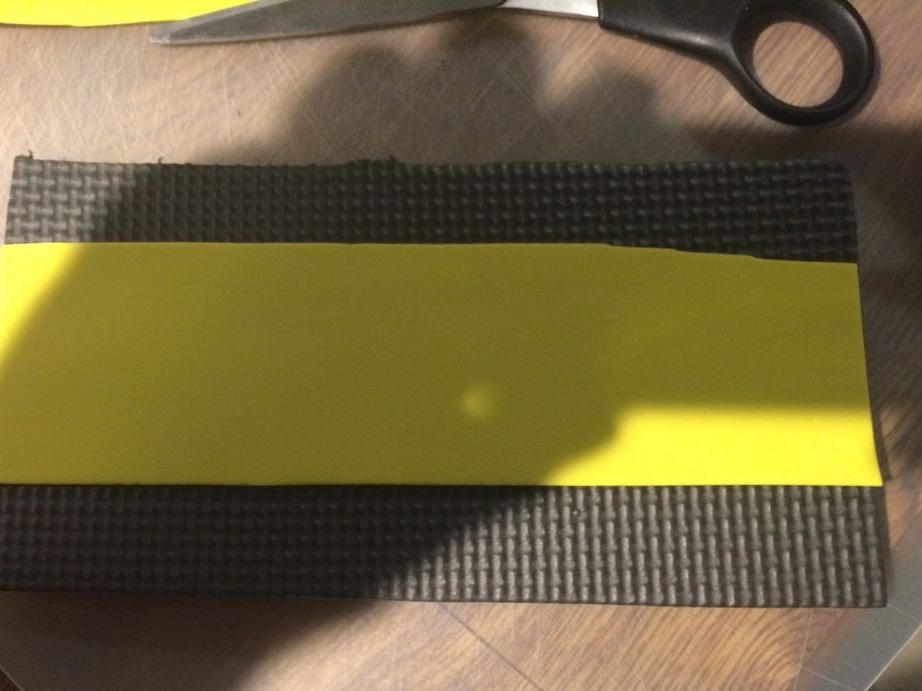
If necessary, some guides must be sanded. For grinding, a strap is used, slightly less than the width of the guide, with fixed sandpaper.

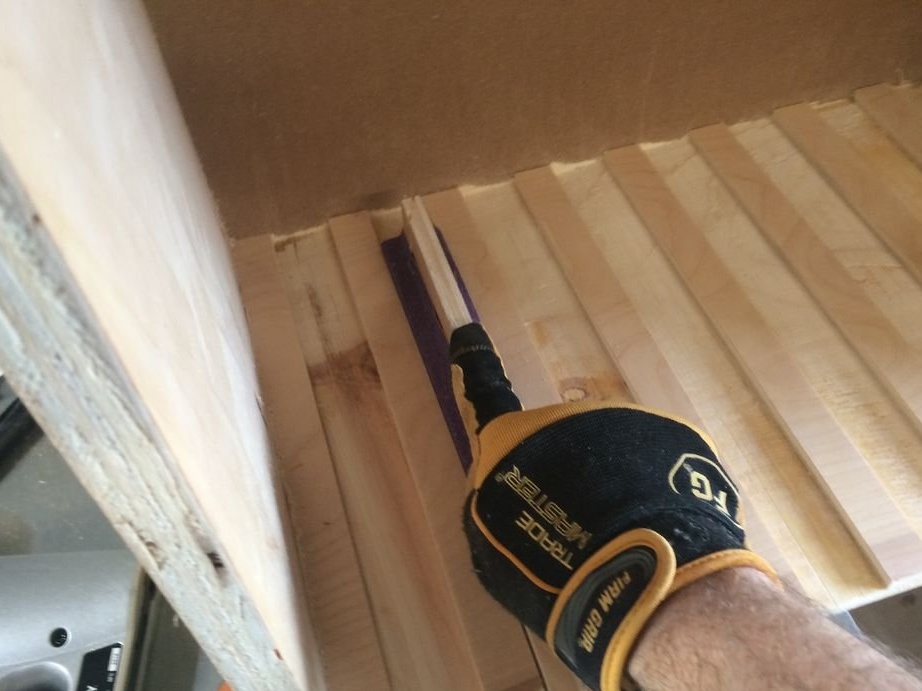
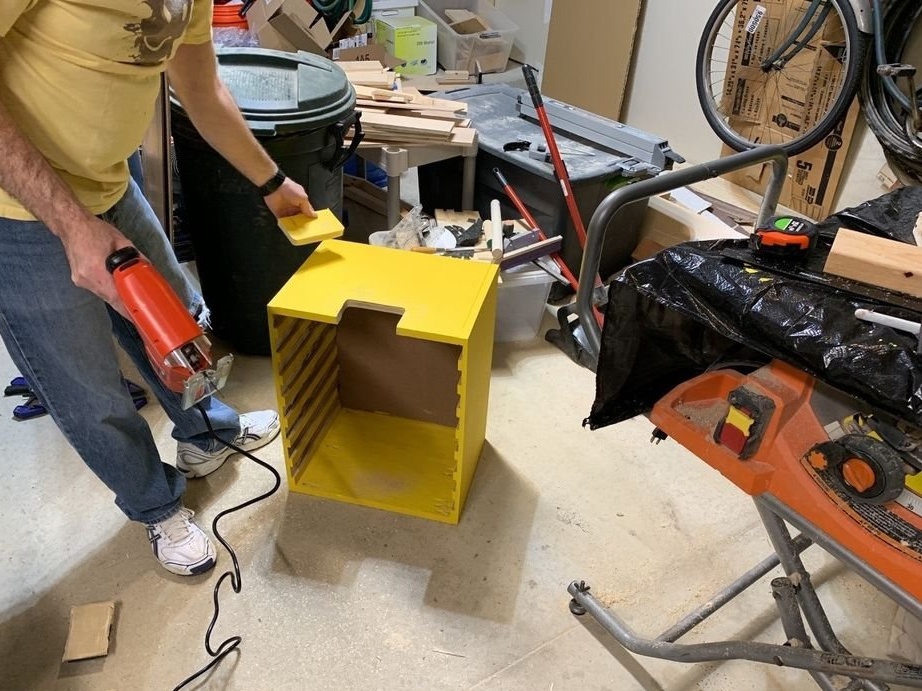
Then the master spills problem areas. Grinds completely the entire surface of the shelves.
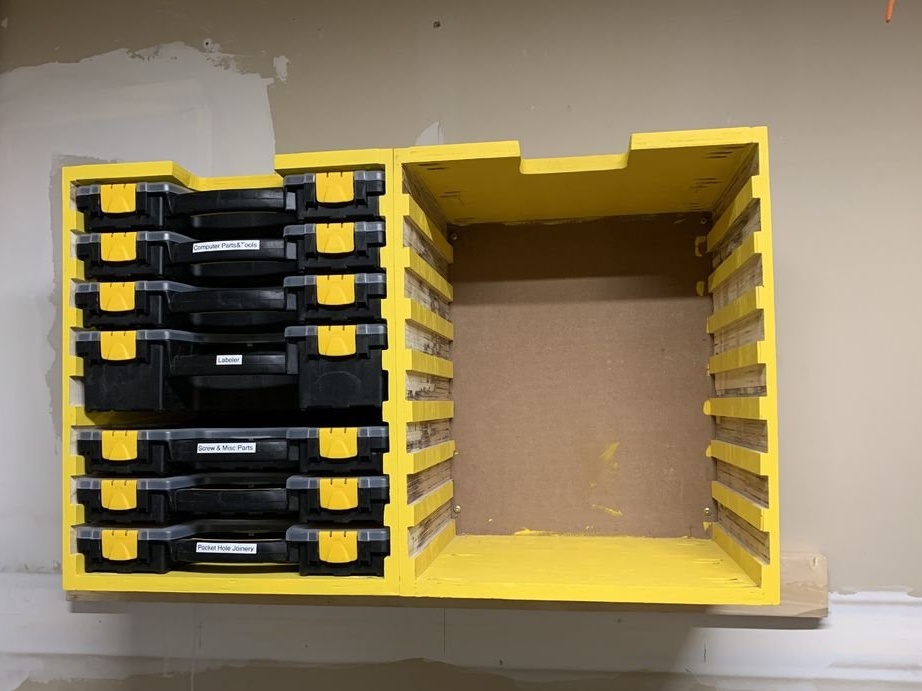
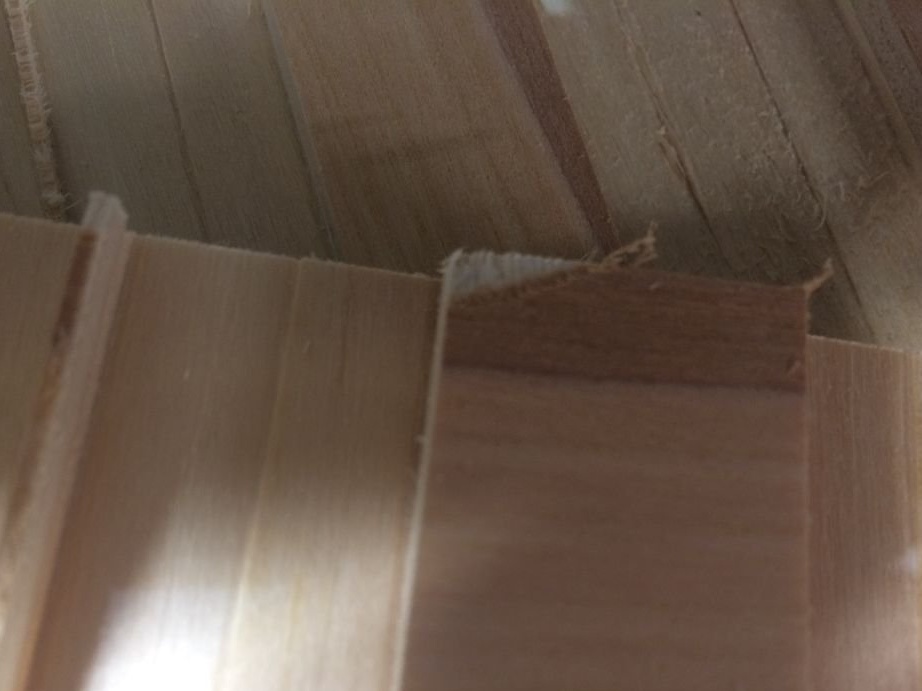
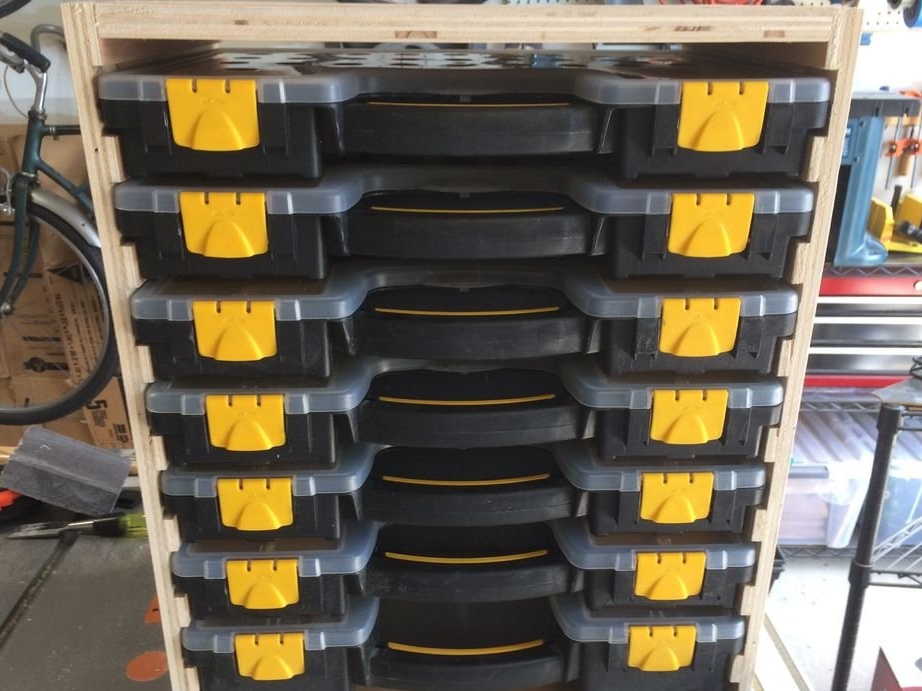
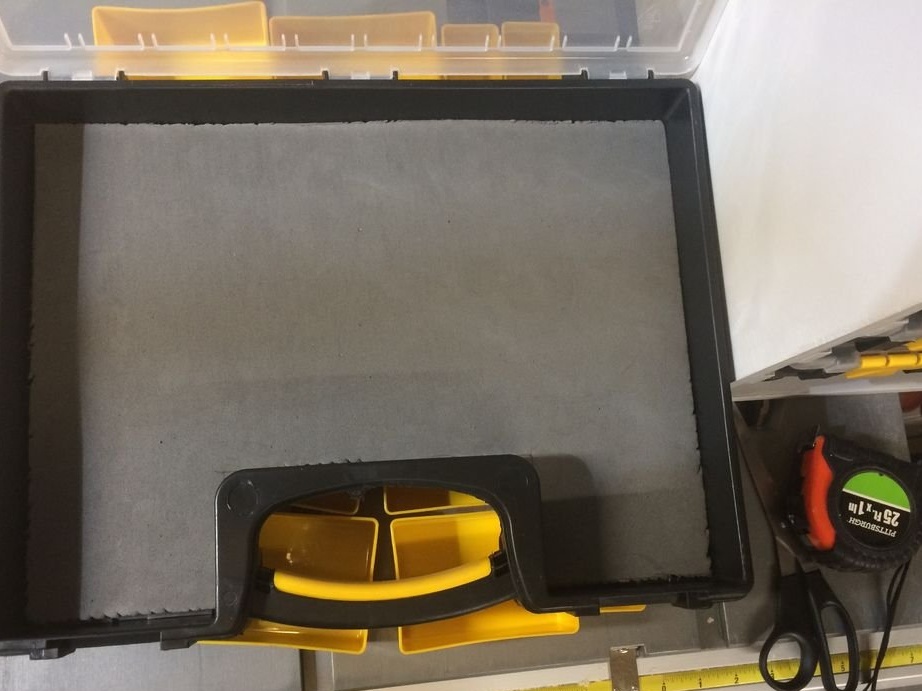
A cutout is made at the top. This is to make it convenient to grab the handle of the upper case. Paints shelves.
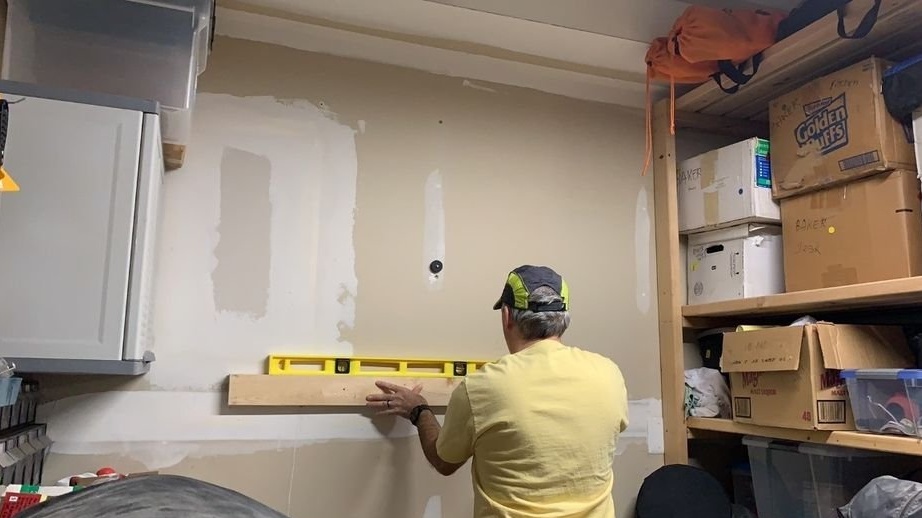
Step Four: Installation
Now you can fix the shelves on the wall.
Step Five: Branches
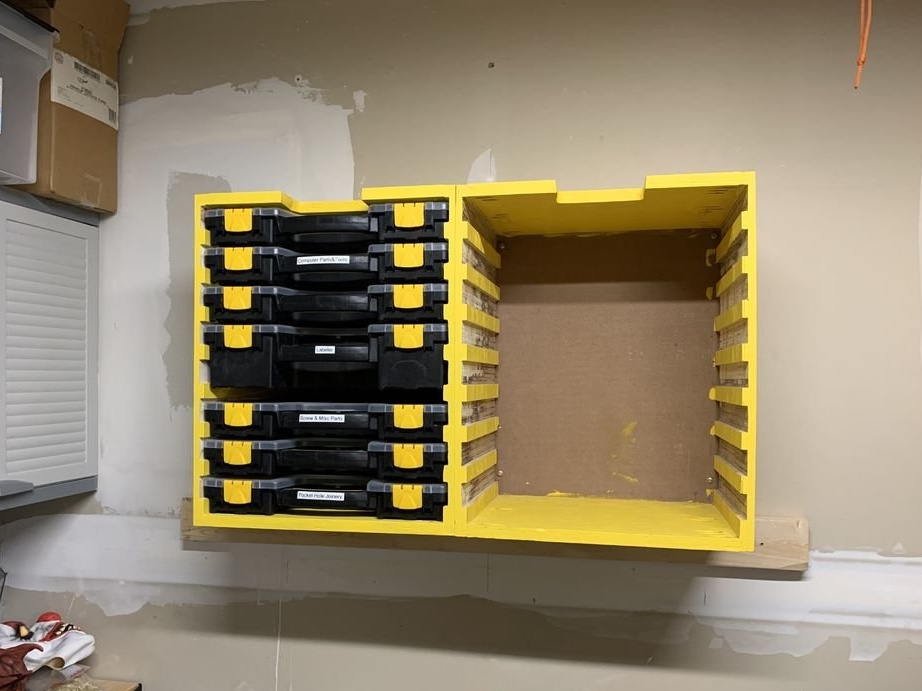
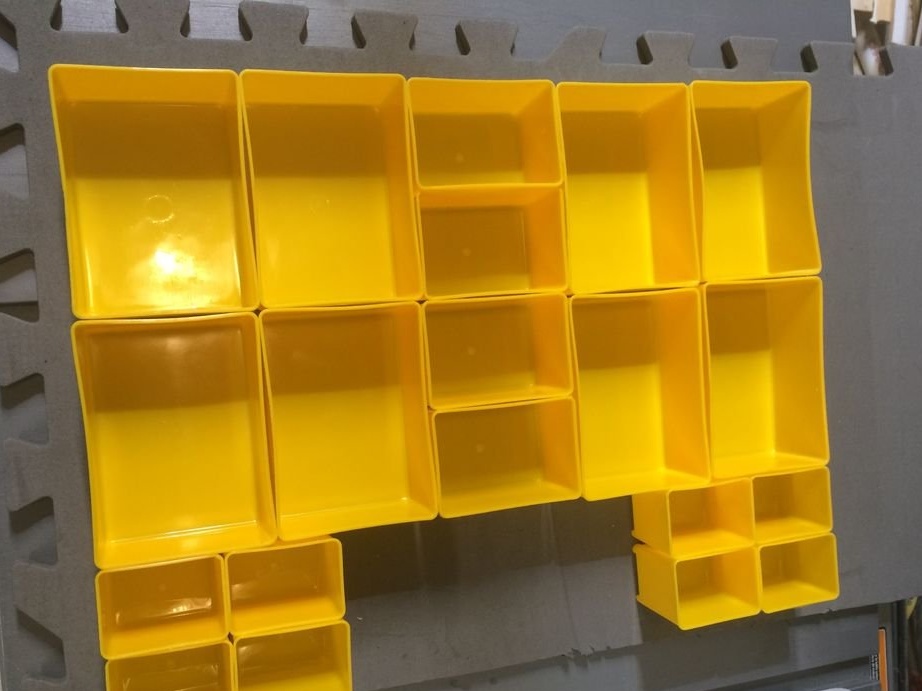
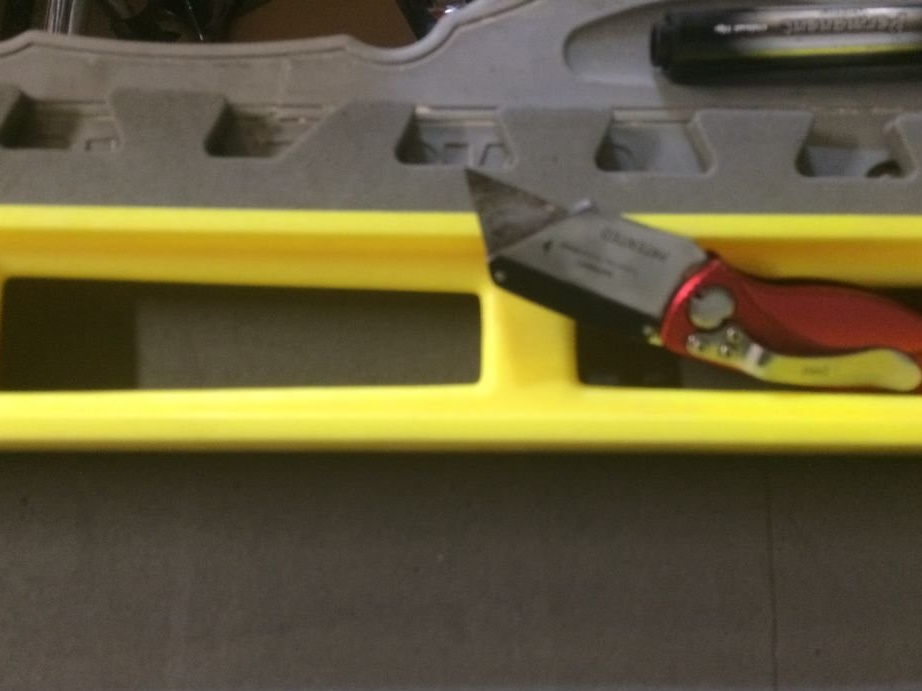
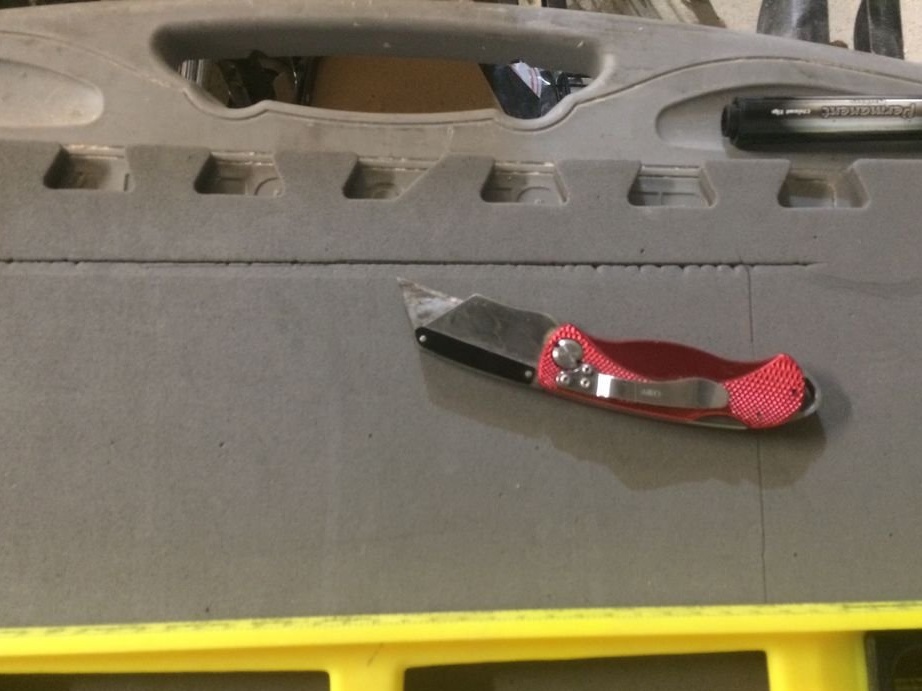
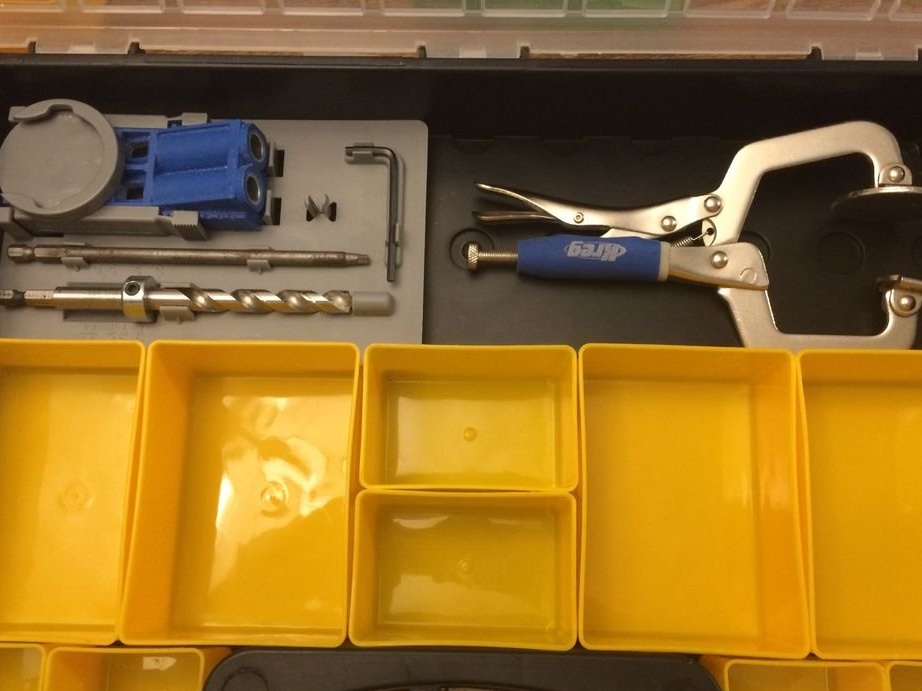
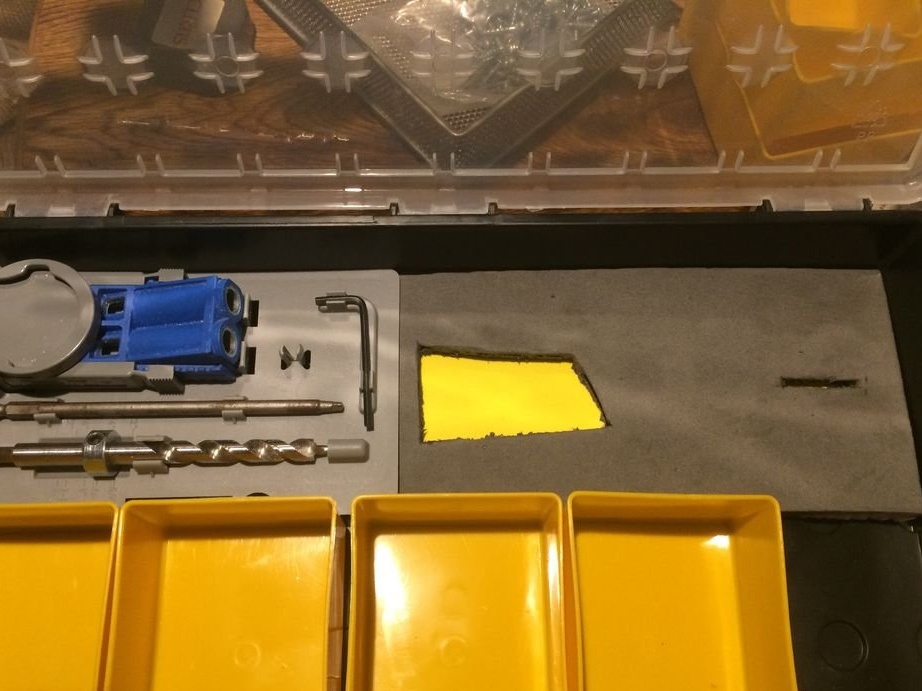
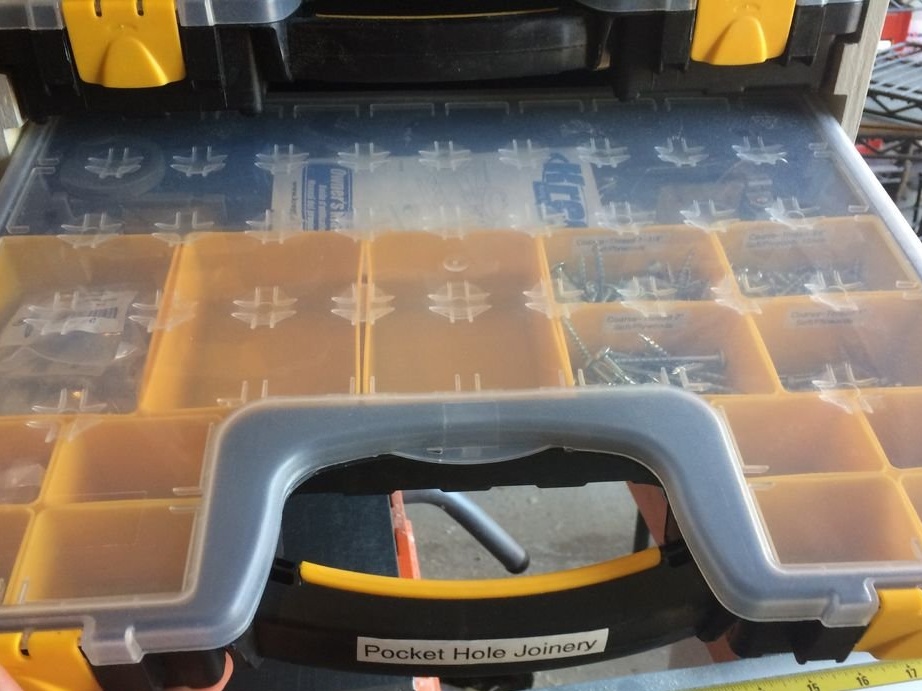
Inside the boxes are hollow.To place various fasteners, spare parts, tools in them, the master installs plastic containers of a suitable size inside, and cuts out cells for the tool from the substrate.
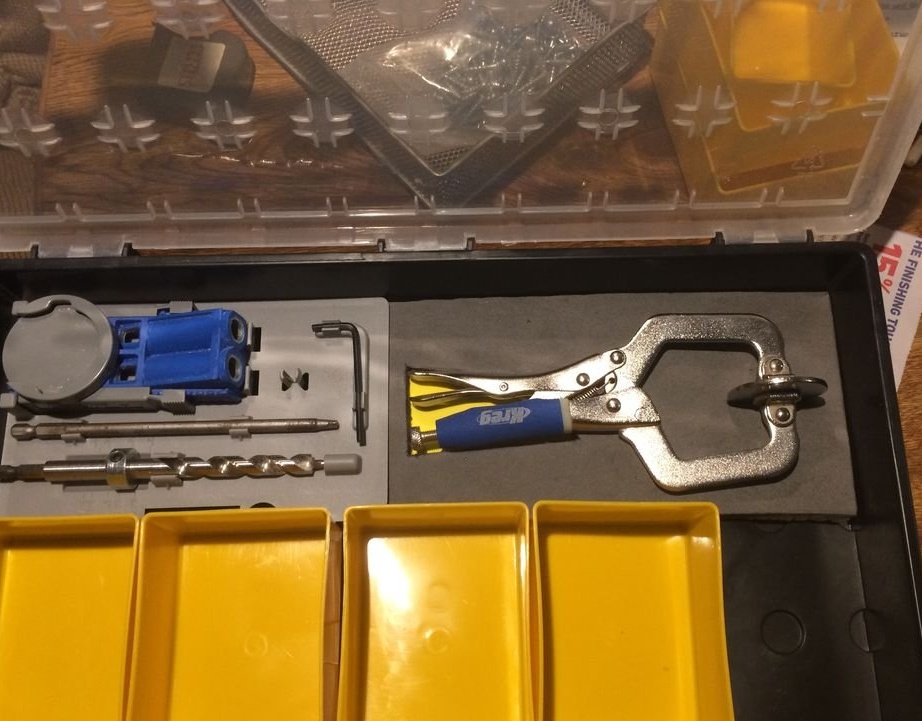
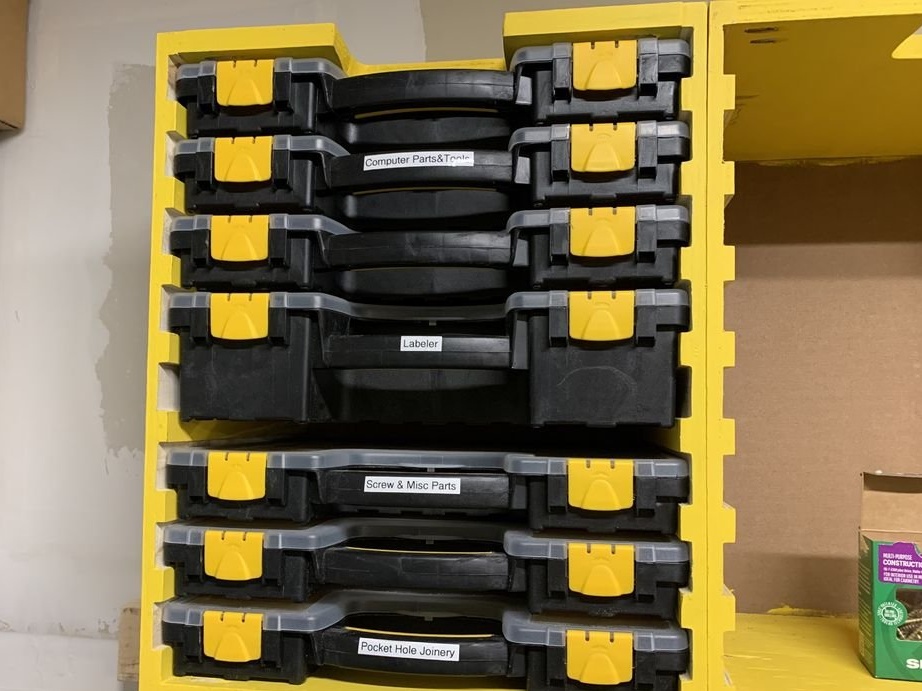
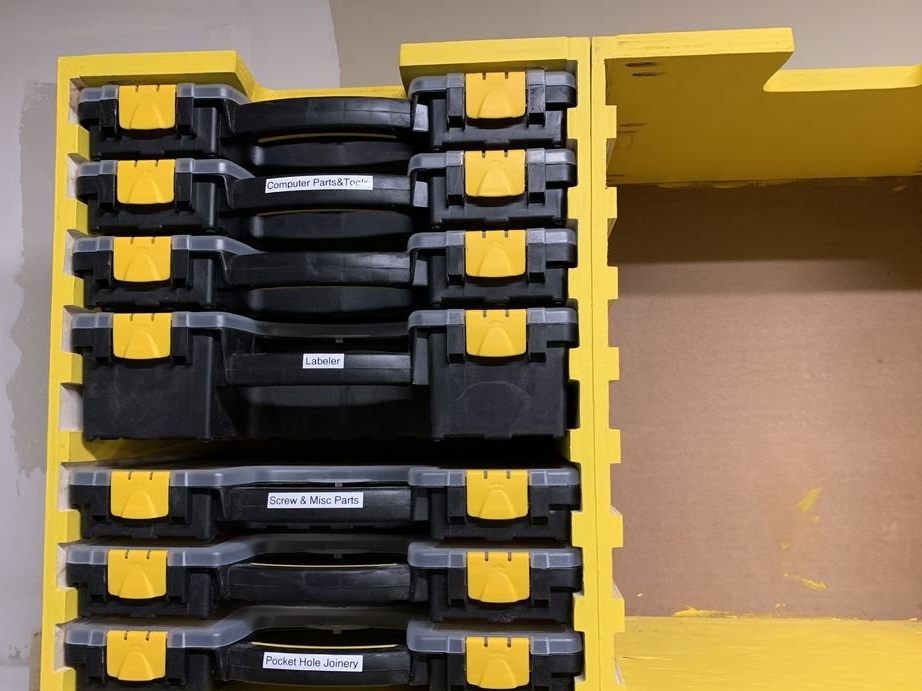
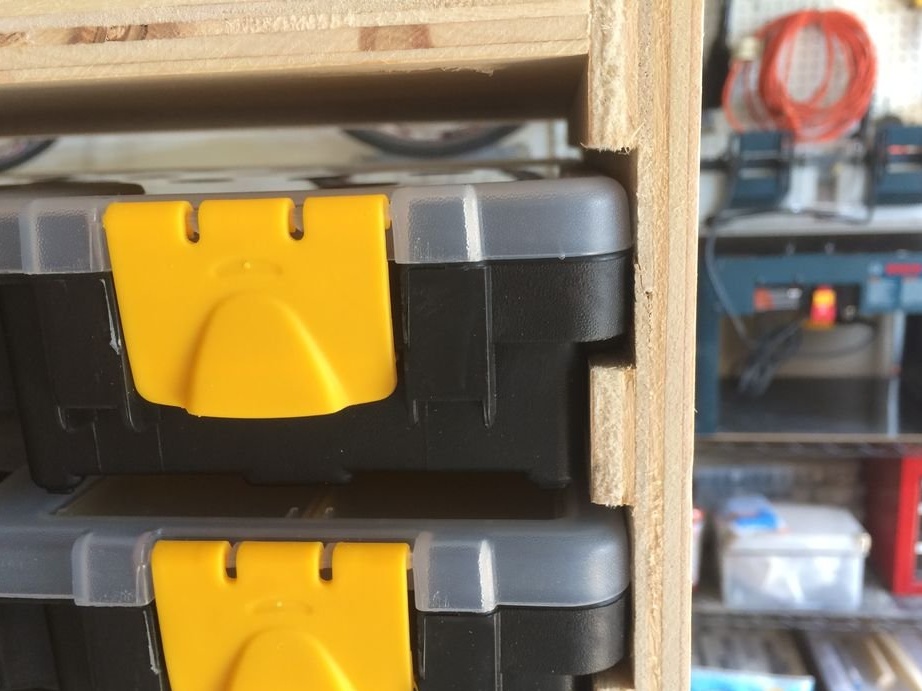
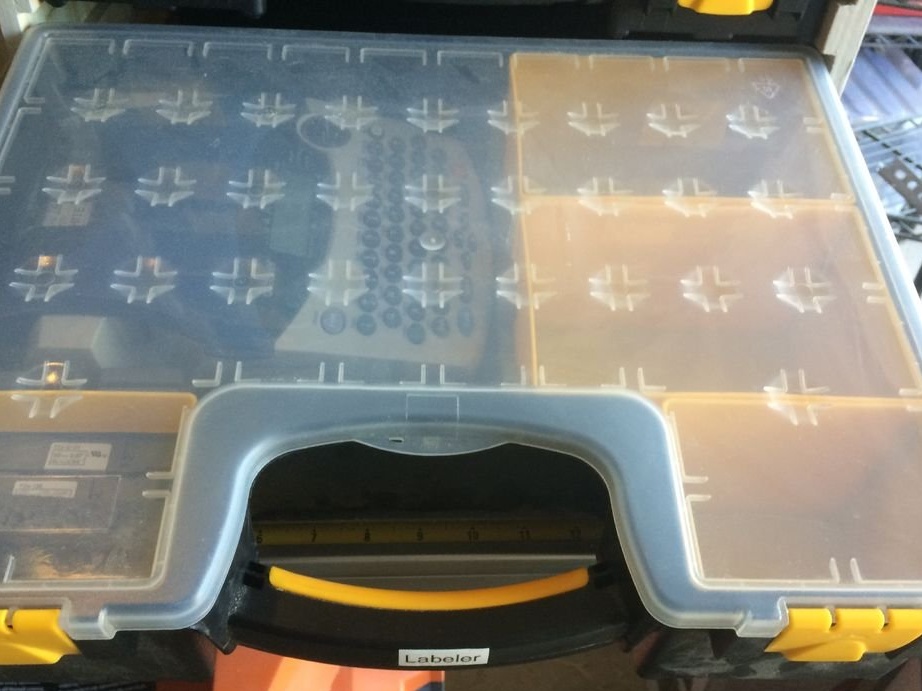
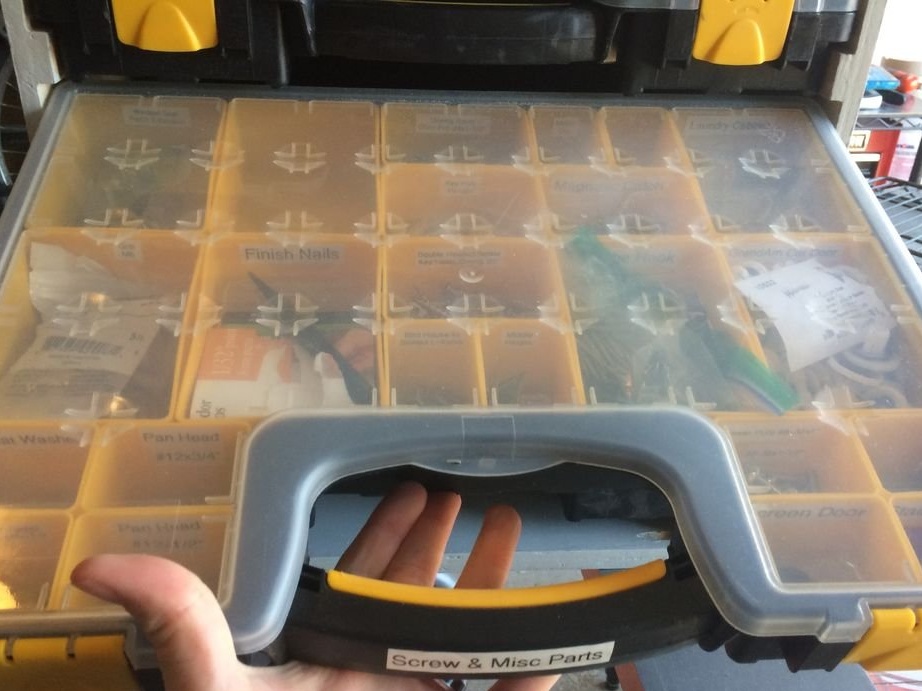
On the handle of each case sticks an information sticker indicating the contents of the case.

All is ready.
The whole process of making such a shelf can be seen in the video.