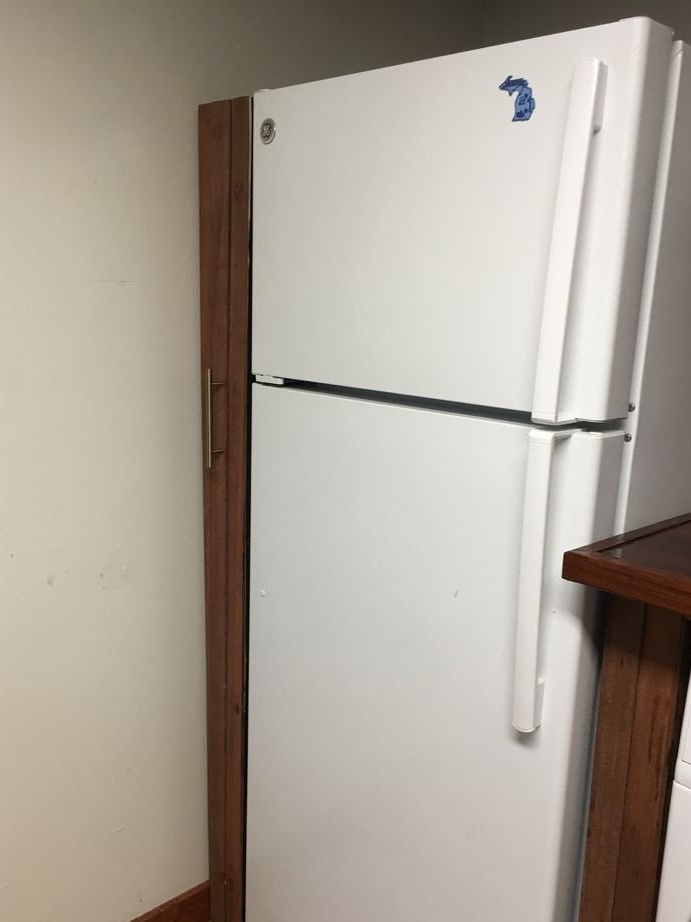

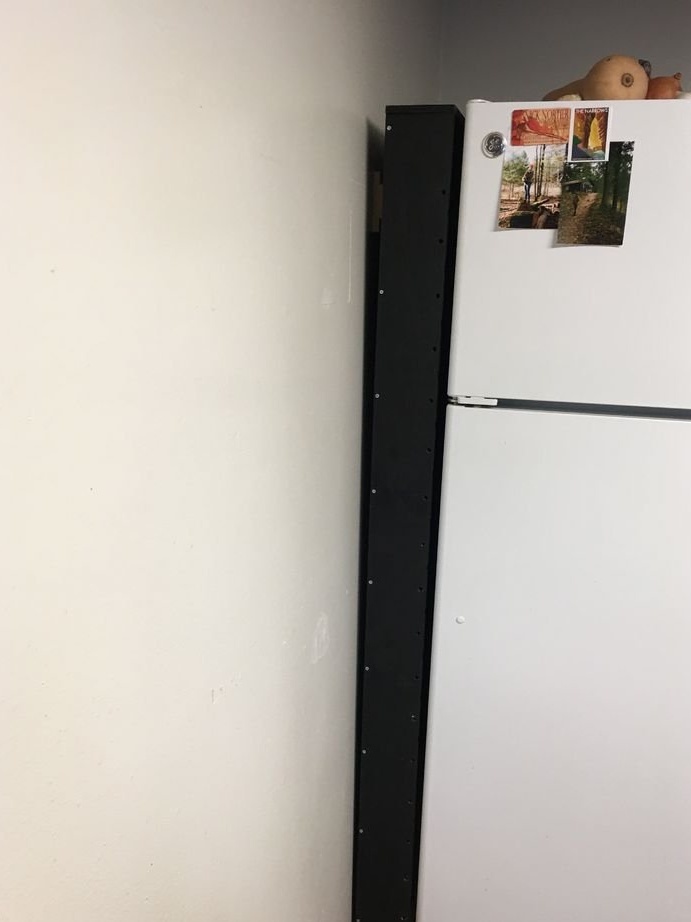
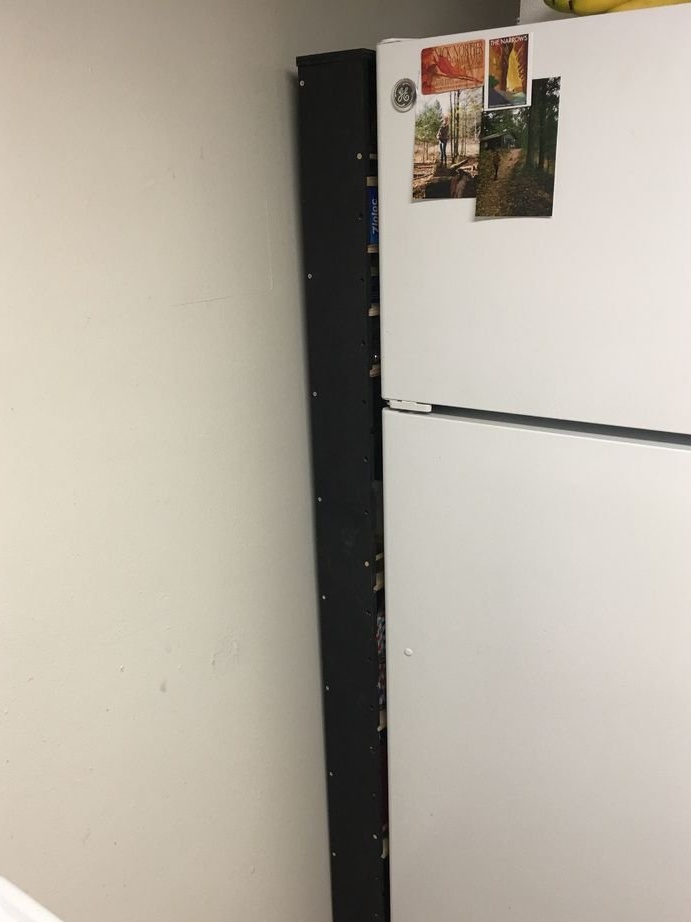
In this article, the wizard will tell us how he optimized the space behind the wall of the refrigerator. A pull-out shelf is the best option for such a small space.
Tools and materials:
-Plywood;
-Fasteners;
-Board;
- dowels;
-Paint;
-Brush;
- Rollers - 2 pcs;
- Guides for drawers;
-A circular saw;
- Clamps;
-Drill;
Milling cutter;
-Glue;
-Computer with software;
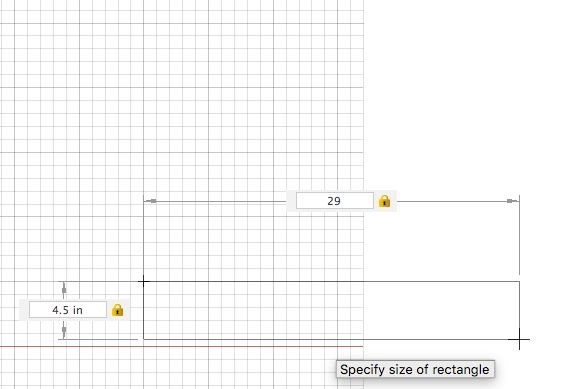
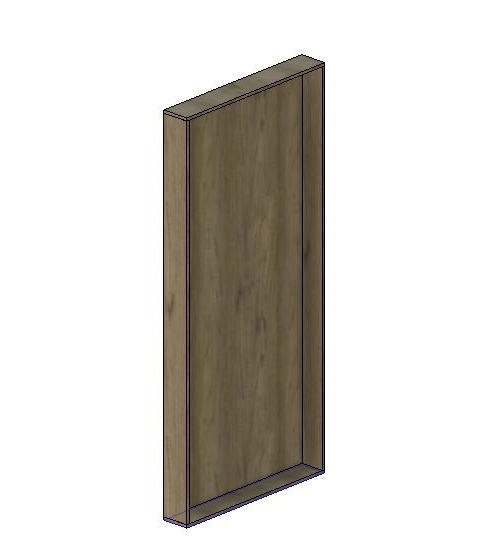
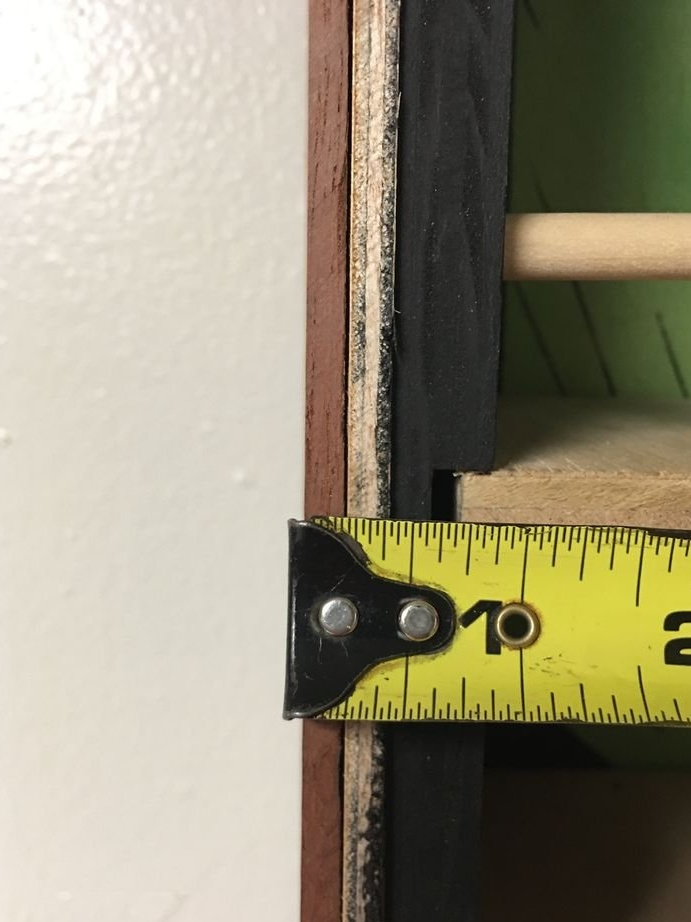
Step One: Design
The first step is to measure the distance between the refrigerator and the wall of honey. In this case, the master had about 15 centimeters between the refrigerator and the wall. The master wanted the shelf to be the same height and depth as the refrigerator, so that it would slide neatly next to it. Since the house is old and the walls are not even, he left a little more space in case you have to make changes when installing it. 11.5 centimeters was ideal width so that, on the one hand, it fits well into the space between the refrigerator and the wall, and on the other, there is enough space on the shelf.
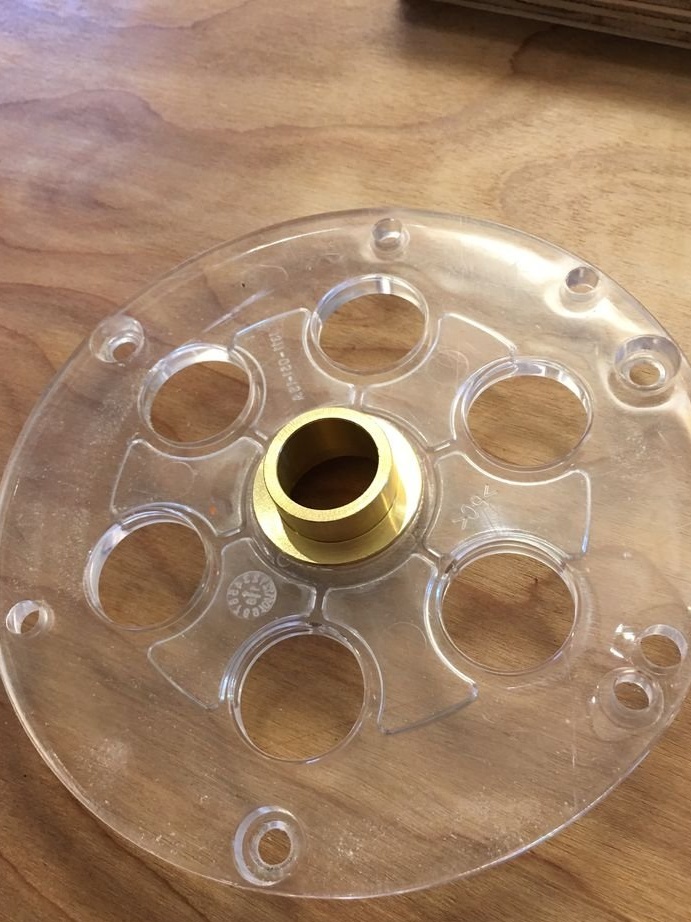
For planning, the wizard uses the Fusion 360 program.
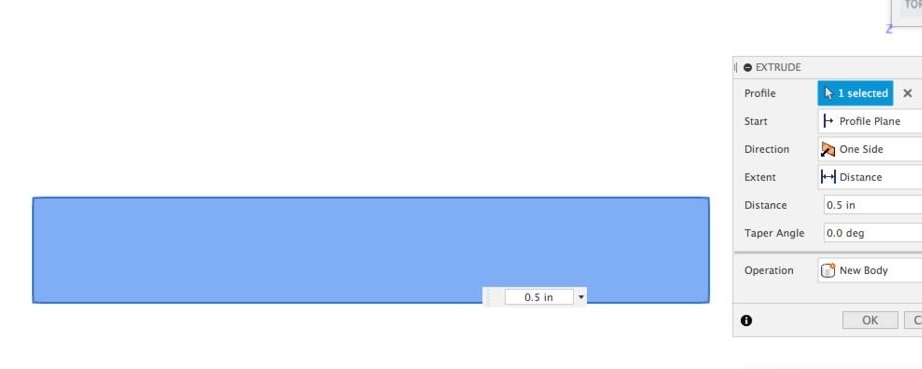

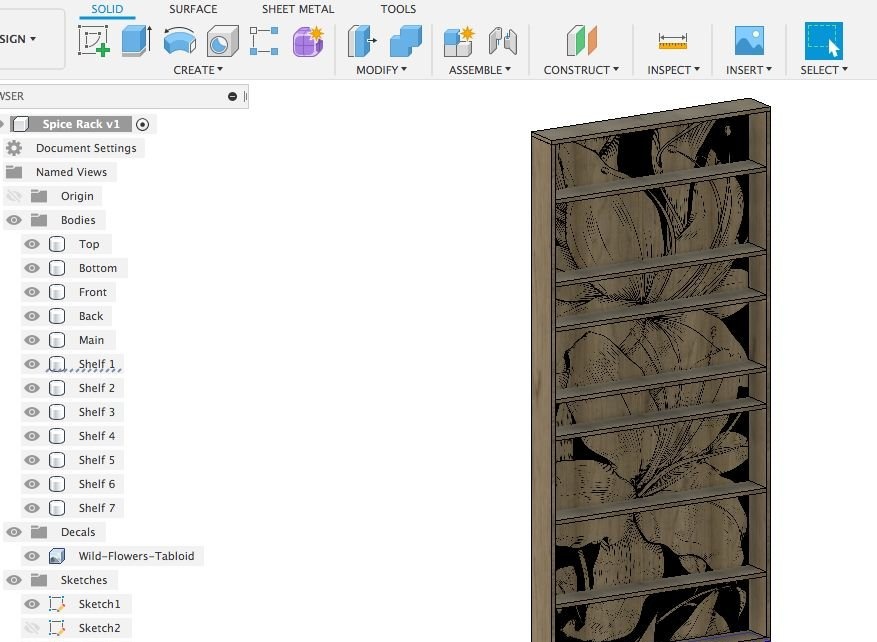
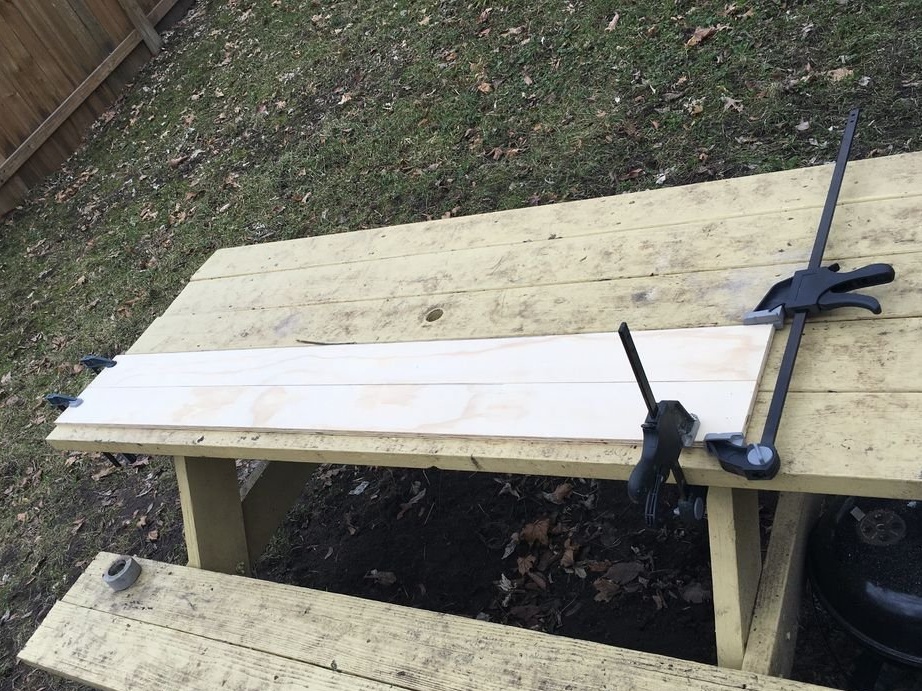
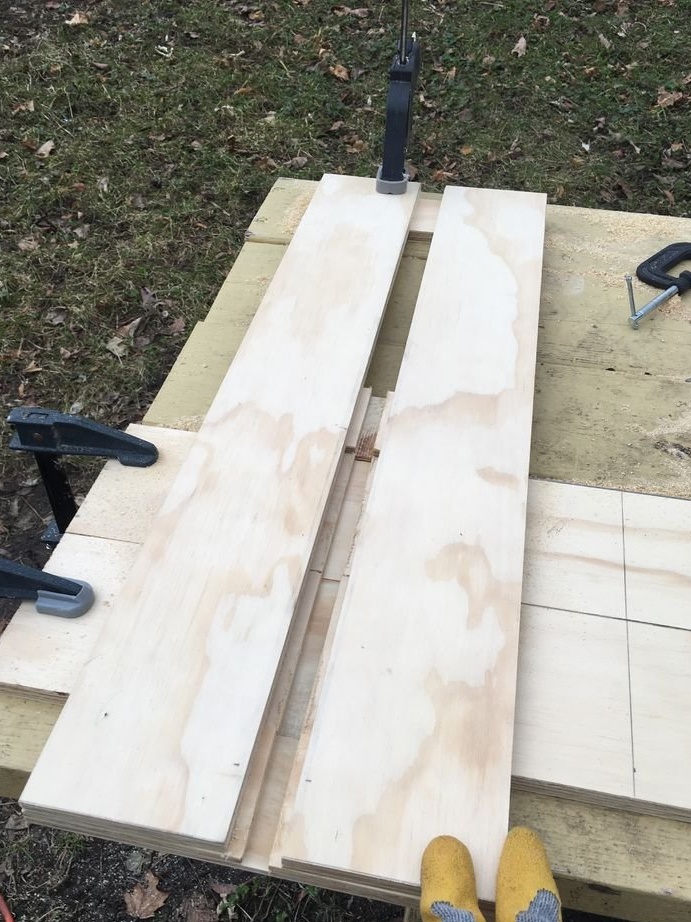
Step Two: Sawing
In the same program, the master plans how to correctly lay out and cut a sheet of plywood so that there is as little waste as possible.
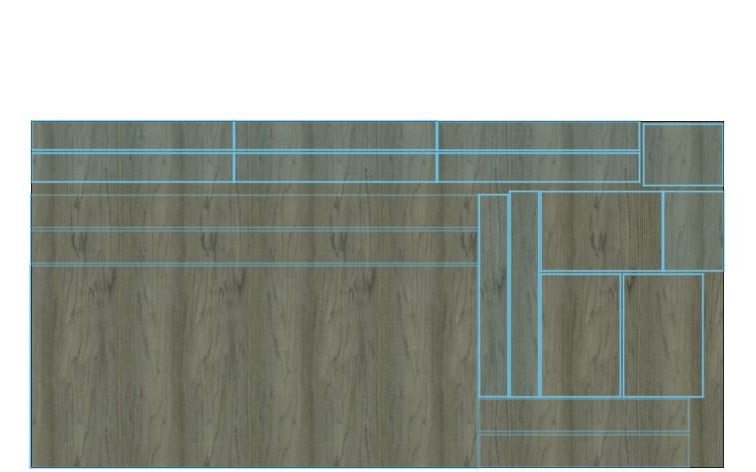

Marks plywood sheet.


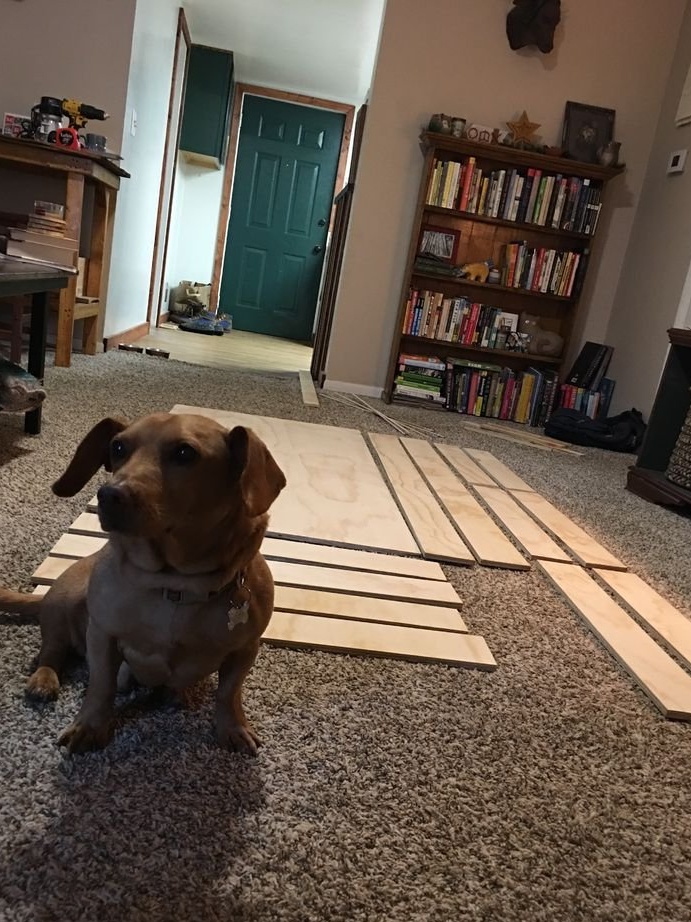
Sawing.

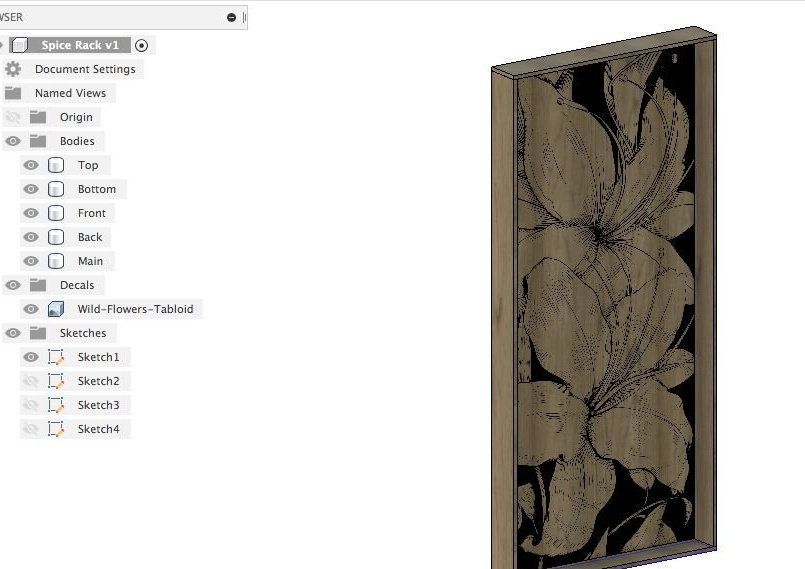
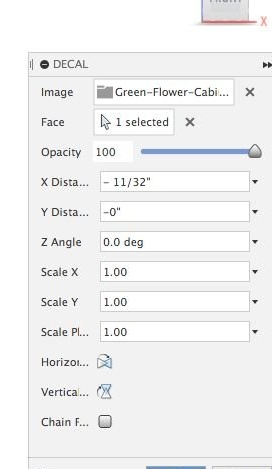
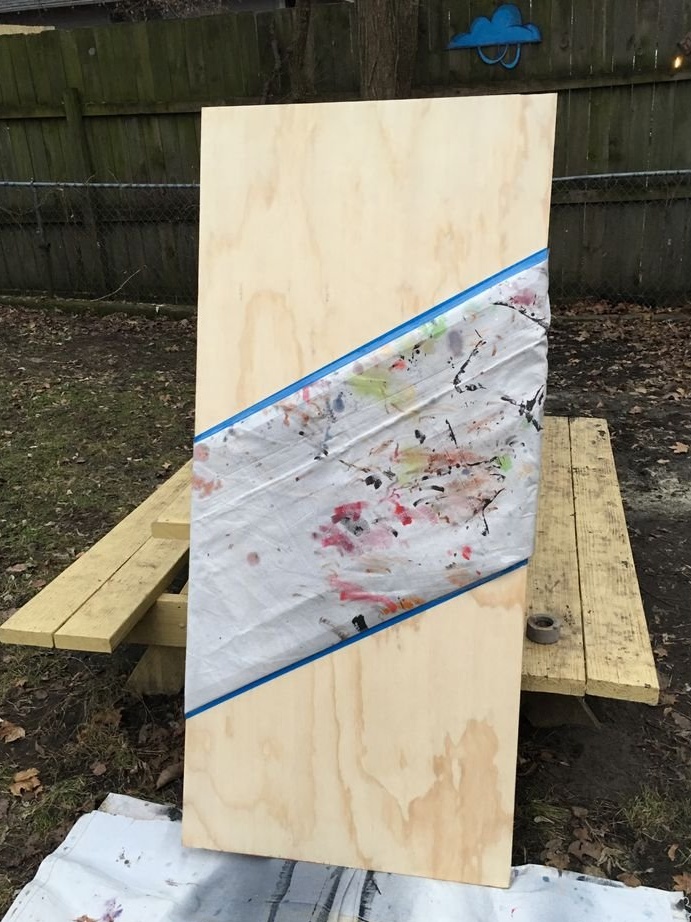
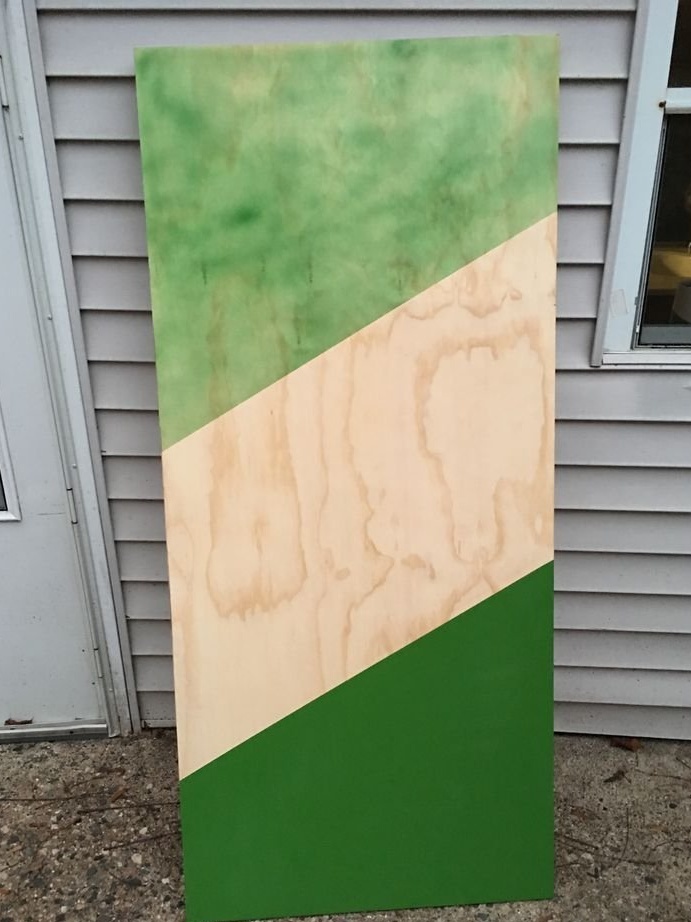
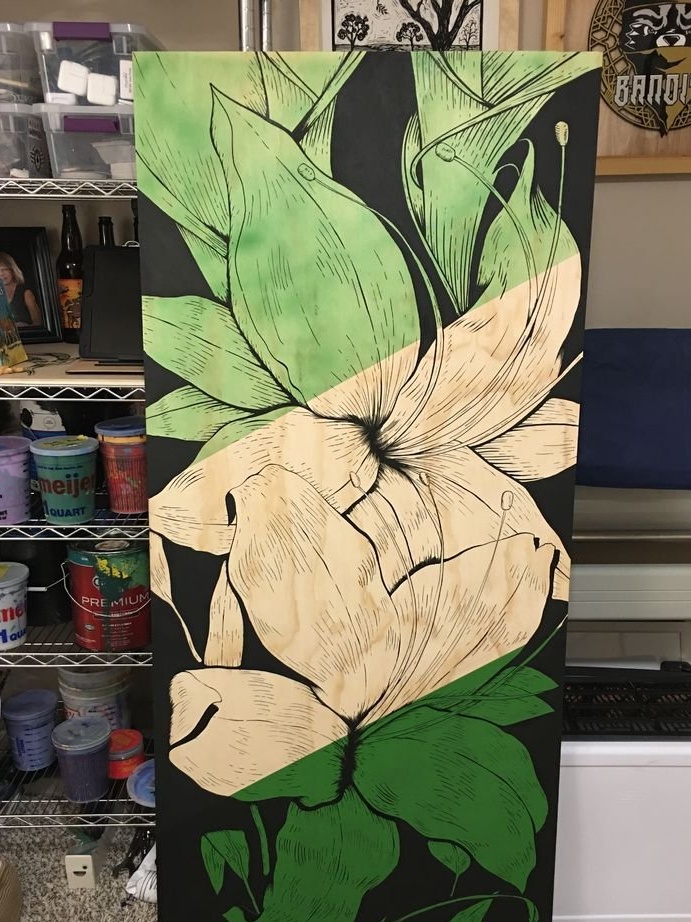
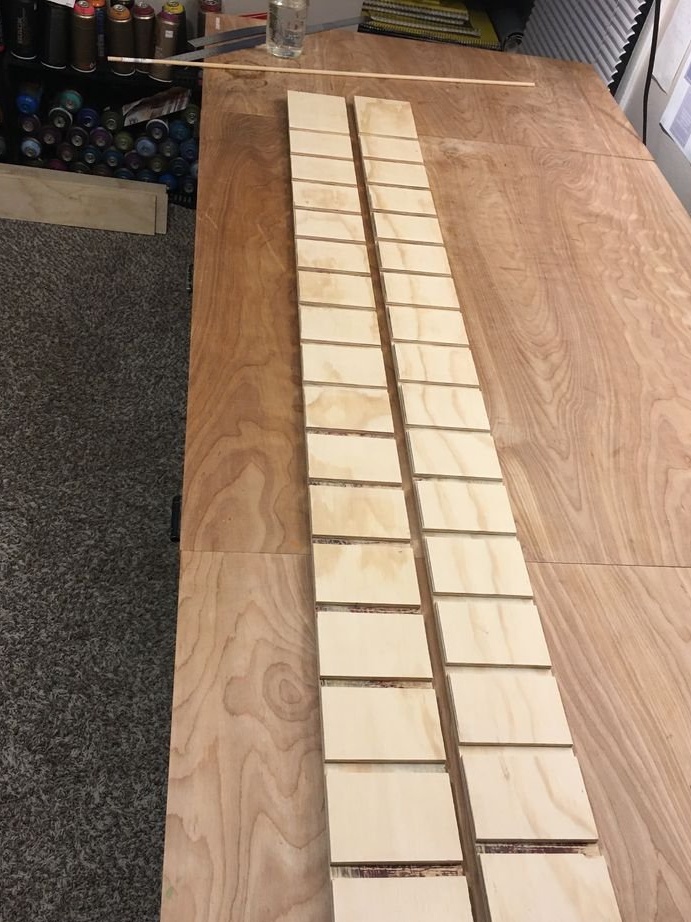
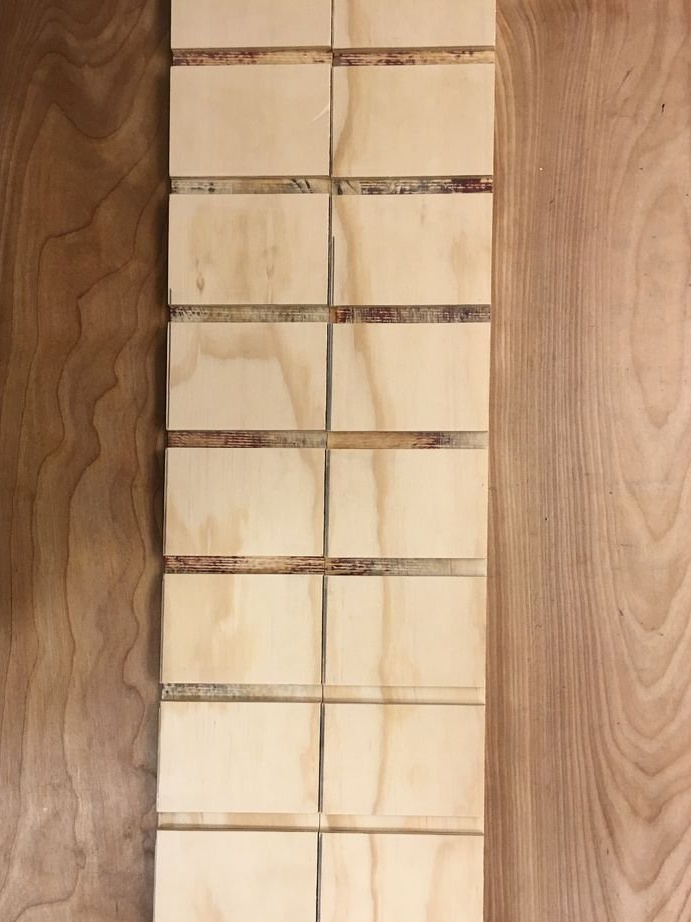
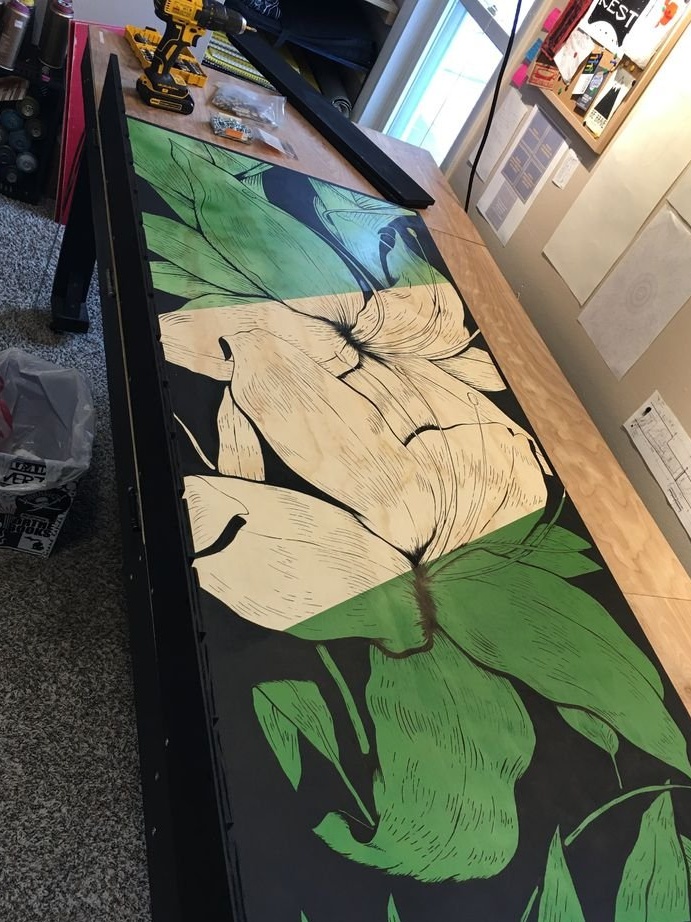
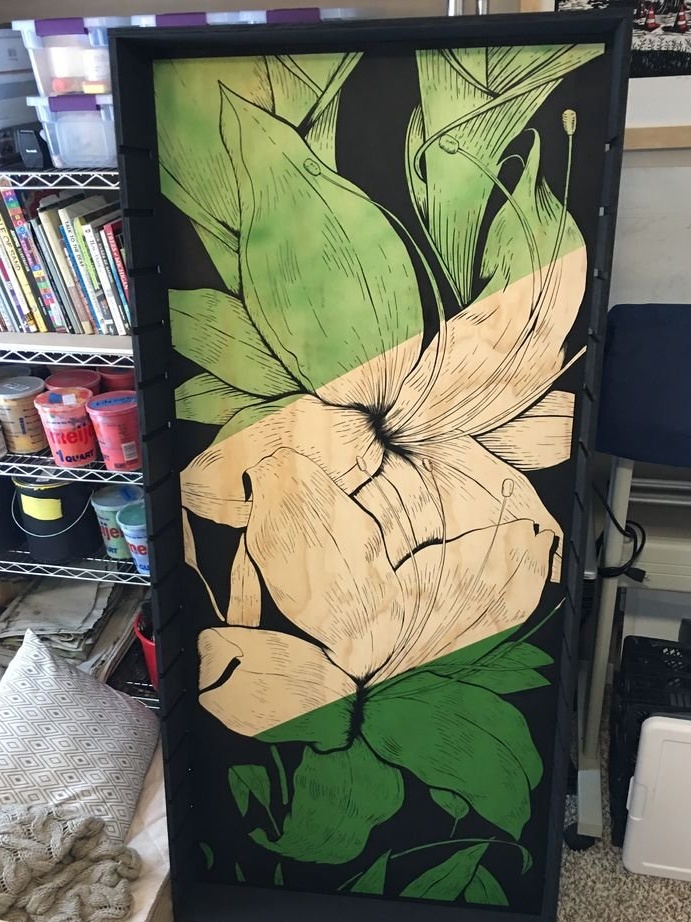
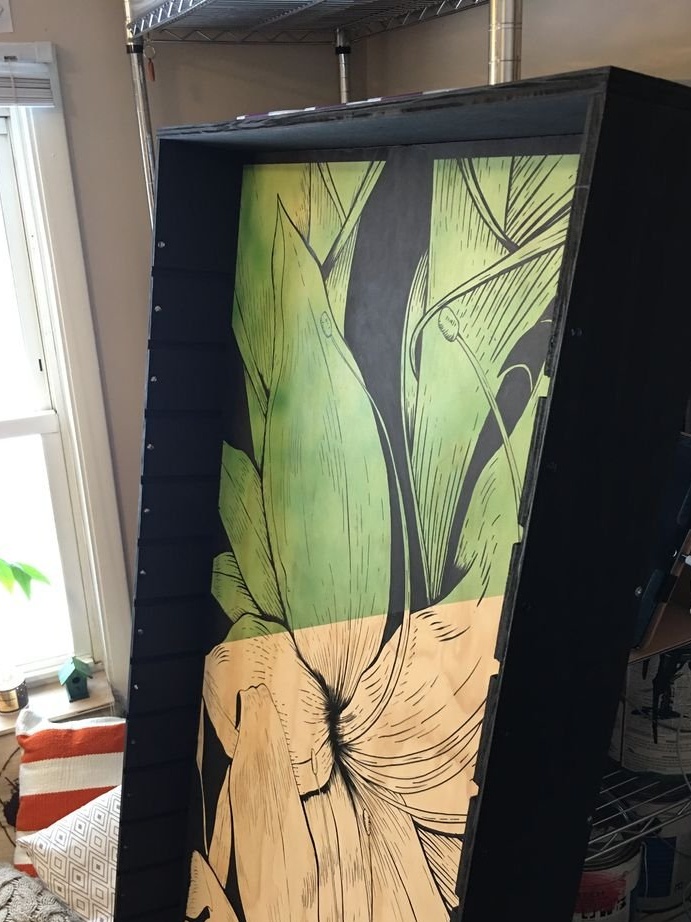
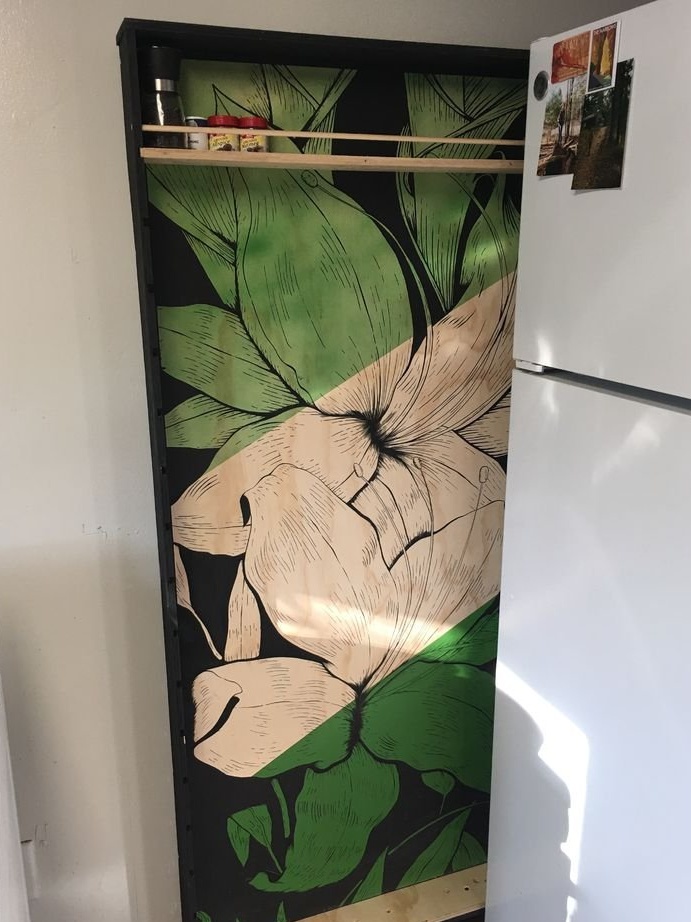
Step Three: Drawing
A drawing is applied to the rear wall of the shelf.
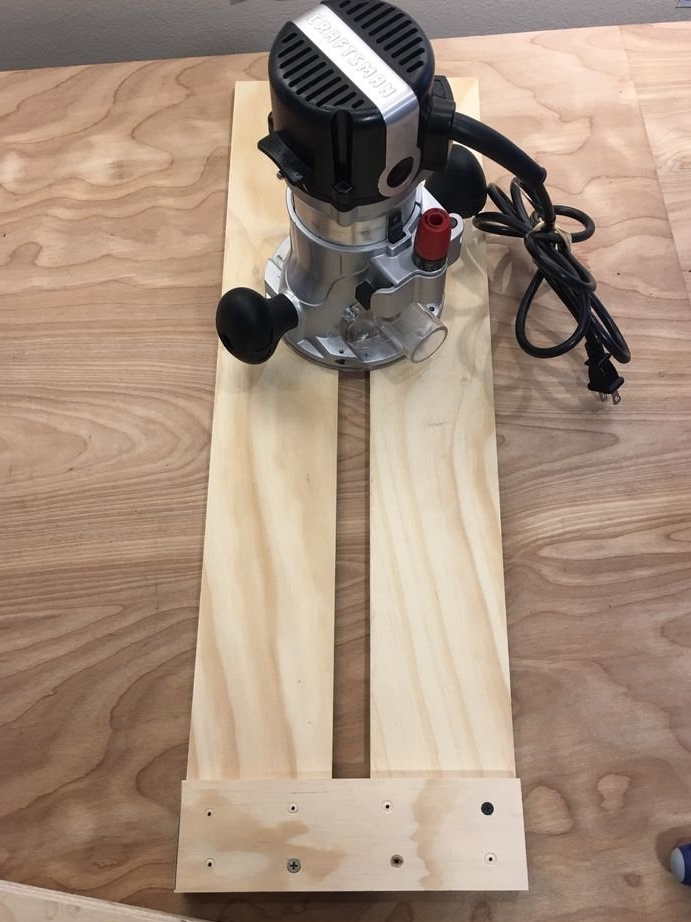
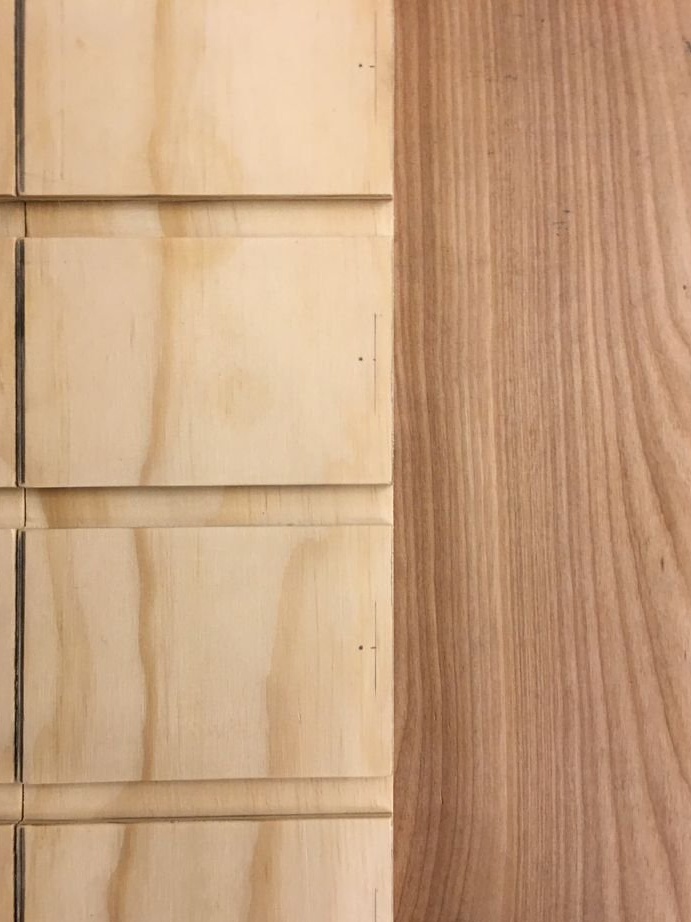
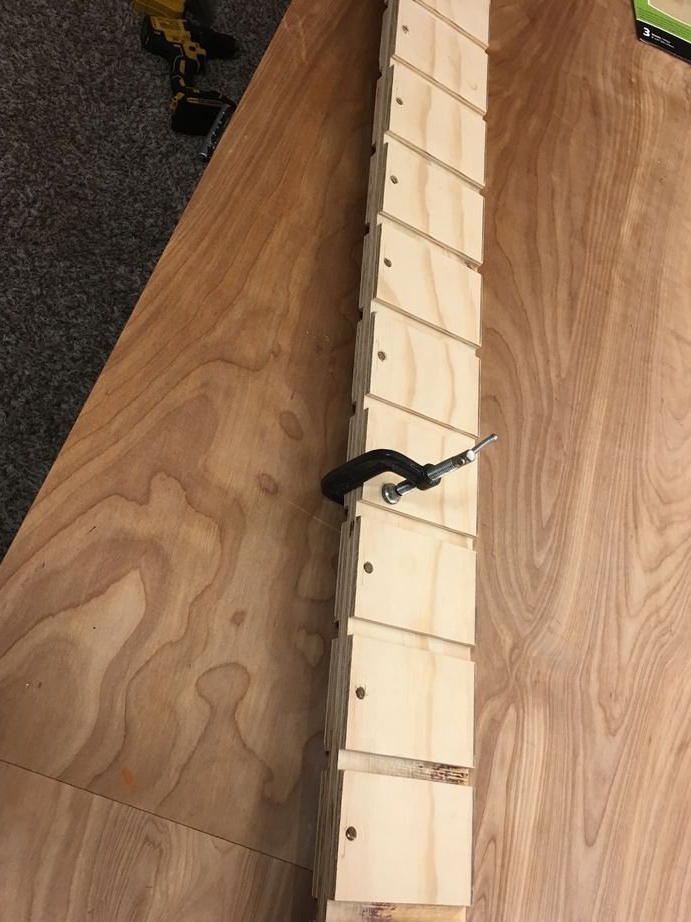
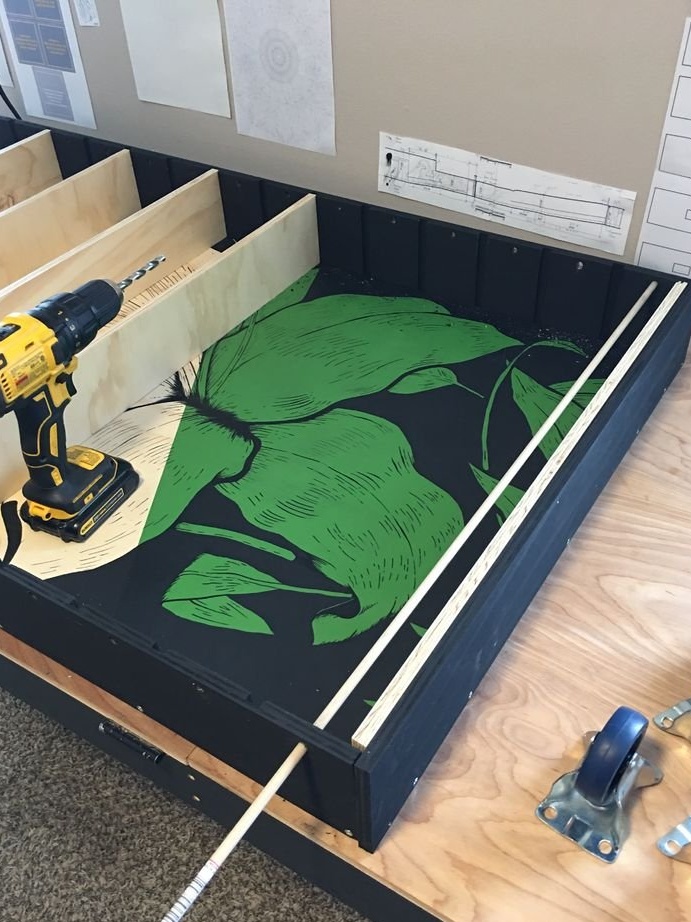
Step Four: Grooves
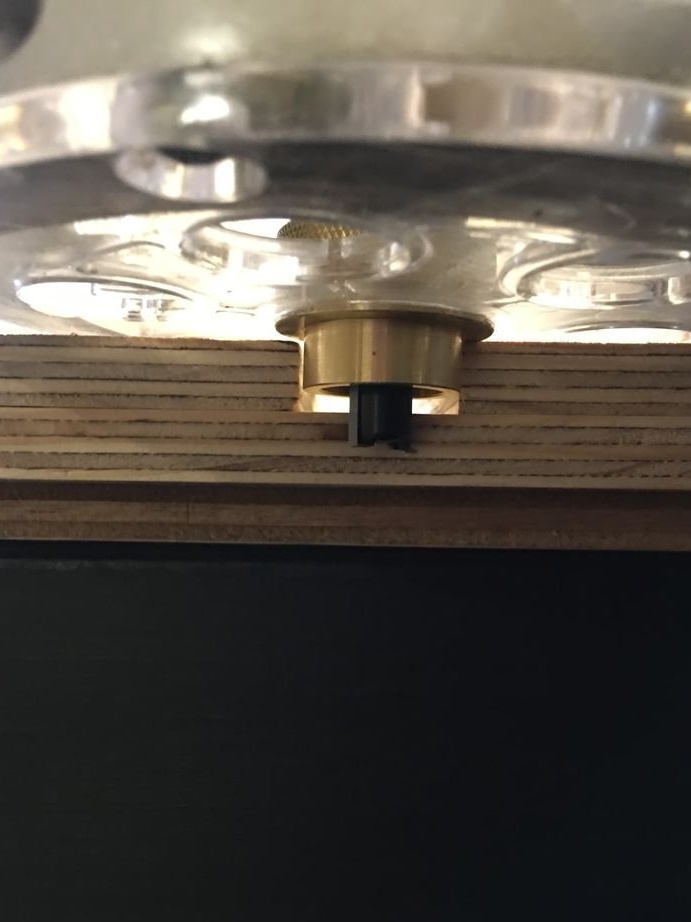
To install the shelves you need to cut out the grooves in the side racks. The master will cut the grooves using the milling cutter. For an even selection of the groove, the master makes a guide.

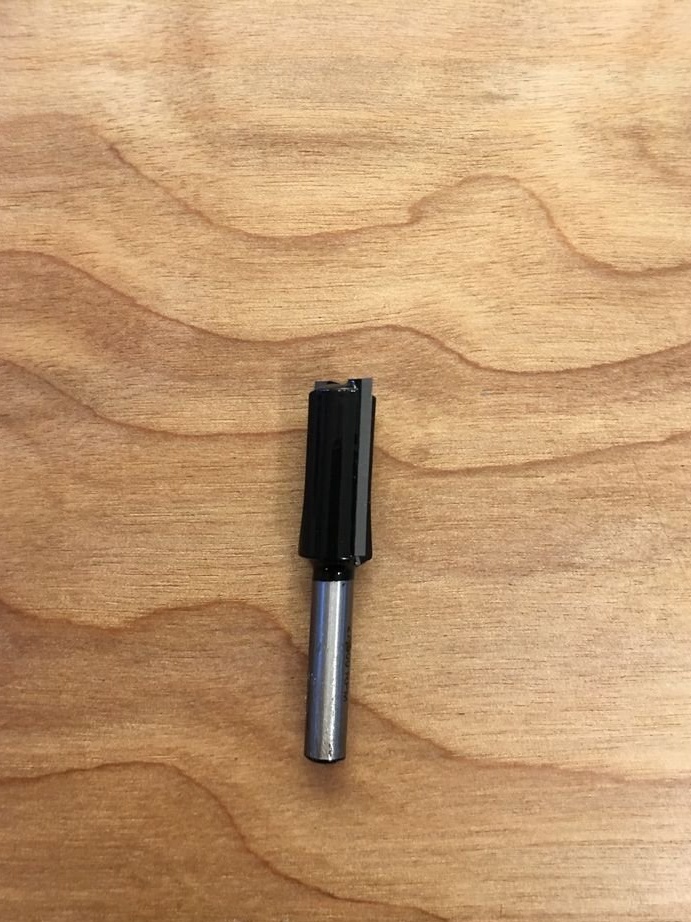
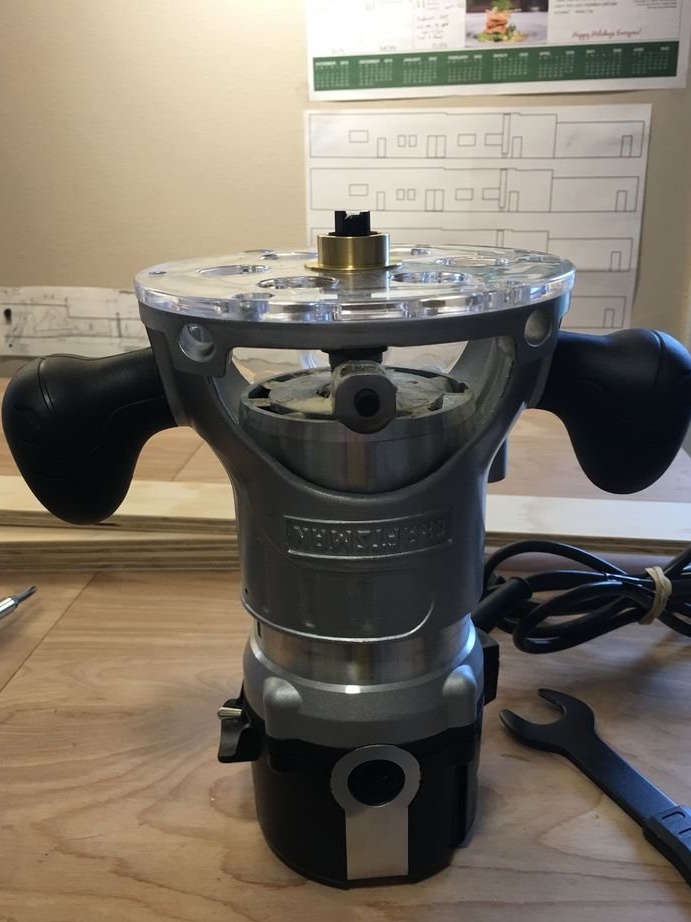
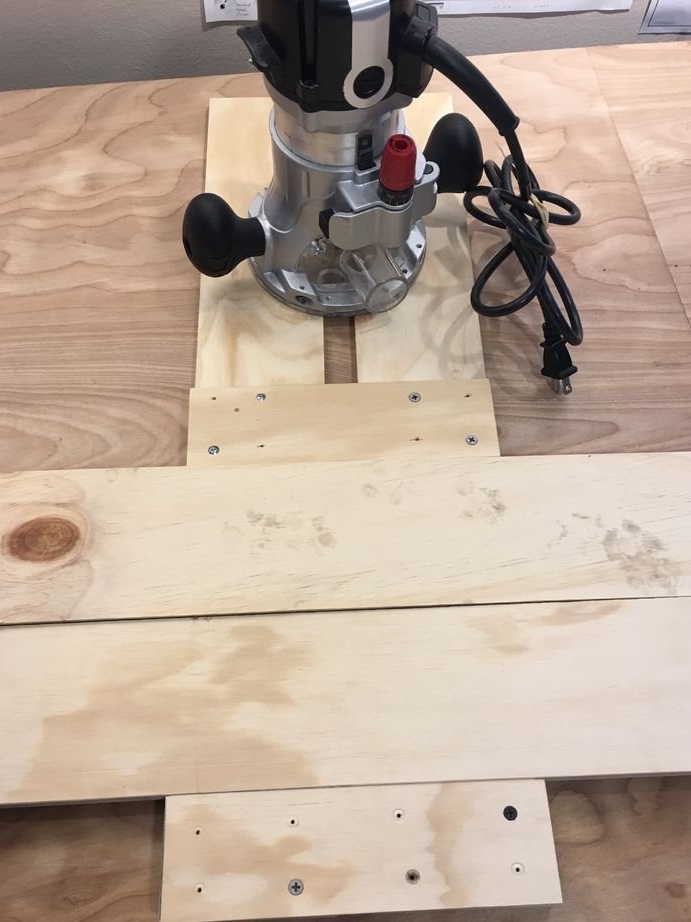
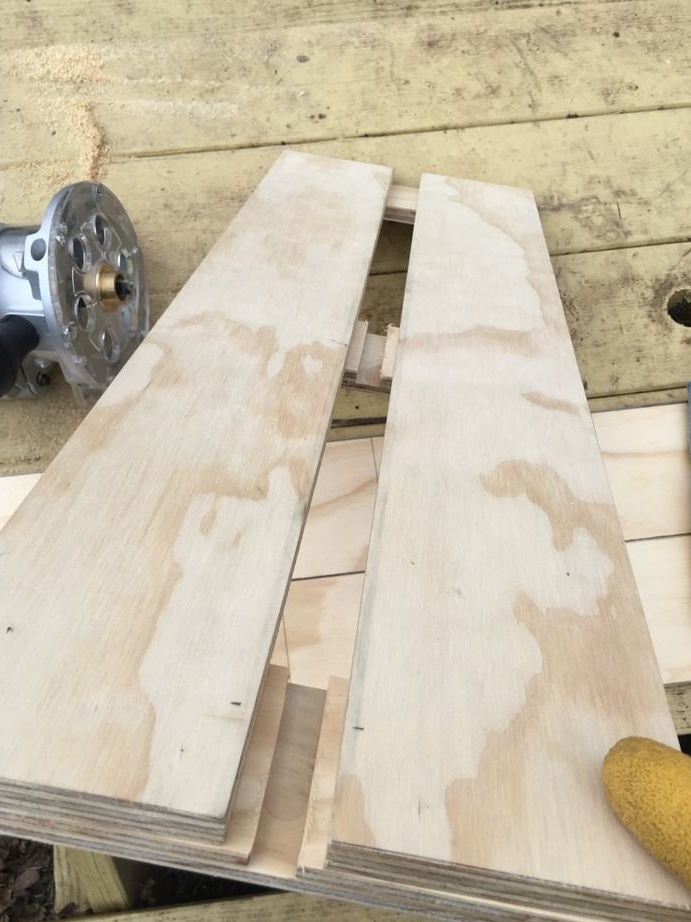
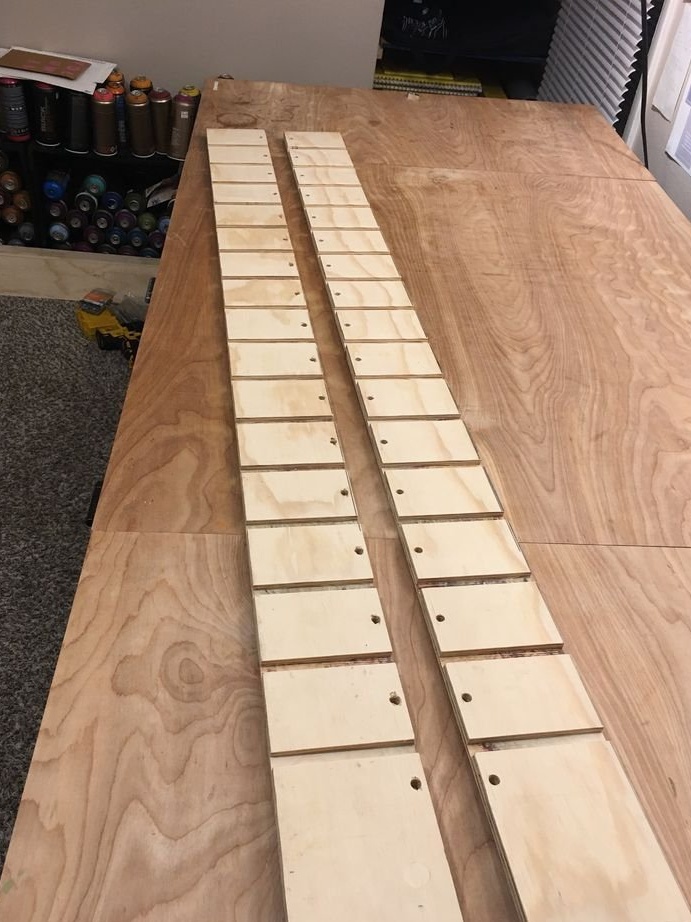
Fixes two racks together. Marks and cuts out grooves.

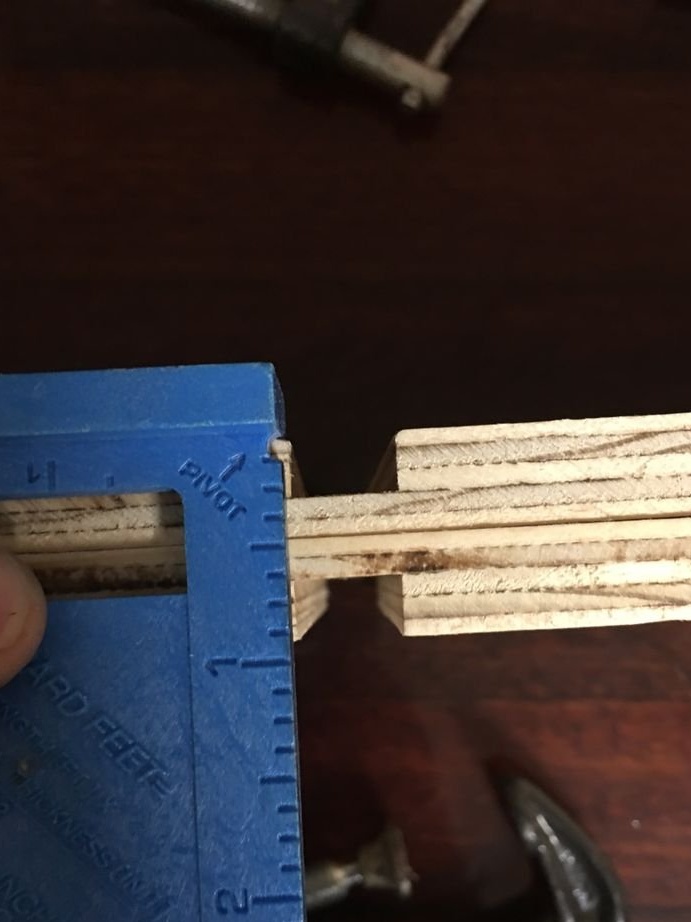
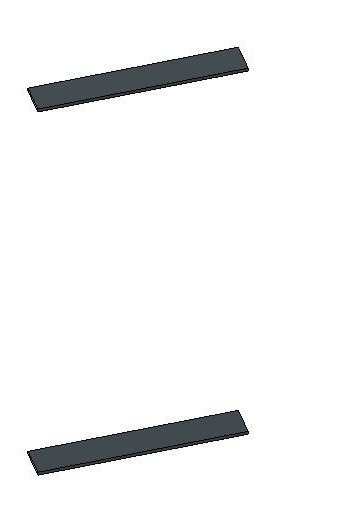
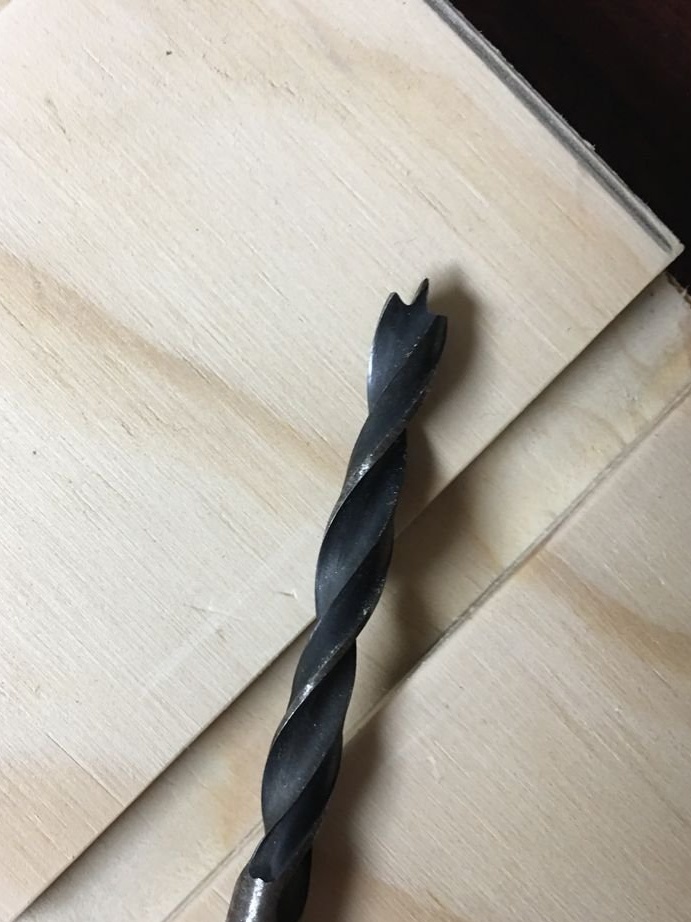
Step Five: Holes
Marks and drills holes for dowels. The dowels will pass from one rack to another as limiters in front of the shelves. After preparation, the master paints the racks in black.
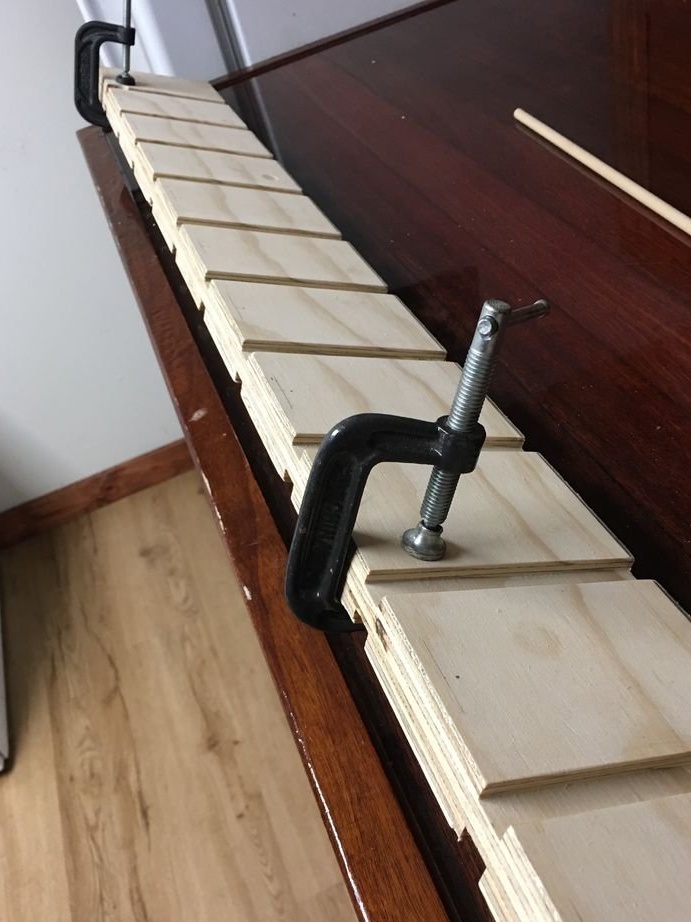
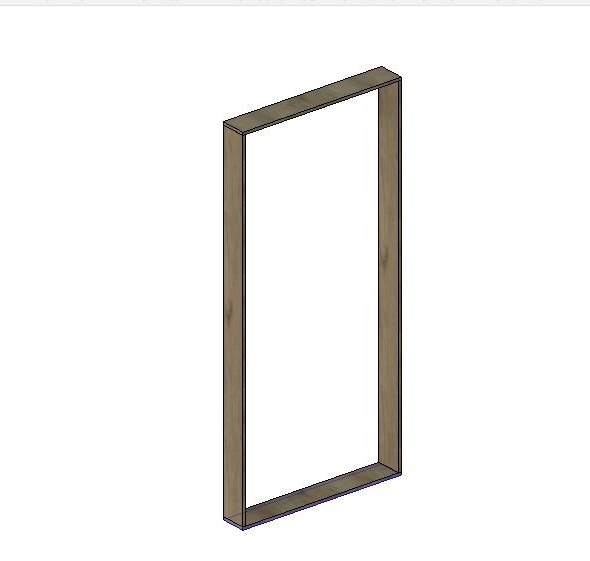
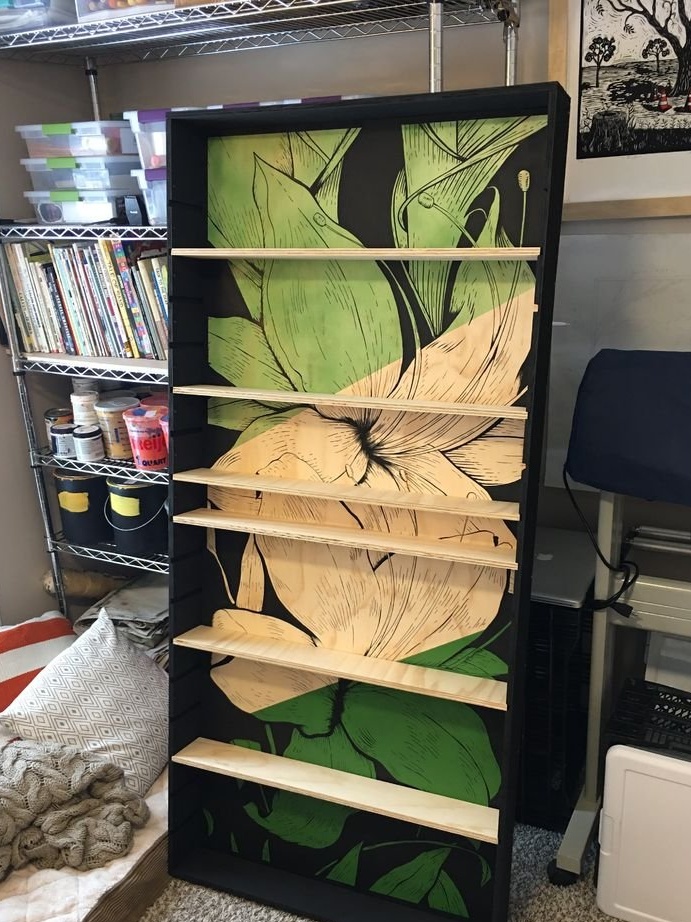
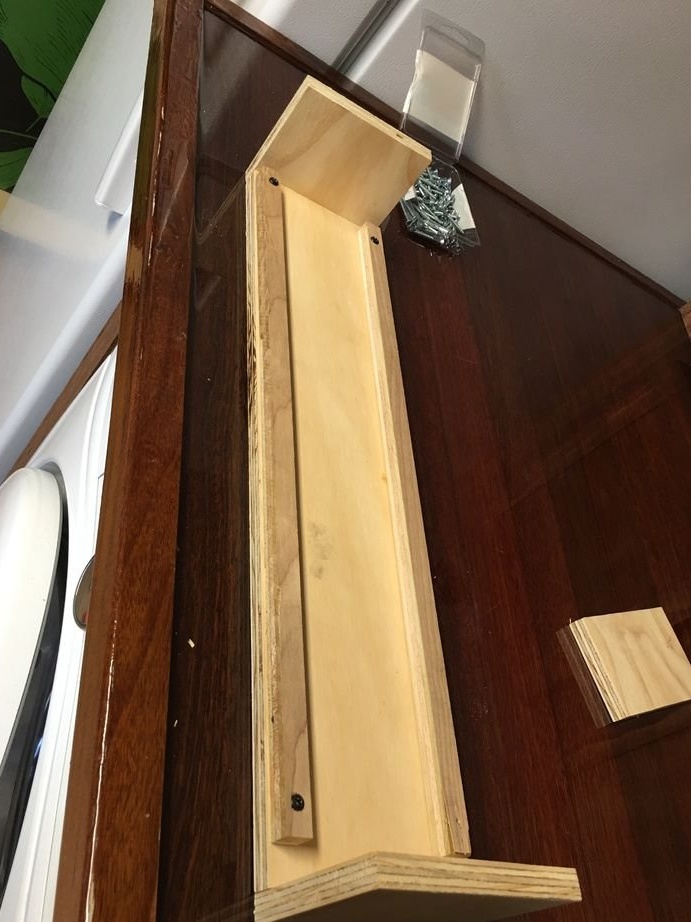
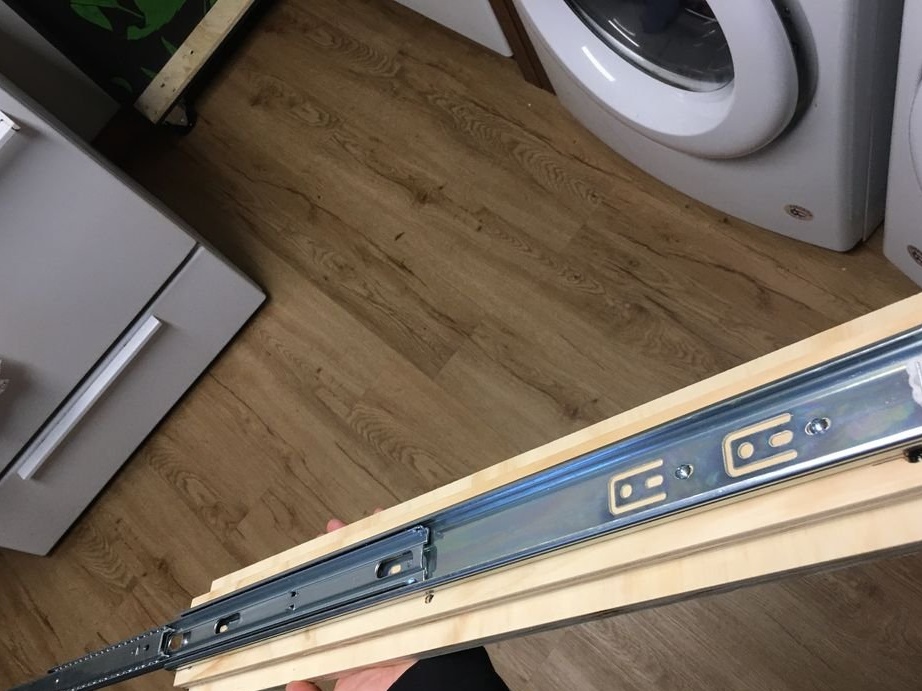
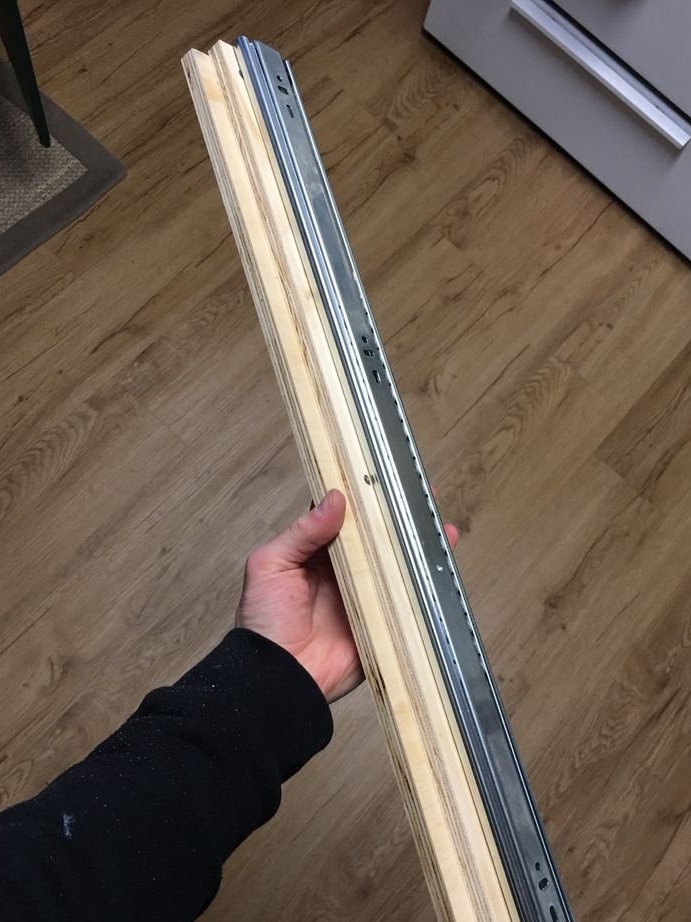
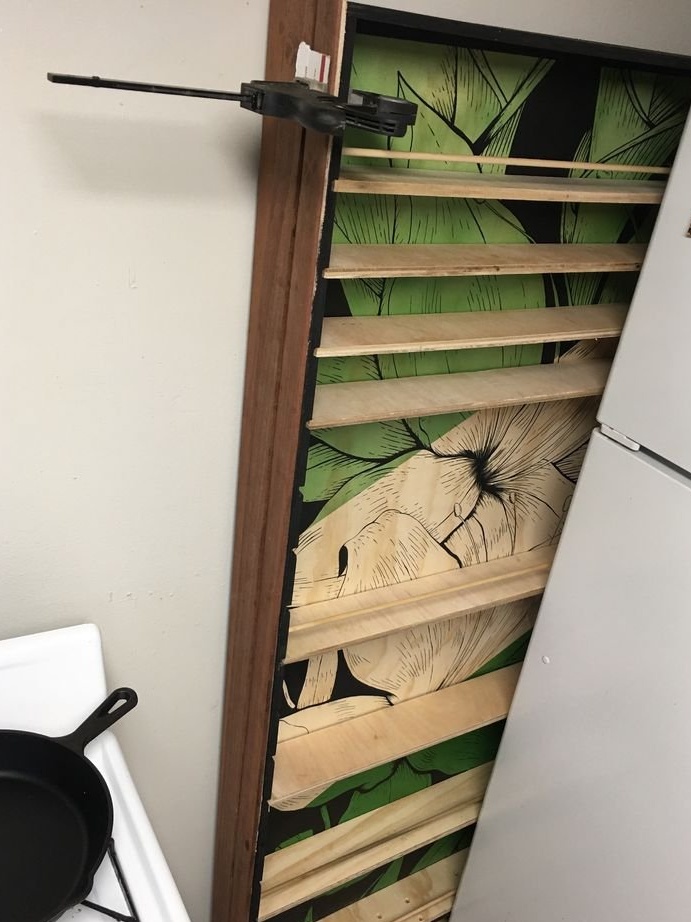
Step Six: Build
Gathers a shelf.
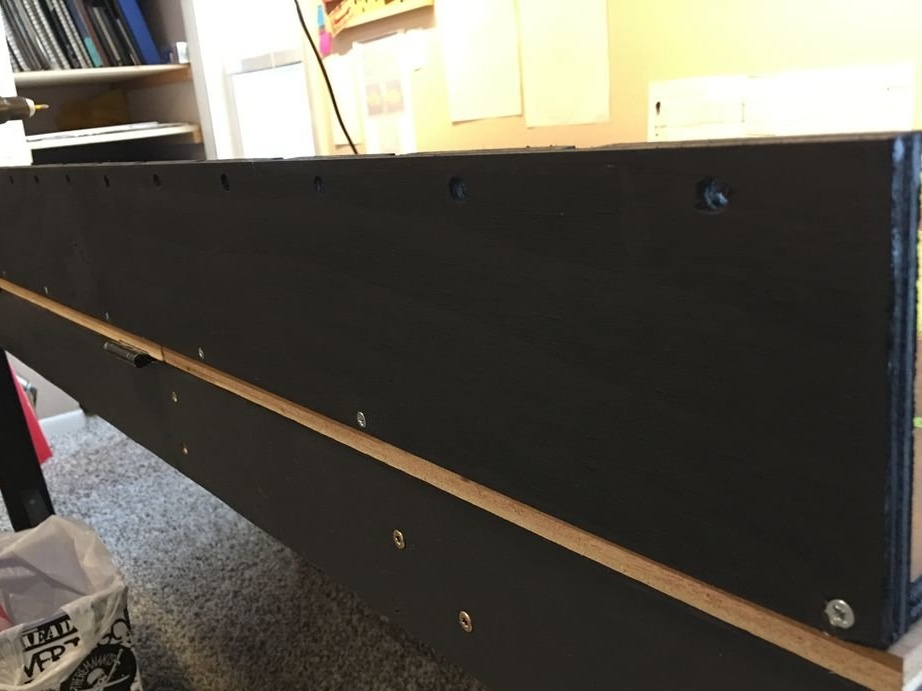
Sets shelves. Drills fixing holes and tightens furniture screws.
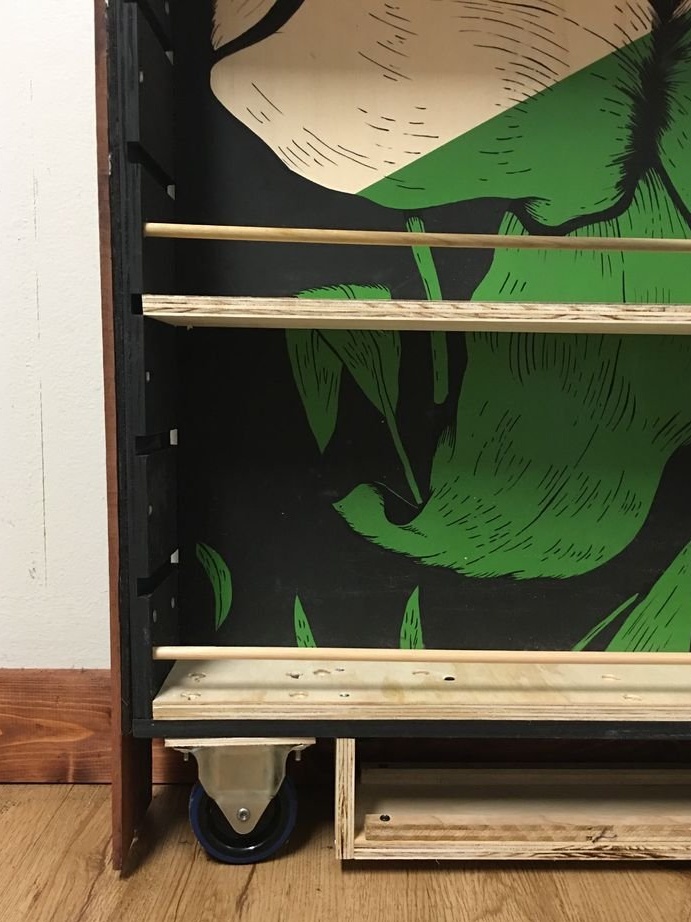
Cuts dowels to size. Installs in front of shelves.
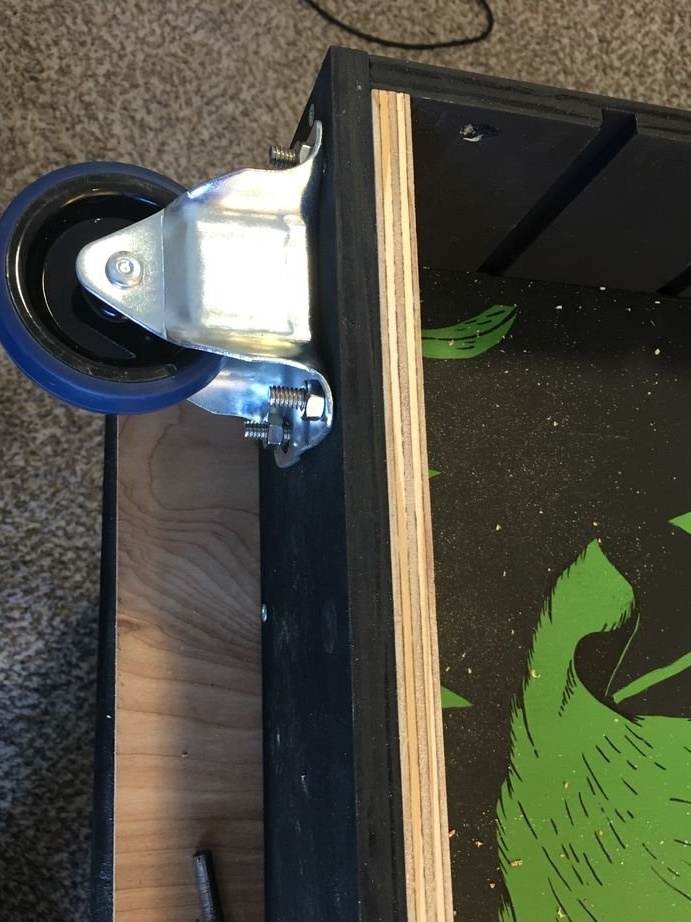
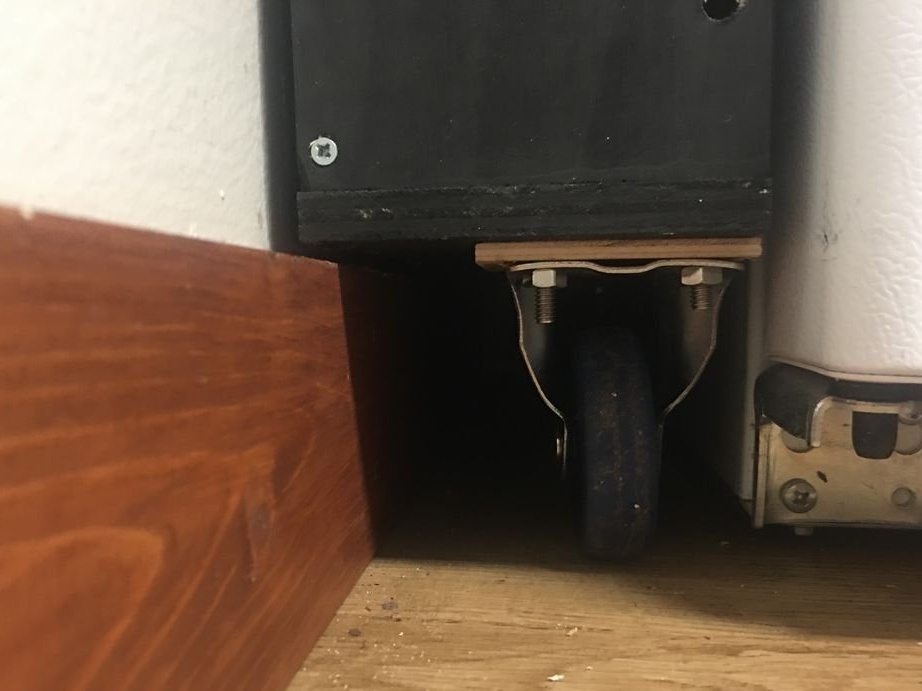
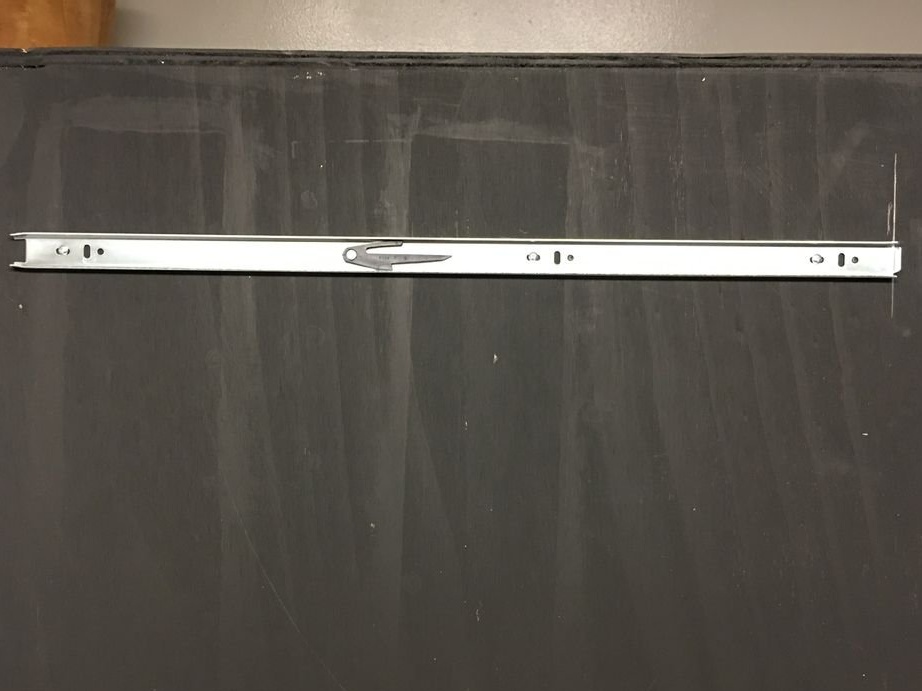
Secures the rollers.

There is a small space under the bottom of the shelf and the craftsman makes and sets up an additional place for the wound.
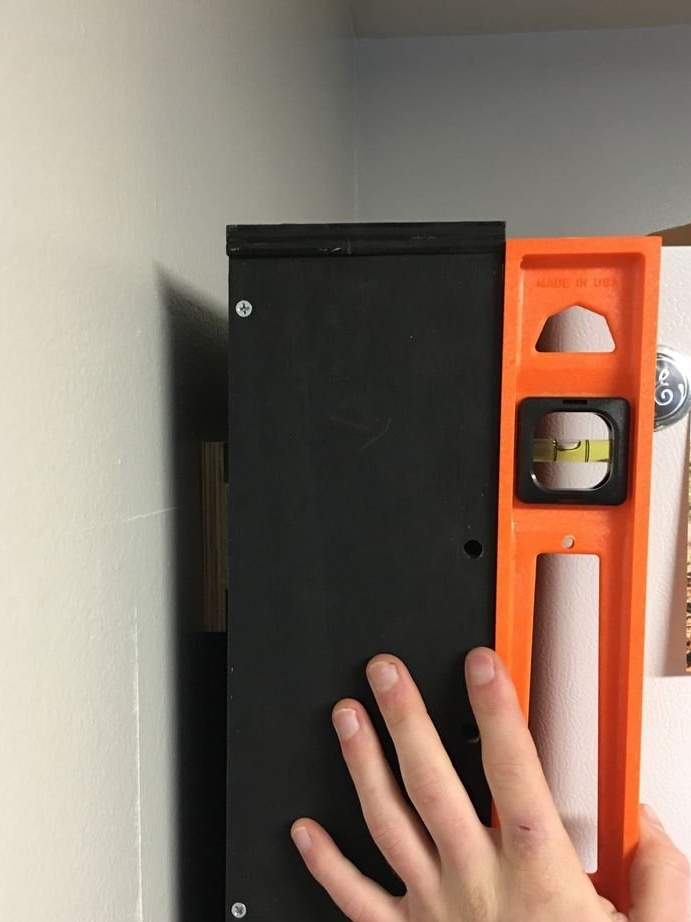
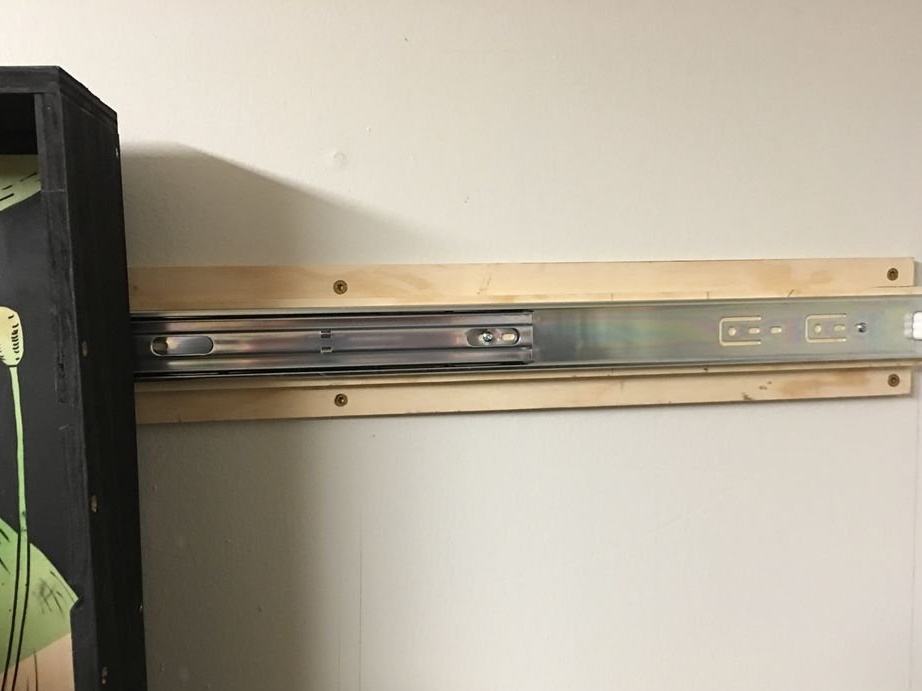
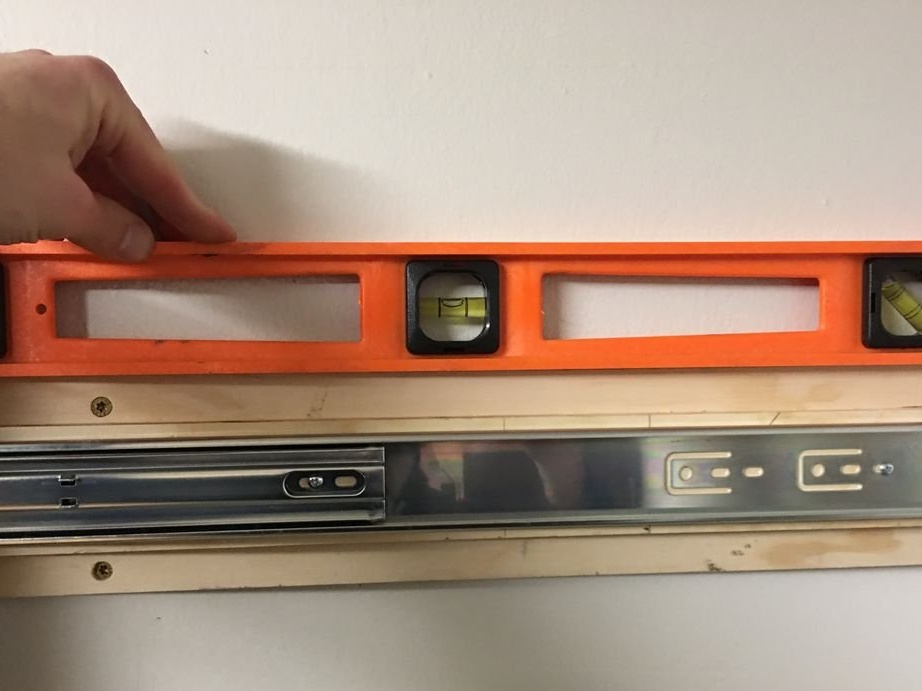
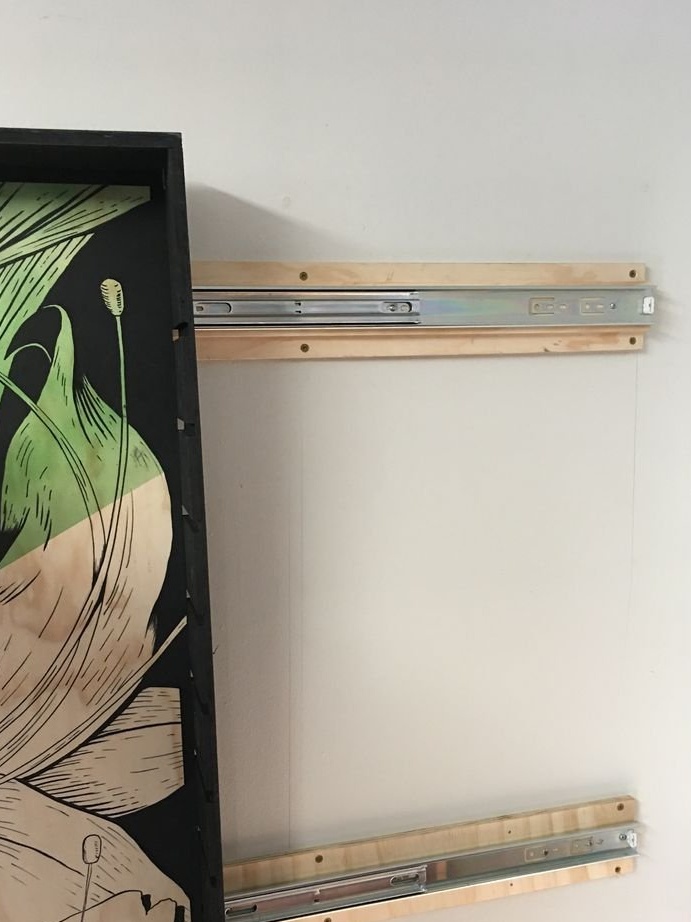
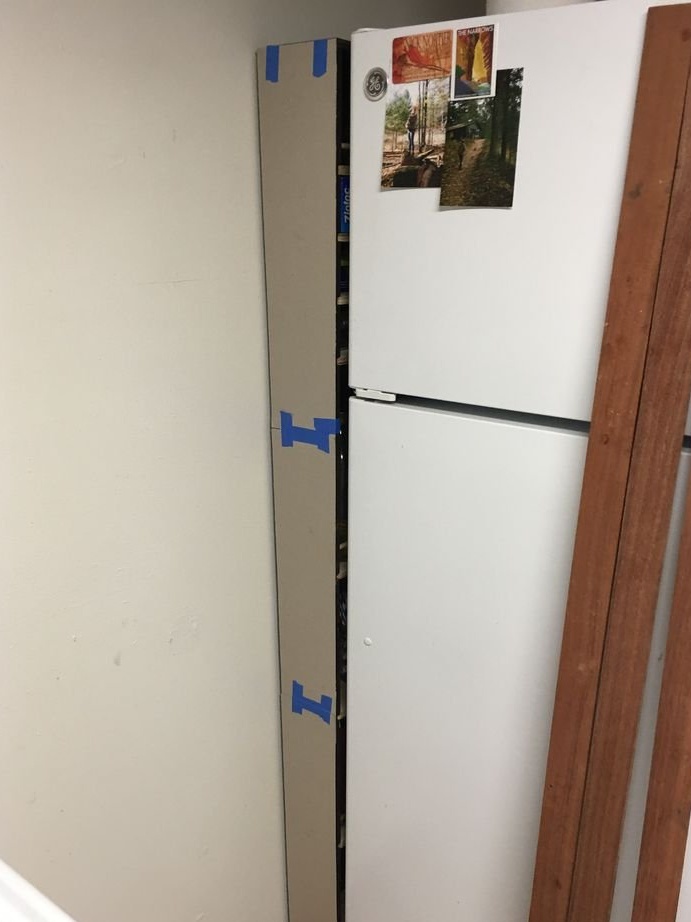
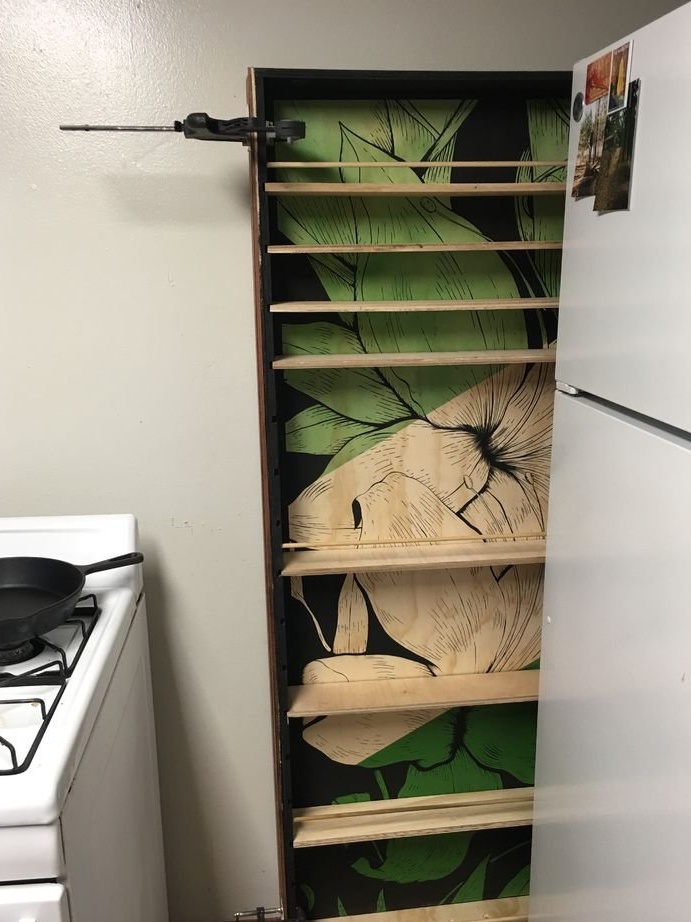
Seventh step: installation
In order for the shelf to slide out smoothly, the master uses furniture rails. Since the wall is not even, the master fixes the board to the wall by level) and then fastens the guides.


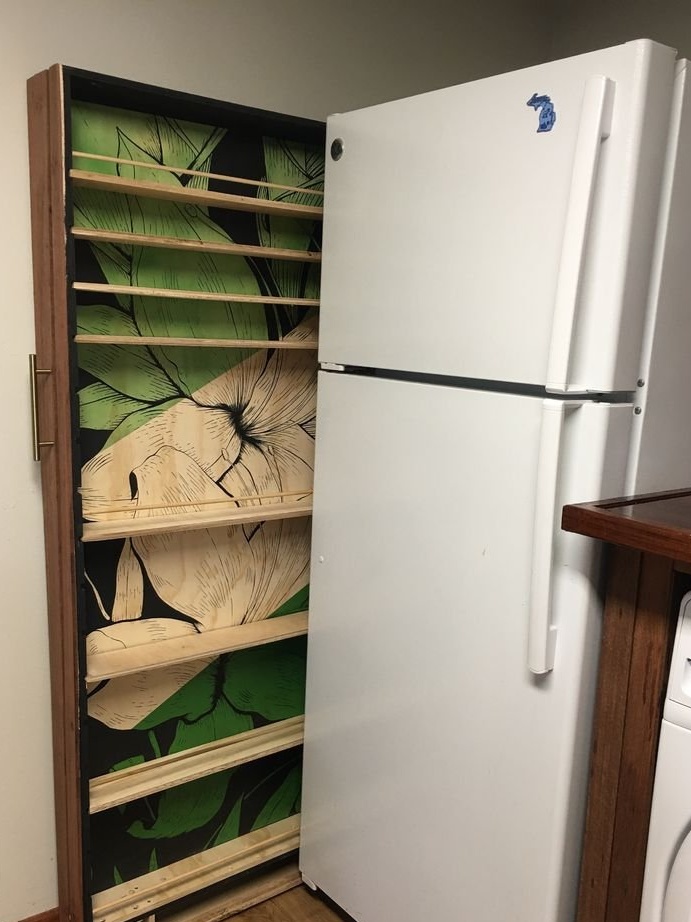
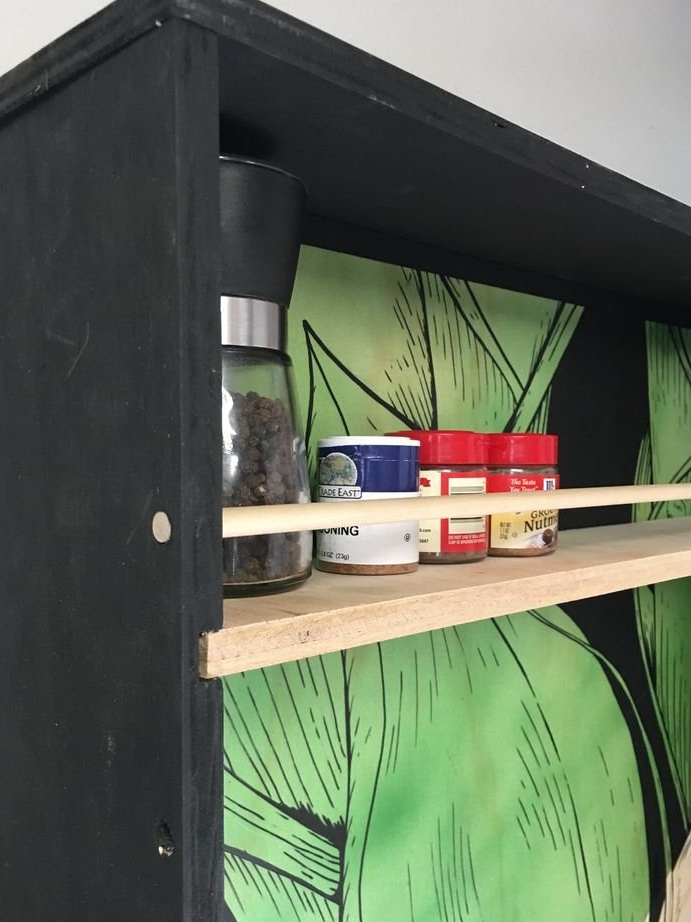
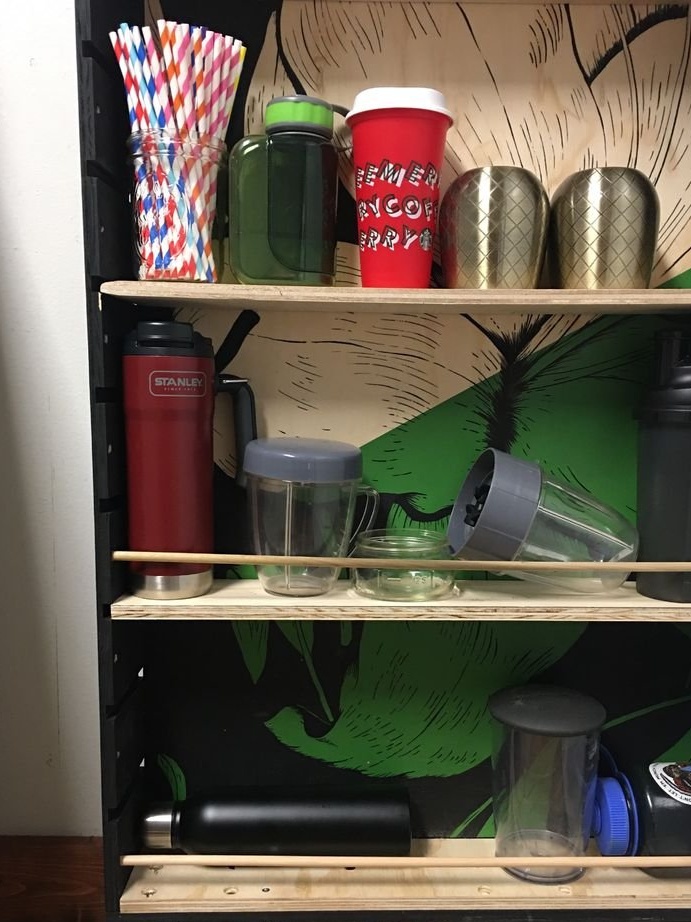
Step Eight: Verification
Shelves are adjustable. Those. You can install shelves at different heights, depending on the height of the items placed on it. The master checks how the shelves are installed, how the shelf moves.


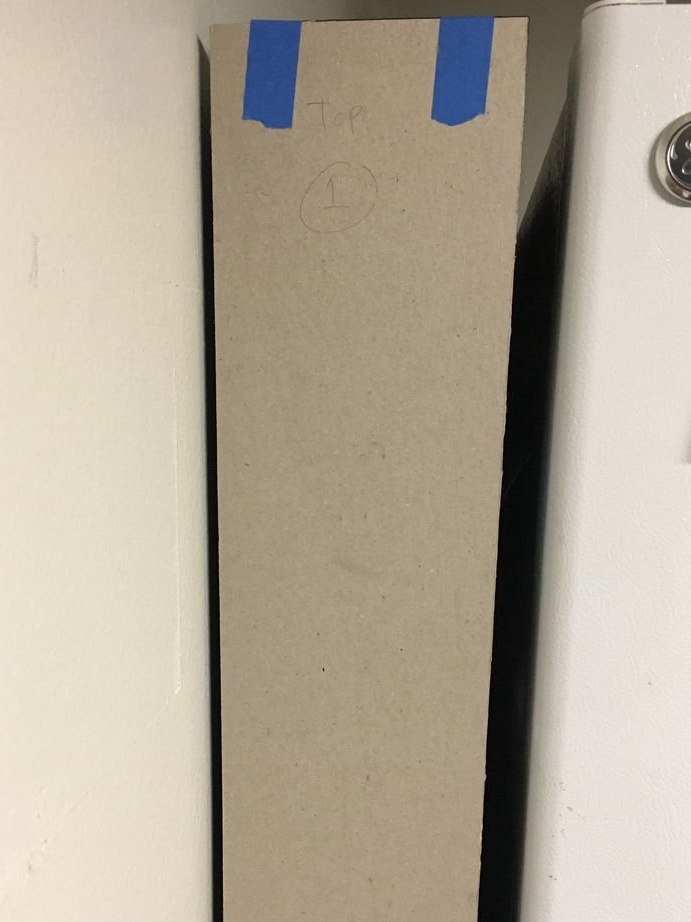
Step Nine: Clypeus
The master had door trims and he decided to install them on the front desk. First, he cut out a template from thick cardboard.
I glued platbands to the template.
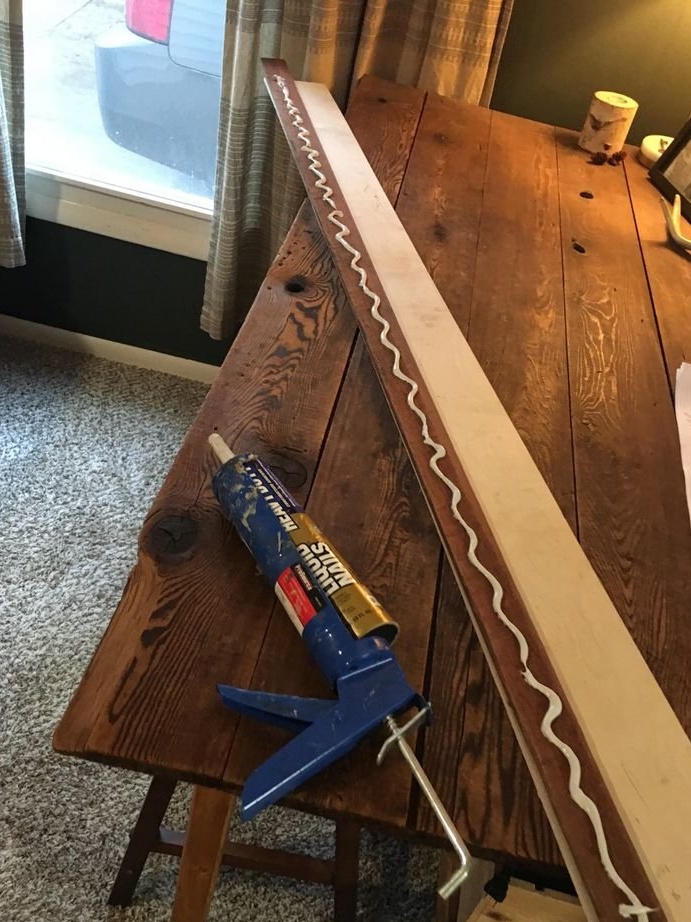
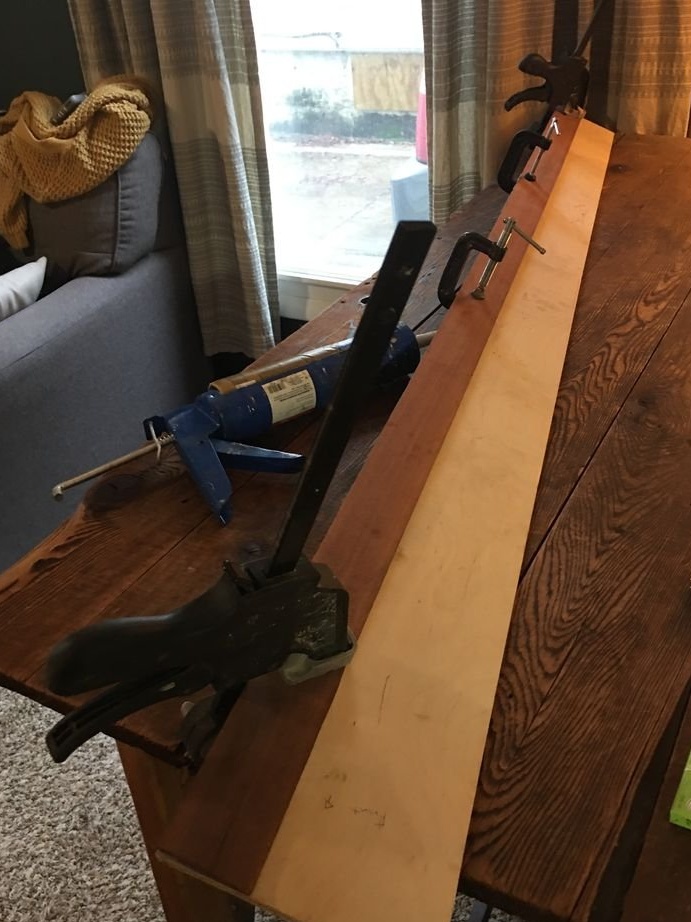
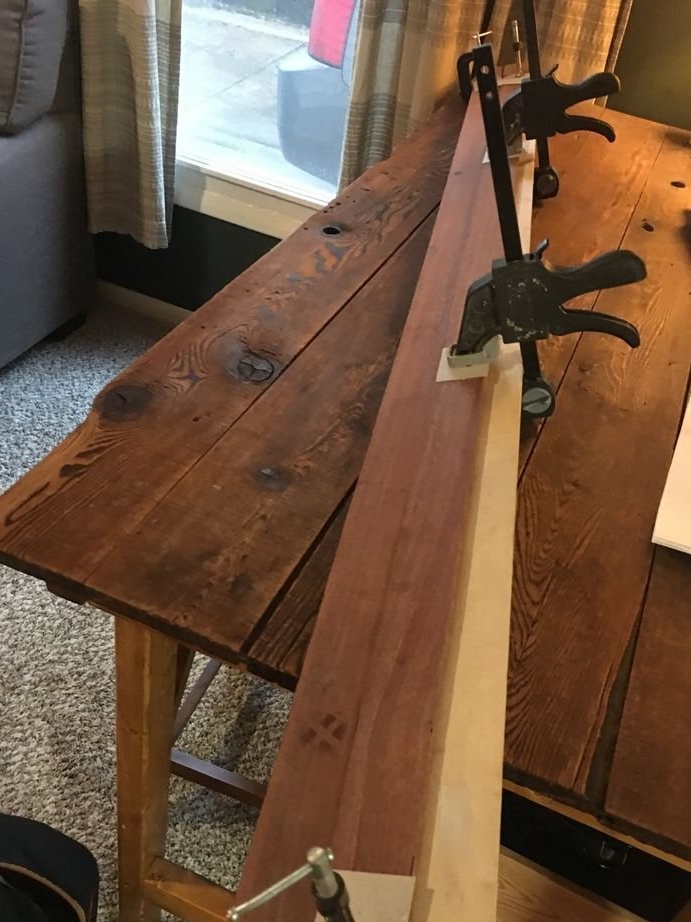
Then glues them to the rack.

Screws the handle.
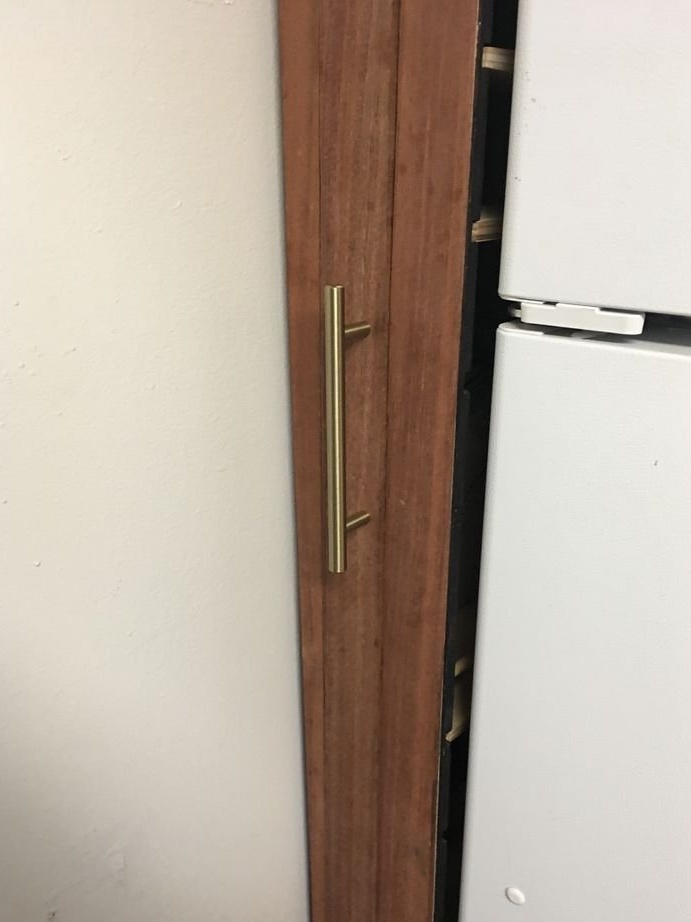
In the future, the master plans to close the end part of the rack with a strip of platband.
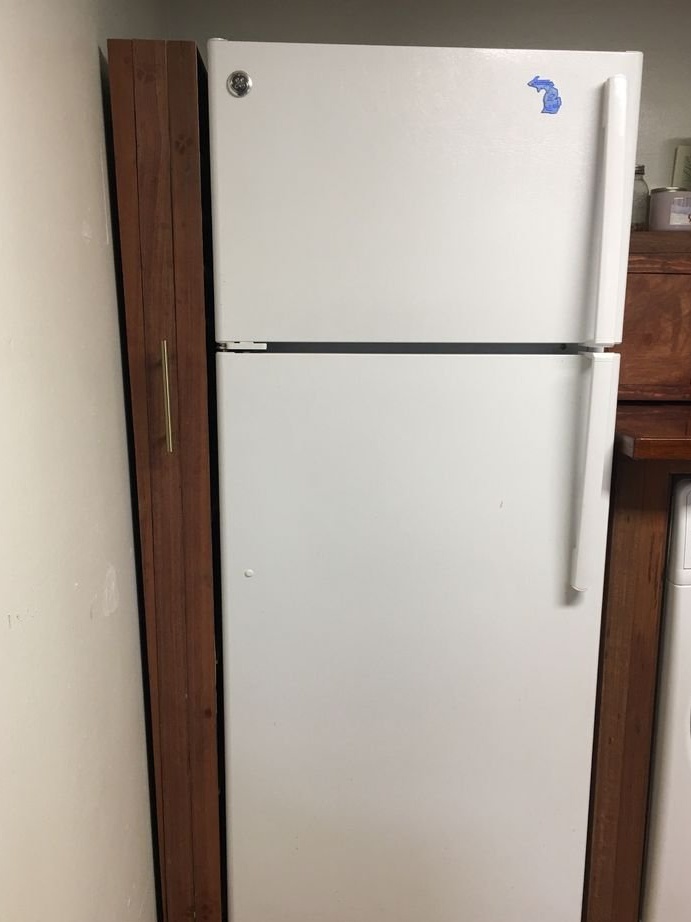
Everything is ready, that’s how you can do a useful and convenient thing with minimal cost.