
Tools needed to create this model:
-welding,
-UShM with a detachable disk and a metal brush,
- a drilling machine or drill with drills,
digital caliper,
- welding corners,
-measurement accessories.
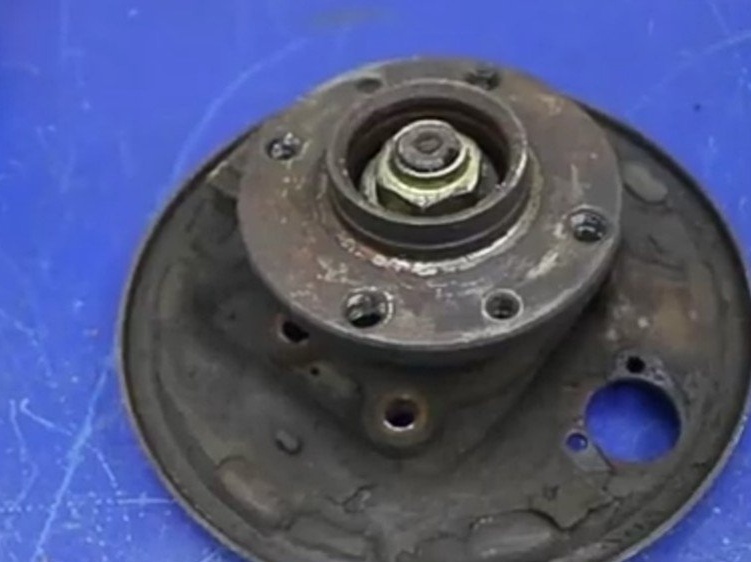
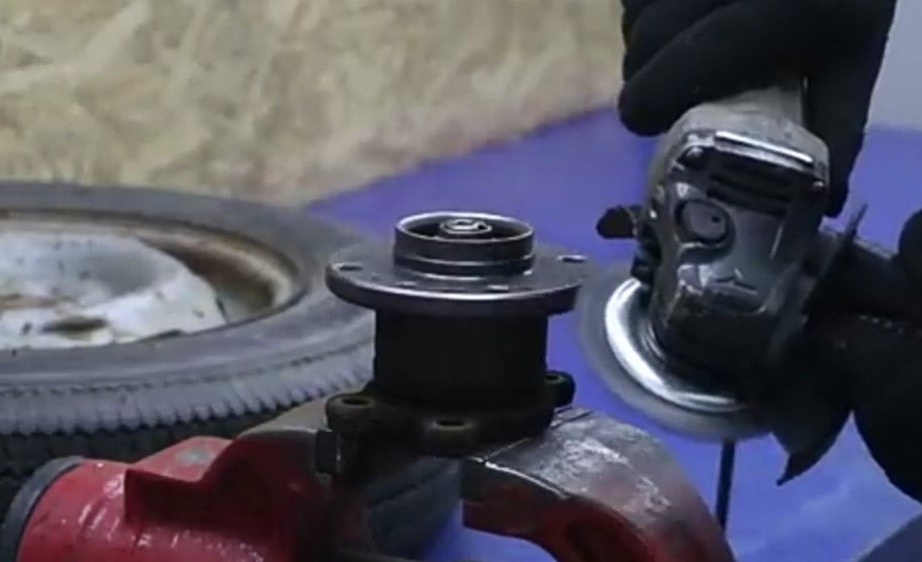
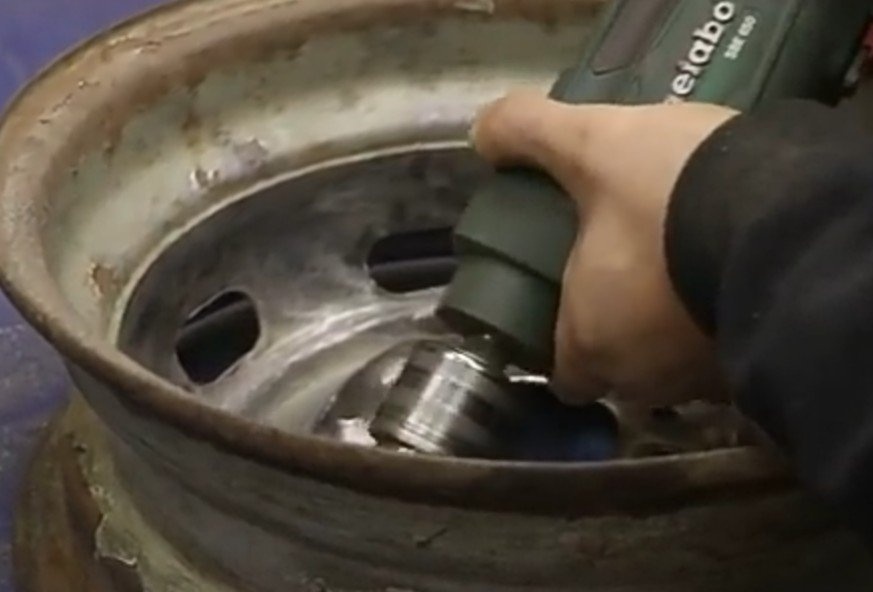
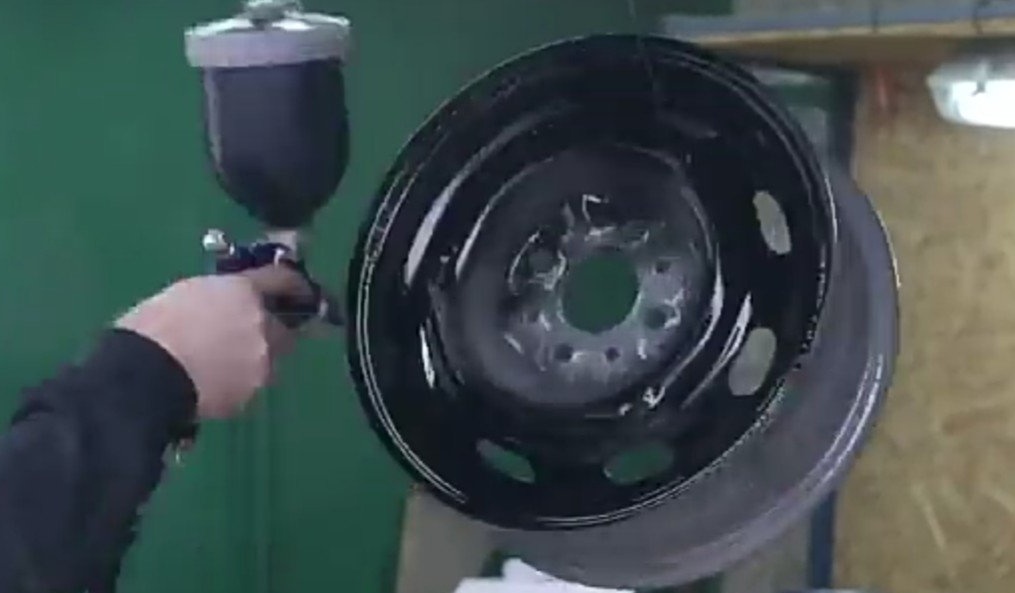
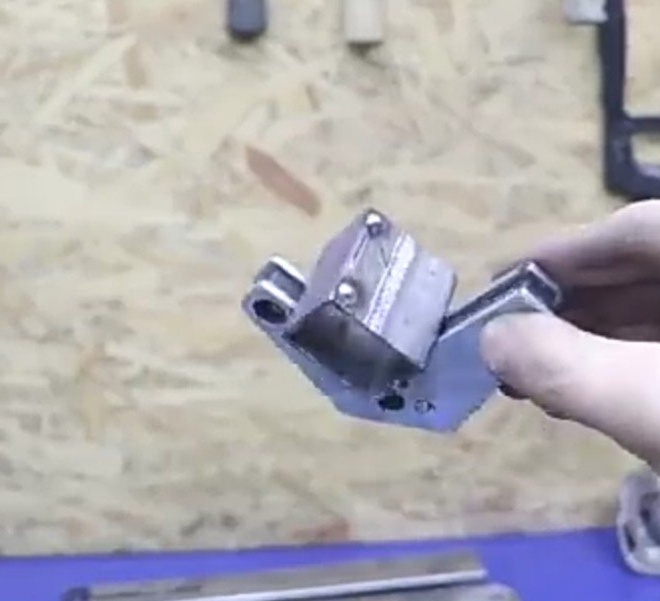
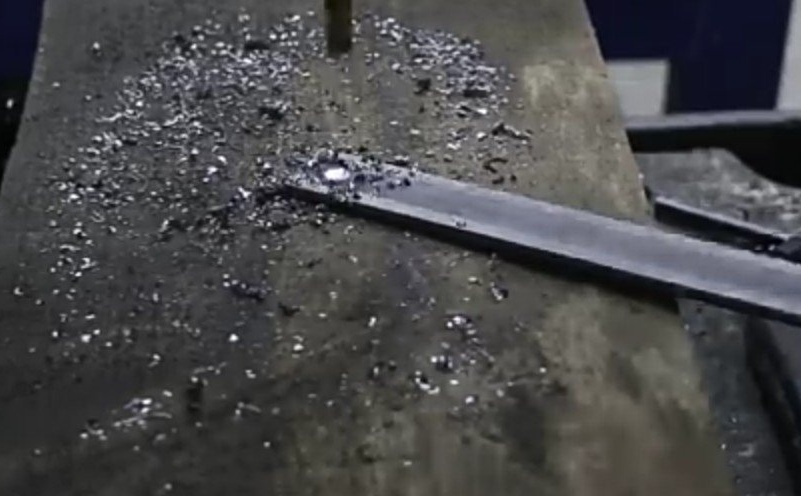
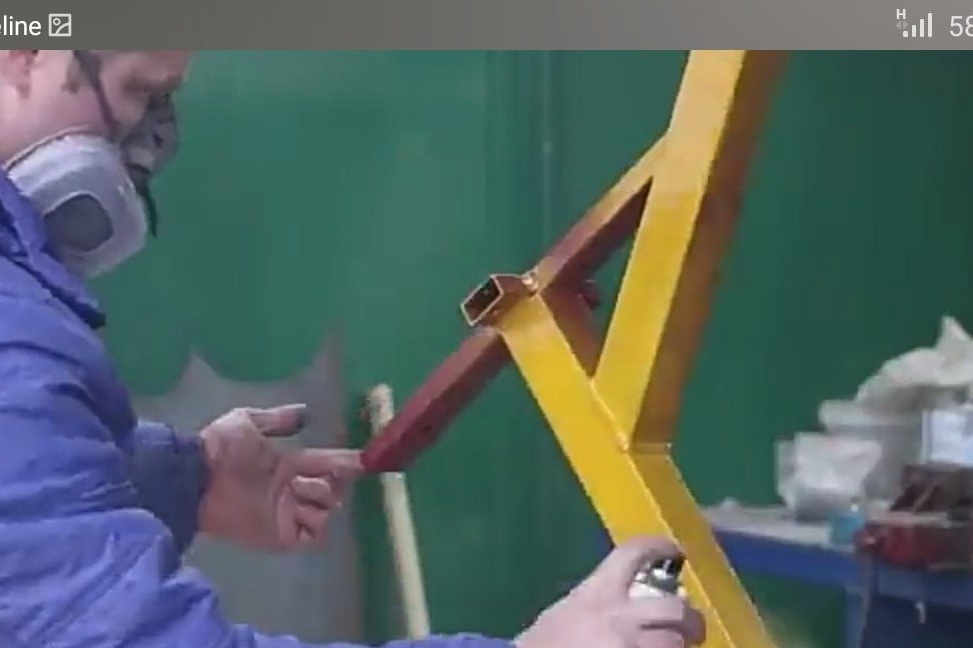
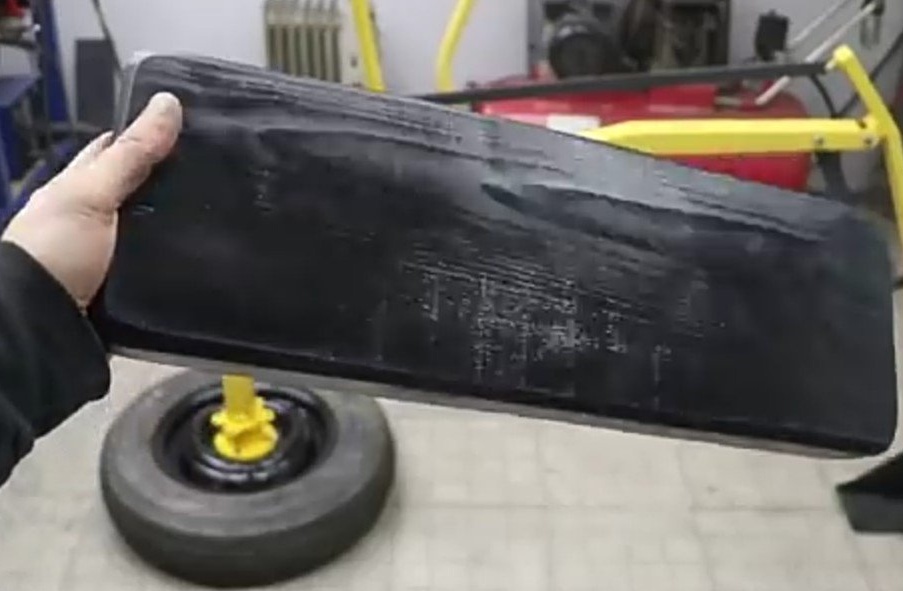
To make this homemade product, the author needed to go to the auto-parsing and buy there an old wheel and a hub from the car. All necessary parts were in terrible condition. In order to get to work, it was necessary to put them in order. To begin with, the external protection is removed from the hub. For this, this part was moved to a vise for rigid fixation. With an impact screwdriver, the protection was removed. Further, a brush worn on the grinder is cleaned from corrosion and dirt. The same is done with a disk that was previously disassembled. A metal brush is put on the drill and everything superfluous is removed. After processing, a primer and several layers of paint are applied to the disk. Now the details look almost new.


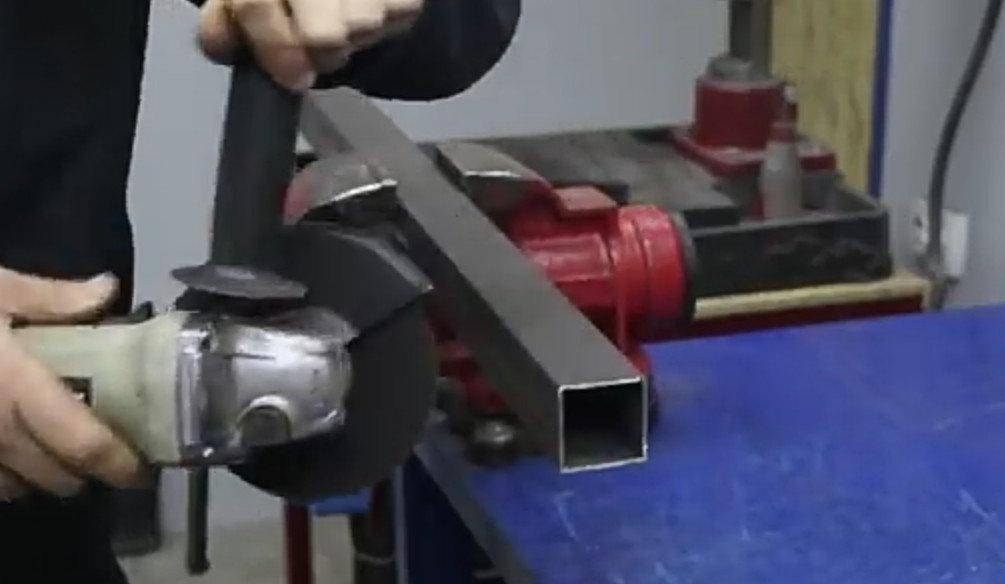
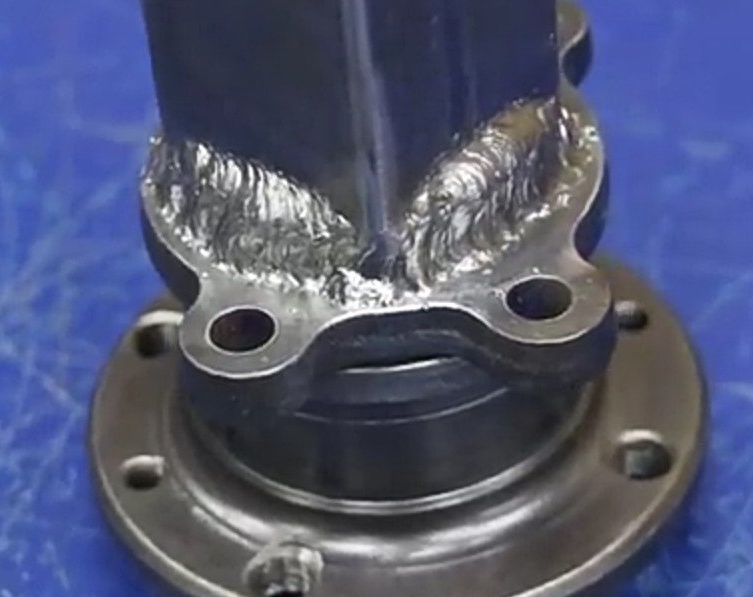
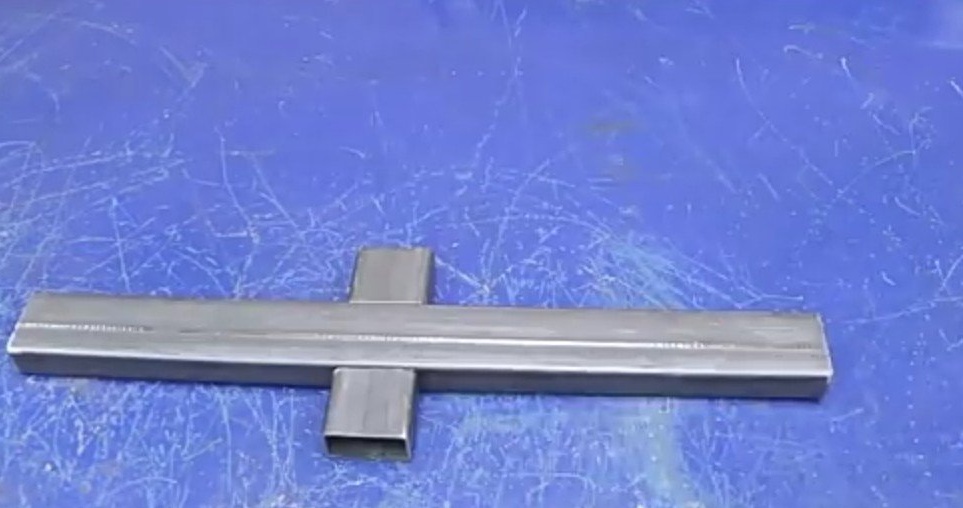
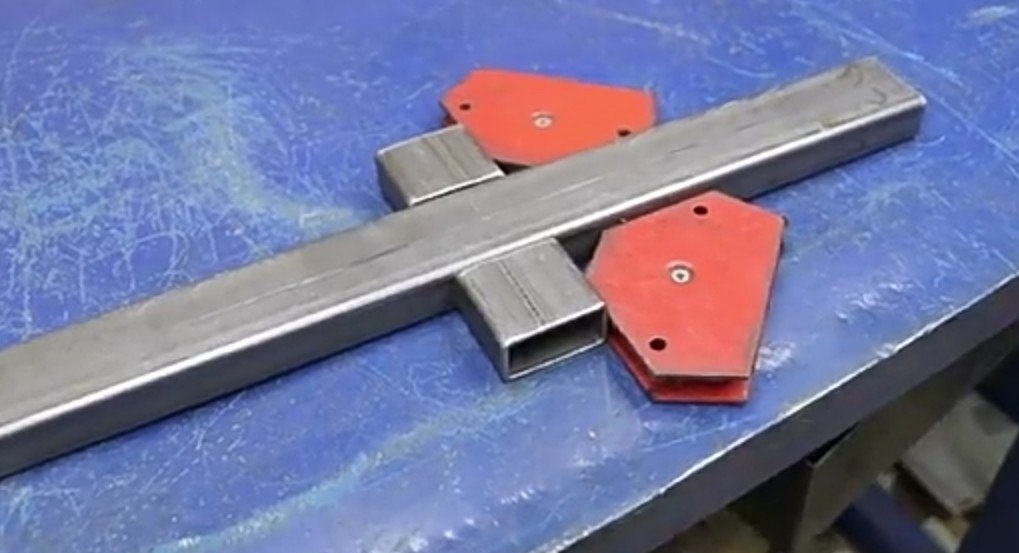
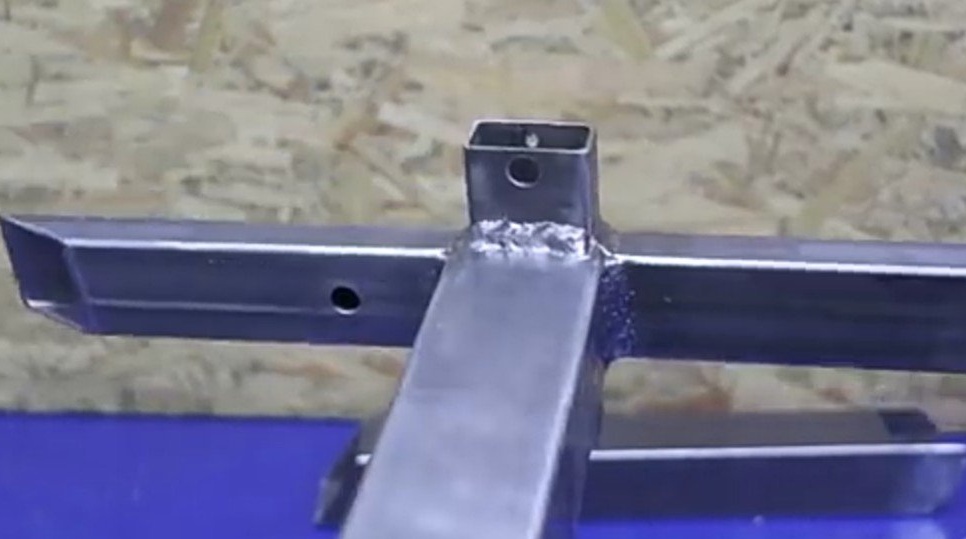
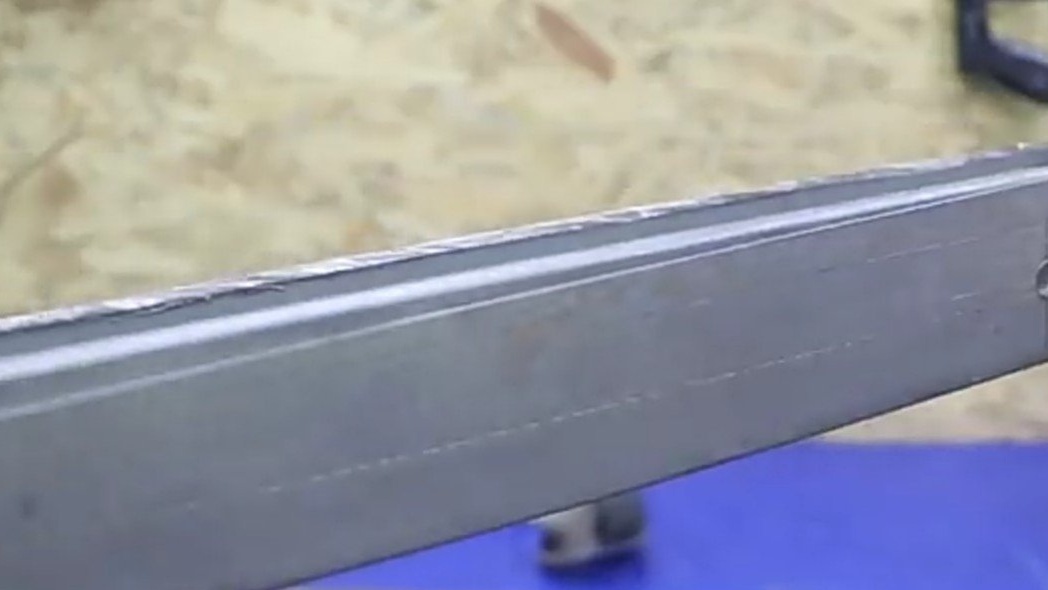
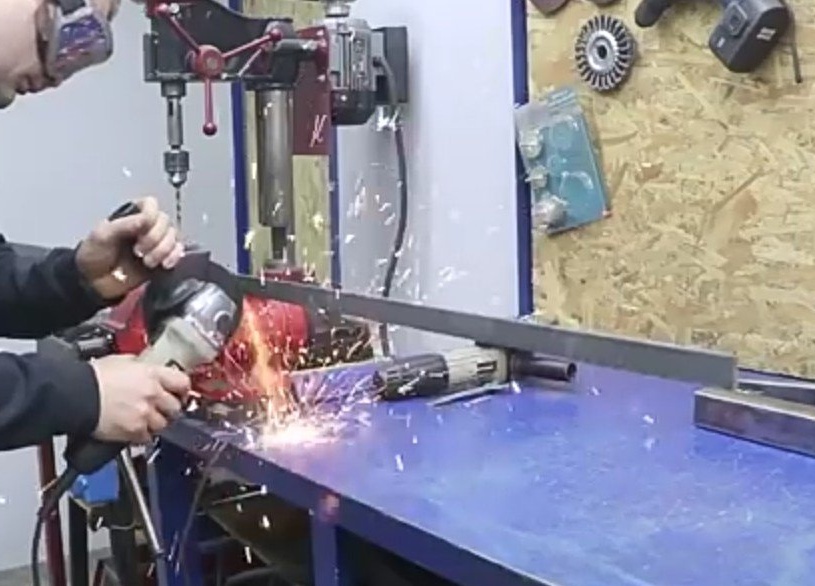
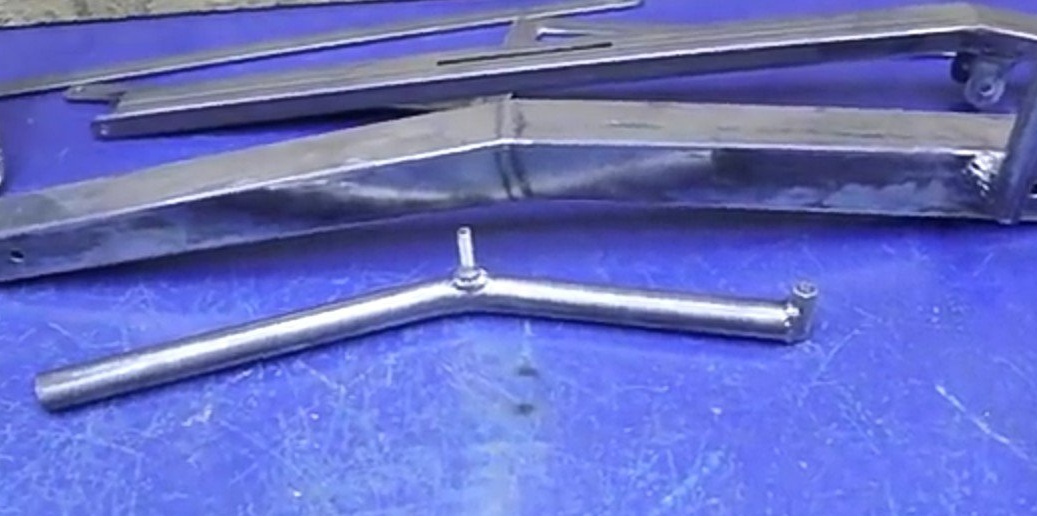
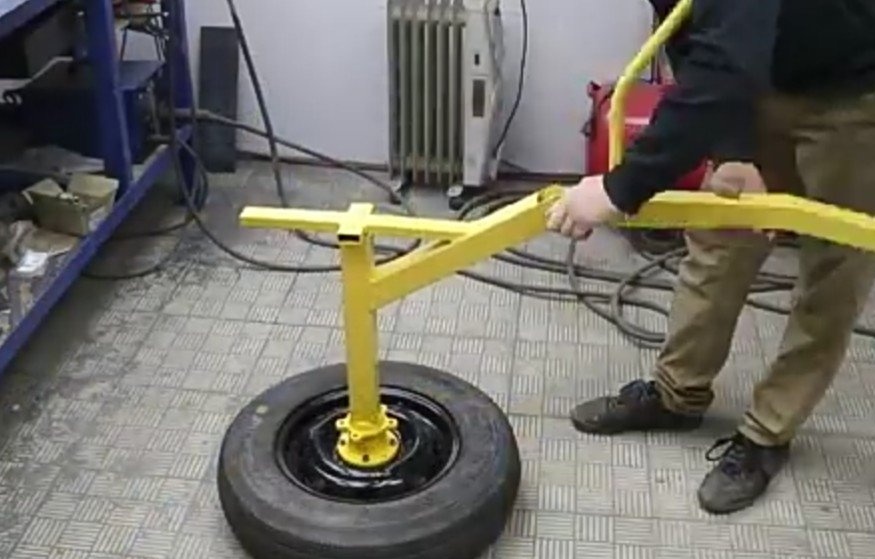
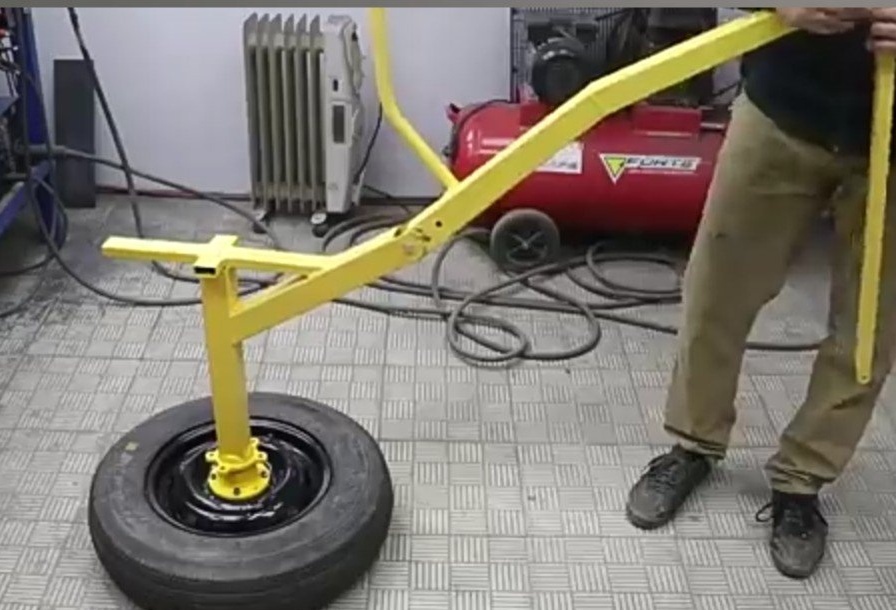
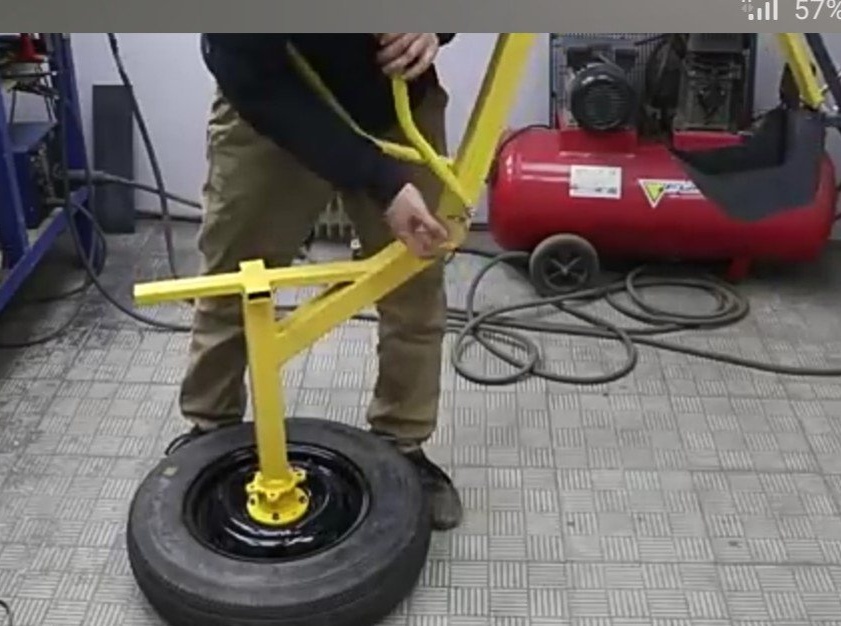
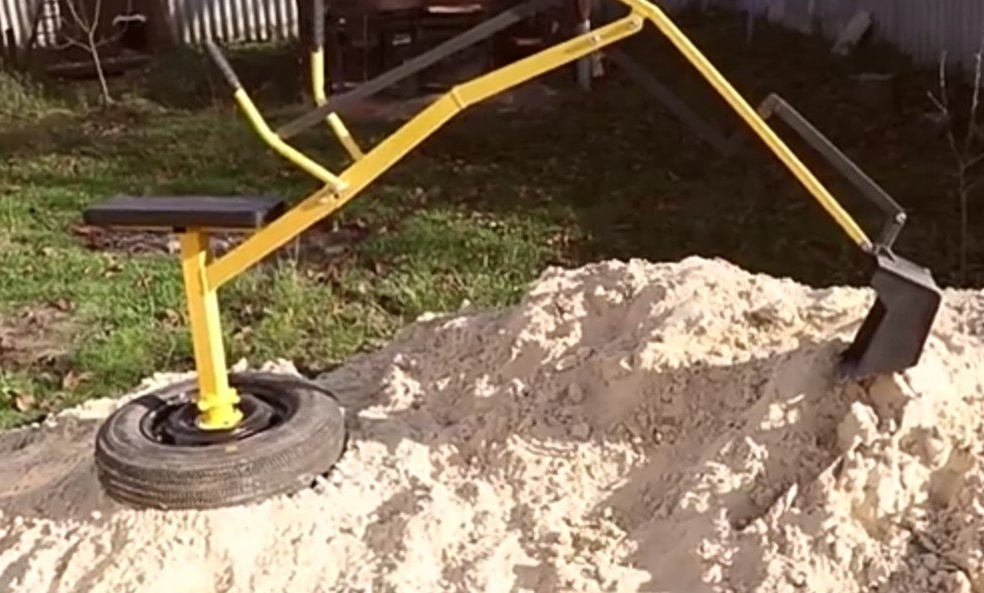
Then on a profile pipe with a diameter of 50x50 mm. a segment of 400 mm is marked and cut off. The pipe is exposed on the hub strictly vertically and is fixed with magnetic corners, which are very convenient when performing welding work. Then the pipe and hub are welded. The author made a double weld, because this part of the finished product will bear the main load. Then the same pipe is cut for the same marking, but with a different shape. In one part, a corner is made, and on the other a mount with an asymmetric shape. The next part consists of a pipe 20x40 mm., The length of which is also 400 mm. And a few small ones. All together forms a cruciform shape. Details are welded together. At the ends, holes of large diameter are drilled on one side and smaller ones on the other. A part with a hub welded to it is installed on this crosspiece and welding is performed. The remaining part is also welded by connecting all the parts together. The whole structure is the basis of the product to which the seat for the child will be attached, as well as an arrow for the bucket and handles to it.

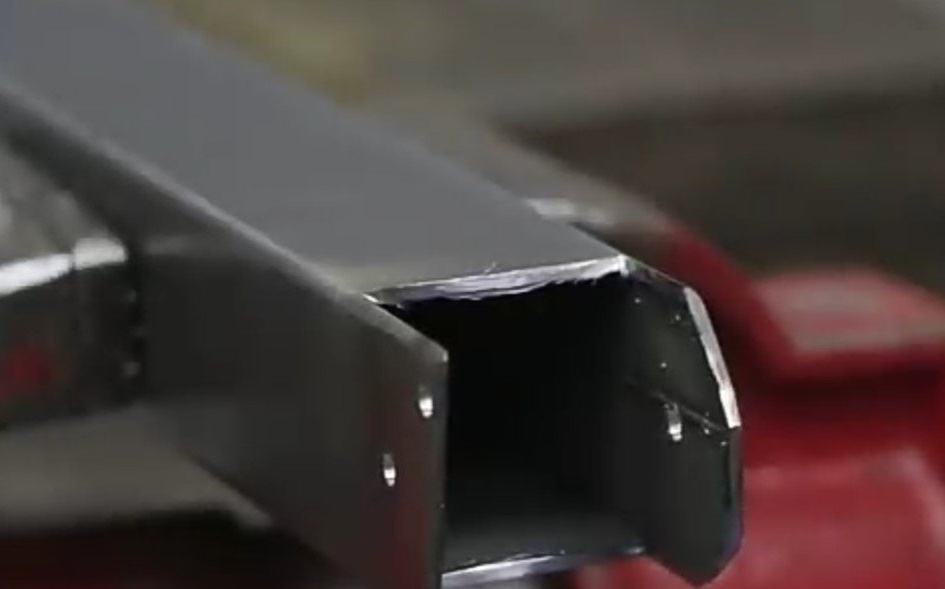
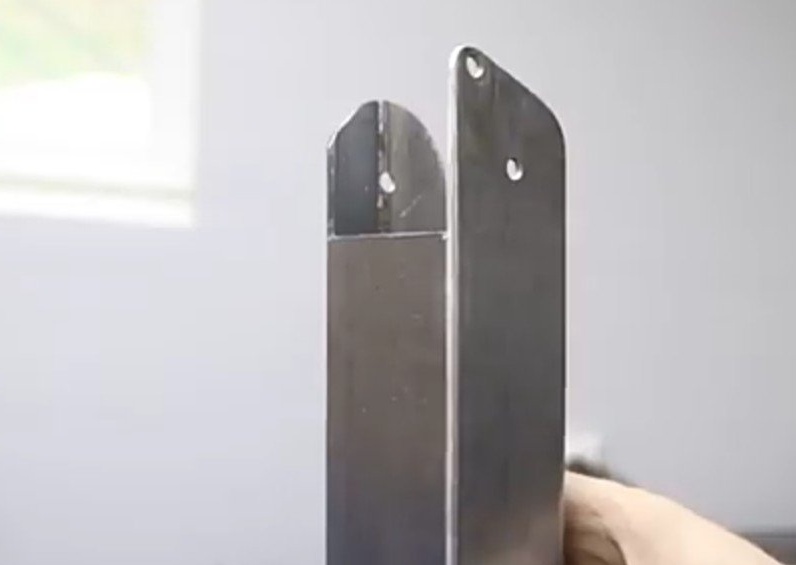

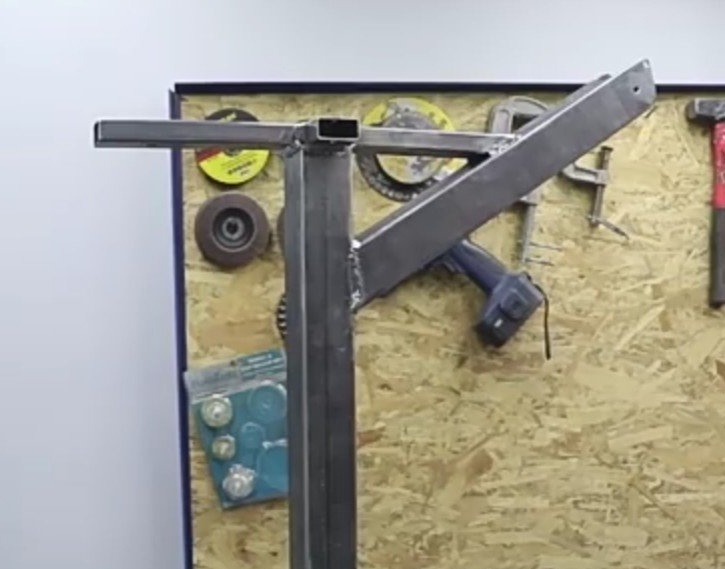
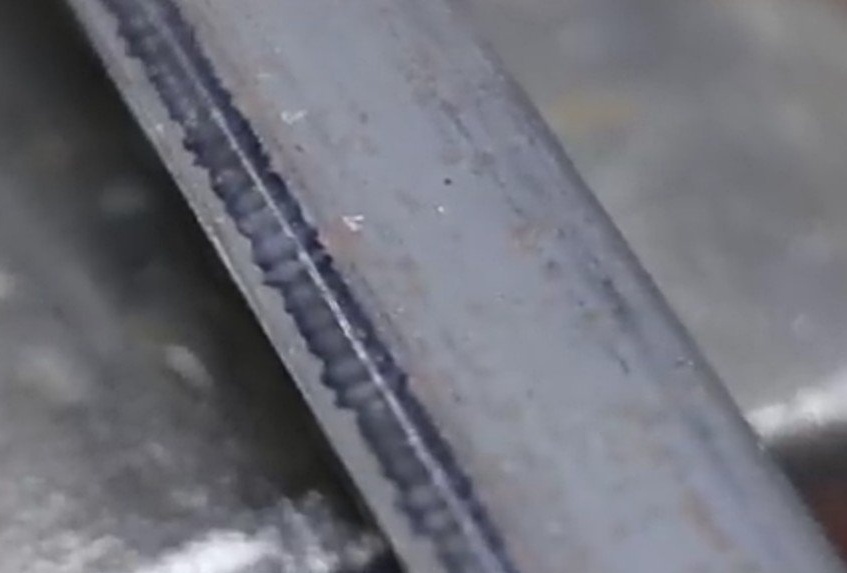
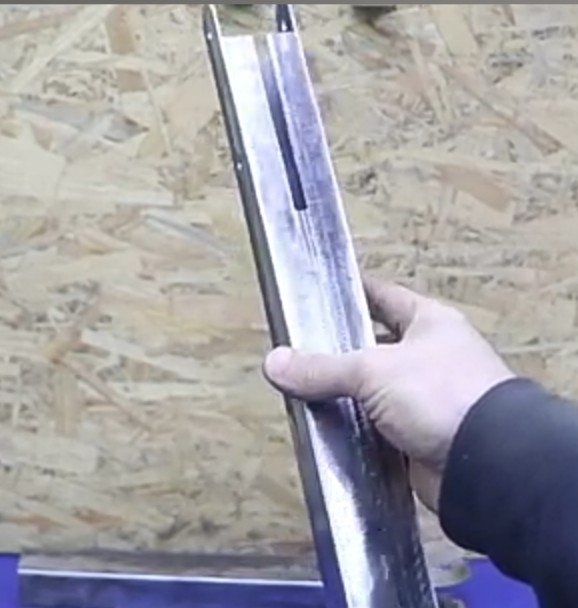
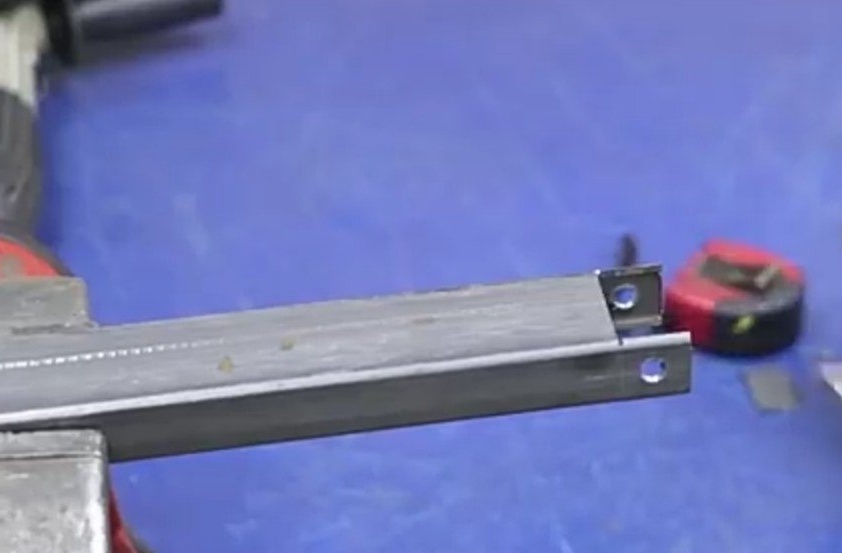
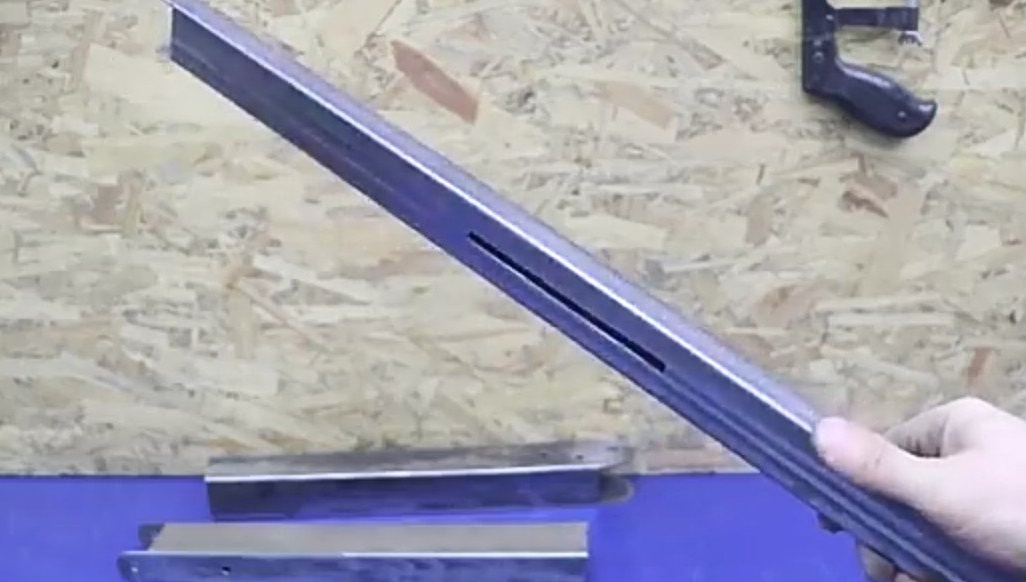
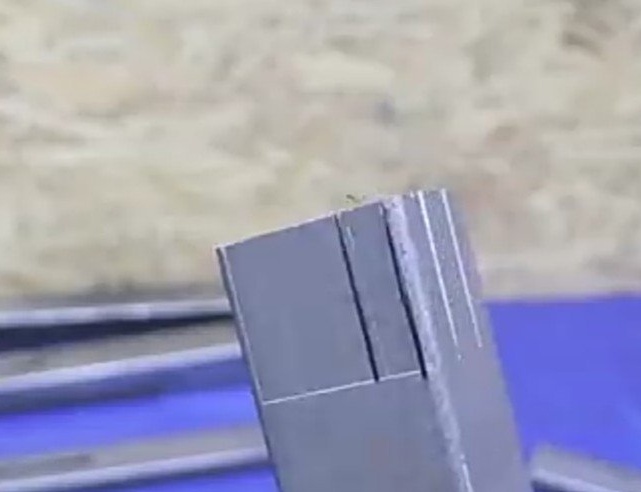
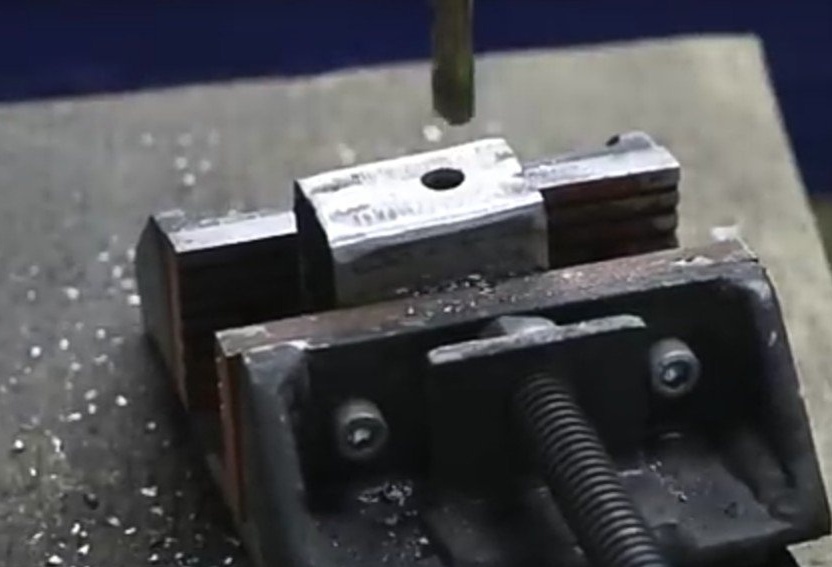
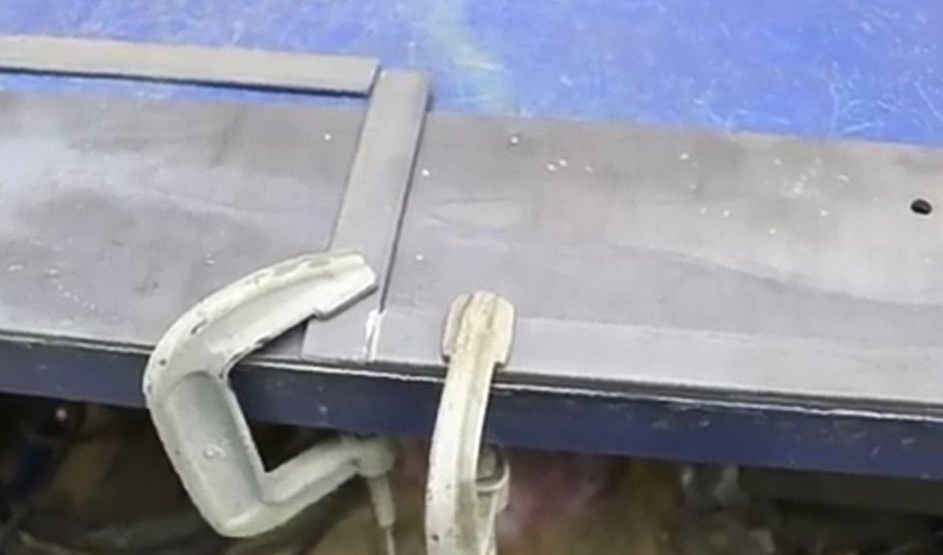
The following workpiece is cut from the remainder of the 50th pipe, which is much more difficult in terms of the degree of marking and cutting. Three holes are drilled on one side.One of the walls of the future segment is cut along the entire length. Further, both walls at which the upper part was cut off are cut. The difference in height between the ends will be equal to 10 mm. The resulting blank must also be finalized, namely, make it Already, sawing off a strip of small width in the middle. The author fixes the obtained corners on magnets and tries to weld them as carefully as possible so as not to deform. The part of the wall that was cut off a little earlier is welded to the top. The resulting part is similar to the leg of a chair, except that there are holes in it. Further, parts of the walls are cut out on both sides of the ends.
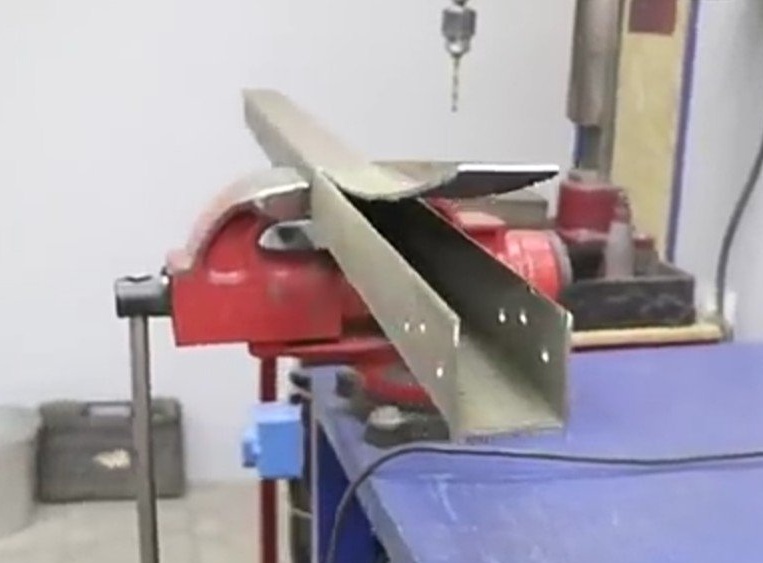
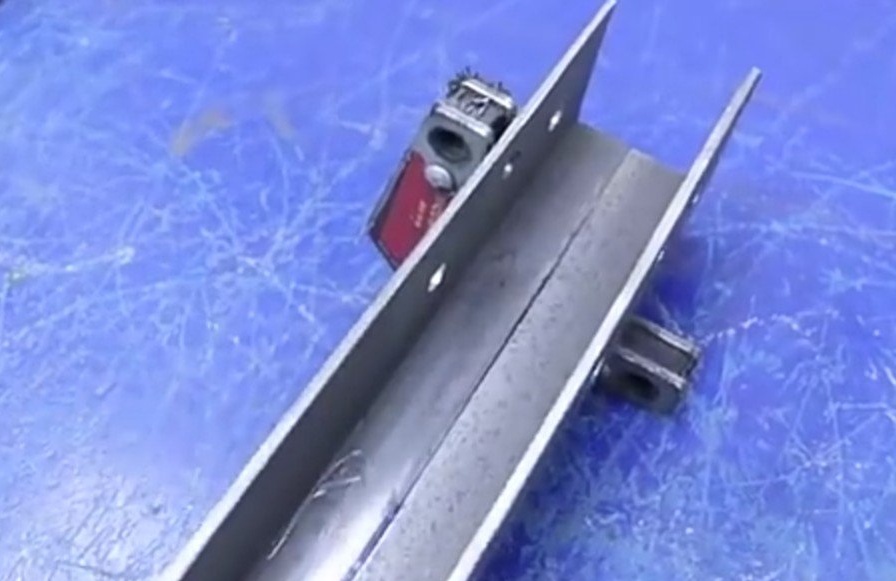

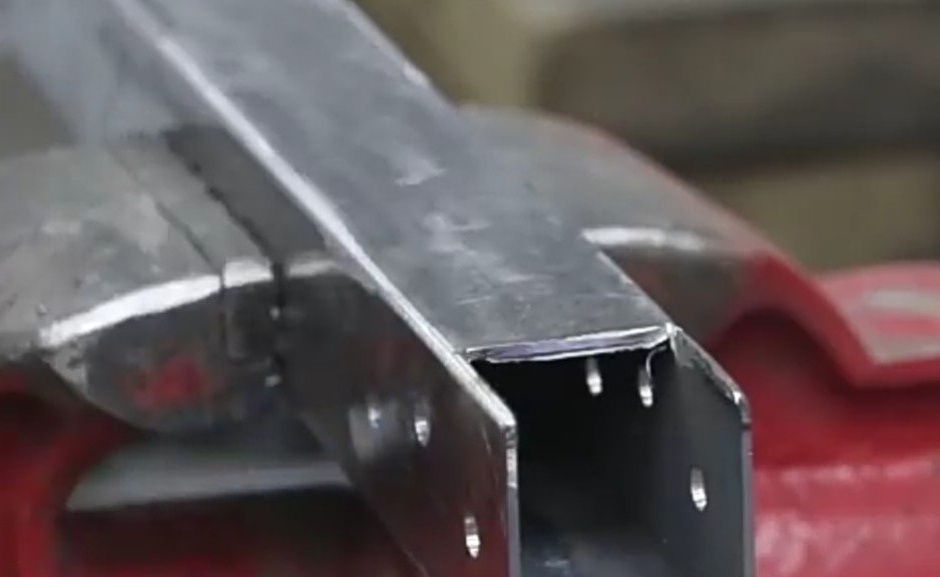
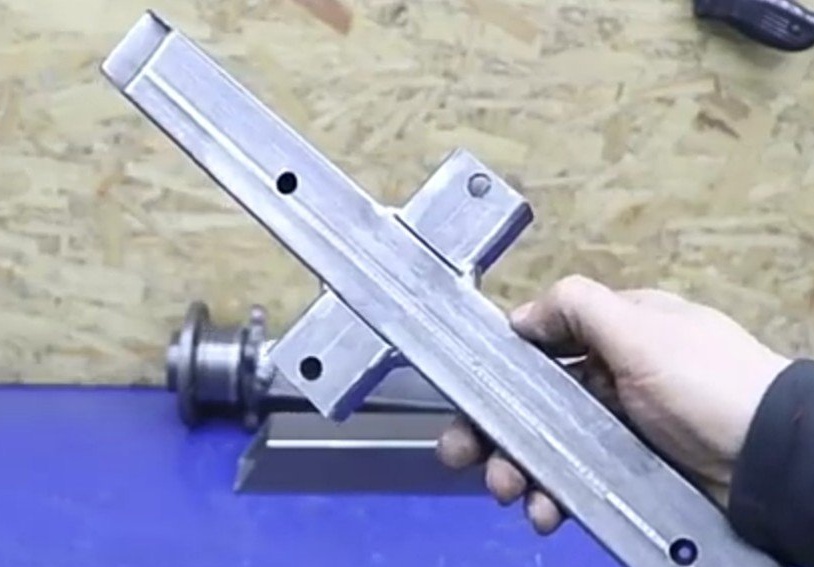
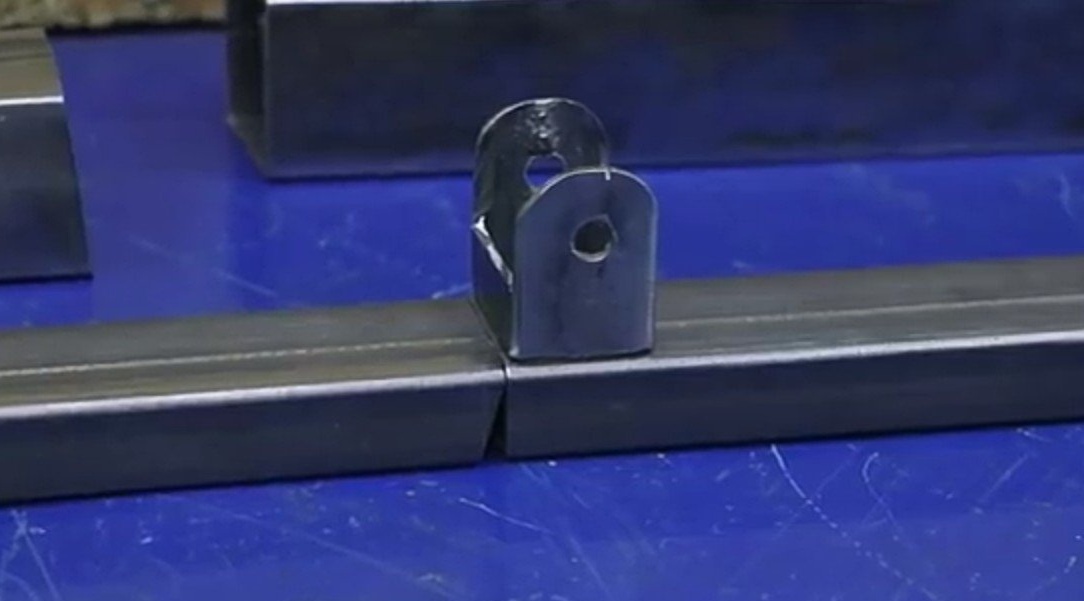
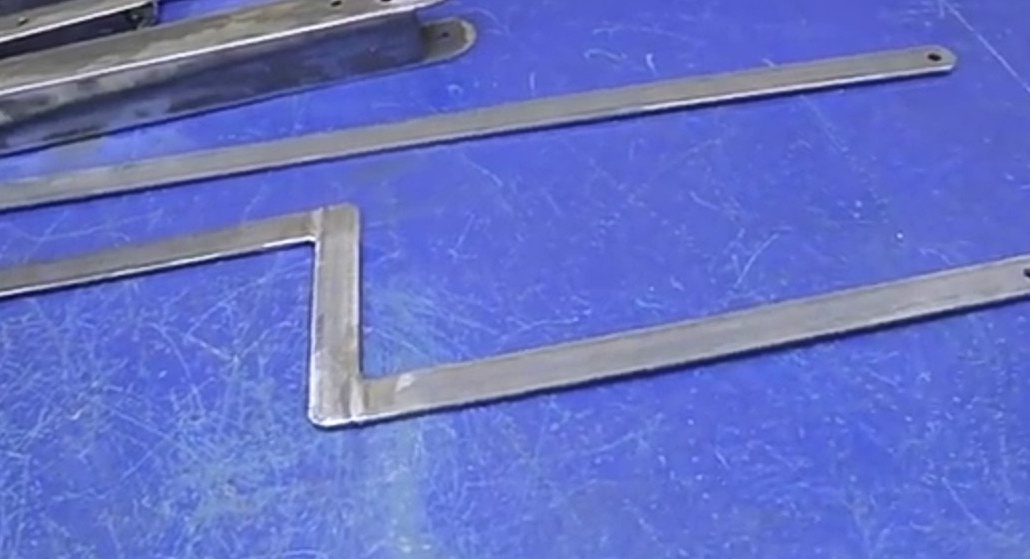
The next part, like the previous one, is cut from the same 50x50 mm pipe. According to the same principle as the previous workpiece, the cutting geometry of the part is also not symmetrical, since a longitudinal cut in the middle of the workpiece is added to the eyes. In a 20x40 pipe, parts of the walls are cut out at the ends, holes are drilled on the sides and the walls are rounded. This part will also have a longitudinal cut, but already through and approximately in the middle. For the next part, a 50-pipe is cut from all sides, in order to obtain a reduced non-standard size fastening. All available parts are assembled in a single design to which a small eye is added.


To get the next detail, the author uses 25 strip. There is nothing complicated in its manufacture - a segment at the edges of which two holes are made. The next part is also from the strip. It consists of three segments of different lengths. During welding, the author rigidly fixes the parts with clamps, in order to avoid deformation. Holes are also made at the ends. All corners are rounded.
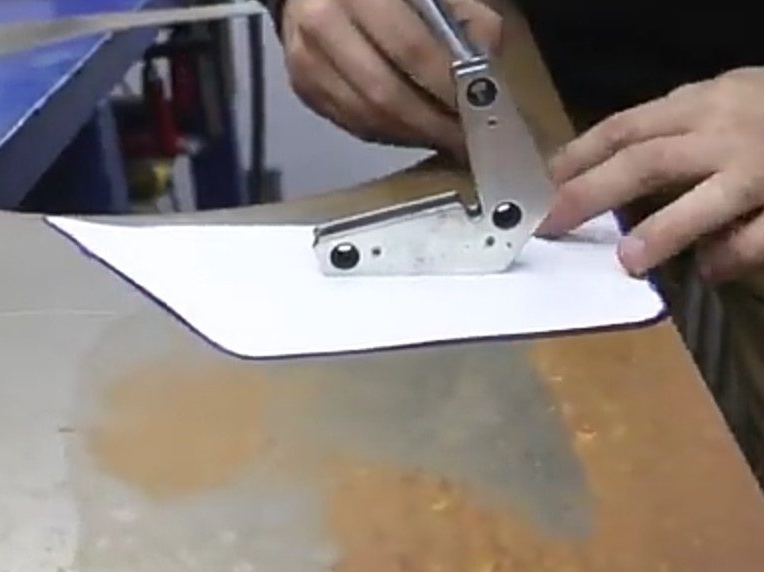
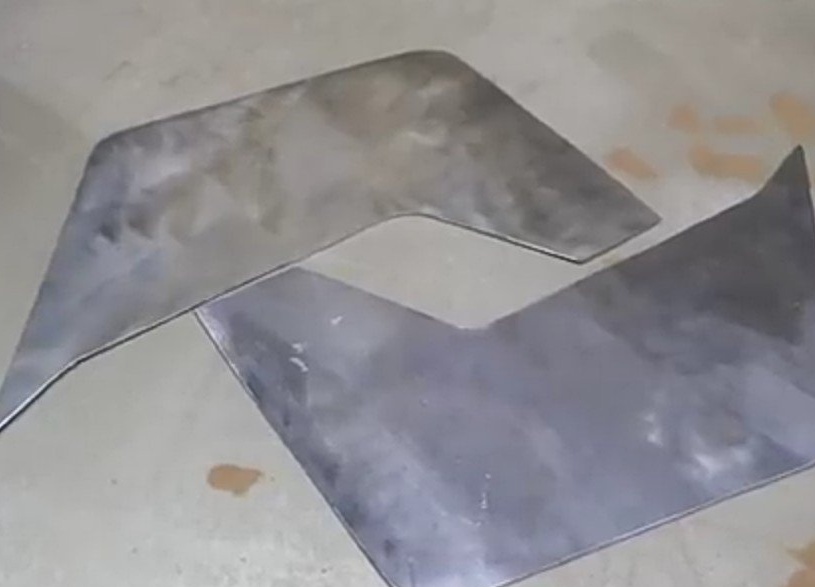
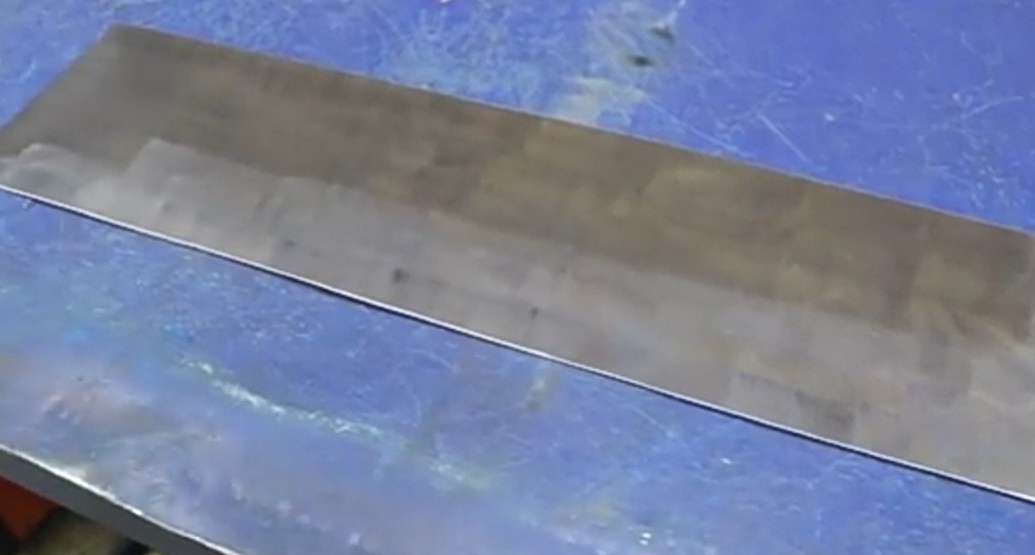
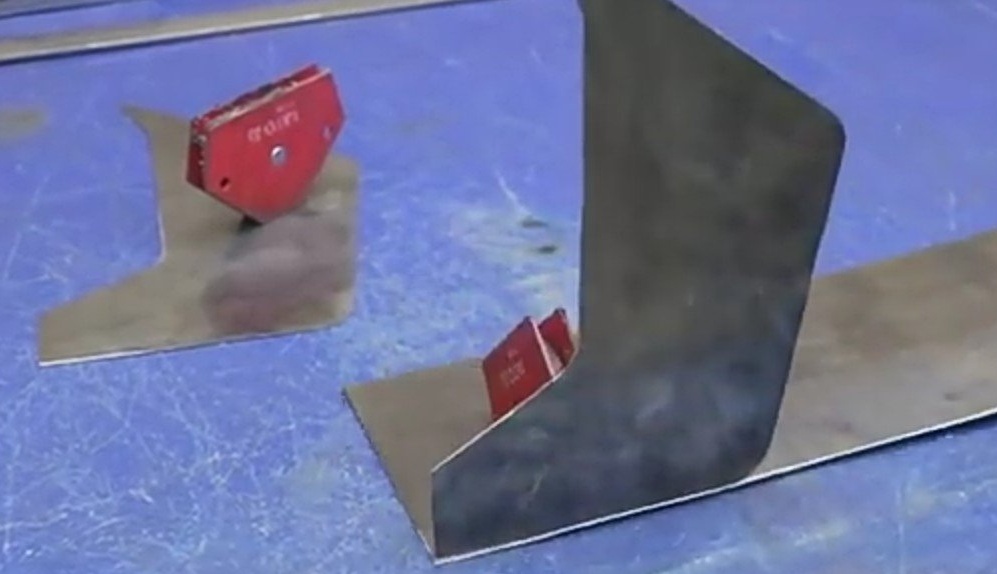
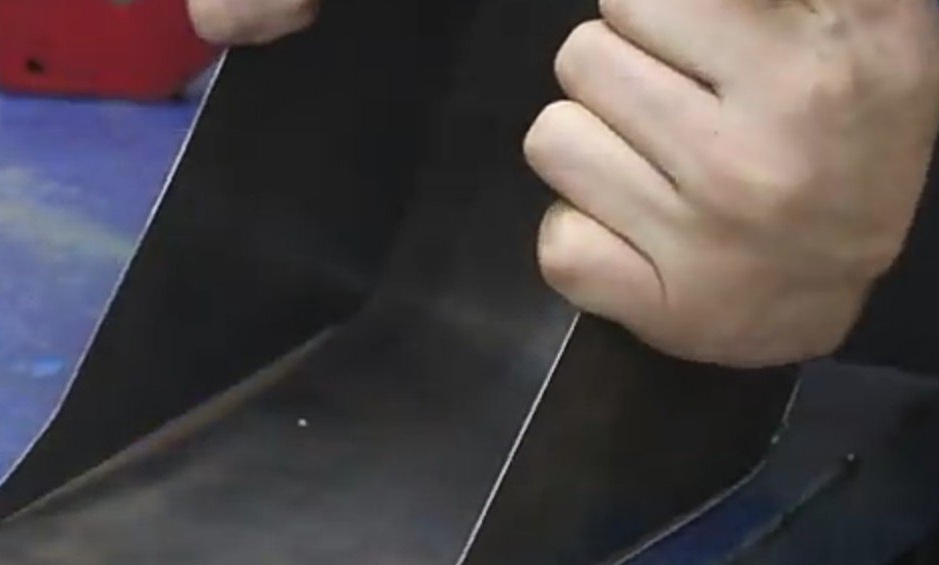
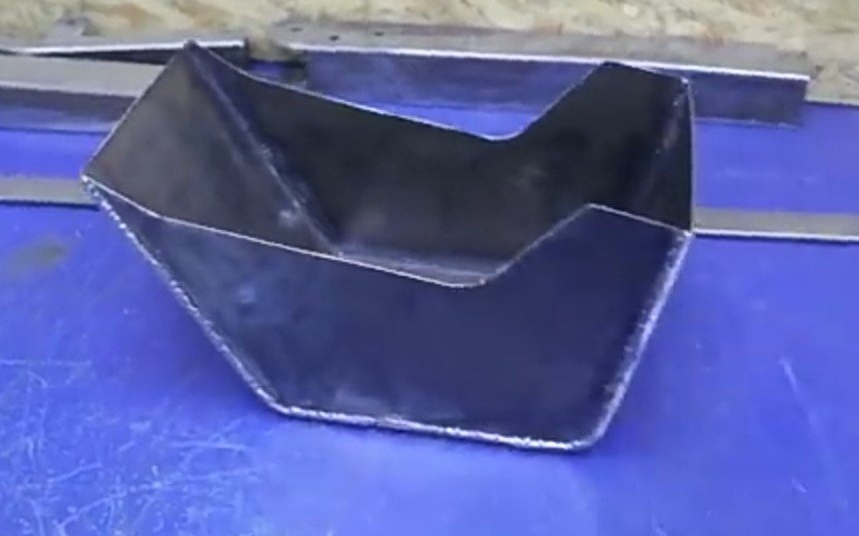
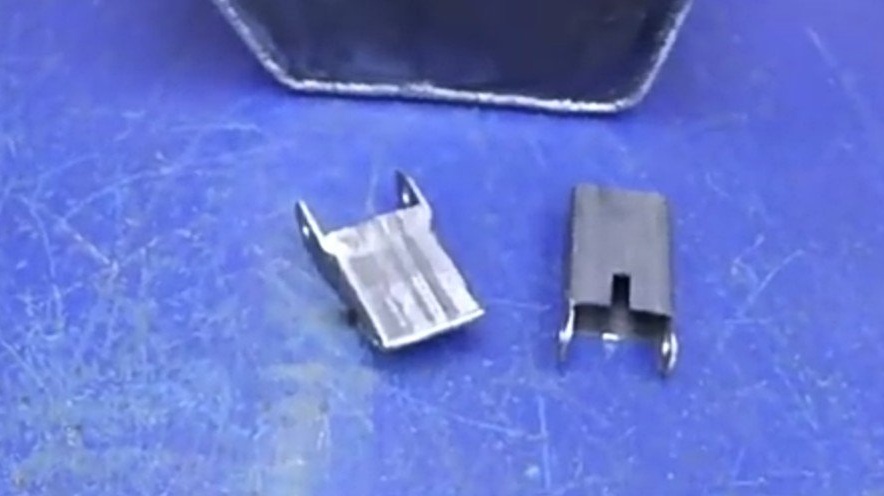
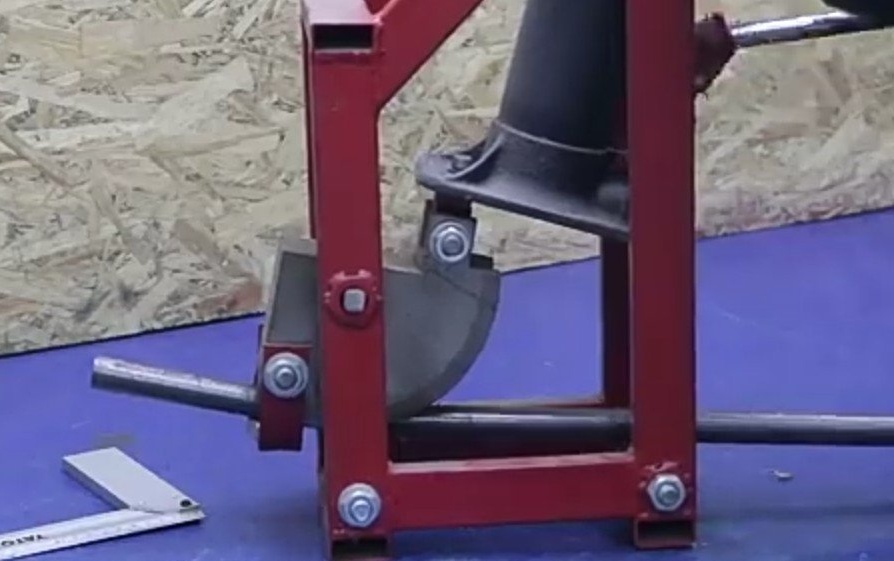
Now the author begins to make a bucket. For this, sheet metal is needed, on which a drawing is applied using a stencil. such parts will need 2 pieces. cuts them out. Another part of the rectangular shape is cut from the same sheet. By magnets, the author fixes the side halves on a rectangular base at an angle of 90 degrees. Points along the entire perimeter of the workpiece are welded. The waste is cut off. 2 fasteners, which were made in advance, are welded to this container in its rear part. With a pipe bender, the author bends a half-inch pipe, giving it the shape of handles. They need two pieces.


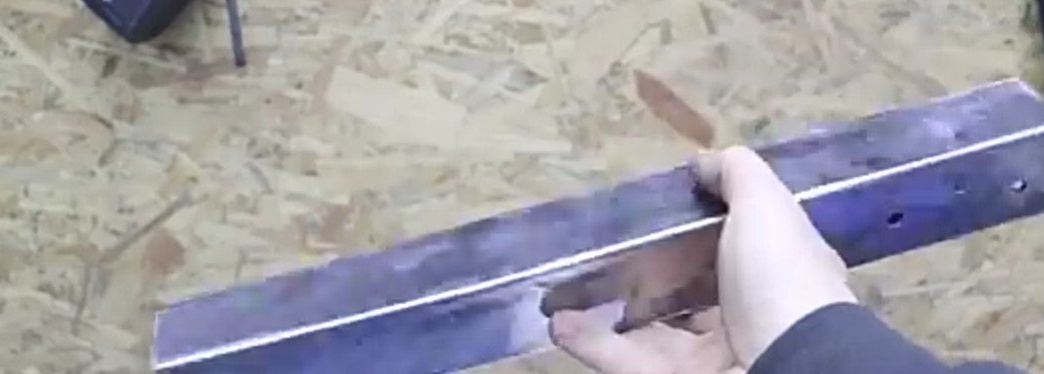
Further, all parts are carefully primed and sent for painting. The wheel disassembled for the convenience of the work is assembled again. The main bearing is mounted on the wheel and bolted with ordinary wheel bolts. All parts are sequentially assembled together with bolts and nuts. From a board 40 mm thick. the seat is made and installed in its intended place. Handles are worn on handles for of bicycles.
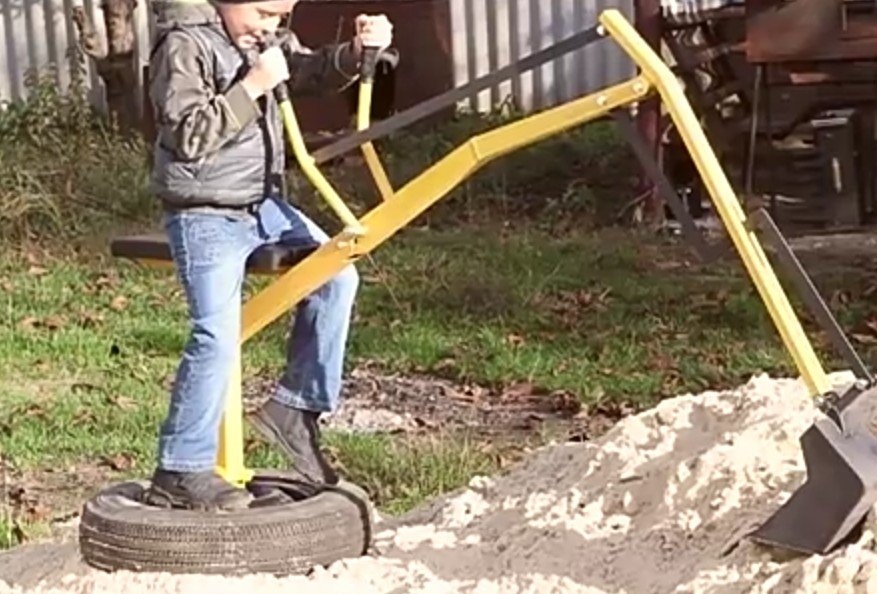
Despite the fact that the reach of the bucket boom turned out to be quite long, according to the author, the whole structure is quite stable.


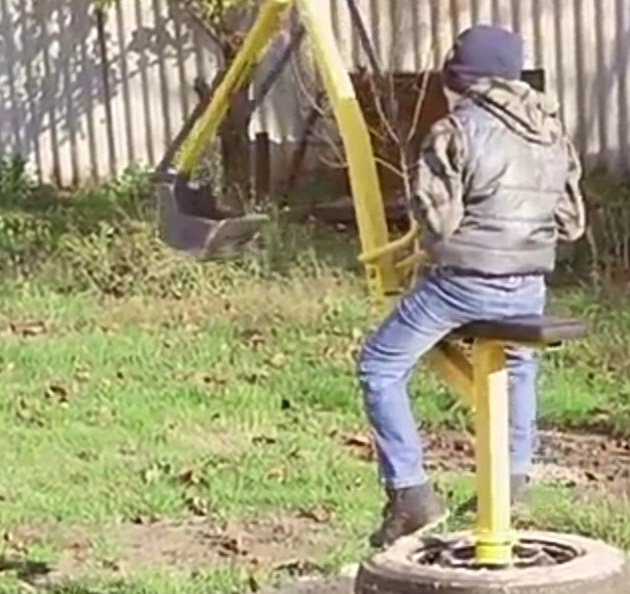
Everything turned out great, the child is happy!