


I welcome all fans to craft, I propose to consider instructions for making a useful nozzle for a grinder do it yourself. With help homemade you can cut the brickwork, it is very convenient if you need to pull out a brick, make an opening for a window, door frame and so on. Of course, many masters will prefer to work with a large grinder, but there will be a lot of dust from it, it is heavy, and the diameter of the circle may be small. The considered nozzle can be put on the 125th grinder, it is able to go deep into the wall. Everything is assembled simply from the available materials, if the project interests you, I suggest studying it in more detail!
Materials and tools used by the author:
Material List:
- Sheet steel;
- a piece of a round pipe;
- bolts and nuts;
- radial bearing;
- old hacksaw blade;
- 2 kW dimmer or similar;
- paint for metal.
Tool List:
- grinder;
- welding machine;
- vise;
- drill;
- files;
- drill;
- vernier caliper;
- marker;
- roulette.
Homemade manufacturing process:
Step one. Bracket
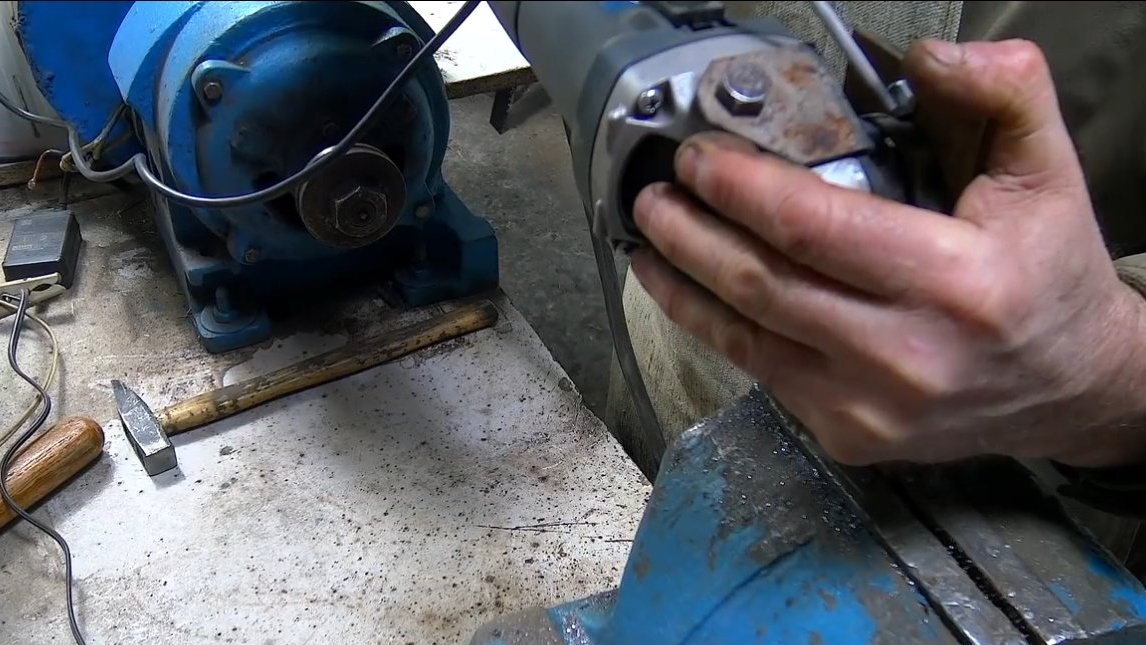
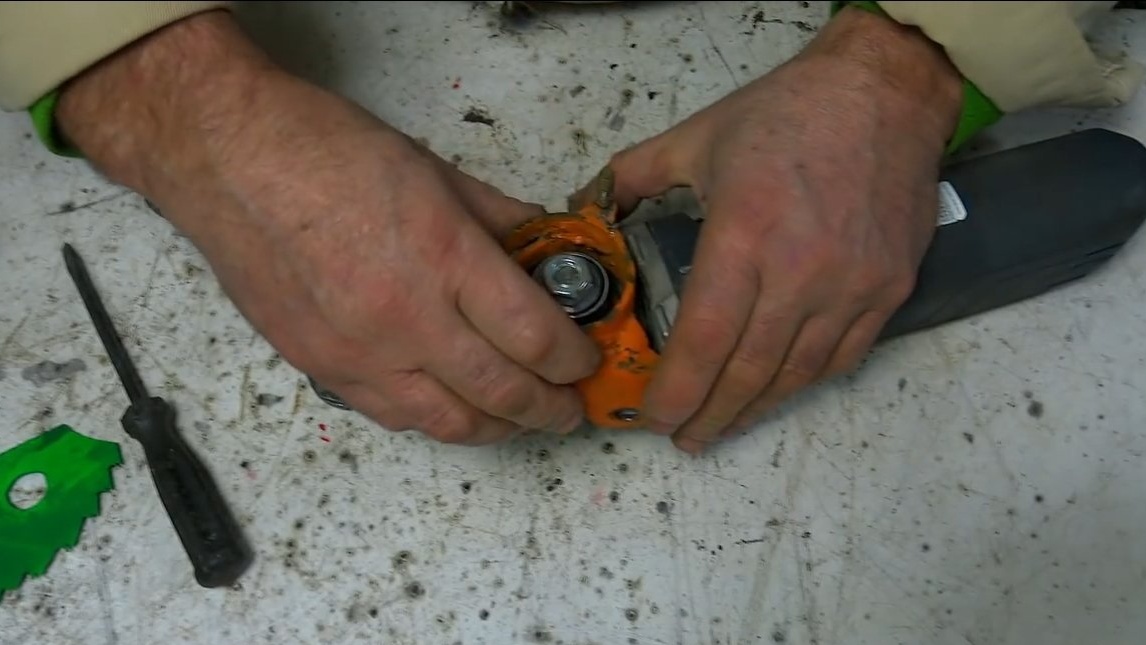
First of all, we have to make a reliable bracket to which we will attach all other parts. Fasteners should be fixed on the grinder as reliably as possible, this will affect safety.
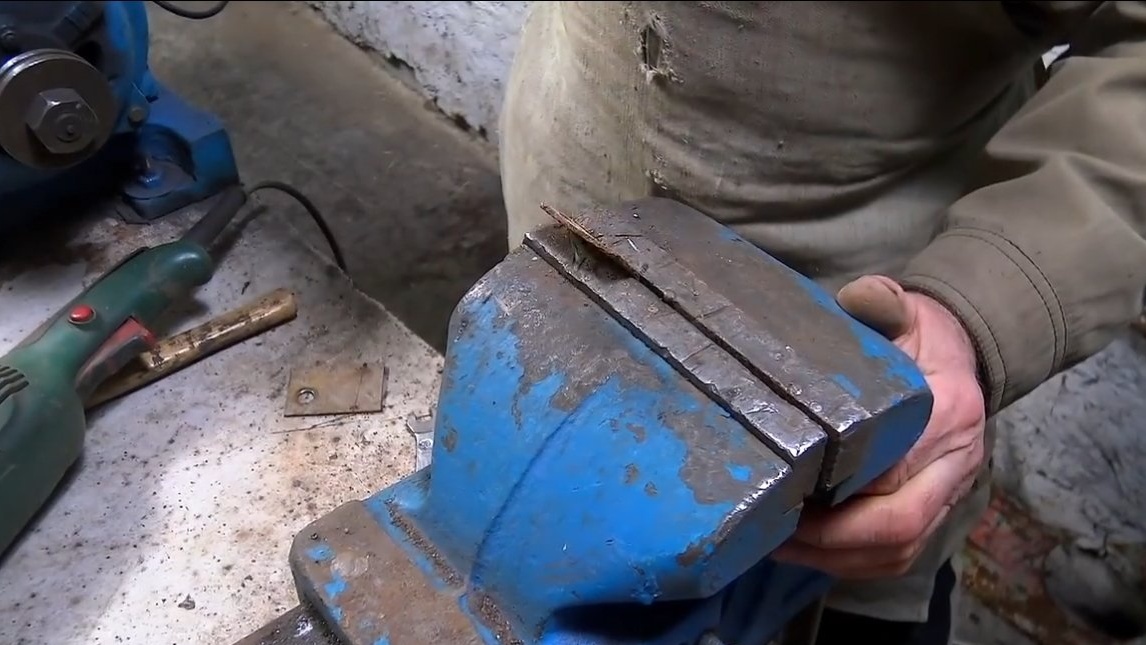
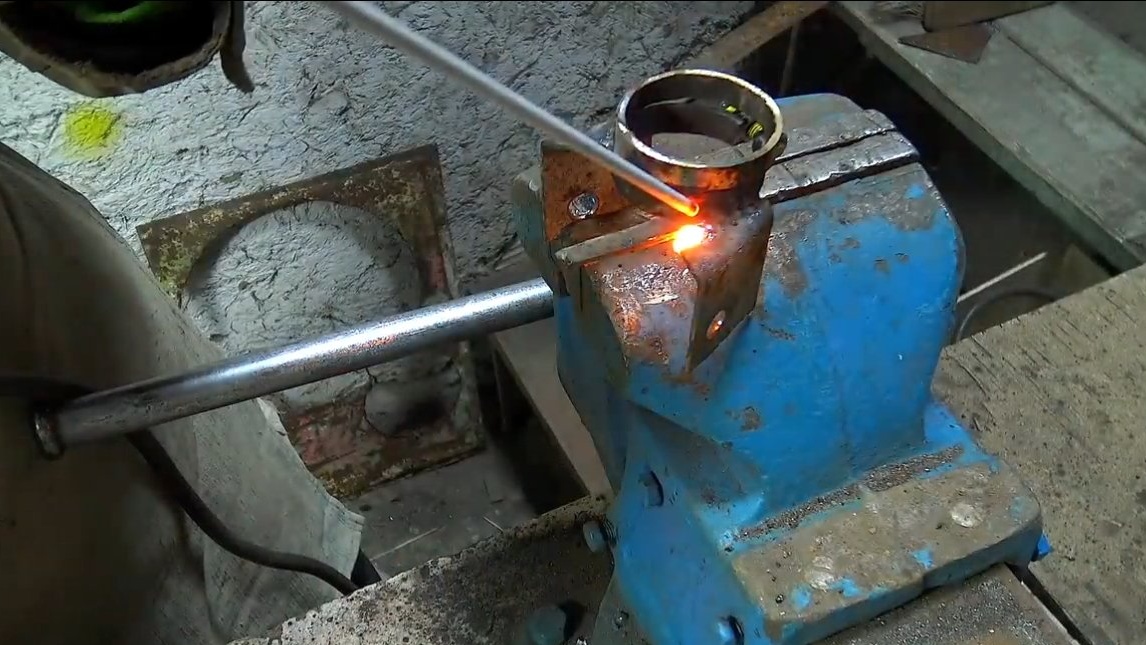
To begin with, the author made a clamp from a piece of a round pipe, he puts on that part of the grinder where the visor is usually placed. The clamp is pulled together with a bolt and nut, its design is quite simple.
Next, we weld two more fasteners to the clamp, with the help of them the nozzle will be fixed with two more bolts on the sides where the handle is wrapped. Fasteners can be bent in the shape of a sheet metal housing, their author has been welded to the clamp. As a result, we get an excellent reliable basis for further assembly.
Step Two Cranks
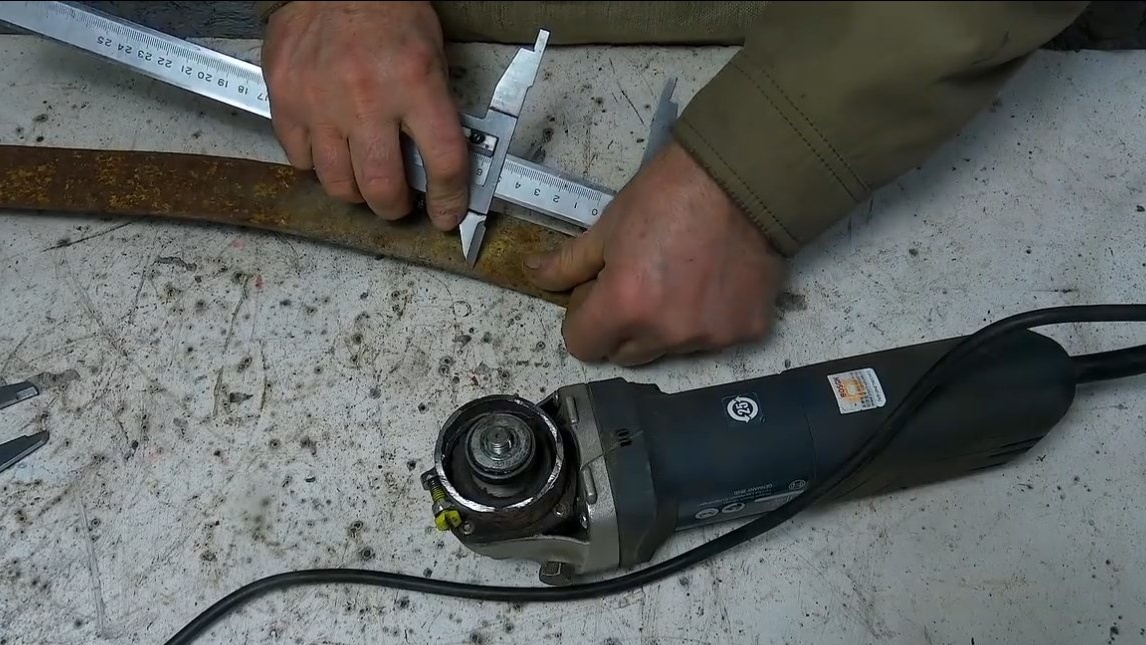
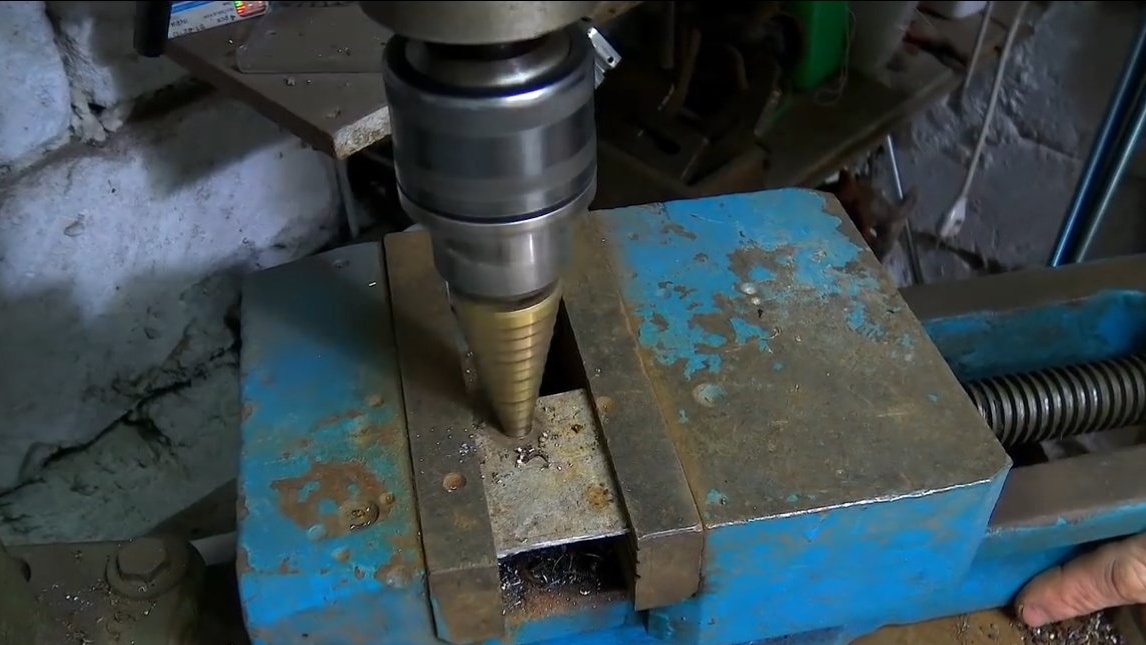
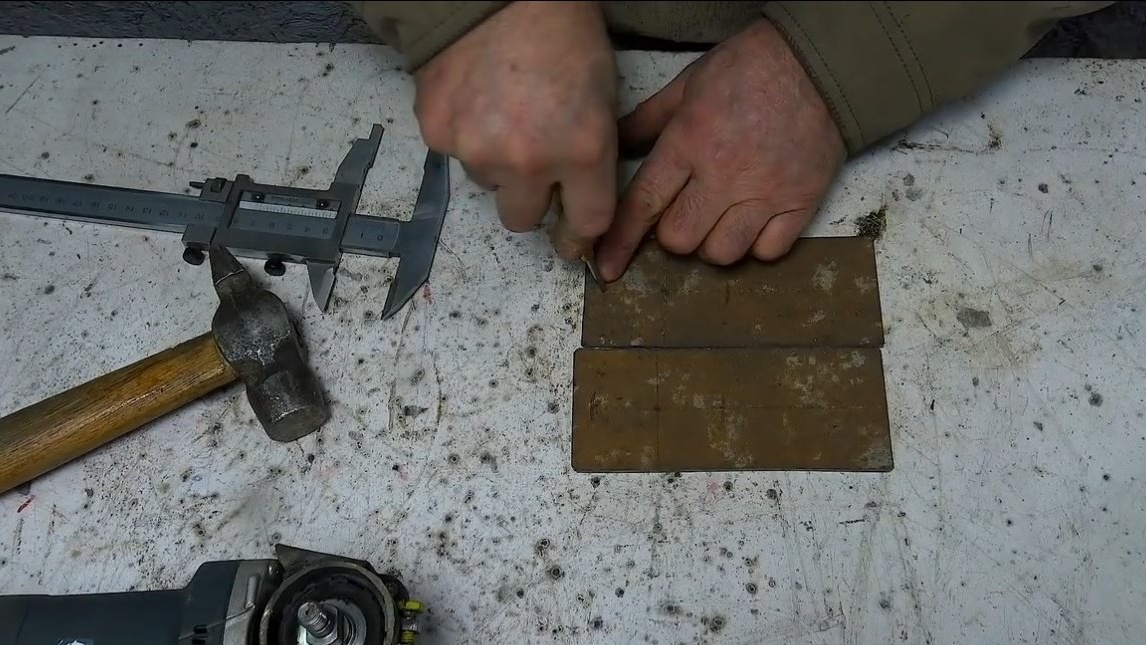
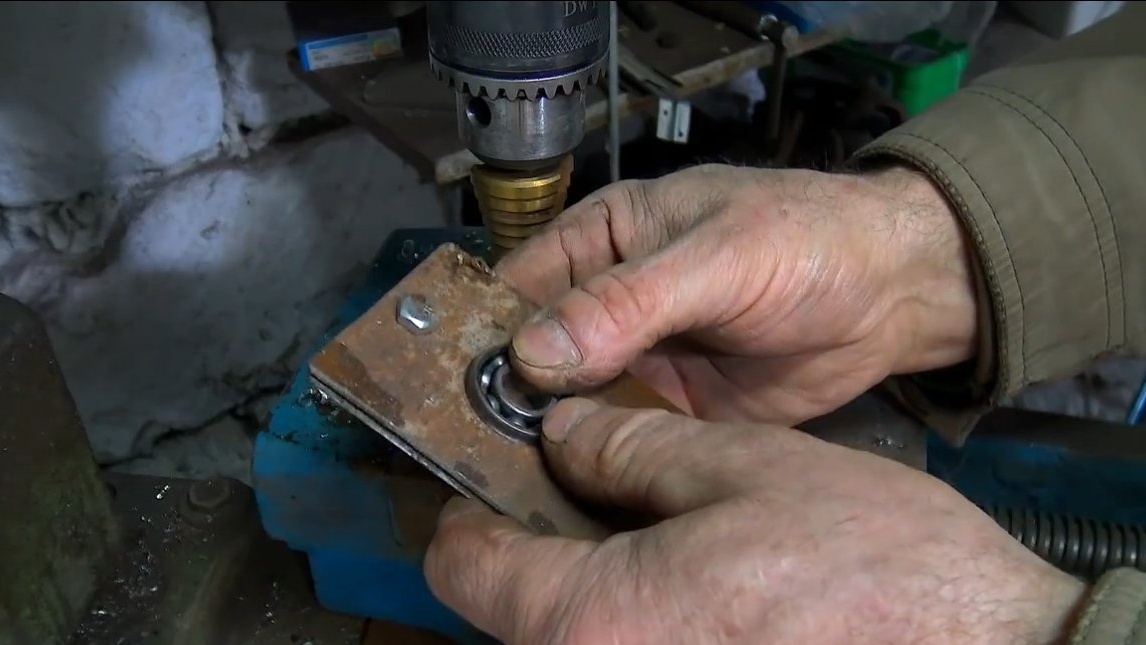
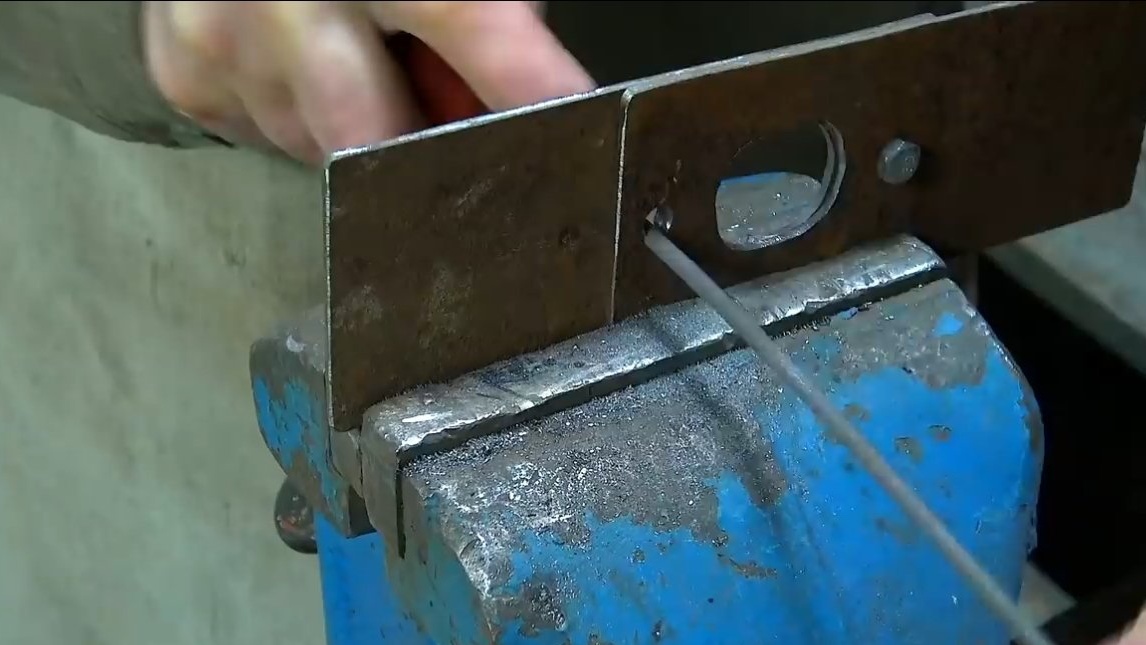
Now we need to make a connecting rod, this is a lever that will make reciprocating movements. There will be two pieces of such connecting rods, each connecting rod will have its own knife, this increases the productivity of the tool, it will work approximately like scissors.We cut the connecting rods from sheet steel of suitable thickness, in the center we drill a hole for the bearing with a step drill.
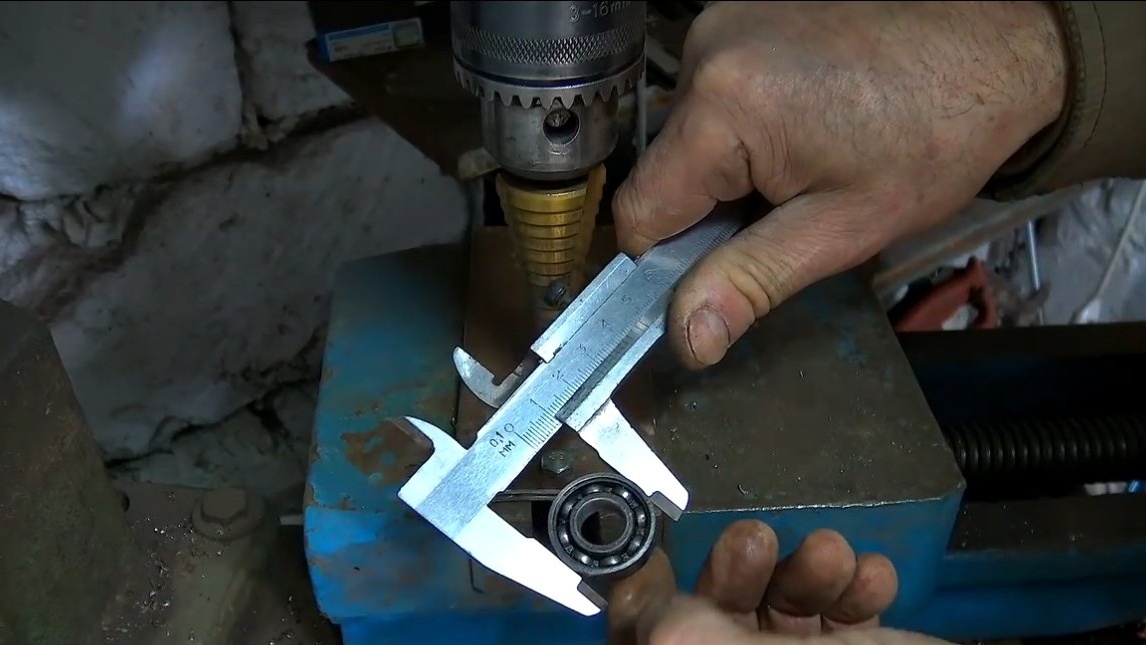
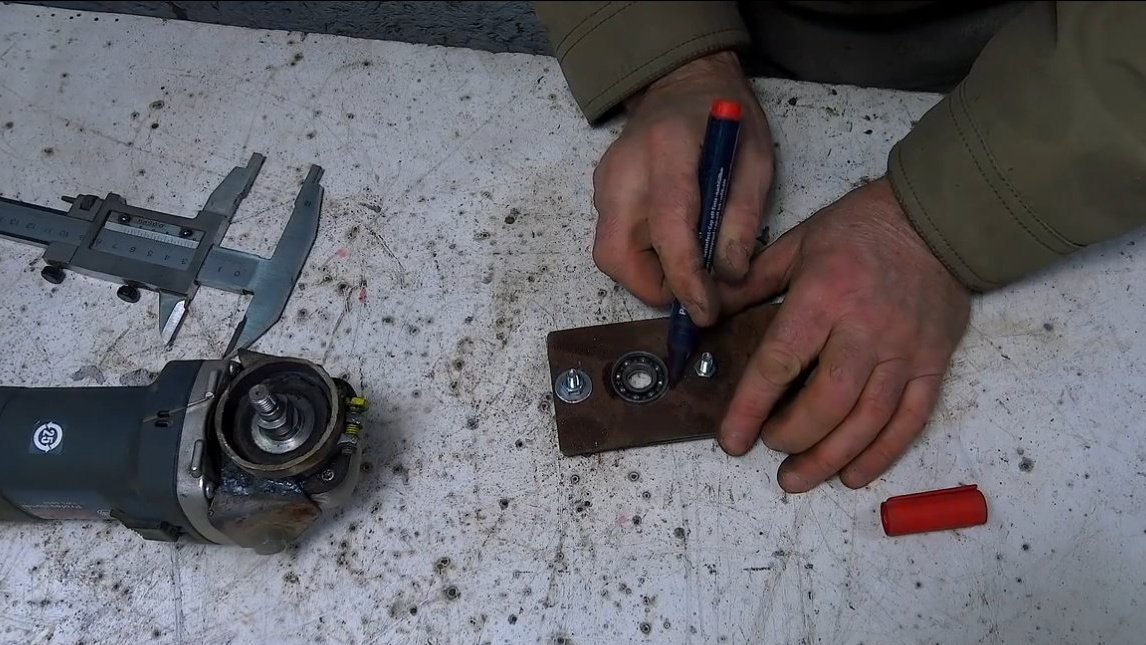

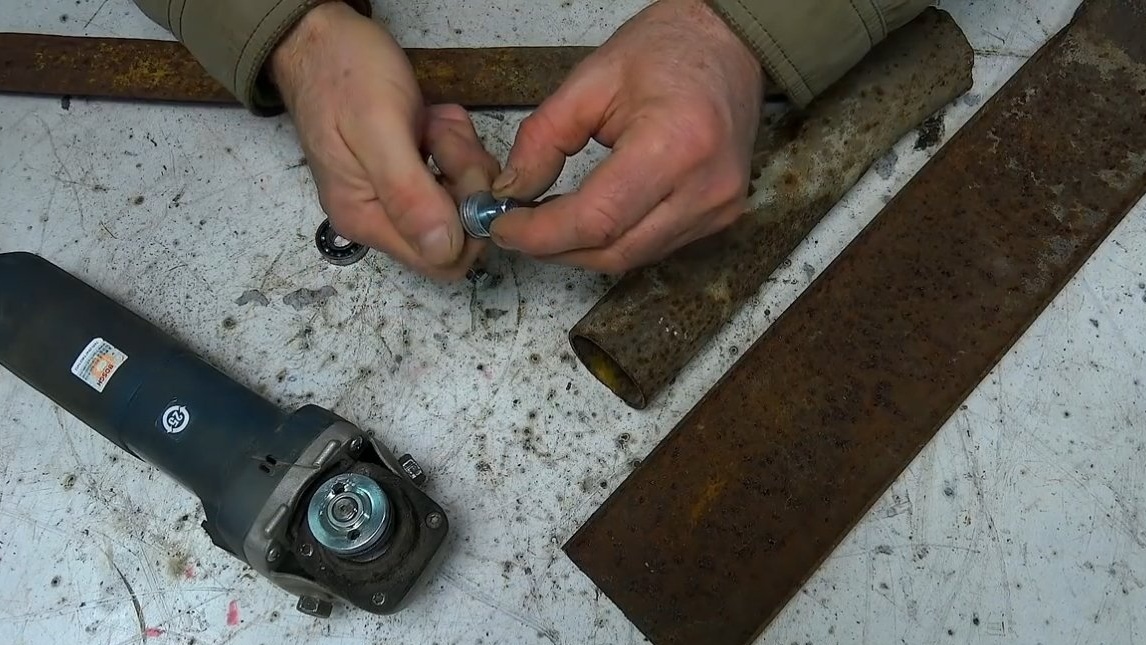
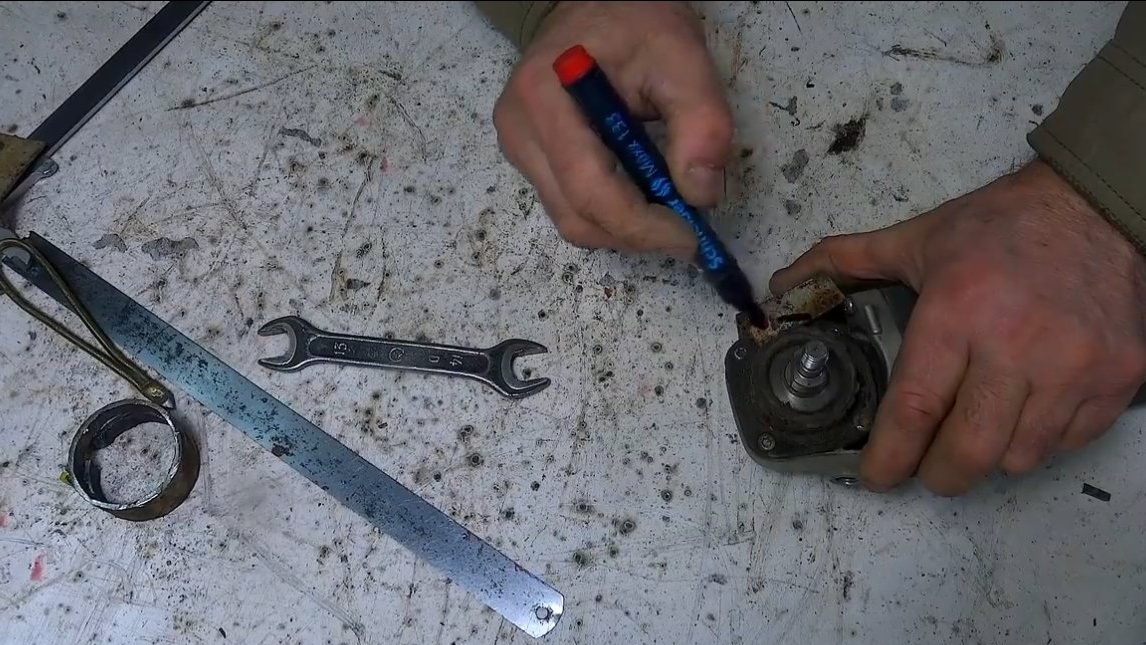
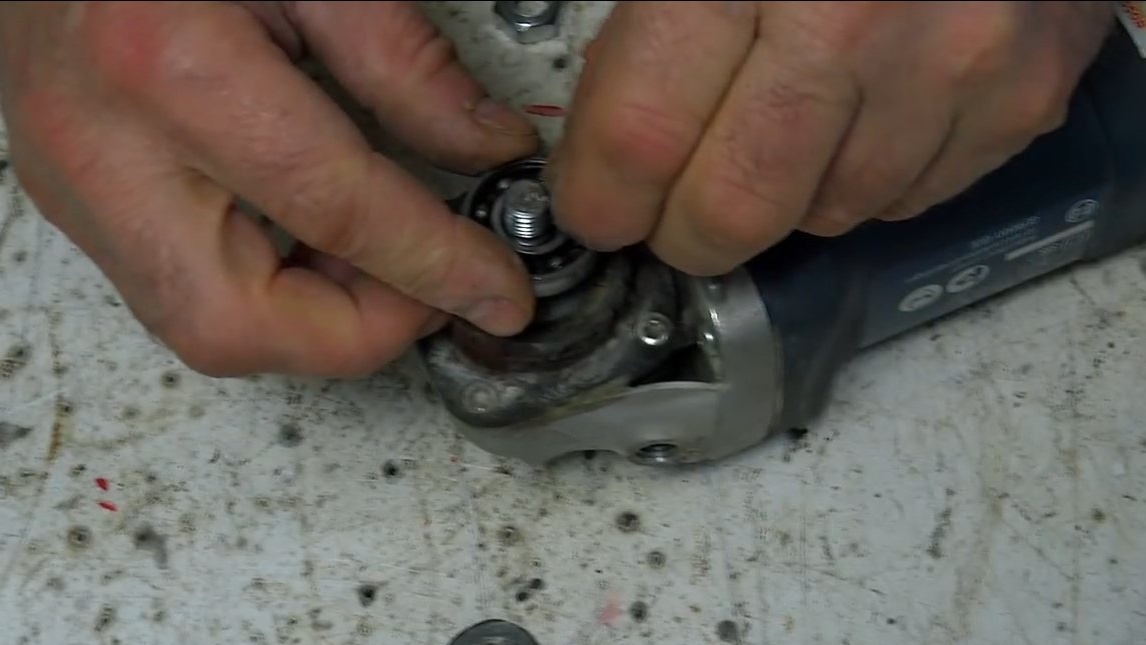
As for the bearing, it will be attached to the shaft of the grinder with an offset, so we get an eccentric mechanism. To move the bearing to the side, it is enough to lay something between the axis and the bearing bore, it can be a piece of nail. Note that the stronger the displacement, the stronger the vibrations.
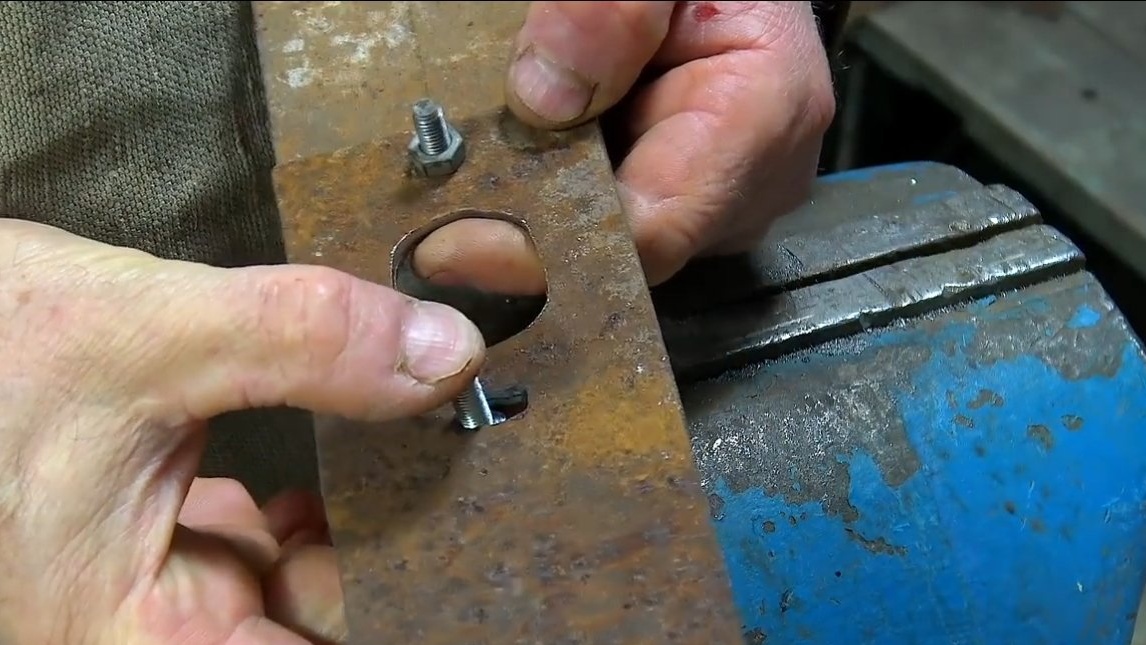
Cutting out the plates, the author squandered the central holes under the oval, this will allow the eccentric to move the plates in different directions, to the right and left. We also bore mounting holes under the oval, as the author has in the photo.
Step Three Knives
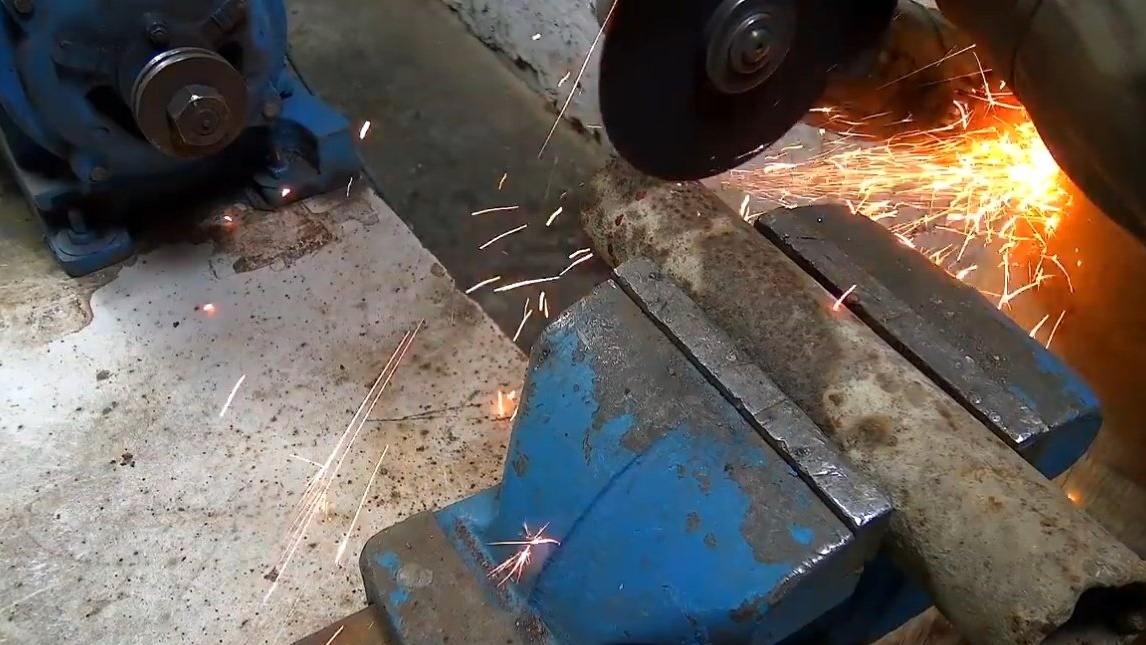
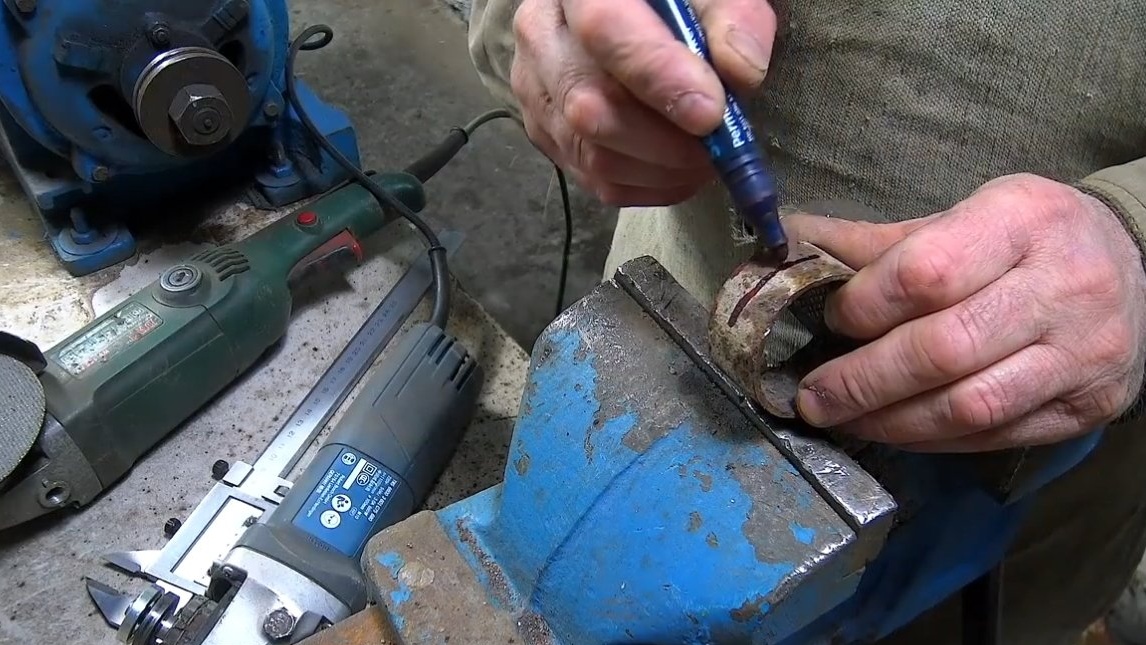
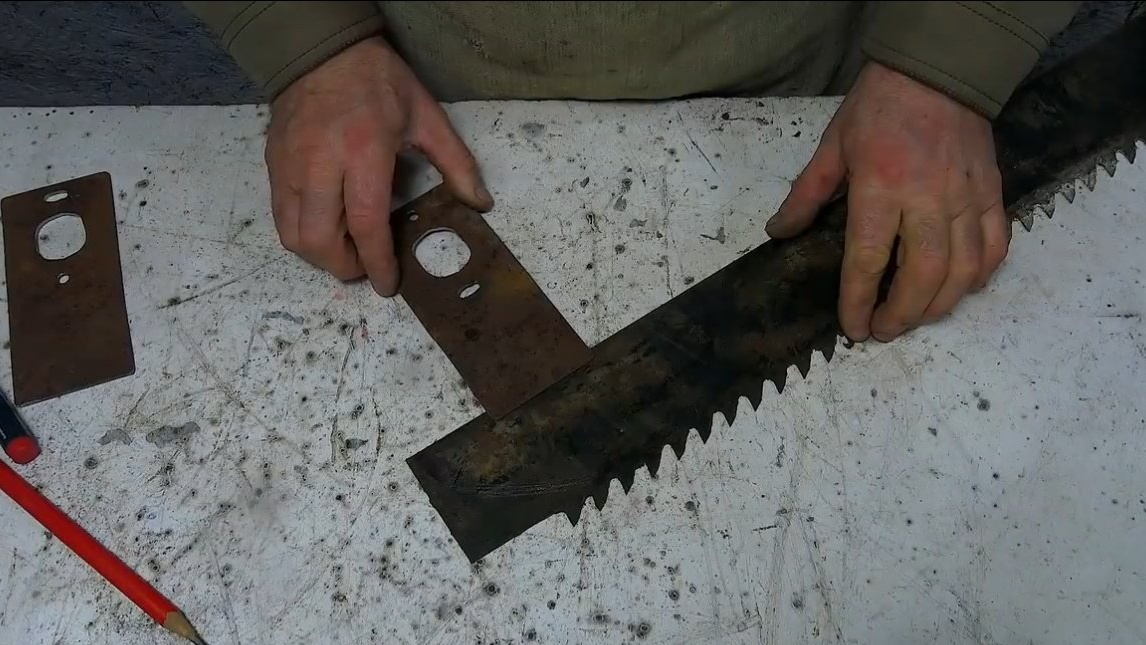
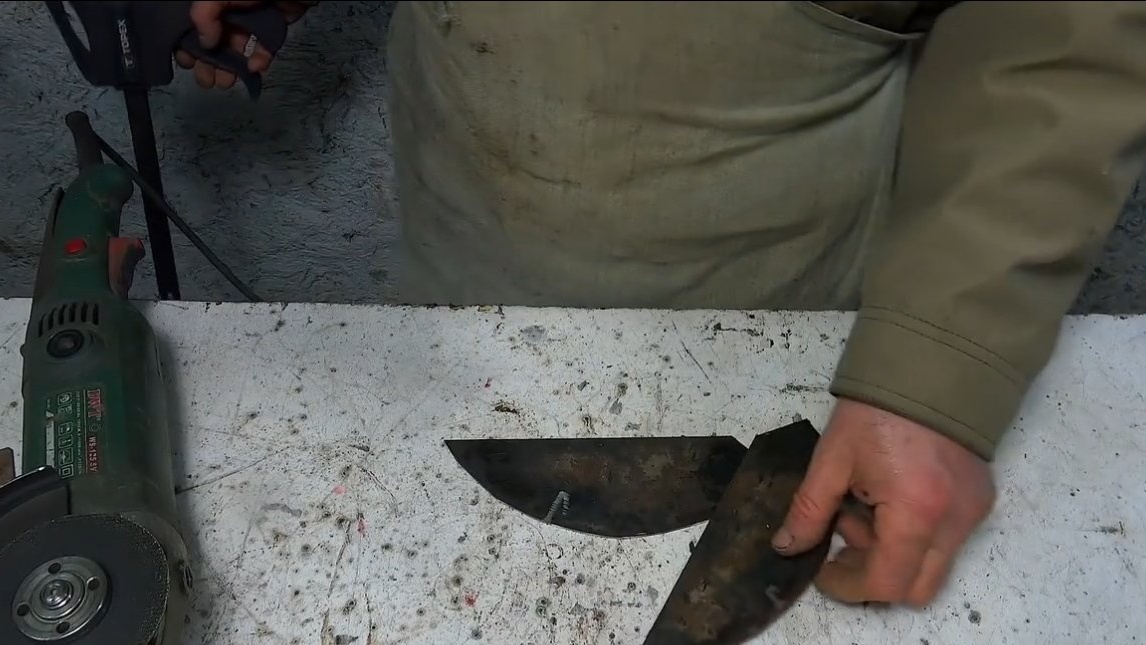
We make knives for the tool, here the author decided to use durable carbon steel, the source of which was an old hacksaw blade. We cut out semicircles of the desired shape and size from the canvas. The author cut the cloves on the knives with a grinder, they will gnaw the brickwork.
The knives made are welded to the connecting rods as reliably as possible.

Step Four Assembly and testing
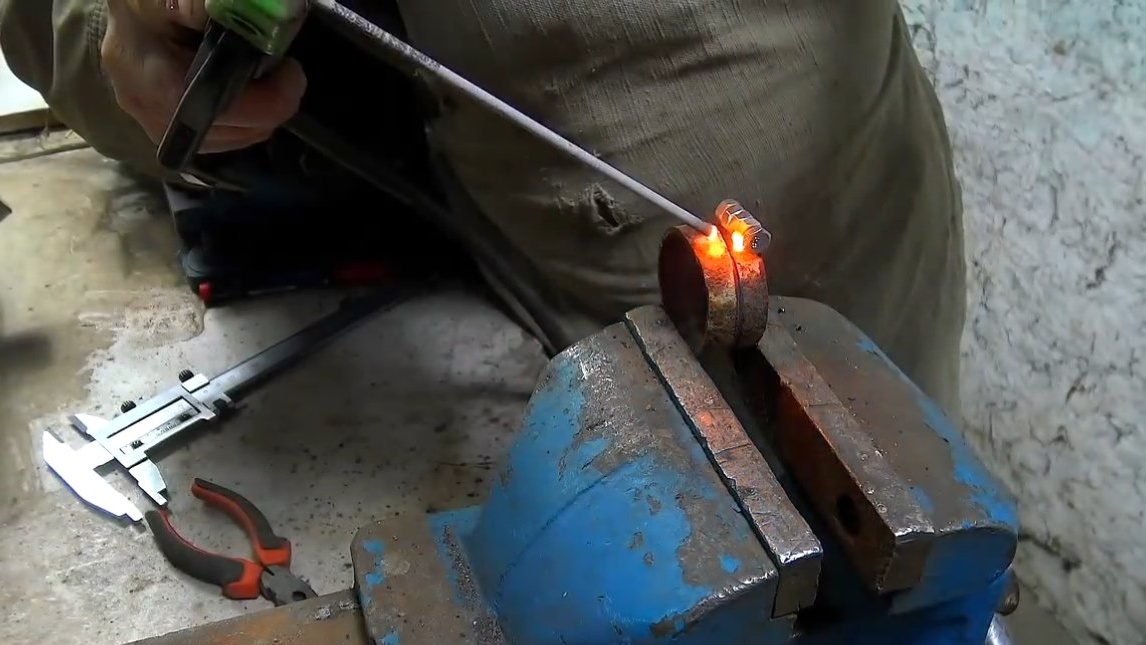
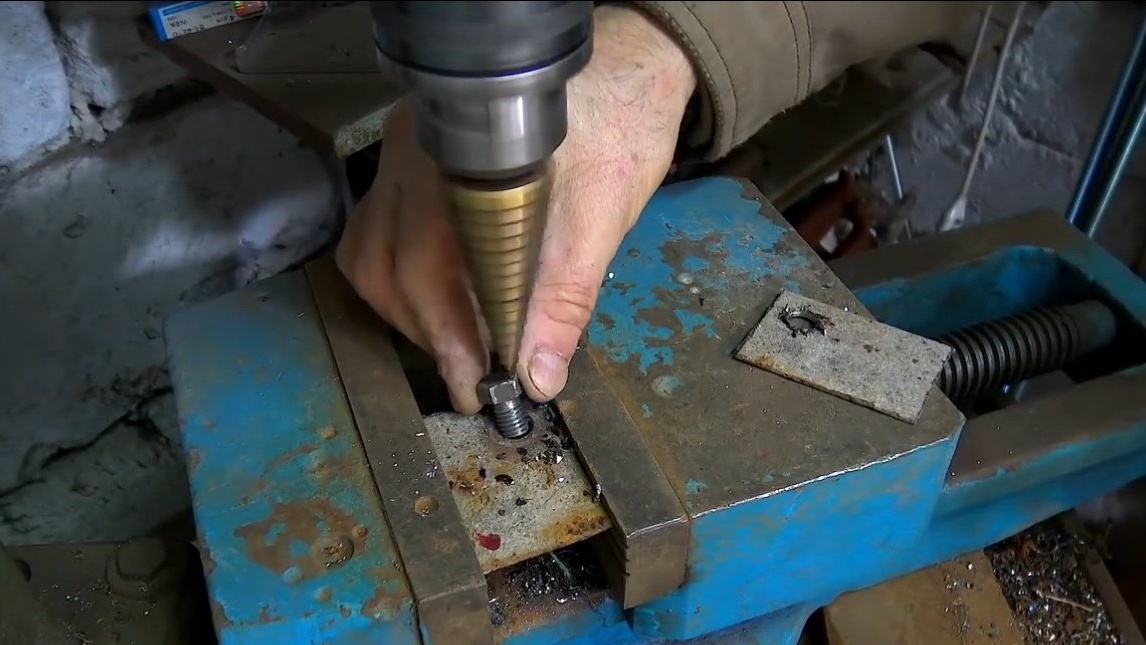
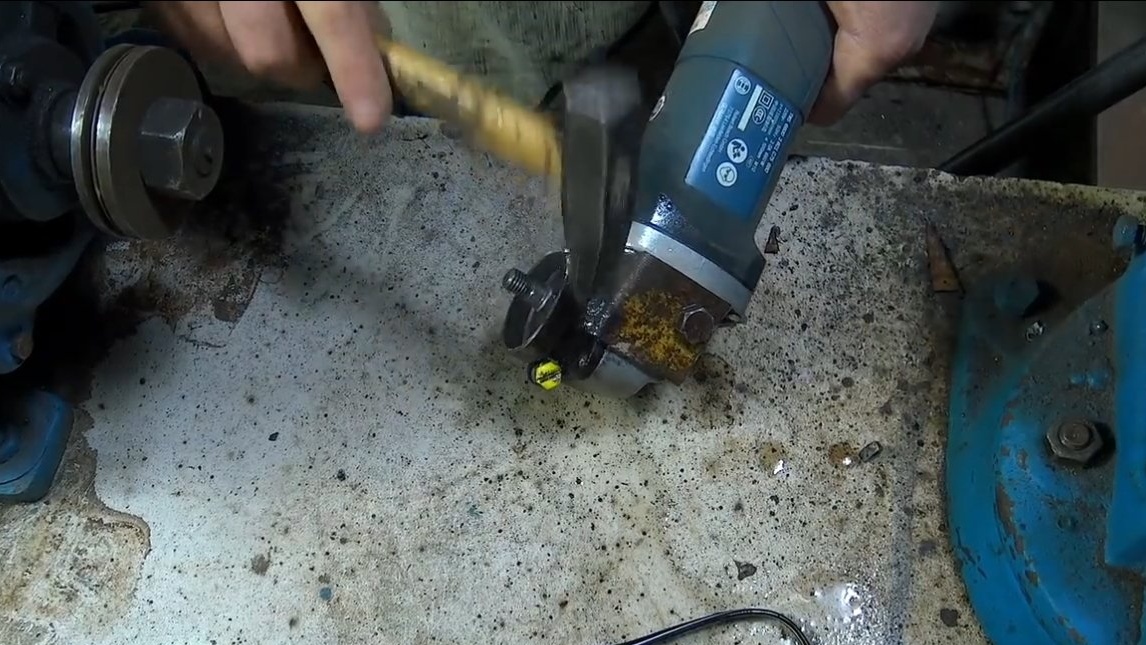
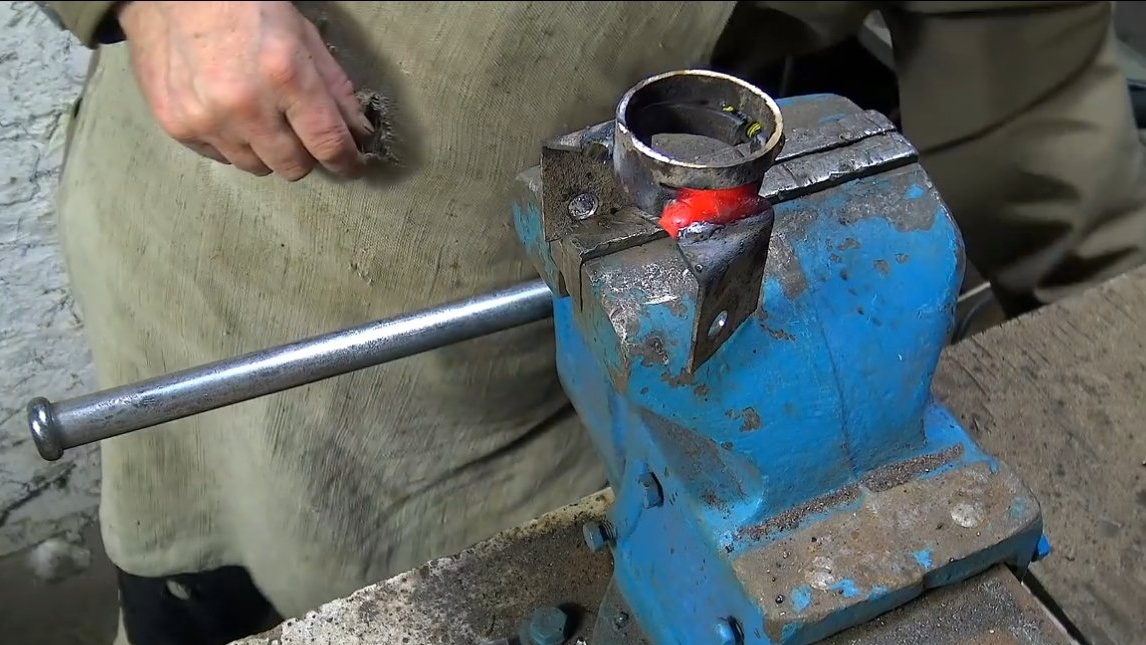
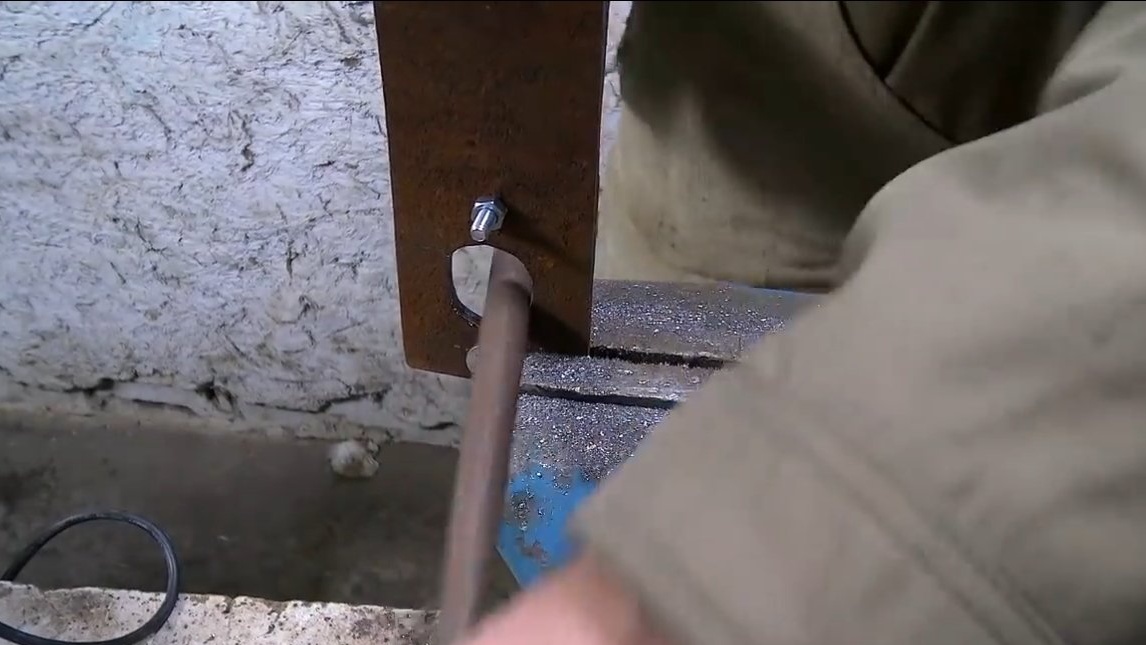
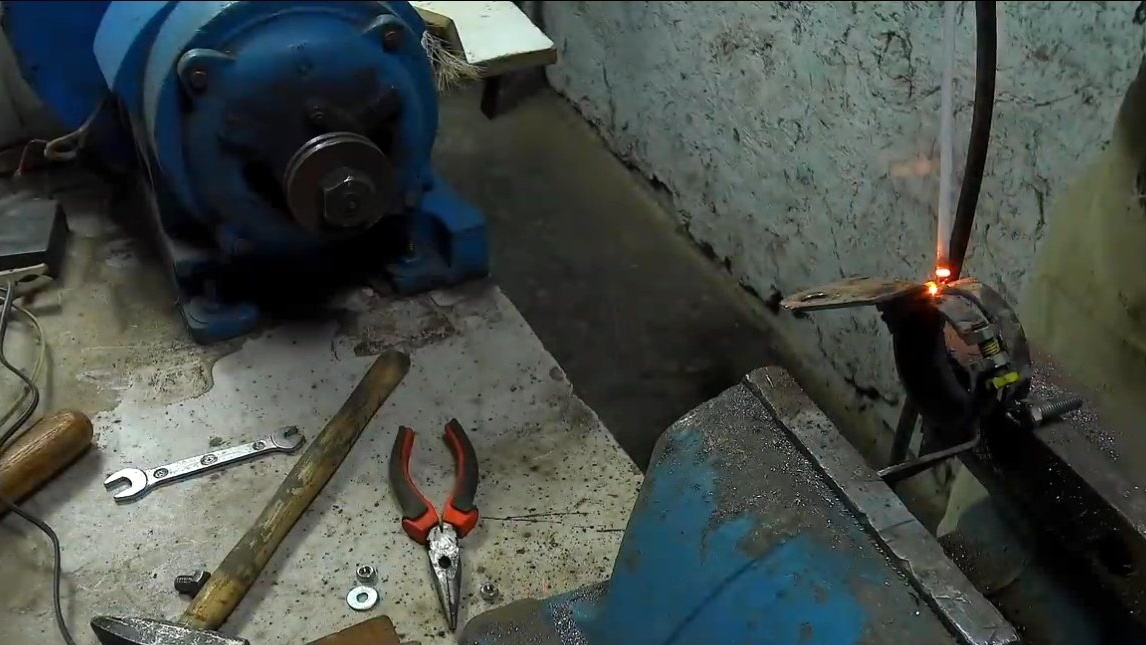
To assemble everything, you first need to weld two bolts to the fastener, these will be the axes on which the connecting rods will move. Now, after painting everything can be assembled. We put the bearing on the shaft of the grinder, fix it with an offset, fix the bearing with a nut and washers. The bearing should be working and lubricated, this will extend the life of the homemade product and increase its efficiency.
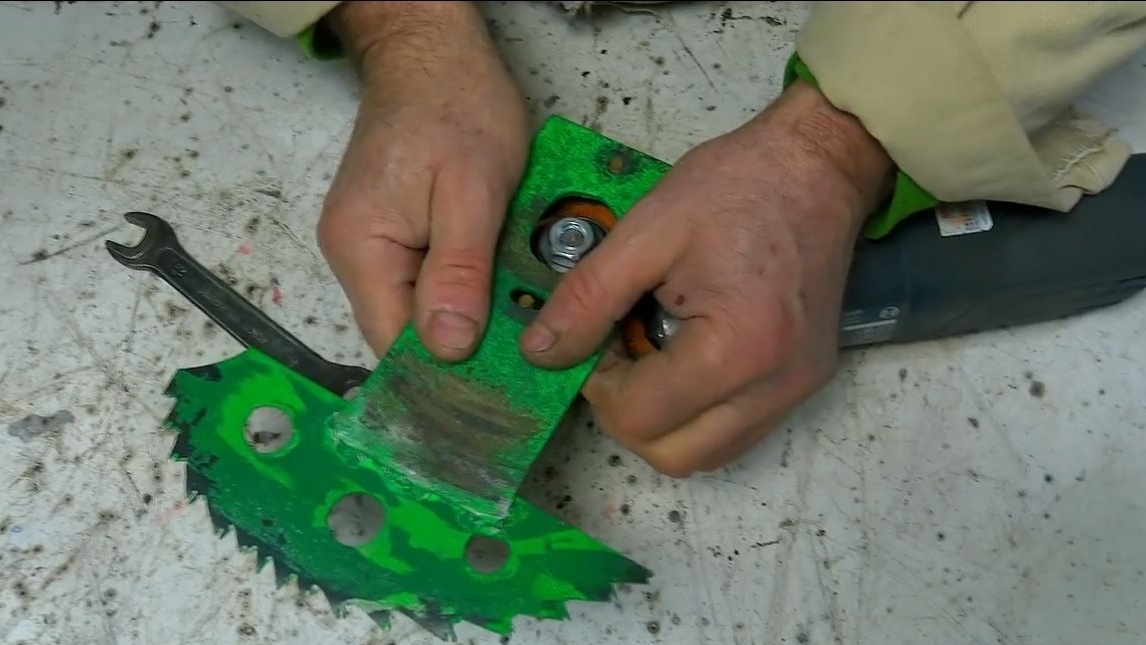
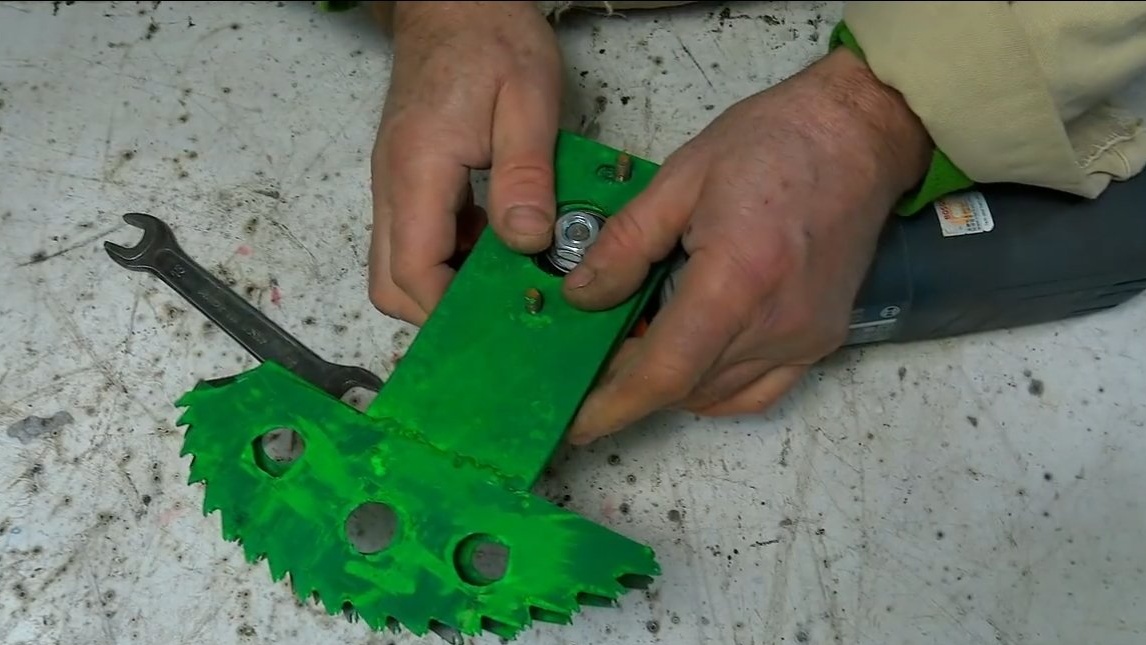
We put the knives on the base, pull them lightly with nuts and washers, you can’t tighten them tightly, everything should move easily. Here, nuts with a plastic retaining ring are perfect for fixing, well, or use two nuts each.
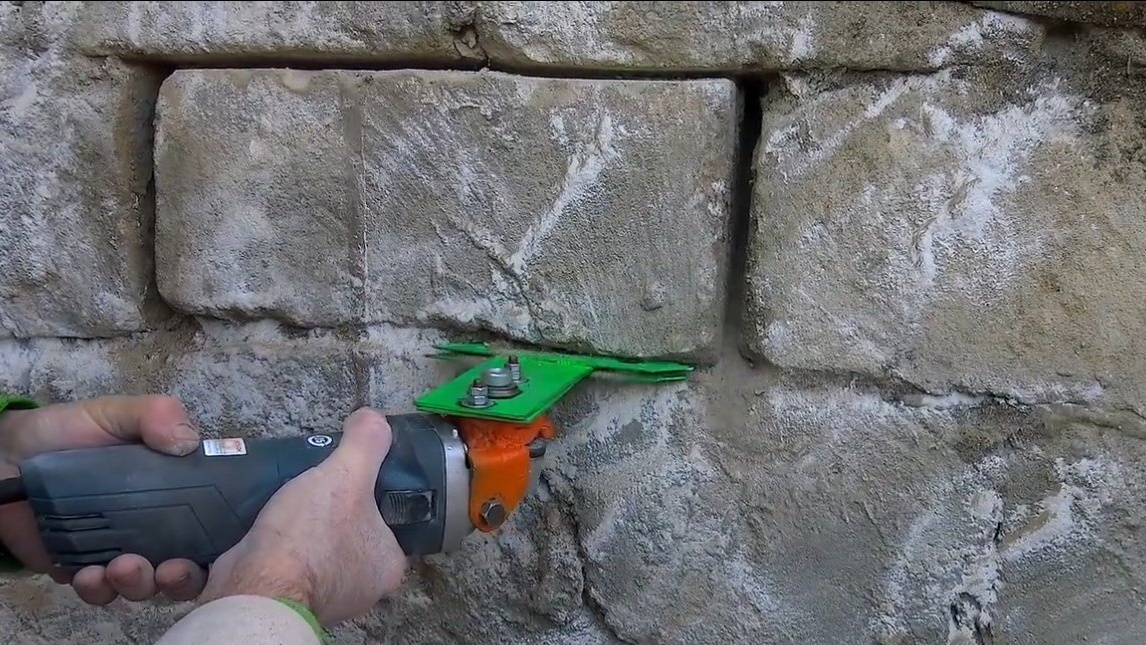
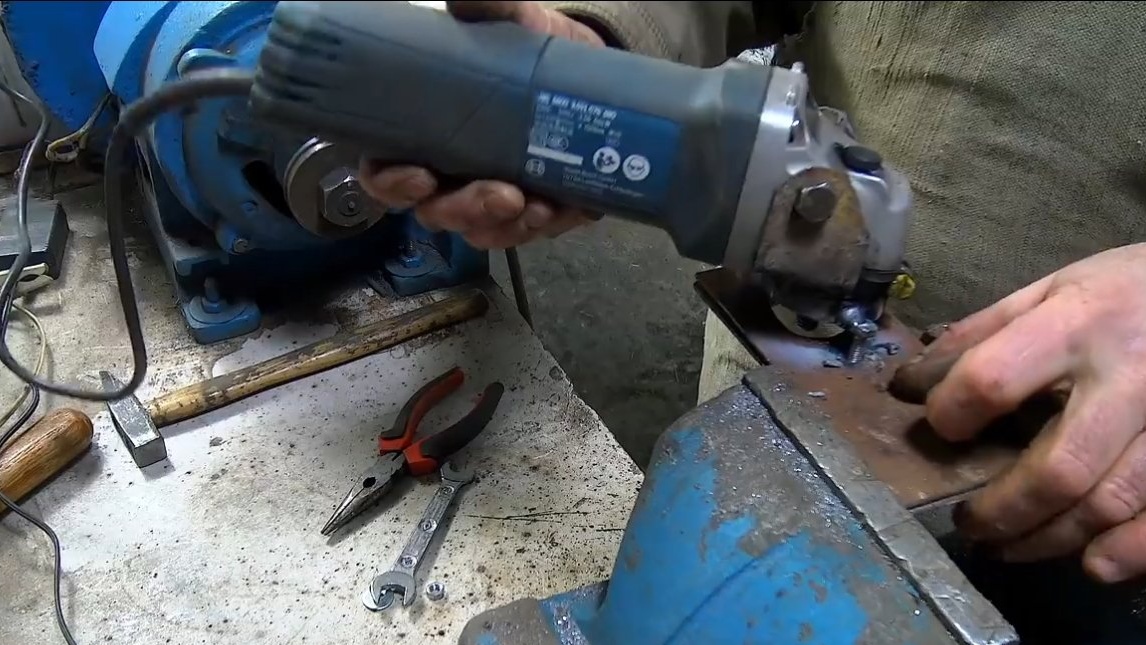
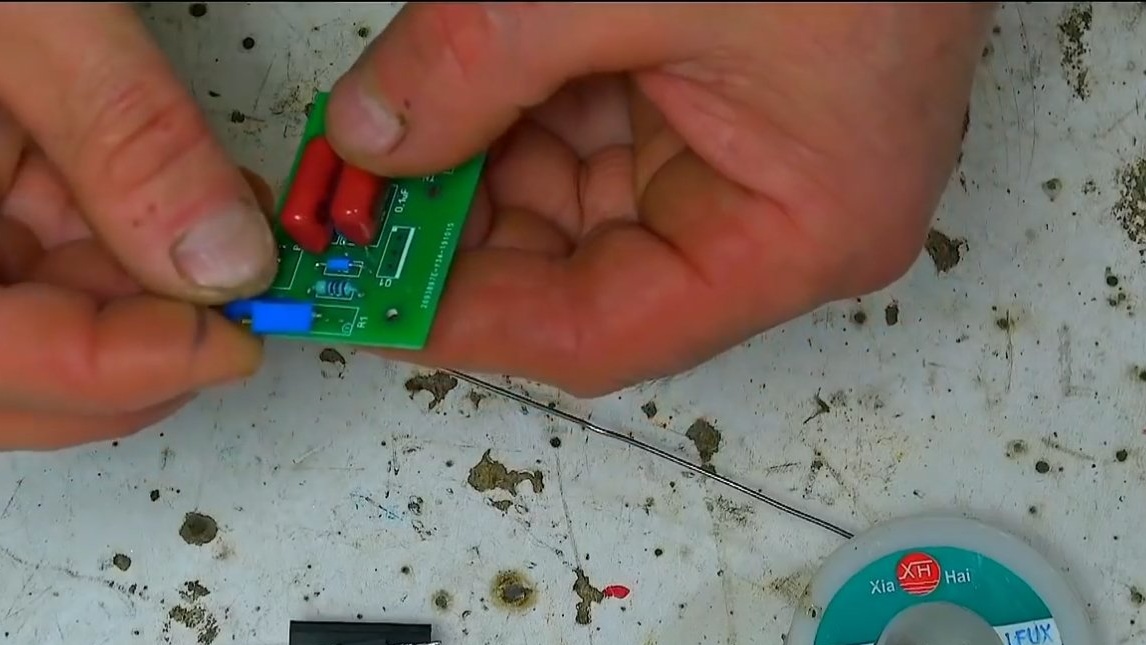
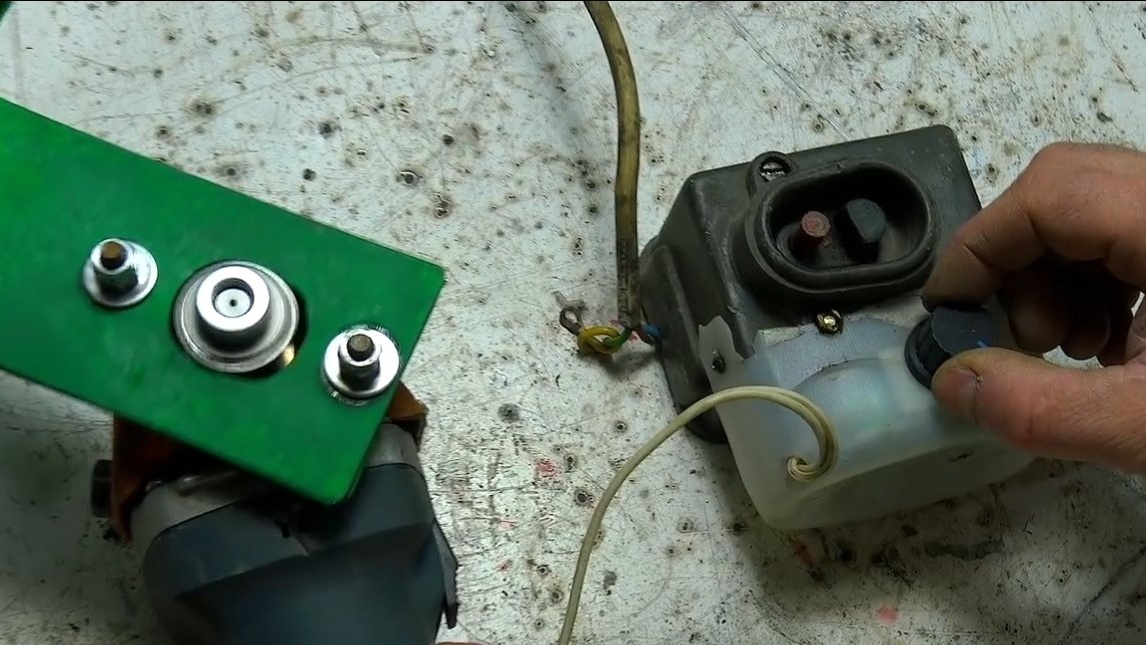
Everything is ready, the author launches the grinder through Dimmer, which he assembled himself. It is better to start the first tests with small revolutions to make sure all nodes are reliable and there are no strong vibrations. It can be cut, the machine easily cuts brickwork, the author then easily removes the foam block.
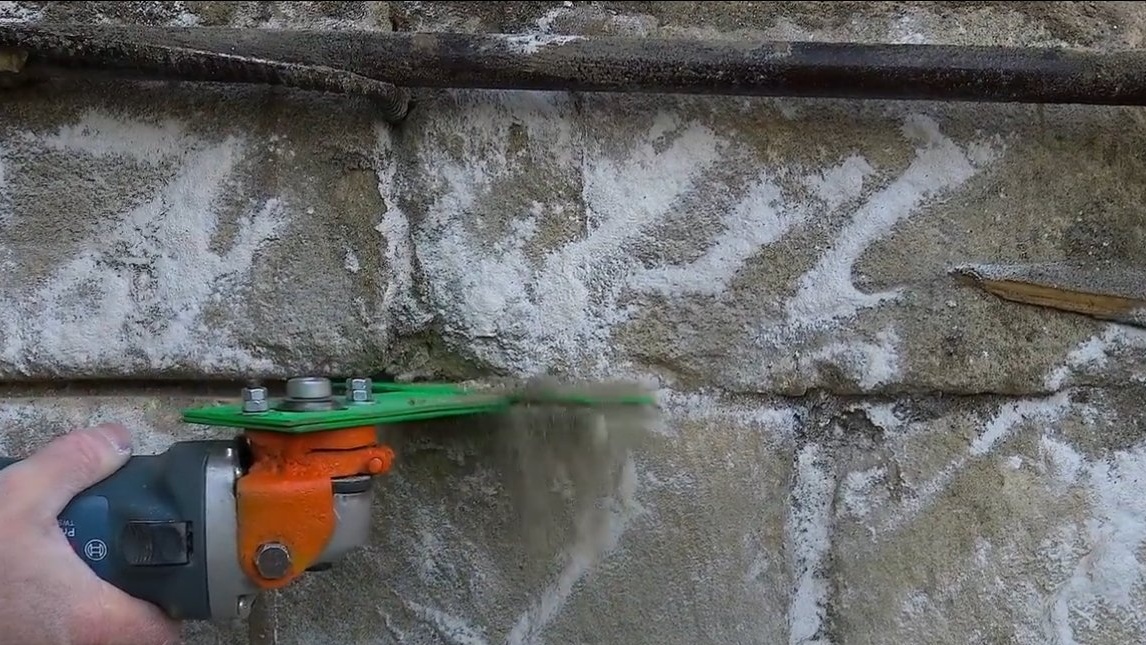

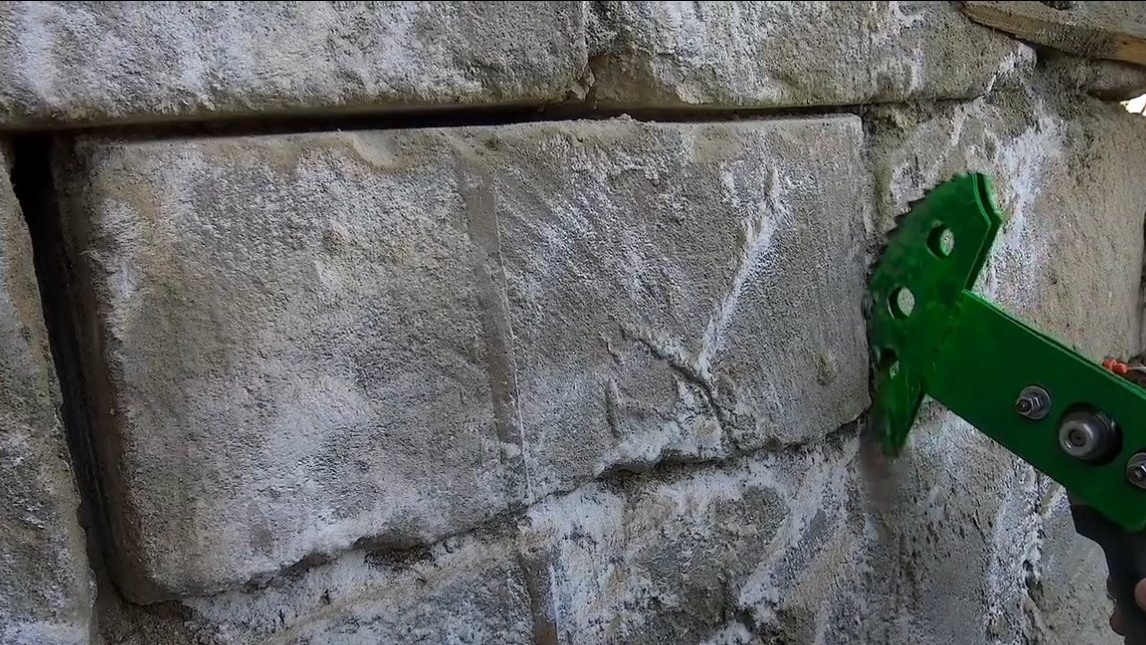
Of course, if the brickwork is fresh and durable, such a machine will not cope with the task. But, and in general, the tool can be useful in the household.
The project is completed on this, I hope you liked the homemade work, and you found useful thoughts. Good luck and creative inspiration, if you decide to repeat this. Do not forget to share your ideas and homemade things with us!