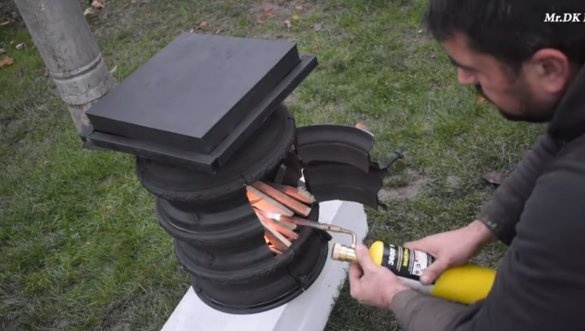
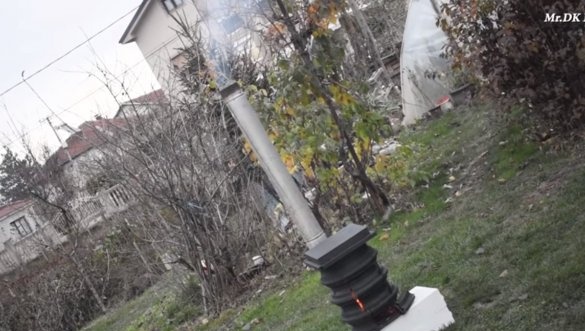
I welcome all fans to craft, I propose to consider instructions for the manufacture of a simple stove potbelly stove do it yourself. For homemade the author used old rims that could no longer be installed on a vehicle due to the formation of rust holes. The stove is whipped up, everything works fine, but it could be done more efficiently. Such a potbelly stove will perfectly warm you in the garage or a workshop, and the author also arranged a cooking plane on it. On the stove, you can heat water, boil fried eggs and so on. If the project interests you, I propose to study it in more detail!
Materials and tools used by the author:
Material List:
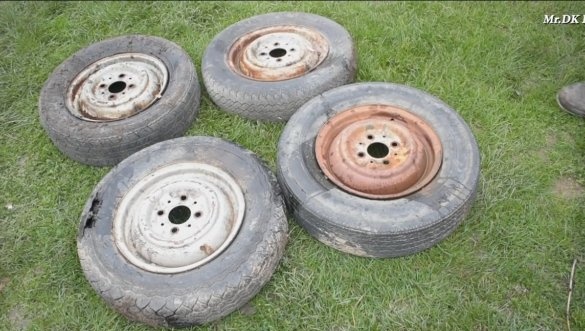
- 4 rims;
- sheet steel for the hob;
- corner;
- fittings for grate;
- door hinges;
- a piece of a round pipe for a chimney;
- heat resistant paint.
Tool List:
- jigsaw;
- grinder;
- welding machine;
- roulette;
- marker.
Homemade manufacturing process:
Step one. Disk preparation
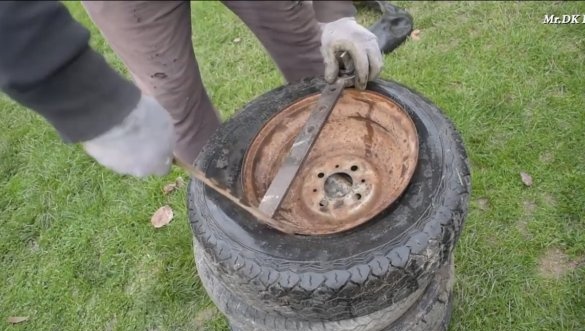
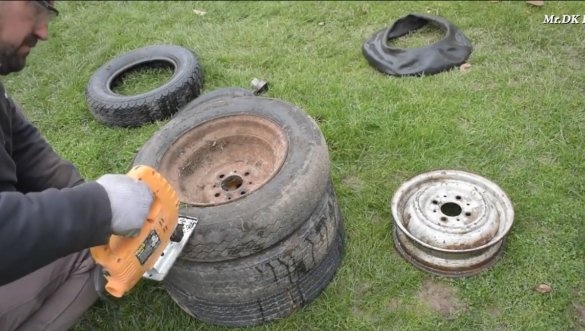
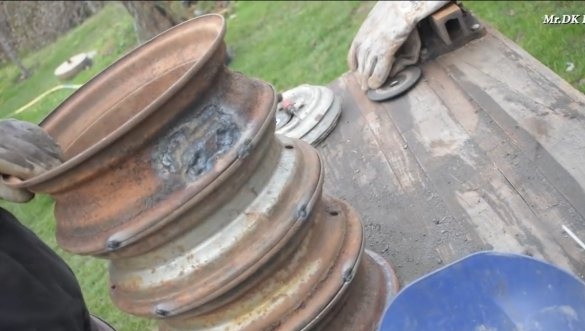
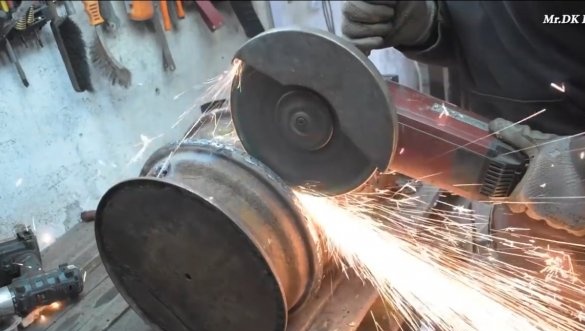
First of all, the author had to prepare the disks; they were shod with tires. To facilitate the process of removing tires, the author simply cut them with an electric jigsaw. In principle, you can make cuts in the right places and with the help of a grinder, adhering to safety precautions.
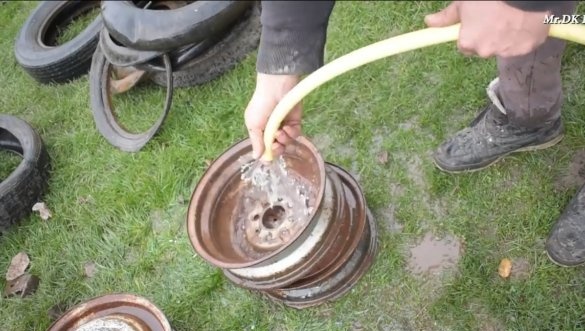
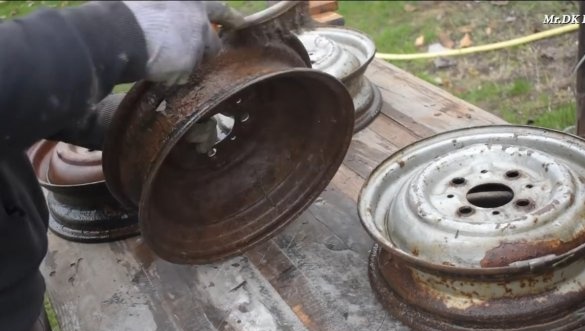
The disks were already so rusty that in some places holes appeared in them.
Step Two We assemble the body of the furnace
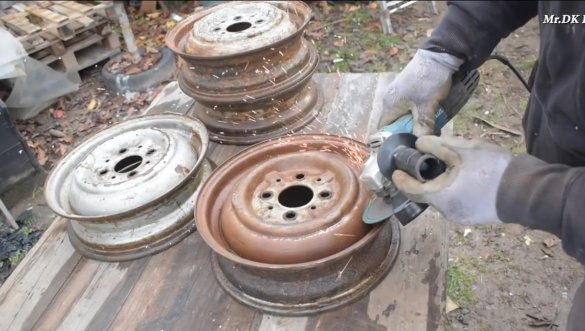
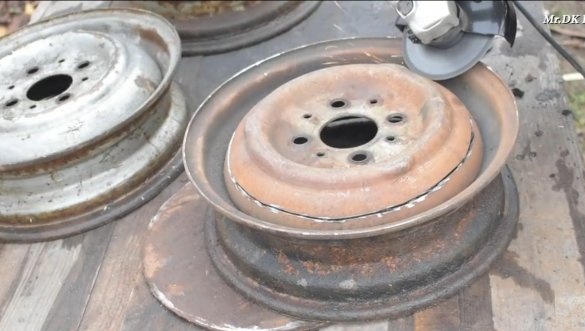
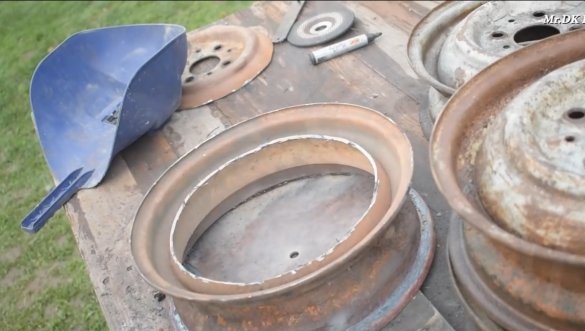
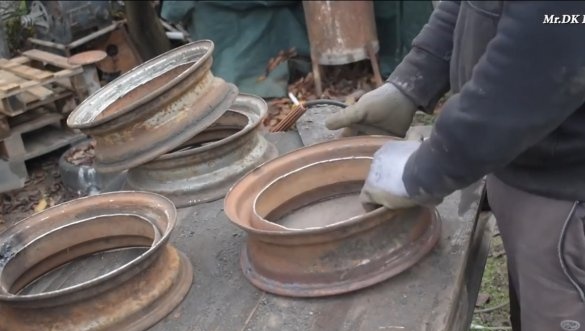
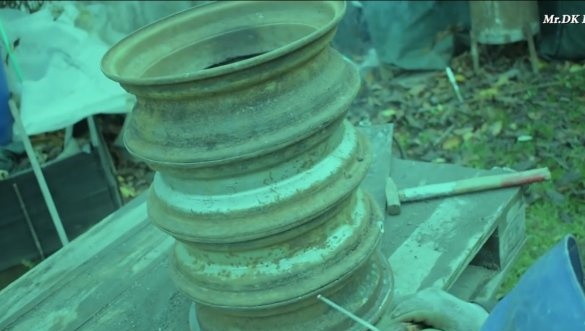
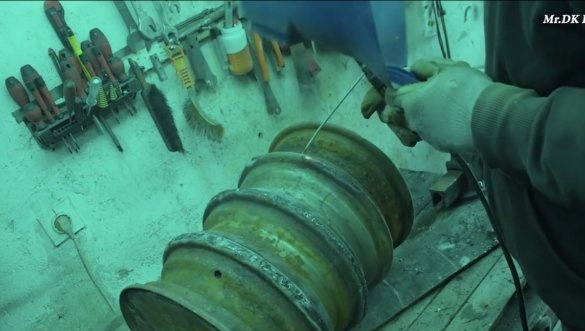
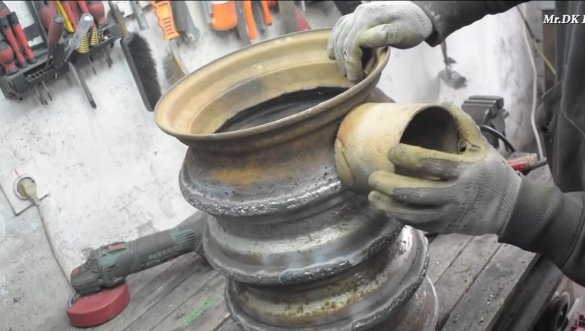
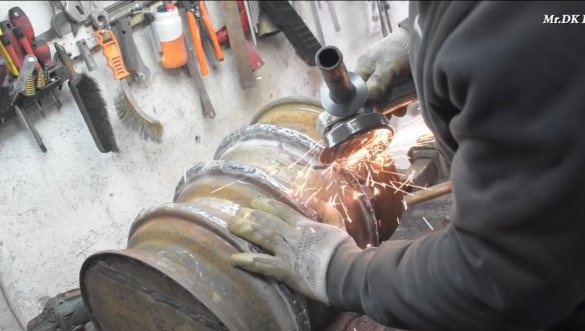
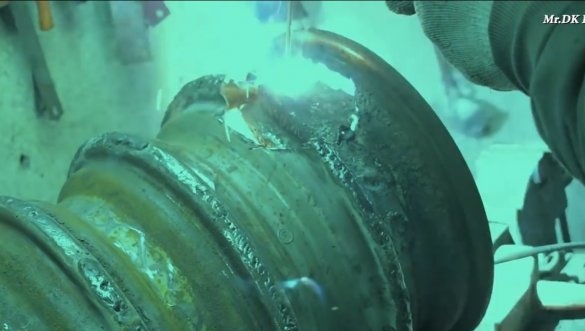
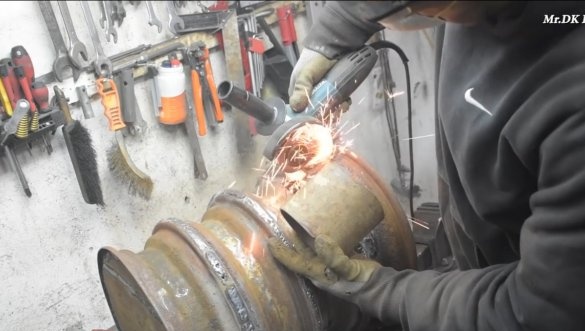
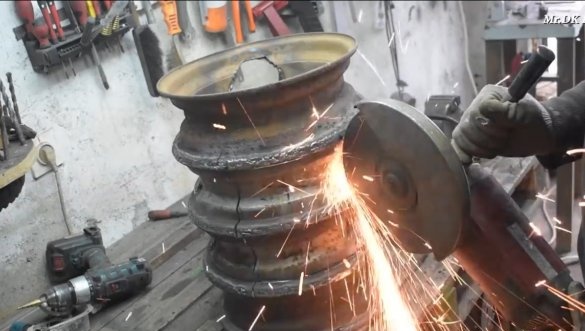
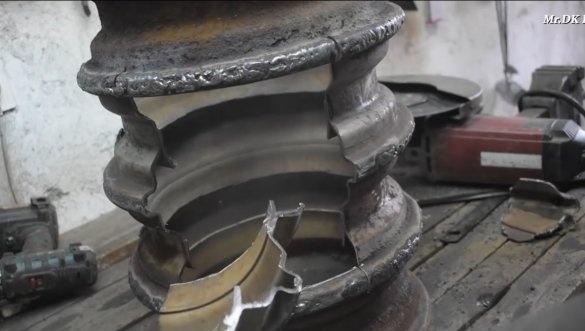
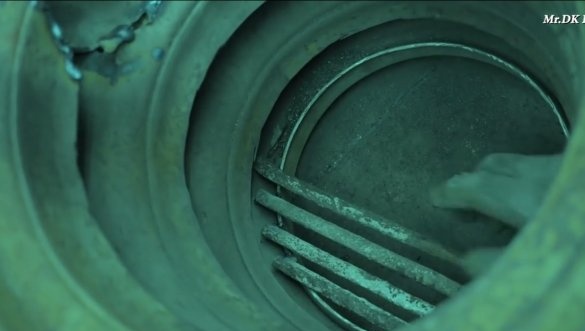
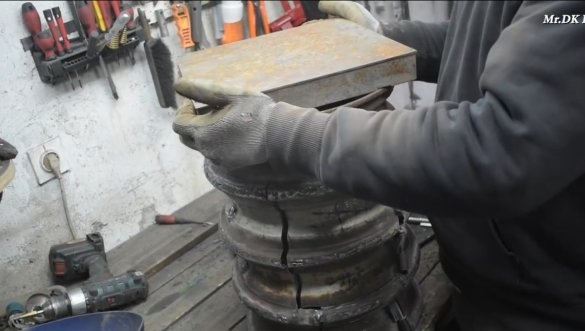
We arm ourselves with a grinder and cut out a core in all the disks, as the author has in the photo. Further, all four discs are well welded together, the welds must be airtight so that smoke does not go. The result is a steel pipe with a relief inside, which contributes to a good heating of the furnace.
We also make the bottom for the furnace, cut out a round steel sheet and weld it into the base.
Step Three Smoke pipe
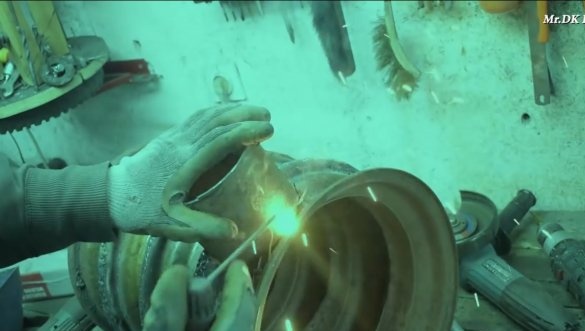
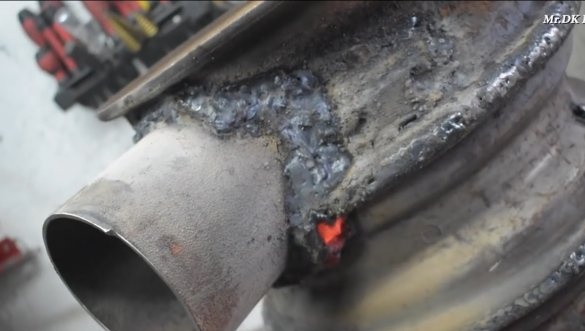
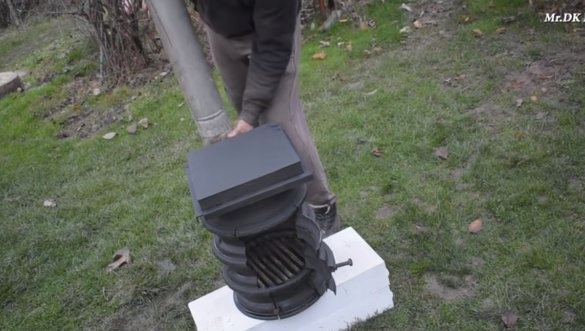
If the stove is portable, we make a chimney for connecting a chimney.We cut a hole in the upper part into the furnace, and weld a pipe.
Step Four Doors
We make two doors for the stove, one will be for loading firewood into the furnace, and the other will open access to the grates, with the same door you can adjust the air supply to the stove. We cut the doors right on the stove and then hang them on strong door hinges. If there are no loops, you can use bolts with nuts as hinges.
Step Five Grate
The stove must have grate, this will allow to burn even raw firewood with high quality. The author cooked grate from the pieces of round timber, fittings or similar material are also suitable. We weld the grate at a necessary distance from the bottom so that there is enough space for ash.
Step Six Hob
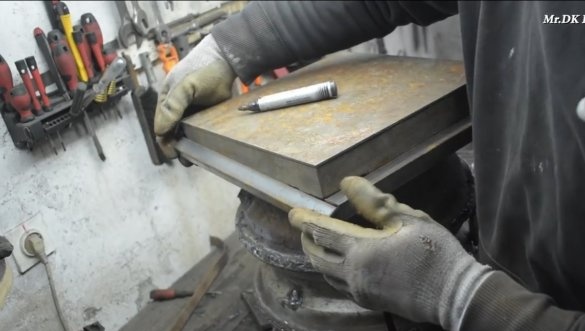
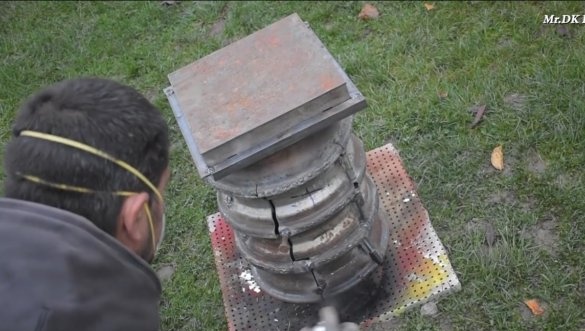
We weld the hob in the upper part. The author welded a box of sheet steel and welded it with a corner. Needless to say, everything here must also be done hermetically, otherwise carbon monoxide and smoke will go.
Seventh step. Final touches and tests
At the end, we weld the handles to the doors, they need to put on material that will not heat up. Handles can be made of bolts of suitable length, and wood is suitable for insulation. That's all, we paint the oven with heat-resistant paint, now it looks great and will not rust. You can melt the furnace, the draft was excellent, smoke does not come from the cracks. Now the author will not freeze on cold winter days in a garage or workshop, and he will always be full.
The project is completed on this, I hope you liked the homemade work, and you found useful thoughts for yourself. Good luck and creative inspiration, if you decide to repeat this. Do not forget to share your ideas and homemade things with us!

