There are no detailed instructions in this article, only general examples of project implementation. An interesting idea is to make a mechanical toy based on e games.
Let's watch the video.
So, in the manufacture of this toy, the master used the following
Tools and materials:
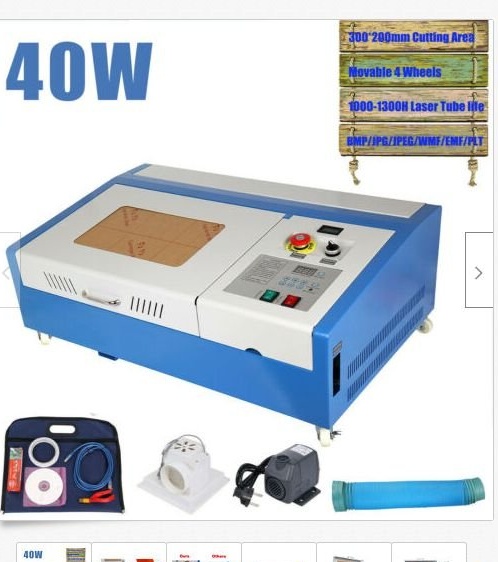
-Laser cutter;
Epoxy resin;
-Paper for printer;
- PVC pipe;
-Thin thread of the paracord;
-Spring;
-Bicycle spoke;
- clamps;
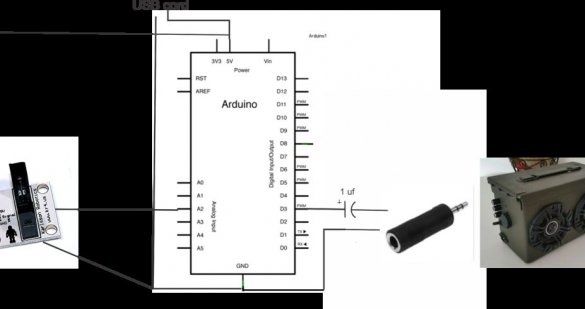
-Arduino;
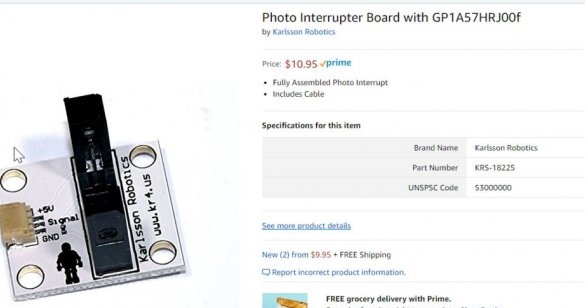
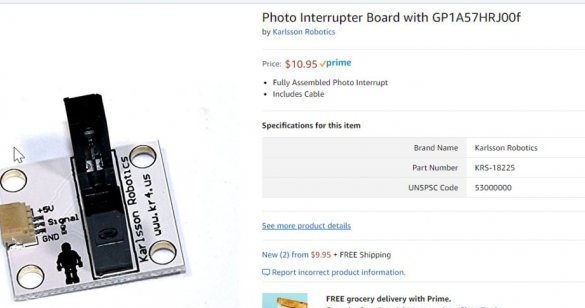
- GP1A57HRJ00f photo interrupter board;
-Sound reproducing device;
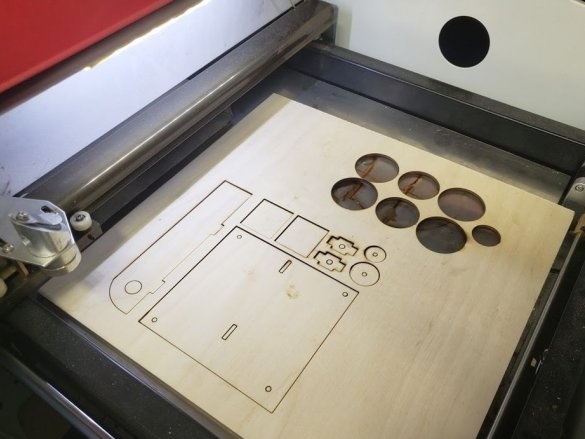
Step One: Laser Cutting
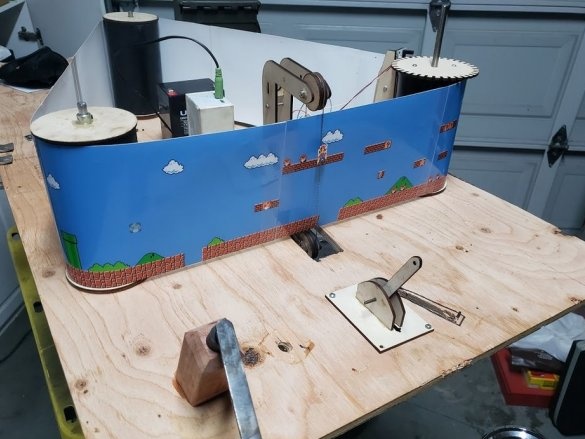
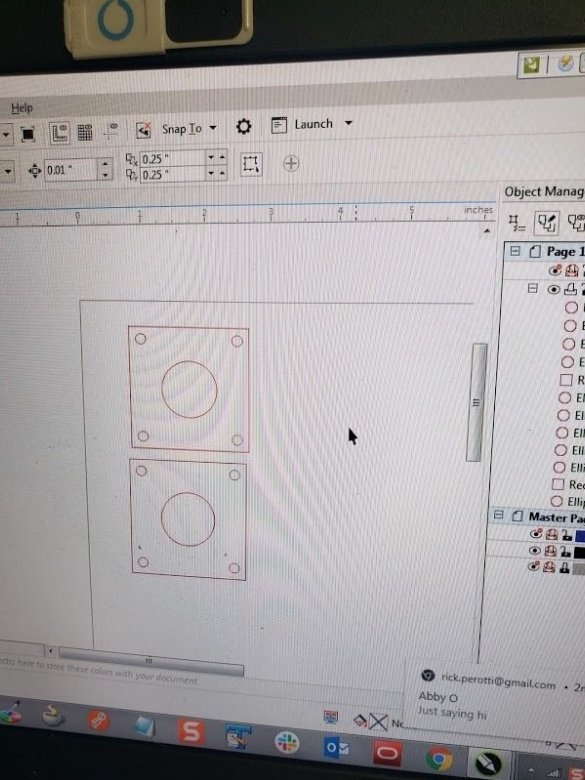
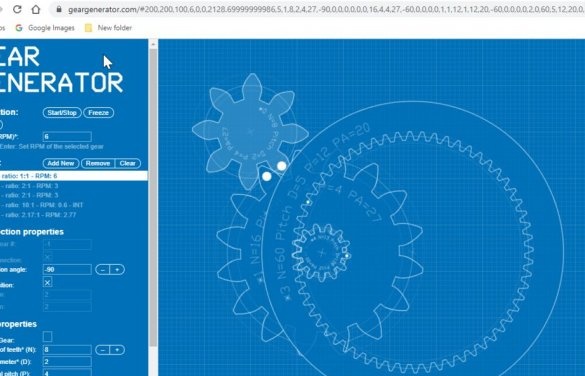
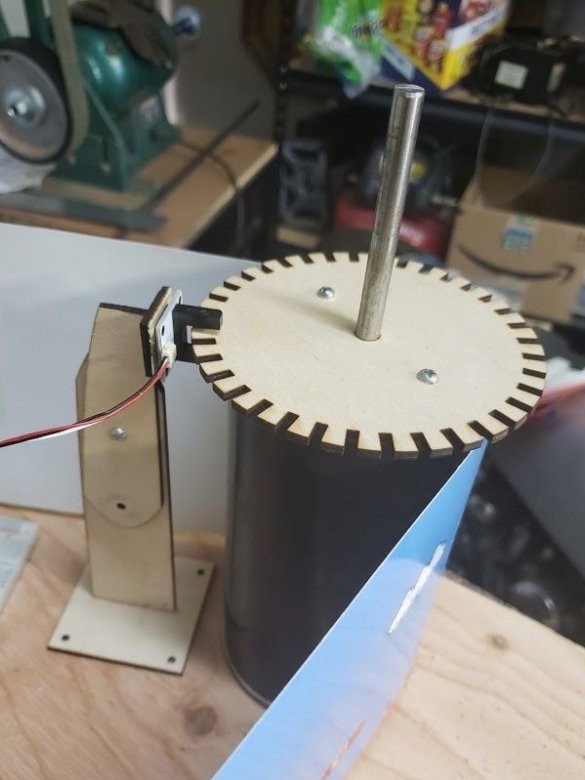
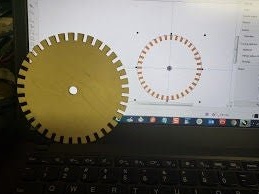
For mechanical transmission, the master uses rollers and gears cut with a laser cutter from plywood.
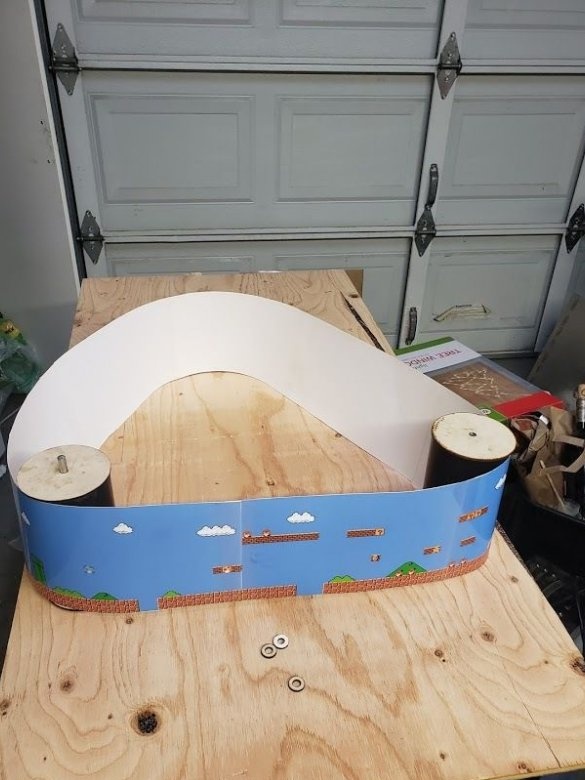
Step Two: Ribbon
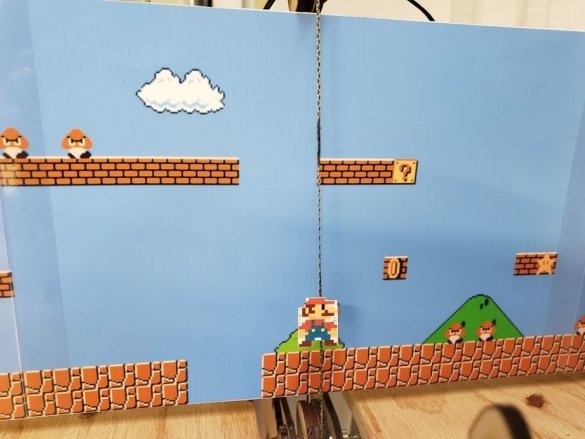
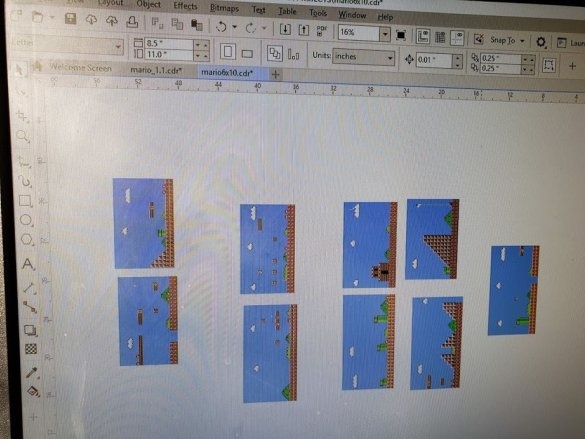
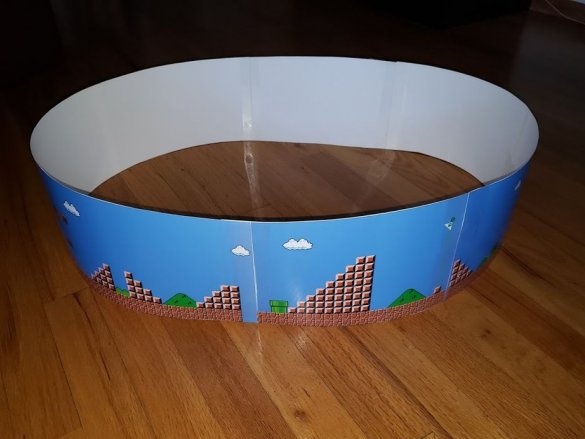
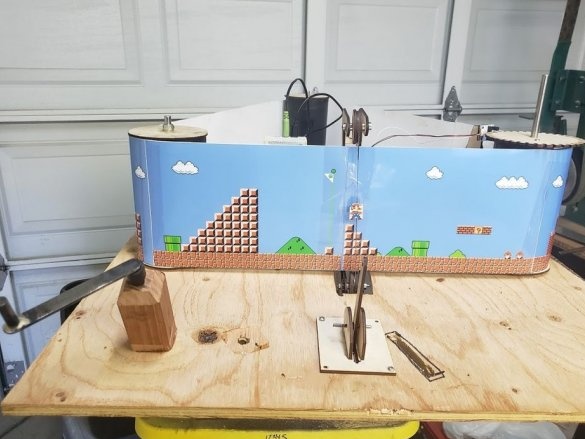
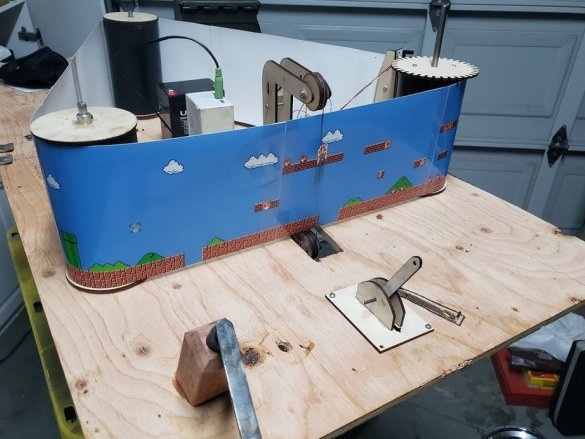
The master printed the image of the game background on paper, then pasted it on film.
Step Three: Rollers
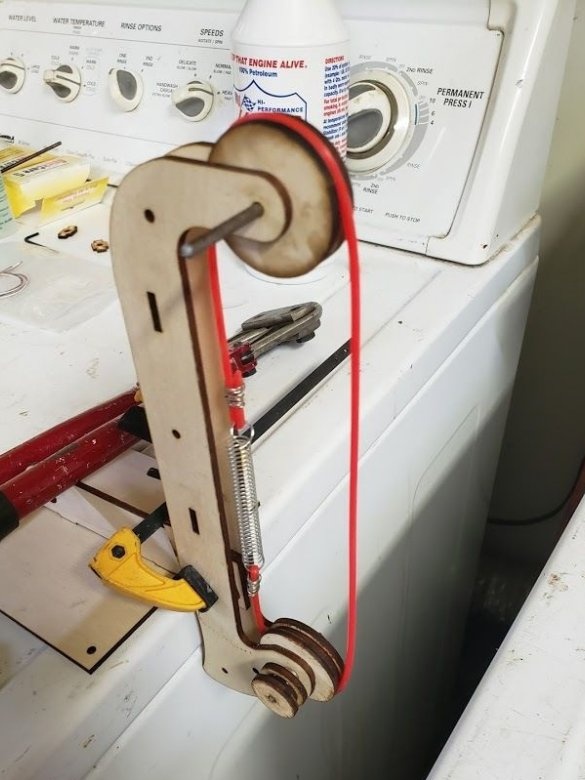
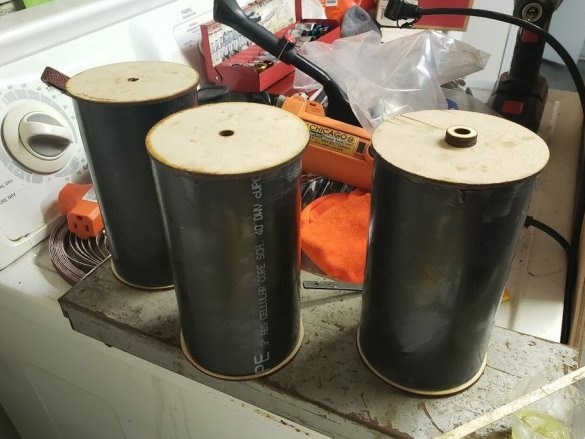
There are only three rollers, and they are made of PVC pipe. Above and below, plywood disks are glued to the pipe.
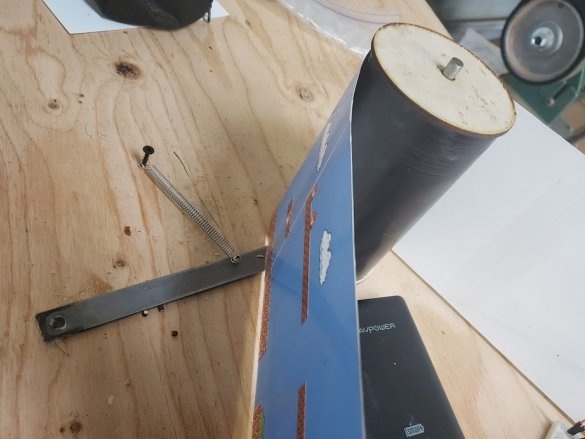
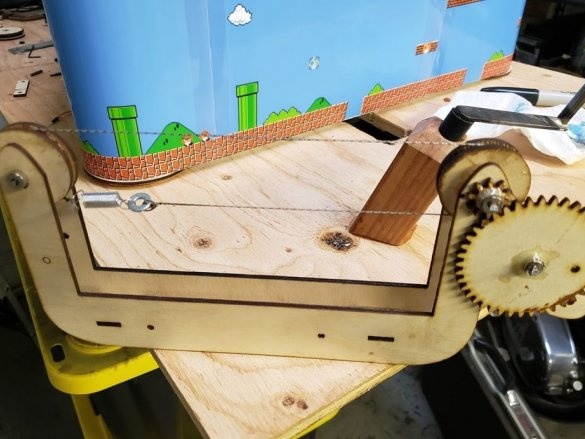
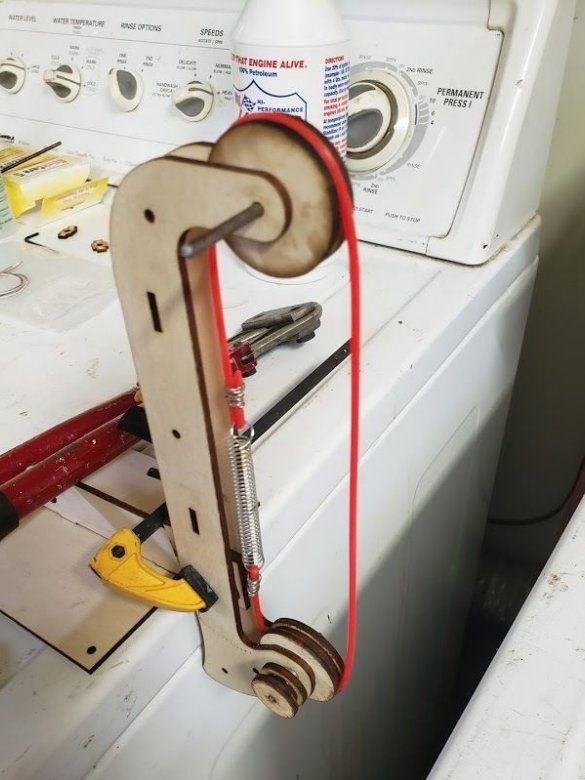
For tension, one of the rollers is mounted on a metal plate, at one end of which a spring is attached.
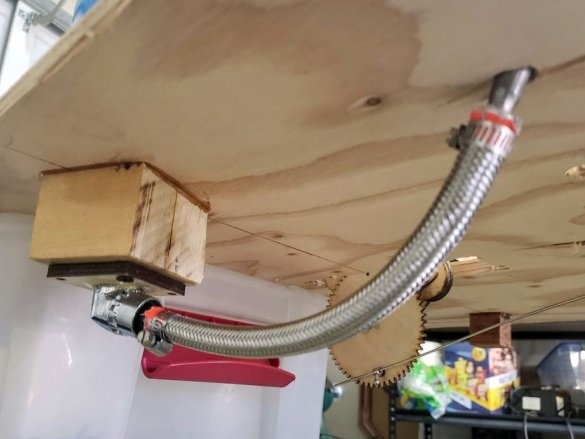
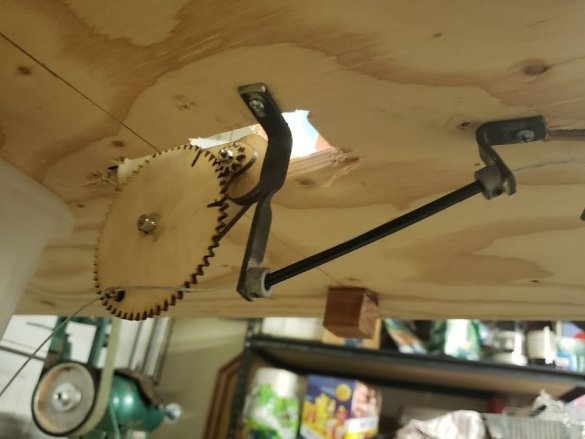
Another video is the lead. The drive is made of a water pipe and a corner nozzle. When the handle is rotated, the roller, through the drive, rotates and the tape scrolls.
Step Four: Photo Interrupter
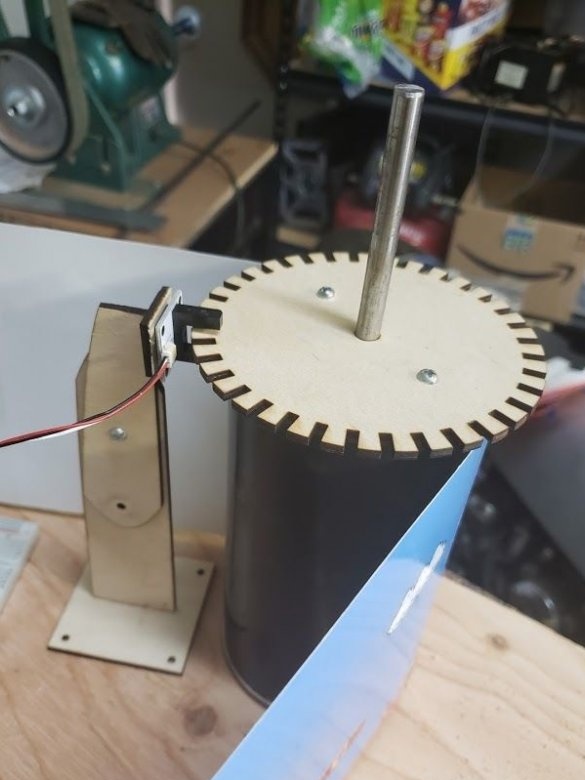
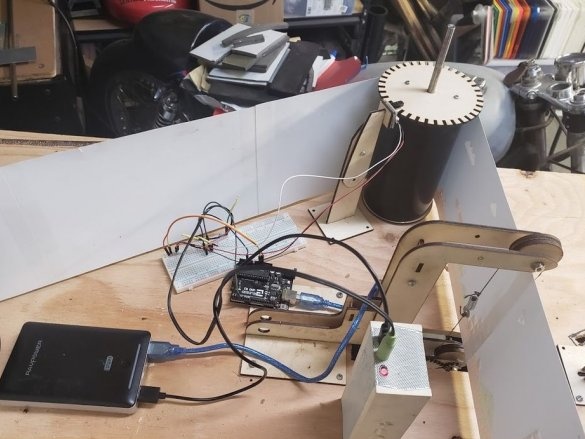
The device does not need to be turned on or off. A photo interrupter is used for this purpose. As soon as the roller with the fixed gear starts to rotate, the photo interrupter detects movement and music from Mario begins to play.
Step Five: Arduino
Arduino connects the photo interrupter and player. The code for Arduino, with music from Mario, can be downloaded below.
marioProgram.txt
Step Six: Drive For Mario Figures
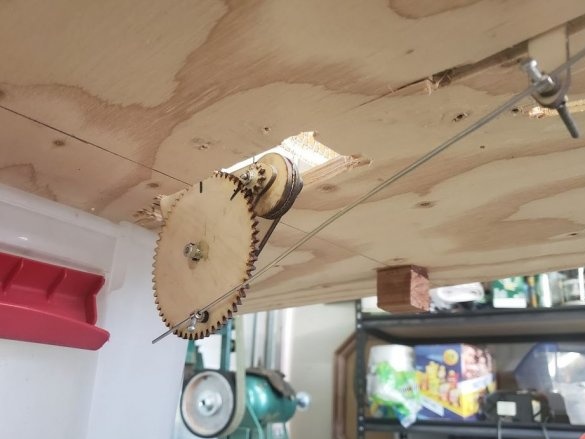
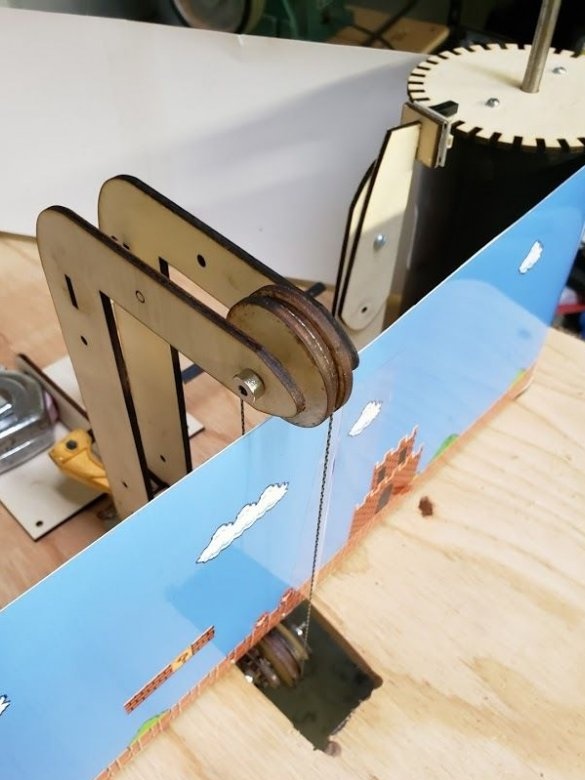
Two gears and a roller in the upper part are installed on the drive. A thread is stretched through the roller and to the gears. Everything is controlled by a lever that is connected to the gear of a bicycle spoke.
A Mario figurine is attached to the thread.


All is ready.

