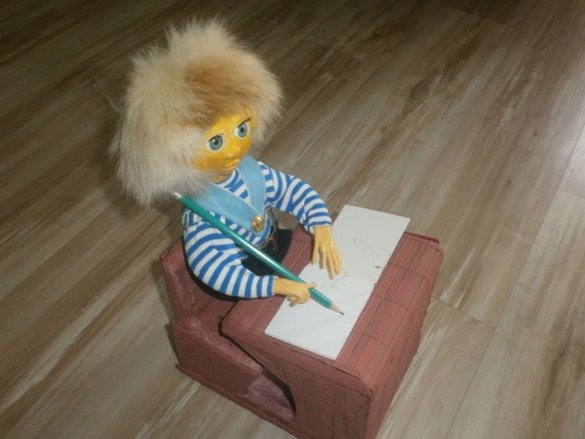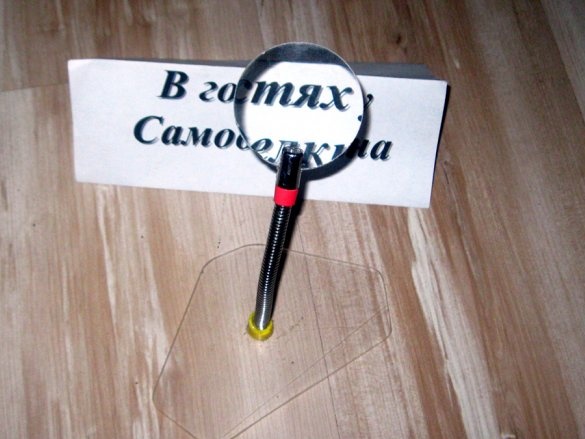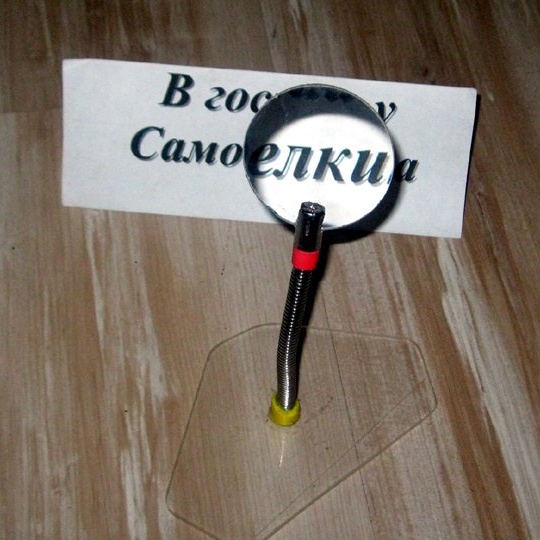
So she stitches from style to style, from crafts to crafts of various sizes. Including, with fine detailing, requiring at her age already resort to a magnifying glass. But at the same time, it is necessary that both hands be free, involved in creativity. Therefore, there is nothing easier than making another, albeit static.
To do this, you will need:
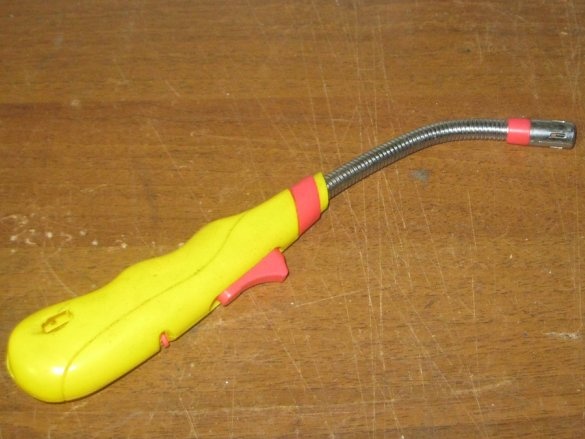
Here is such a lighter, naturally already inoperative:
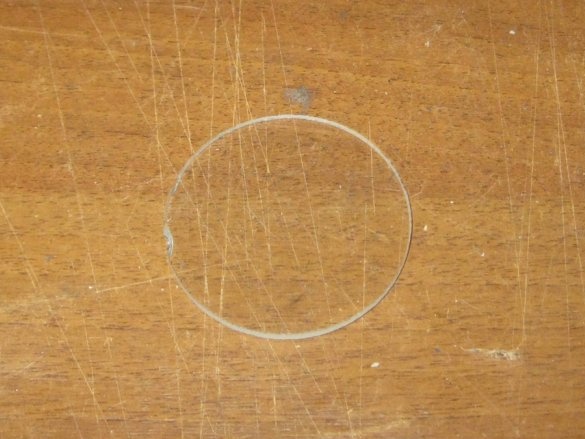
directly magnifier:
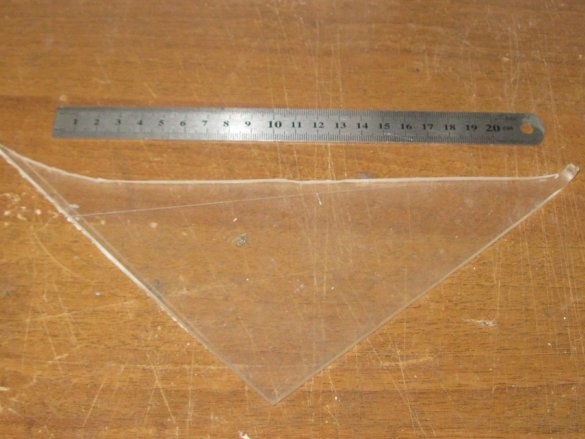
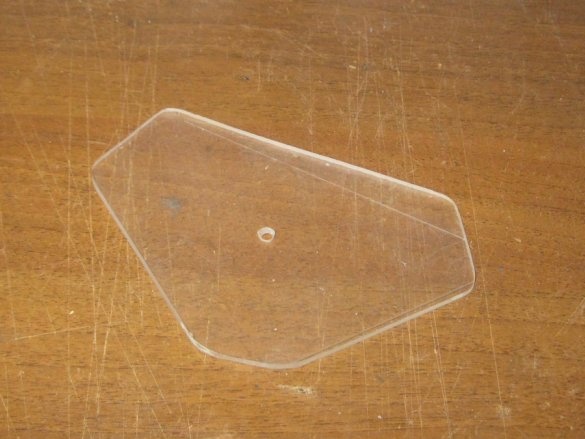
a piece of absolutely any form of thick plastic, plywood, laminate for the base - specially put a ruler next to it, so that the approximate dimensions are clear:
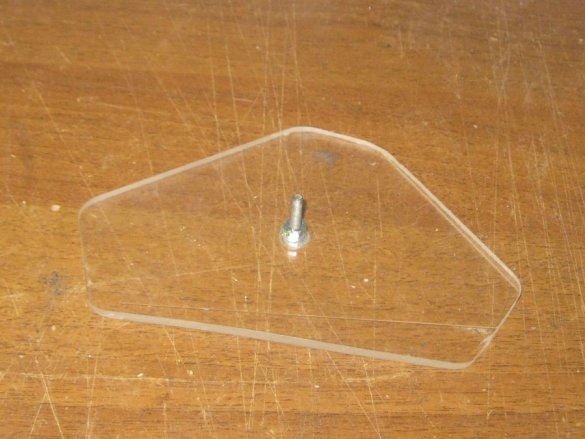
Plus one M4 screw with a countersunk head 20 mm long, and a nut with a washer for it.
We don’t take off any sizes, we all figure it out, we try on in place.
Of the tools you will need:
• hacksaw;
• file for metal;
• drills 4 and 10 (for countersinking) mm;
• a screwdriver with a nozzle and a key for 7.
Plus a hot glue gun with a colorless rod for him. One of the readers is grimacing, adding something like "so he does not give any strength, this is nonsense, and nothing more." I’m in a hurry to upset: I’ve already made a similar “arm”, only for myself, I don’t need special strength there. And vice versa, it is important not to slap anything and not to scratch the lens: it should remain as transparent as possible. So let's get started.
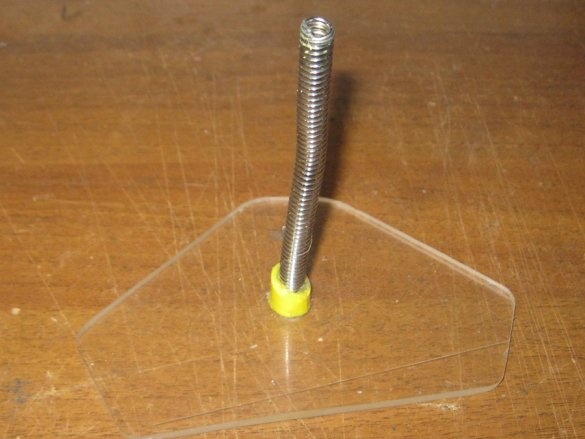
What will be the basis of a little processed and made a hole in the middle. "Bed" is ready:
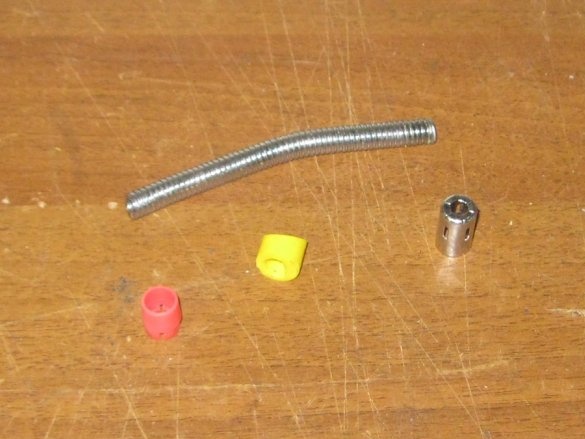
Now, the "arm" itself. We don’t need the whole lighter, but only these details:
And since you will probably take not a new one that is already well used, be sure to wash everything BEFORE you assemble it into a single design. Then it will be more difficult and not so convenient.
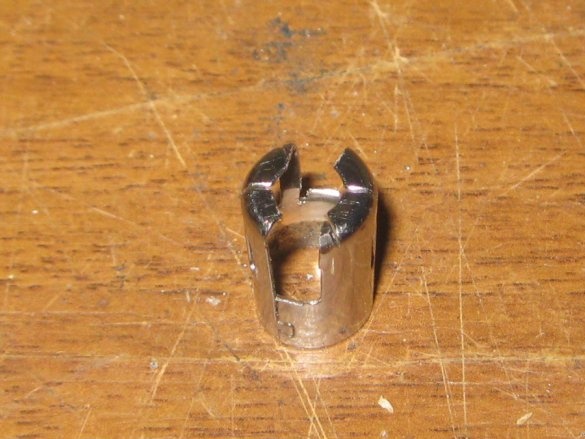
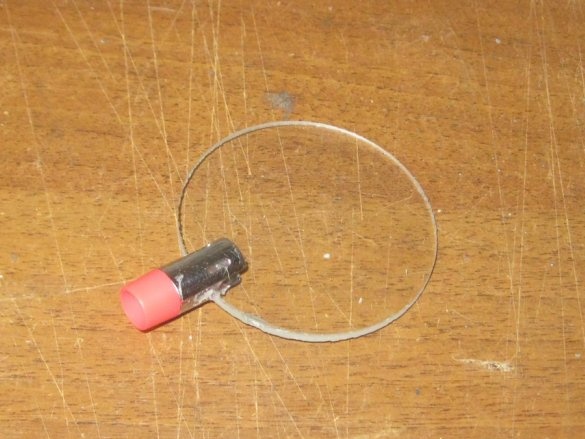
In the iron part of the nose of the lighter, you need to make a slot:
its shape / thickness will directly depend on the lens that was taken.
Assembling the design: stem with screw:
flexible "foot":
directly magnifier with mount:
"Groom" with the basic design. Done. And again, we use an adhesive thermal gun for assembly-fixing. Whereas excess glue is simply removed.
That's all wisdom.At the same time, you spent only a little less time reading this article than you would have done it all yourself. Whereas the convenience of using-applying this homemadeobviously.


