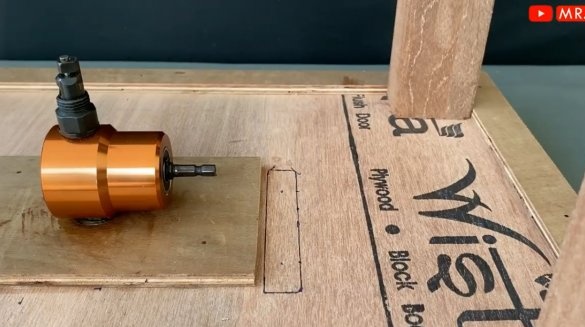
Surely many of you will want to have a small sheet metal cutting machine in your workshop.
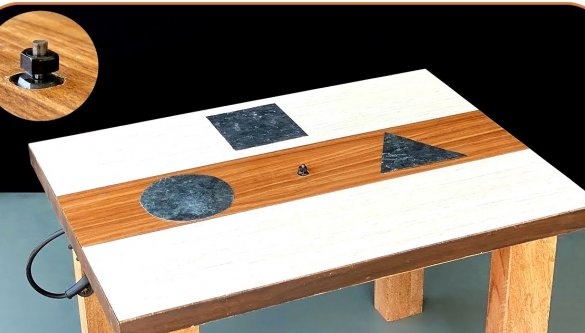
In this article, the author of the YouTube channel “Mr. NK ”will tell you how he made such a machine from simple and affordable wood materials.
In recent article It has already been said about the creation of a similar machine, however, welding work is required there, and the presence of various metals.
Materials
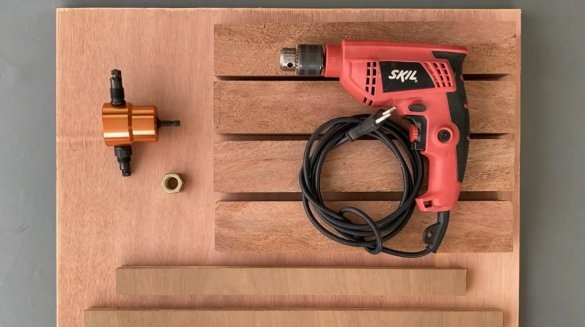
— Sheet metal cutting nozzle
- Sheet plywood, veneer, edge
- Pine beam
- PVA glue
- Wood screws, nut M10
- Masking tape.
Instruments, used by the author.
— Sheet metal cutting nozzle
— Electric jigsaw
— A circular saw
— Battery Neiler
— Screwdriver, drill bits
— Forstner Drills
— Crowns
- Drill, hammer, screwdriver
- Ruler, square, marker.
Manufacturing process.
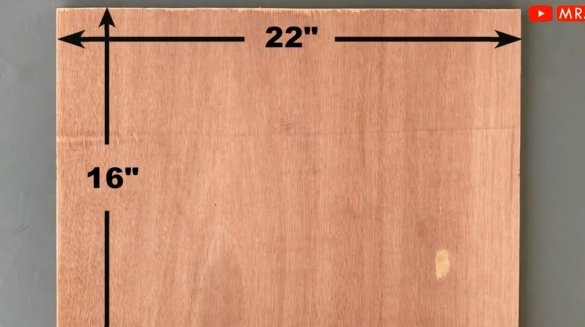
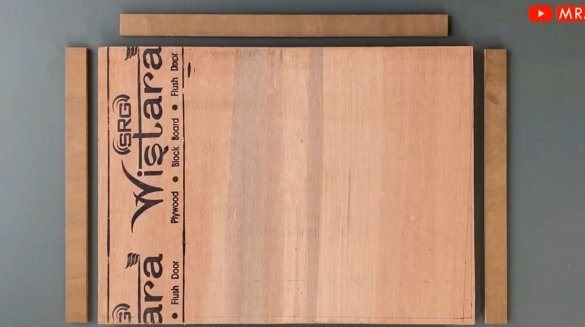
First of all, the author will make a fairly simple case for the machine from sheet plywood. He chose such dimensions of the desktop, and prepared the details. It is advisable to do this on a circular saw, but a regular electric jigsaw is also quite suitable.
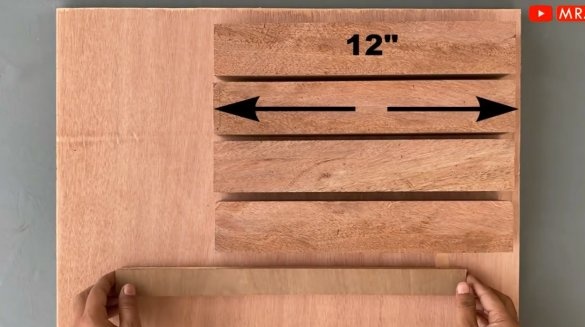
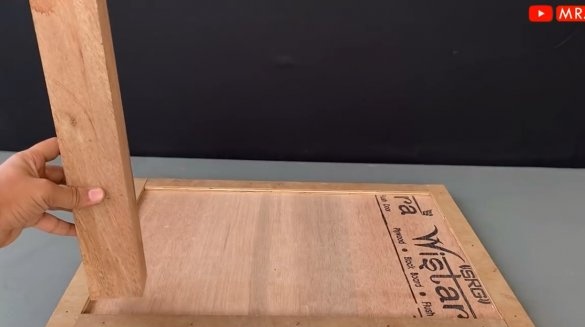
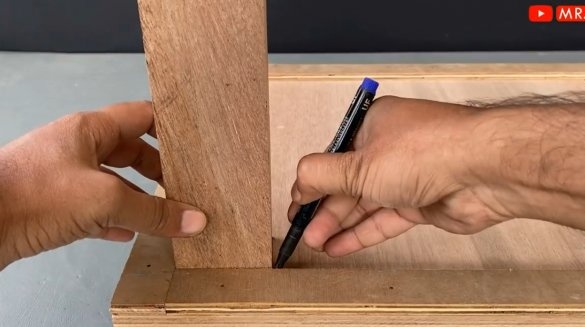
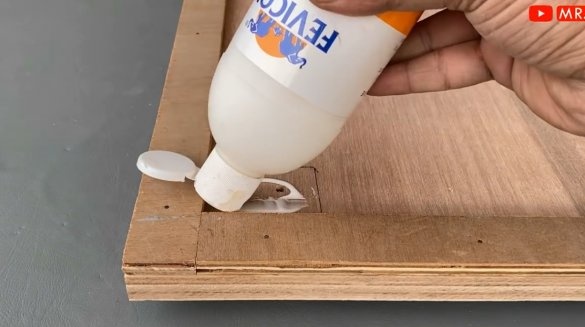
From four planks, the master made a frame on the bottom of the table, glued the planks, and fixed them with a neiler. Having put a leg, he marks its edges.
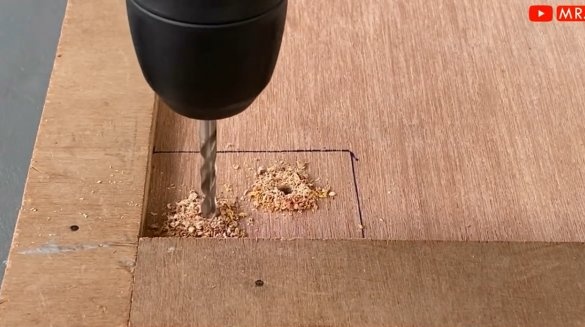
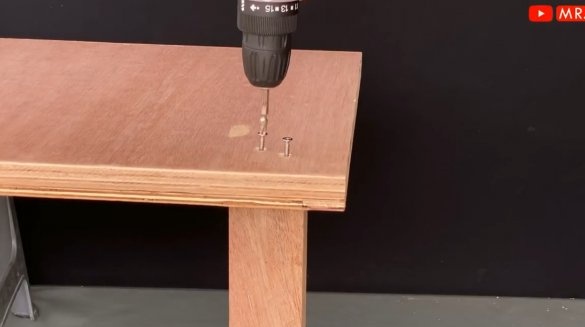
Then he drills a pair of holes for the clamping screws of each of the legs, glues them, and fixes with screws.
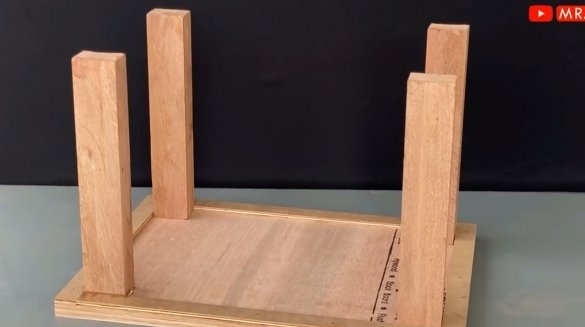
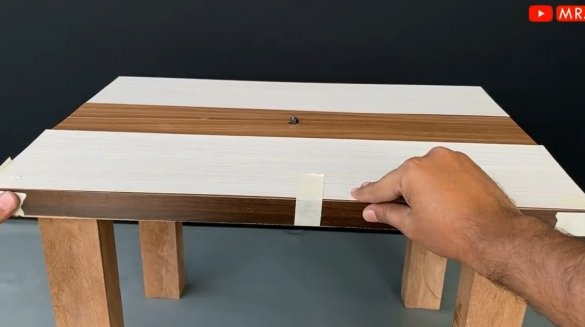
Here is such a simple little table turned out. For greater rigidity, the legs can be strengthened by braces.
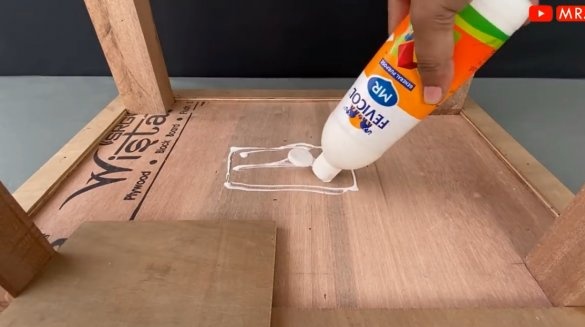
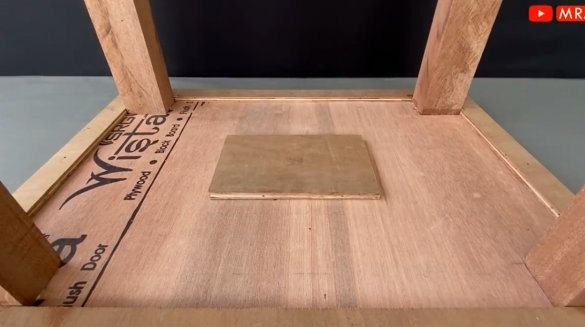
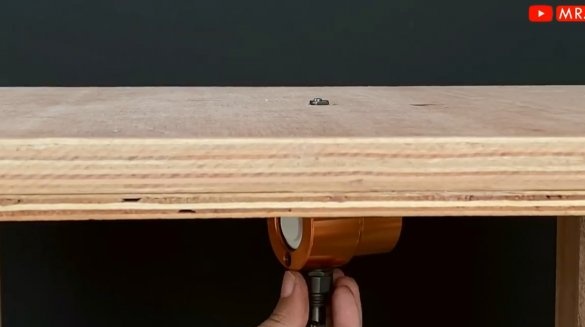
A small plywood pad is glued from the bottom of the countertop, in its center.
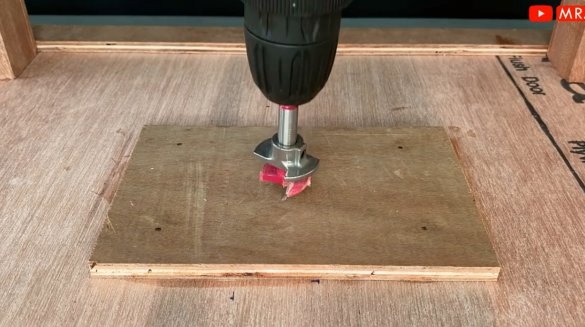
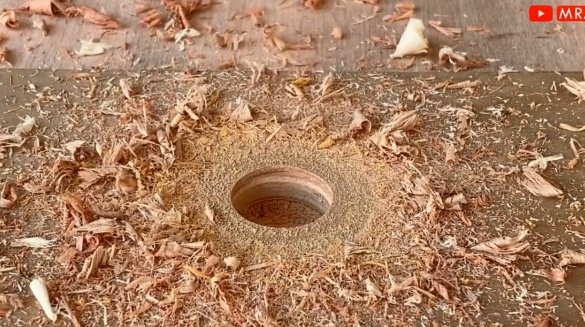
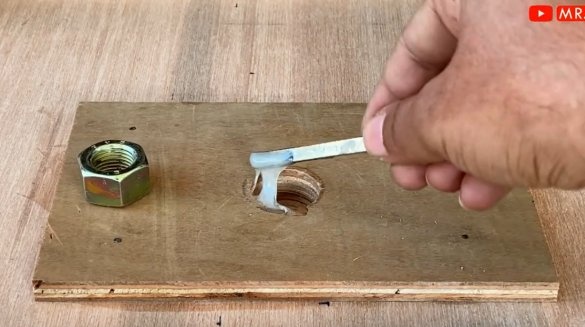
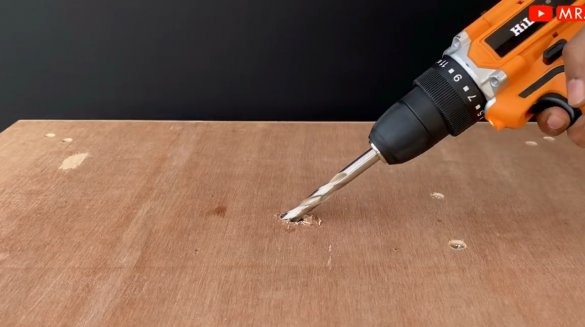
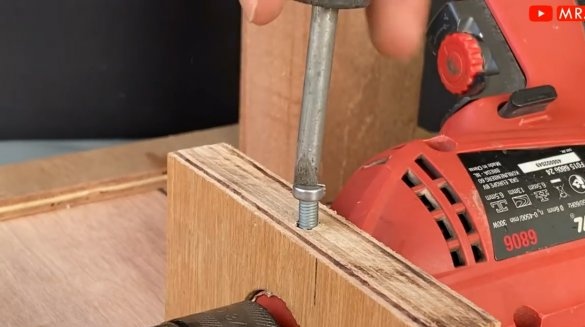
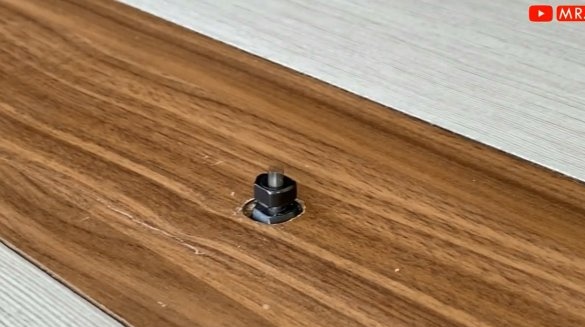
A Forstner drill is used to drill a blind hole for the M10 nut.
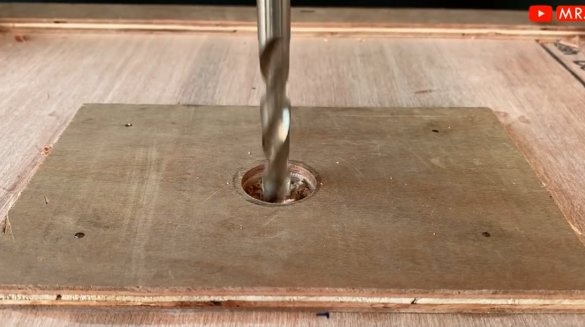
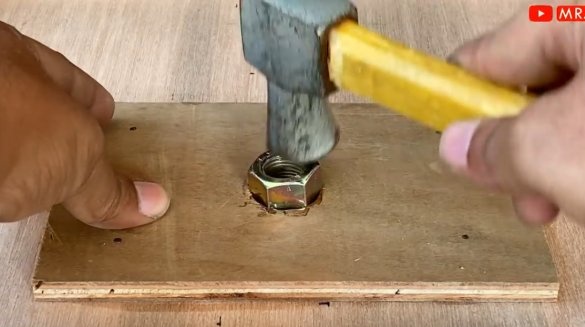
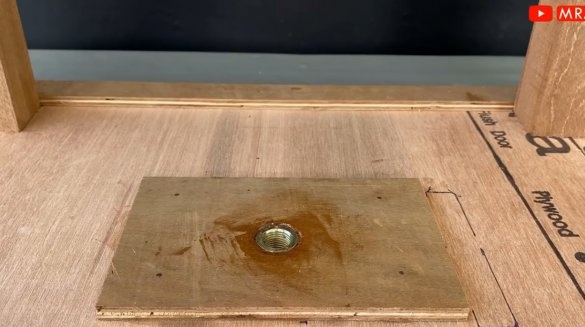
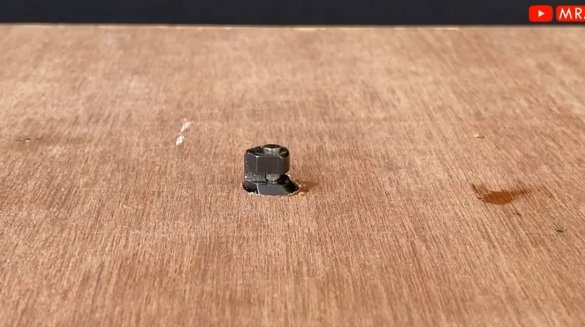
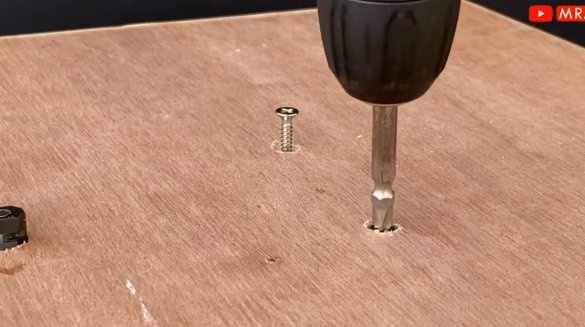
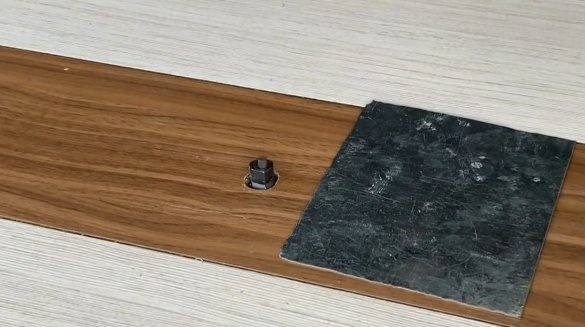
Now a hole is drilled for the cutting head itself. Adding a bit of glue to the hole, the nut clogs into place. It must be installed as evenly as possible relative to the plane of the table.
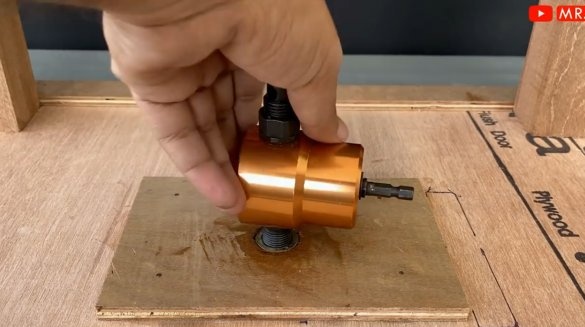
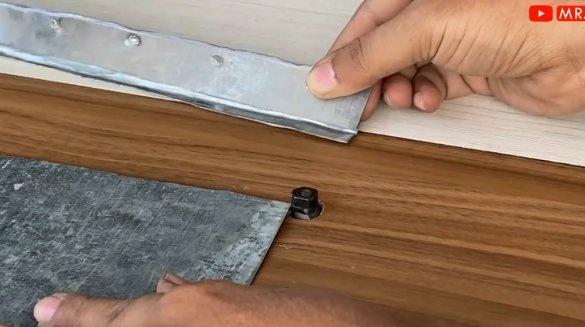
After the glue dries, the master screws the nozzle into its place, and checks the possible departure of the cutting head.
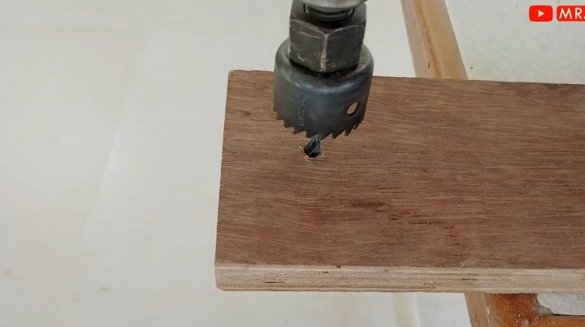
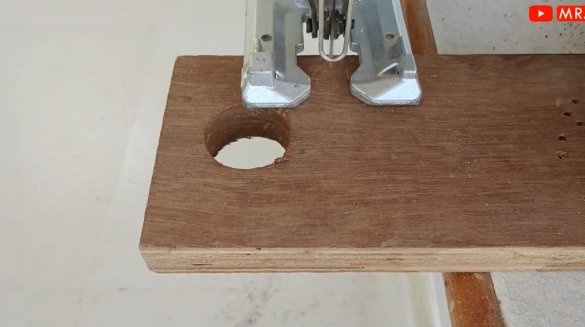
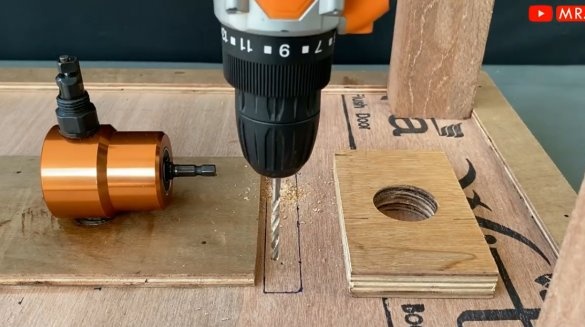
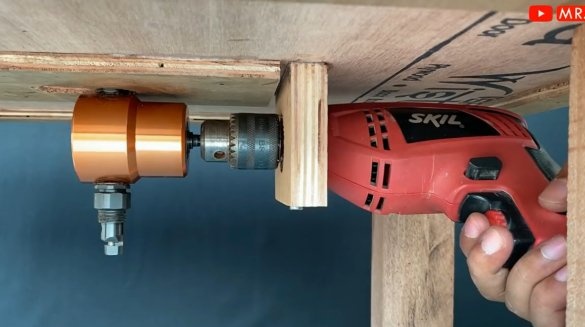
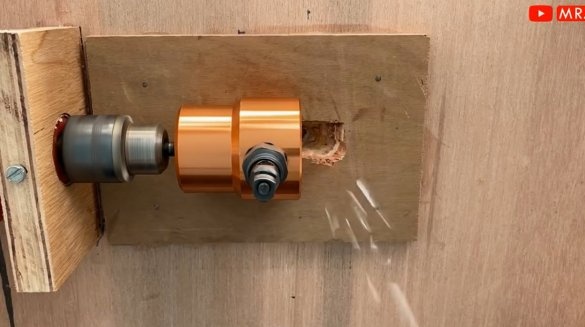
Now you need to make a holder for the drill. A hole is drilled with a crown in a piece of thick plywood, and the workpiece is cut with a jigsaw.
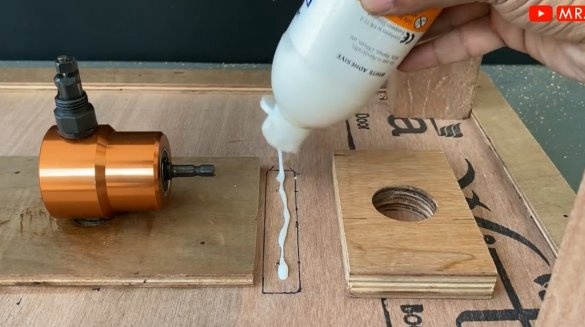
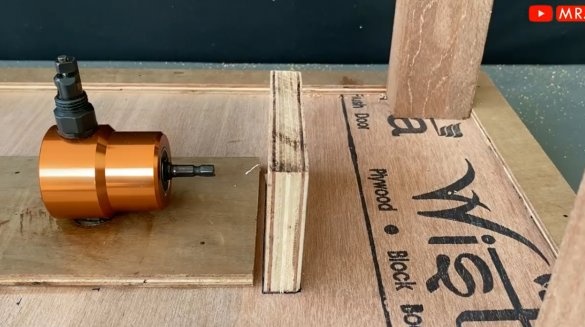
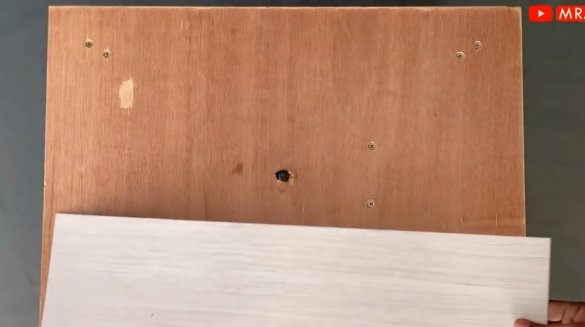
The plate is glued into place, and fixed with screws from the top of the table.
Having unscrewed the nozzle, the author drills an additional recess at an angle of 45 degrees, it is through it that the chips will be removed.
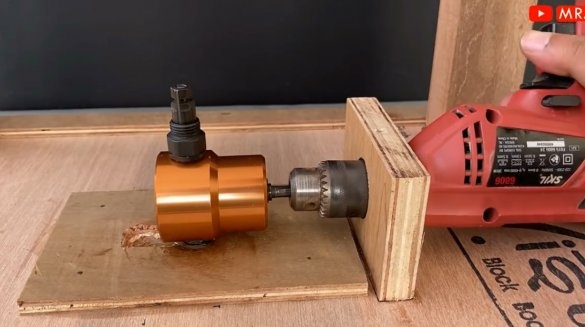
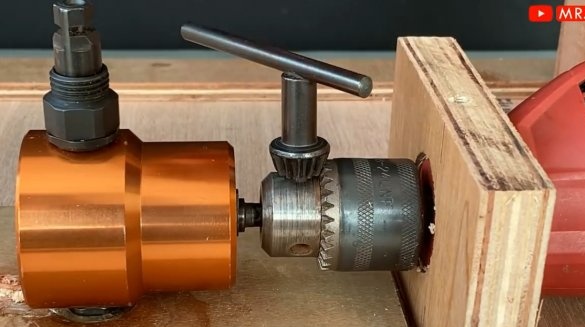
The drill is installed in the holder, and the nozzle is fixed in its cartridge. Then an additional screw is screwed into the holder, which will prevent the drill from turning.
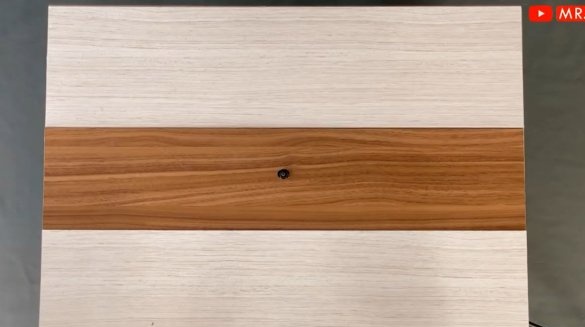
For a more aesthetic appearance and ease of orientation of the workpieces, the author glues two strips of light veneer onto the countertop.
All ends of the table are also edged.
Everything is ready, it remains only to fix the drill button, and you can work.
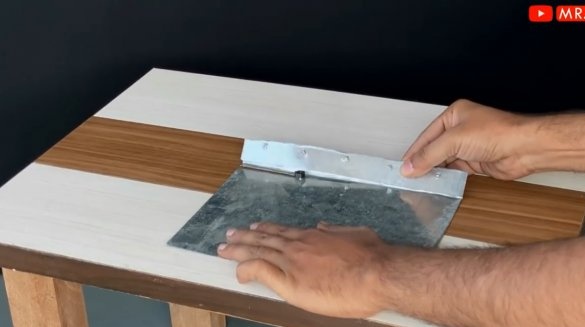
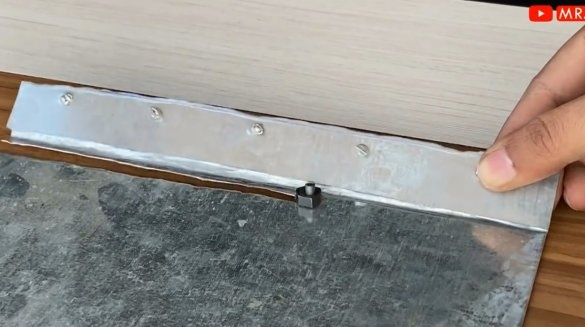
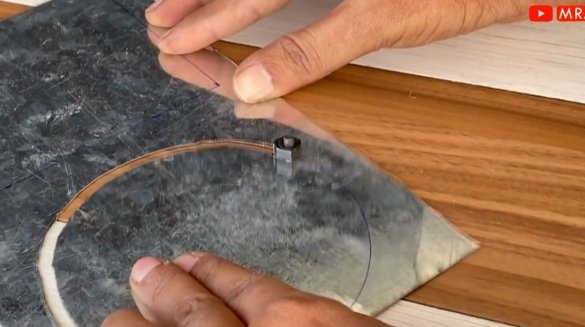
The thickness of the processed material can reach 1.2 mm.
This is how chips are automatically removed from this hole.
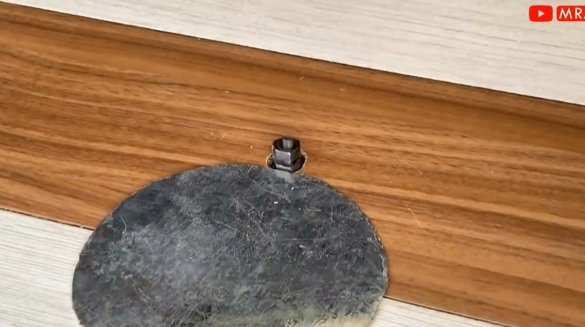
He processed a few more details, and even the disc turned out to be quite accurate. Also, in comparison with another machine, the master more correctly positioned the cutter, it is located strictly in the center of the table, and not on the side platform.
I thank the author for the simple but useful design of the machine for the workshop!
All good mood, good luck, and interesting ideas!
Author video can be found here.

